Tuesday:
The day was finally here - time to tie it all together and make a hinge and put it on the box I made just for this purpose.
This is the scary part as I mentioned in the last post. I had a box but what if I screwed up the hinge and soldered it all closed - GASP! The only way to NOT do that is to Just go slow and think everything through.
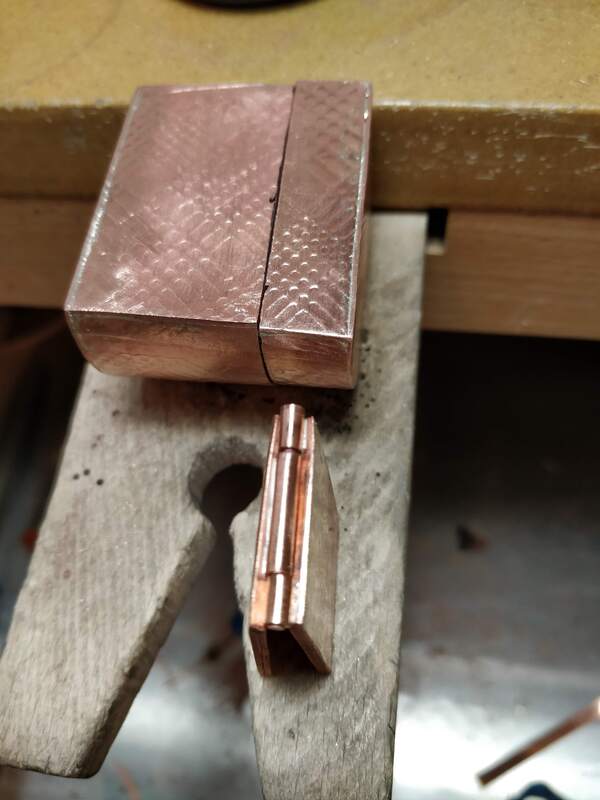
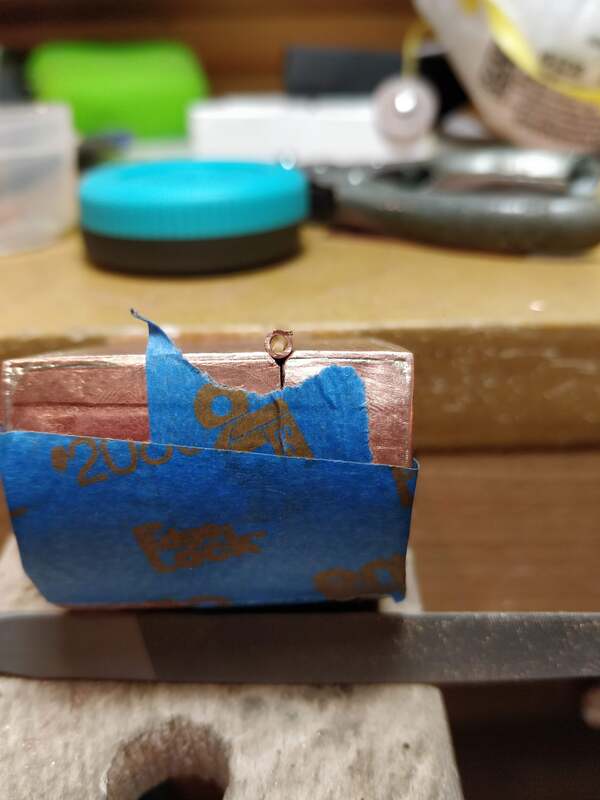
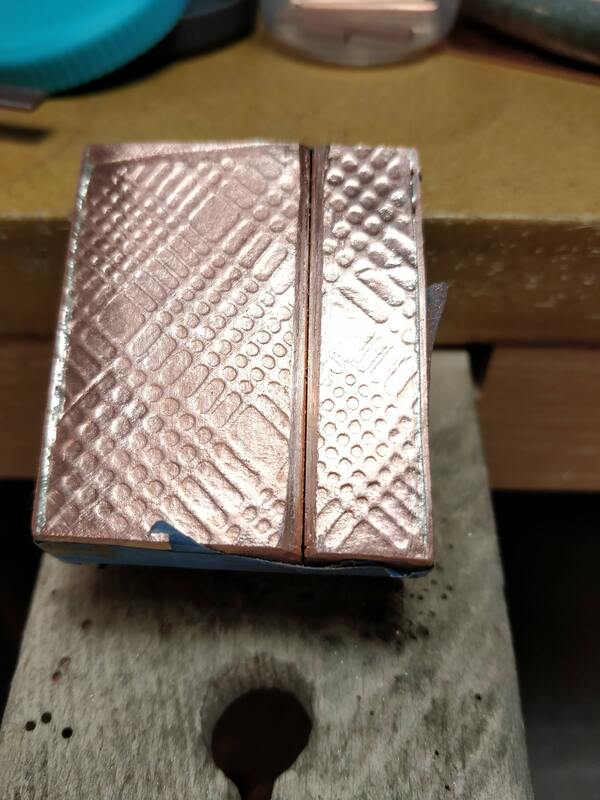
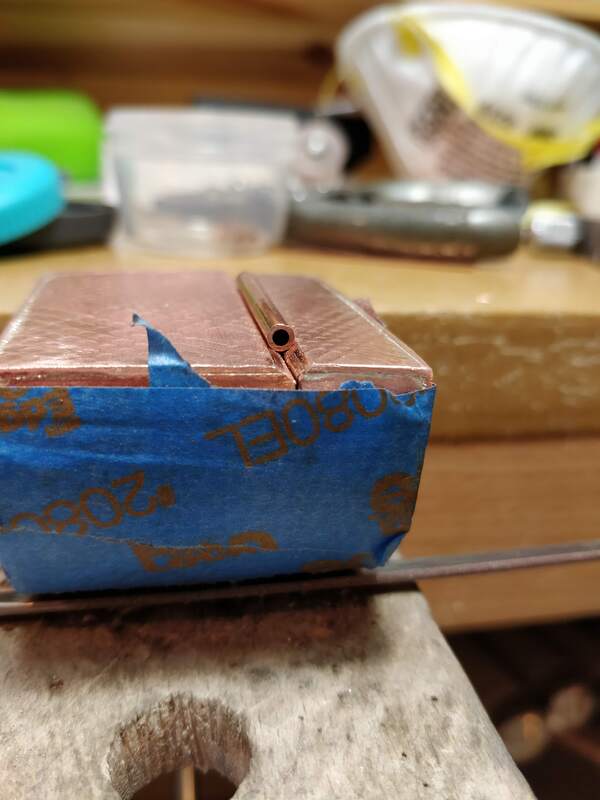
First up was to cut the hinge seat into the back of the box where the lid meets the bottom. I started by filing in a 45 degree angle on each outer edge. Then I taped it all together and using the chenier files, cut the rest of the seat for the tubing. It was file, blow away the copper dust, place a piece of tubing in the groove and determine if it was deep enough, repeat....
Well over an hour later the seat was complete. Then I had to cut the tubes for the knuckles. I decided on a 3 knuckle hinge. With the back being about 2" long, I could do a center knuckle of 1" and 2 outer knuckles of 1/2". First I cut 2 1" pieces of tubing and then cut one of those in half. Using the miter jig, I filed and sanded all the ends square.
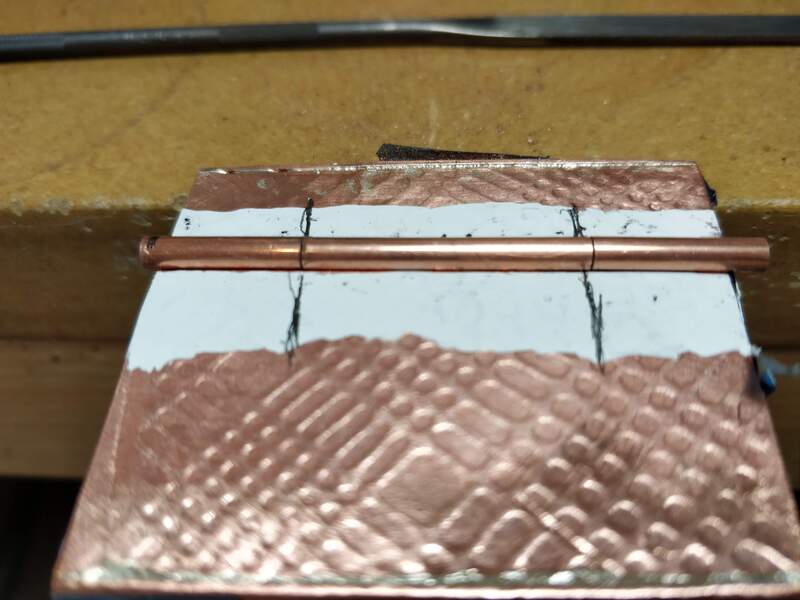
Then using a pencil and a steel ruler, I marked the center of the back and then the center 1" where the middle knuckle would be placed. I then used white out, as my solder flow preventer, on either the lid or the bottom where each knuckle would be placed. While that was drying I rolled some easy solder down and cut small snippets.
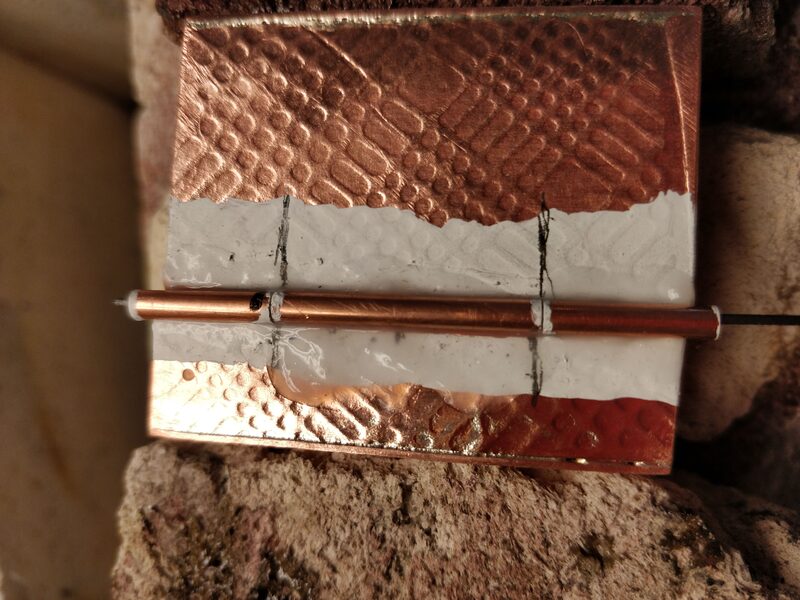
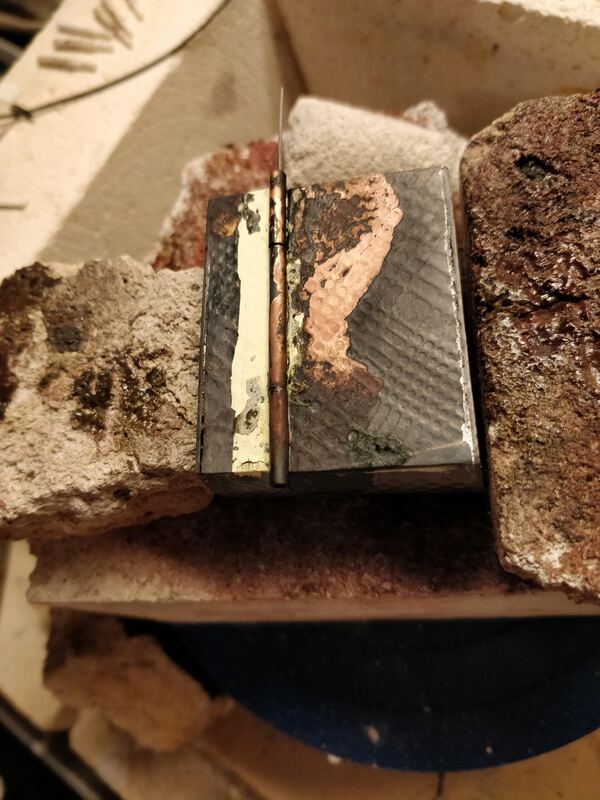
I went to the soldering station and placed the knuckles on graphite pencil lead and placed them on the back of the box which was being supported by fire brick ends to stabilize everything. Time to flux, light the torch and solder away. I was able to use one small piece of solder for each knuckle to tack them down. I then pickled it all to make sure everything was aligned and correct before putting it back together with more white out, flux and the final soldering. Once again into the pickle it went. Then I work hardened some copper wire, inserted it into the hinge, as the pin, and "rivetted" the end to keep the pin in place.
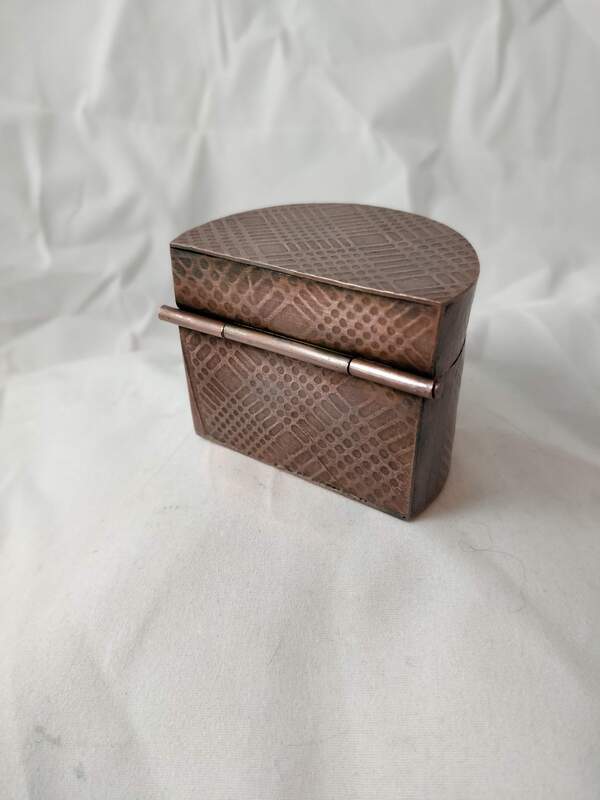
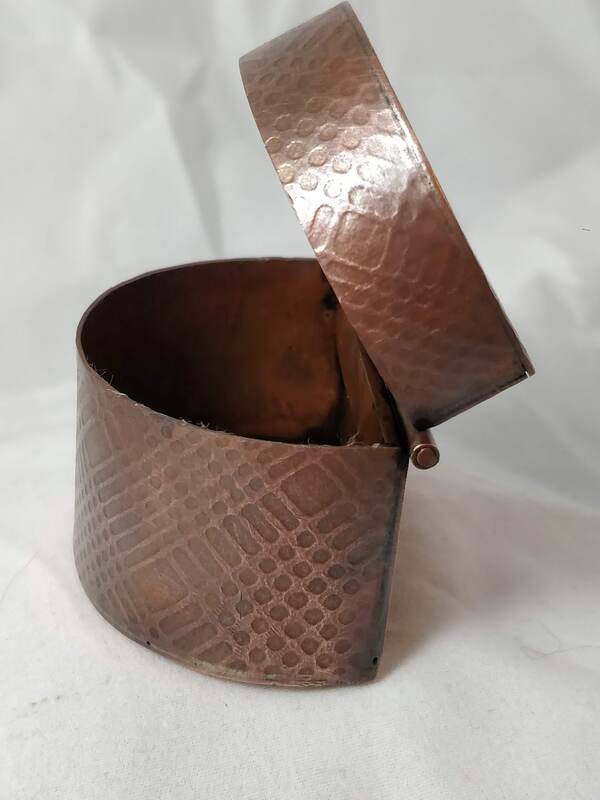
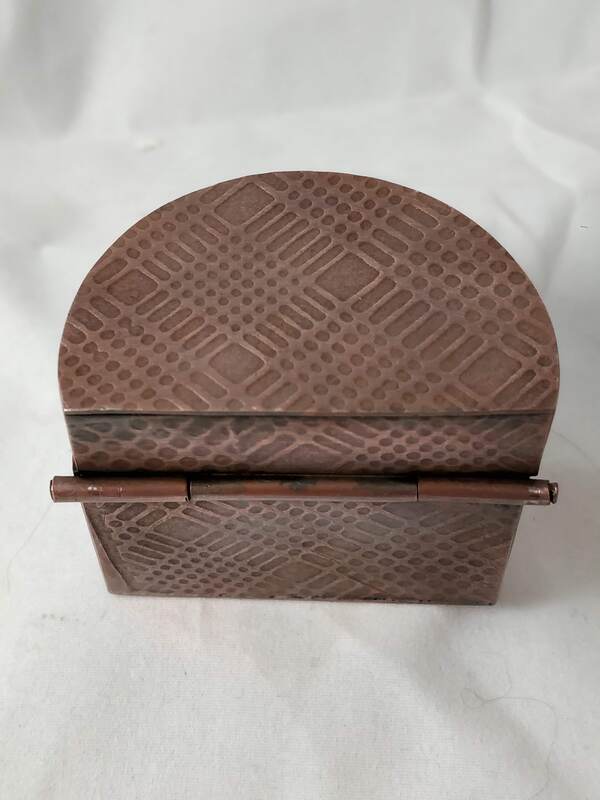
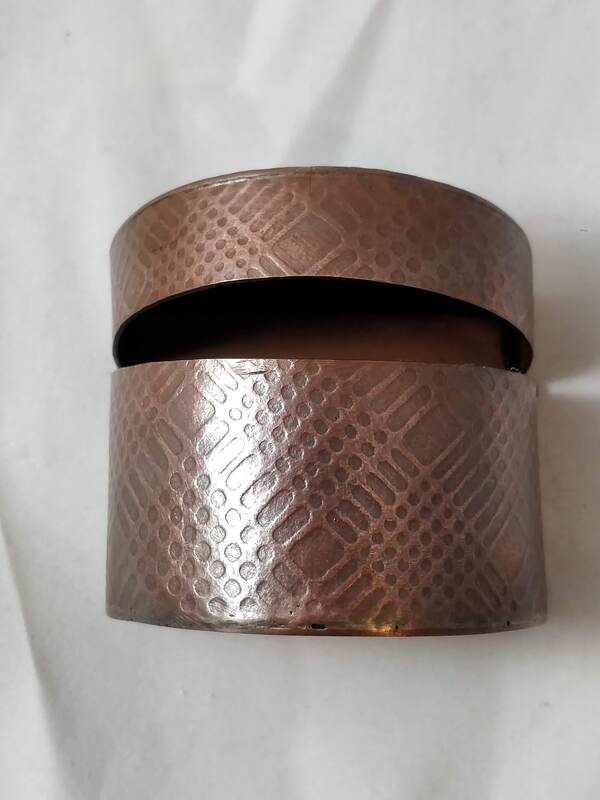
Lastly I had to clean it all up, give it a quick 'polish' with some pumice to matte the surface before adding a patina and a final buff polish to shine up the high points.
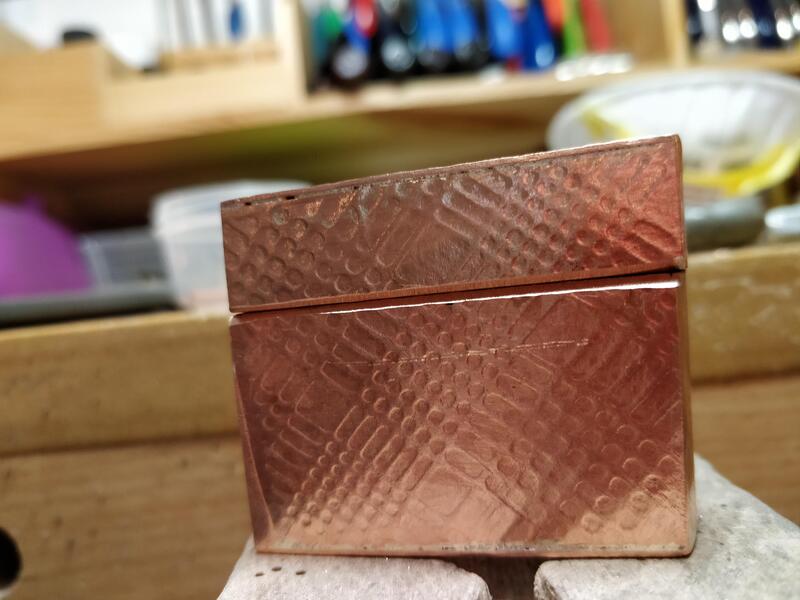
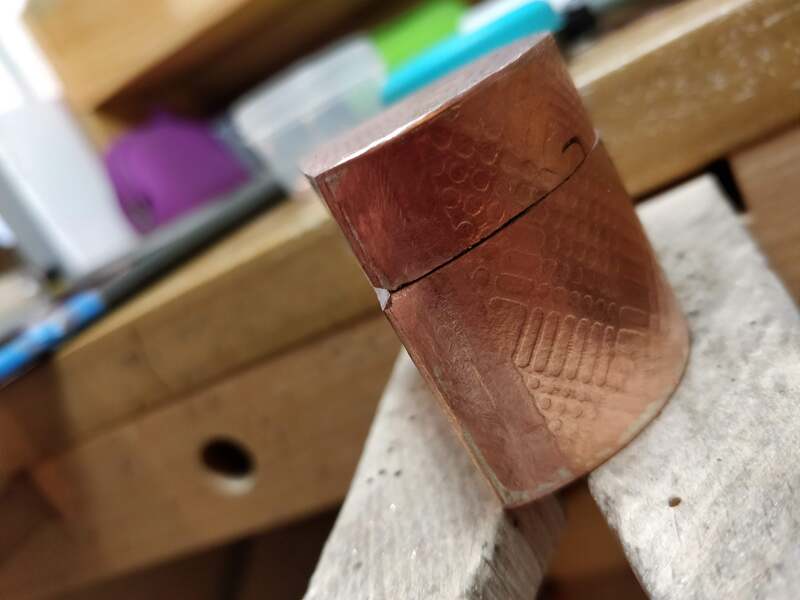
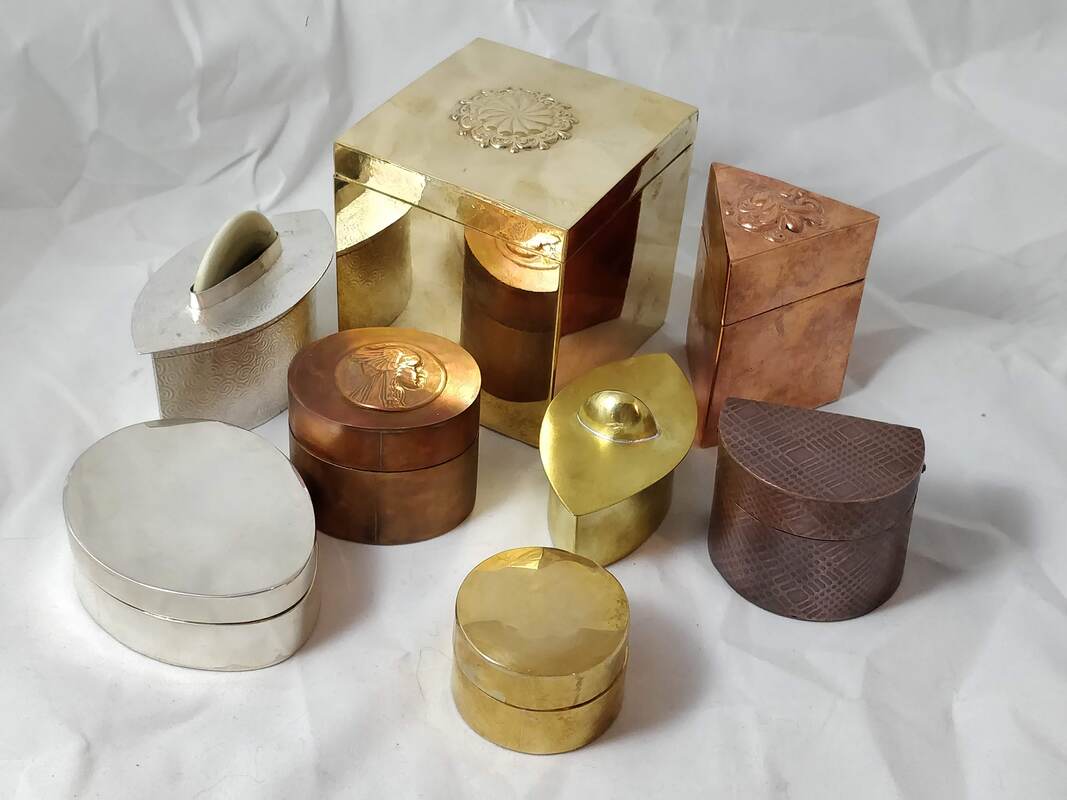
And here we are - a finished box!!! And at the very bottom ALL the boxes!


 RSS Feed
