Follow Me On:
The Adventurous Silversmith
  • Home
  • Blog
  • Portfolio
    • Metal Work >
      • Chasing & Repousse
      • Holloware
      • Jewelry
      • Other Wonderful Items
    • Fiber Arts >
      • Temari
      • Yubinuki
  • Resources
    • Library
    • Tools & Equipment
    • Links
  • About
    • Artist Statement
    • Curriculum Vitae
    • How it is Made
    • Contact

Copper Dishes with Raspberry (Red) Oxide Patina

9/21/2016

0 Comments

 
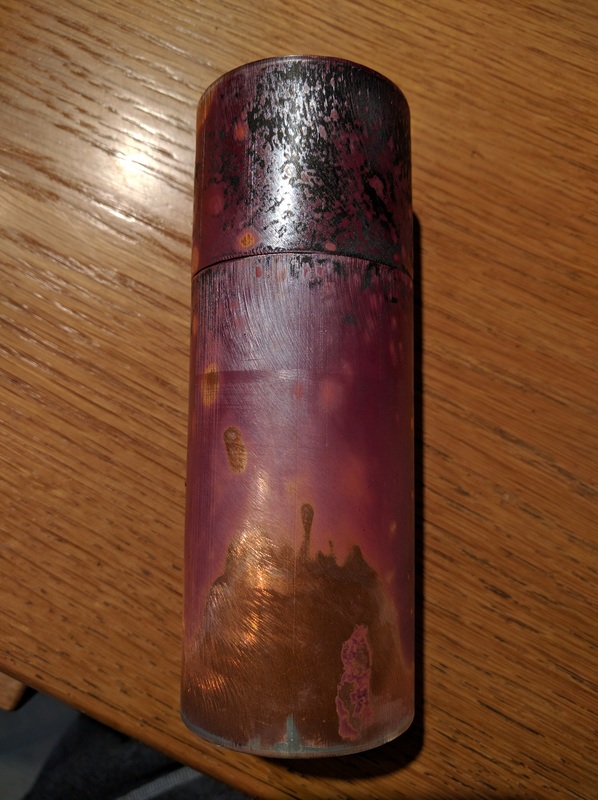
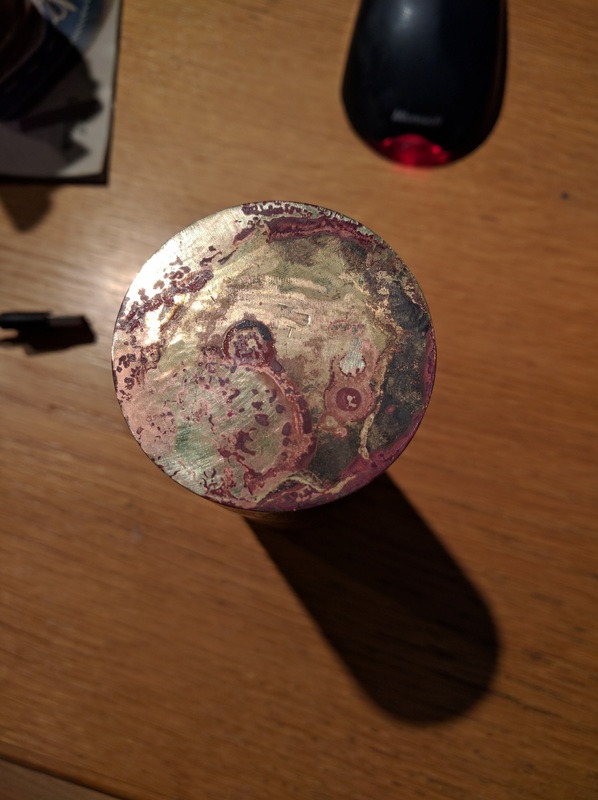
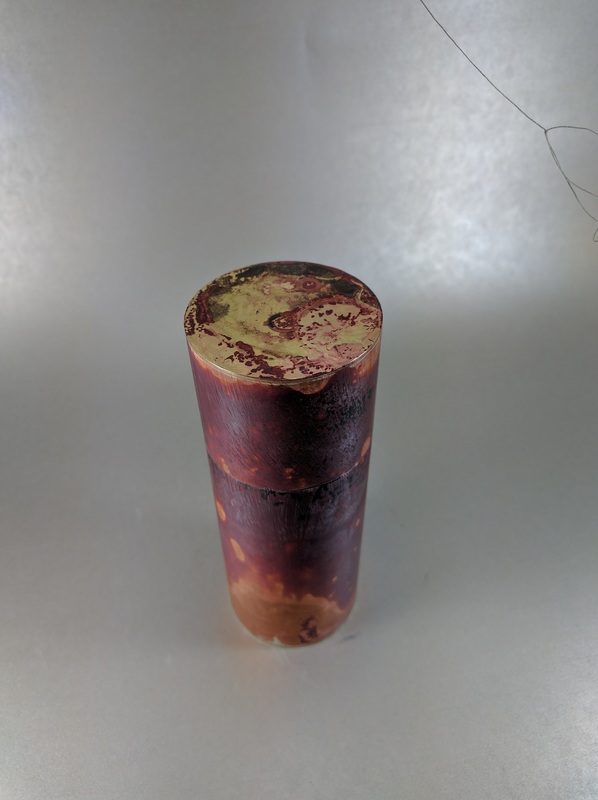
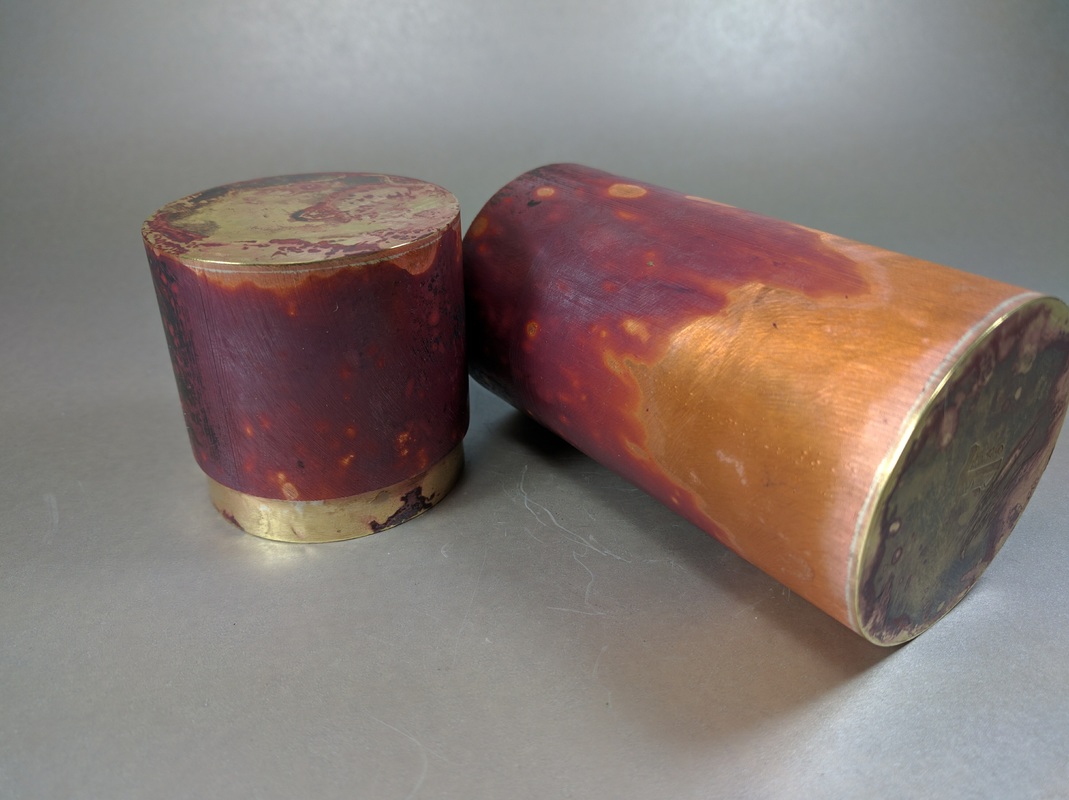
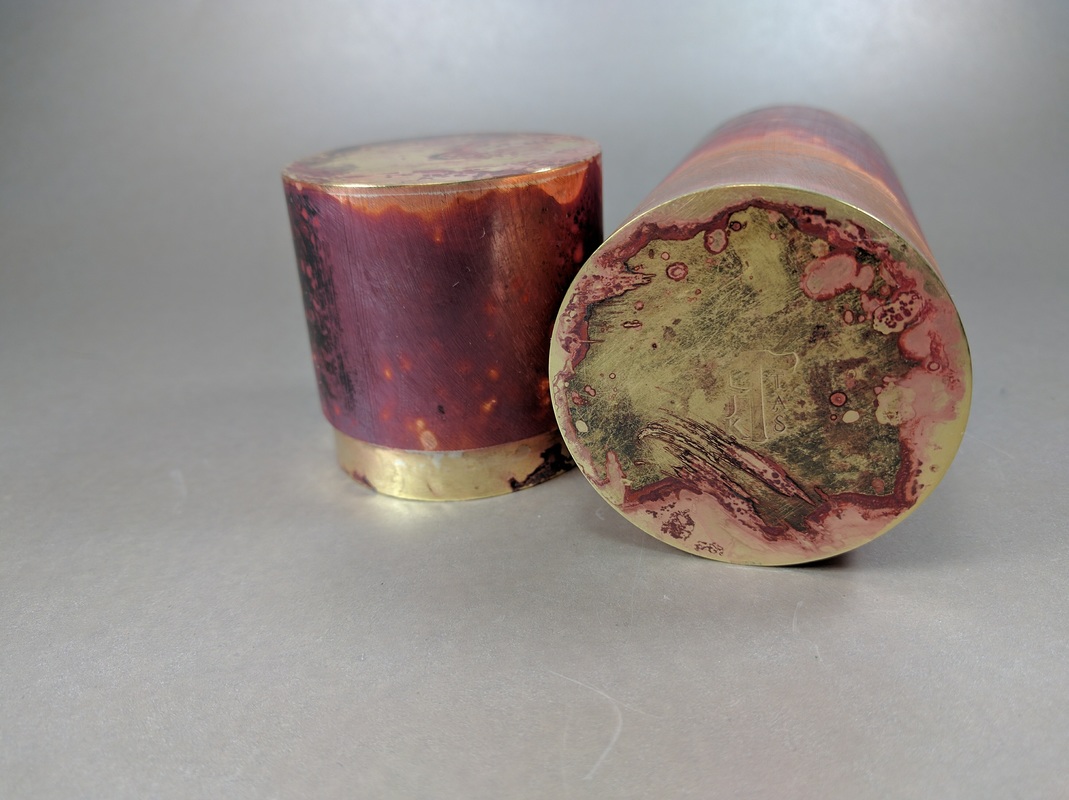
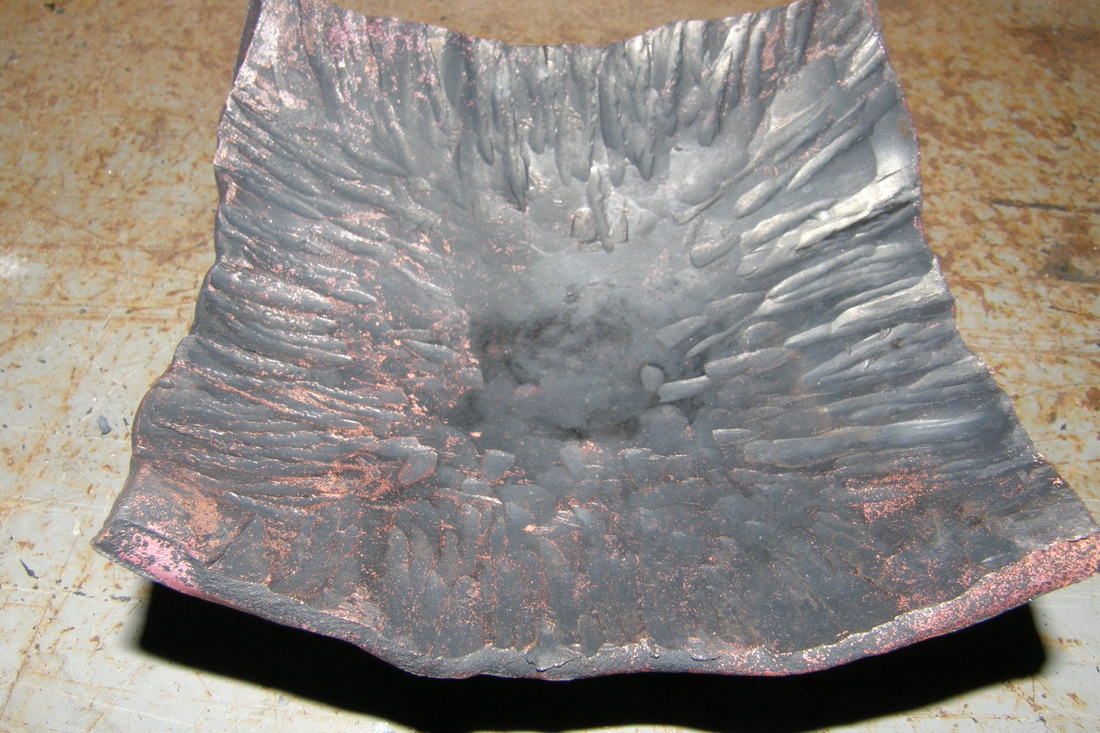
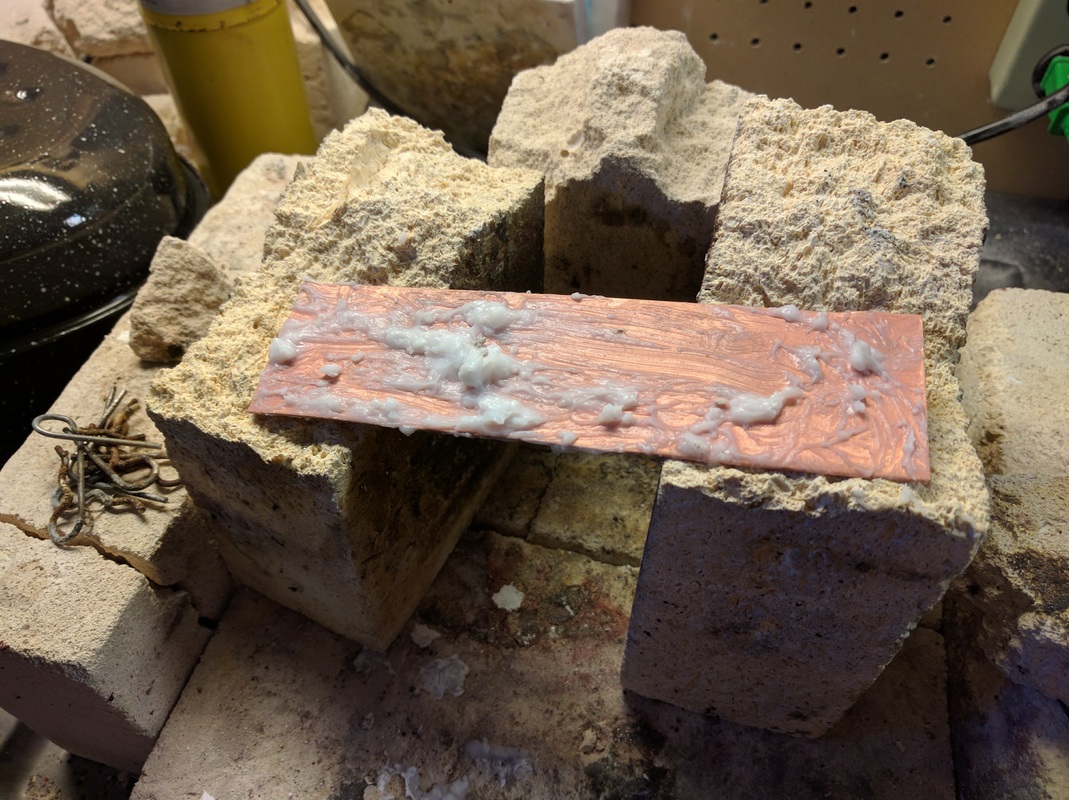
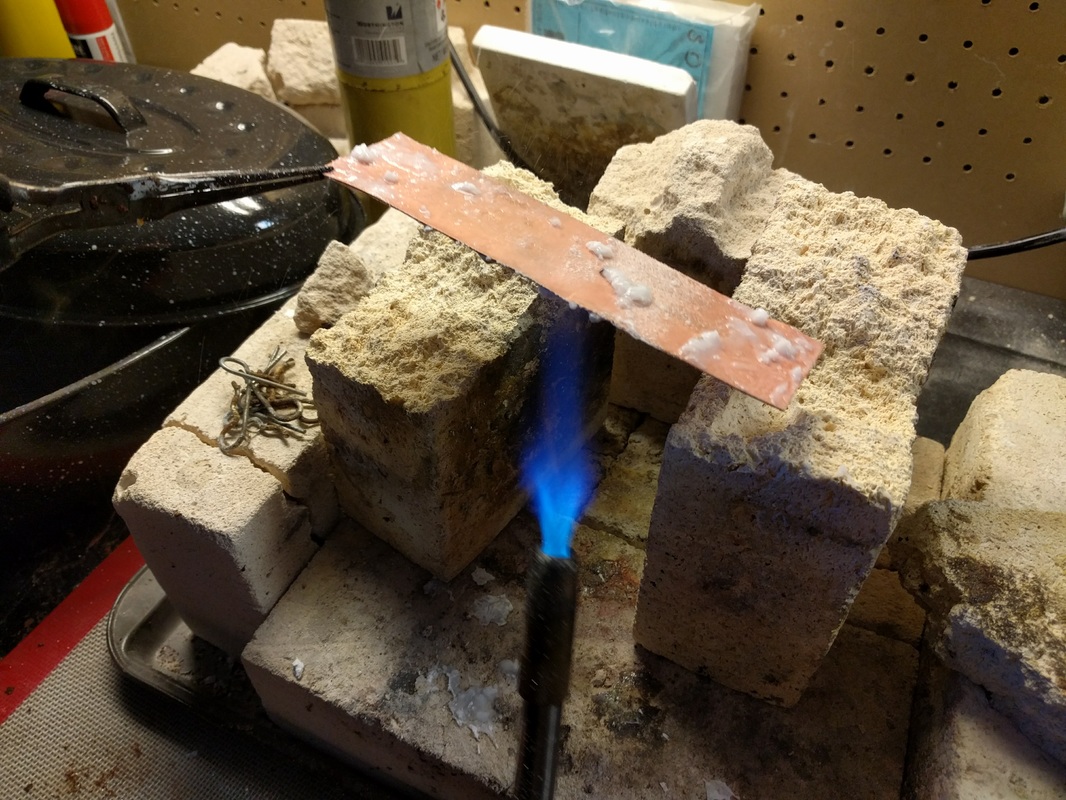
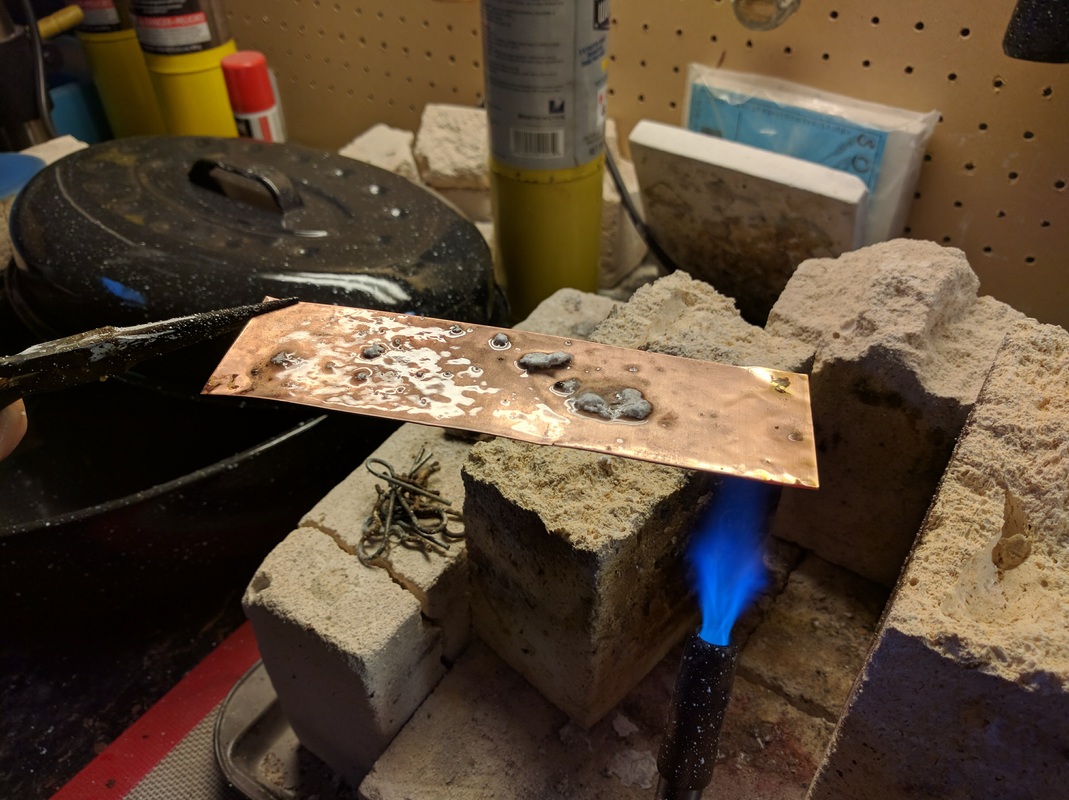
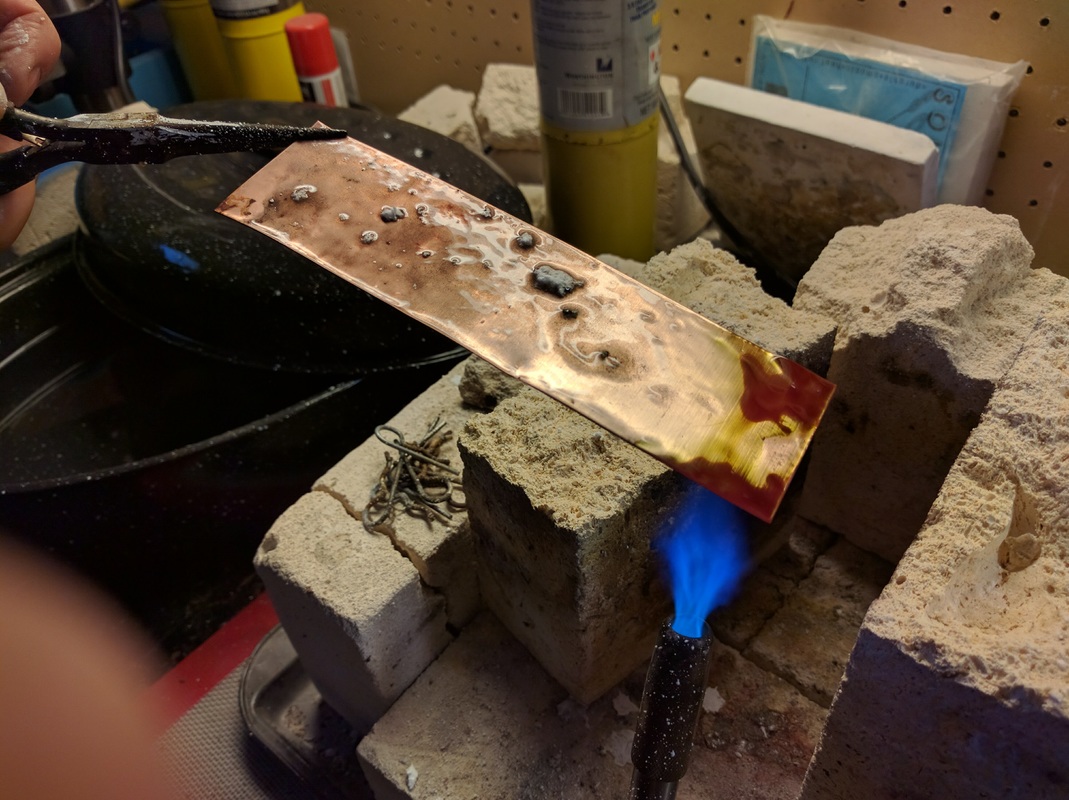
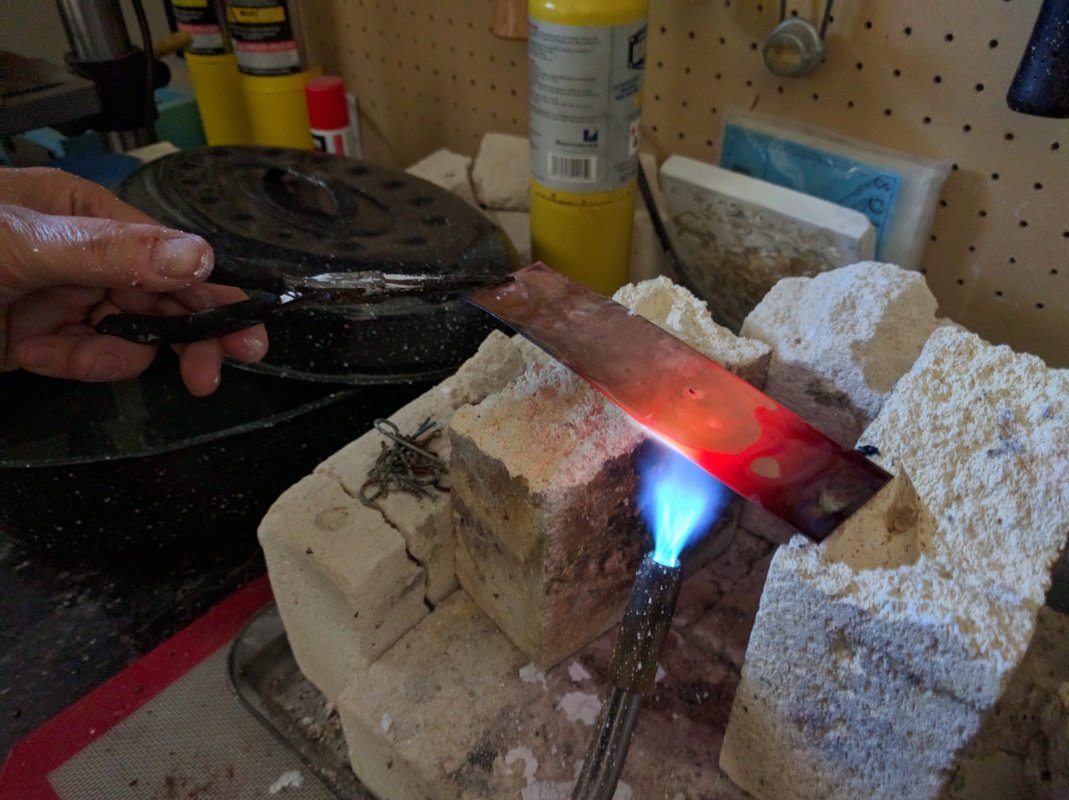
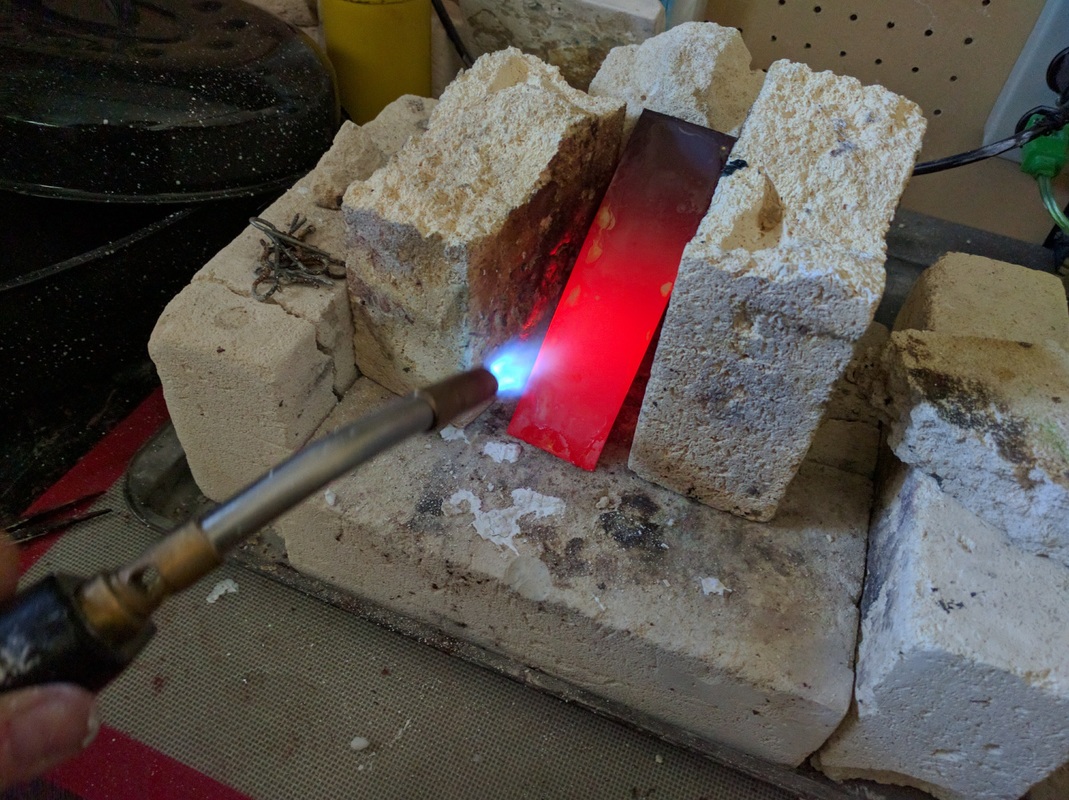
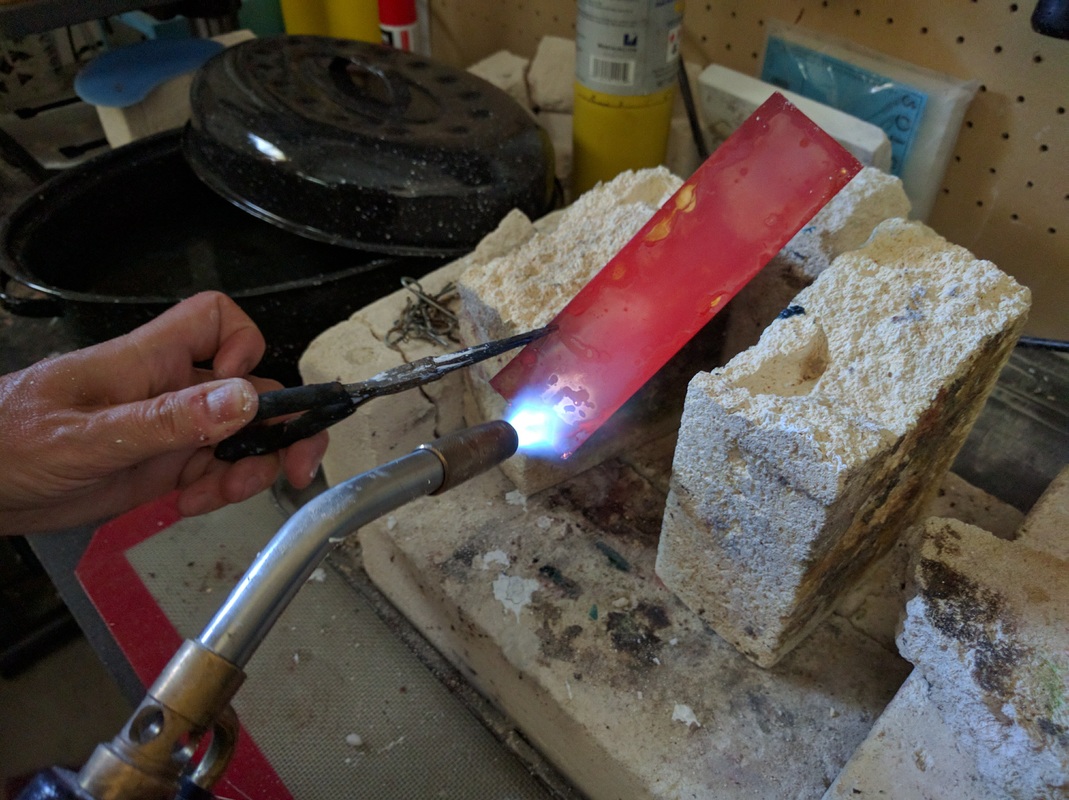
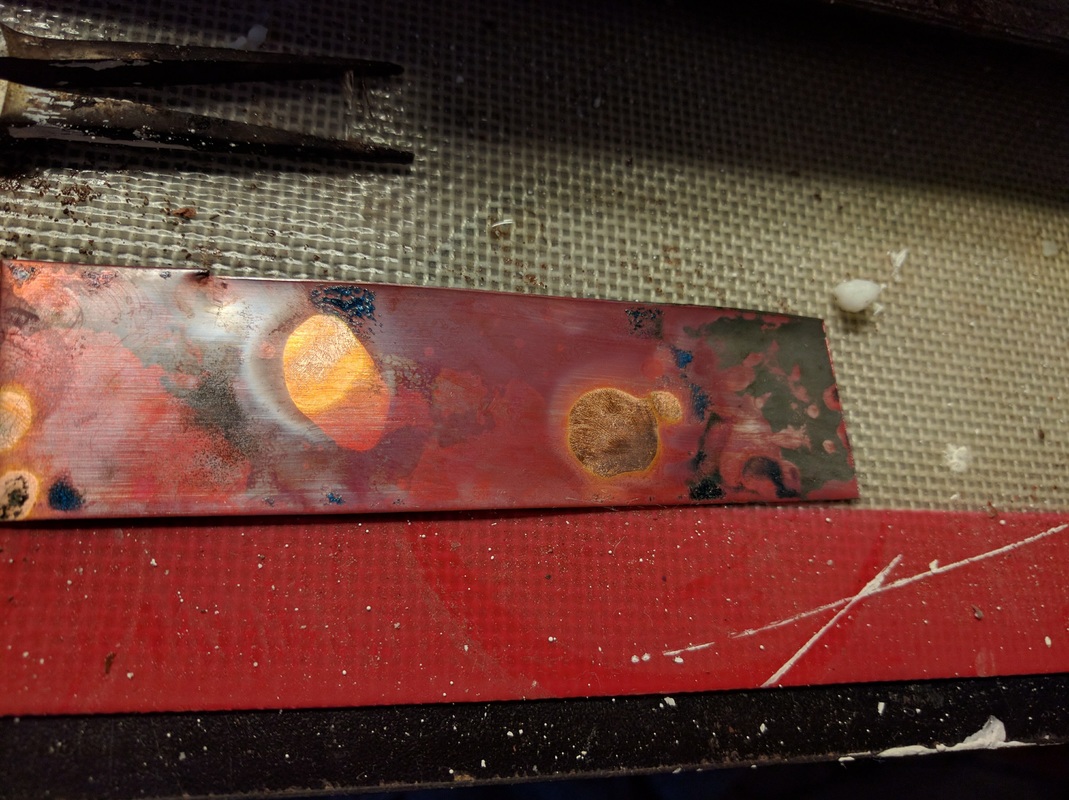
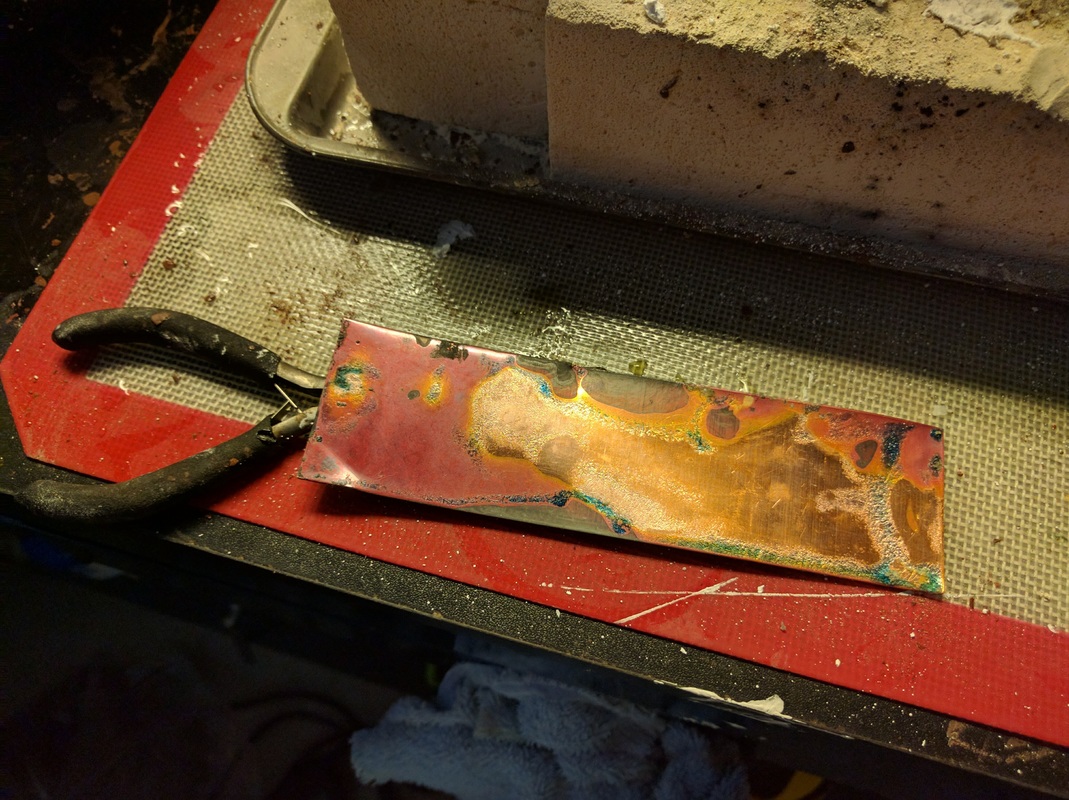
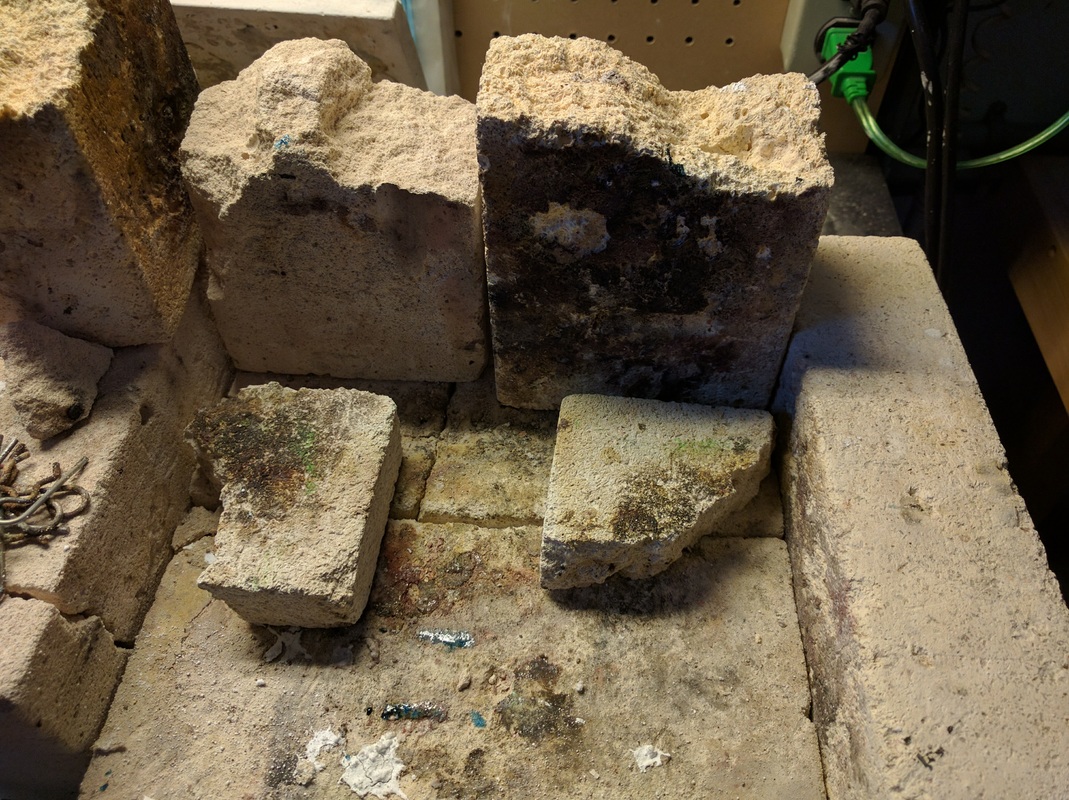
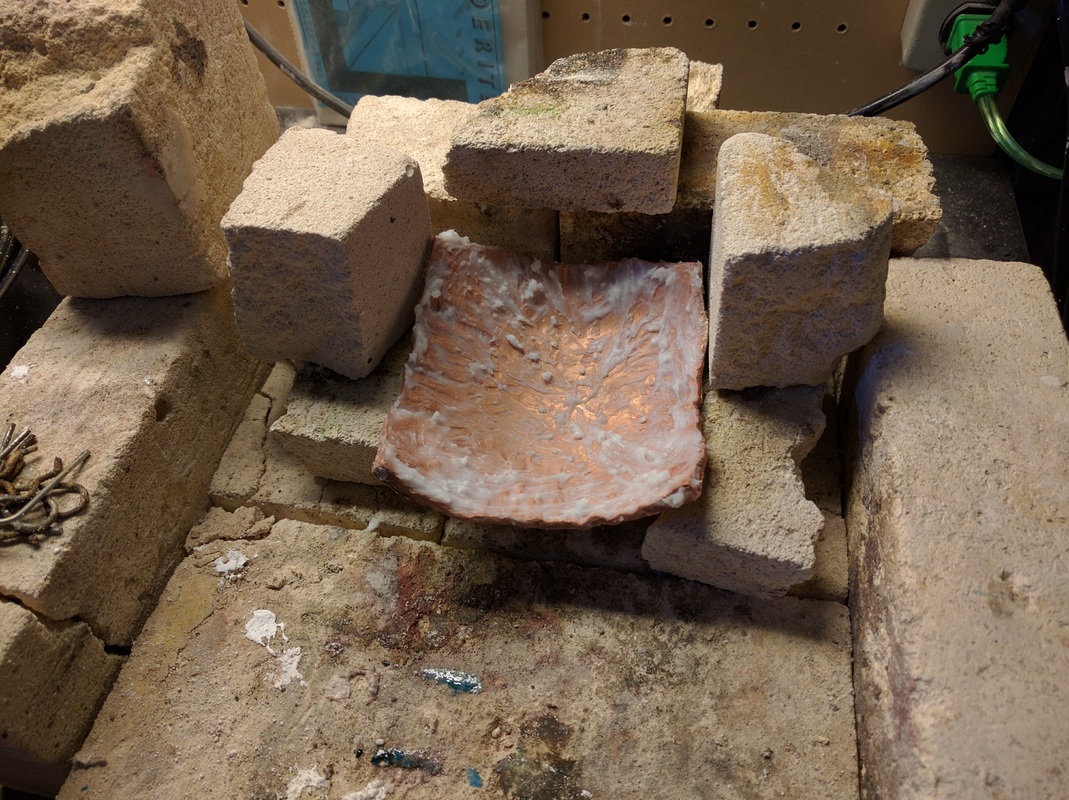
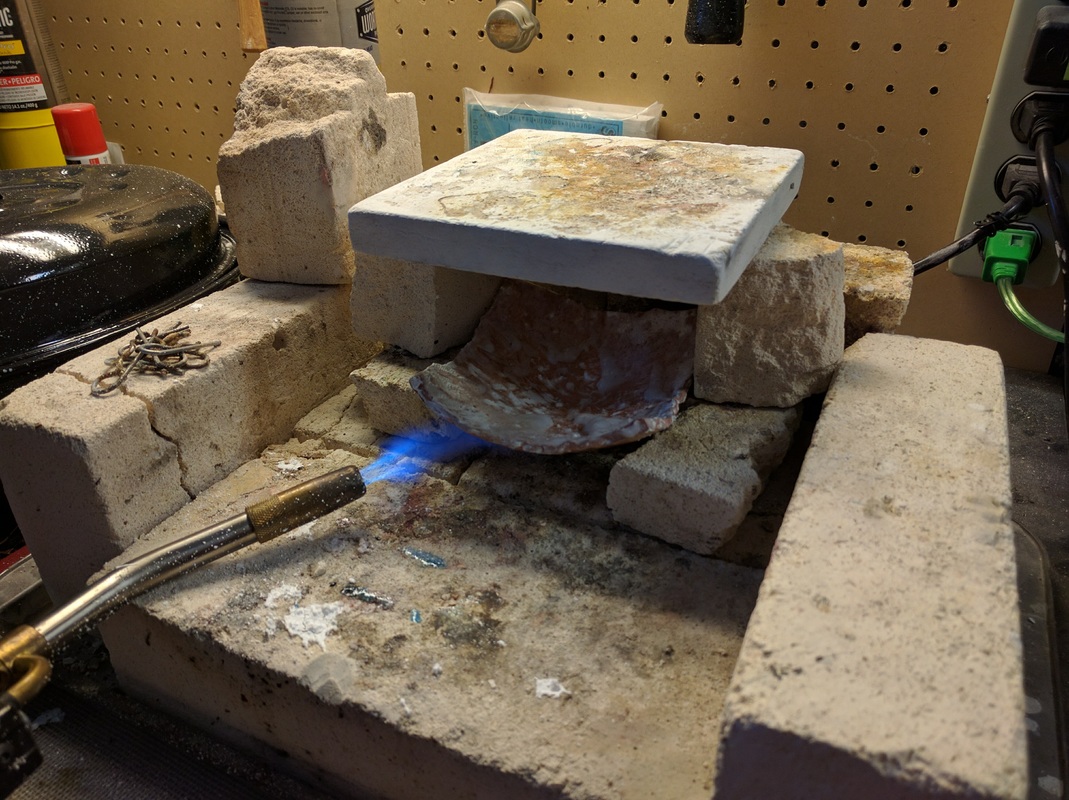
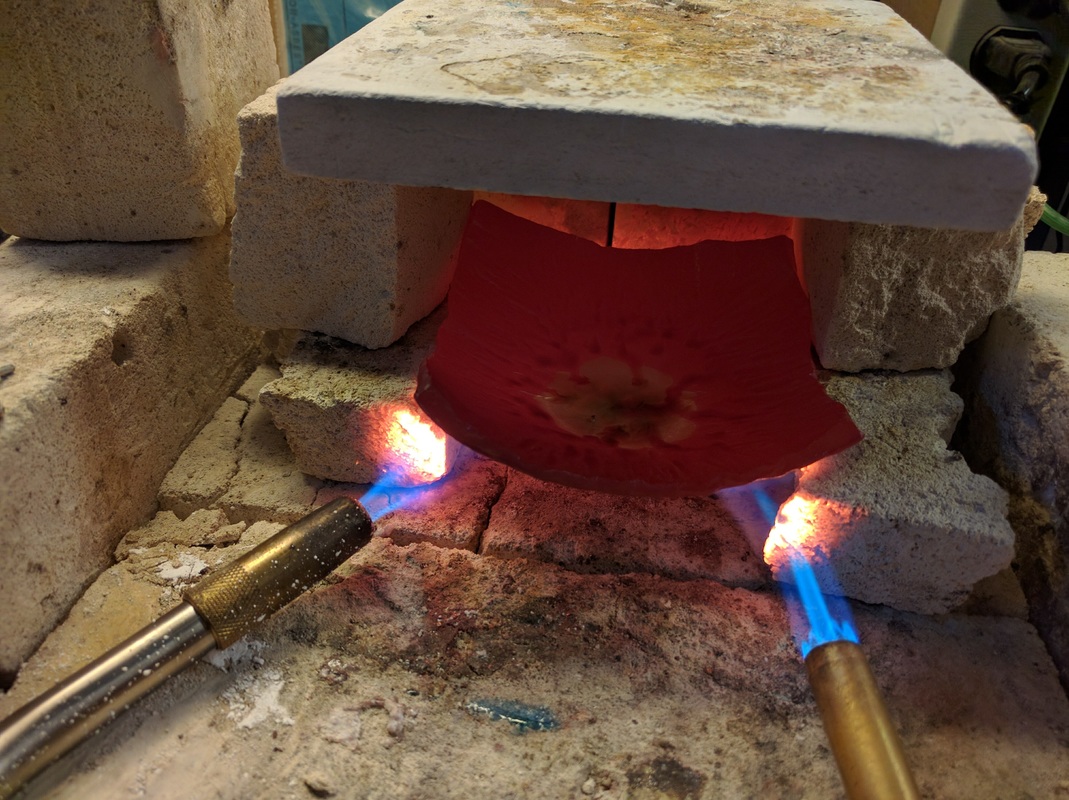
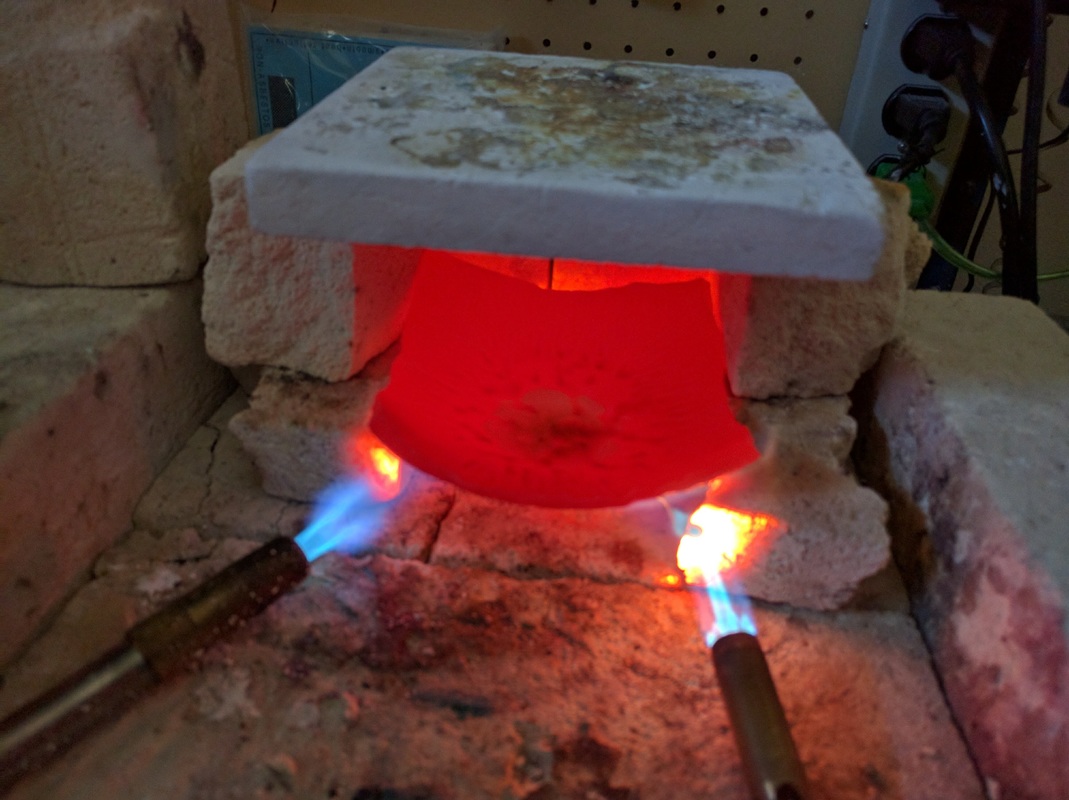
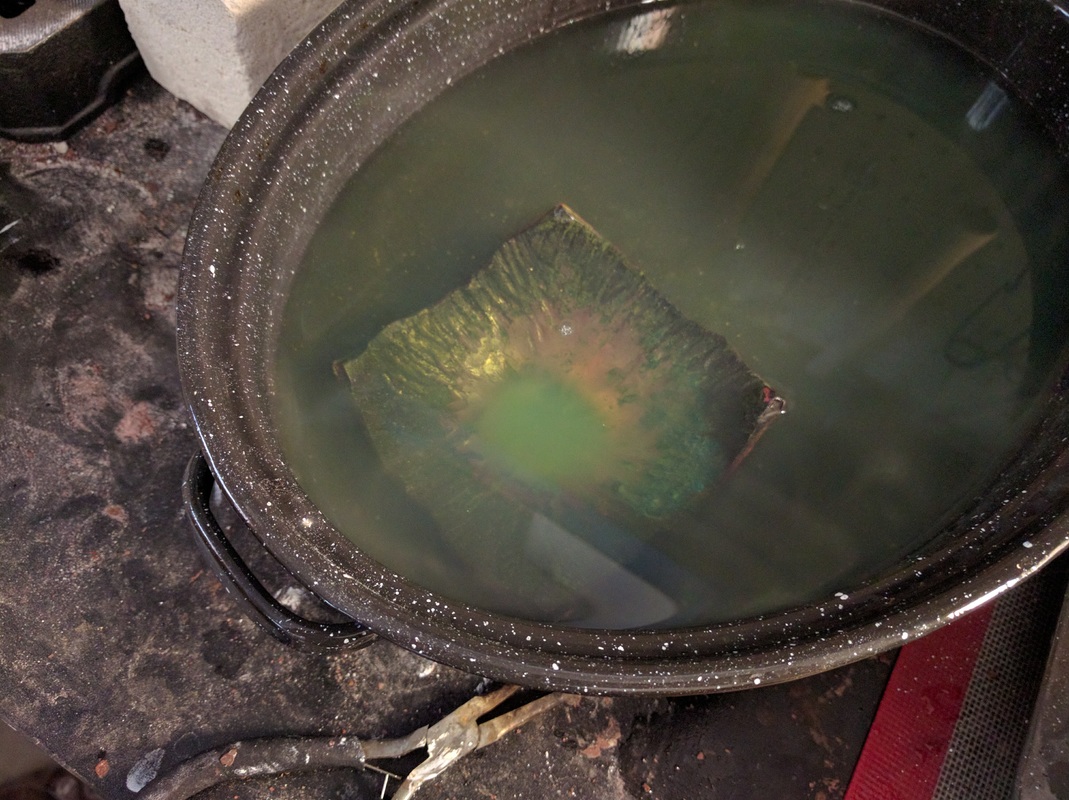
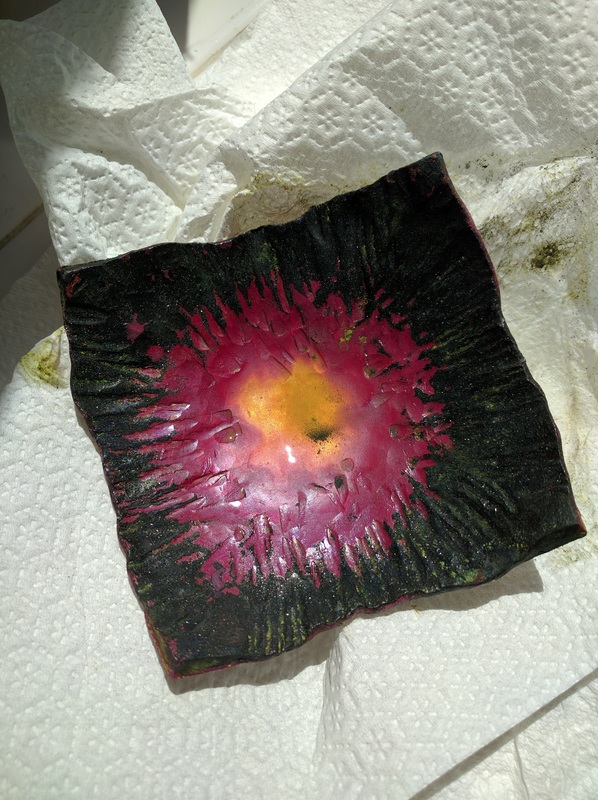
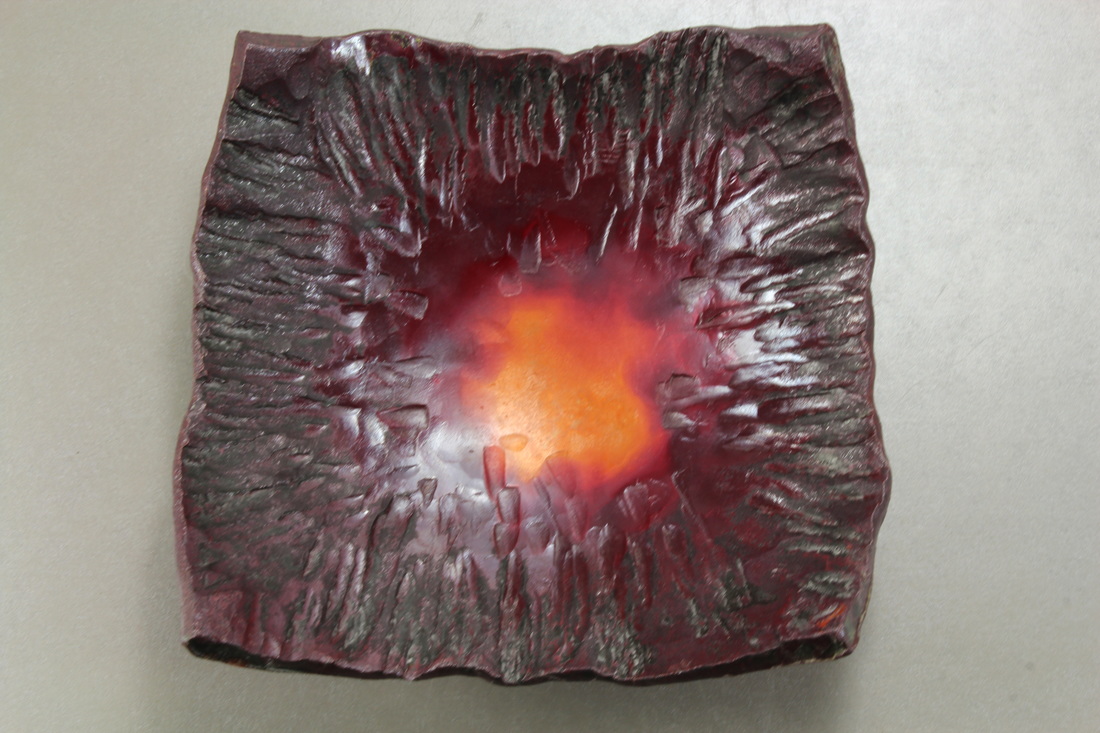
As a result of playing with the red oxide patina the past few weeks and having to make some presents for people, I thought that this past weekend was the perfect time to do so. I acquired some more copper sheet but it as only 1/8" thick, not the heavy 1/4" stuff. I forged and formed 3 dishes on Saturday and on Sunday I again, flamed on!   Here is a "music" (slide show) video of it all.
NOTE: click the arrows in the lower right corner and it will fill the screen.
0 Comments

They Said... or More Red Oxide Patina

9/14/2016

0 Comments

 
Most of what I have read, has said that you should NOT do the red oxide patina on pieces that have been soldered ...
Because all that heat will cause the joints to un-solder. 

Do I listen?
                  I think NOT


I was making a tool canister this weekend and I wanted to have the red oxide patina on it. Again, I blame Jan.  I really only had the solder joints for the top and bottom and the slip sleeve on the top. I figured that IF I used hard solder and was really really careful, I could work on getting said patina.  Remember,  I ONLY had 1 or 2 solder joints on each piece. I would gather that if you had LOTS of tiny little solder joints that could wiggle and move, this won't work - your milage may vary.

I made the canisters and after soldering on all three pieces, I trimmed off the excess brass, for the top and the bottom and put a steel brush texture on the outside of the canister.  Today during lunch, I setup the fire bricks and a pot of HOT borax water. I fluxed the outside really well and turned on the torch. I had to position the torch such that it did not flame out and kept my eyes on the solder. When I could see it flow, I backed the heat off a bit but I was able to get it really RED hot by keeping the heat on for a long time, using bricks to help hold in the heat and occasionally turning the piece. 

Here are the results. I am rather quite piece and what I was surprised to see what that the oxide started to form on the brass end pieces. Brass has some copper in it but I was not expecting the red oxide to appear with any great color. 

The first two pictures are before I waxed it.
0 Comments

Red Oxide Patina

9/11/2016

0 Comments

 
Back in 2012, I went up to Adams Forge for a late night fold forming session with hot forging and more. I made a few folded cups and then took on hot forging a 1/4" thick piece of copper.  I never did finish it, I wanted the edges more ruffly, but I was happy with what I did. ​
Picture
And it has been on my workbench ever since. I cleaned it at one point thinking I would put a fumed, Tiffany green patina on it but I never got around to doing that either, so it eventually just tarnished.

After last weekend's tool making workshop, with Jan, where we experimented with the HOT red oxide patina, I decided to do this technique on the forged copper (seen above).  Yesterday, I did a good cleaning and brought it to a bright copper finish (sorry but I did not get a picture of it). Then this morning I explained to the shop elf how it all worked and what I planned - not having a forge, acetylene or a big blast-O-3000 torch, I figured I would use TWO propane plumbers torches and set up a hot box so I could get the copper really, really, red hot. The shop elf also took many of the pictures while I held the torches and flamed on!

We first practiced on two smaller, thinner pieces of copper. Those pictures are next. 
 After the practice piece, I took an enameled metal pan and warmed my water and added a handful of borax and moved it to my soldering station in the garage. I then setup my fire bricks to support and surround the forged piece, I fluxed it really well and lit those torches up.  I estimate it took a good 10 minutes just to get everything hot, then we could see the flux based upon the timestamps on the pictures. Then I just kept pumping in the heat... and then we took the top of the hot box off, I handed the shop elf one of the torches and I picked up the tongs so I could pick up the copper and I dropped it into the water.  It bubbled and steamed and I walked away, allowing the piece to "cool" and to let the oxide develop.  

We went to have a cuppa coffee and wait. 

I pulled it out of the water a while later and could see some amazing effects. The edges were black and the center was a great gold with the red oxide in between. The black, you could see was a crust and there was more oxide underneath; with a soft scrubby and warm water, I was able to remove the crust.  There was red oxide on the out/back side too but it did not hold up as well, to the scrubby but that's ok, as the it is the inside that was important.   

Enjoy the process pictures. The final picture is of it waxed.. and under good lights with the good camera looking down at it and along the edge. ​
Picture
Picture
0 Comments

A Private Workshop

9/6/2016

0 Comments

 
Over the 3-day, Labor Day weekend, I was up in Arroyo Grande, California giving a private tool making workshop to Jan who makes metal sculptures and also does chasing & repousse.. Jan, I met via Facebook but we have never actually met until she attended the In-Saign workshop just a few weeks ago. It was during this workshop that Jan and I discussed a chasing & repousse tool making workshop, as she had never made any tools before; she had just seen demonstrations. It was after she went home, that we settled on having the workshop over Labor Day.

I arrived late Friday night so we could start Saturday morning, making tools.  We went over the basics and started her off making a tool and by lunch time Jan's first tool was completed. She was very excited to have accomplished this.  After lunch,  Jan completed a second tool as well. While Jan was working on her tools, I was working on a few for myself, all the while watching and instructing her. 

We finished up the tool making at around 4pm so we went for a walk with Sophie, Jan's dog and afterwards we played with learning how to get a red-oxide patina on copper which had been a topic we had discussed with Saign our awesome teacher, during the In-Saign workshop. 

On Sunday, day 2, Jan made THREE more tools and I made her a bonus tool too. As the day ended we took Sophie for another walk and just enjoyed the weather.

On Monday, day 3 or 2.5, I gave Jan as soldering lesson with the goal that we would make, together, a tool canister. Jan, being a metal artist knows how to braze and weld but not solder - go figure. We cut the canister bodies from pipe, the bases from sheet and then went for it and by lunch the can's were soldered and now she just has to trim the bases and clean them up. 

Here is a little side/movie of the days adventures.
0 Comments

    RSS Feed

    How to Aquire Your Own Shop Elf

    Archives

    October 2020
    August 2020
    March 2020
    December 2019
    November 2019
    October 2019
    September 2019
    August 2019
    July 2019
    June 2019
    May 2019
    March 2019
    February 2019
    January 2019
    December 2018
    November 2018
    October 2018
    September 2018
    August 2018
    July 2018
    May 2018
    April 2018
    February 2018
    January 2018
    November 2017
    October 2017
    September 2017
    July 2017
    June 2017
    May 2017
    April 2017
    March 2017
    February 2017
    January 2017
    December 2016
    November 2016
    October 2016
    September 2016
    August 2016
    July 2016
    June 2016
    May 2016
    April 2016
    March 2016
    February 2016
    January 2016
    December 2015
    November 2015
    October 2015
    September 2015
    August 2015
    July 2015
    June 2015
    May 2015
    April 2015
    March 2015
    February 2015
    January 2015
    December 2014
    November 2014
    October 2014
    September 2014
    August 2014
    July 2014
    June 2014
    May 2014
    April 2014
    March 2014
    February 2014
    January 2014
    December 2013
    November 2013
    October 2013
    September 2013
    August 2013
    July 2013
    June 2013
    May 2013
    April 2013
    March 2013
    February 2013
    January 2013
    December 2012
    November 2012
    October 2012
    September 2012
    August 2012
    July 2012
    June 2012
    May 2012
    April 2012
    March 2012
    February 2012
    January 2012
    November 2011
    August 2011
    July 2011
    June 2011
    May 2011
    April 2011
    March 2011
    February 2011
    January 2011
    December 2010
    November 2010

    Jan - Nov 2010 History
    File Size: 2272 kb
    File Type: pdf
    Download File

    Jan - Dec 2009 History
    File Size: 2332 kb
    File Type: pdf
    Download File

    Categories

    All
    42
    A Year Of Repousse
    Blacksmithing
    Blogoversary
    Box Project
    Business
    Chasing & Repousse
    Commission
    Education
    Embroidery
    Enamel
    Entries
    Entry
    Exhibition
    Facebook
    Filing
    Fold Forming
    Gold
    Holloware
    Hot Forging
    Hydraulic Press
    Jewelry
    Keum-boo
    Learning
    Leather
    Market
    Metal
    Patina
    Photography
    Polishing
    Publications
    Raising
    Sanding
    Santa Fe Symposium
    Shop Elf
    Sinking
    Social Media
    Soldering
    Store
    Studio Visits
    Superbowl Challenge
    Teaching
    Teapot Project
    Technique
    Temari
    Tin
    Tools
    Vessels
    Visiting Workshops
    Weaving
    Website
    Workshop
    Yubinuki

Powered by Create your own unique website with customizable templates.