Follow Me On:
The Adventurous Silversmith
  • Home
  • Blog
  • Portfolio
    • Metal Work >
      • Chasing & Repousse
      • Holloware
      • Jewelry
      • Other Wonderful Items
    • Fiber Arts >
      • Temari
      • Yubinuki
  • Resources
    • Library
    • Tools & Equipment
    • Links
  • About
    • Artist Statement
    • Curriculum Vitae
    • How it is Made
    • Contact

More Photography Learning

5/17/2016

0 Comments

 
Yesterday, I went back to the photography room and this time I set up the space to take pictures of two of my cuffs that I am entering into the San Diego County Fair. Taking pictures of my entries is not a requirement but since I have been making display stands for them, they seemed the perfect subjects for this weeks practice lesson. 

This week my goal was to use the macro lens and to
  1. take just a few pictures with the camera in auto mode; this is for comparison with those in manual mode.
  2. then use full manual to get familiar with the setting I needed to adjust to get a good picture. 
  3. and don't worry about using a light tent to prevent glare, reflection and shadow. 
  4. No use of RAW at this time. 
I took 22 pictures total and the first picture with the camera on auto actually came out rather nice. As you can see the depth of field is really short as gold on the blossom is in focus and the background just below it is out of focus. Here are the specs on this picture: Shutter Speed (Tv): 1/80; Aperture (Av): 2.8; ISO: 200; WB:Auto ​
Picture
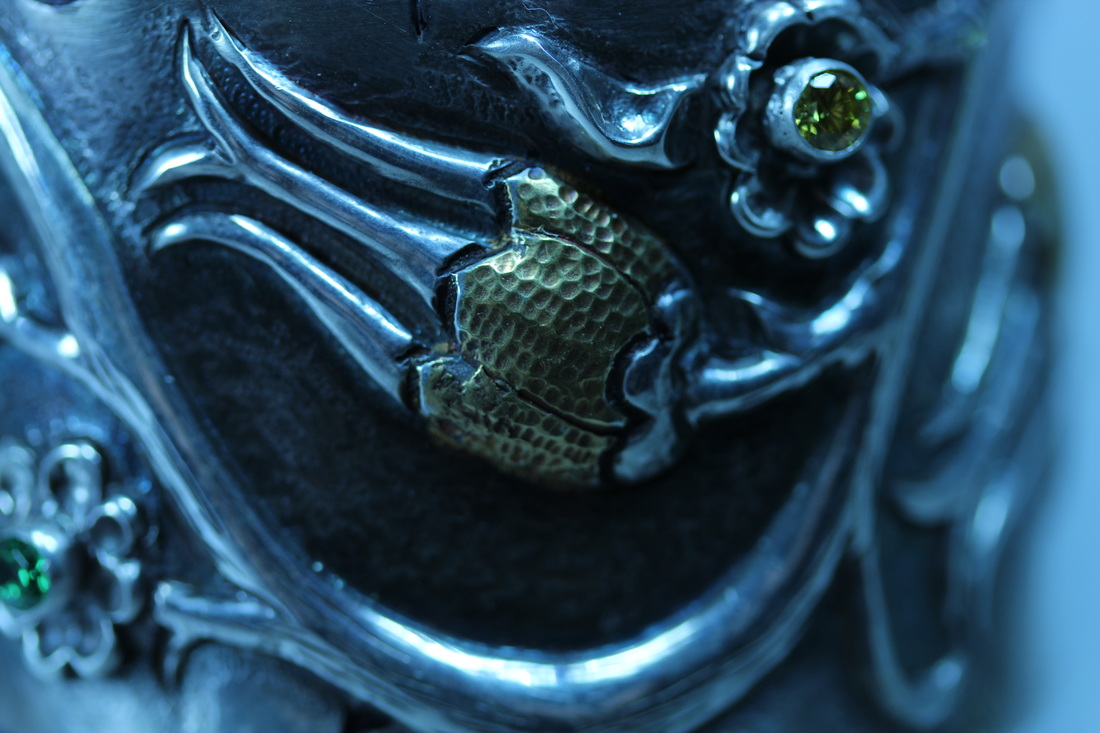
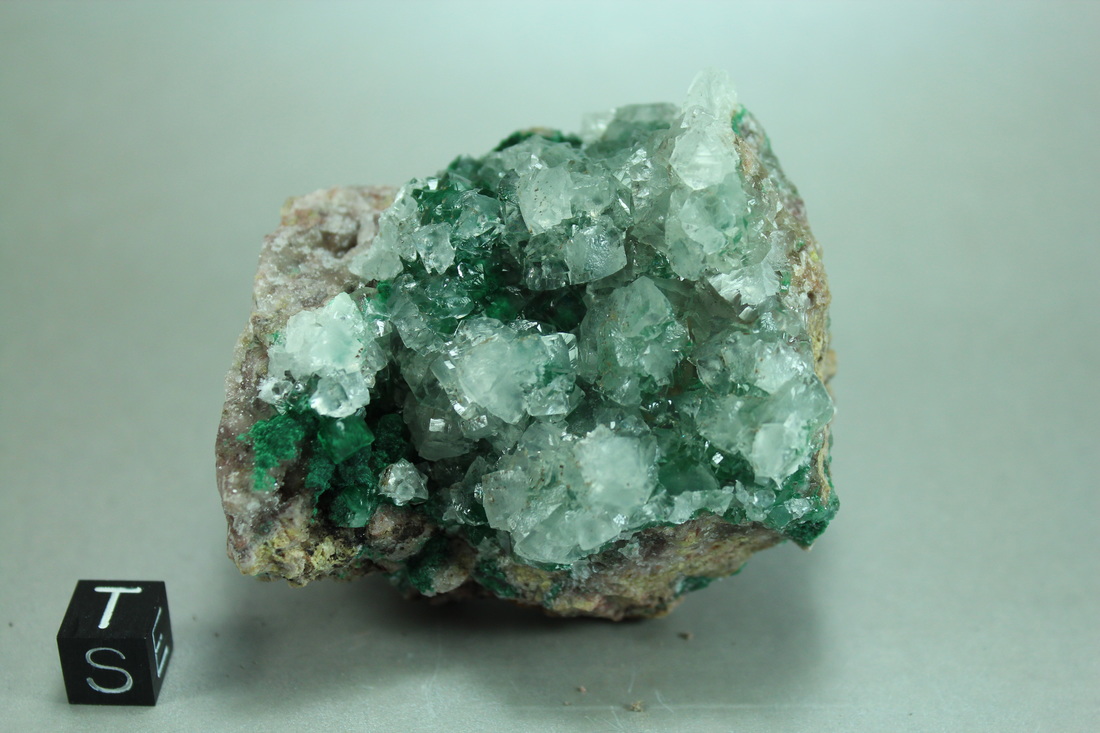
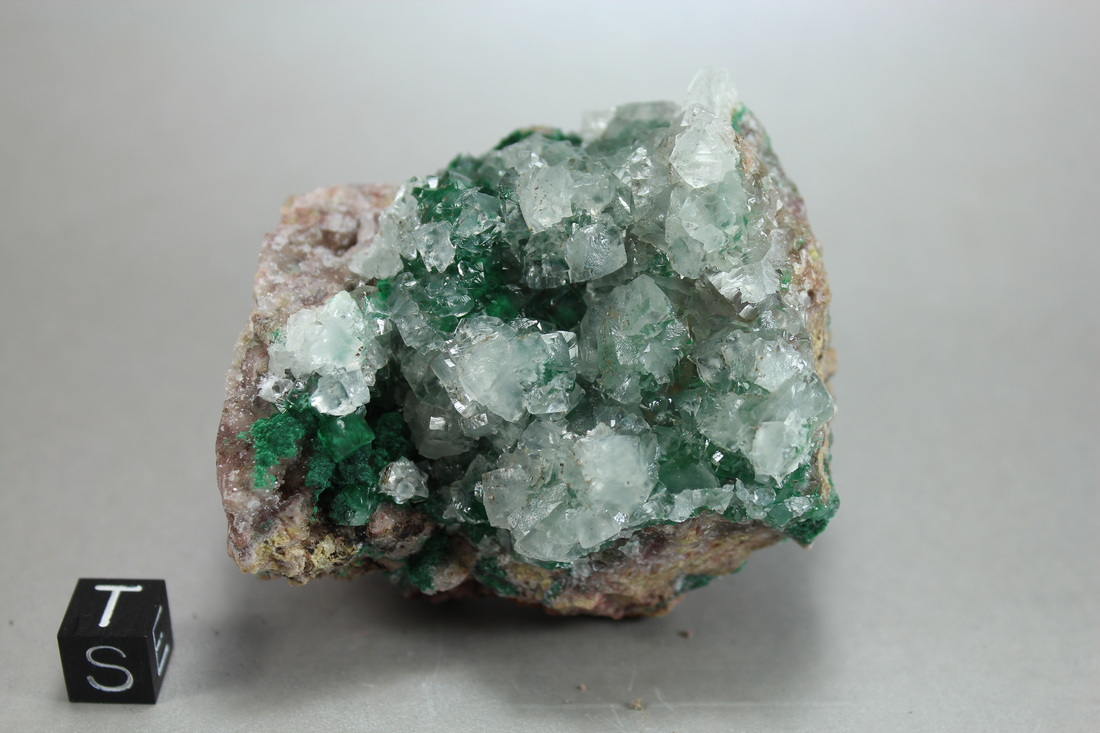
The next picture is MANUAL MODE.  YES, it is blue because the white balance was off and it is a bit dark; I adjusted that later. The spec's for this picture are: Tv: 1/125; Av: 2.8; ISO: 100; WB: Custom. 
Picture
I then adjusted the cuff but left all the settings the same.
Picture
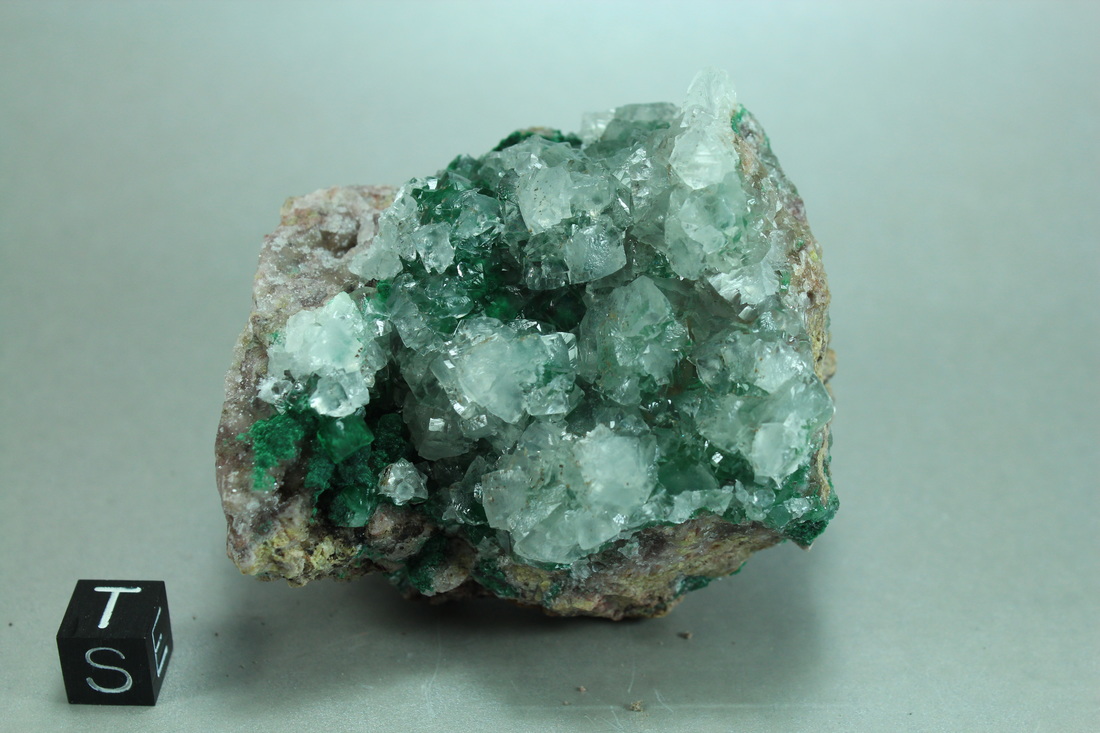
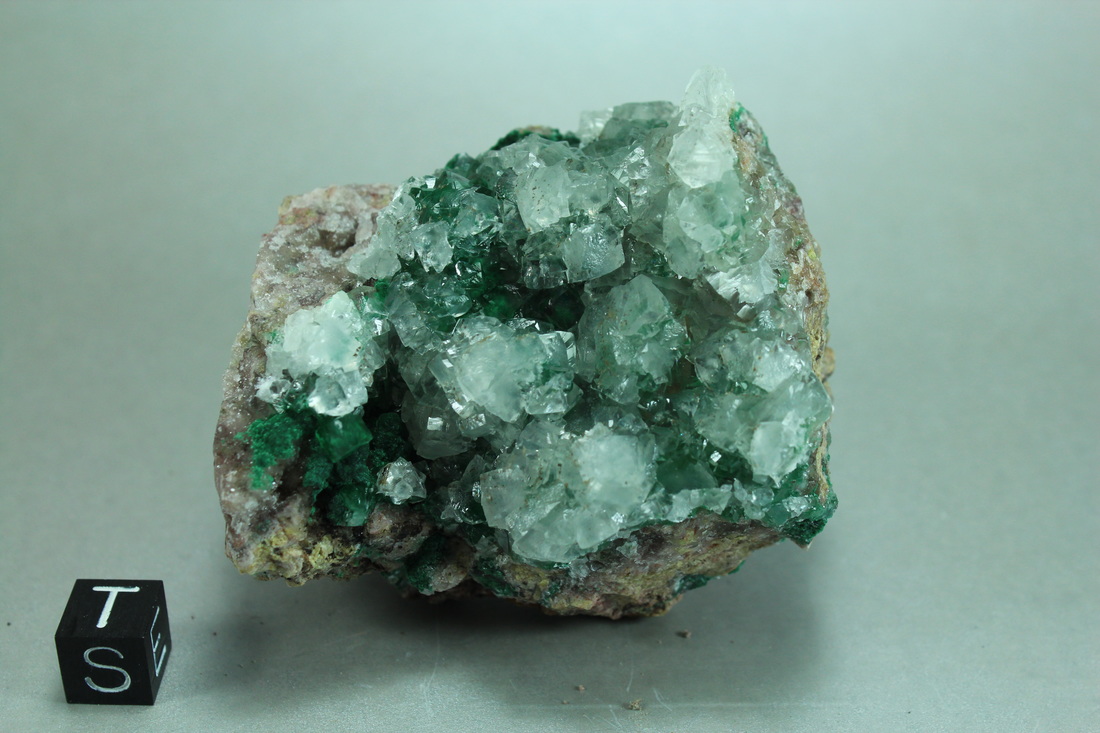
Here I changed the White Balance: Auto and left the other settings alone. You can see how the color is much better. 
Picture
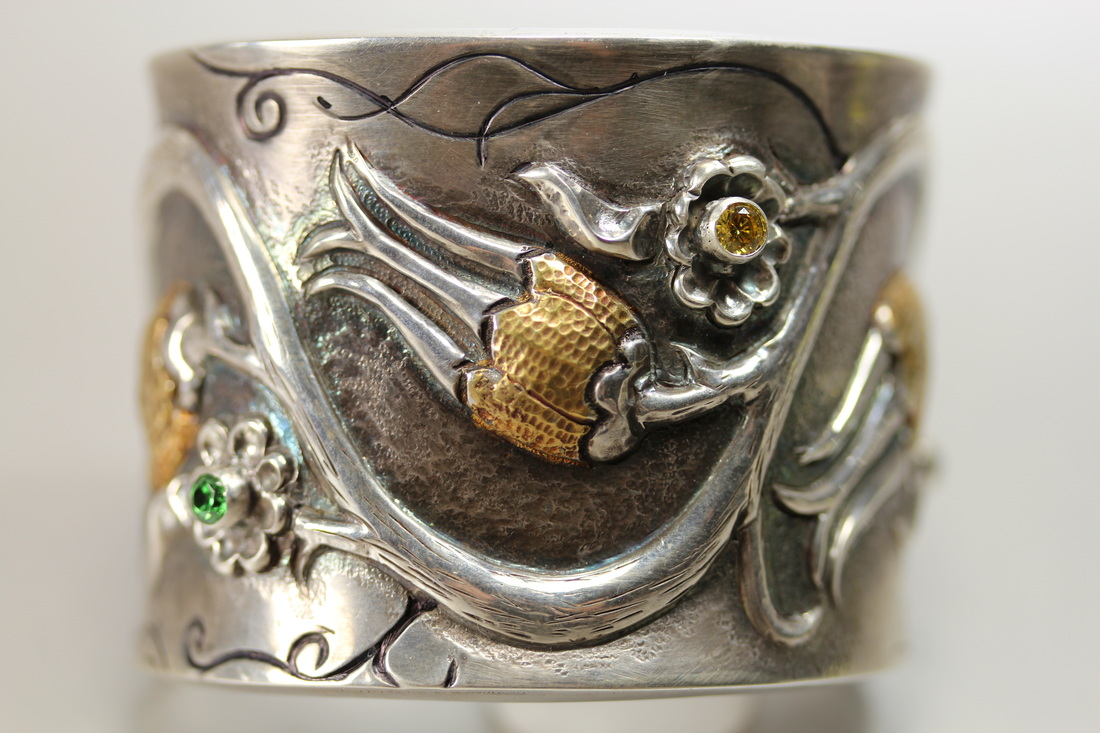
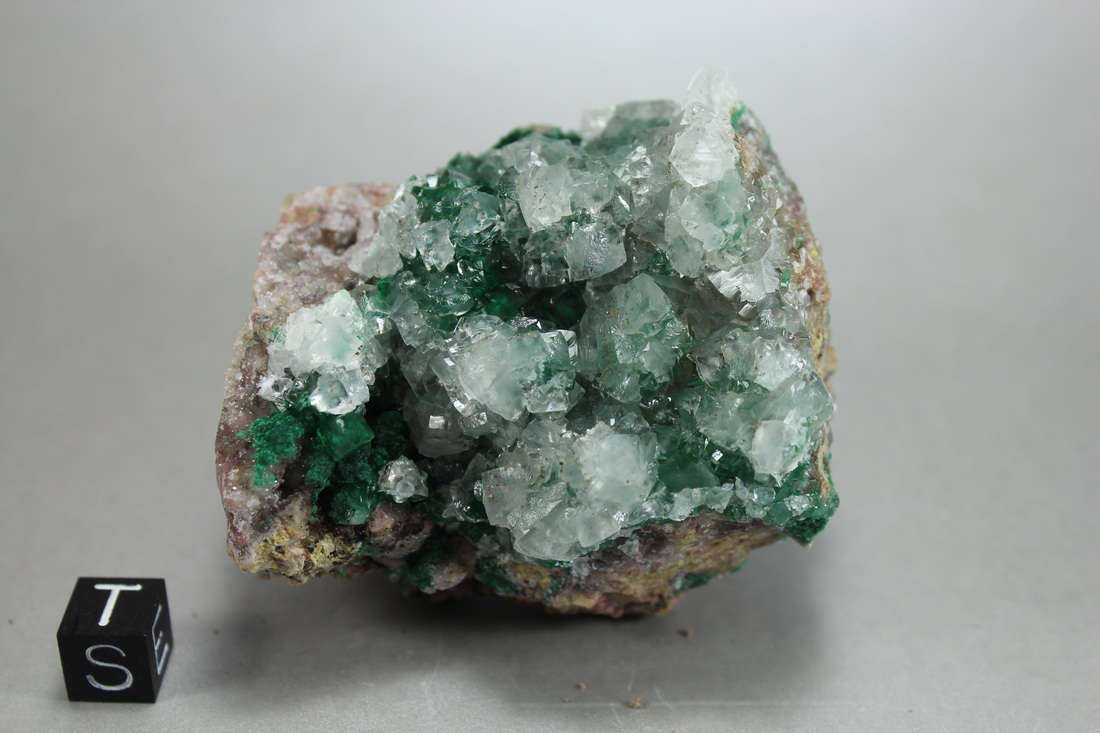
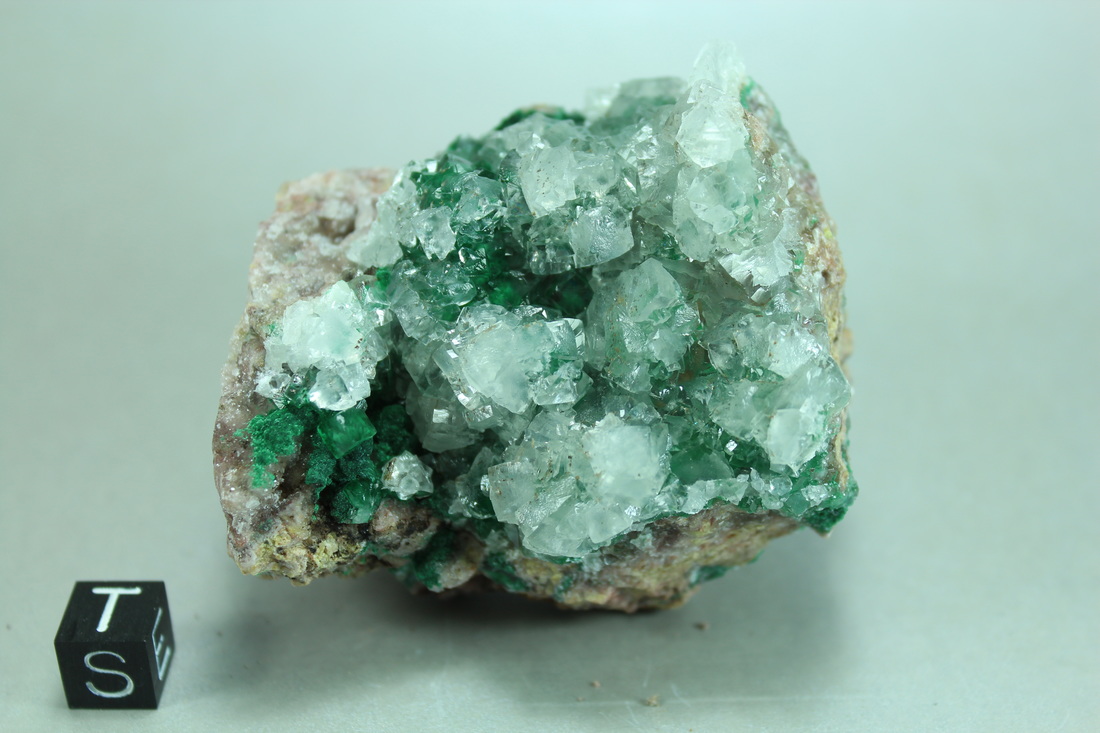
The camera has the ability to "set" a custom white balance based upon a picture you take of a white piece of paper under the lights you are using. Then it reads the picture and it adjusts how colors are read when you take a picture.  Here is the next picture I took with the correct custom white balance. Compared to the image above, I think the cuff actually looks more silver. 
Picture
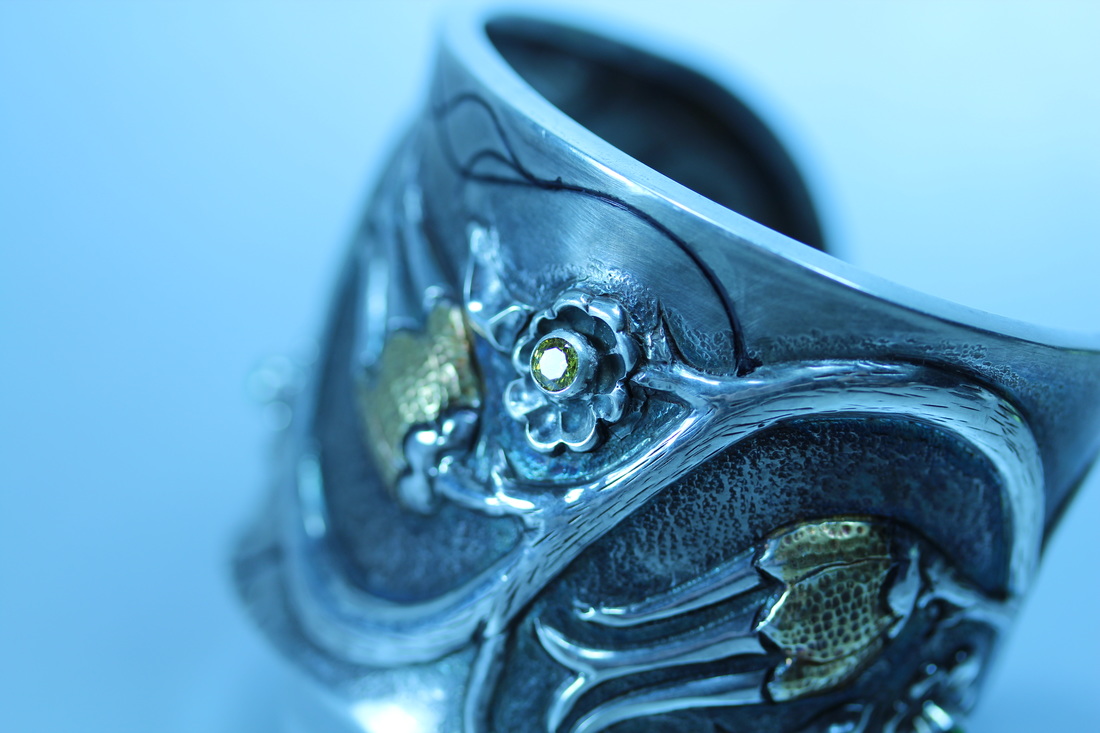
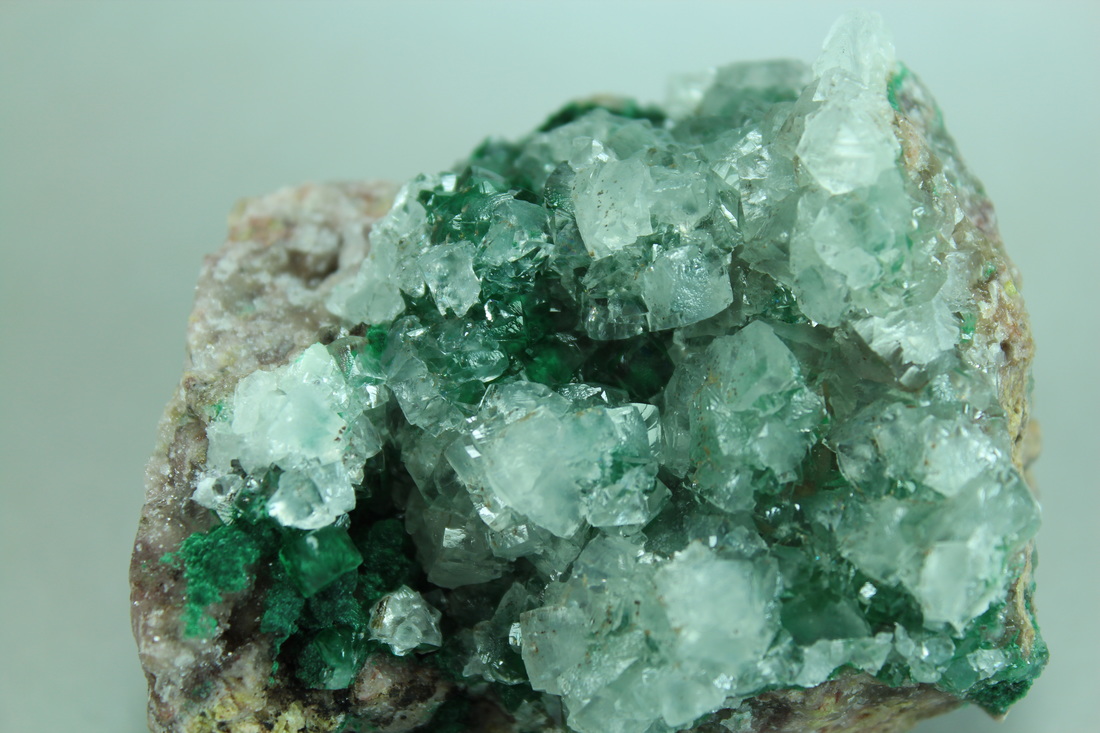
Next I repositioned the cuff to get a full shot of it. As you can see the depth of field is still a bit off since the edges of the cuff are out of focus.  But at this point I switched out the Squash Blossom for the Tenacious Tentacle. 
Picture
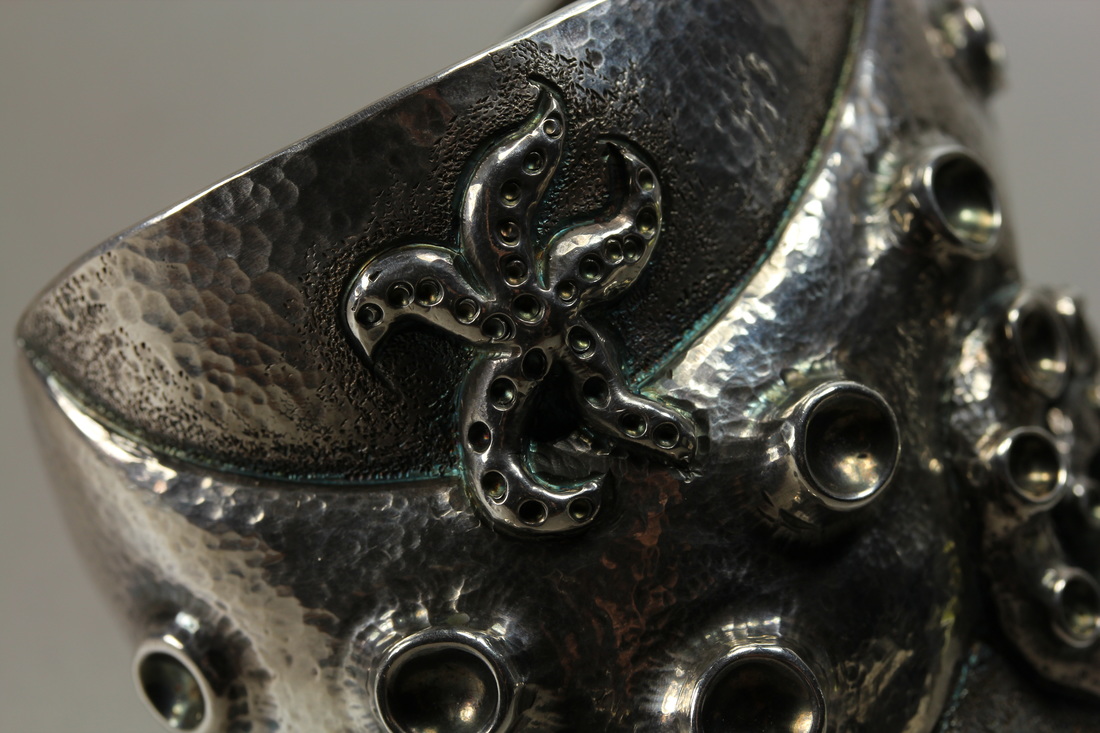
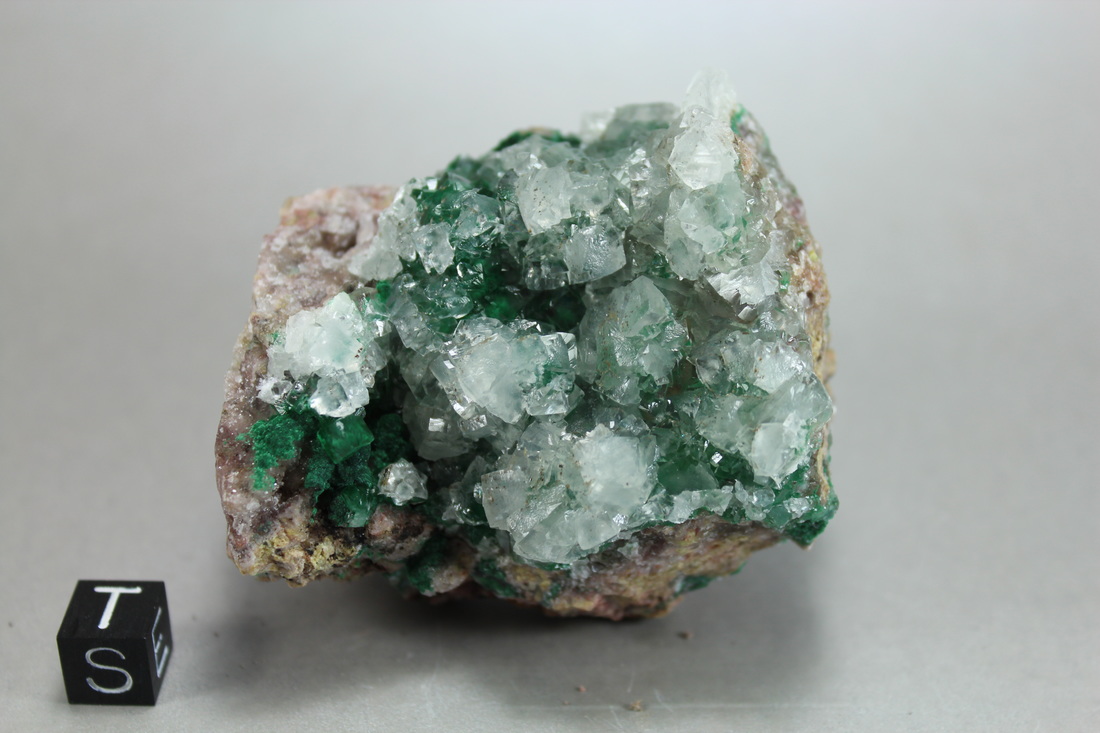
This is one of the images I took of the cuff. The settings are a bit different.  Tv:1/30; Av: 8.0; ISO:100; WB: Custom. The image is a bit dark so to correct this I can lower the shutter speed to allow more light in OR I can increase the ISO which is what I did. 
Picture
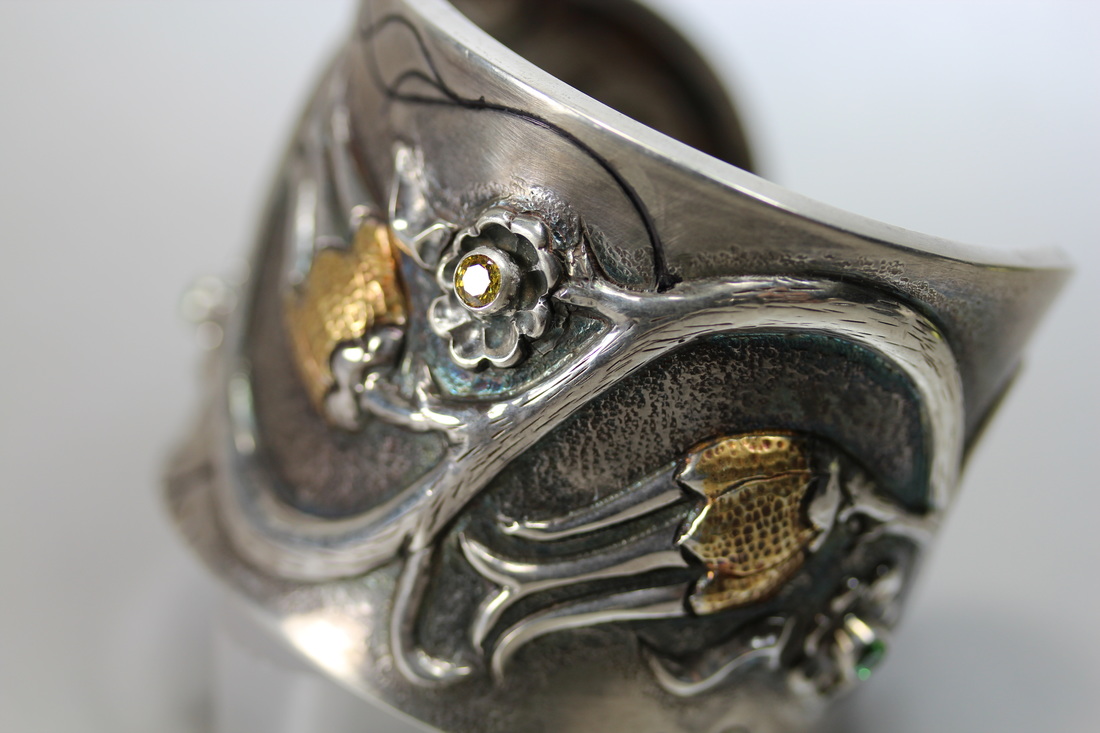
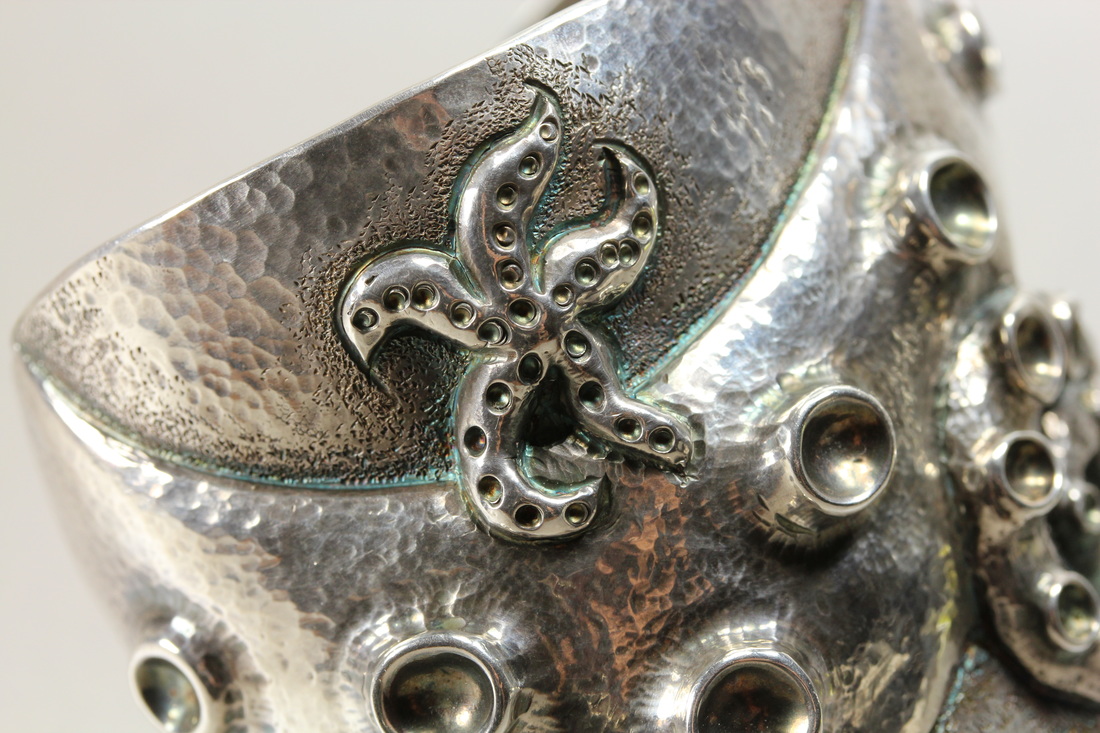
After two more pictures, I had the ISO at 400 and this is the result. The image is NOT dark, the color looks good and you can even see the patina!
Picture
At this point I was done for the morning. I really saw and learned how to adjust the camera to get better pictures. Next I need to play with depth of field, reducing reflection and shadow.   Overall I would say I leveled up!
0 Comments

It's Camera Time!

5/10/2016

2 Comments

 
My "new" camera arrived this week from B&H Photo in NYC. This place is like a crack store - there is so much tech it makes me giddy. I bought a Canon EOS Rebel T3i 600D body with the 18-55 IS kit lens and an add on macro lens that is f/2.8 60mm.

I say "new" as it is new to me and only the macro lens is new. I also bought a second battery, body lens cover, rear lens cover for the kit lens, tether for the lens cover on the macro lens, camera bag, a remote shutter release, and 64 G SDxC card for high speed access since I will be shooting not only JPEG but RAW. I had to buy some of these items because they did not come with the camera because it was used.

Saturday I spent most of the day setting up my Macintosh to work with the Canon RAW image files (CR2). I have Adobe CS3 on my Mac and have no plans to upgrade it to the Adobe Creative Cloud subscription service but the issue is that the CR2 raw plug in that works with Adobe Bridge or Lightroom does not work with what I have. Damn!

Thus I found the Adobe Digital Negative (DNG) converter which will convert from CR2 to Adobe Raw but I loose some of the metadata. Finding and sorting this out took at least an hour and trust me I am a master Googler; it was just hard to find on the Adobe site . There is Canon software and again, because this is a used camera, the DVD was not included so I next went off to find that software and the firmware update. Two hours later the firmware was updated as was the other software which included:
  1. the utility program to update the firmware and will import images right off the camera;
  2. the Photo Pro 4 software which is for working with the raw files - like Adobe Bridge/Lightroom;
  3. the Image Stitcher software for making a panoramic image from many photos which I may uninstall;
  4. the Video Encoder which I will need for future video tutorials;
  5. the Picture Style Editor which is for those pro's who process images and have to do color corrections and and allows you to save the styles for reuse. This I may uninstall too;
  6. and lastly The Image Browser EX which is kinda like the Photo Pro software but is geared toward those who shoot mostly JPG and it will edit movies. I will probably uninstall this too since I have Photoshop and iMovie
Sunday morning I was awake at 6:30 am, why? oh why!!, I went into the room where we not only have our weight training setup but a table for photography, and turn on the lights so they could warm up. I then picked a nice mineral specimen to use as my subject while I played with the f-stop, ISO, speed and other shooting modes on the camera. I now know how to change the ISO/f-stop/Speed and the white balance, color corrections and a few other things. I still don't know A LOT but that will happen with time.

Here they are with the settings I used, no other after processing touch up. The titles are as follows: the Camera Mode: ISO, f-stop, shutter speed. Yes, the mineral is Malachite with Druzy Quartz. The background is a pale gray.
Don't forget to click on an image to open it so you can see more detail.
2 Comments

Photog!

4/17/2016

0 Comments

 
Today I am off to not only have dinner with friends but to get a photography "lesson" from William James Warren an amazing professional photographer.  William, in my opinion has been a witness to many historical events and his pictures are well worth a good long look. 

How did I meet William? I have been fortunate to have met him and become a friend through another recent friend (recent being 2 years) Ms. Lisa T, the awesome DBA who made me not hate working in Oracle. Note: I still don't love Oracle but we have come to an understanding; a mutual appreciation that we can both live with.  After having dinner together several times over the past year, we connected via Facebook and started to trade puns and quips.  

Recently having dinner and run 
away conversation which went late into the night, I asked about my photography as it relates to my metal work. William commented how he "liked" my in-process picture and how they had a naivety to them. Well of course they do; they are taken on the fly while I am working and to be accurate, they are taken on my desk, on the fly with no composition; no fancy lighting or other setup. It is just there on my wood Ikea desk with the computer keyboard or mouse in the background or on my workbench with all the tools and other detritus of the craft.  The real issue is the "good" photographs I attempt to take of the finished pieces.  These, I know I need help with so the proposal was made by me that we have dinner and I buy and in trade I get some pointers on how to take better pictures.  Today is that day.   

I have in preparation put into the car my camera, mini tripod,lights, and tent in addition to some of my cuffs and mineral specimens. I depart at 2:00 pm. 

Here are two pictures - one of my messy bench and the other is from another metalsmith/jeweler (taken from his FB post without his permission).  I think you can see I have a long way to go to be "messy".
​
Picture
Workbench of The Adventurous Silversmith
Picture
Workbench of a professional jeweler
0 Comments

You have to stay on top of these things

12/12/2010

 
I have spent most of today catching up on photographing my work. I find that I take pictures as I work but I don't take "good" pictures when I am done. 
What do I consider a good picture?

1) High Resolution: Preferably in Camera Raw so it can be cleaned up later but you have all the data to begin with.

2) In my mini-photobooth: So I have a consistant color background in all my good pictures.

3) Using indirect but natural light: The indirect light cuts down on reflection points that are too bright and the "outdoor" natural light bulbs give the right temperature so the picture is not yellow or blue which would then have to be adjusted for later.

4) Minimal shadows: I use 4 lights to help cover the entire piece.

5) Take the pictures in a dark room: This is so no other light can impact the colors, shadows, and bright spots of the picture.

Once I have several pictures in raw format, I bring the images onto my computer and open them up in Adobe Bridge. Next I decide which pictures are the best to keep, deleting the ones I don't like. Then I save them as digital negatives with the raw information embedded in the file, I don't make any adjustments at this time.  Once this is done, then I can work with the file to bring down the over exposed areas and bring up those areas that are over exposed. IF everything is set up correctly, I should not have do any tweaking of the image. In today's batch, I did not make any adjustments so a big yipeee for me.

From the digital negative, I then open the image in Photoshop, crop the image, if required. At this point I would save the image as a high quality tiff file (jpg's can reduce the quality every time you open and then re-save the file) and I save a jpg just for posting; but now I add a copyright at the lower left corner and then do my saving. Once this is done, I also print out a picture to add to my photo album slash portfolio. You never know when you might be asked to show your work!

I am not happy with many of the pictures i have in my portfolio or have posted here on the website and redoing them is a big task. As a result, today I decided to just work on two items - start with just a few and then the task is not so over whelming. I am hoping to redo at least one per night when I get home from work. 

Yet, some pictures I can't redo because I no longer have them, they were either sold or they were presents - which is why you have to stay on top of this; at least take the pictures, they can be worked with at another time but taking them before they leave your hot little hands is a must (yeah, lets see how long that lasts!)

Then along with posting new pictures here on the website, I shall also be rearranging the layout on a few pages, adding "my banner" in my chosen font (more Photoshop work), and posting a few more items for sale. 

KEEP YOUR EYES OPEN FOR CHANGES!

    RSS Feed

    How to Aquire Your Own Shop Elf

    Archives

    October 2020
    August 2020
    March 2020
    December 2019
    November 2019
    October 2019
    September 2019
    August 2019
    July 2019
    June 2019
    May 2019
    March 2019
    February 2019
    January 2019
    December 2018
    November 2018
    October 2018
    September 2018
    August 2018
    July 2018
    May 2018
    April 2018
    February 2018
    January 2018
    November 2017
    October 2017
    September 2017
    July 2017
    June 2017
    May 2017
    April 2017
    March 2017
    February 2017
    January 2017
    December 2016
    November 2016
    October 2016
    September 2016
    August 2016
    July 2016
    June 2016
    May 2016
    April 2016
    March 2016
    February 2016
    January 2016
    December 2015
    November 2015
    October 2015
    September 2015
    August 2015
    July 2015
    June 2015
    May 2015
    April 2015
    March 2015
    February 2015
    January 2015
    December 2014
    November 2014
    October 2014
    September 2014
    August 2014
    July 2014
    June 2014
    May 2014
    April 2014
    March 2014
    February 2014
    January 2014
    December 2013
    November 2013
    October 2013
    September 2013
    August 2013
    July 2013
    June 2013
    May 2013
    April 2013
    March 2013
    February 2013
    January 2013
    December 2012
    November 2012
    October 2012
    September 2012
    August 2012
    July 2012
    June 2012
    May 2012
    April 2012
    March 2012
    February 2012
    January 2012
    November 2011
    August 2011
    July 2011
    June 2011
    May 2011
    April 2011
    March 2011
    February 2011
    January 2011
    December 2010
    November 2010

    Jan - Nov 2010 History
    File Size: 2272 kb
    File Type: pdf
    Download File

    Jan - Dec 2009 History
    File Size: 2332 kb
    File Type: pdf
    Download File

    Categories

    All
    42
    A Year Of Repousse
    Blacksmithing
    Blogoversary
    Box Project
    Business
    Chasing & Repousse
    Commission
    Education
    Embroidery
    Enamel
    Entries
    Entry
    Exhibition
    Facebook
    Filing
    Fold Forming
    Gold
    Holloware
    Hot Forging
    Hydraulic Press
    Jewelry
    Keum-boo
    Learning
    Leather
    Market
    Metal
    Patina
    Photography
    Polishing
    Publications
    Raising
    Sanding
    Santa Fe Symposium
    Shop Elf
    Sinking
    Social Media
    Soldering
    Store
    Studio Visits
    Superbowl Challenge
    Teaching
    Teapot Project
    Technique
    Temari
    Tin
    Tools
    Vessels
    Visiting Workshops
    Weaving
    Website
    Workshop
    Yubinuki

Powered by Create your own unique website with customizable templates.