
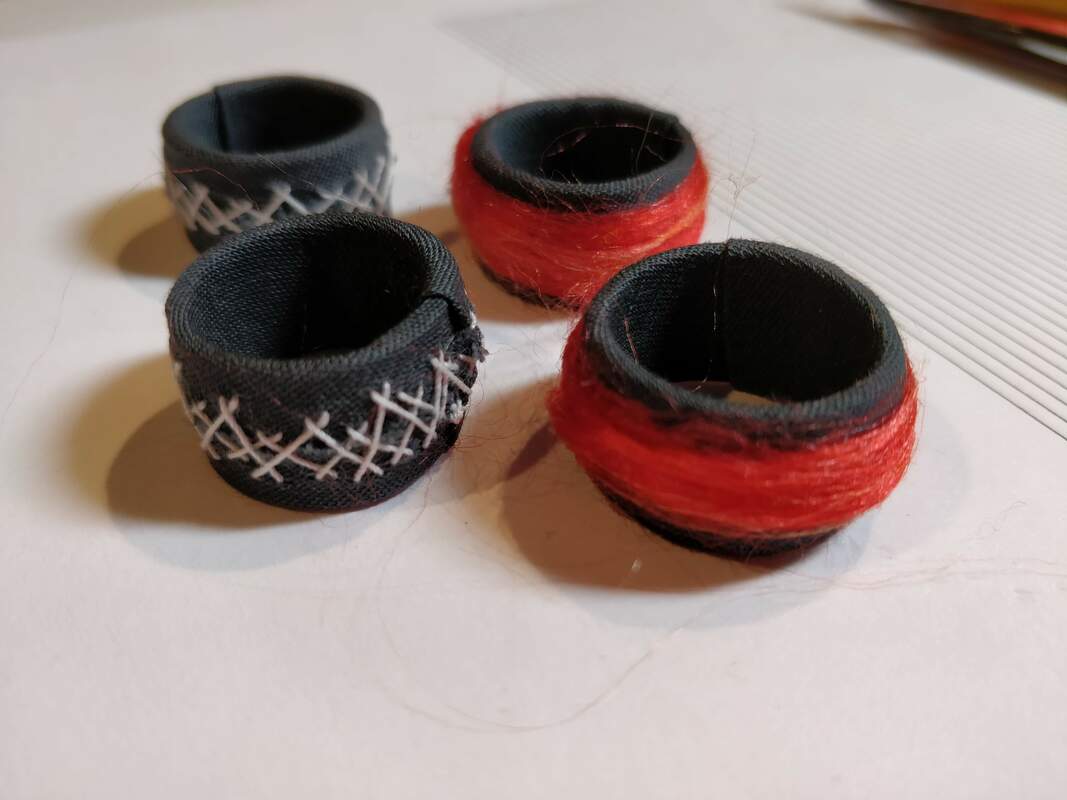
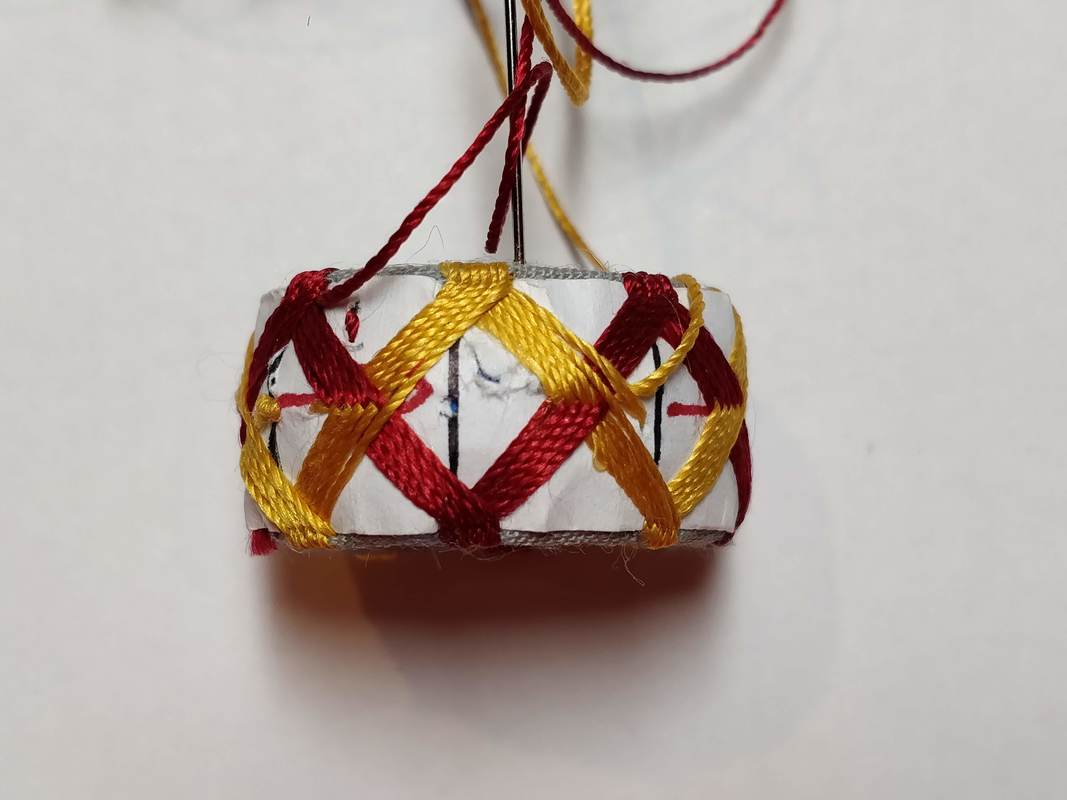
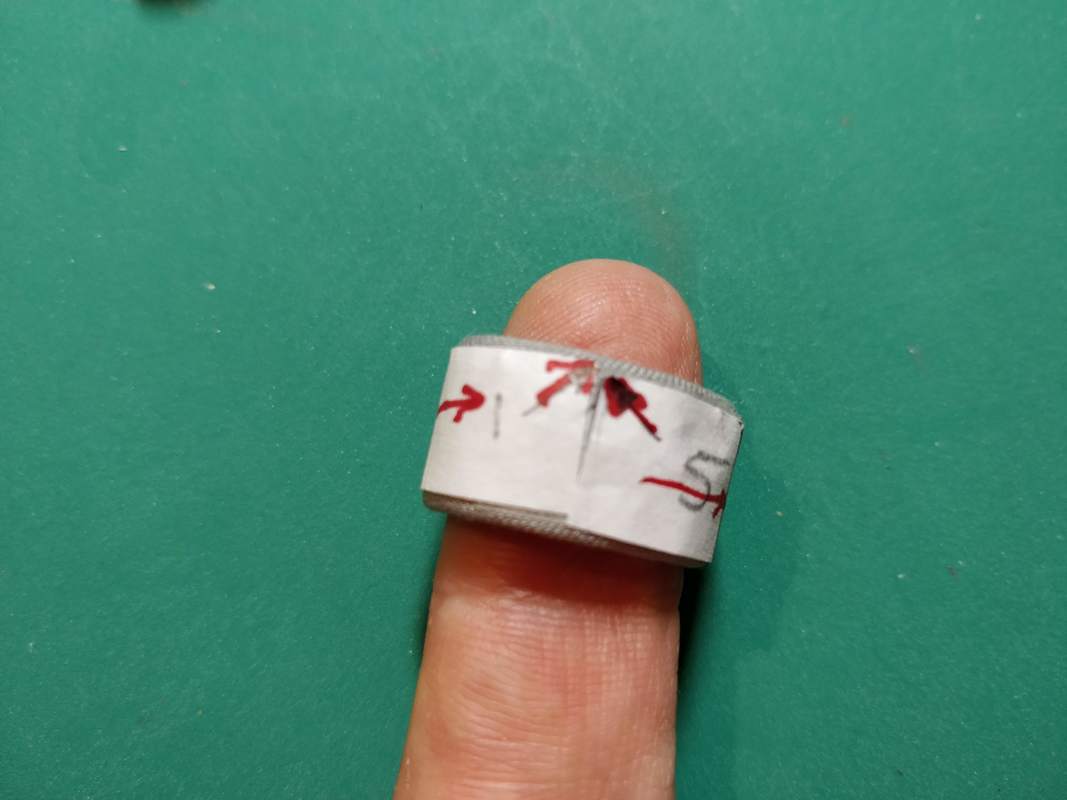
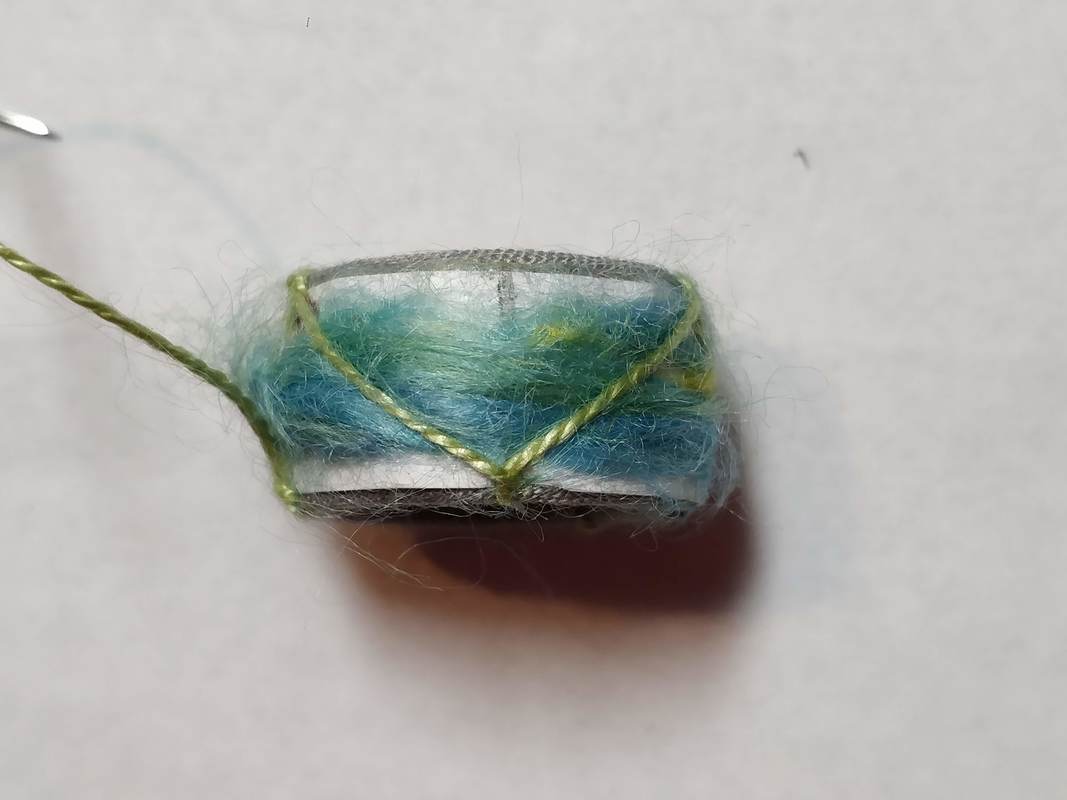
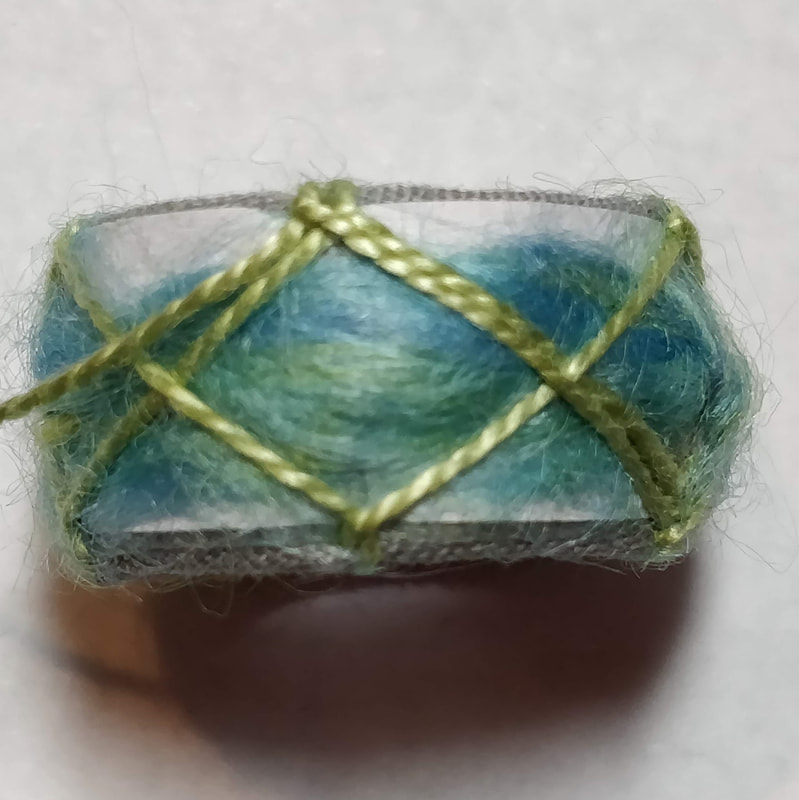
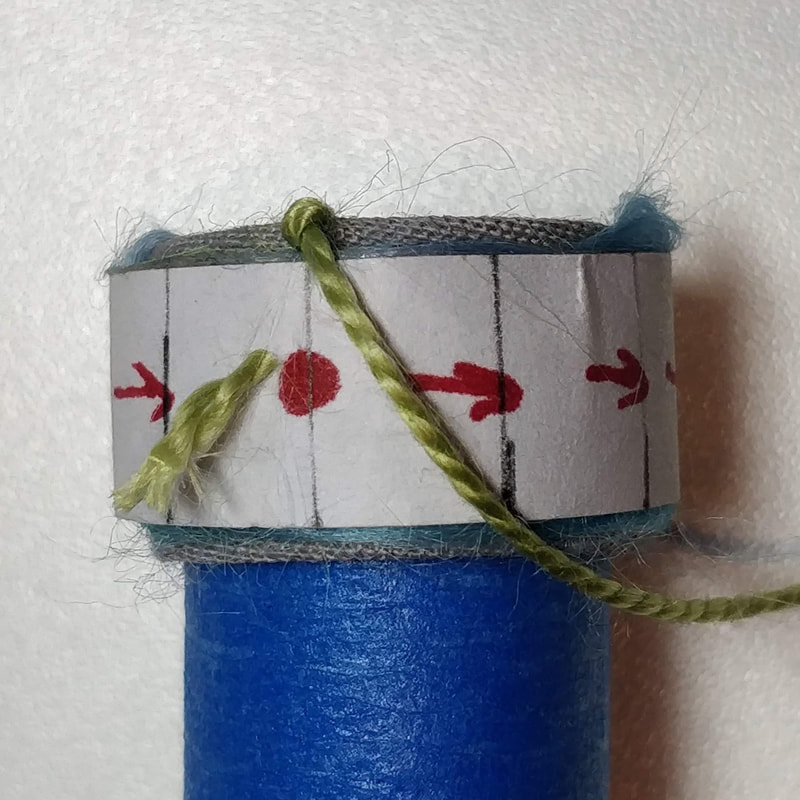
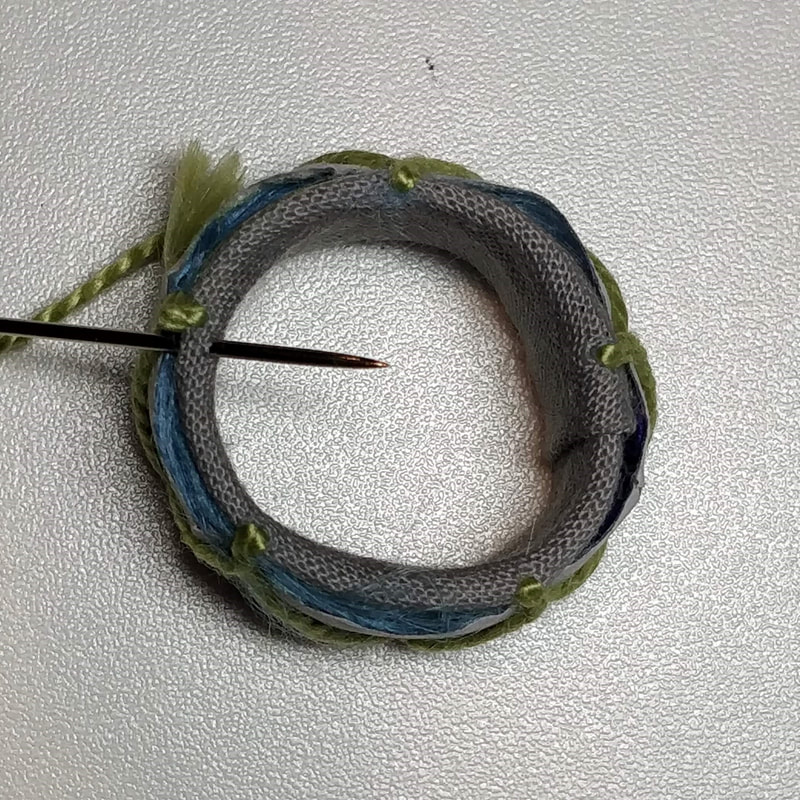
It has taken almost a month but I have finally finished sewing this patter FOUR times with various sizes of cotton.
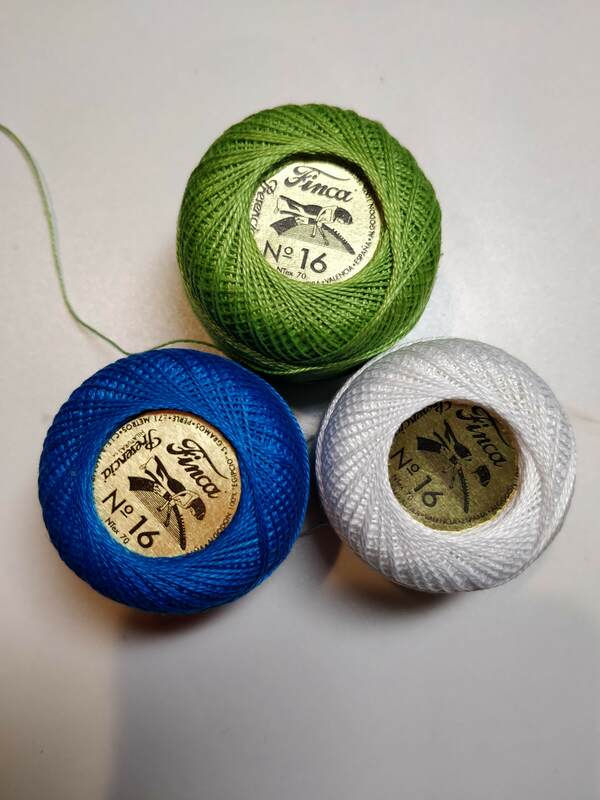
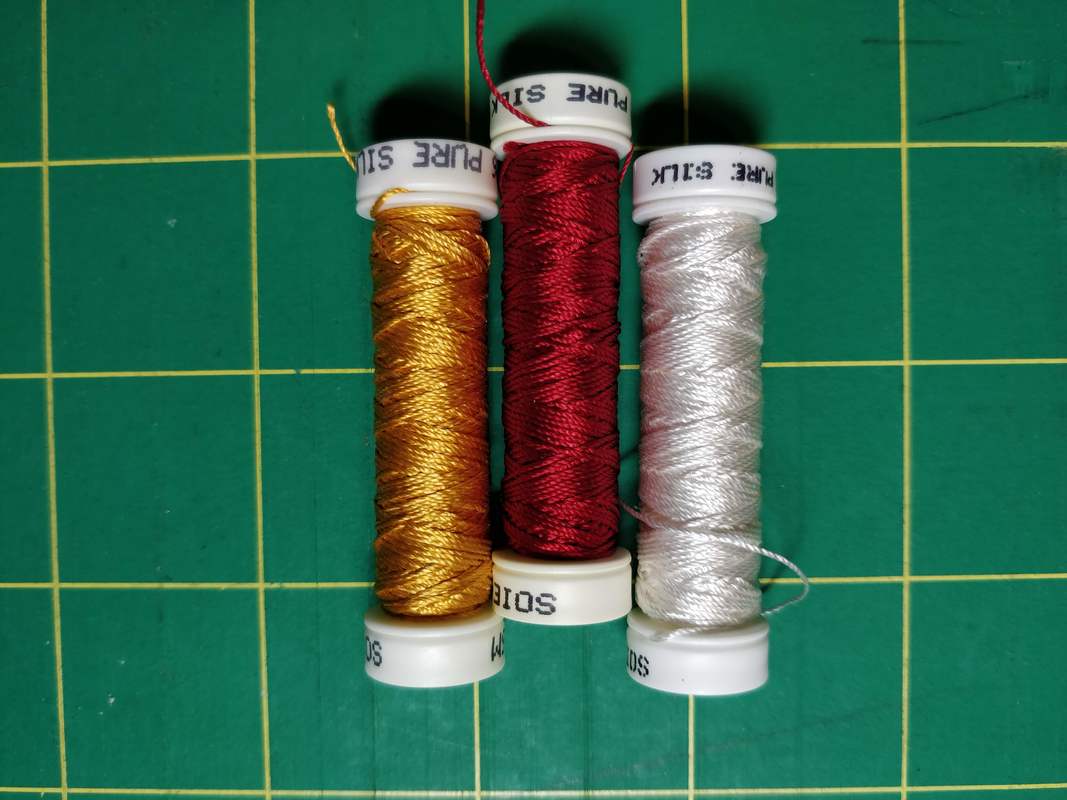
I purchased 4 different sizes of cotton (8, 10, 16, and 80) and technically the same three colors - Blue, Green, and White. I did this not only to evaluate the threads: what is was like to sew with them and how did they look different or the same when completed. And as in the prior post I made bases all the same size.
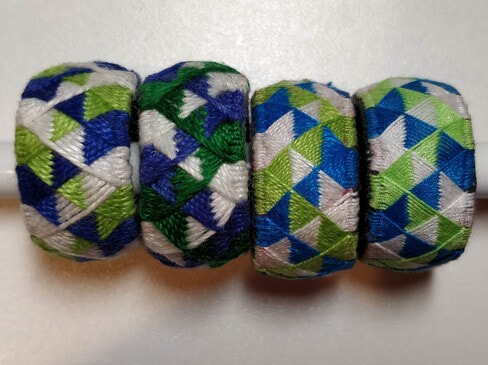
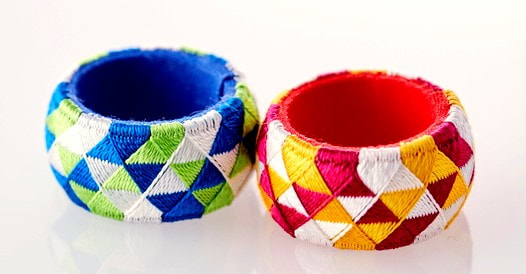
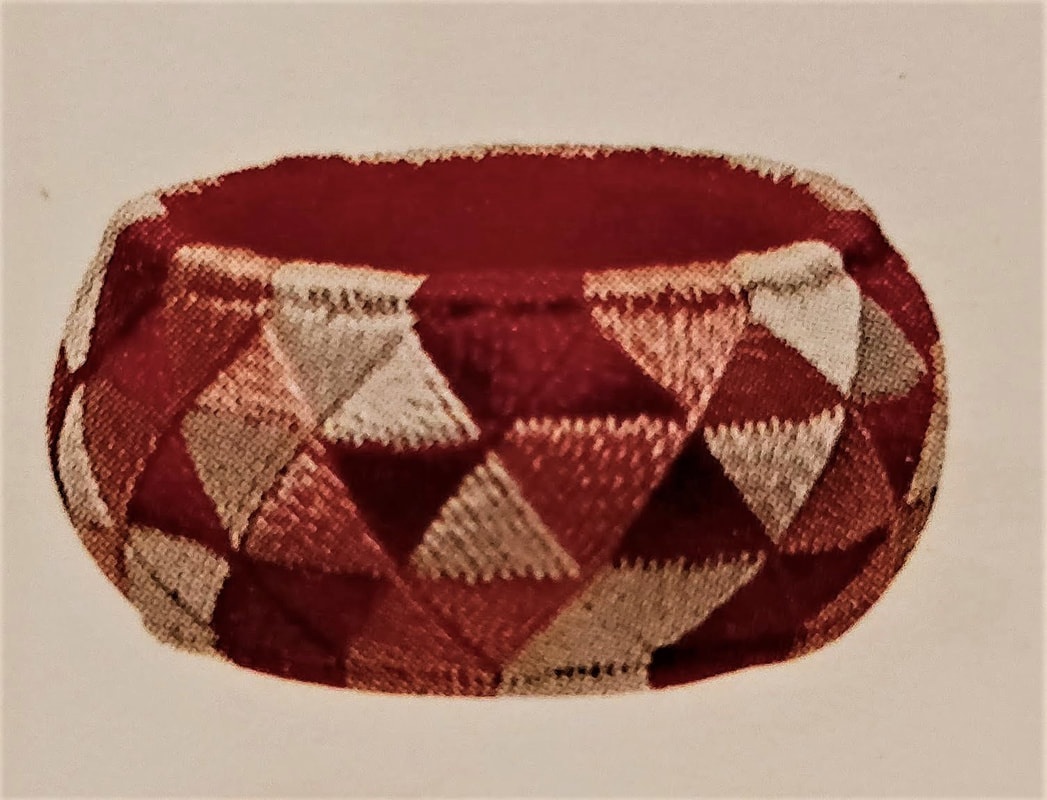
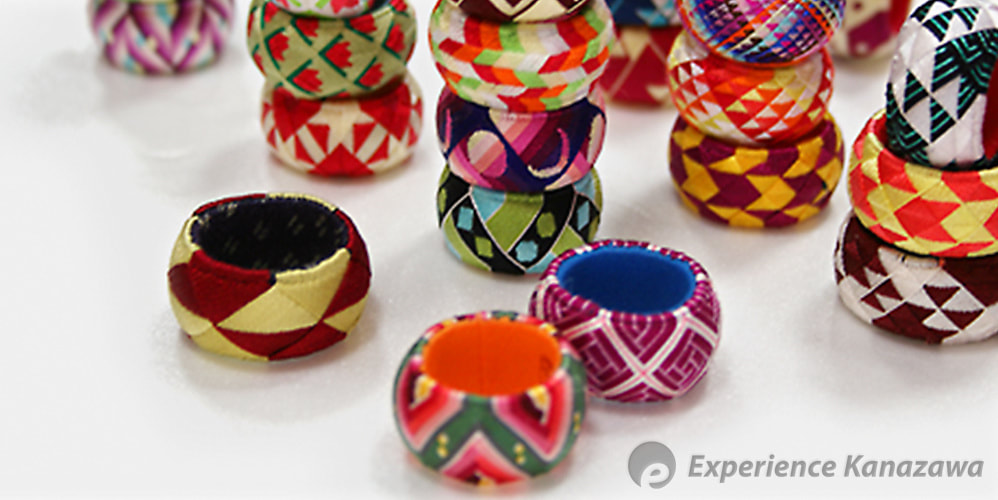
The very last picture show all the Yubinuki size by size so you can really see how the threads compare from the largest on the left to the finest on the right.
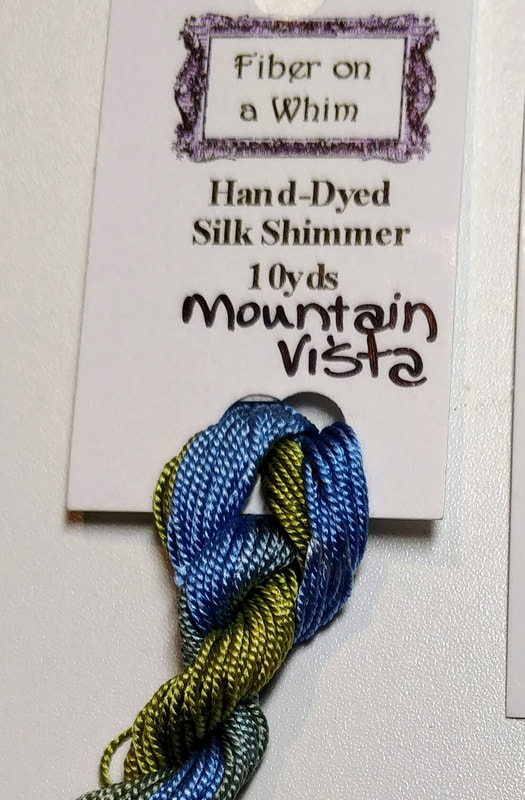
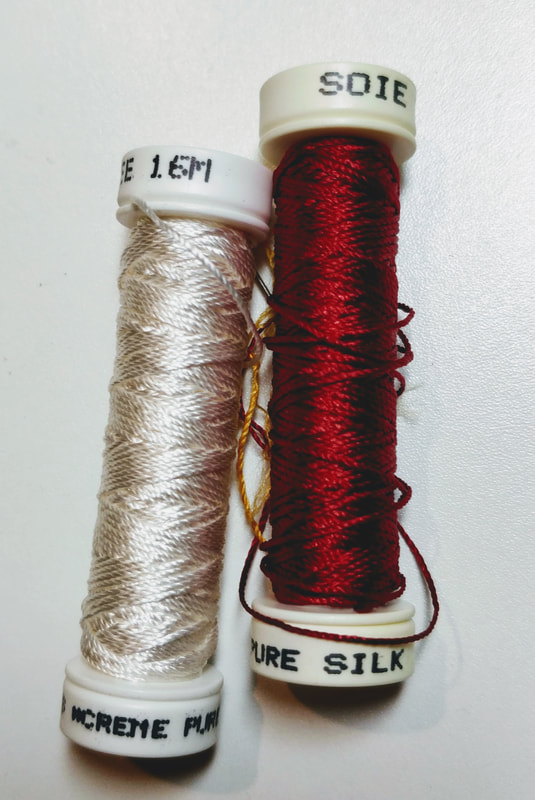
The next Yubinuki post will be the evaluation of SILK threads with this same pattern and colors.
I purchased 4 different sizes of cotton (8, 10, 16, and 80) and technically the same three colors - Blue, Green, and White. I did this not only to evaluate the threads: what is was like to sew with them and how did they look different or the same when completed. And as in the prior post I made bases all the same size.
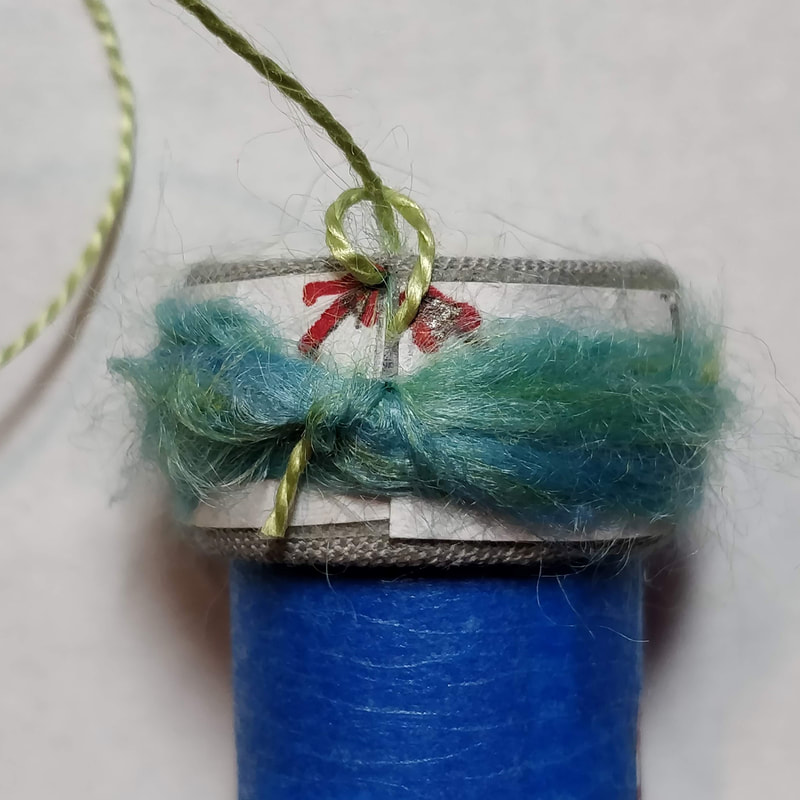
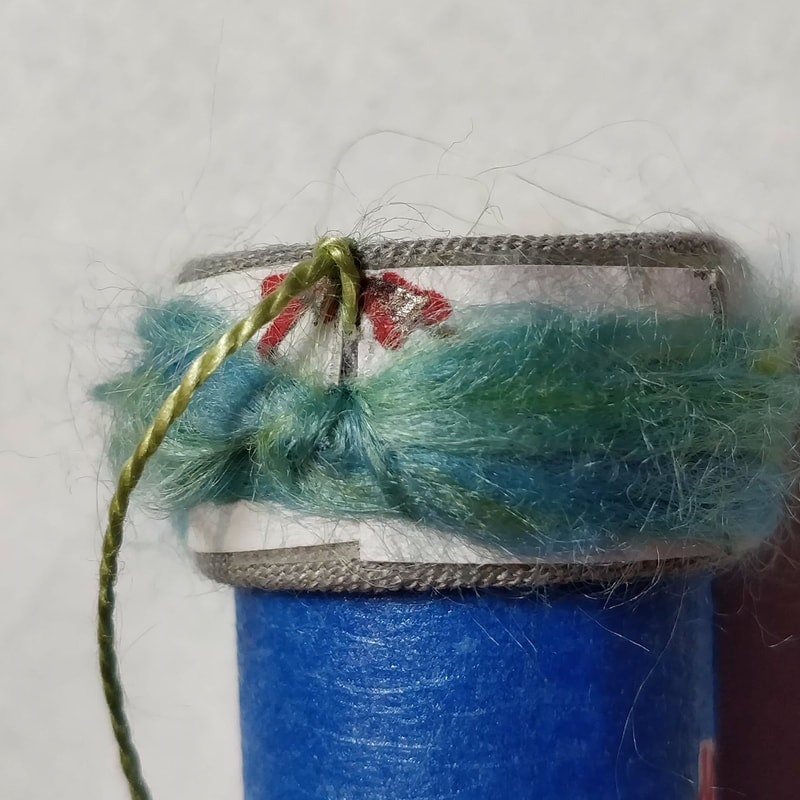
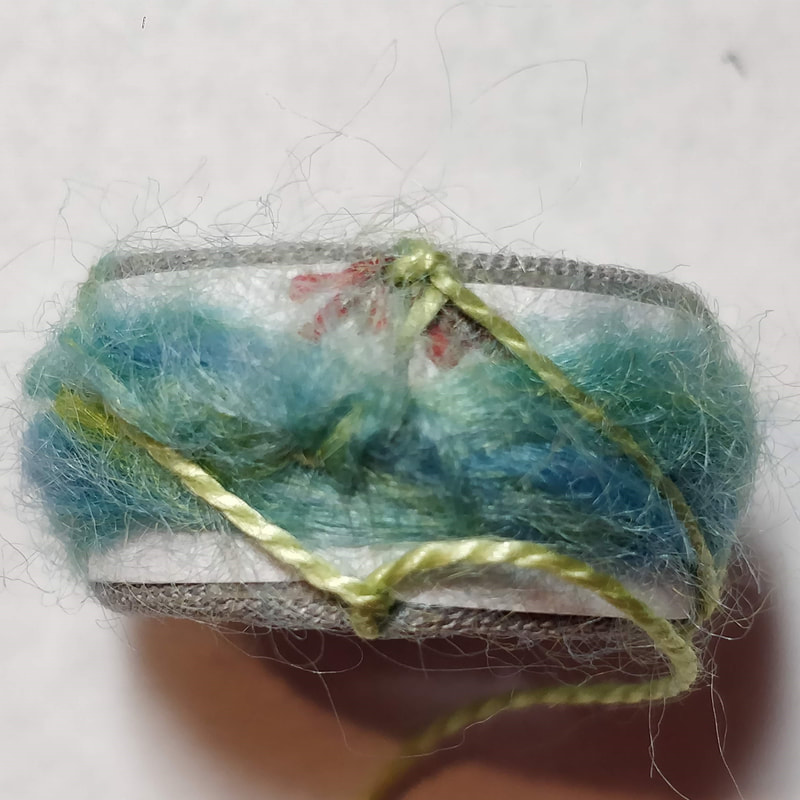
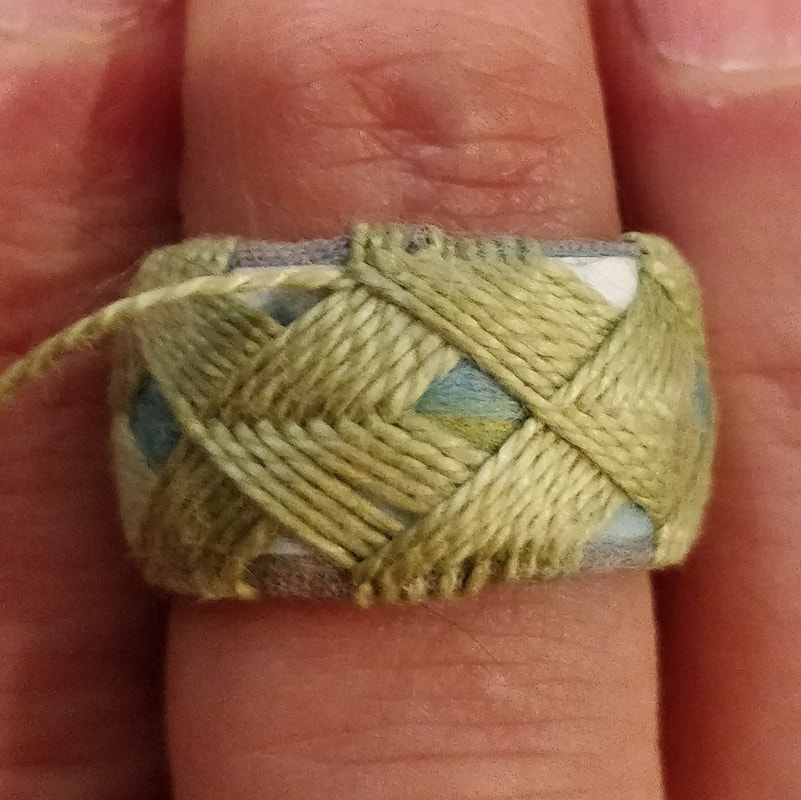
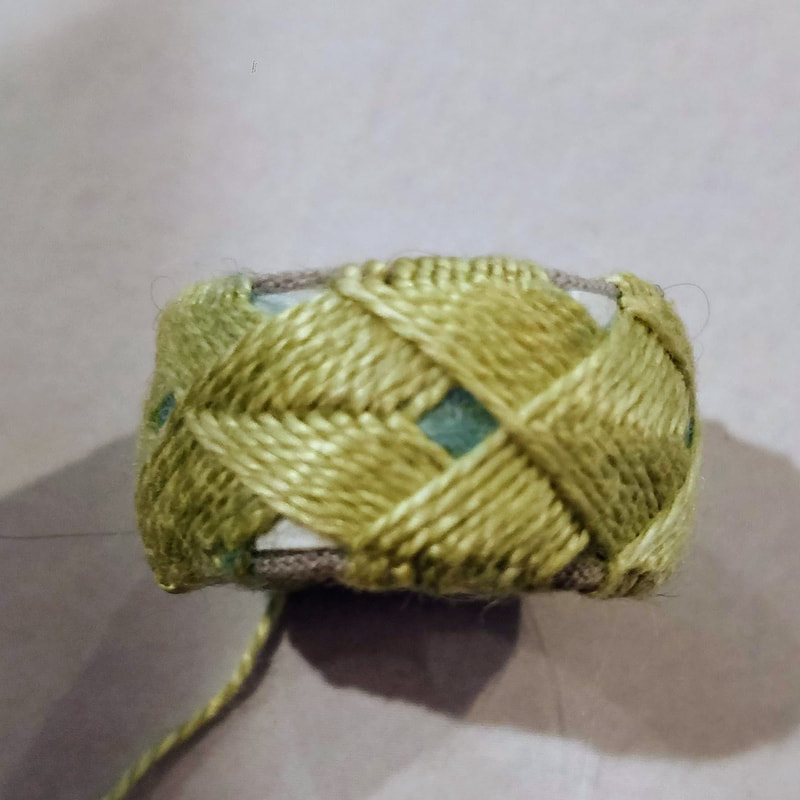
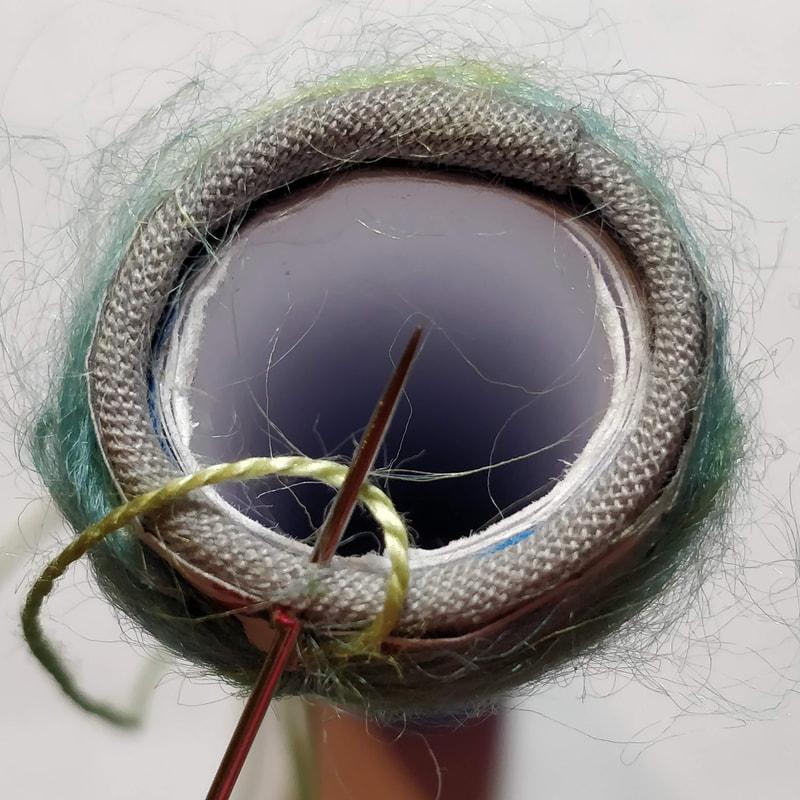
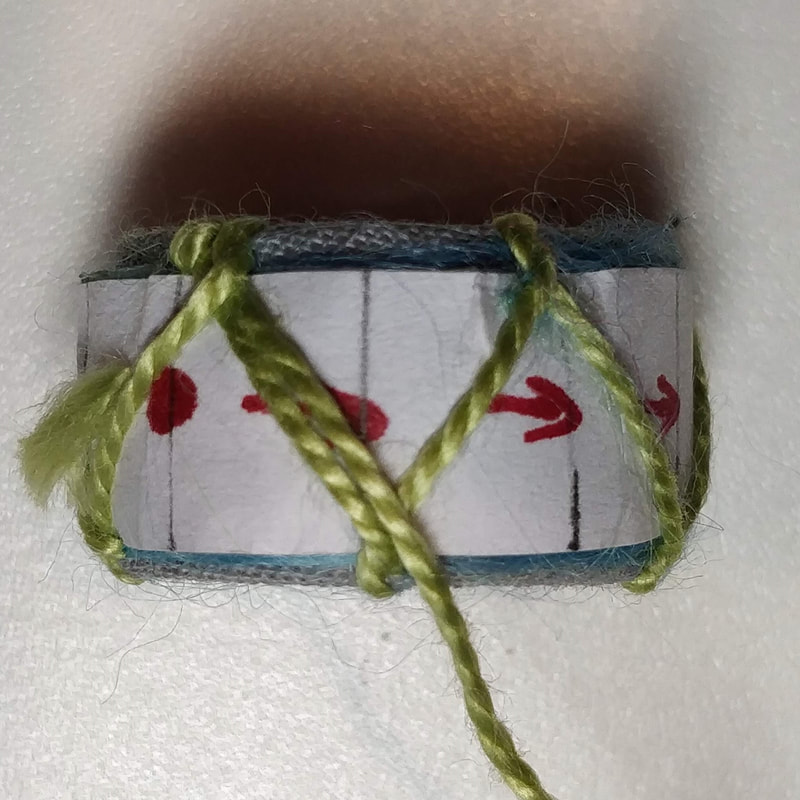
- DM Perle Cotton Size 8 : This is the size I have been using for the majority of the prior tutorials. I find it easy to work with and the sheen makes it glide easily through the base when stitching and it does not twist or know very much. With this thread there was an average of 7 stitches per division which means I did 210 total stitches (7 * 10 divisions/color * 3 colors). From the first row of pictures, below you can see the design is nice but the individual threads are visible
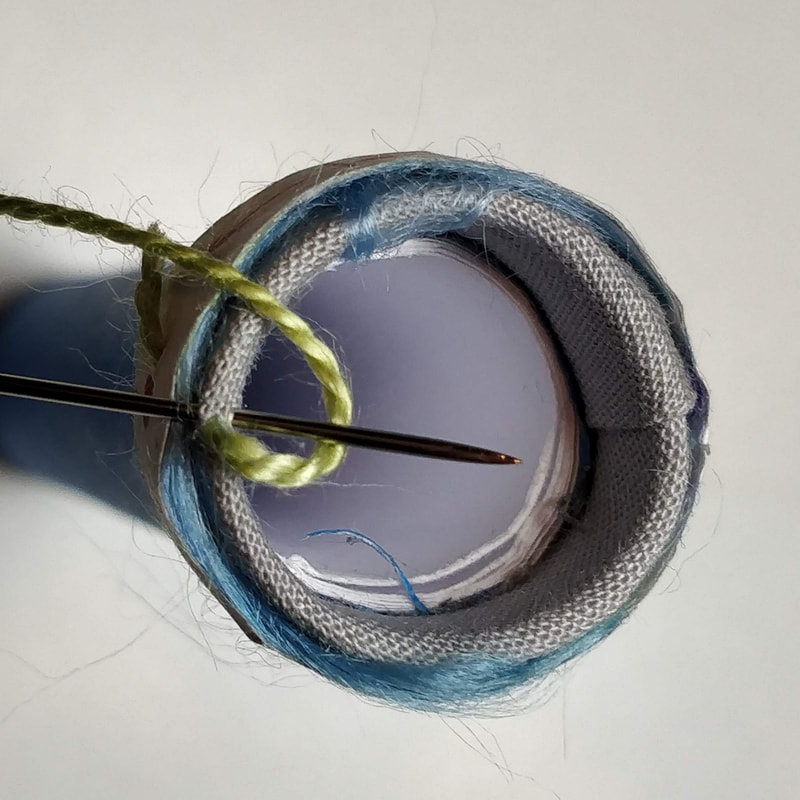
- DMC Cotton Size 10: This is a perle cotton that is suggested for crochet and I purchased it directly from DMC. I found that there was almost NO sheen and it looked rather flat or mat. It was not as easy to work with as the size 8 as it WOULD twist and knot easily, I ended up cutting the length of thread to be shorter to limit this but of course I had to then have more thread starts and stops. With this thread there was an average of 8 stitches per division which is 240 total stitches (8 * 10 divisions/color * 3 colors). From the second row of pictures, below you can see the design is does not even look as good as with the size 8 cotton. I don't think I will use this cotton again.
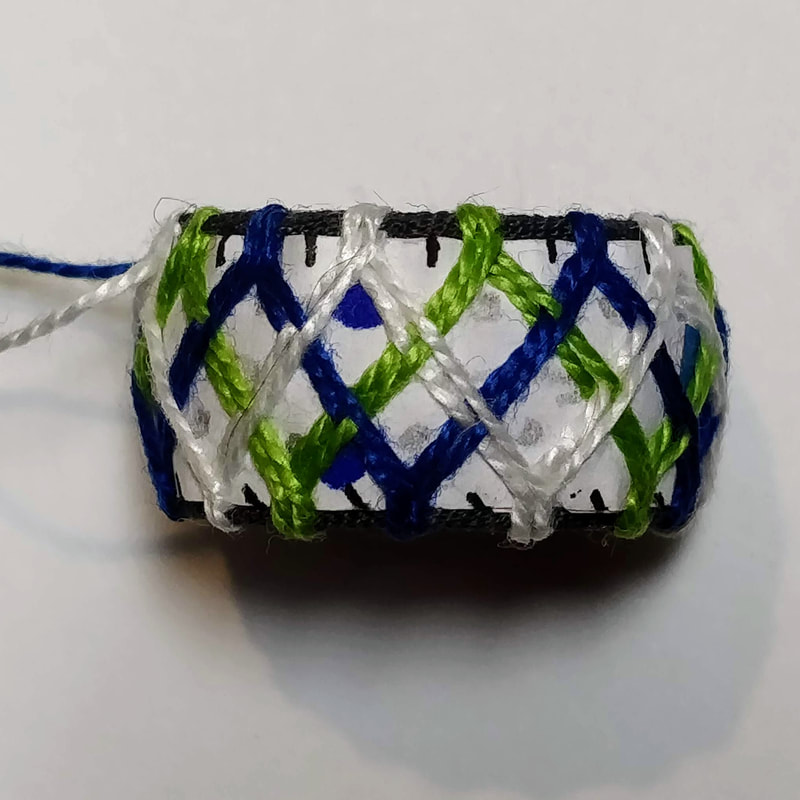
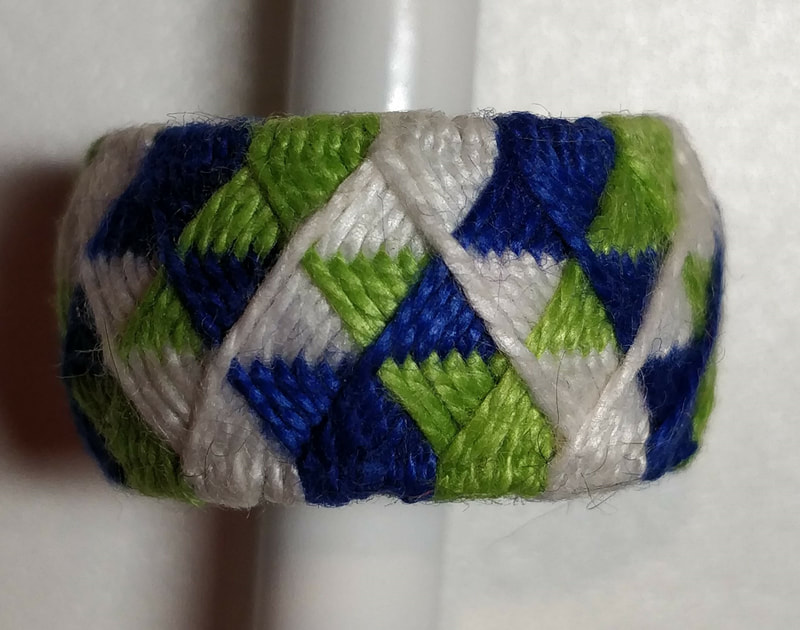
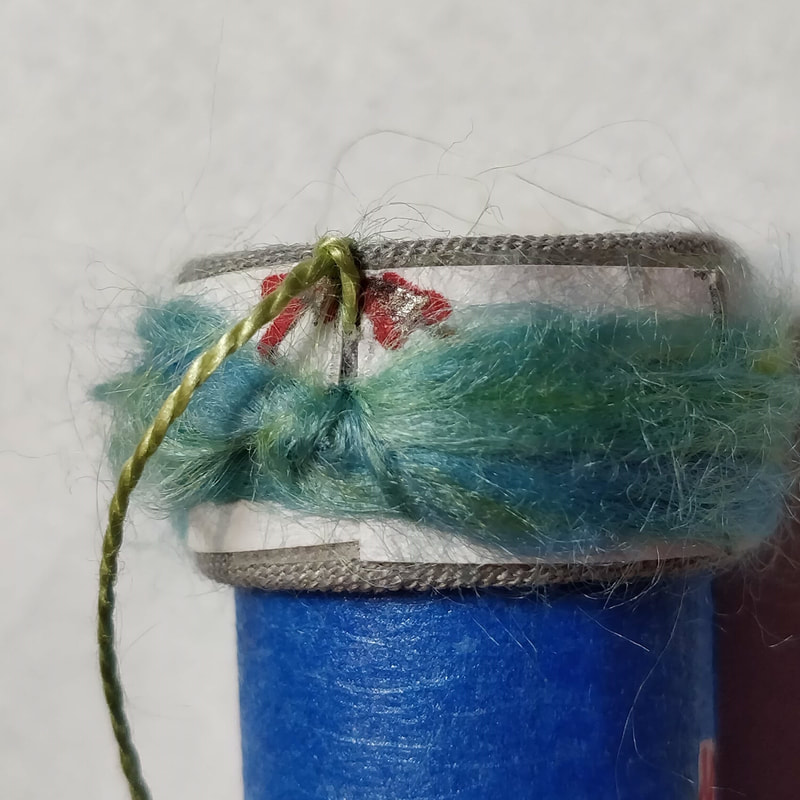
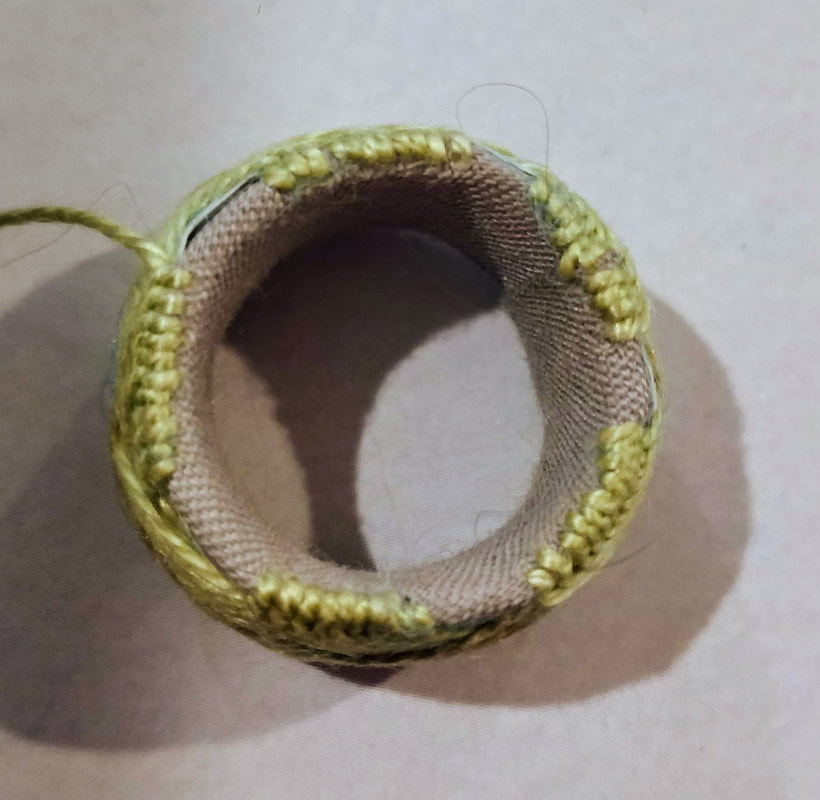
- Presencia Finca Cotton Size 16: This is a perle cotton but it does have a multi thread twist that is not meant to be divided like a floss would; it is sold as a tatting thread and I purchased it via Amazon. I found that there was a minimal amount of sheen but it is not as much as the DMC size 8. It was not as easy to work with as the size 8 as it WOULD twist and knot easily but it was easier than the DMC size 10. Having learned my lesson with the size 10 I used shorter lengths of thread to sew with. With this thread there was an average of 11 stitches per division which means I did 330 total stitches (11 * 10 divisions/color * 3 colors).. From the third row of pictures, below you can see the design does look good if not better than the Size 8 and certainly better than the size 10 because with the finer thread the thread detail is less visible and you see the over pattern more. I would will use this cotton again because they also have a good color selection.
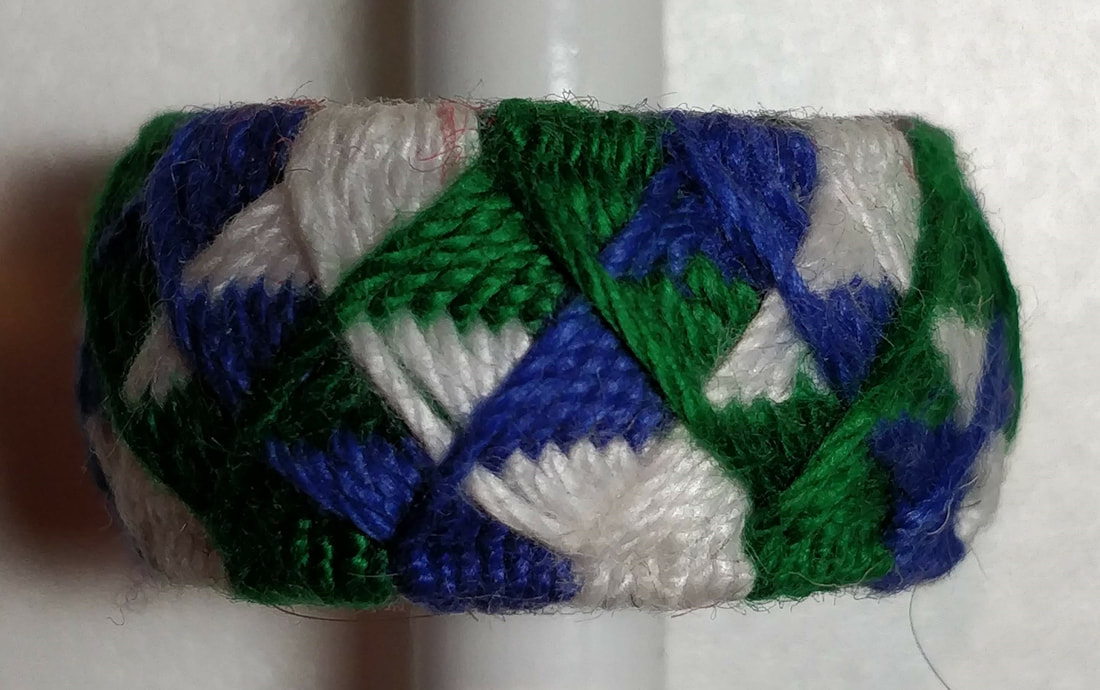
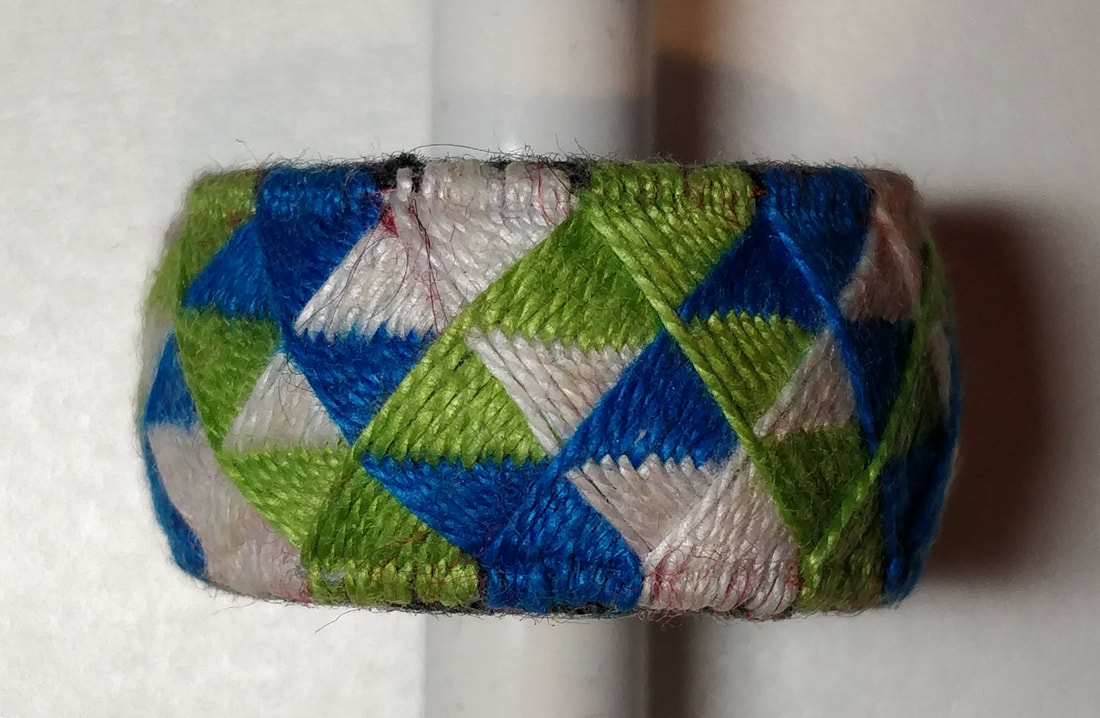
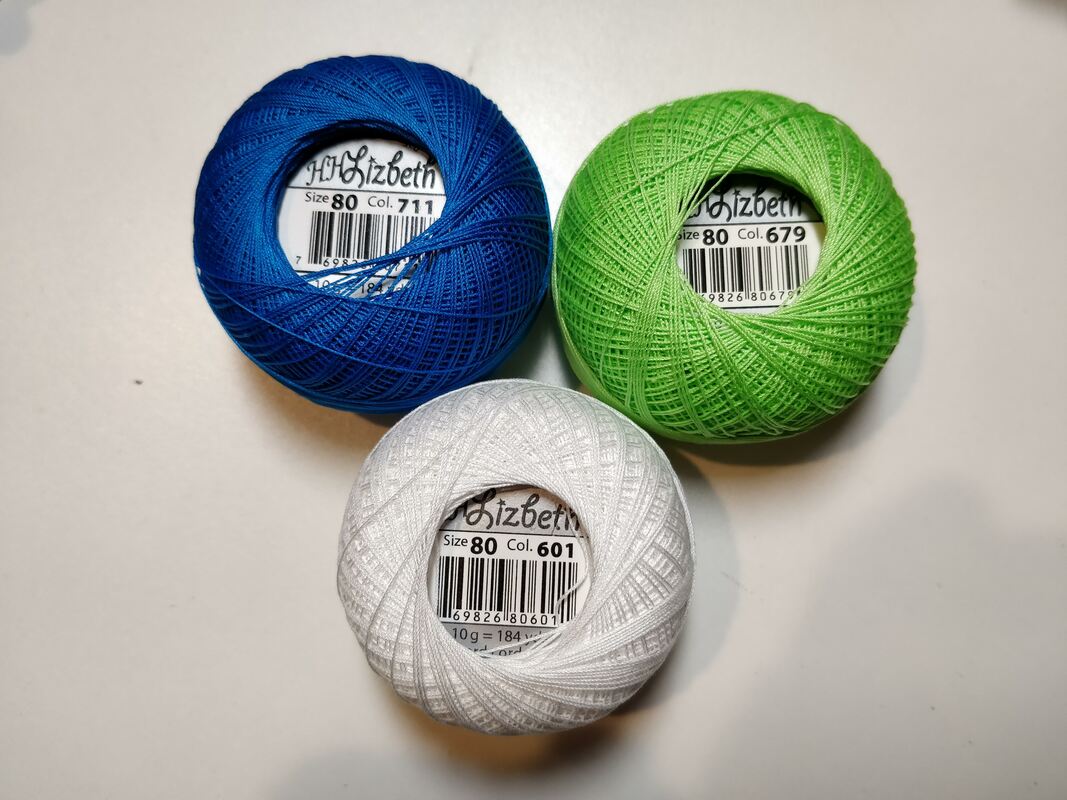
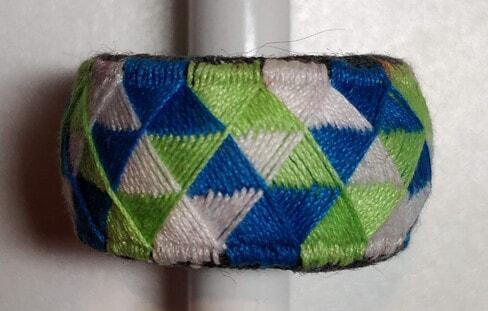
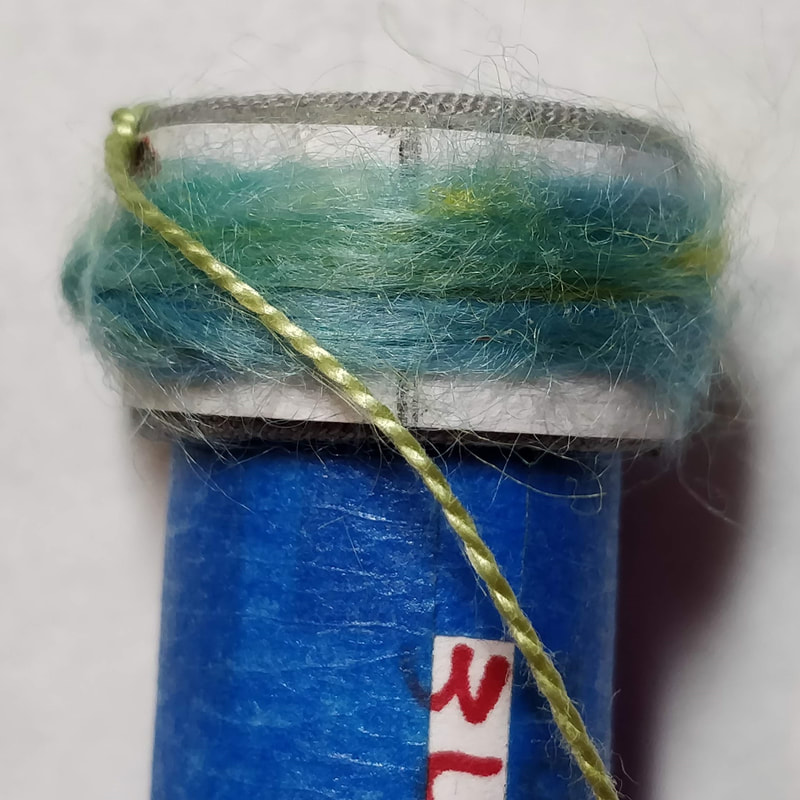
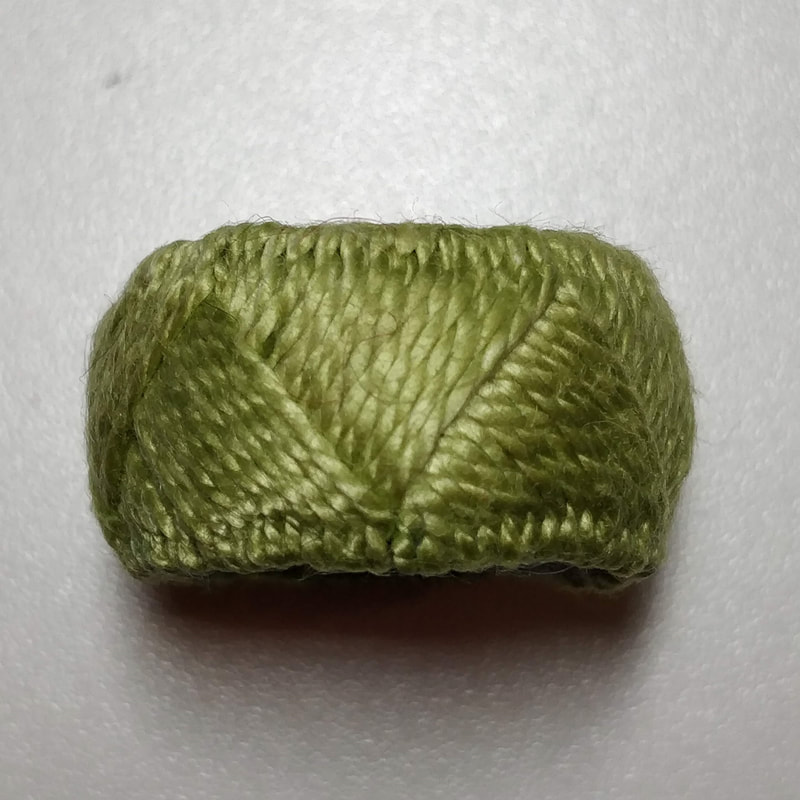
- Lizbeth Cotton Size 80: This is a not a marketed as a perle cotton but it does have a multi thread twist that is not meant to be divided like a floss would; it is sold as a tatting thread and I purchased it directly from Handing Hands Tatting. This cotton is very very fine/thin and because of that. It was not as easy to work with and I went t a much smaller needle so the thread would not slip out of the eye of the needle. It would also twist and knot easily but having worked my way to this small a thread had taught me to hold the thread as I putted the stitch through the base to prevent twisting and knotting. With this thread there was an average of 14 stitches per division which means I did 420 total stitches (14 * 10 divisions/color * 3 colors). From the fourth row of pictures, below you can see the design is does look good if not better than the Size 8 because with the finer thread the thread detail is less visible and you see the over pattern more. I would will use this cotton again because they also have a good color selection but using this size thread means more time sewing. It should also be noted that this size is the closest to the Japanese silk in size, if not a bit finer.
The very last picture show all the Yubinuki size by size so you can really see how the threads compare from the largest on the left to the finest on the right.
The next Yubinuki post will be the evaluation of SILK threads with this same pattern and colors.


 RSS Feed
