
Wow, we are now ready to sew our first yubinuki! Or are we?
Before actually sewing the yubinuki, the core must be prepared with the padding and the pattern to be sewn.
To start gather you material, tools and supplies:
Before actually sewing the yubinuki, the core must be prepared with the padding and the pattern to be sewn.
To start gather you material, tools and supplies:
- Core
- Padding
- Pattern Division Tool
- Mandrel (Support Tube)
- Plain Paper
- Painters Tape
- Clear Adhesive tape
- Cotton sewing thread and needle
- Marking Pen/Pencil
- Scissors for cutting threads (I never use my good "fabric" scissors for cutting paper!!!)
- Scissors or Rotary Cutter for cutting paper
- Ruler with millimeter markings
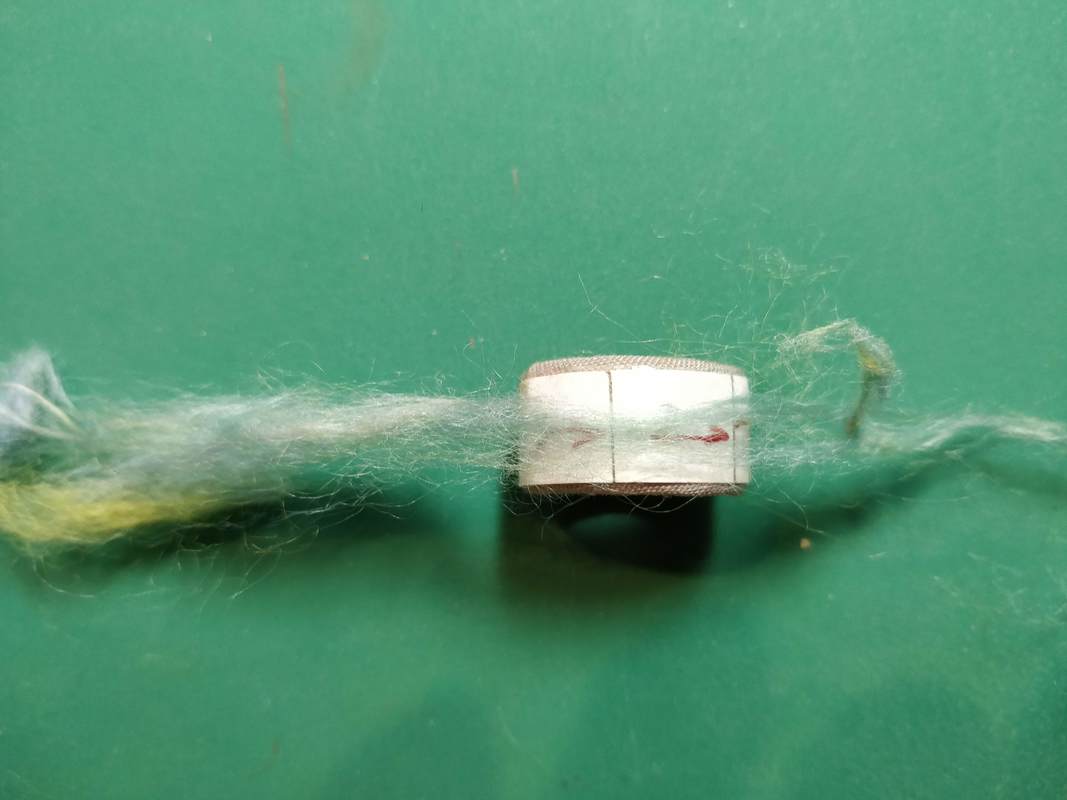
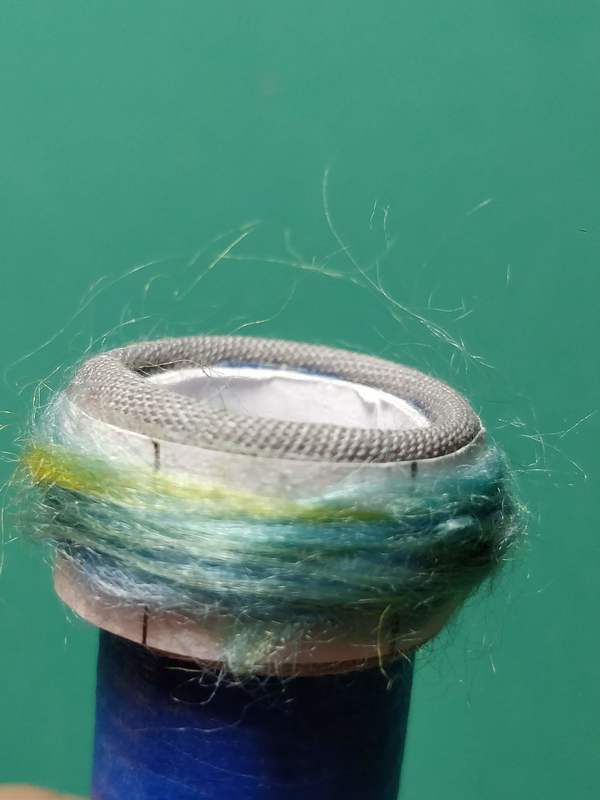
Step 1 Option A - Wind Padding on to the Core
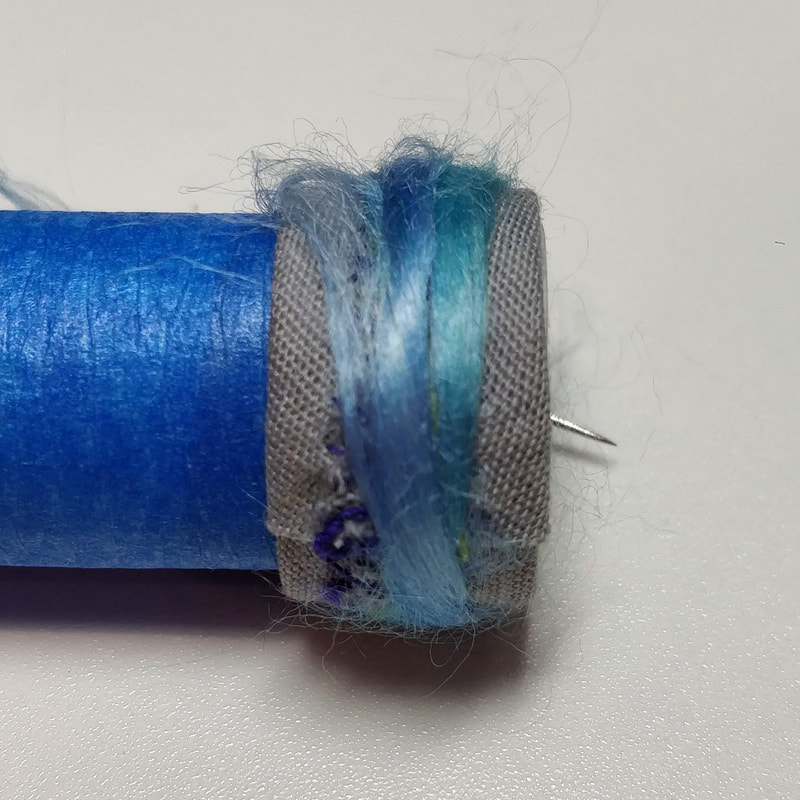
- Put the core on the support mandrel
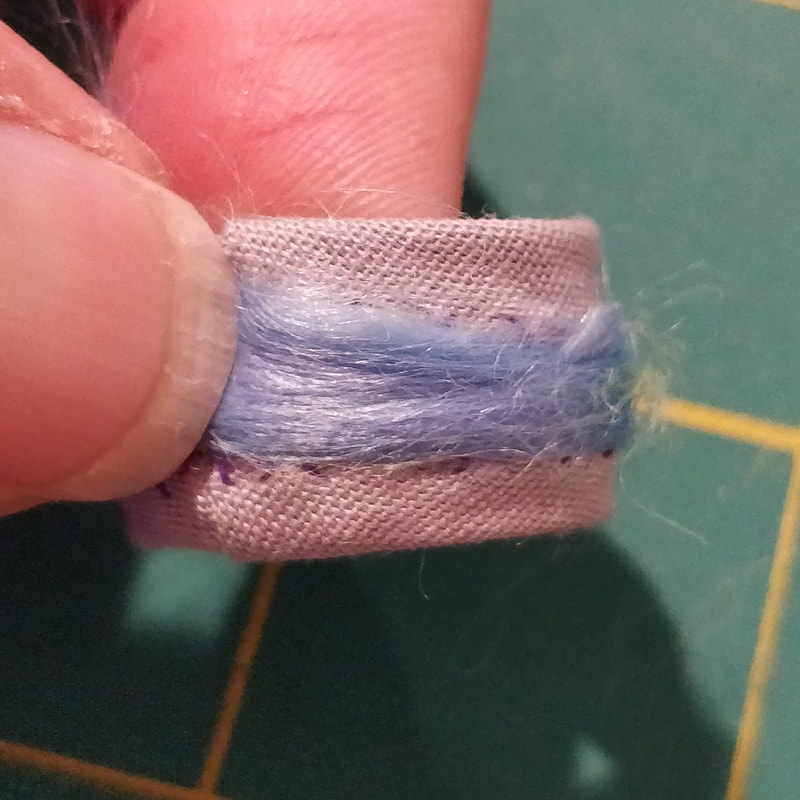
- Take your padding, I am using tencel spinning fiber.
- Wind the padding around the core, in the center and away from the edges.
- NOTE: The more padding you add, the more rounded/domed your yubinuki will be and since the first one you sew really won't look that good, when you are done, don't add a much.
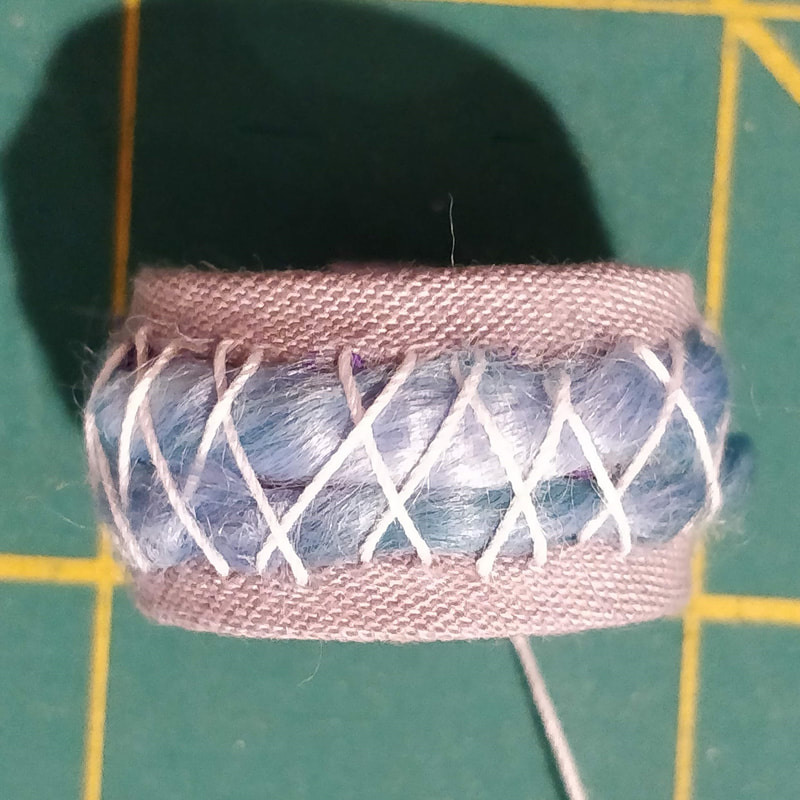
- Take the sewing thread and the needle and sew the herring bone stitch, as you learned when making a core, across the padding and around the core. This will hold the padding down.

Step 2 Option A - Measure and Mark Pattern
The pattern you will sew will be very easy, one color, in one direction. We are doing this to not only to learn how to sew but to evenly space our stitches; which is not easy and if you are not careful will result in gaps. This will be covered in more detail in the actual sewing post
The pattern you will sew will be very easy, one color, in one direction. We are doing this to not only to learn how to sew but to evenly space our stitches; which is not easy and if you are not careful will result in gaps. This will be covered in more detail in the actual sewing post
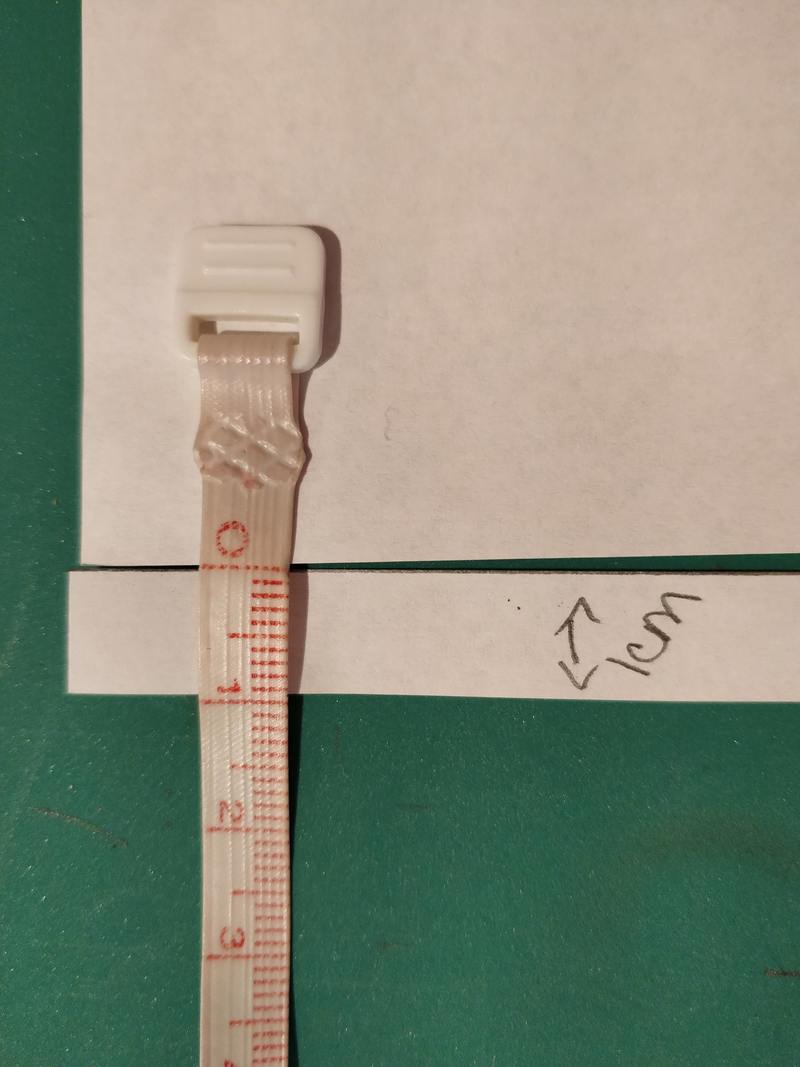
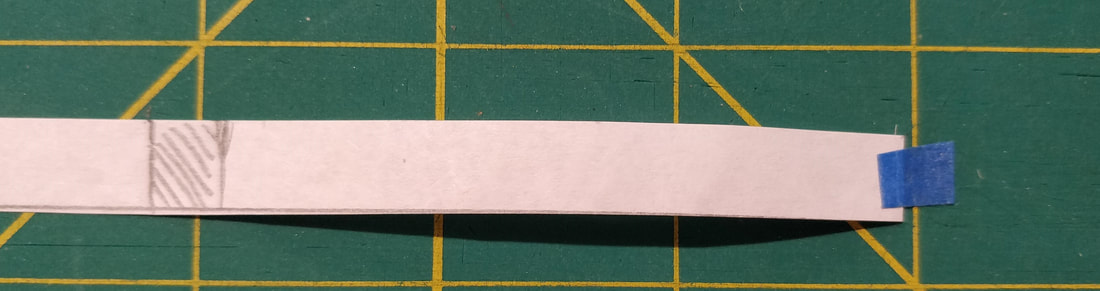
- Using the plain paper, cut a strip that is 1 cm (10 mm) wide.
- Wrap the paper around the core and the padding and mark where the end overlaps.
- Remove the paper and add a small amount to the paper, beyond where you marked and then cut at this line. This extra area is so you can overlap the paper when applied to the core. You now have the paper for your pattern.
- On one side, mark an arrow at one corner such as the left upper.
- Then mark another arrow at the other corner, on the same side, upper right.
- Take the Paper Division Tool and lay the pattern paper on it, diagonally.
- NOTE: To make our sewing easy we are marking a pattern with 10 divisions. If you want write 1 - 10 in between 11 eleven lines.
- Put one corner on a line, mine is placed on line zero.
- Place the opposite corner on line 11, so you paper spans 10 divisions.
- Use a small piece of painters tape to hold the pattern paper in place.
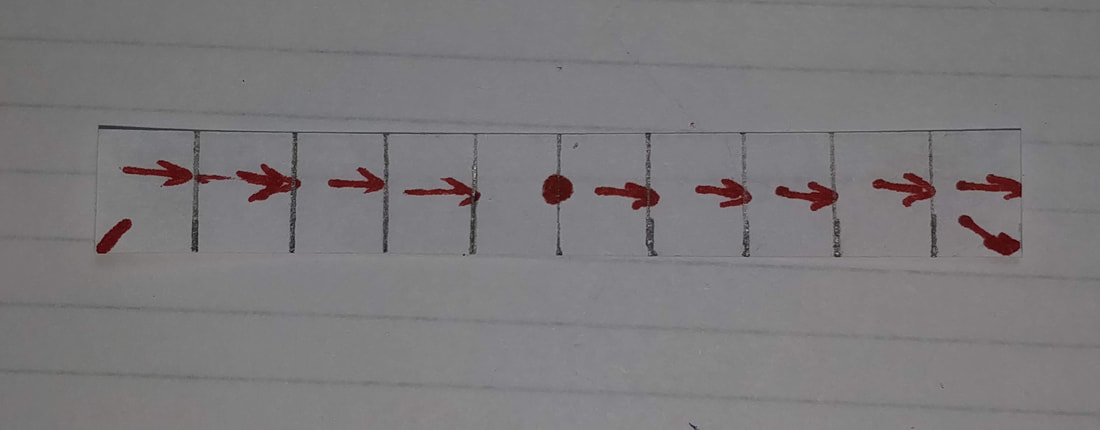
- Place a tick mark at each line along one edge.
- Rotate the pattern paper and do the same on the other edge.
- Take your ruler a connect the tick marks from each edge, make sure your lines are at 90 degrees to the long edge and that your lines are parallel to each other. This will ensure you have evenly spaced lines. HINT: Use your mm ruler to verify this.
- One one line mark a big dot by a division, I use red so I can easily see it. This dot is used to denote where your stitching starts.
- Then draw arrows, these will be used, while sewing to guide your sewing direction.


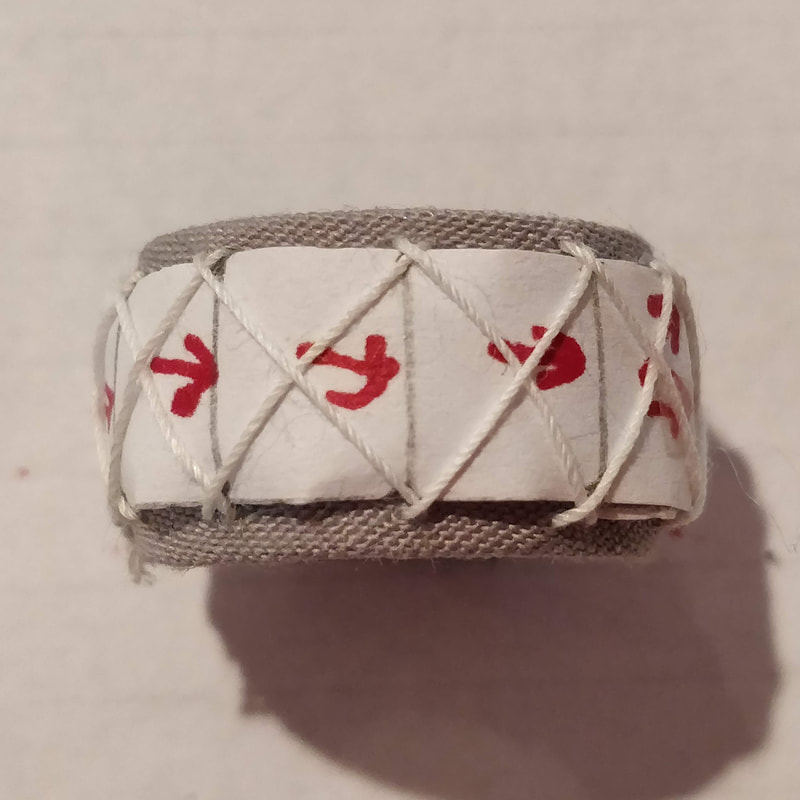
Step 3 Option A - Apply Pattern to the Core
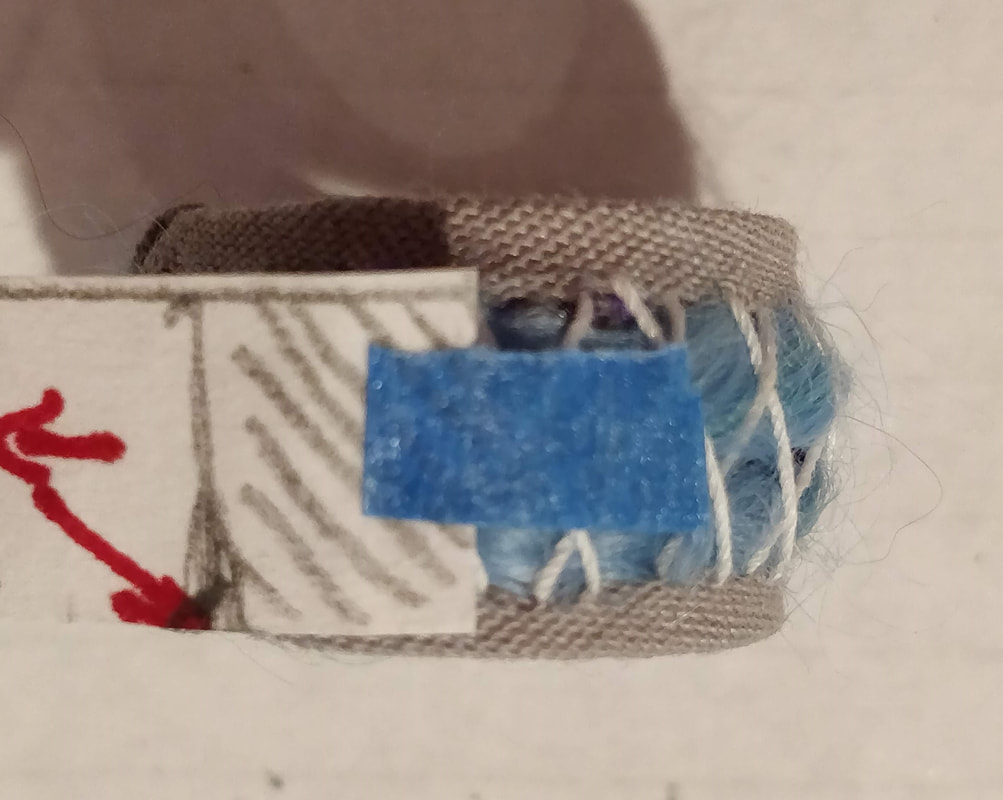
- Cut a small piece of painters tape and place it at the end of the paper where the overlap will occur, on the marked pattern paper.
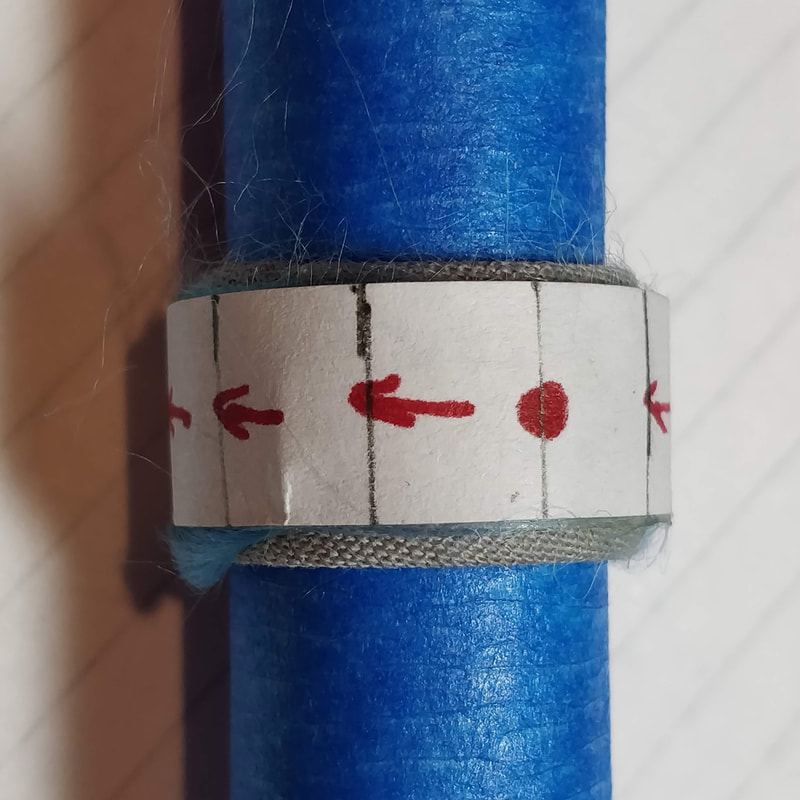
- Place the marked pattern paper and lay it on the core, with the padding, ON TOP of the padding and again, centered.
- NOTE: is does not matter if the arrows point left or right as the marked core will be turned over and back while sewing.
- Tape the two ends together, using the clear adhesive tape for this, such that there is NO gap.
- Take the sewing thread and needle and using the herringbone stitch, once again, sew the patter paper down so it won't shift. I take a stitch at a line, then the next stitch is on the other edge, one mark over and I go around twice so there are stitches at each mark on the top and bottom edge.

Now, we are ready to SEW!!
Option B
Option B has the exact same steps as Option A but they are done in a different order. To follow this option the steps would be
Step 1 - Measure and Mark the Pattern (refer to Step 2 Option A above).
Step 2 - Apply Pattern to the Core (refer to Step 3 Option A above).
Step 3 - Apply Padding to the Core ( (refer to Step 1 Option A above).
Here are some more pictures to help you see the difference.


 RSS Feed
