Follow Me On:
The Adventurous Silversmith
  • Home
  • Blog
  • Portfolio
    • Metal Work >
      • Chasing & Repousse
      • Holloware
      • Jewelry
      • Other Wonderful Items
    • Fiber Arts >
      • Temari
      • Yubinuki
  • Resources
    • Library
    • Tools & Equipment
    • Links
  • About
    • Artist Statement
    • Curriculum Vitae
    • How it is Made
    • Contact

Expanding My Skills

6/30/2019

0 Comments

 
I spent part of this weekend learning some basic leather working skills.  

Why? 

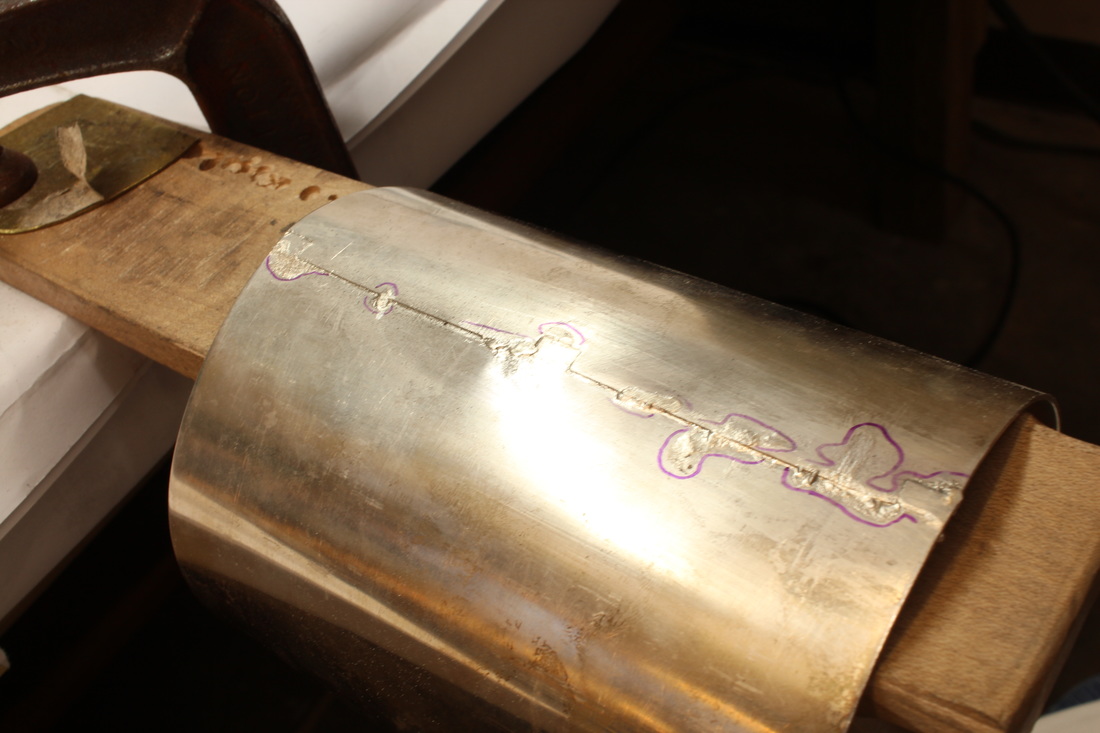
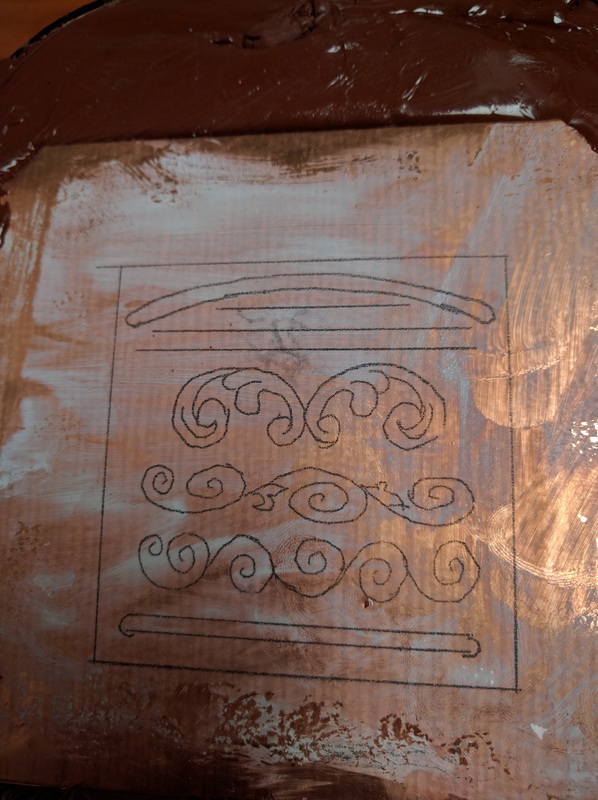
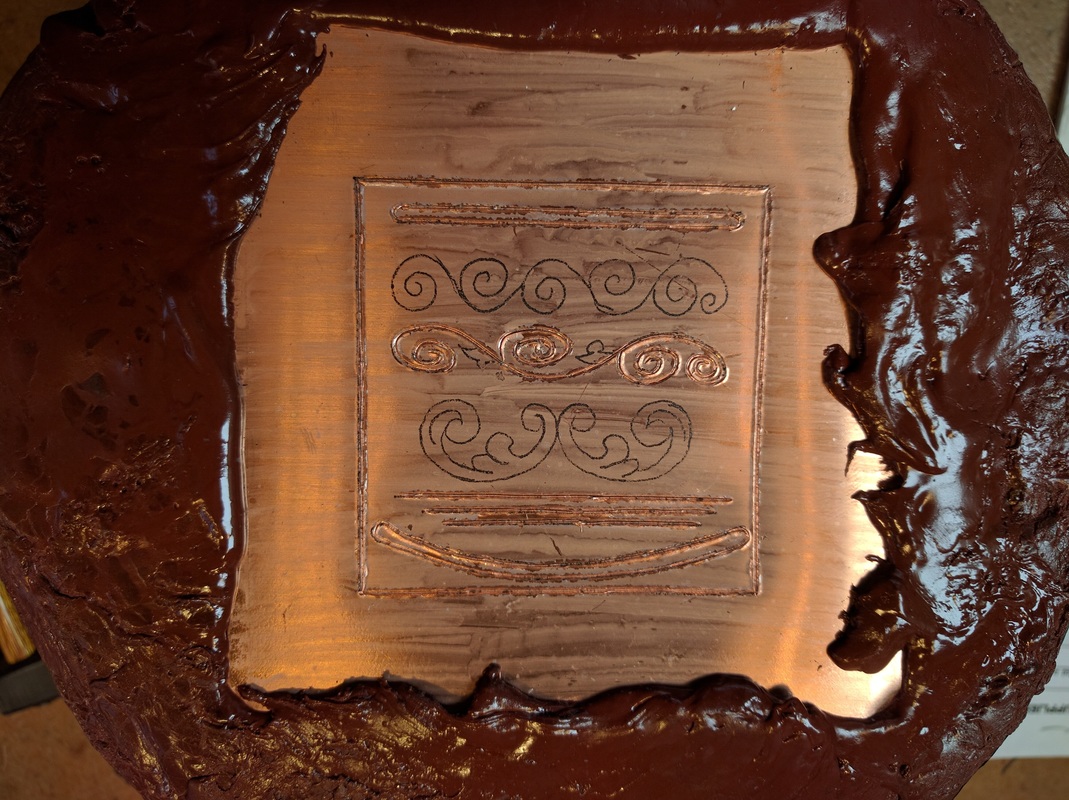
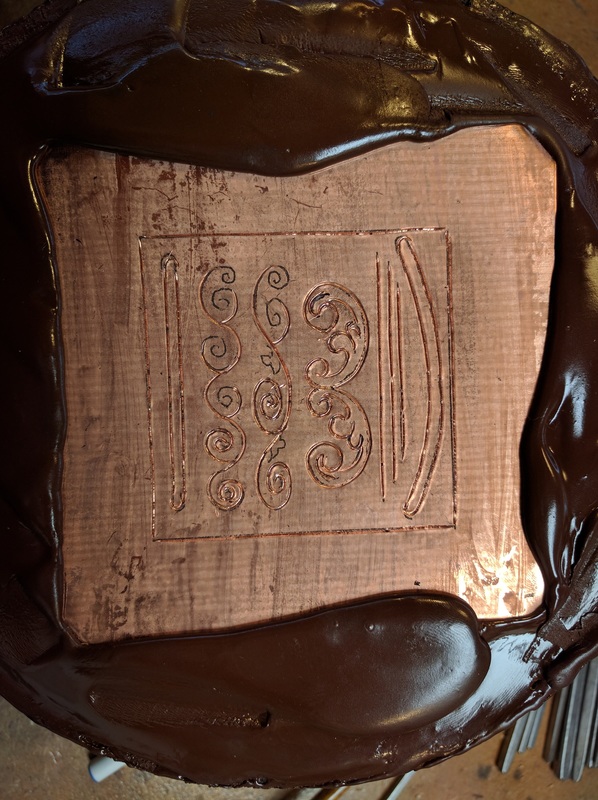
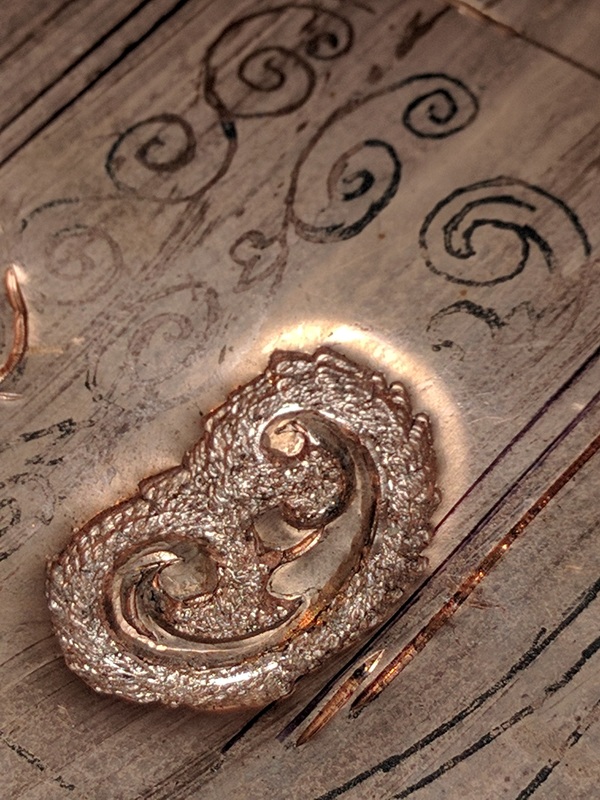
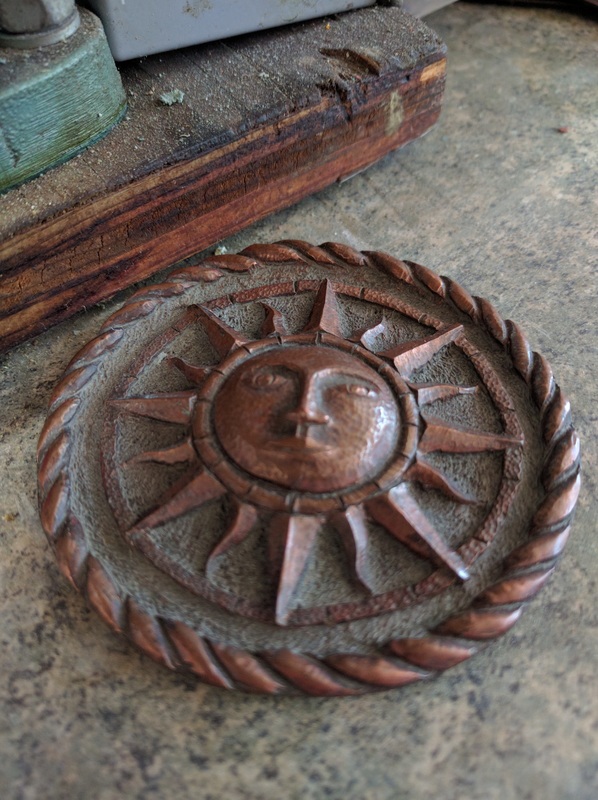
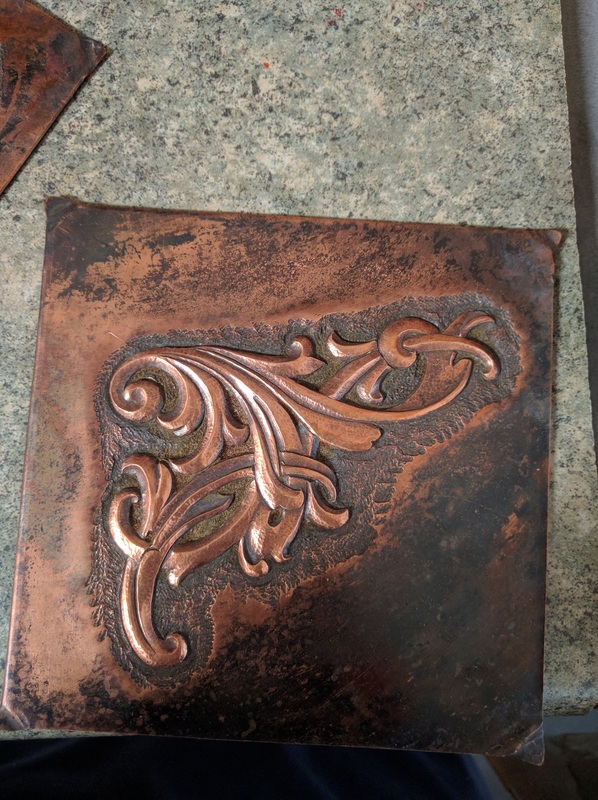
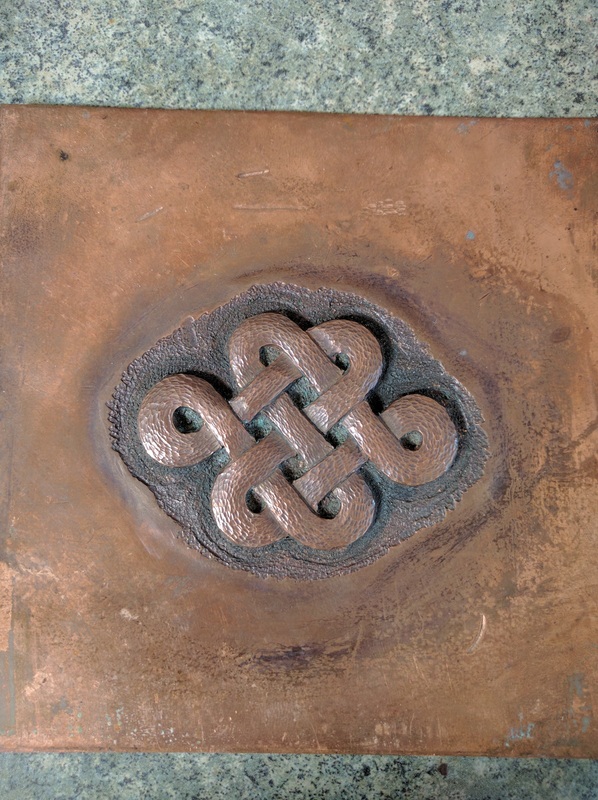
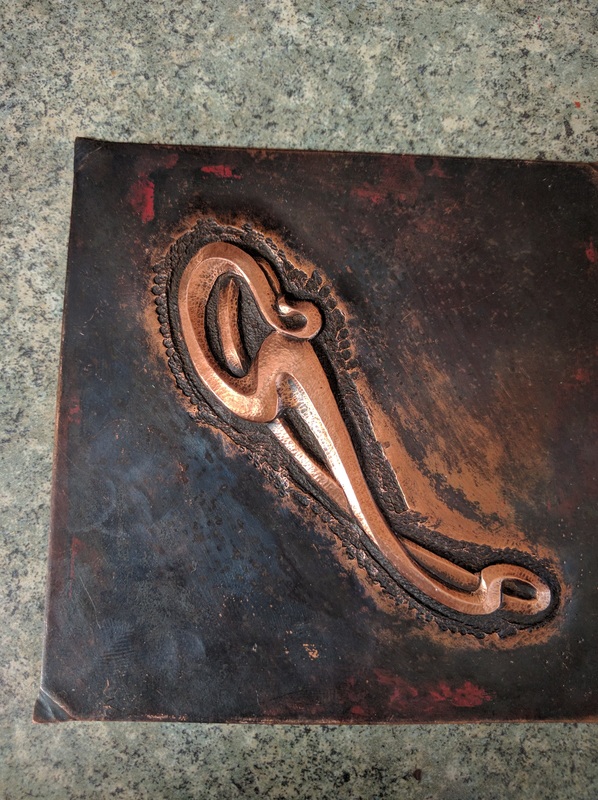
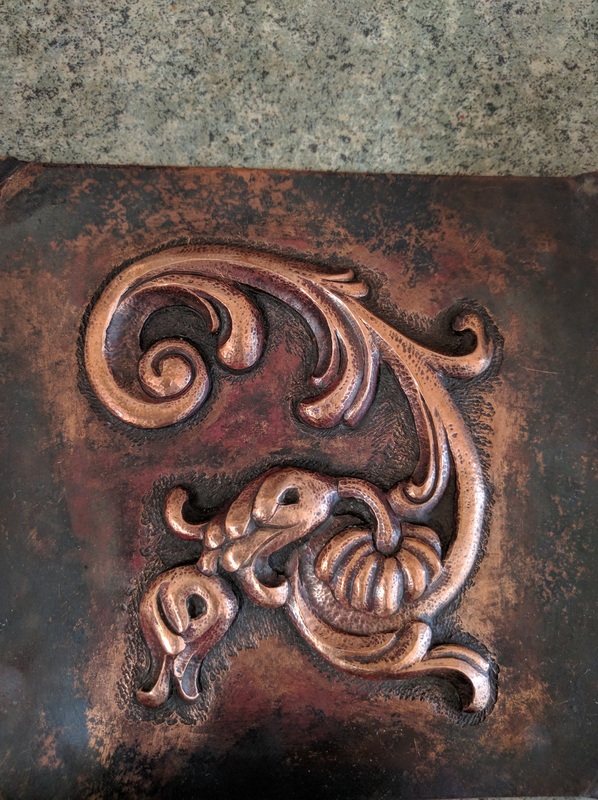
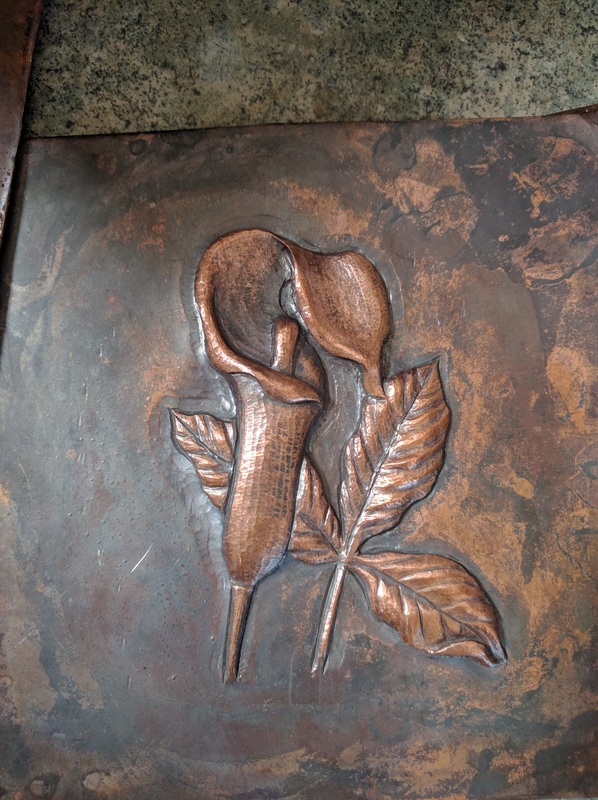
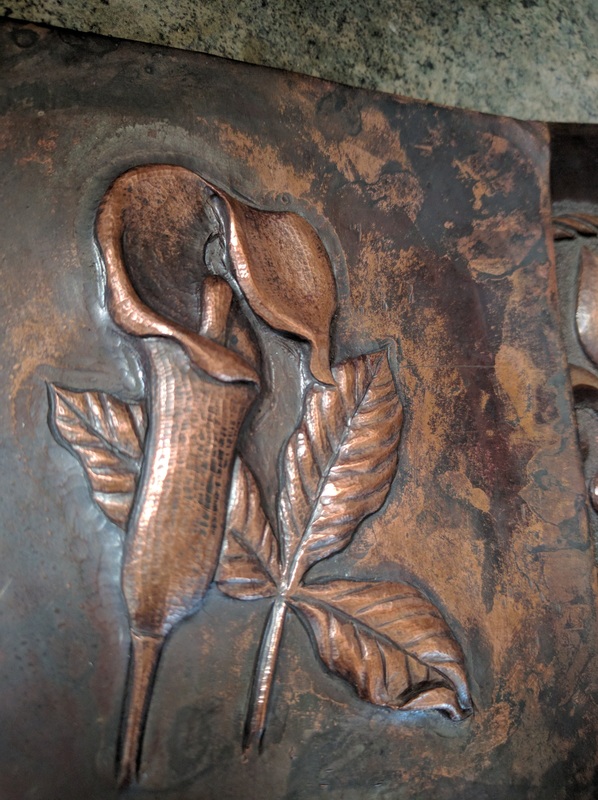
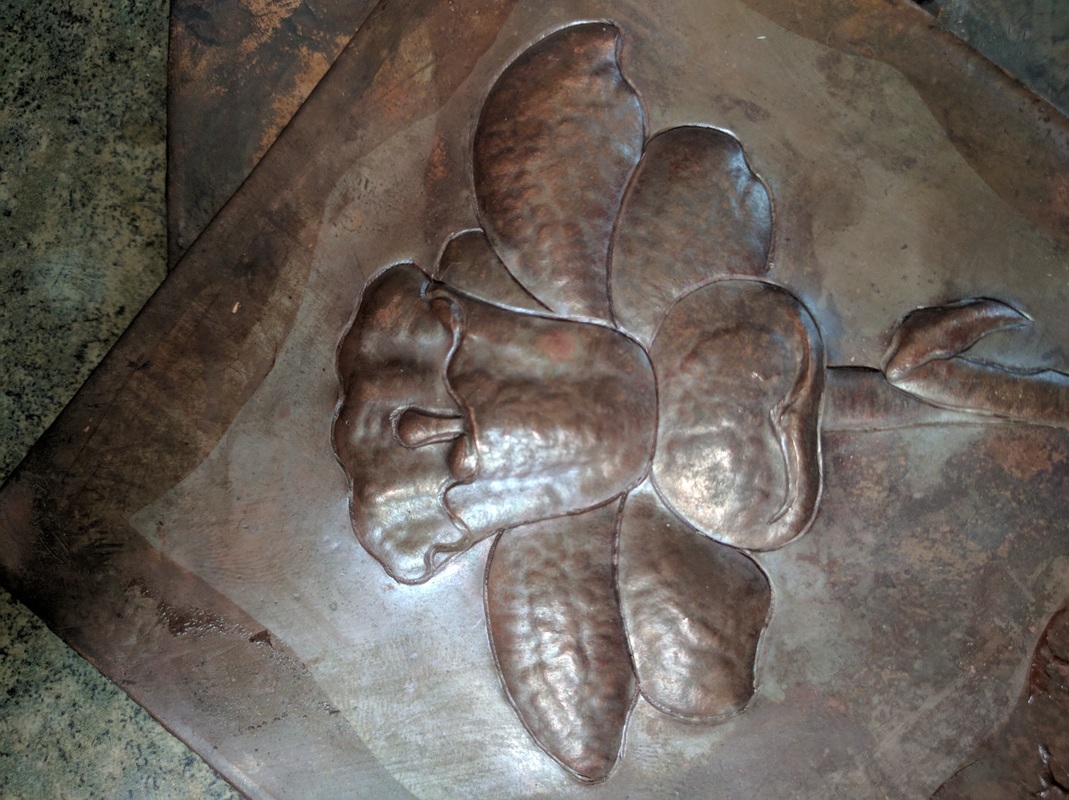
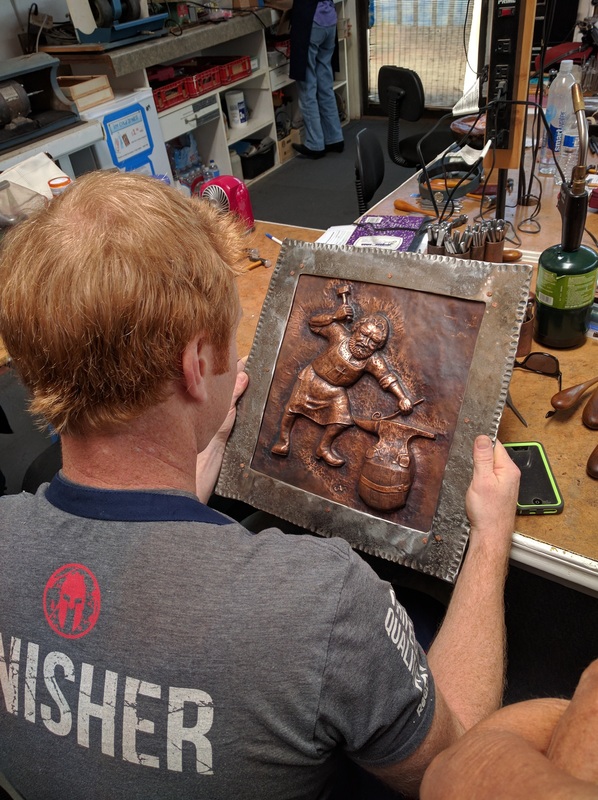
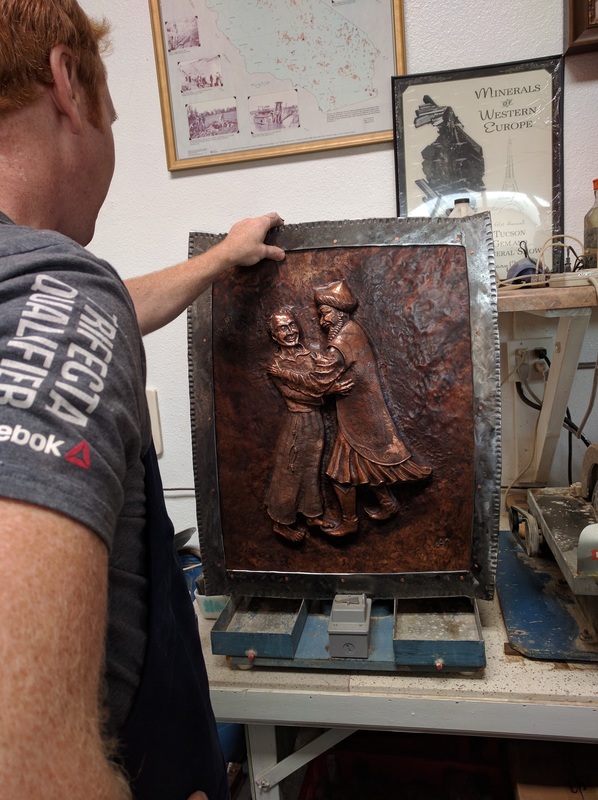
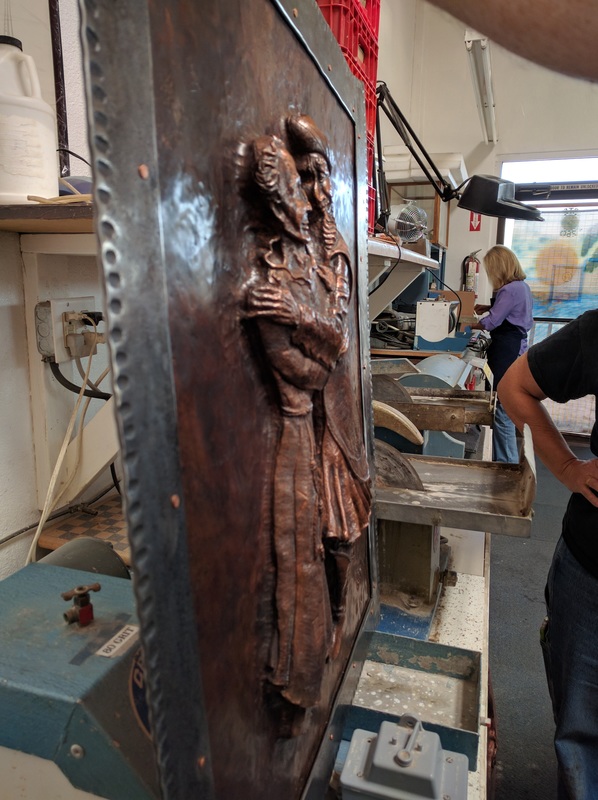
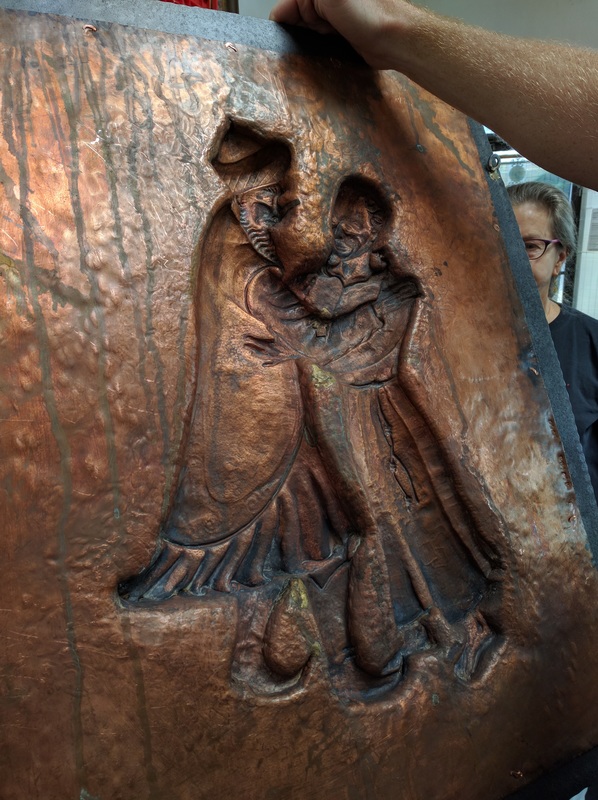
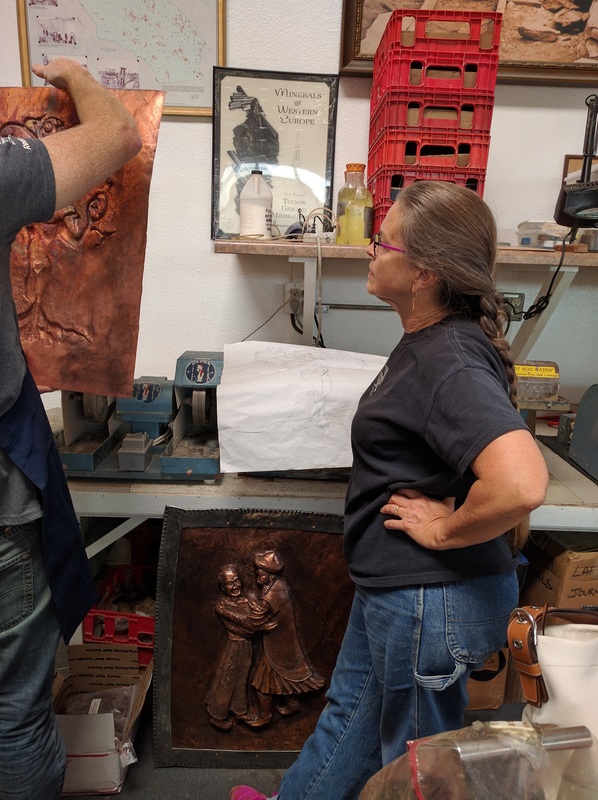
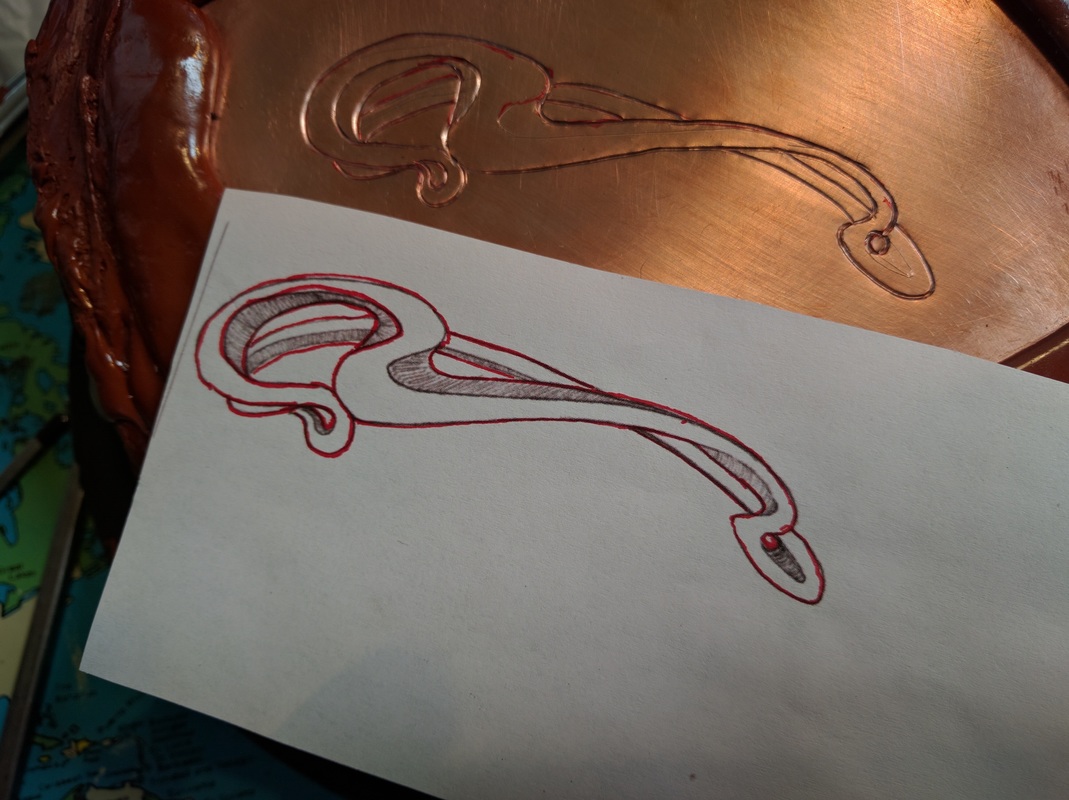
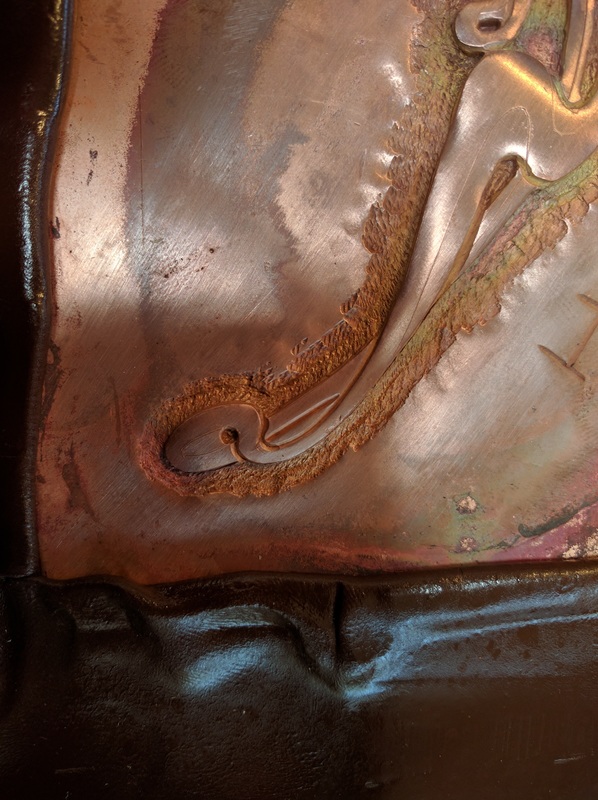
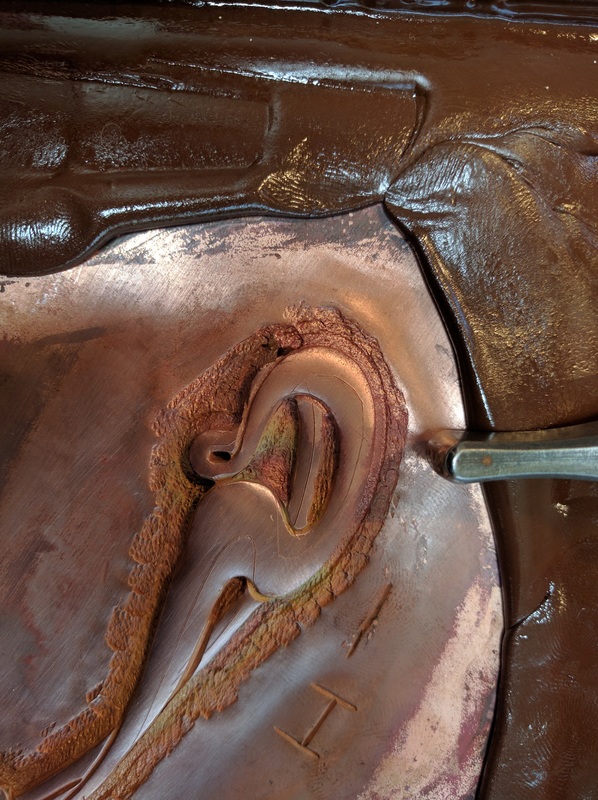
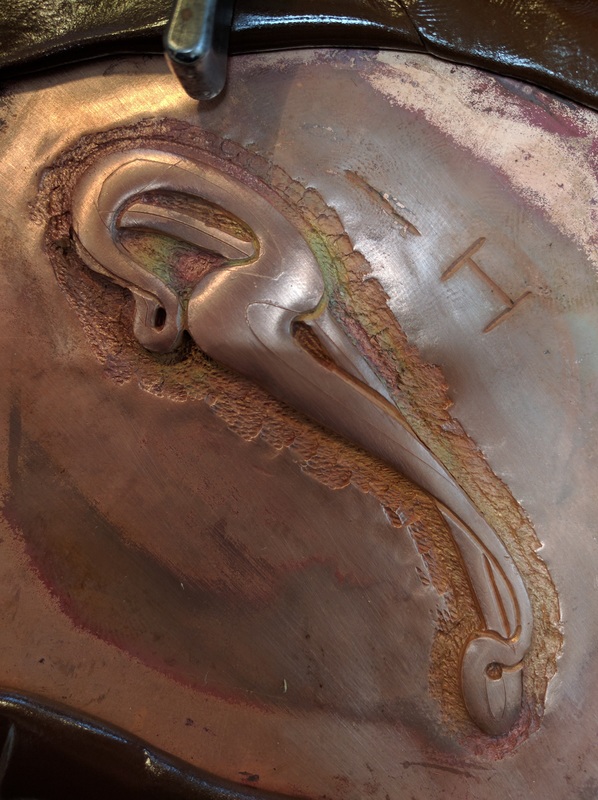
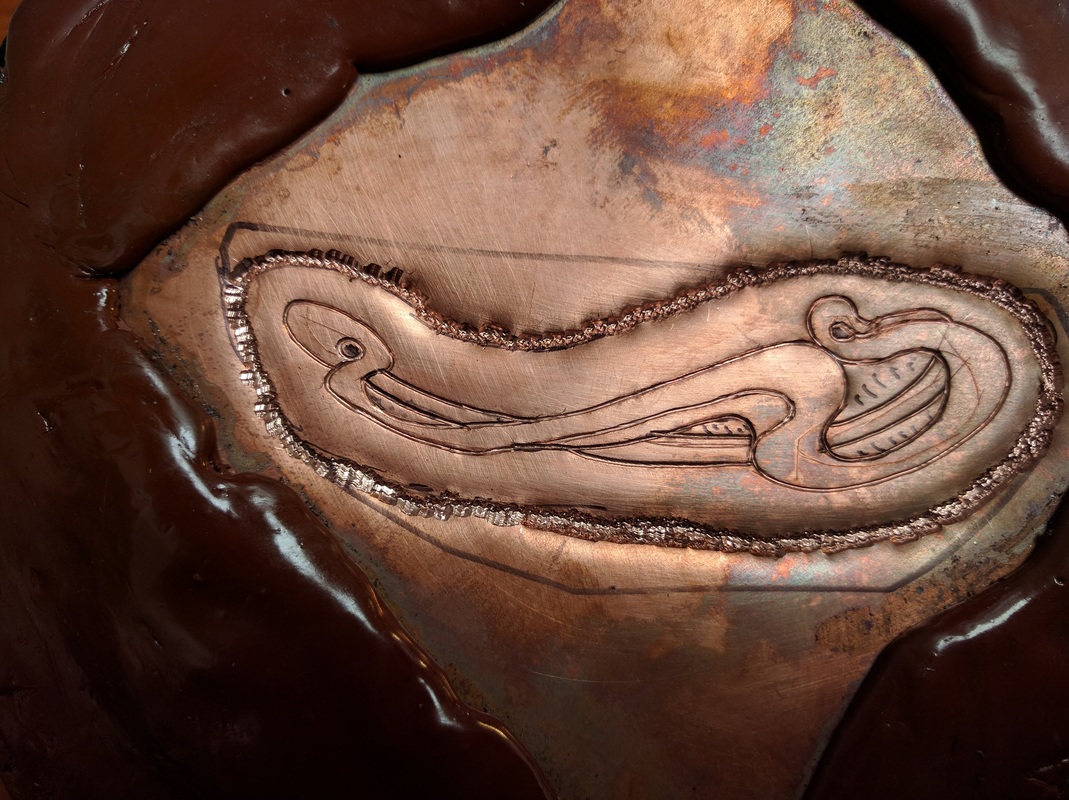
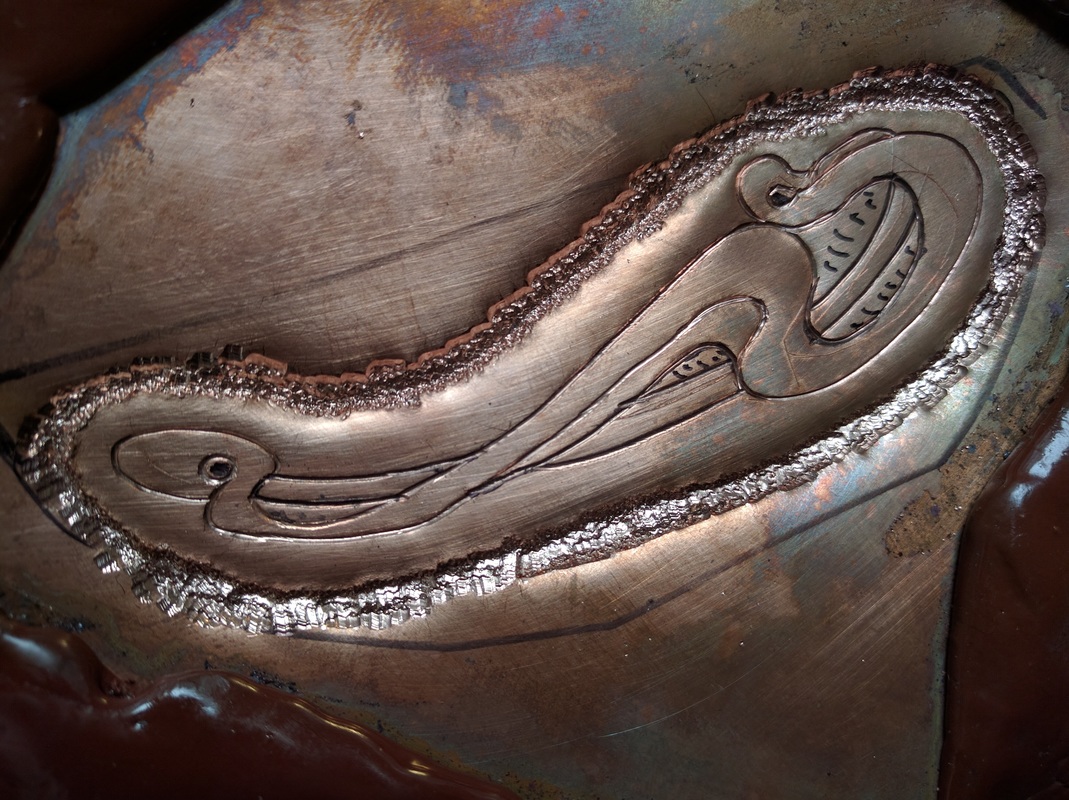
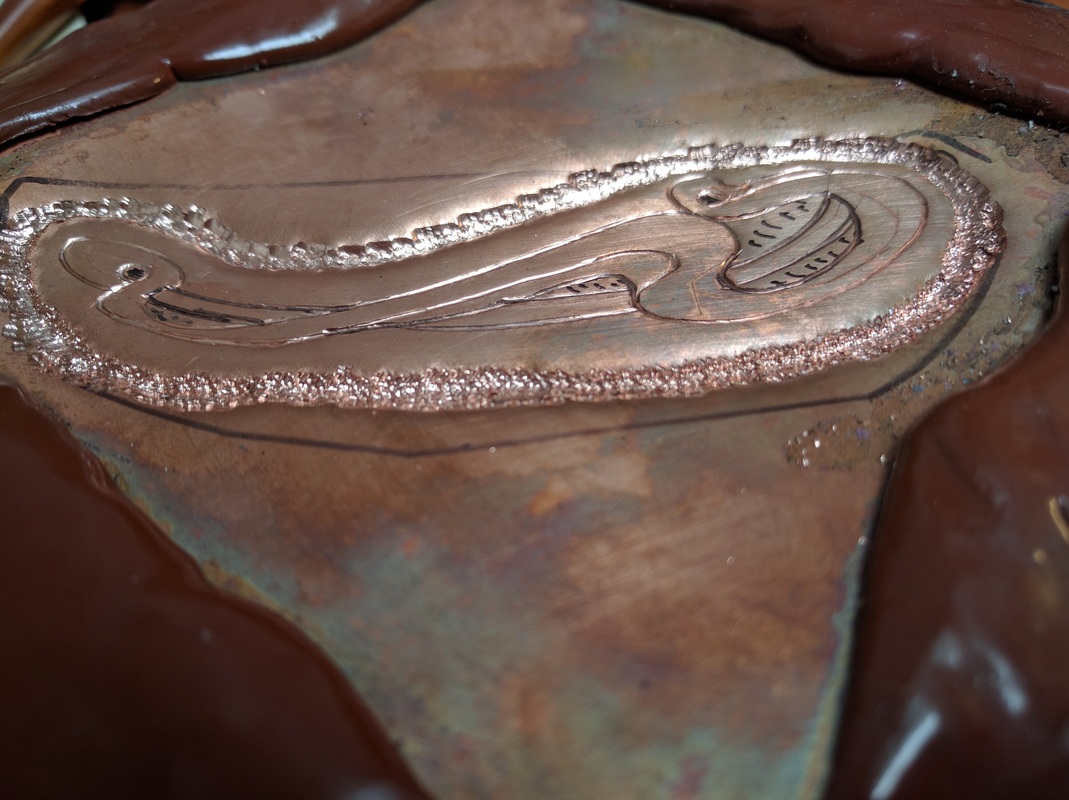
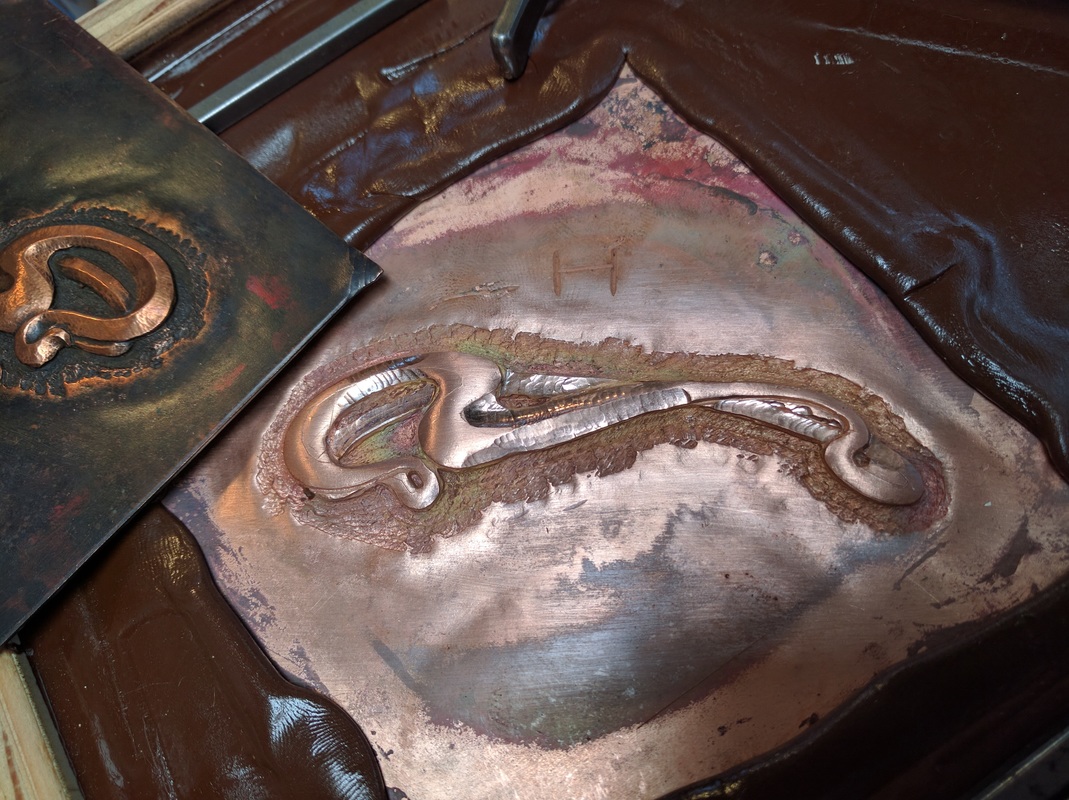
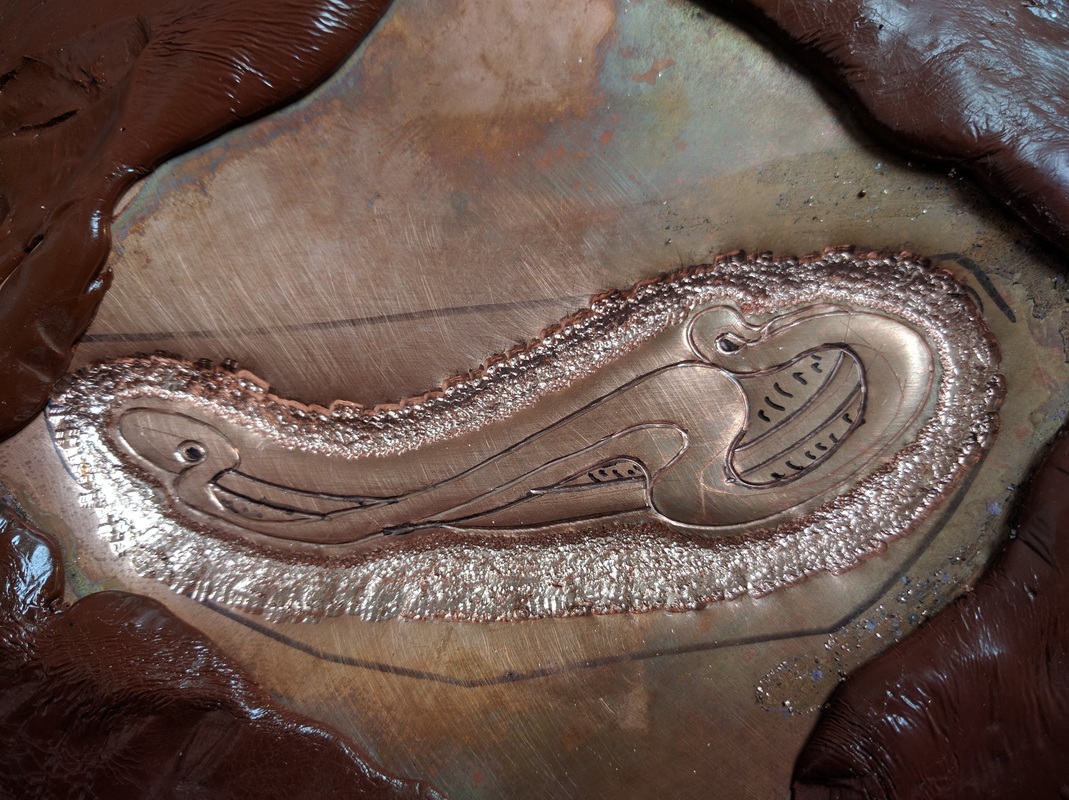
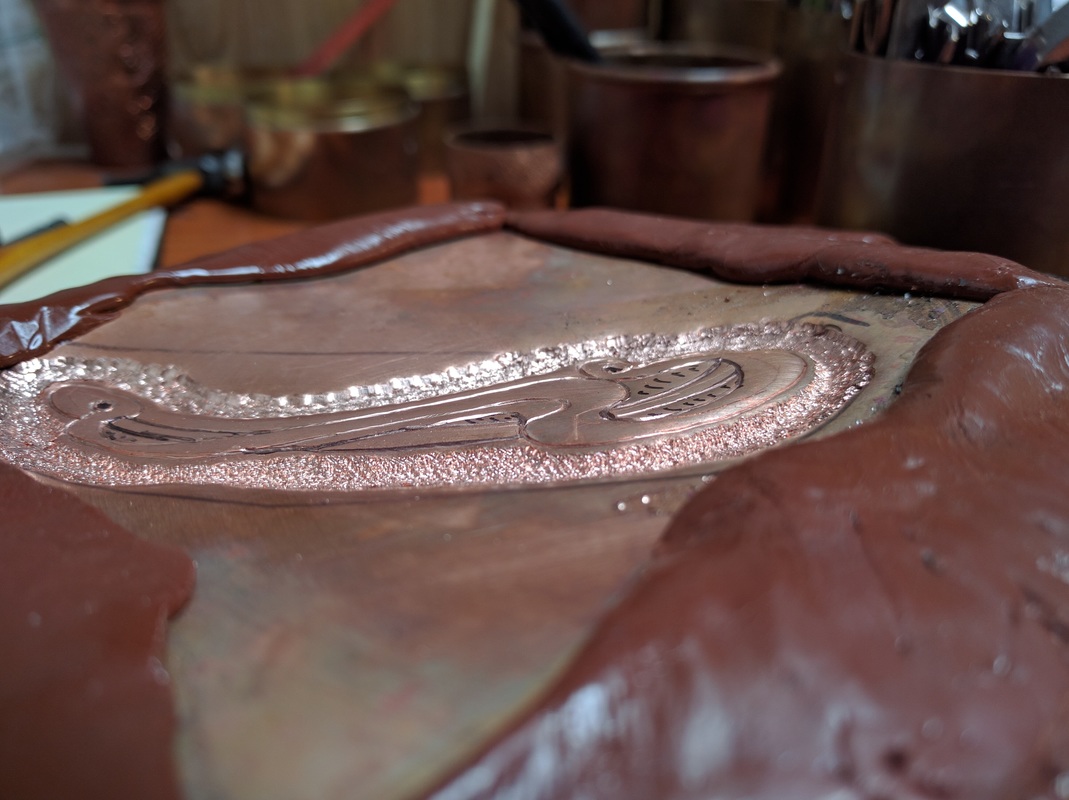
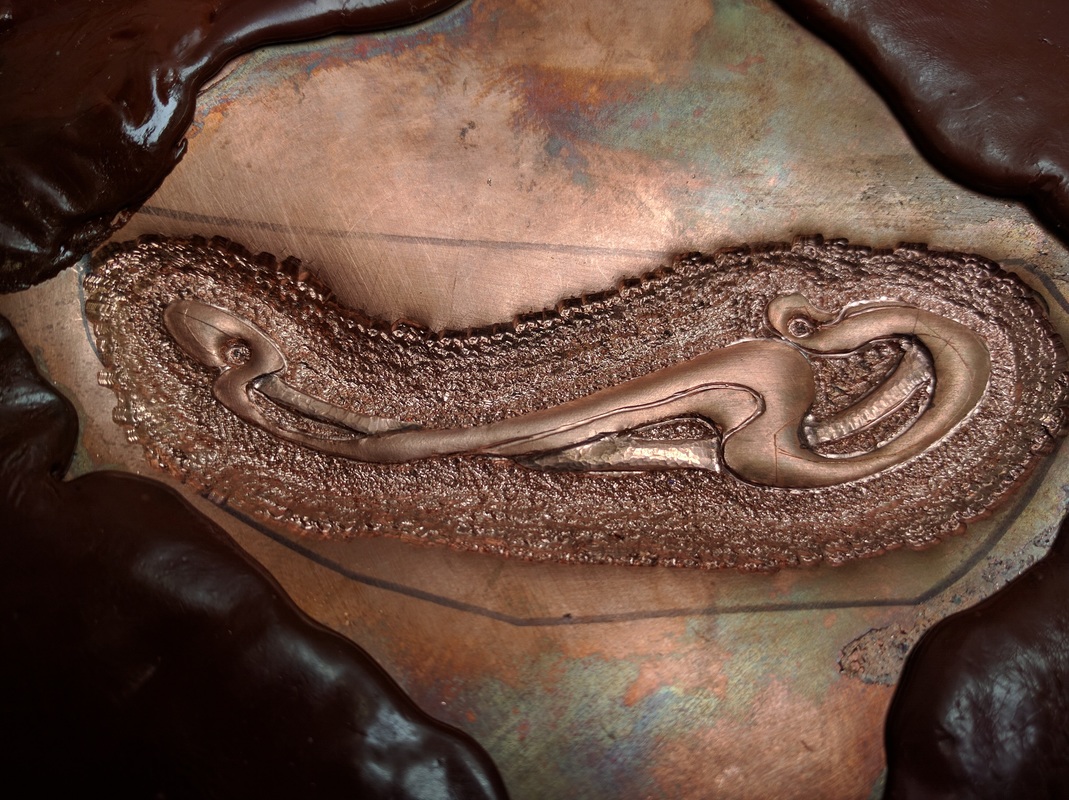
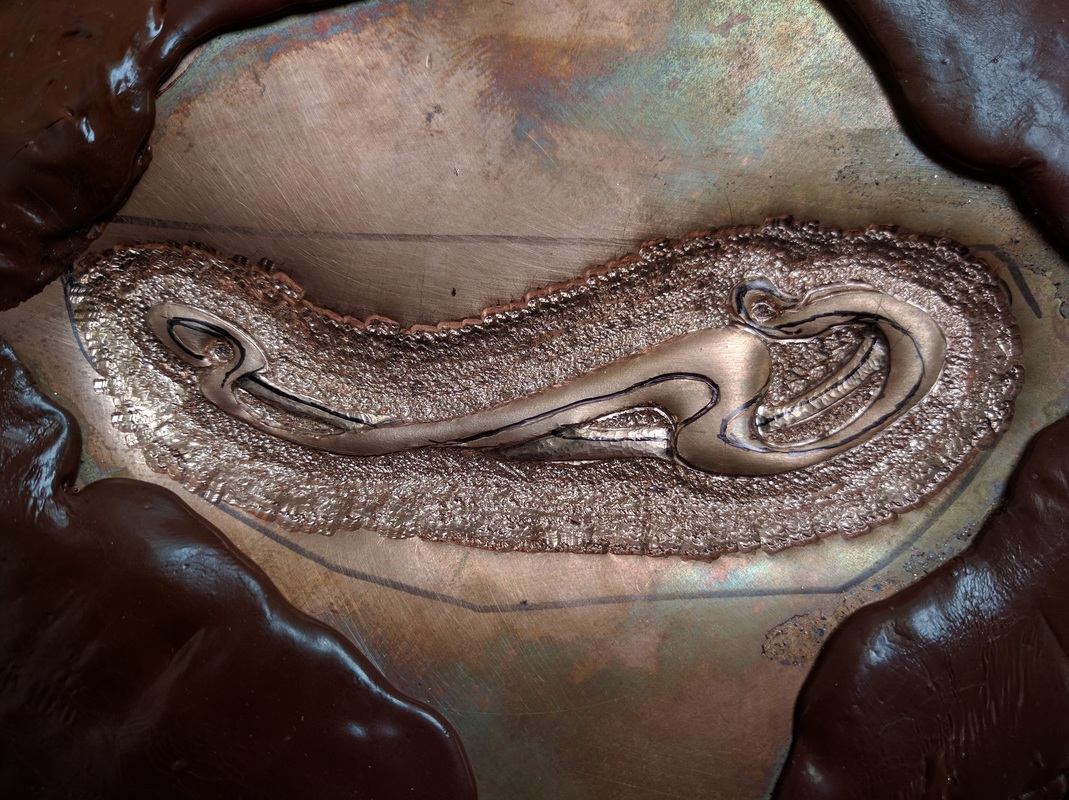
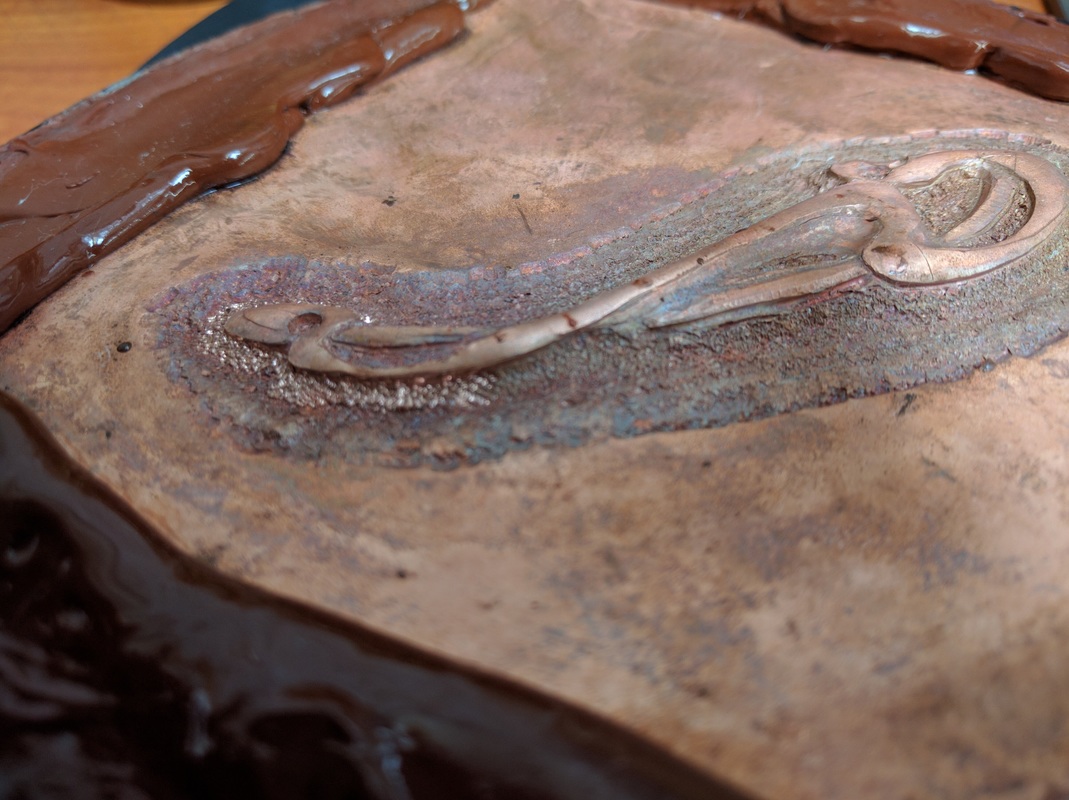
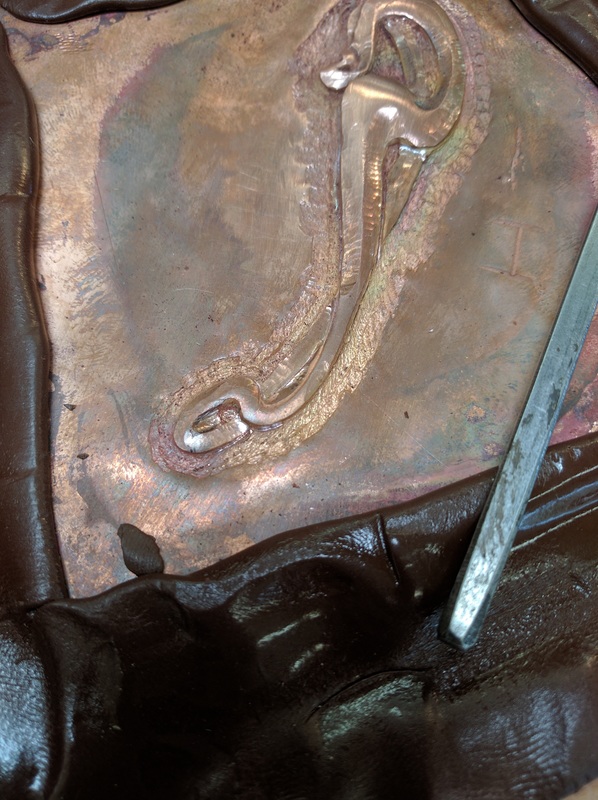
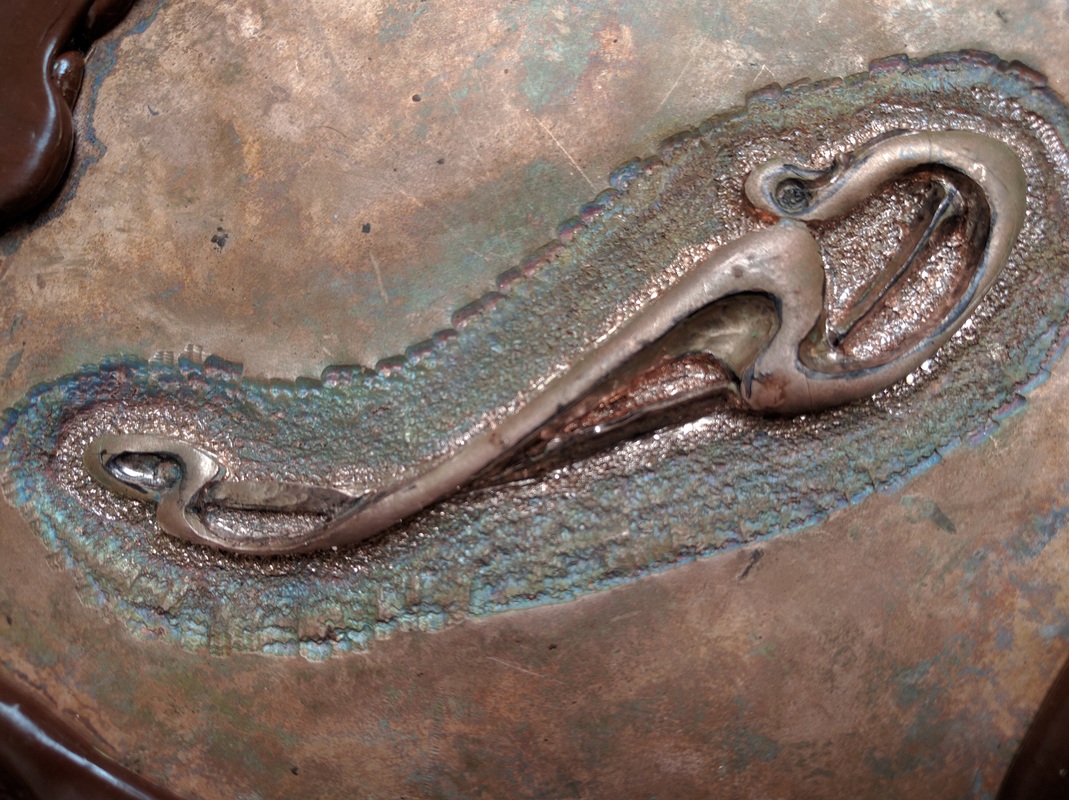
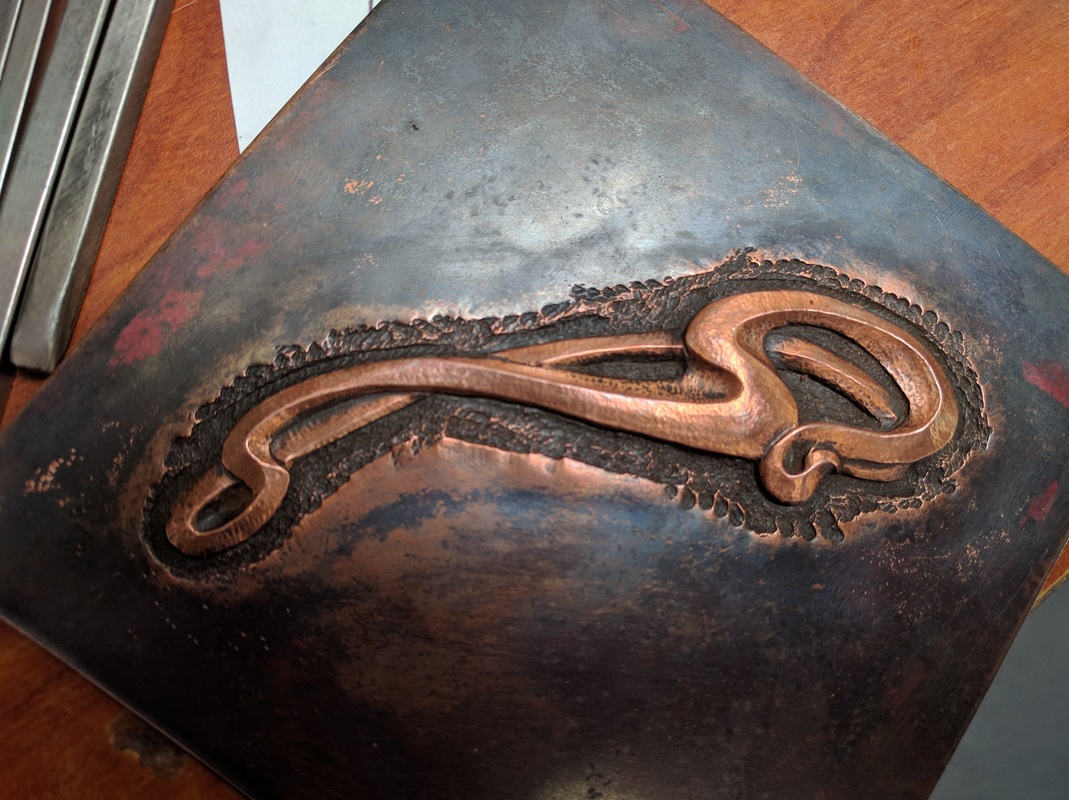
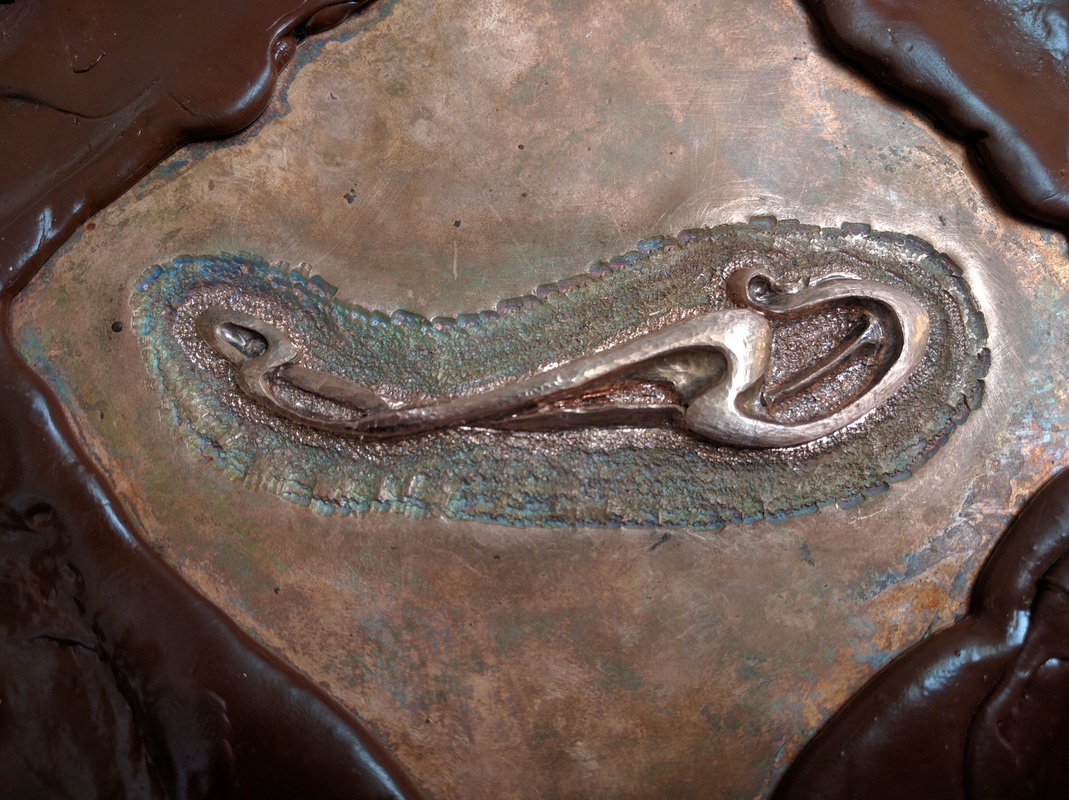
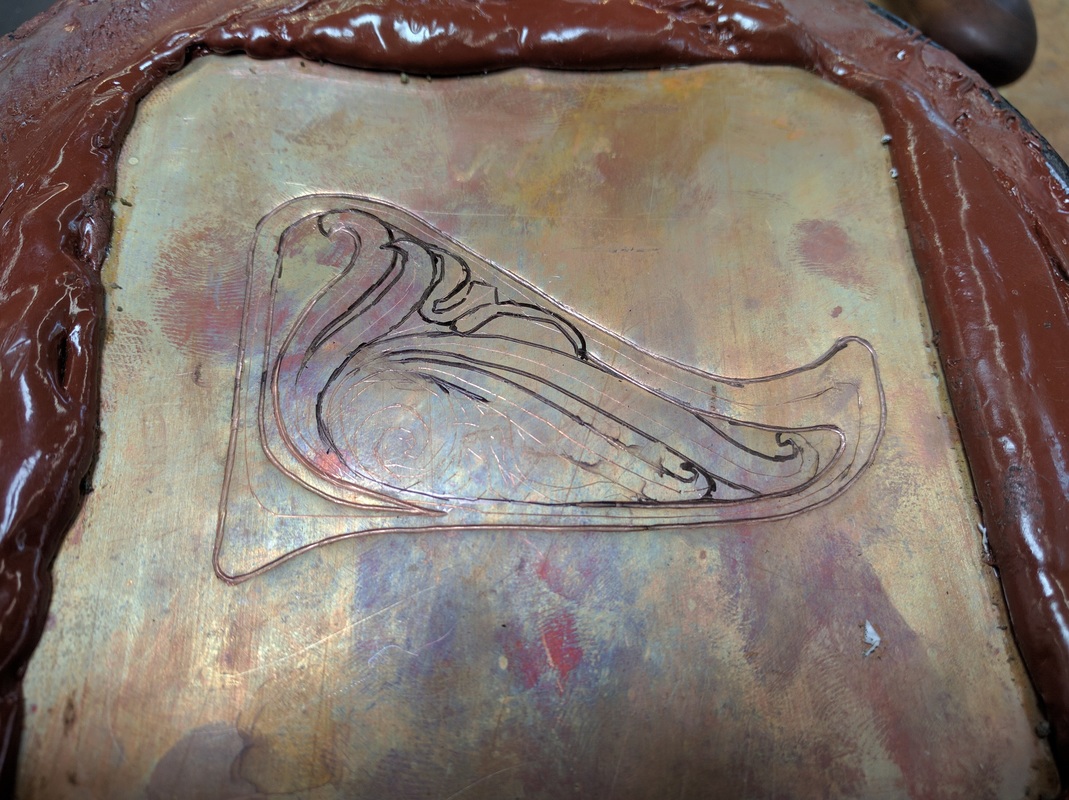
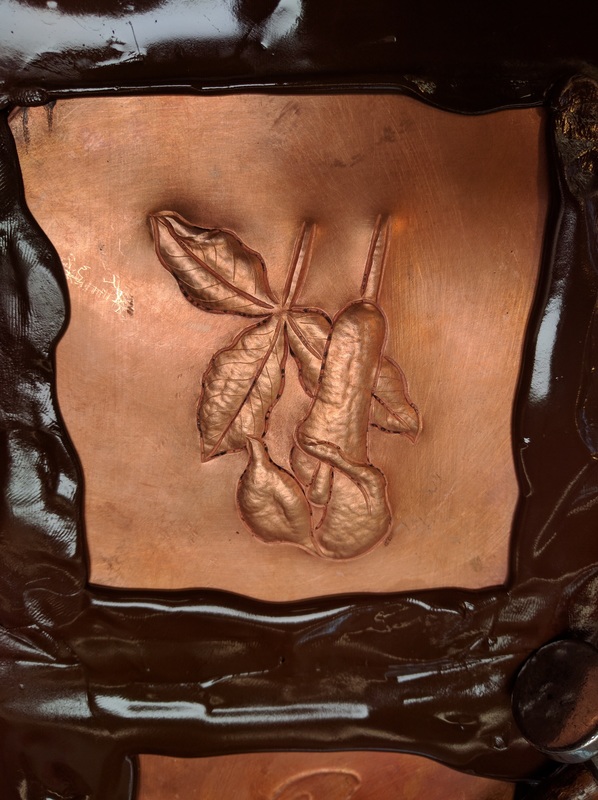
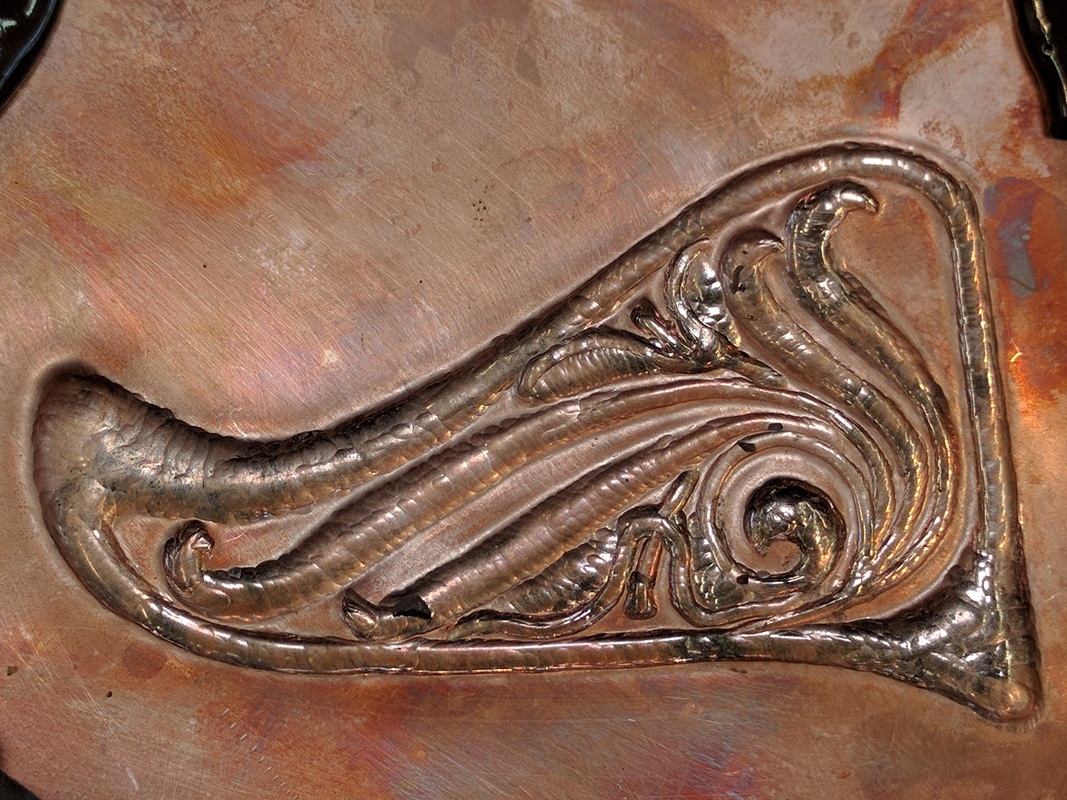
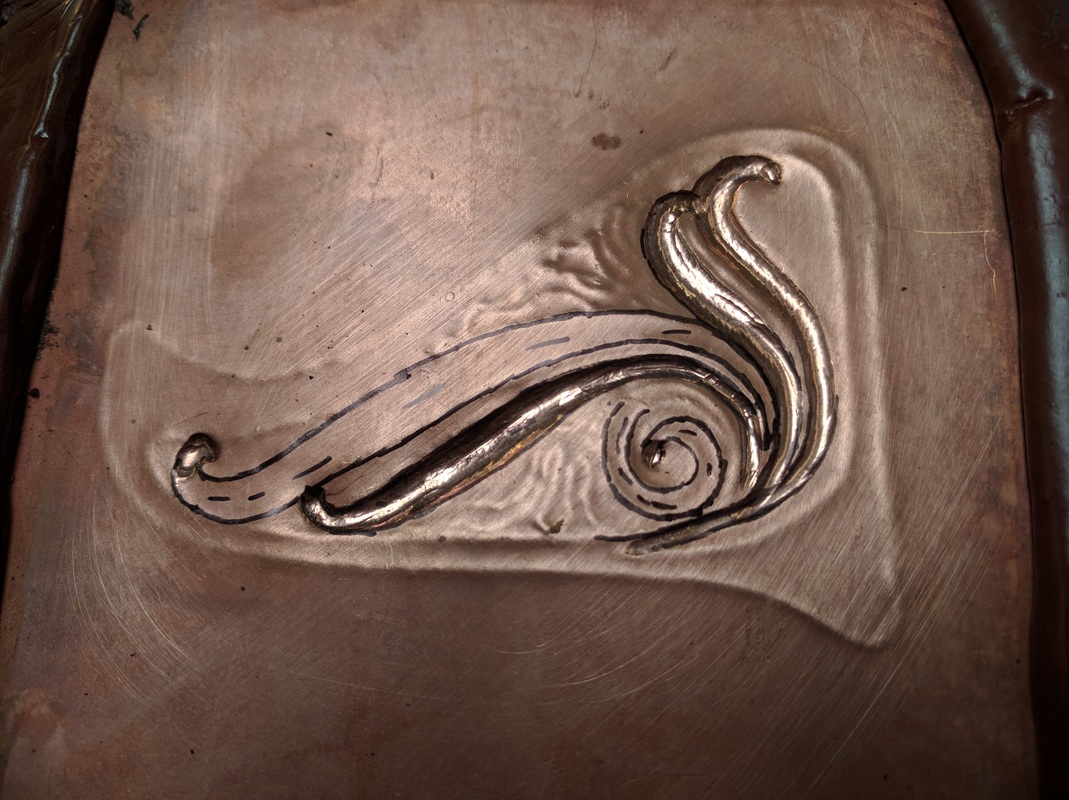
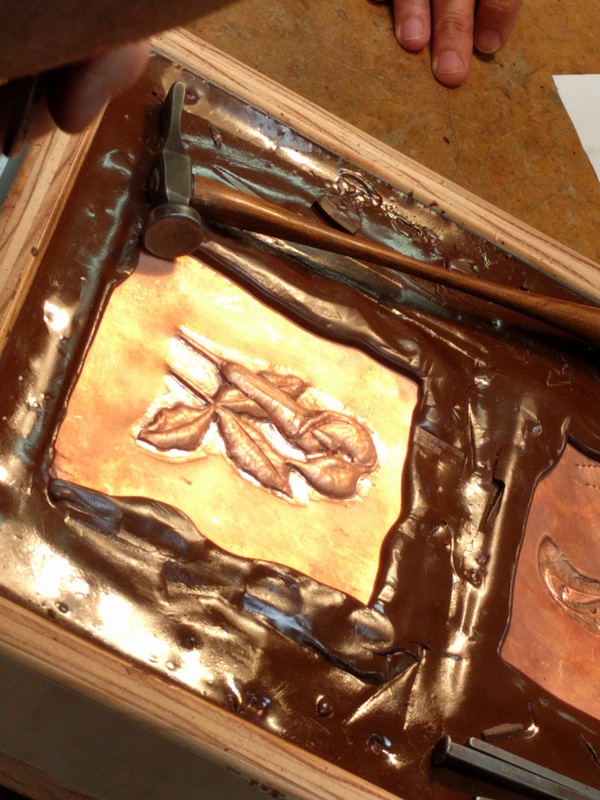
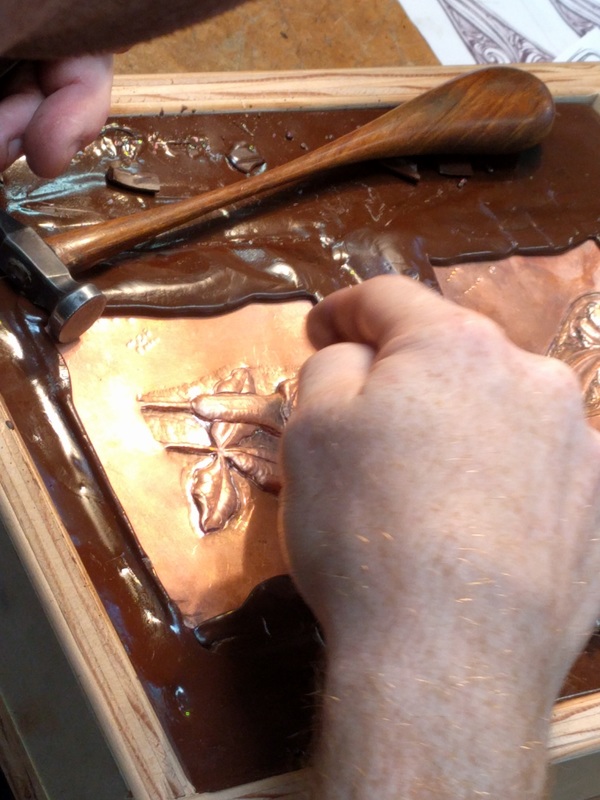
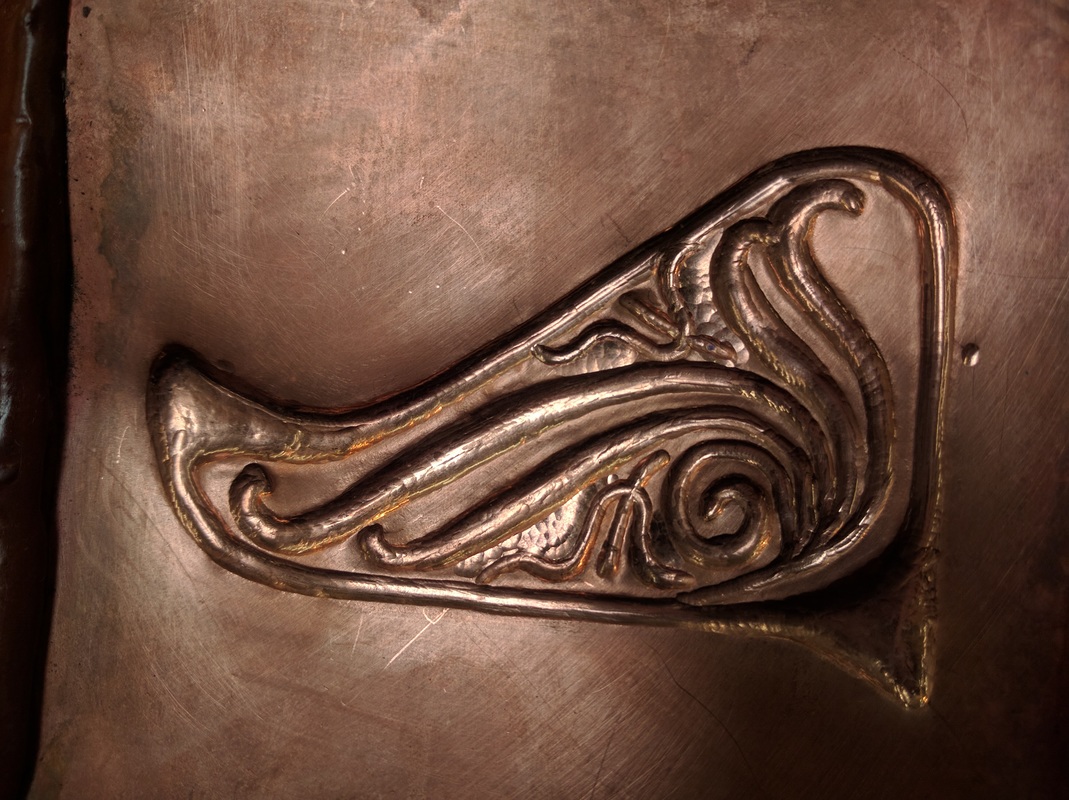
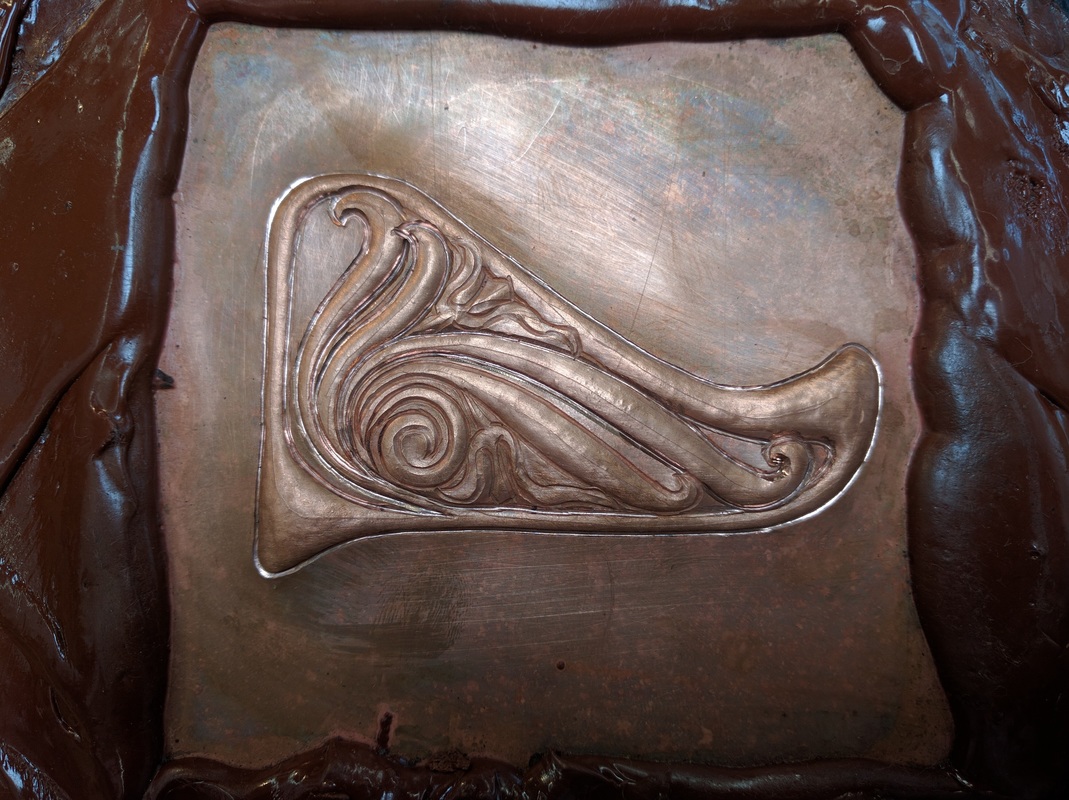
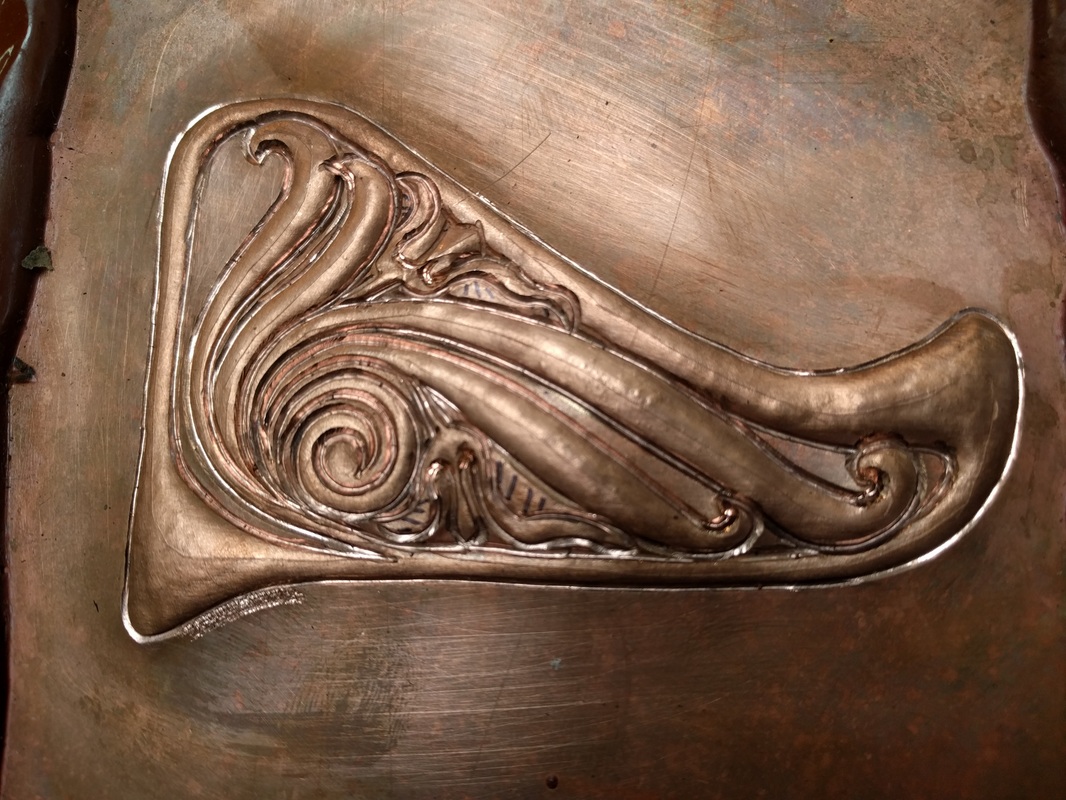
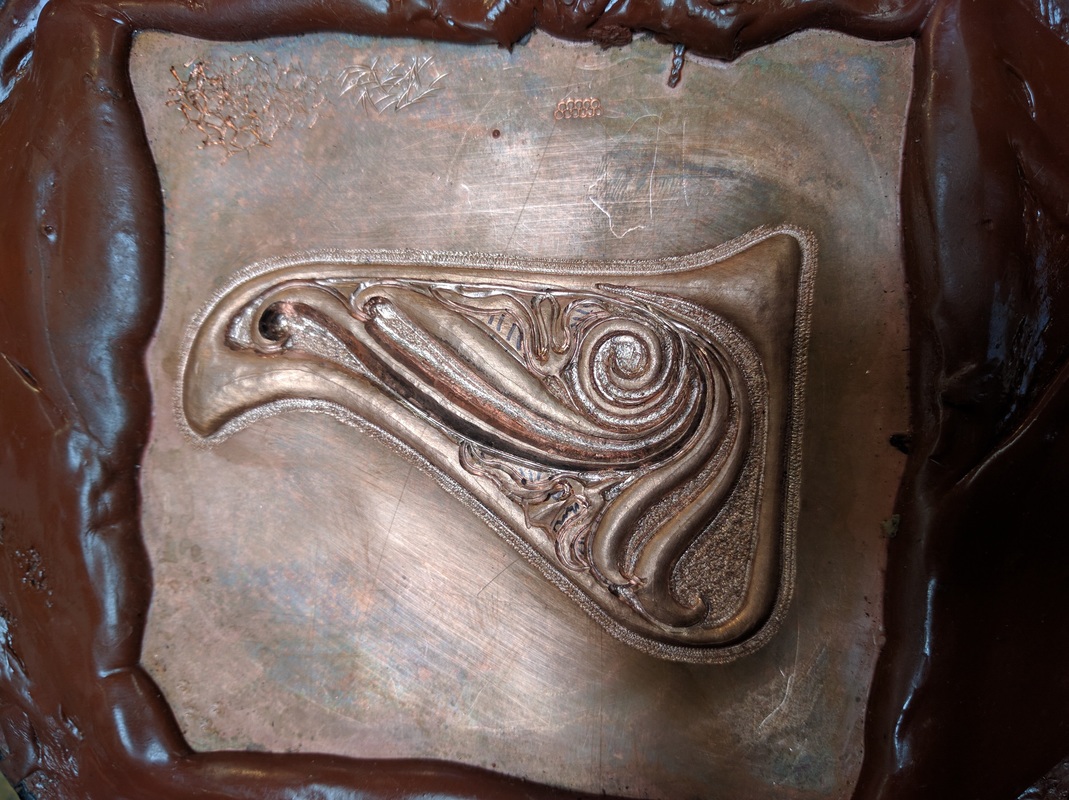
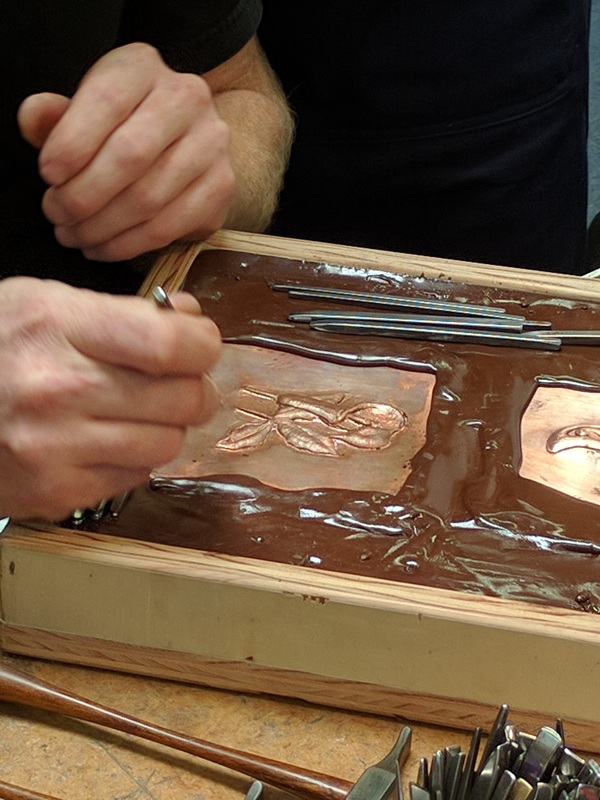
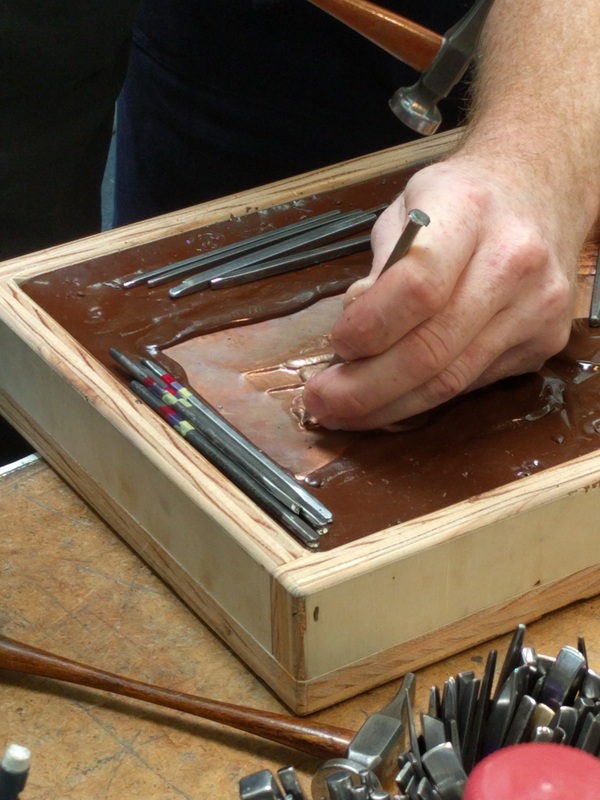
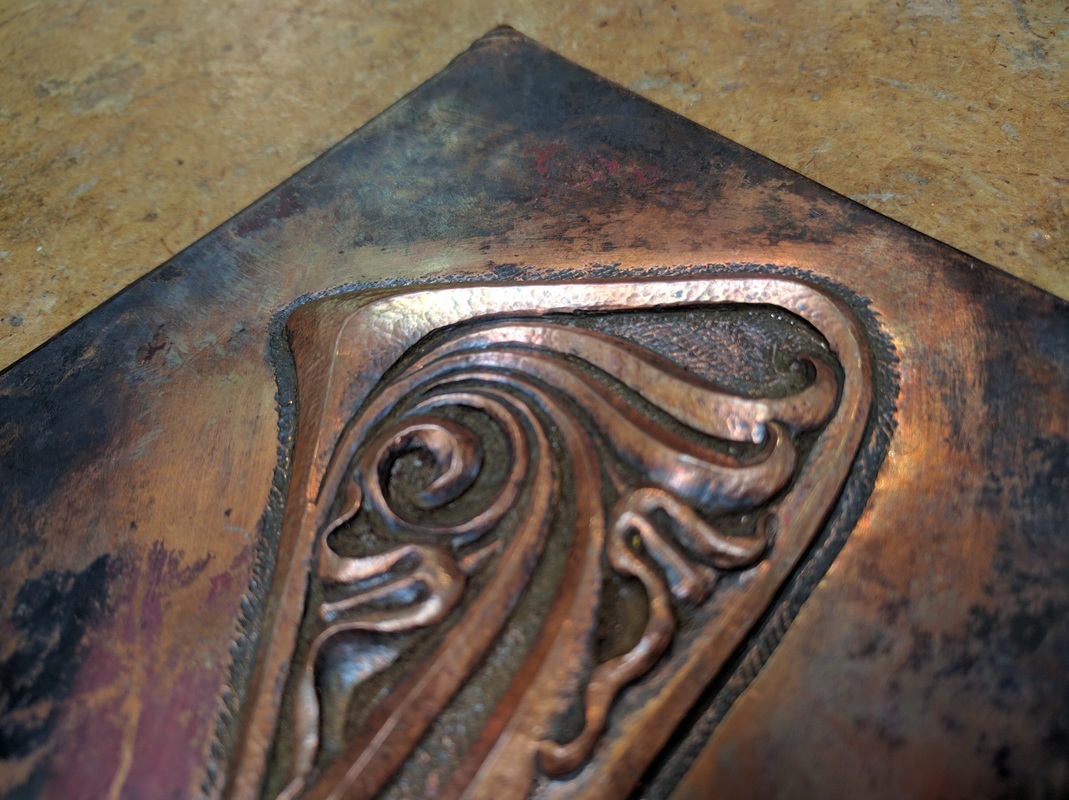
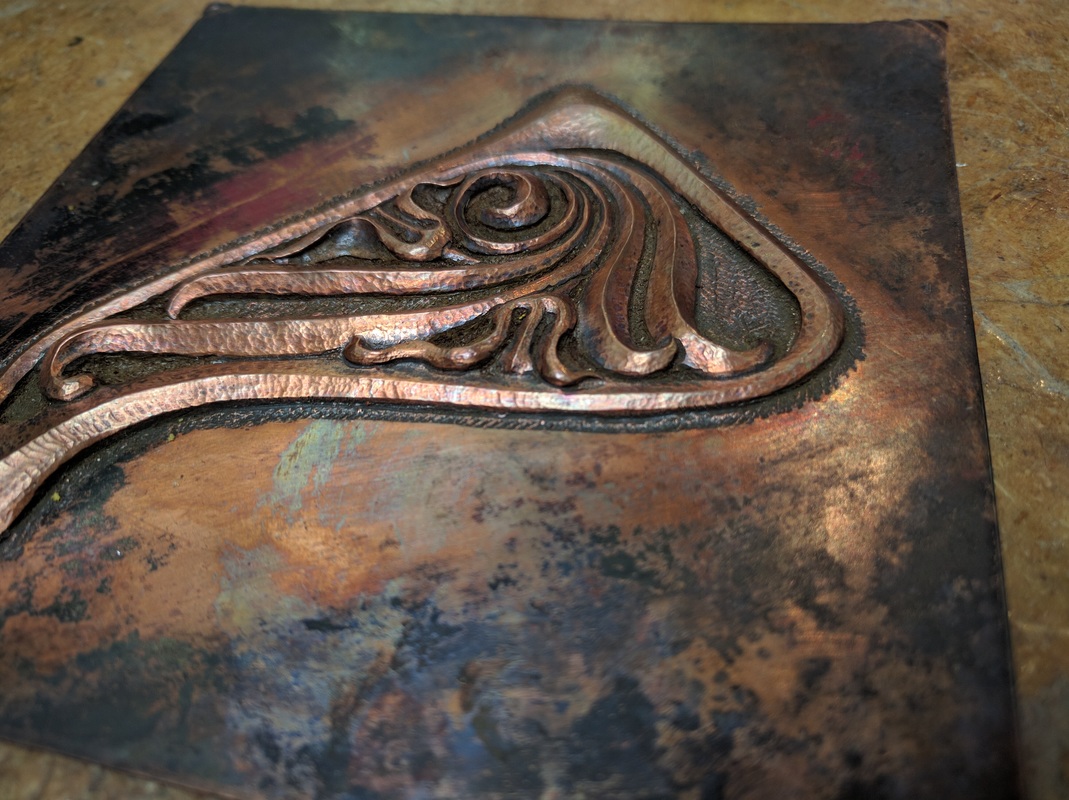
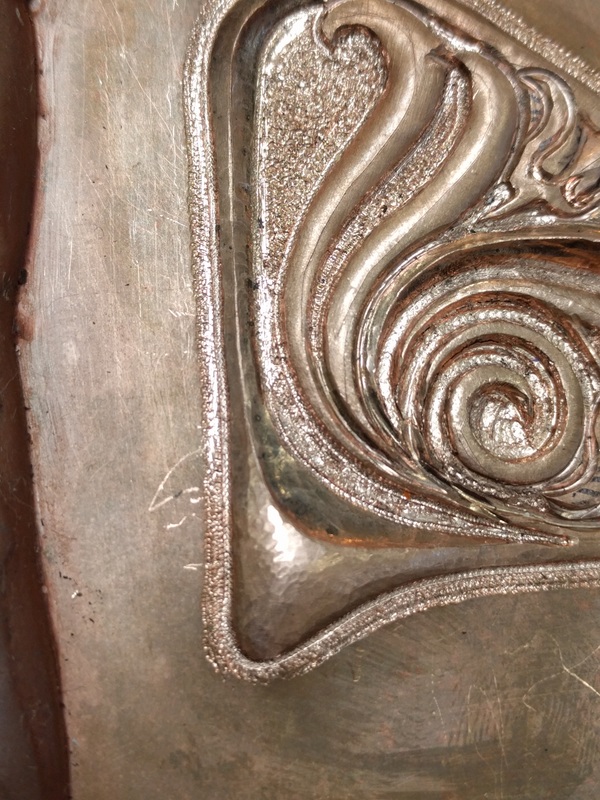
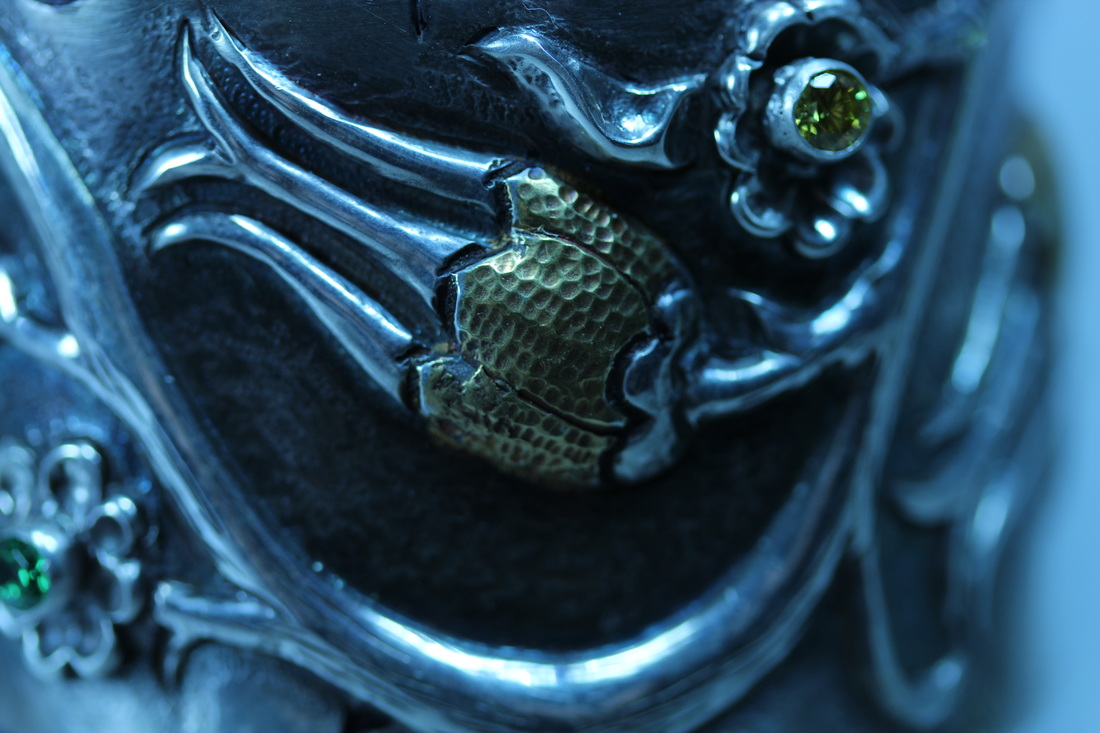
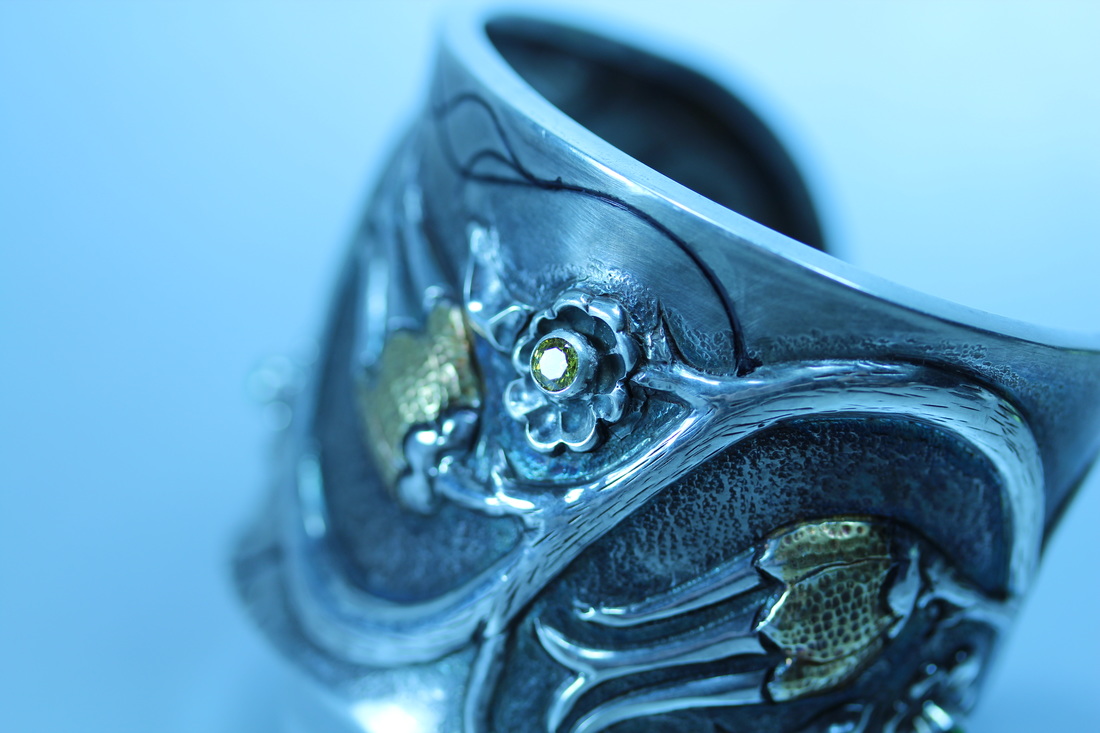
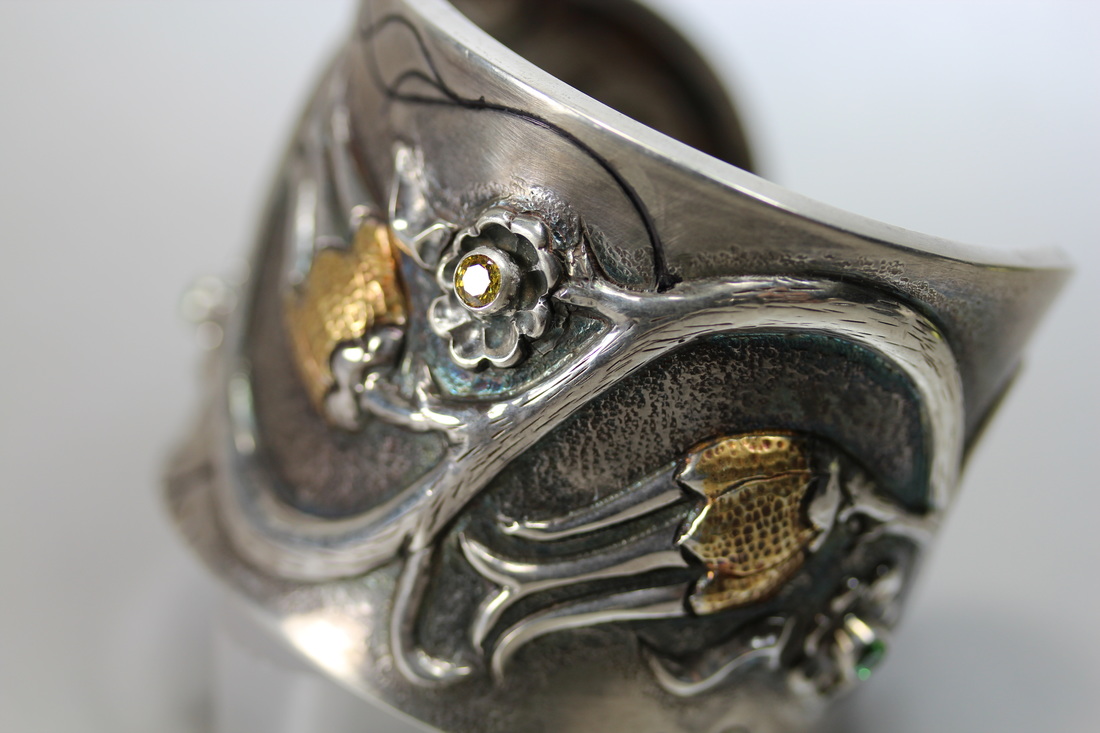
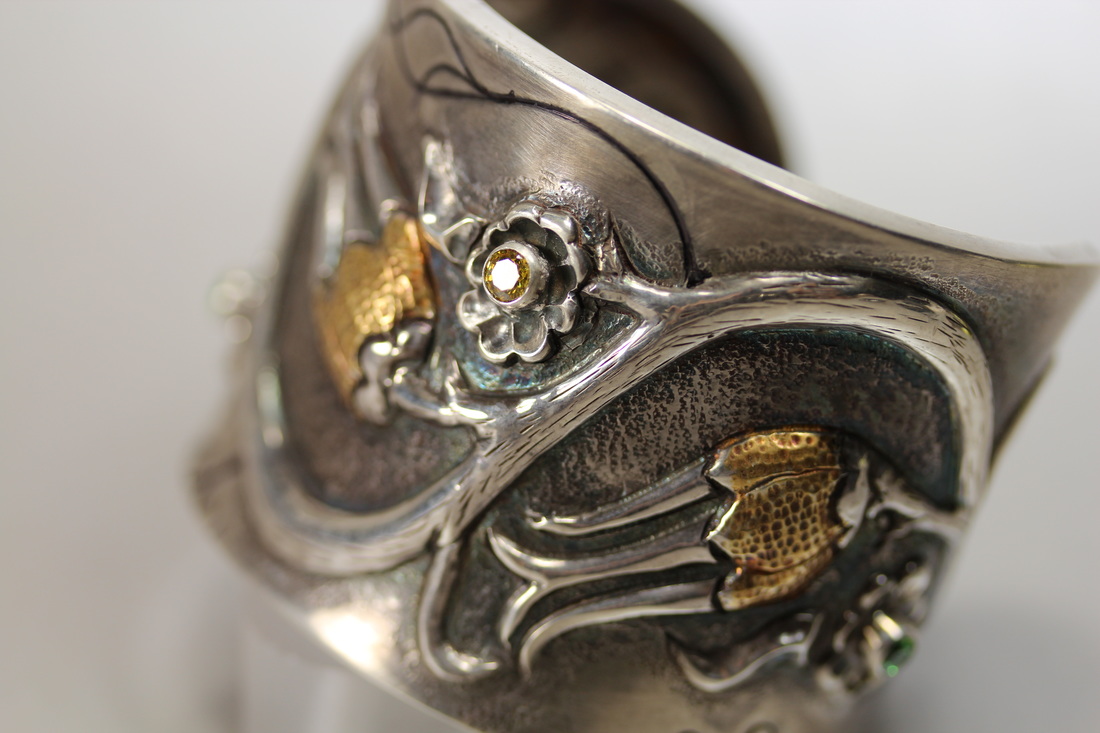
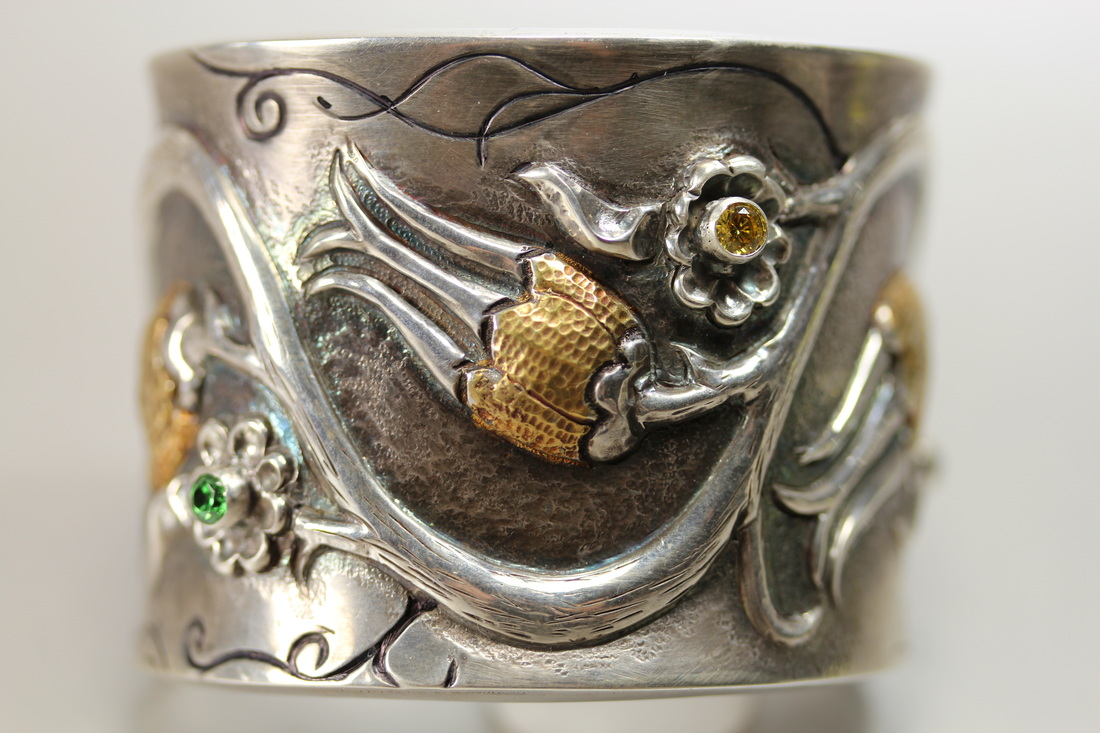
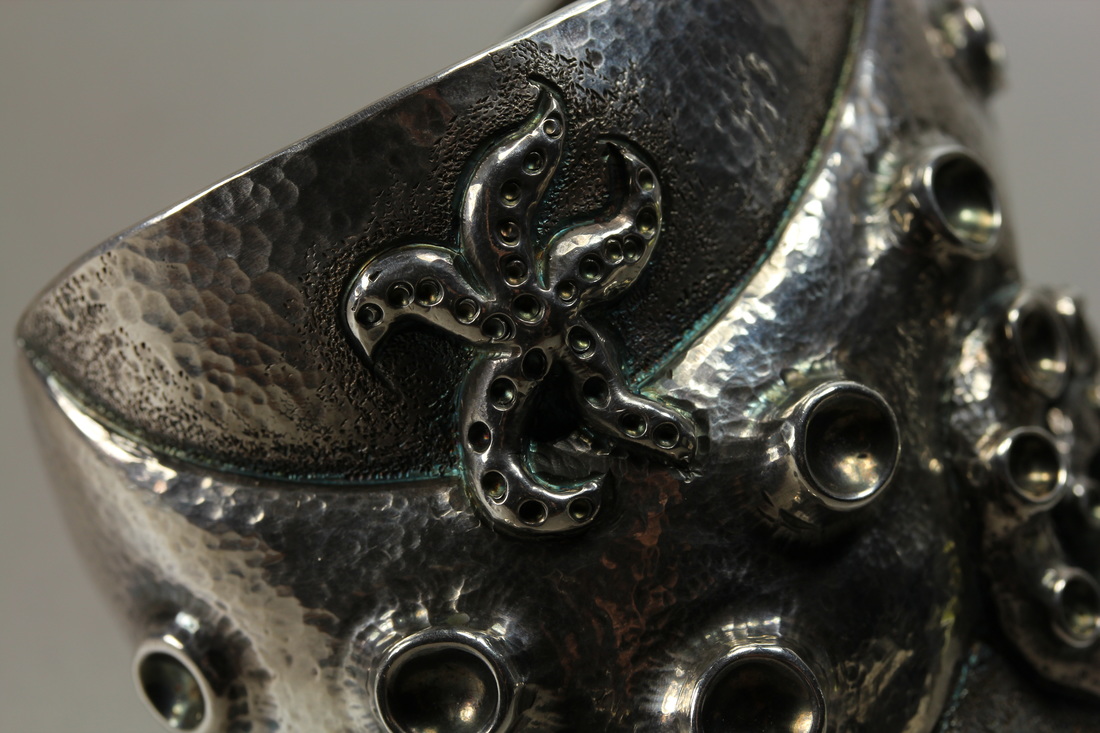
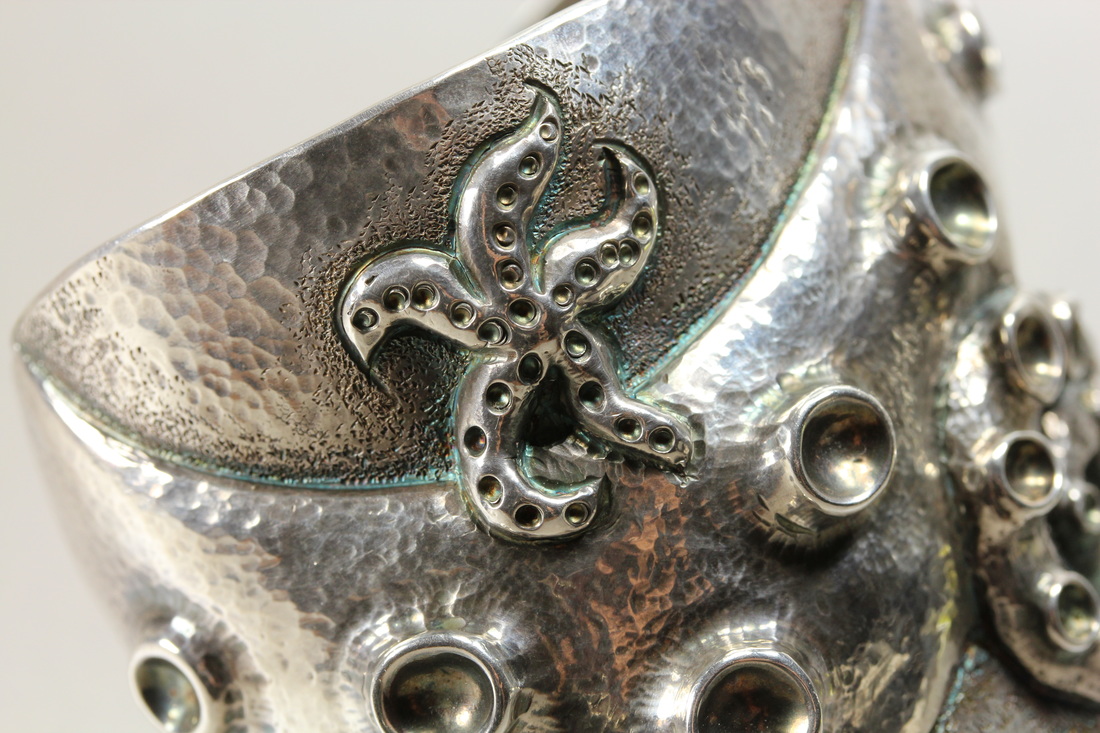
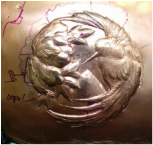
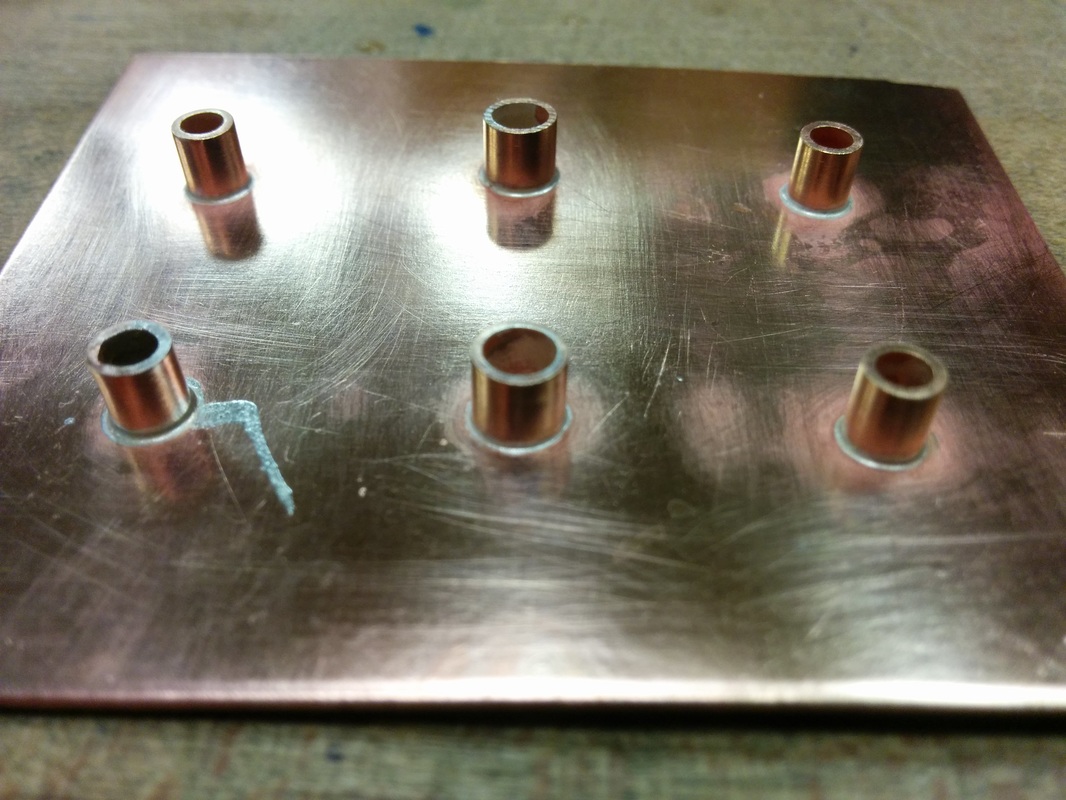
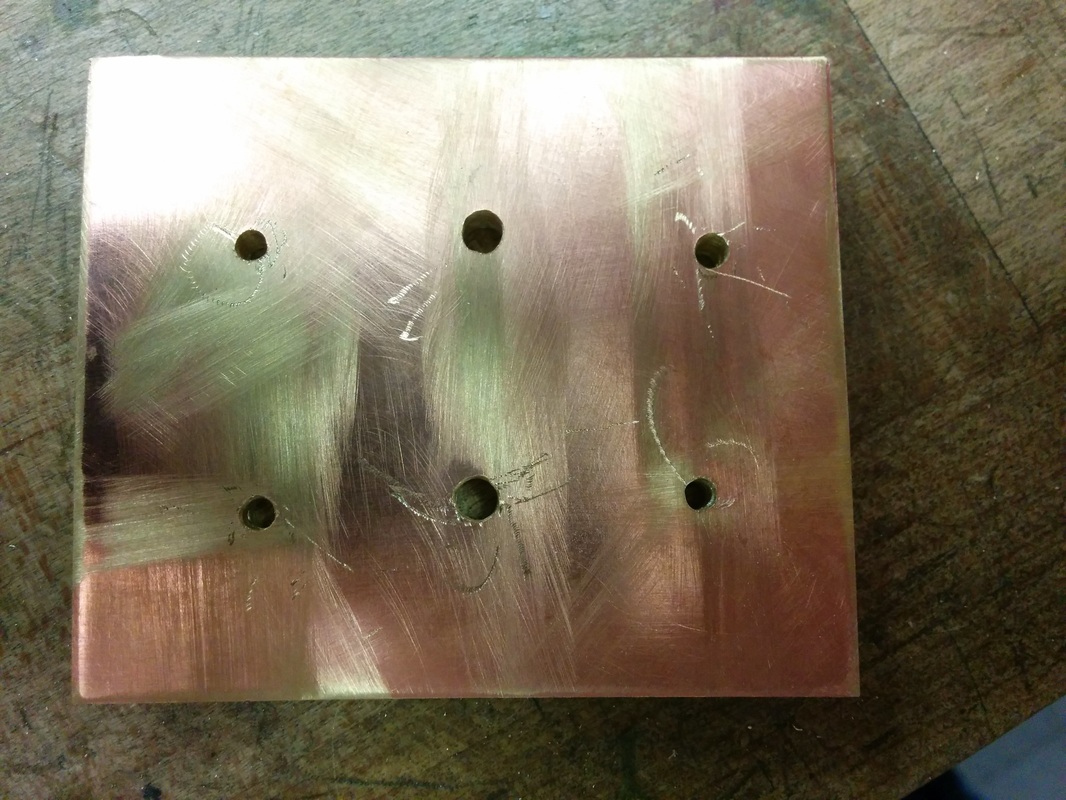
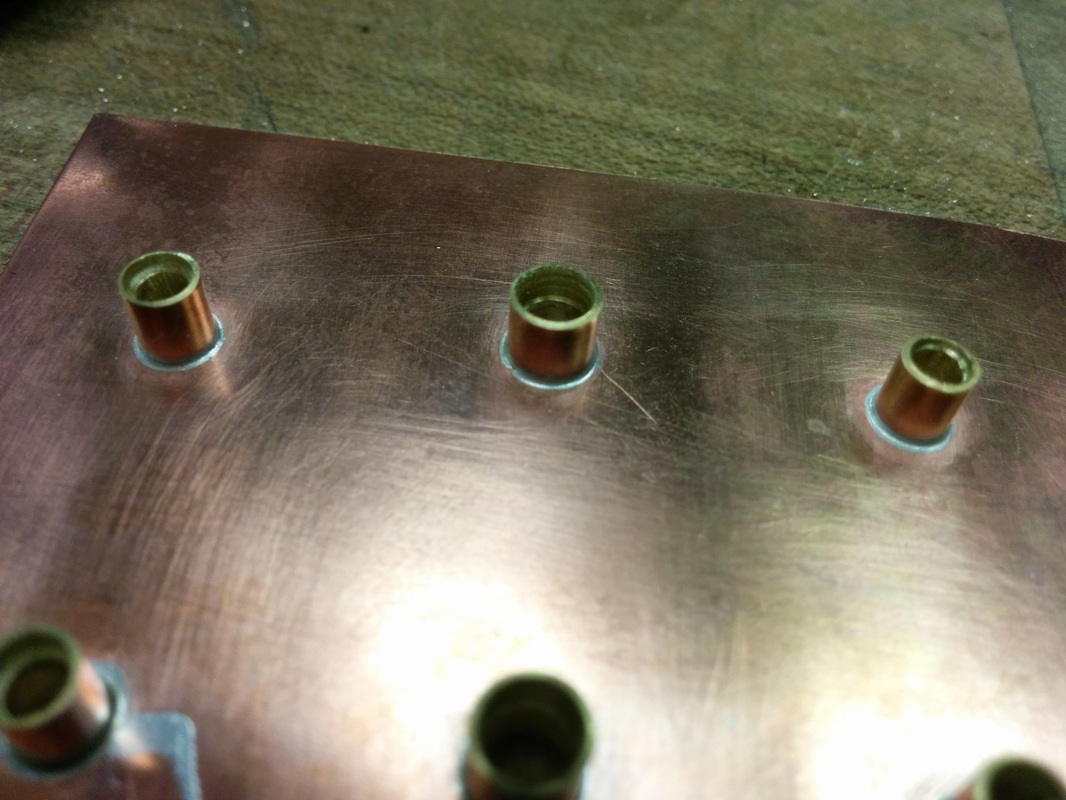
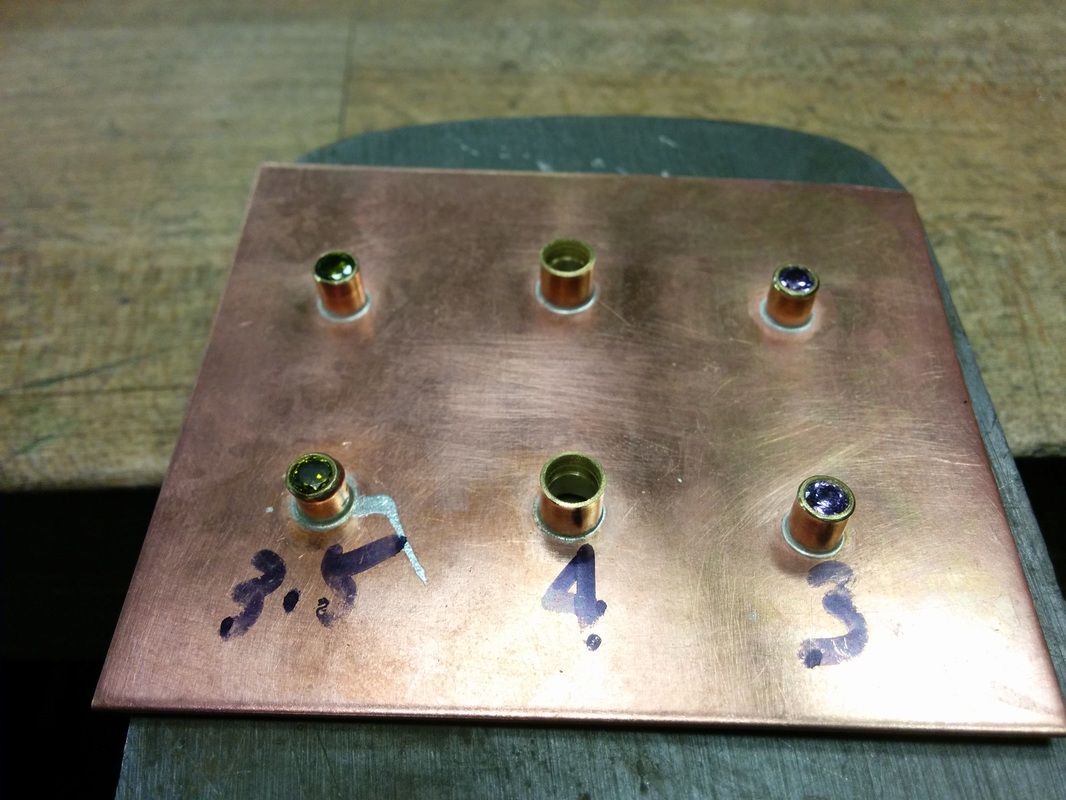
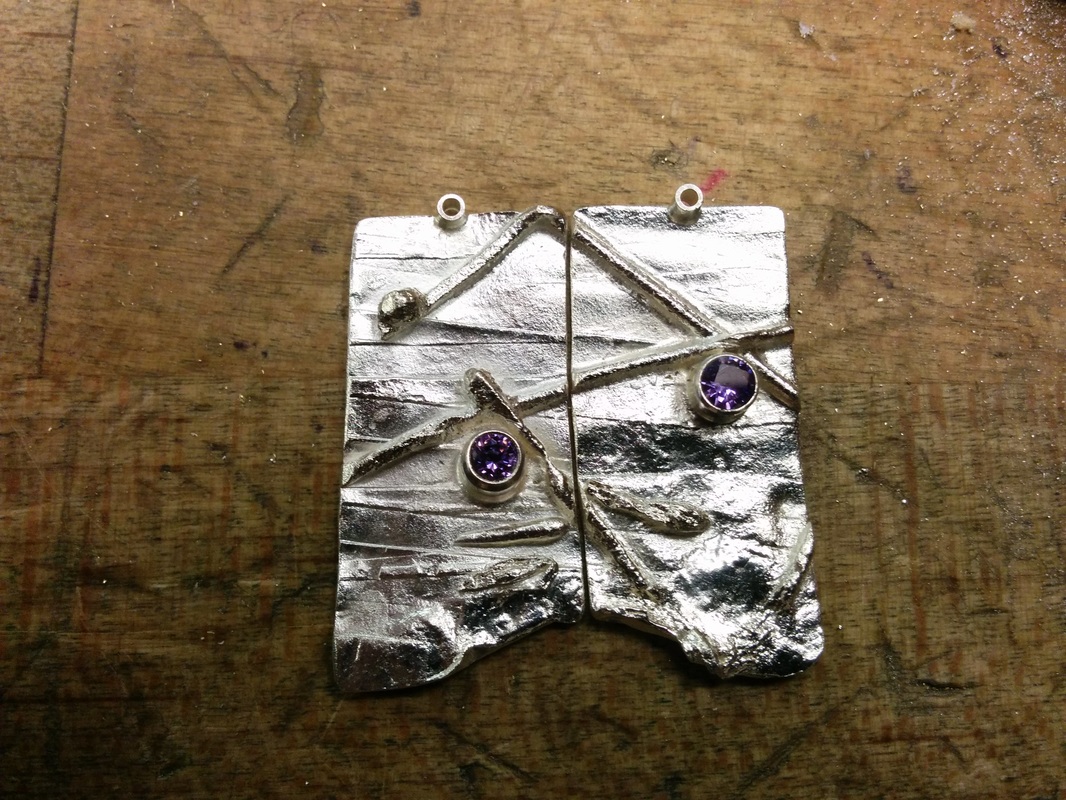
Well, 3 -4 years ago I worked on a series of leather journal covers with a riveted metal panel that had chasing & repousse designs. And even though they are all in the hands of others, I knew that this was something that I wanted to continue to make and eventually sell but the move to Texas and not having a studio interfered with my ability to resume this work.  Having a studio again, and having everything unpacked, I was finally able to do something about that and earlier in the month, I signed up for 3 leather workshops - this weekend was tooling, then I will have a workshop on sewing by hand and with a machine; and then a class by about dying. 

These will give me the basic skills to raise the visual appeal of the covers. 

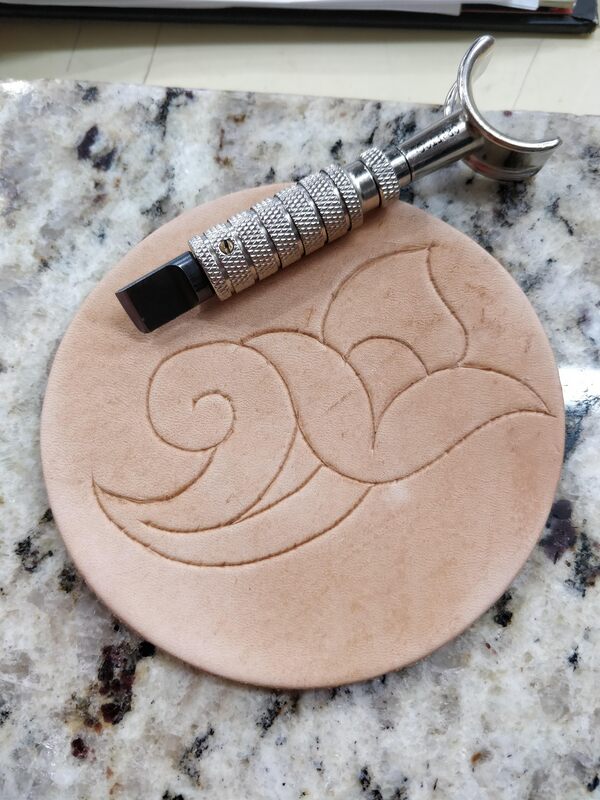
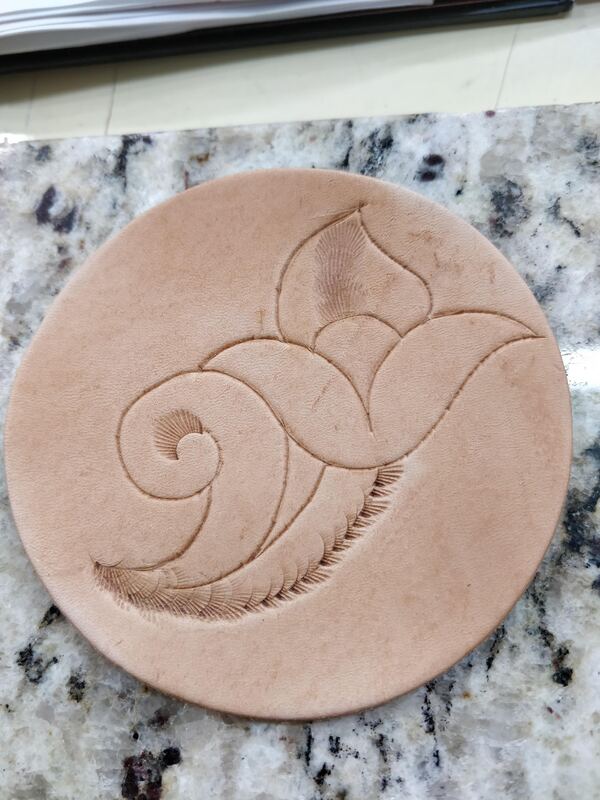
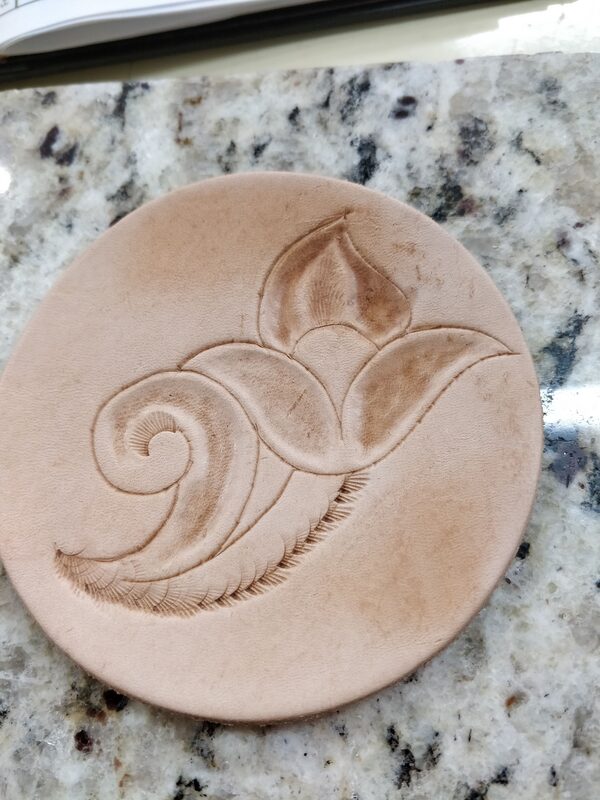
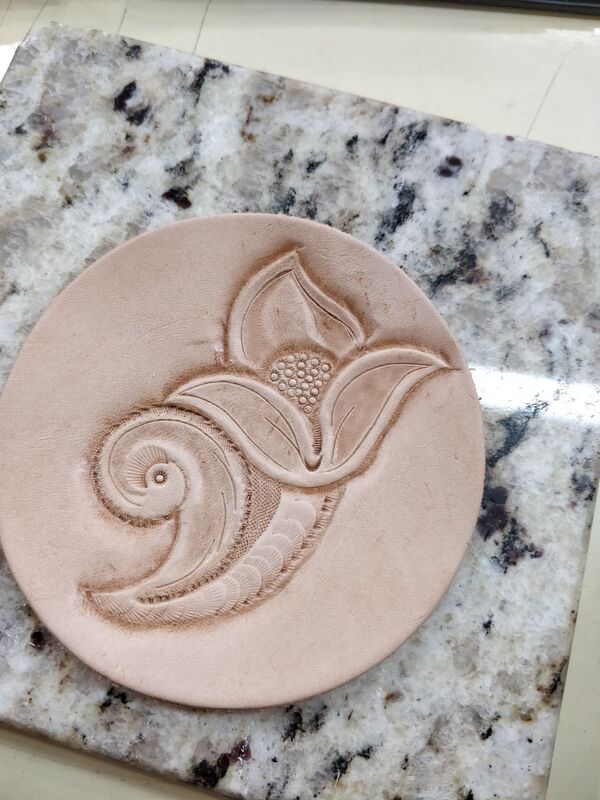
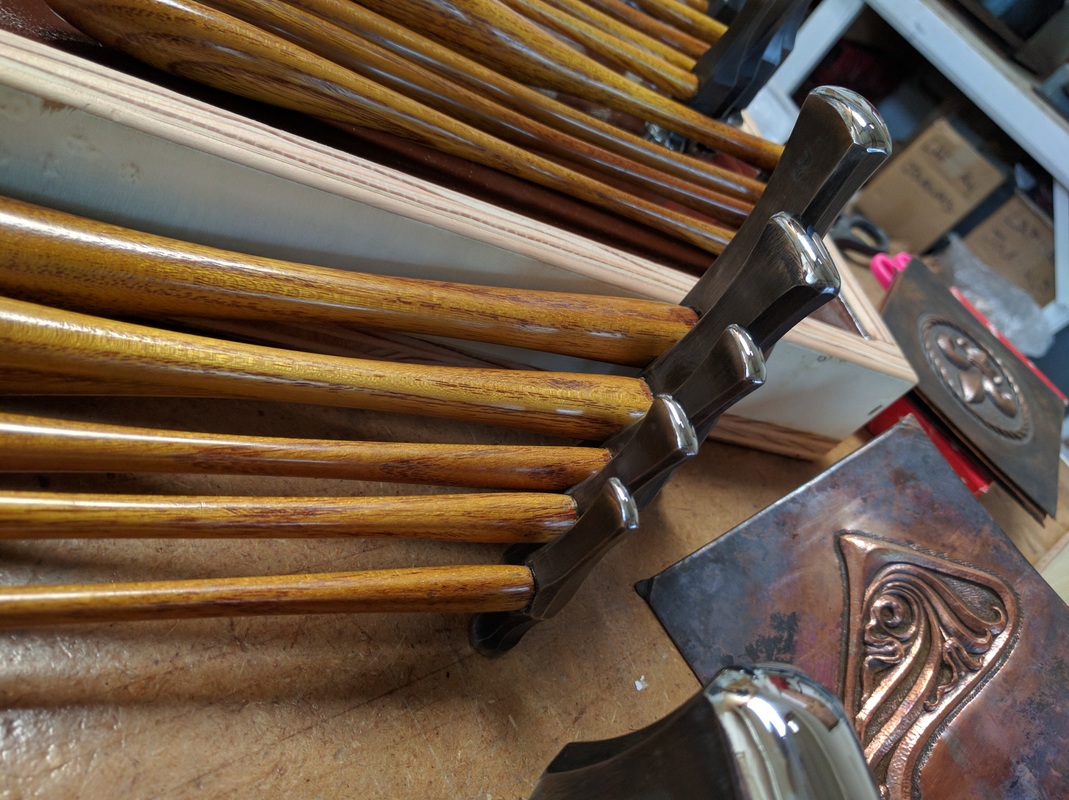
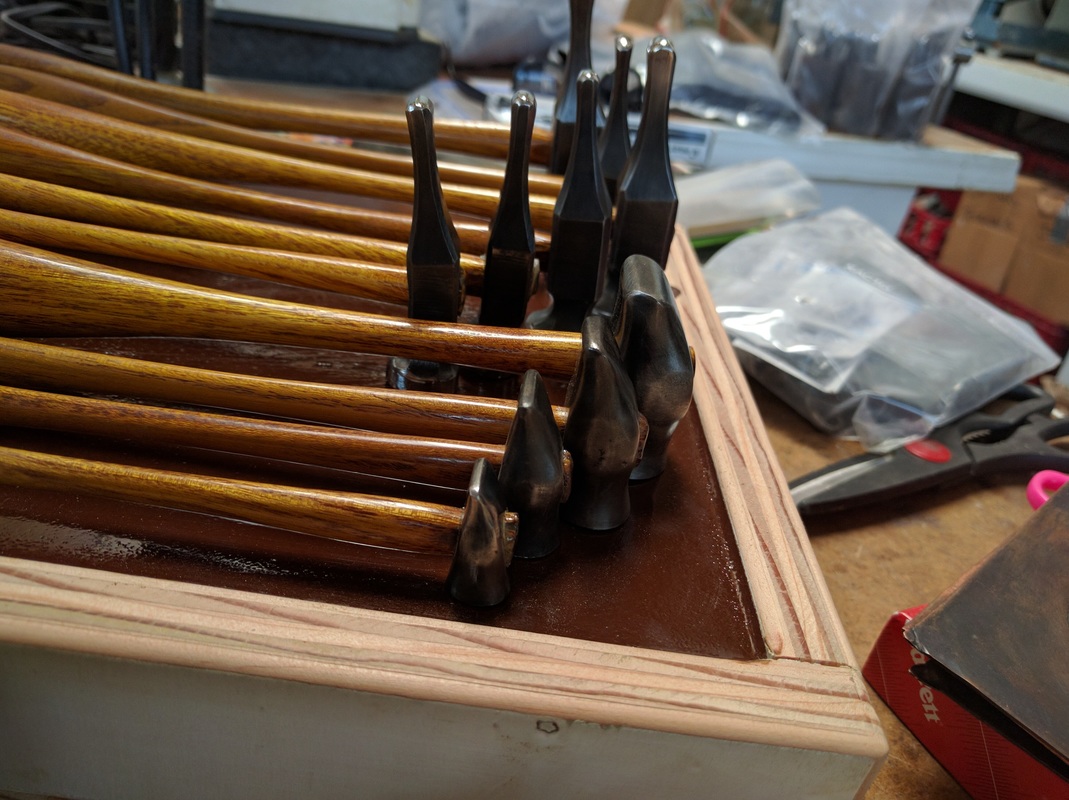
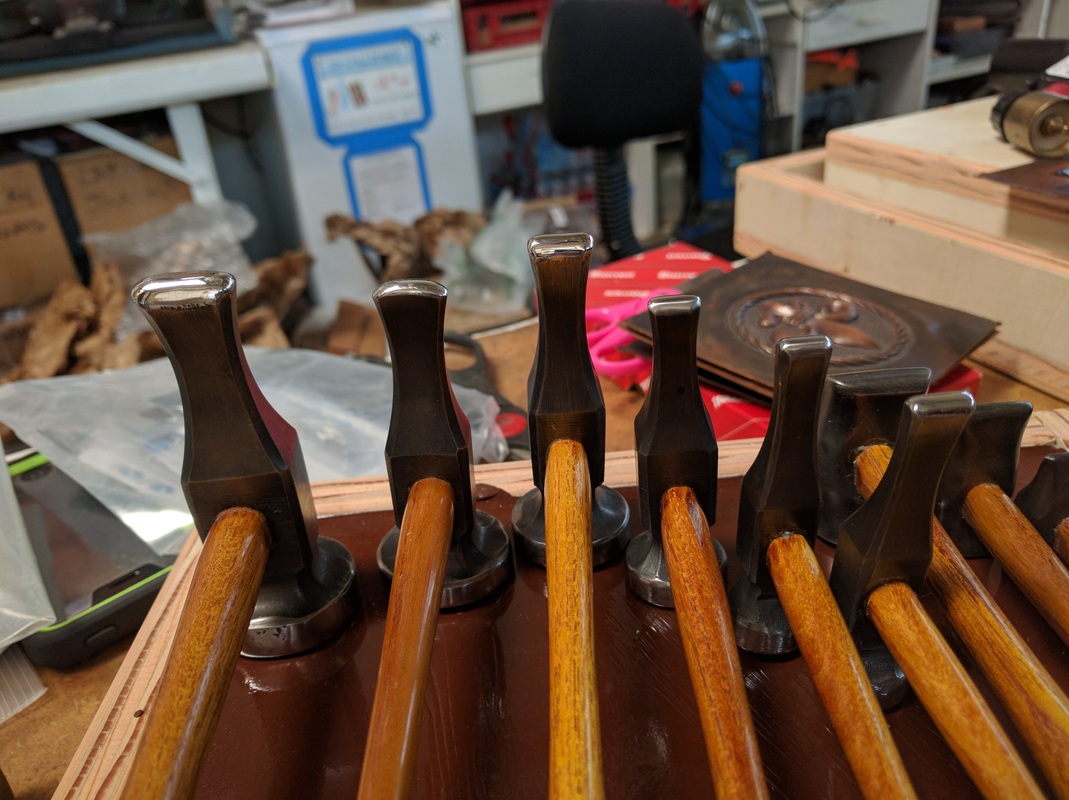
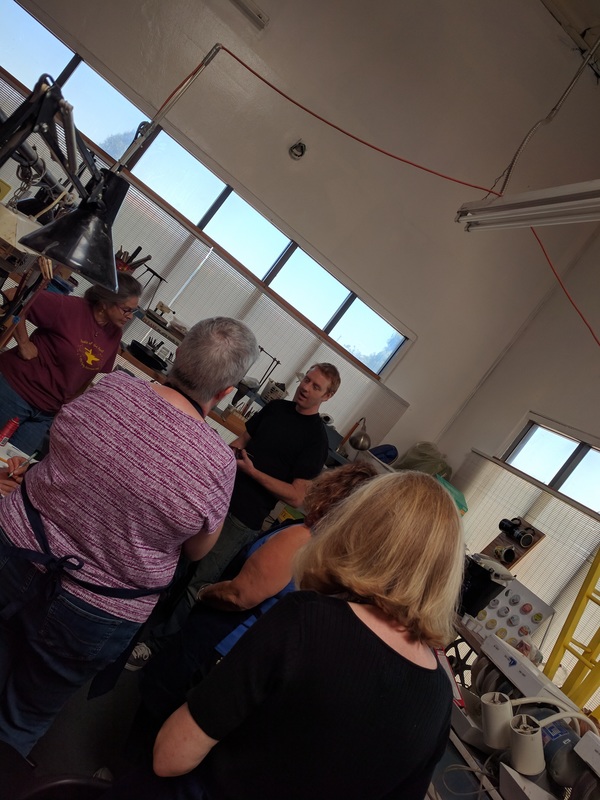
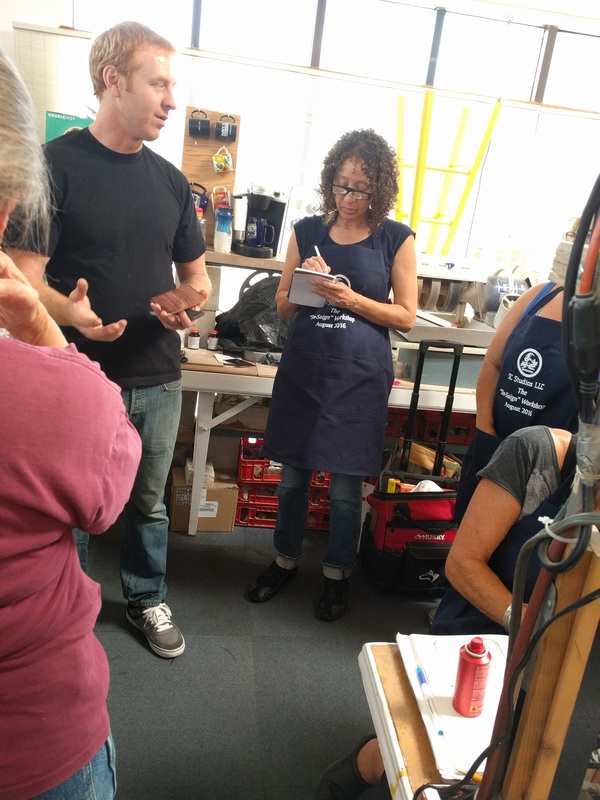
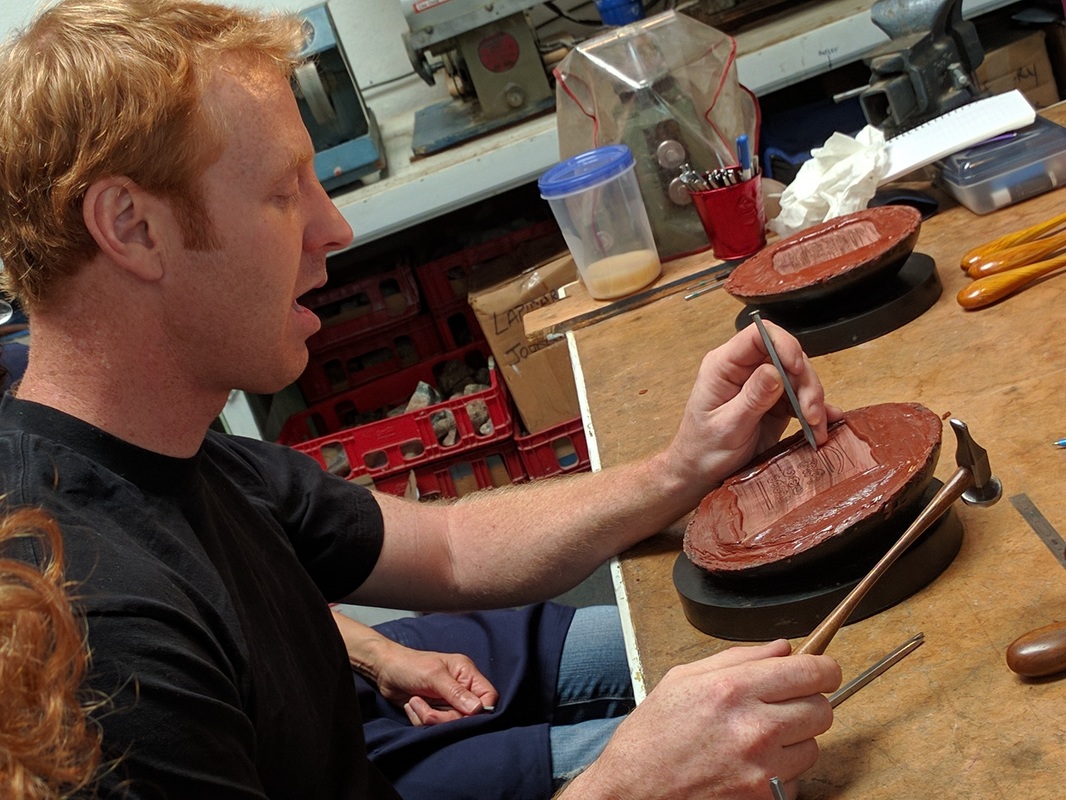
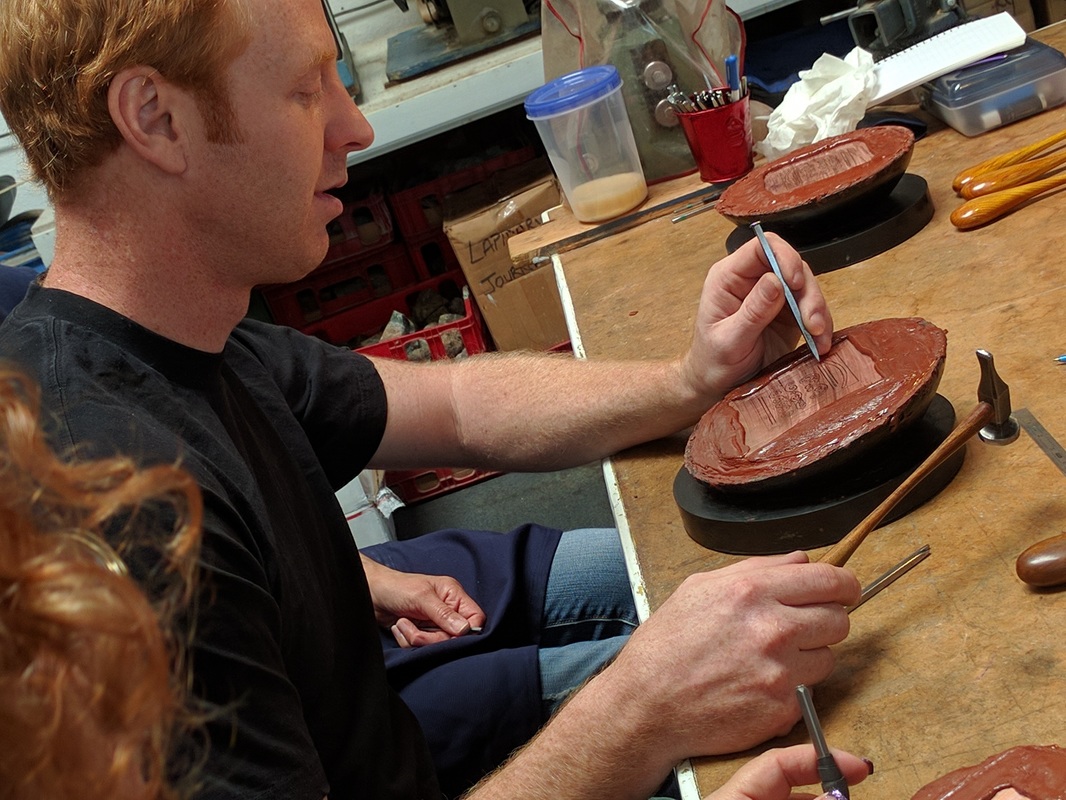
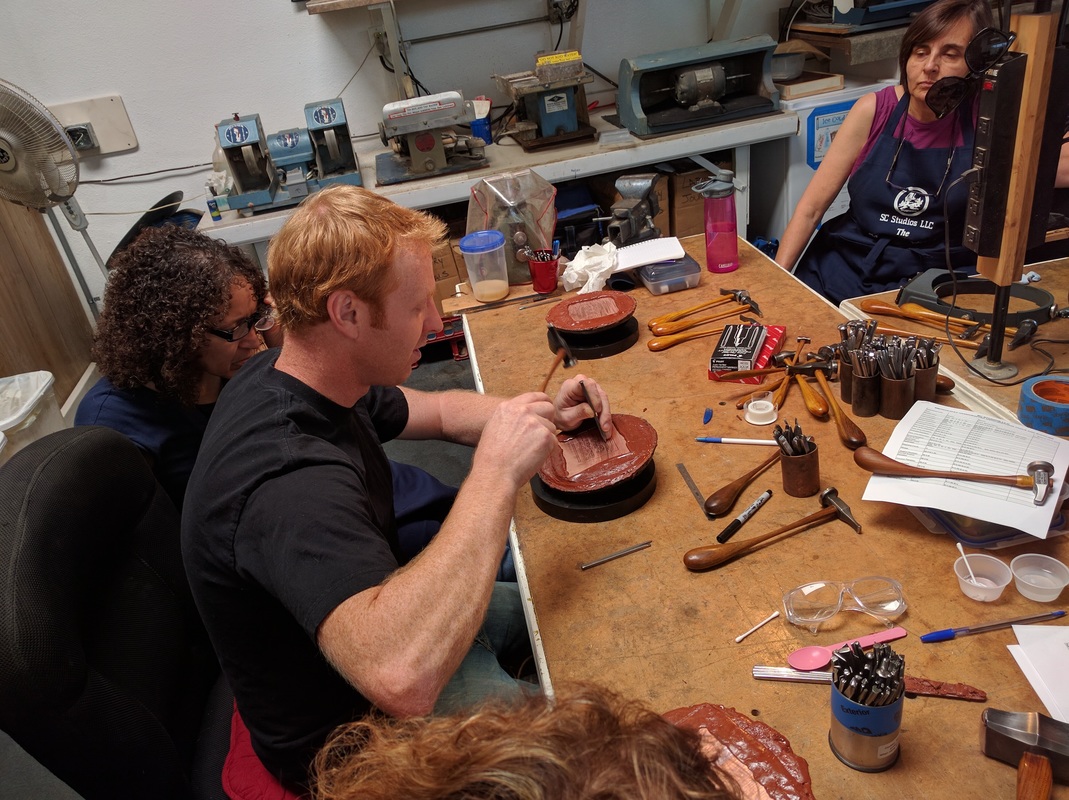
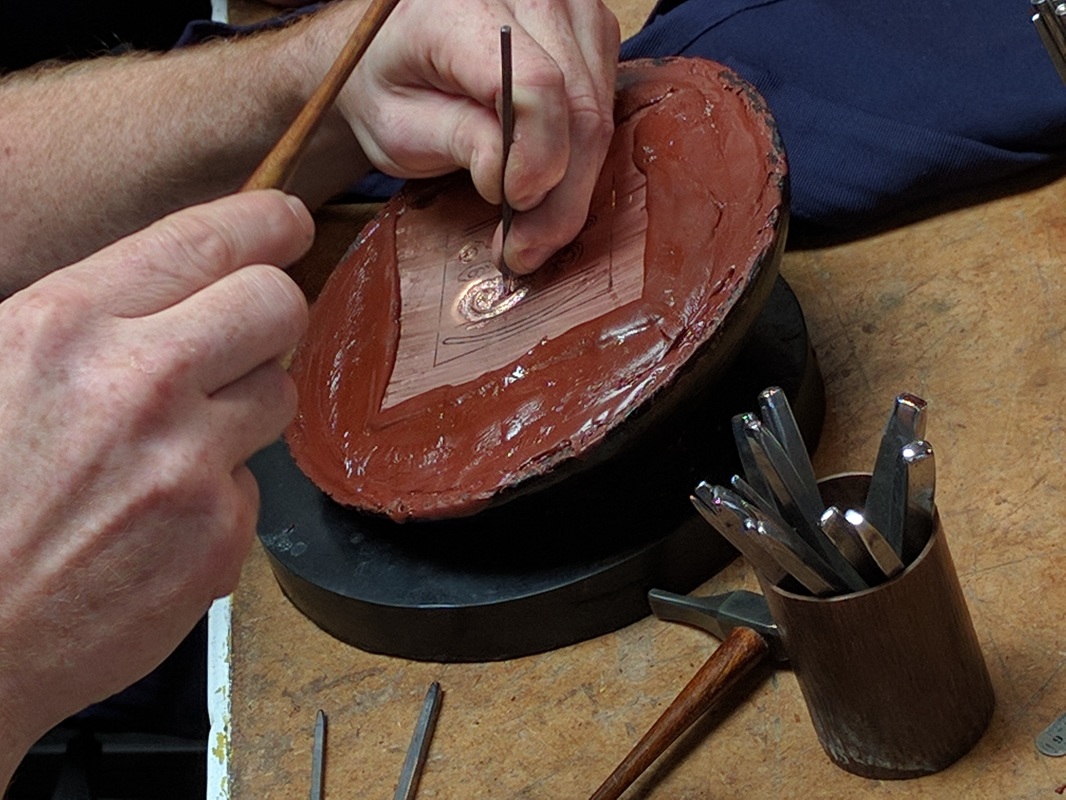
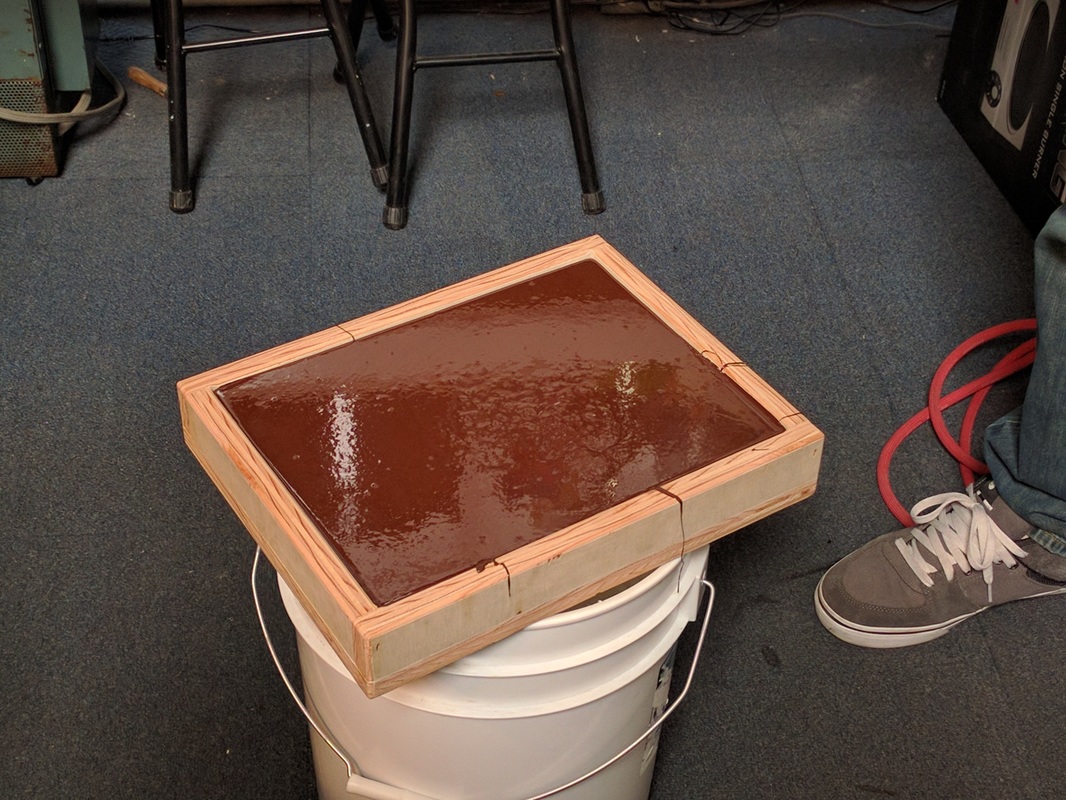
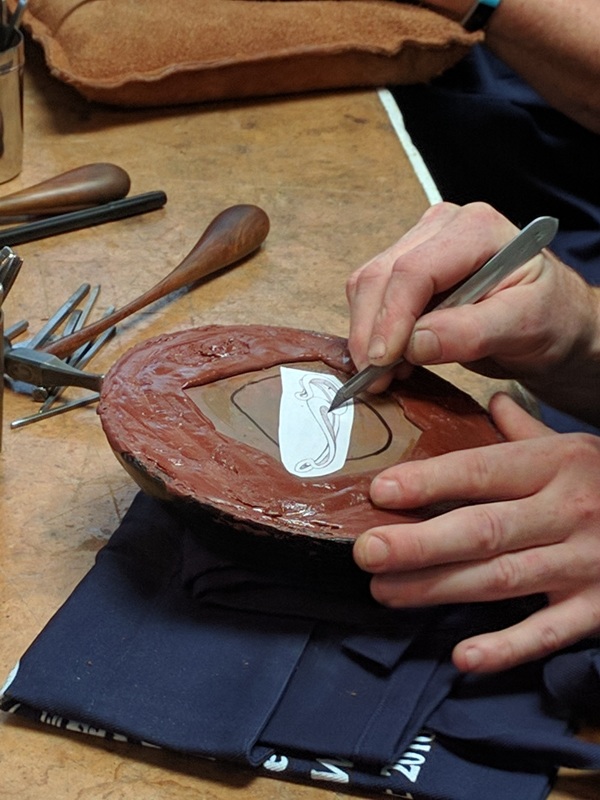
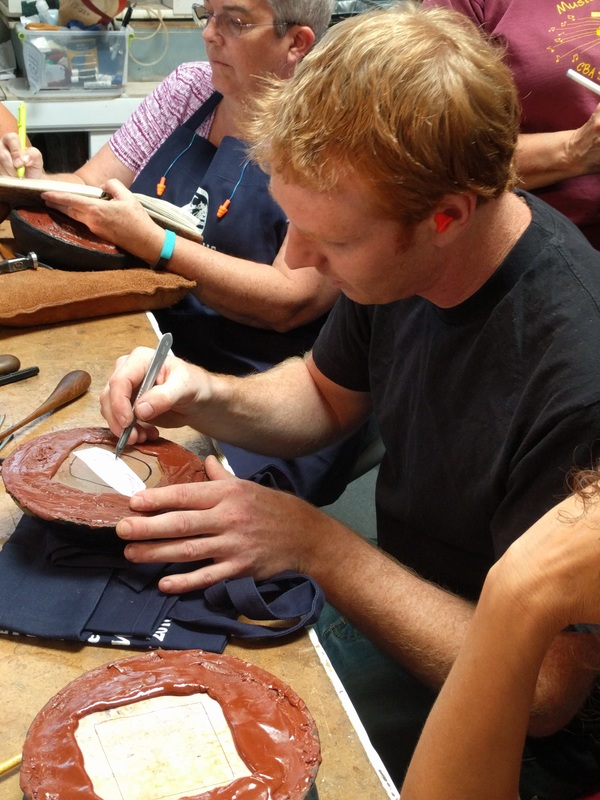
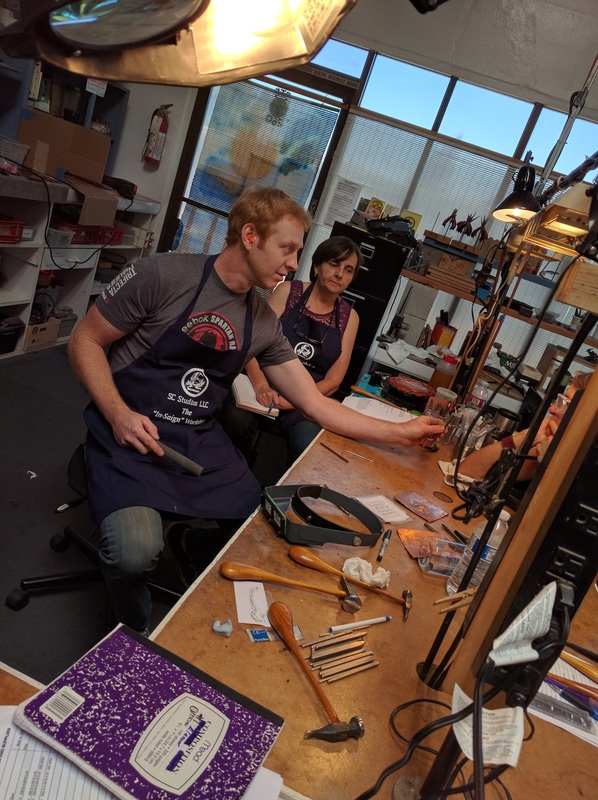
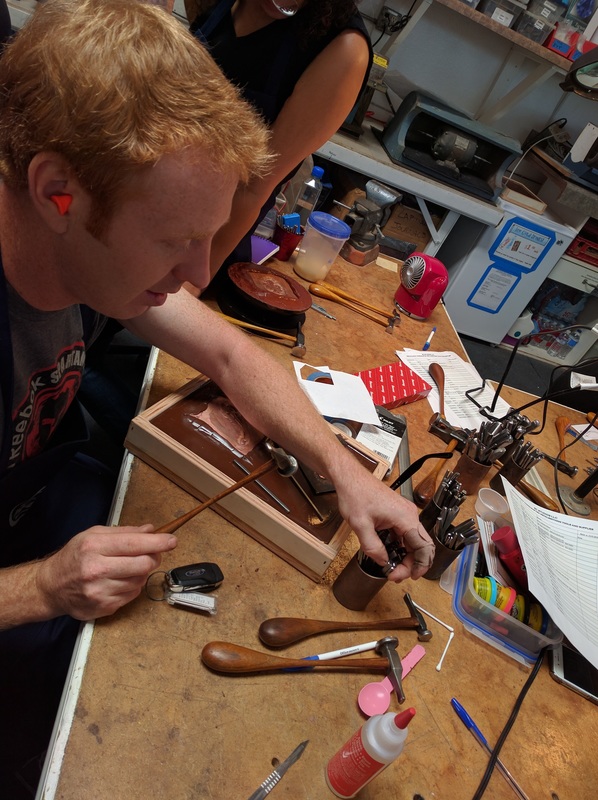
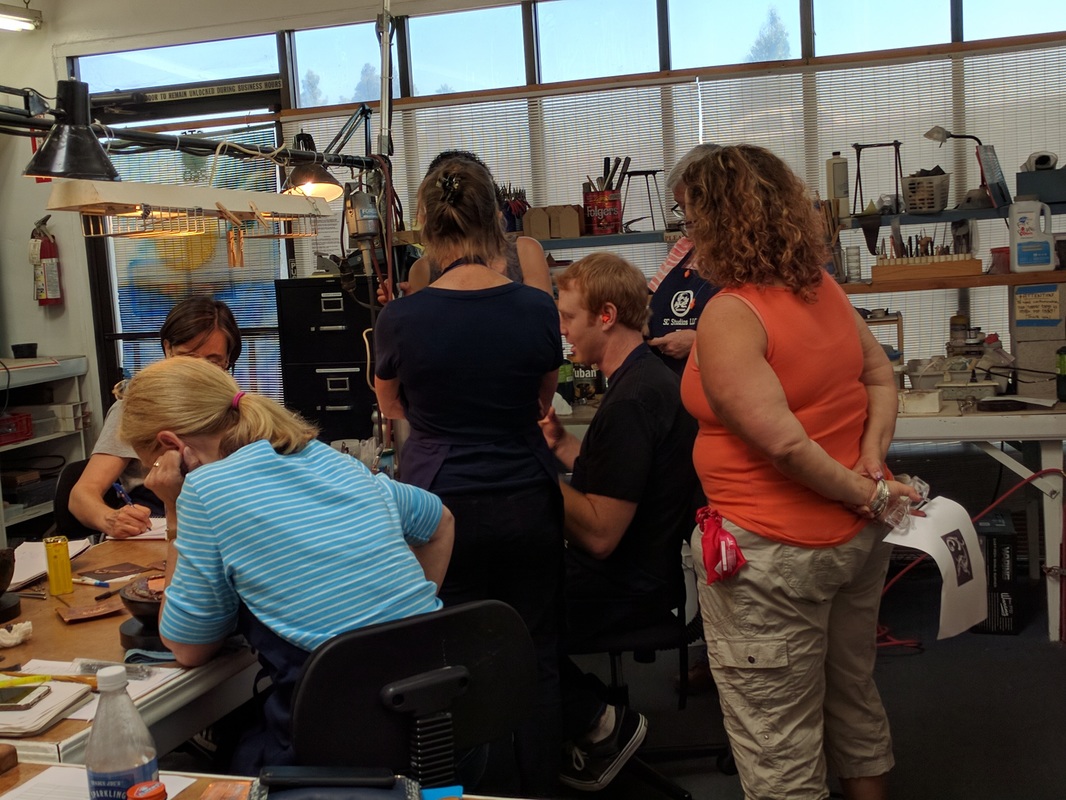
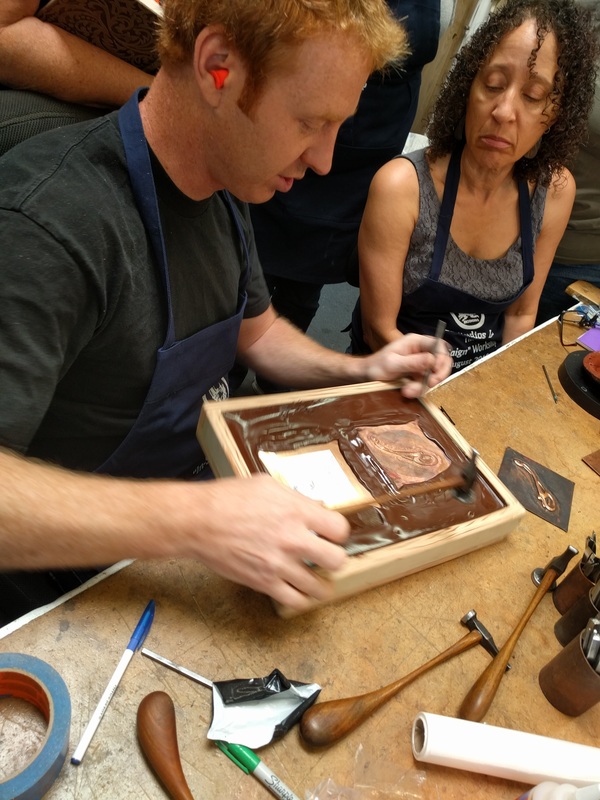
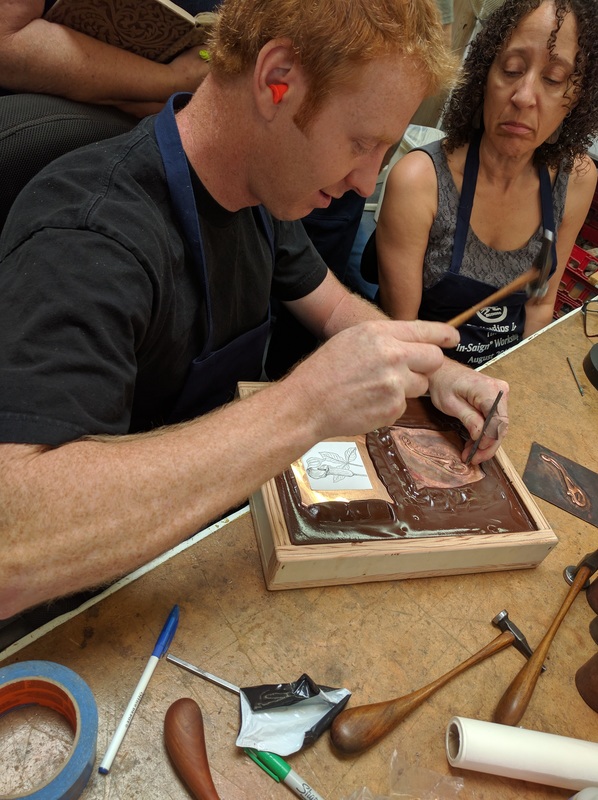
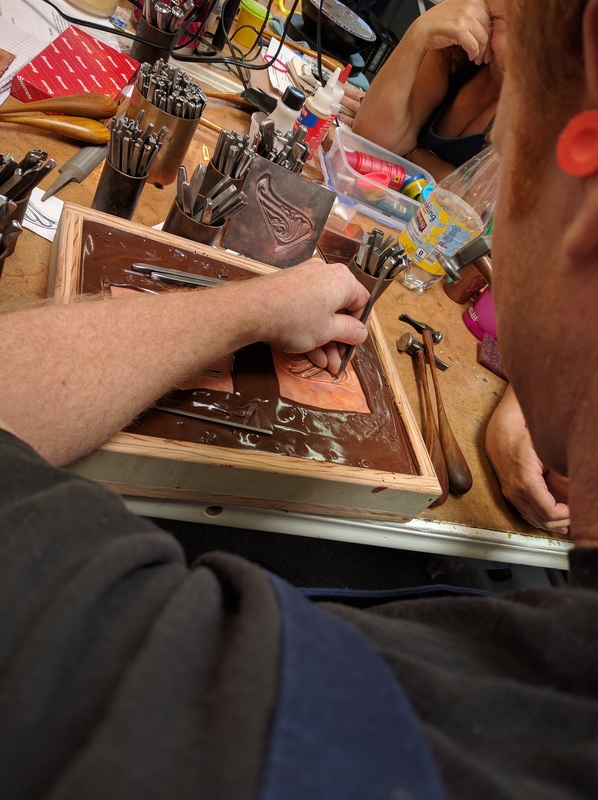
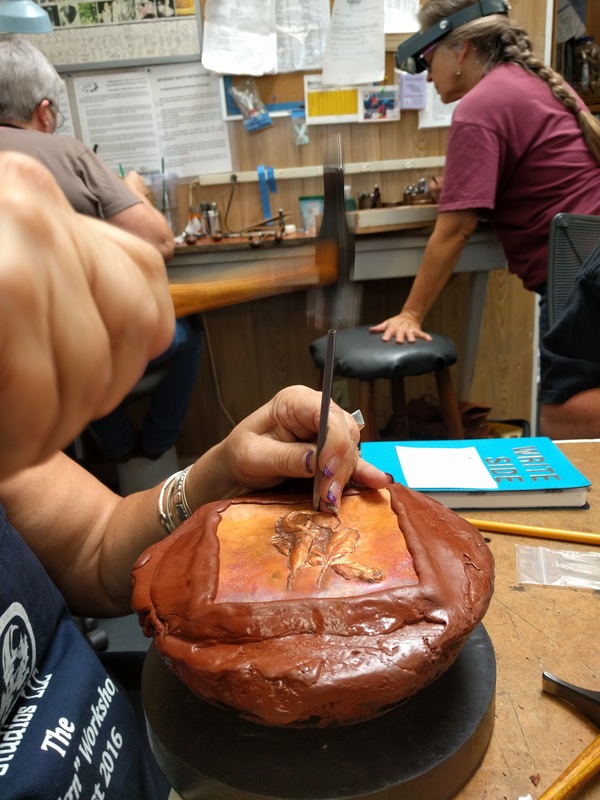
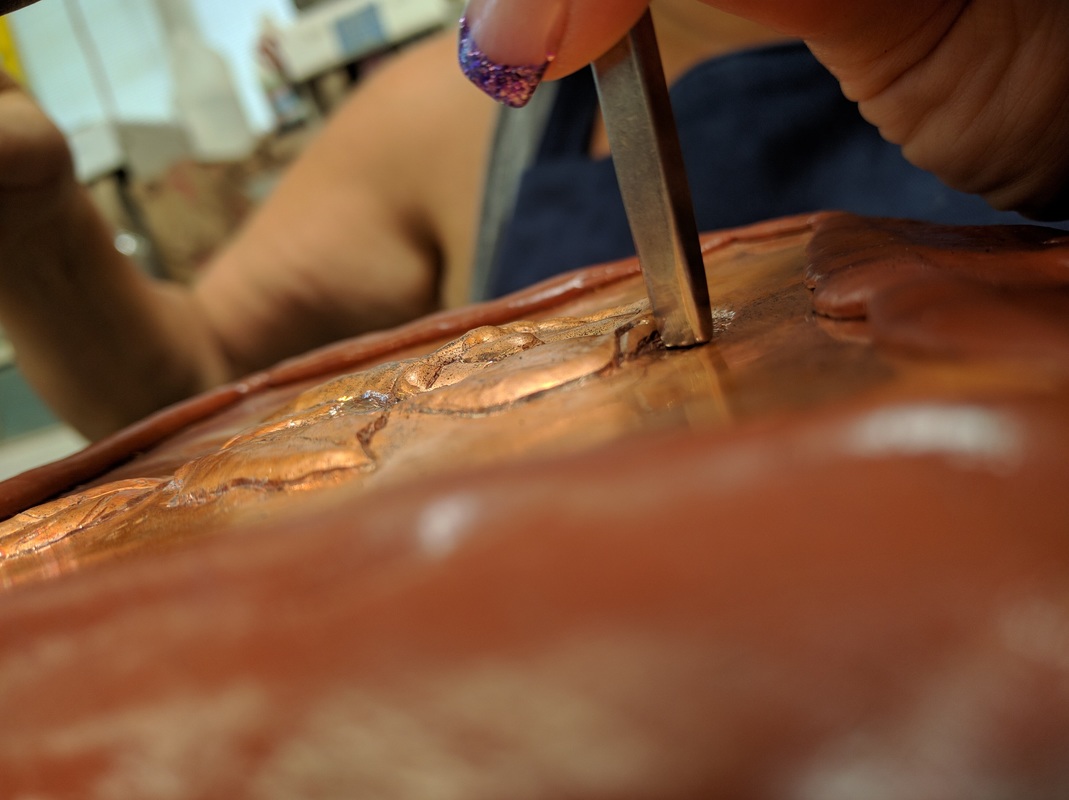
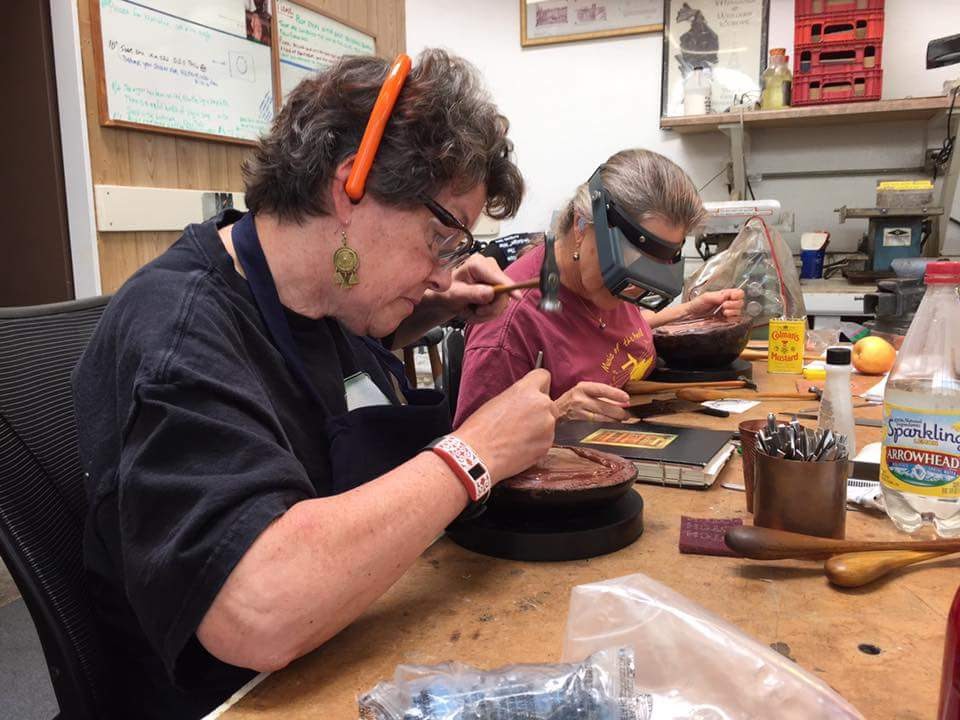
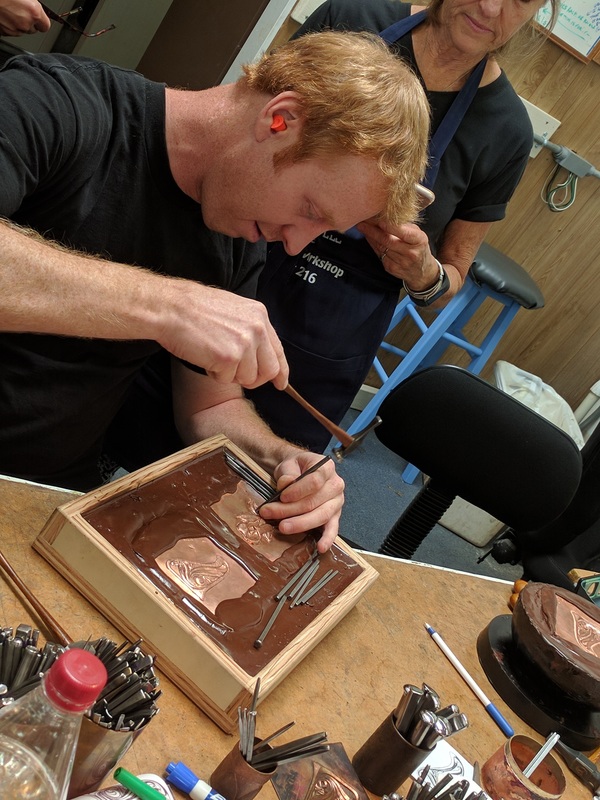
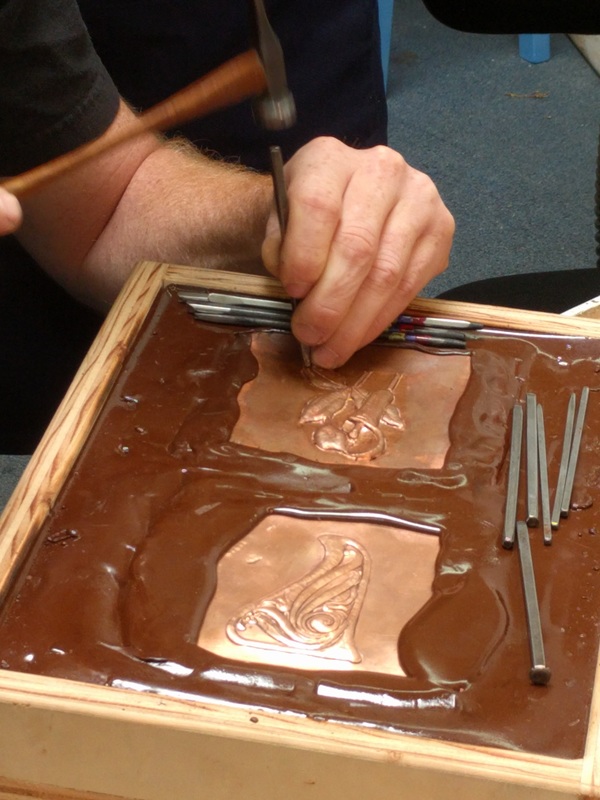
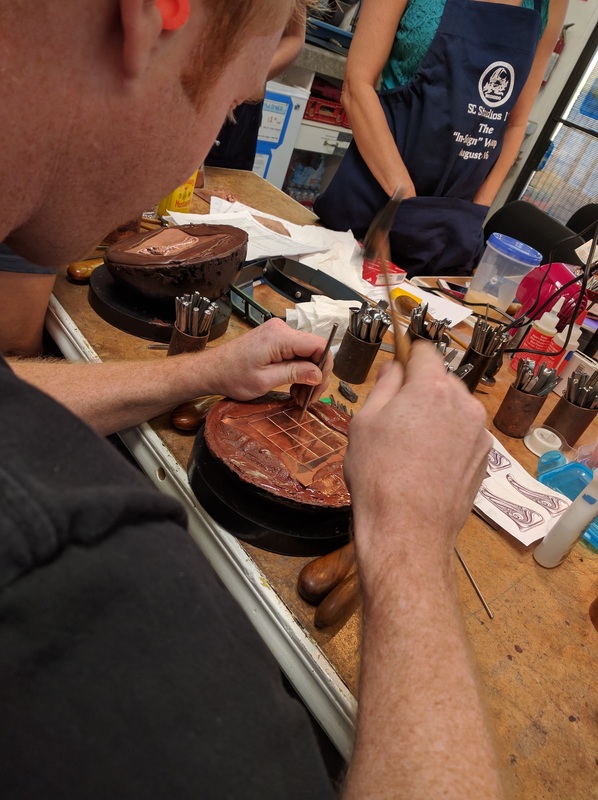
What did I learn this weekend in the tooling class? I learned pattern transfer, casing (wetting) the leather, using a swivel knife, and 6 basic tool techniques using a Camouflage, pear shader, beveler, veiner, seeder and background stamps. We had a scrap of leather where we could practice with a specific tool and then we tooled a flower on a leather coaster. 

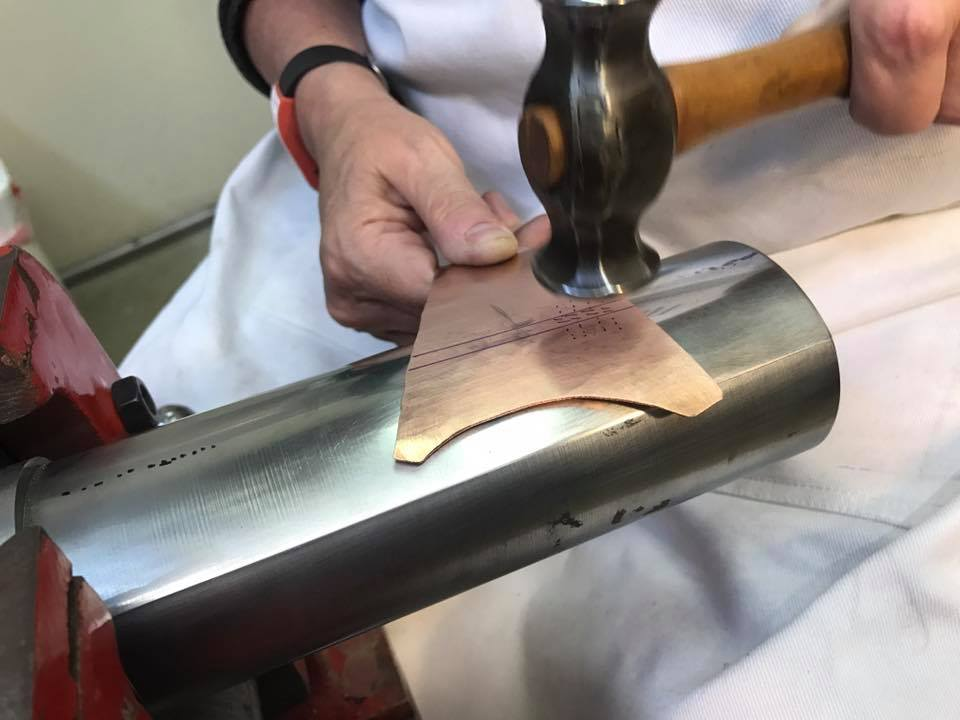
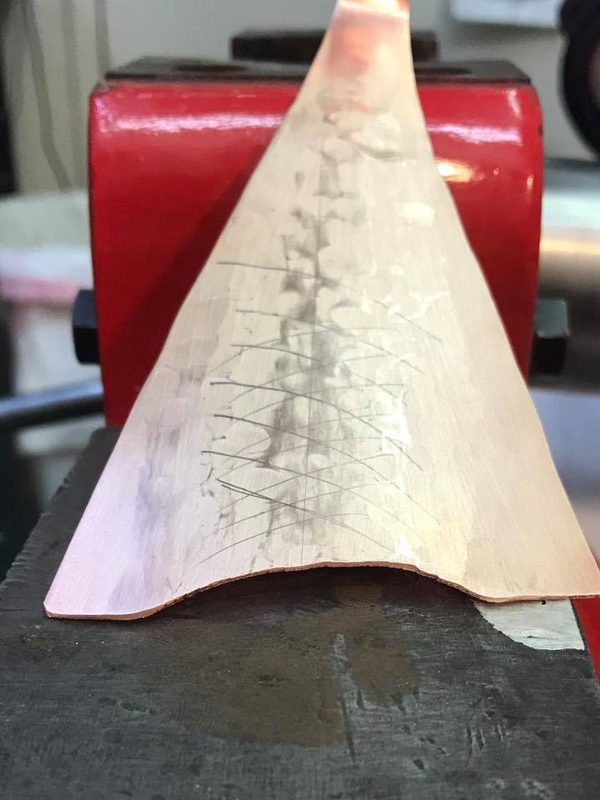
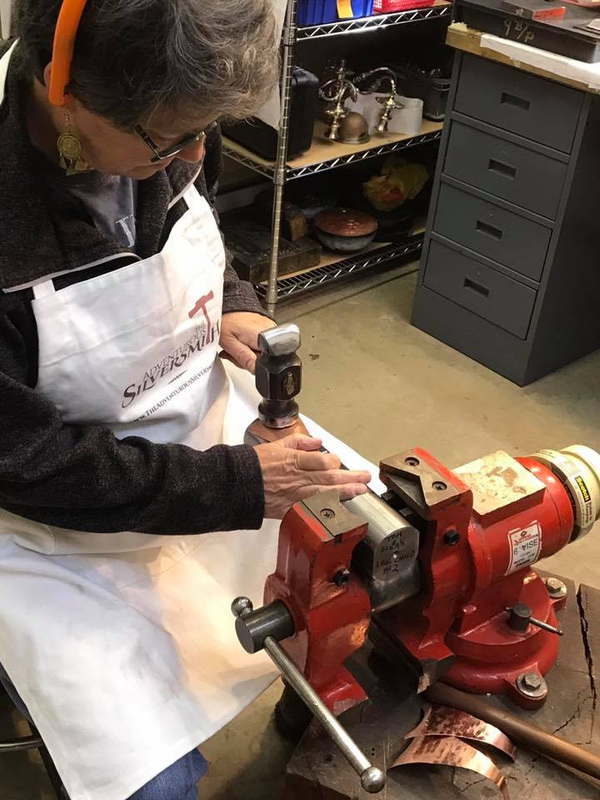
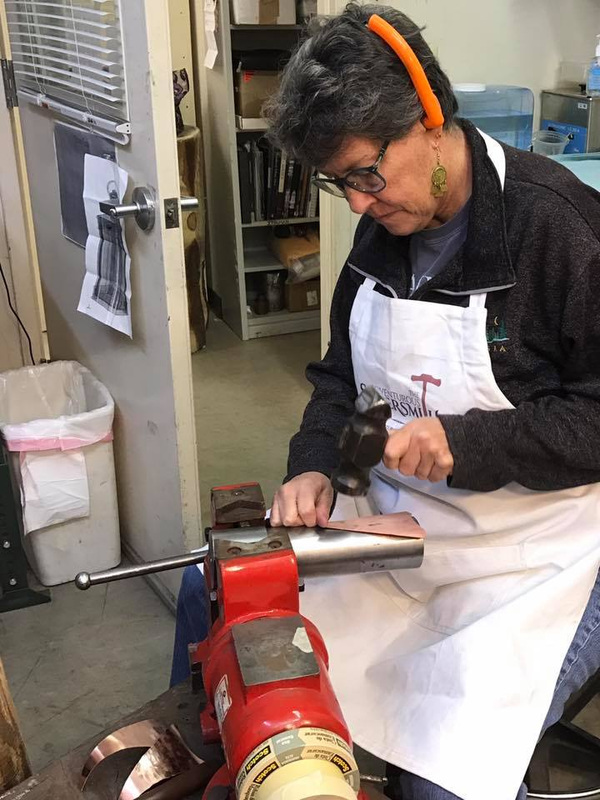
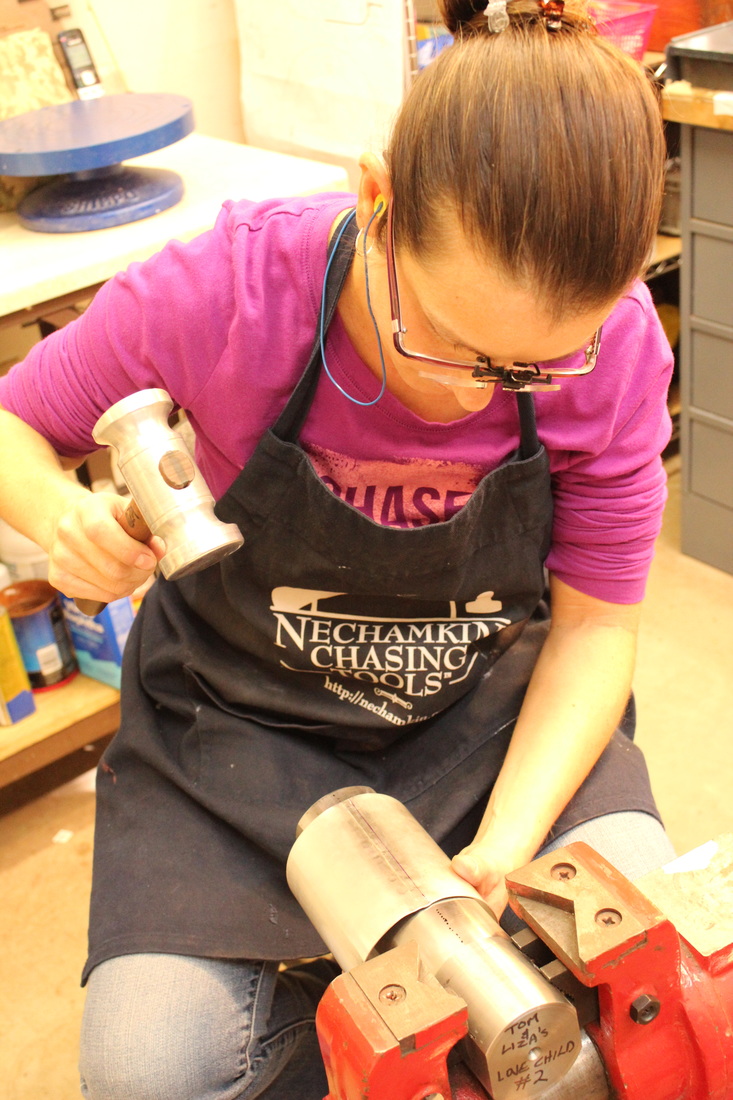
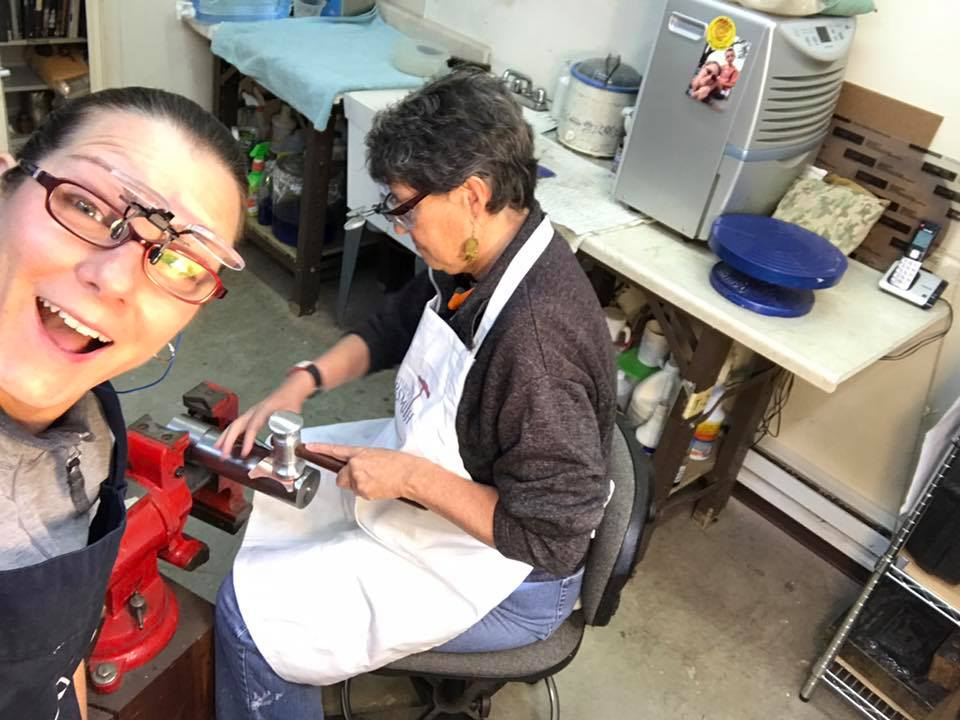
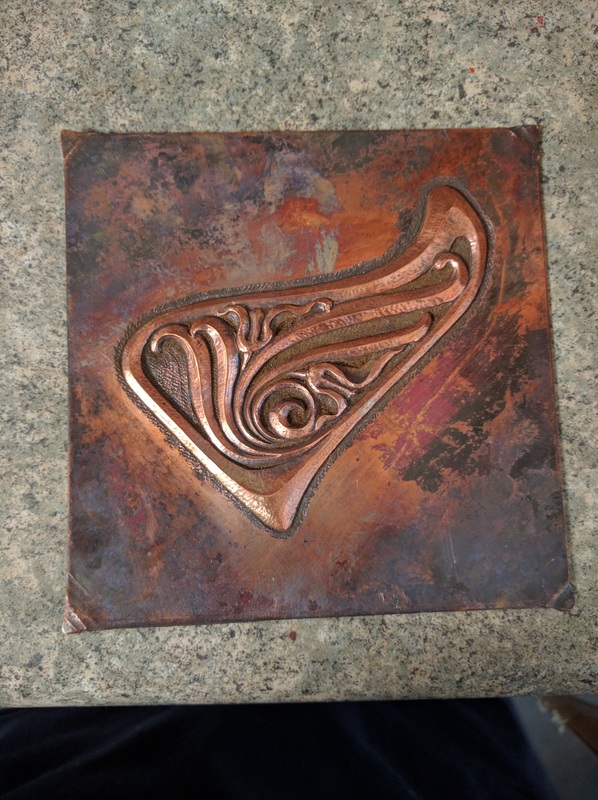
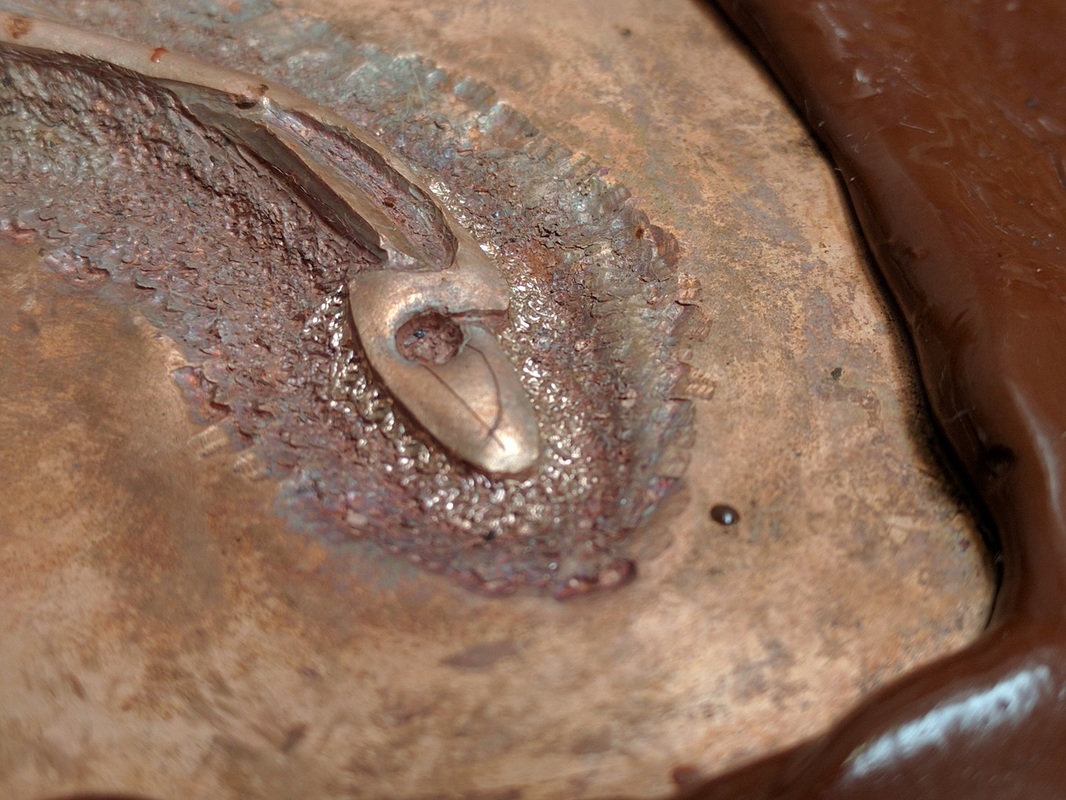
I did find that my chasing and repousse skills helped me understand how to not only hold the tools but to hammer and move the tools to even work; the teacher even commented that my "beginner" skills were very good.

So stay tuned, more leather and metal work is on the way!
0 Comments

The Teapot Project Continues

11/5/2016

 
Last week I took another trip to Nechamkin Silver Studio for the next lesson(s) on the Teapot Project.   

This week I learned many things.   1) cleaning the solder joint inside and out, 2) fix any pin holes, gaps, and under cuts,  3) heavy planish the seam, 4) truing the tube, and 5) planning the next step which is raising the top and bottom.

We started off with how to properly clean the excess solder off the solder joint which is lots of filing and gentle sanding but not taking off the silver; just the solder.   Once that was done we could evaluate the seam to determine what gaps and pin holes had to be fixed and why. Then we moved onto heavy planishing of the seam to get a consistent wall thickness.  All of this consumed 3 days. On the the 4th day and my last with Liza, this week, we trued up the seam and then we could get to work refining the design. We had to take measurements from the sketches and the tube to determine where to start the raising at each end and from there we made our templates. From the templates I can cut/carve wood stake models which I will then have cast.  Then the other design elements had to be considered - spout shape and size the handle shape and where to place both, the lid shape and how to fit the lid to the pot and the bottom rim or feet?  

One must not forget an important part of tea pots - how does it pour? Many a teapot do not pour correctly because the spout is too short or too long which can cause the tea to spill out the lid or placed to high on the pot wall such that the last bit of tea can't be poured.  And the pot handle - can you get the lid off and on easily? Does the pot have a vent hole to facilitate the tea flow?? 

I now have lots of homework to do before I return next year:
1) make 1 if not 2 more tubes, in brass,  so we can use them for practice raising. This means they have to be soldered and cleaned to the point where we ended, this week
2) make a stake for truing the tube(s) because when you heavy planish, the tube is no longer round.
3) get the raising stakes made - so I have to cut the wood and get them cast. Finding a casting house will be fun!
4) study teapot design and make some choices for the spout, handle, lid and lid finial, and the bottom - feet or rim?

Here are lots of pictures ... 

The In-Saign Workshop

8/23/2016

0 Comments

 
Since the start of the year, I have been organizing a workshop with Saign Charlestein, of SC Studio, at the Palomar Gem & Mineral Club. 
It was a long process. First it was just going to be those of use in the club for 5 days. Then there was interest from some of the people down at the San Diego Mineral & Gem Society so it became TWO - 5 day session with 8 people in each and there was still a small waiting list.   All of this required lots of emails between me and Saign and all the students and at the last minute two people cancelled so I had to contact those on the wait list and re-organize who was in each week so we did not end up with any empty spots. It all worked out in the end and finally last week was the first session and the second session is happening now.

Saign on the first day started all of us off with a lining exercise to gauge our skill level. We did not have any newbies in this class but we did have a wide range of skill level. On the second day he gave us a second project based on how we did and we spent two days working on this. On the fourth and fifth days we started a third project, again based upon how we did on the second project.

Here are pictures from the first session. 
0 Comments

More Photography Learning

5/17/2016

0 Comments

 
Yesterday, I went back to the photography room and this time I set up the space to take pictures of two of my cuffs that I am entering into the San Diego County Fair. Taking pictures of my entries is not a requirement but since I have been making display stands for them, they seemed the perfect subjects for this weeks practice lesson. 

This week my goal was to use the macro lens and to
  1. take just a few pictures with the camera in auto mode; this is for comparison with those in manual mode.
  2. then use full manual to get familiar with the setting I needed to adjust to get a good picture. 
  3. and don't worry about using a light tent to prevent glare, reflection and shadow. 
  4. No use of RAW at this time. 
I took 22 pictures total and the first picture with the camera on auto actually came out rather nice. As you can see the depth of field is really short as gold on the blossom is in focus and the background just below it is out of focus. Here are the specs on this picture: Shutter Speed (Tv): 1/80; Aperture (Av): 2.8; ISO: 200; WB:Auto ​
Picture
The next picture is MANUAL MODE.  YES, it is blue because the white balance was off and it is a bit dark; I adjusted that later. The spec's for this picture are: Tv: 1/125; Av: 2.8; ISO: 100; WB: Custom. 
Picture
I then adjusted the cuff but left all the settings the same.
Picture
Here I changed the White Balance: Auto and left the other settings alone. You can see how the color is much better. 
Picture
The camera has the ability to "set" a custom white balance based upon a picture you take of a white piece of paper under the lights you are using. Then it reads the picture and it adjusts how colors are read when you take a picture.  Here is the next picture I took with the correct custom white balance. Compared to the image above, I think the cuff actually looks more silver. 
Picture
Next I repositioned the cuff to get a full shot of it. As you can see the depth of field is still a bit off since the edges of the cuff are out of focus.  But at this point I switched out the Squash Blossom for the Tenacious Tentacle. 
Picture
This is one of the images I took of the cuff. The settings are a bit different.  Tv:1/30; Av: 8.0; ISO:100; WB: Custom. The image is a bit dark so to correct this I can lower the shutter speed to allow more light in OR I can increase the ISO which is what I did. 
Picture
After two more pictures, I had the ISO at 400 and this is the result. The image is NOT dark, the color looks good and you can even see the patina!
Picture
At this point I was done for the morning. I really saw and learned how to adjust the camera to get better pictures. Next I need to play with depth of field, reducing reflection and shadow.   Overall I would say I leveled up!
0 Comments

It's Camera Time!

5/10/2016

2 Comments

 
My "new" camera arrived this week from B&H Photo in NYC. This place is like a crack store - there is so much tech it makes me giddy. I bought a Canon EOS Rebel T3i 600D body with the 18-55 IS kit lens and an add on macro lens that is f/2.8 60mm.

I say "new" as it is new to me and only the macro lens is new. I also bought a second battery, body lens cover, rear lens cover for the kit lens, tether for the lens cover on the macro lens, camera bag, a remote shutter release, and 64 G SDxC card for high speed access since I will be shooting not only JPEG but RAW. I had to buy some of these items because they did not come with the camera because it was used.

Saturday I spent most of the day setting up my Macintosh to work with the Canon RAW image files (CR2). I have Adobe CS3 on my Mac and have no plans to upgrade it to the Adobe Creative Cloud subscription service but the issue is that the CR2 raw plug in that works with Adobe Bridge or Lightroom does not work with what I have. Damn!

Thus I found the Adobe Digital Negative (DNG) converter which will convert from CR2 to Adobe Raw but I loose some of the metadata. Finding and sorting this out took at least an hour and trust me I am a master Googler; it was just hard to find on the Adobe site . There is Canon software and again, because this is a used camera, the DVD was not included so I next went off to find that software and the firmware update. Two hours later the firmware was updated as was the other software which included:
  1. the utility program to update the firmware and will import images right off the camera;
  2. the Photo Pro 4 software which is for working with the raw files - like Adobe Bridge/Lightroom;
  3. the Image Stitcher software for making a panoramic image from many photos which I may uninstall;
  4. the Video Encoder which I will need for future video tutorials;
  5. the Picture Style Editor which is for those pro's who process images and have to do color corrections and and allows you to save the styles for reuse. This I may uninstall too;
  6. and lastly The Image Browser EX which is kinda like the Photo Pro software but is geared toward those who shoot mostly JPG and it will edit movies. I will probably uninstall this too since I have Photoshop and iMovie
Sunday morning I was awake at 6:30 am, why? oh why!!, I went into the room where we not only have our weight training setup but a table for photography, and turn on the lights so they could warm up. I then picked a nice mineral specimen to use as my subject while I played with the f-stop, ISO, speed and other shooting modes on the camera. I now know how to change the ISO/f-stop/Speed and the white balance, color corrections and a few other things. I still don't know A LOT but that will happen with time.

Here they are with the settings I used, no other after processing touch up. The titles are as follows: the Camera Mode: ISO, f-stop, shutter speed. Yes, the mineral is Malachite with Druzy Quartz. The background is a pale gray.
Don't forget to click on an image to open it so you can see more detail.
2 Comments

Low-Relief Chasing & Repousse

10/10/2015

0 Comments

 
Picture
As part of my visit to Nechamkin Silver Studio, two weeks ago, I spent 3 days working on low-relief chasing and repousse. 
This is a style that Liza is very proficient at and which I want to do on my teapot. I started to learn this style last year when I was at the studio and this session was to move my skills along. 

I like low-relief chasing & repousse yet I found it frustrating; I felt like a beginner - AGAIN. I knew what to do but the habits of "regular" and "high" kept wanting to take over and as a result, a couple of times I had to go back and push areas down or out as I had move them too far.

I will not finish the piece you see in the mini-movie below. I am going to start it again so when I do finish it I have my original and a completed piece which, I hope, will look much much better. 

​As usual, watch and enjoy!

0 Comments

Making A Teapot - Session One

10/10/2015

 
Two weeks ago I was Nechamkin Silver Studio to start what I consider to be an essential project for silversmiths. I am going to say it is a must on the silversmith's "bucket list"  - THE TEAPOT.  

Note: we are talking traditional silversmith, not a present day silversmith who makes jewelry out of silver.  A traditional silversmith how makes hollowware such as bowls and other vessels, trays, dishes, cutlery; and other functional items.

Making a teapot has been on my list of things to learn and make since I started on this path over 5 years ago. Actually it was on my list since I was a little kid and read about silversmiths and now I am finally starting the project.

I have read as many books as I can get my hands on about raising and the various parts of the teapot - the body, the spout, the handle, the lid and the feet or support on the bottom. Then there is the making of the parts - the raising, sinking soldering, making patterns and more. BUT until you start planning and making one, the concept of how much time and effort it takes starts to sink in (yeah, that's a metal pun) and unless you have someone to guide in mentor you, the teapot can be an exceptional failure. 

That brings us to earlier this year when Liza Nechamkin and I started to plan this project which will take many visits to her studio and a lot of homework on my part afterwards to either practice what I learned in each studio visit or to move the project along. 

Which brings us to two weeks ago, which was the first session - Making the body of the teapot.  Way back when, many teapots had raised bodies but raising a body can take time and can be tea-dious (see another pun) and so the body of this teapot will be seamed.     The best seam for long tubes is lapped and keyed which is what I learned to do on the first day of my visit along with forming the sheet into the tube and wiring it for soldering.  On the second day I soldered the tube with hard and I mean HARD solder.  Trust me hard solder does not like to flow and getting a 6" long seam soldered is difficult - imagine that easy solder flows like butter when melted; then hard solder flows like frozen cheese!  Plus the tube started out as 12" long and is 18g (0.04") thick which requires massive amounts of heat to just bring it up to temperature and THEN you have to solder it with hard solder.    

But before I soldered the silver tube, I made a practice tube out of copper with the lapped and keyed seam so I had twice the practice of doing it all including the soldering. 

The soldering was done in three phases - tacking it, the soldering and then the fixing of areas where the solder did not flow or did not flow enough.  The entire process was nerve wracking to say the least but I did it with Liz's wonderful instruction.

Now I have a massive tube of silver on my workbench.  Next time we will clean up the solder and planish the seam and THEN we will raise the top and bottom in.  Until that next session, which will be sometime next year, I will be practicing making lapped and keyed seam and soldering the seams closed.  Hmm, tricket boxes?

Here is a video of the process, enjoy. 

It Is All In The Details

10/6/2015

0 Comments

 
As when learning anything, learning  chasing and repoussé, has a progression of skills such as the basics of getting the design on the metal;  learning how to create volume and definition; adding details;  and then saying you are done "LEARNING" - and now you just DO IT.

As time and your experience progress, you will either strive to advance your skills OR be content where you are, with your skills.

l knew there was more to learn... I always feel there is more to learn.

For me, I have spent this year working to push my skill set to a new level.  One might not consider it a skill but adding those fine details that make a piece POP and how to do it was what I was hoping to accomplish. It is one thing to make practice pieces and struggle with choosing the right tool to make hair look real or pushing up, down, left and over with the curl of a leaf only to have it crack. It can be frustrating knowing what you want to do but never quite getting it.

I decided to short cut the frustration and take some lessons to teach me HOW TO SEE what I wanted to do. The instructors were teaching me flowers and details and textures but I was learning to see how to get there. And with so many of the classes I take it is not the project but a process and technique I can walk away with. 

Earlier in the year I went to Davide Bigazzi (my Dogwood Flower cuff) and this past week I was with Liza Nechamkin who does some amazing low-relief chasing & repousse and fine detail work.

But Friday I went back to the MET to look at the details of pieces and what it was that added that realistic touch. This is the 4th time I have been to the MET 3 years and like advancing my skills as a Silversmith; each time I have gone and seen what I needed to learn at that time.

Here are two movies - what I saw and what I went to see. 
0 Comments

Helping the Next Generation

9/20/2015

0 Comments

 
Yesterday, I found in my messages area of Facebook, a message from a young woman. She lives in Cornwall and is at the university there studying Silversmithing and Jewellery. She was asking me to fill out a questionnaire for one of her classes.   My response was OF COURSE I WOULD.  

I did think it was cool that she was asking me. I don't know who else was asked but hey, if someone from the other side of the pond wants to ask me questions about I started, who am I to argue. Plus I find it interesting that part of a class has the students asking other silversmiths or any artist some questions to how others got started. 

I won't share my responses, I think you can figure them out yourself - especially if your read this blog. But I thought you would like to see the questions asked. 

FdA Silversmithing and Jewellery  - Work based Learning module.
Questions for the Craftsman 
Education
  • How do you start? what was your education?
  • How did your education fit you for a career in the industry?
  • What was missing?
  • Do you still do any courses?
Starting up
  • How did you start?
  • What kind of finance did you have? 
  • Did you receive any help? (grants etc)
Working Practice
  • What kind of workshop do you have?
  • What specialist equipment do you use? 
  • Do you recommend a certain piece of equipment? 
  • What does your typical working day involve? 
Their work
  • What (if any) special techniques do you employ?
  • Do you subcontract out any technical work? (casting, stone setting, plating) 
  • How do you catalogue your work?
  • How do you photograph your work?
  • What kind of personal advertising do you have?(leaflets, post cards, web presence)
Selling
  • How have you worked out the costs for pricing your work?
  • How do you sell your work?
  • Do you work to commission?
  • If so how do you conduct the commission process?
  • Do you exhibit?
  • Where do you exhibit?
  • How did you get into the gallery, craft fair etc
Advice
  • What advice do you have for someone starting out.
0 Comments

Learning Tube Setting

7/26/2015

1 Comment

 
If you have followed me for a while, you know that I don't I really don't set facetted stones and if DO use stones it is a cabochon. 

Personally I don't like having a big bling stone hanging out there in a prong setting just to show it off. Yes my wedding/anniversary ring has a big sapphire but that is because it is a wonderful set stone in a very art deco style setting.   

I have been asked to make some jewelry just to show off a stone and I won't do it. It is not my aesthetic and I must admit I avoided learning how to set a facetted stone so I could avoid the work. 

Until recently. 

I now feel that some of my chasing & repousse designs could be enhanced with a few small set stones - tube set stones to be exact. And over the past few months I have been looking at the best way to learn tube setting.  

I know, I know you're thinking "now she learns this?? why it is so simple". Yeah, there are lots of YouTube videos and other on line resources but I always have lots of questions and think of situations where something else might be needed; thus working with someone on this is best for me. 

And so when Deb Jemmott sent an email about an open studio day with her, I jumped at the chance to learn it from her. And yesterday was that day.

When I arrived Deb had everything I would need at the bench where I would sit (being left handed I usually sit at the left side of a two person workbench). There was 3, 3.5 and 4 mm CZ's, brass sheet, brass tubing, setting burrs, drill bits, and setting punches. We walked through the process and also discussed how to set the stones when working with a cuff that has repousse; especially when the stone is set in an area of repousse.  Then it was time to DO!

I set 6 sample stones - two of each size and making the setting from plain tubing. And then I set two more 3 mm stones in some silver for a pair of earrings for me using pre-made settings.    

Overall the day was a success with only the first stone a bit cock-eyed.  Here are just a few pictures of my learning piece and the earrings.
1 Comment
<<Previous

    RSS Feed

    How to Aquire Your Own Shop Elf

    Archives

    October 2020
    August 2020
    March 2020
    December 2019
    November 2019
    October 2019
    September 2019
    August 2019
    July 2019
    June 2019
    May 2019
    March 2019
    February 2019
    January 2019
    December 2018
    November 2018
    October 2018
    September 2018
    August 2018
    July 2018
    May 2018
    April 2018
    February 2018
    January 2018
    November 2017
    October 2017
    September 2017
    July 2017
    June 2017
    May 2017
    April 2017
    March 2017
    February 2017
    January 2017
    December 2016
    November 2016
    October 2016
    September 2016
    August 2016
    July 2016
    June 2016
    May 2016
    April 2016
    March 2016
    February 2016
    January 2016
    December 2015
    November 2015
    October 2015
    September 2015
    August 2015
    July 2015
    June 2015
    May 2015
    April 2015
    March 2015
    February 2015
    January 2015
    December 2014
    November 2014
    October 2014
    September 2014
    August 2014
    July 2014
    June 2014
    May 2014
    April 2014
    March 2014
    February 2014
    January 2014
    December 2013
    November 2013
    October 2013
    September 2013
    August 2013
    July 2013
    June 2013
    May 2013
    April 2013
    March 2013
    February 2013
    January 2013
    December 2012
    November 2012
    October 2012
    September 2012
    August 2012
    July 2012
    June 2012
    May 2012
    April 2012
    March 2012
    February 2012
    January 2012
    November 2011
    August 2011
    July 2011
    June 2011
    May 2011
    April 2011
    March 2011
    February 2011
    January 2011
    December 2010
    November 2010

    Jan - Nov 2010 History
    File Size: 2272 kb
    File Type: pdf
    Download File

    Jan - Dec 2009 History
    File Size: 2332 kb
    File Type: pdf
    Download File

    Categories

    All
    42
    A Year Of Repousse
    Blacksmithing
    Blogoversary
    Box Project
    Business
    Chasing & Repousse
    Commission
    Education
    Embroidery
    Enamel
    Entries
    Entry
    Exhibition
    Facebook
    Filing
    Fold Forming
    Gold
    Holloware
    Hot Forging
    Hydraulic Press
    Jewelry
    Keum-boo
    Learning
    Leather
    Market
    Metal
    Patina
    Photography
    Polishing
    Publications
    Raising
    Sanding
    Santa Fe Symposium
    Shop Elf
    Sinking
    Social Media
    Soldering
    Store
    Studio Visits
    Superbowl Challenge
    Teaching
    Teapot Project
    Technique
    Temari
    Tin
    Tools
    Vessels
    Visiting Workshops
    Weaving
    Website
    Workshop
    Yubinuki

Powered by Create your own unique website with customizable templates.