Follow Me On:
LAURIE KERN
  • Home
  • Blog
  • Portfolio
    • Metal Work >
      • Chasing & Repousse
      • Holloware
      • Jewelry
      • Other Wonderful Items
    • Fiber Arts >
      • Temari
      • Yubinuki
  • Resources
    • Library
    • Tools & Equipment
    • Links
  • About
    • Artist Statement
    • Curriculum Vitae
    • How it is Made
    • Contact

Forge On

1/21/2017

0 Comments

 
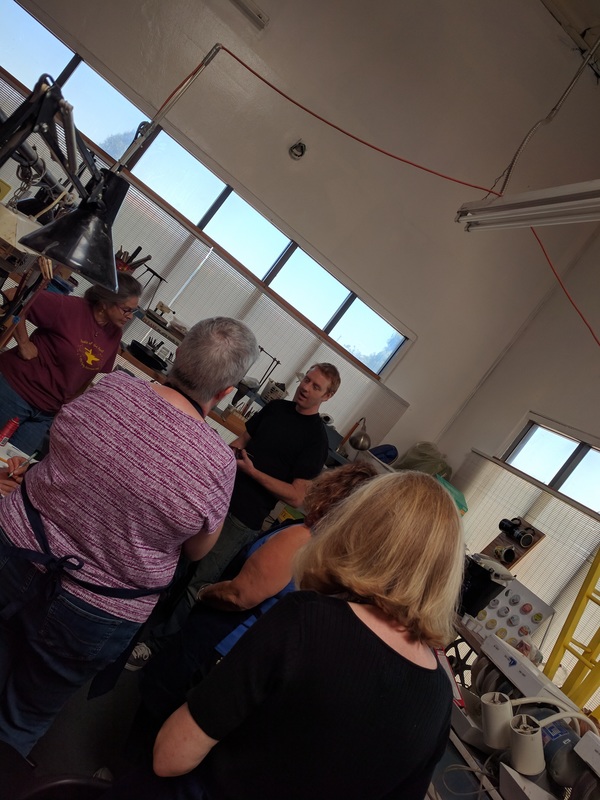
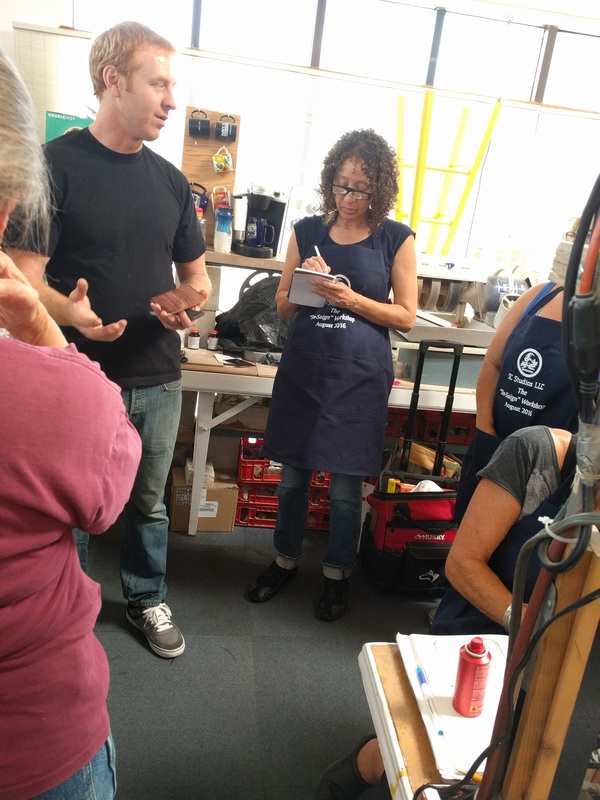
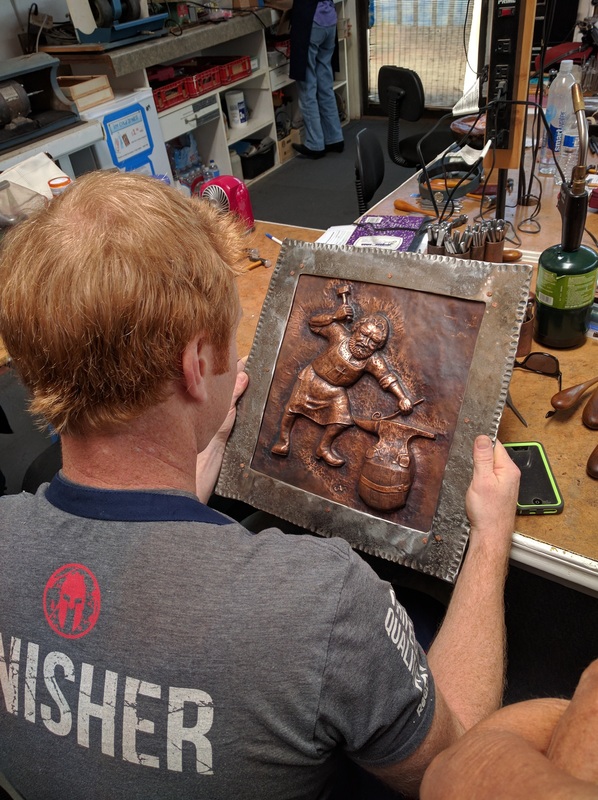
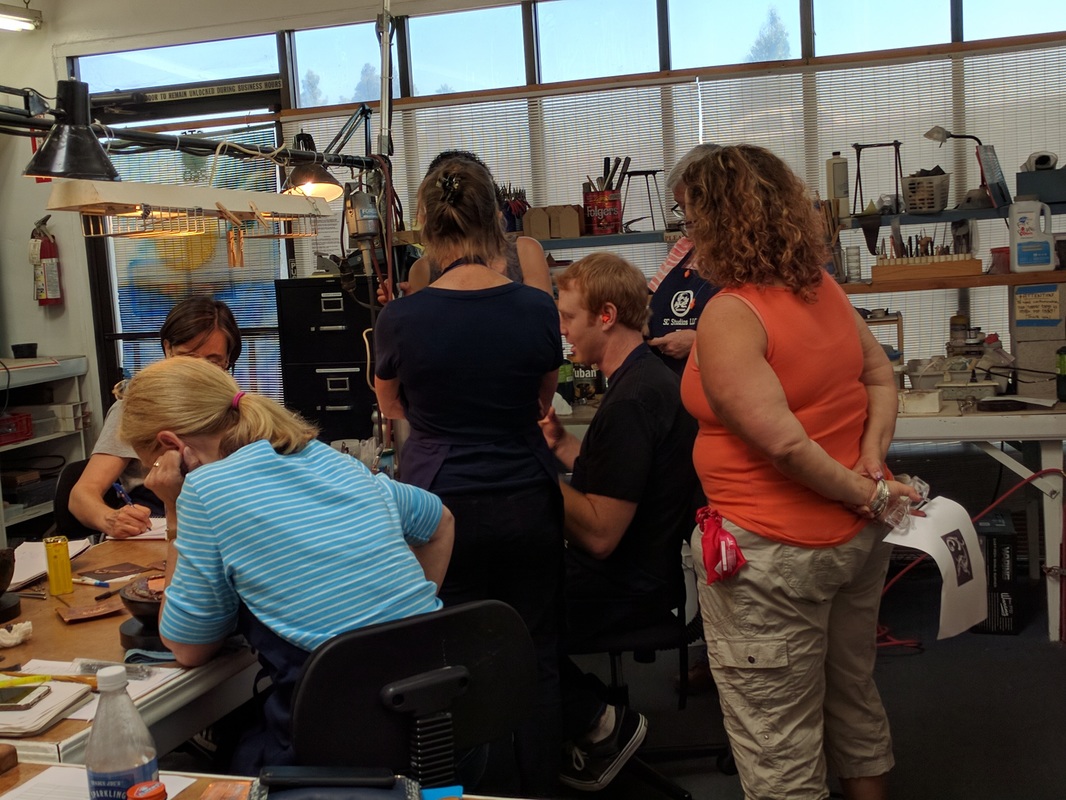
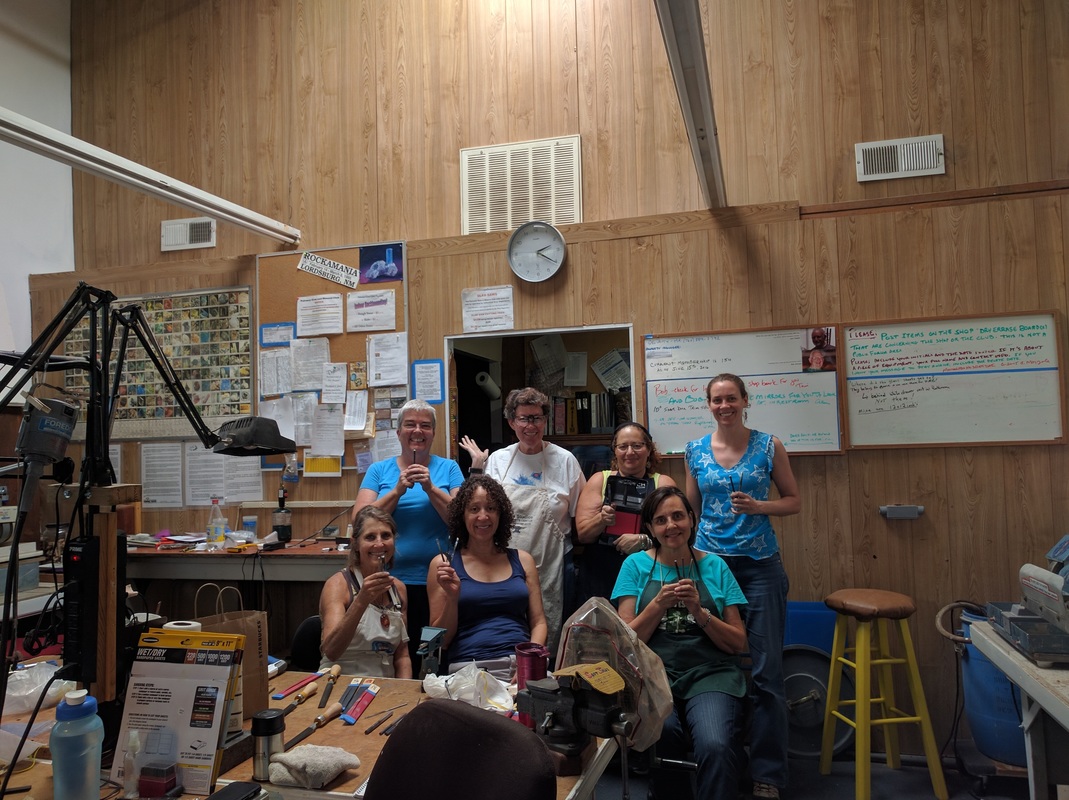
Last weekend, I went back to Jan's to play; it was a three day weekend so it was the perfect time for us to get together. Not only were we going to PLAY but Jan asked about a few techniques she wanted to learn.

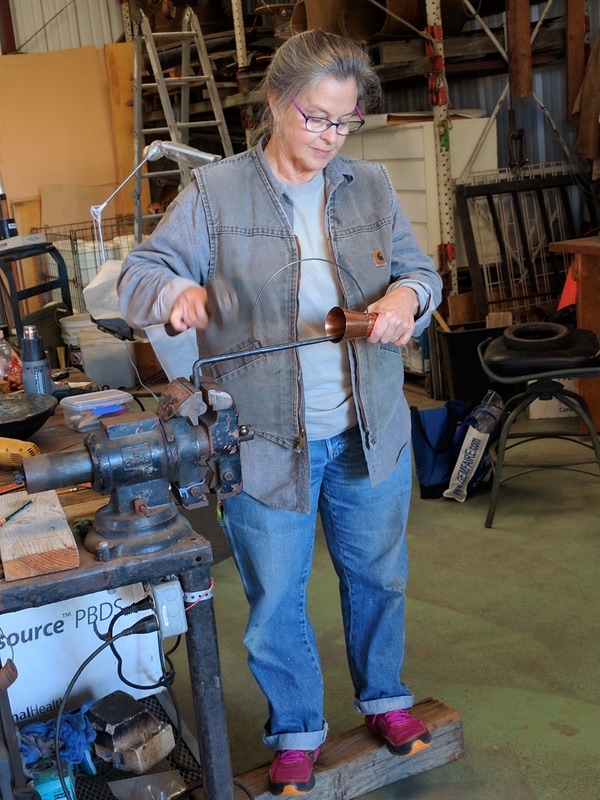
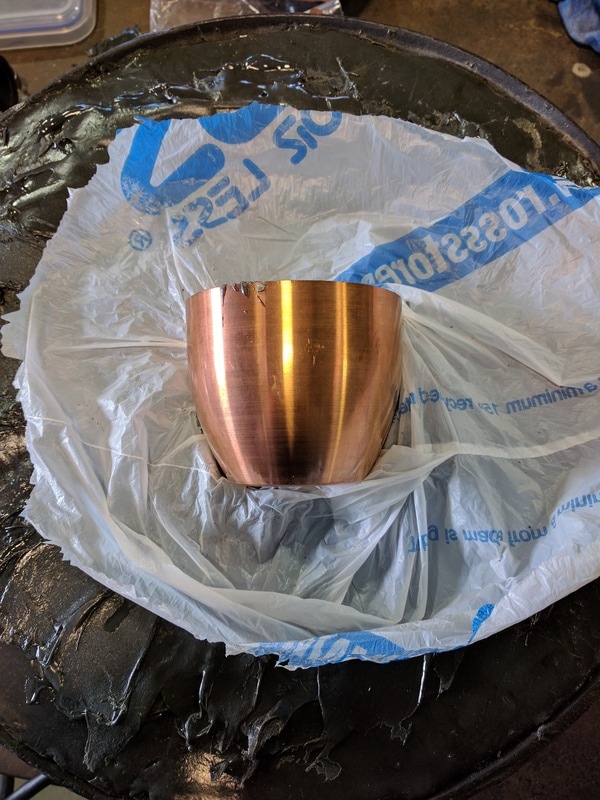
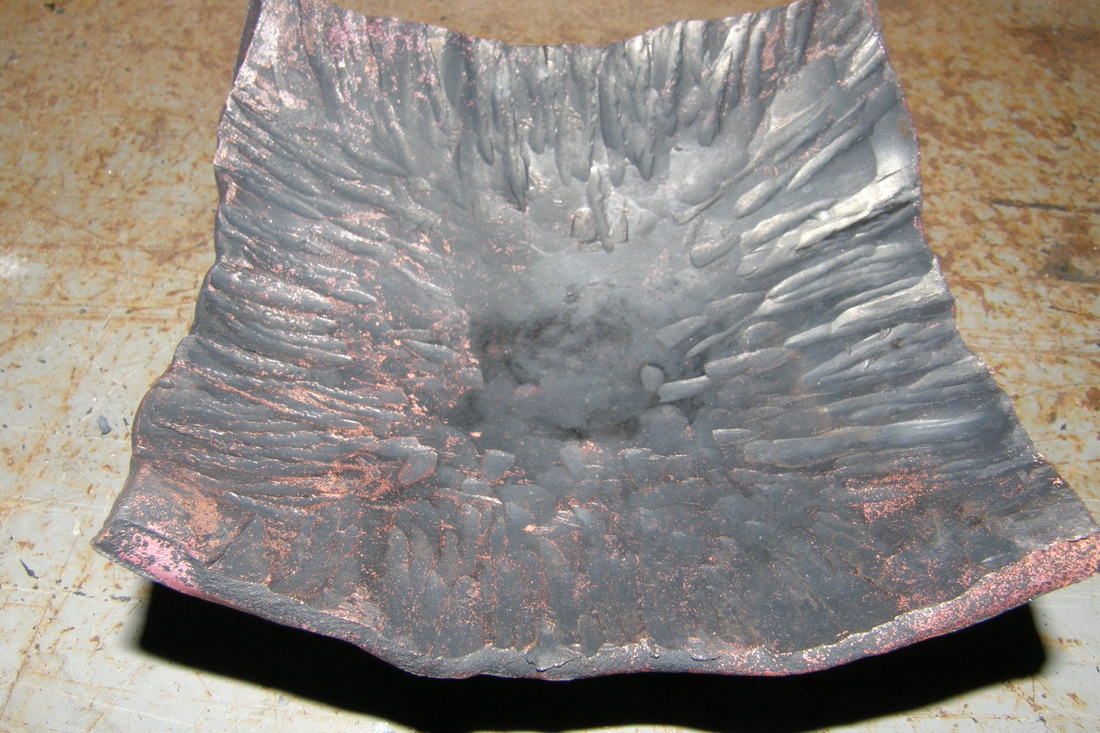
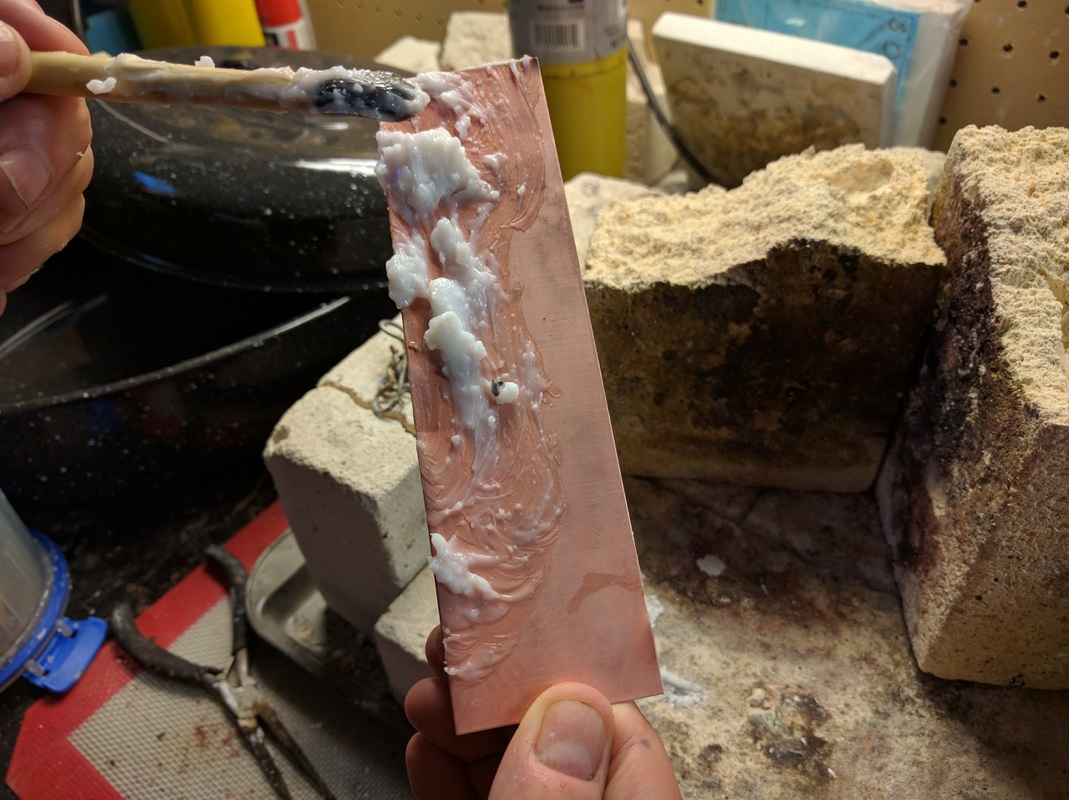
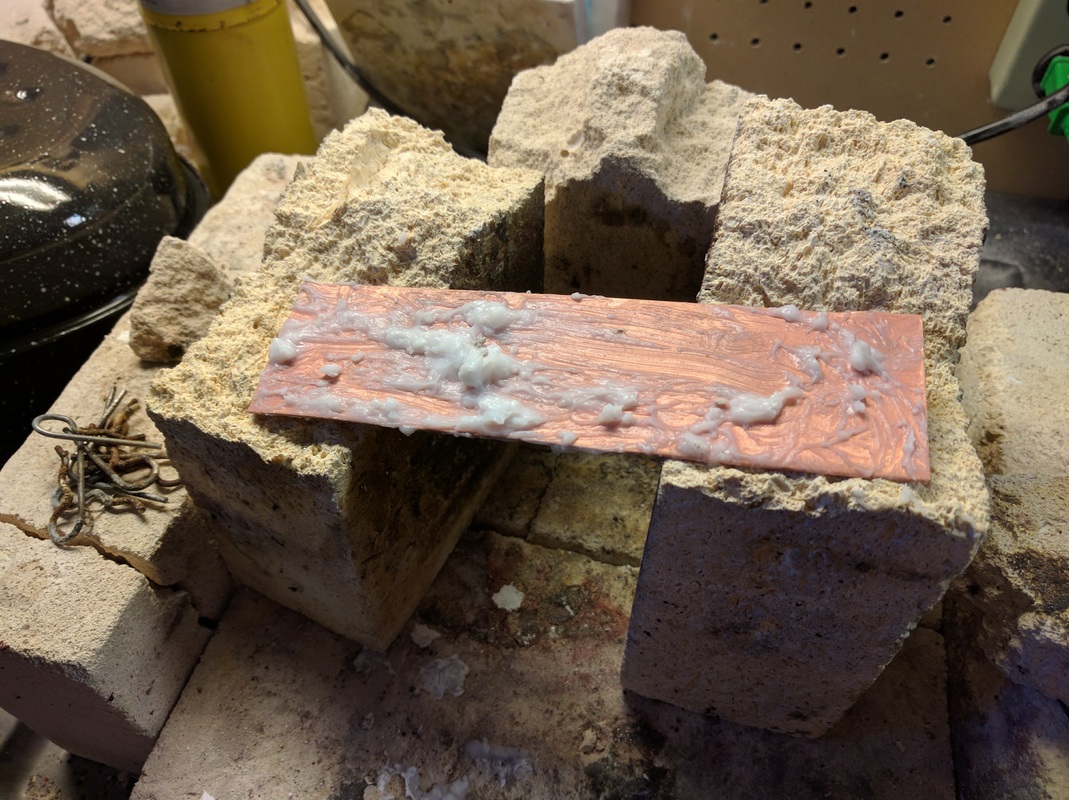
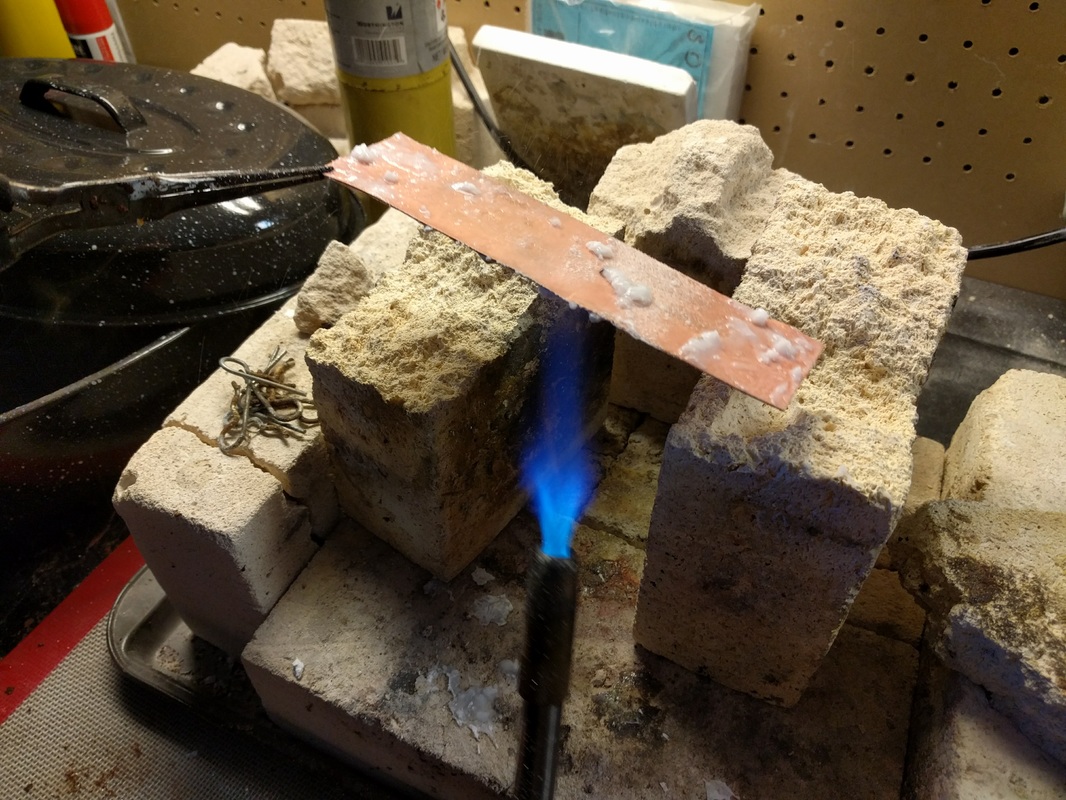
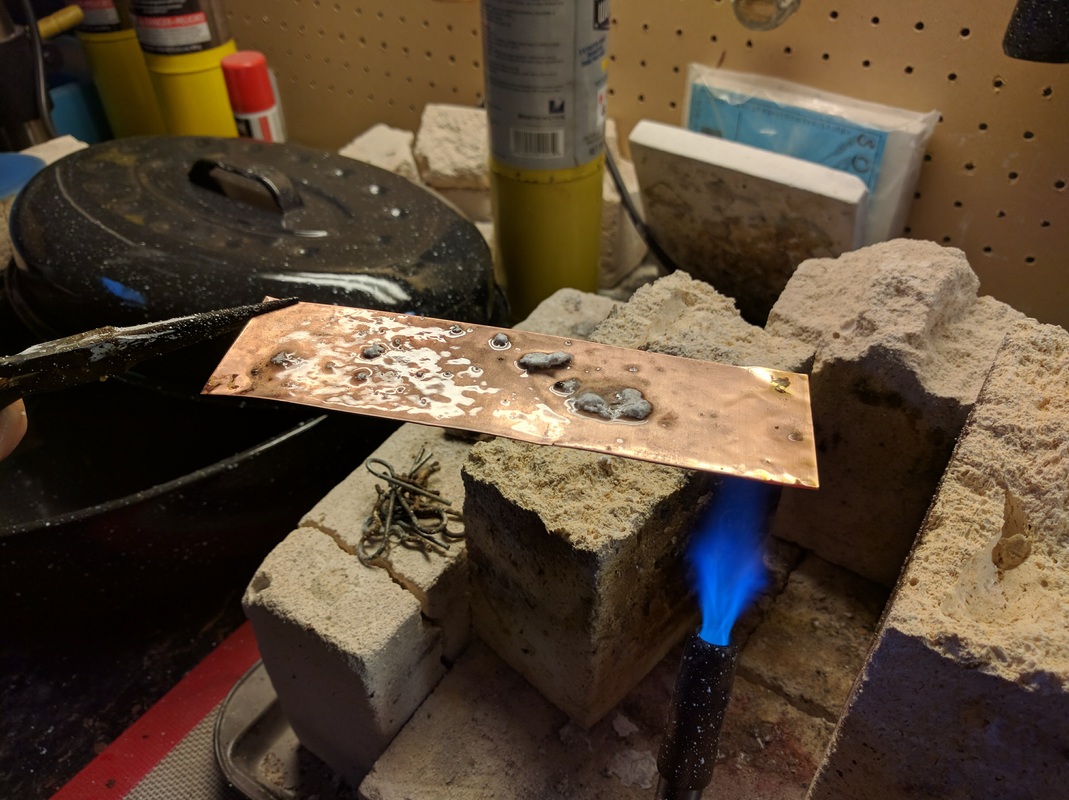
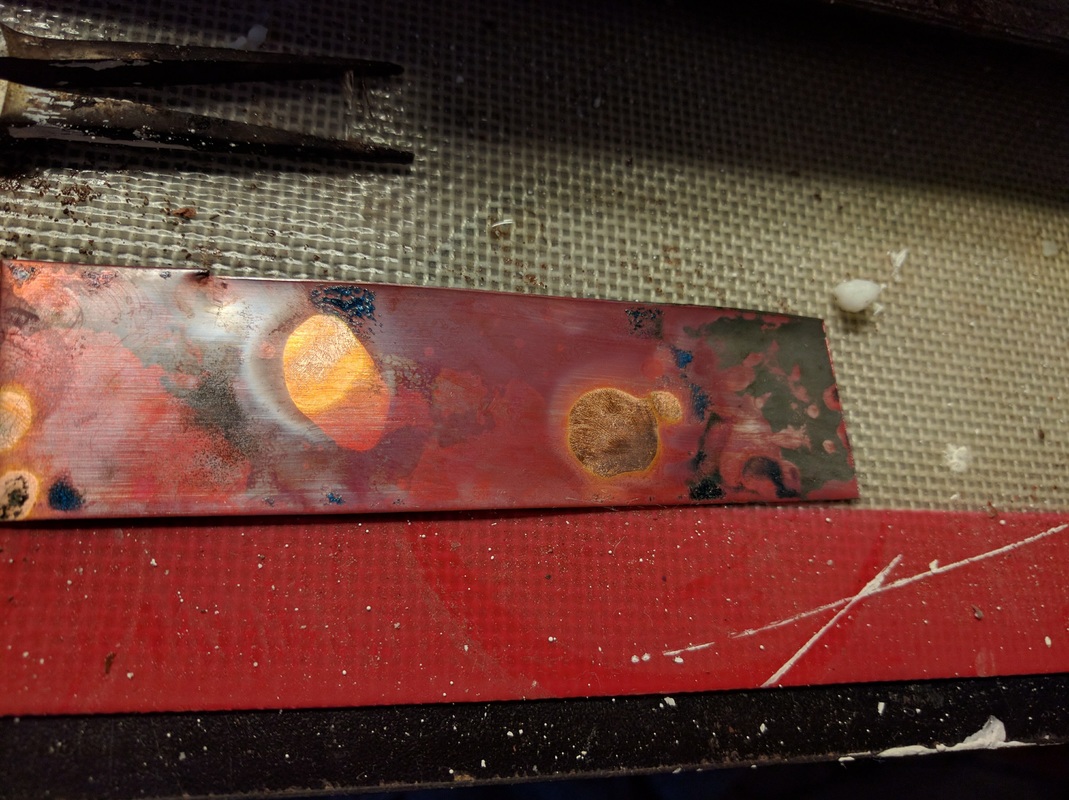
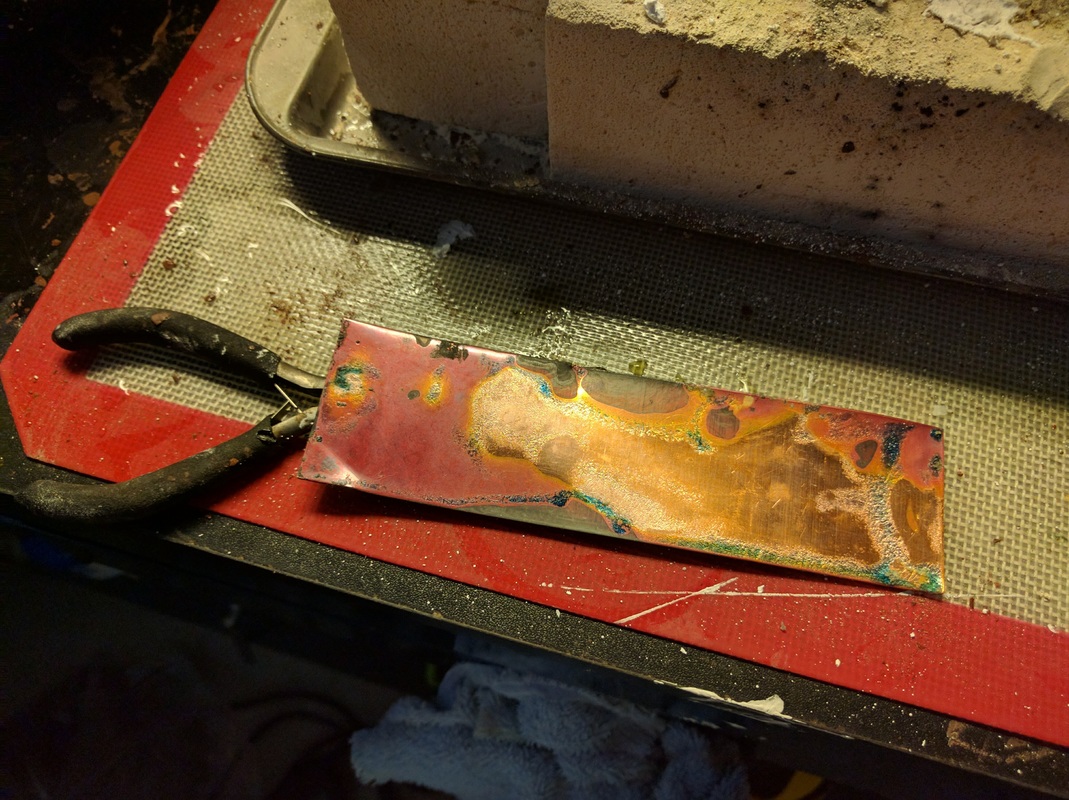
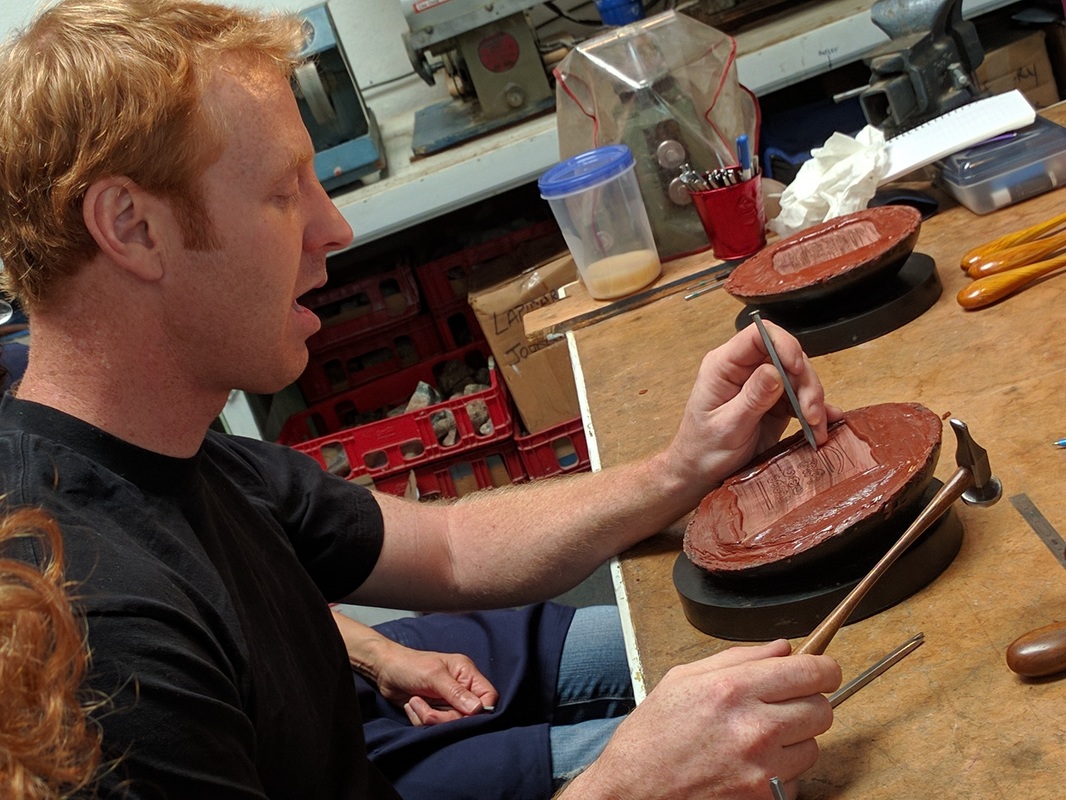
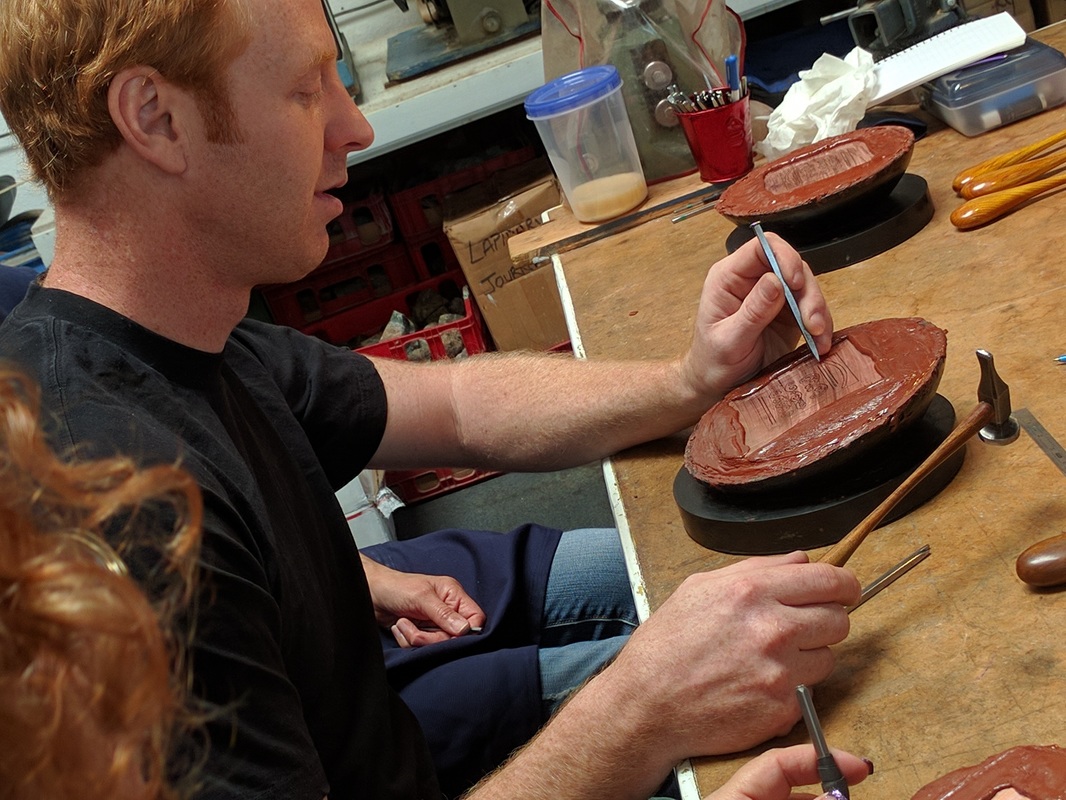
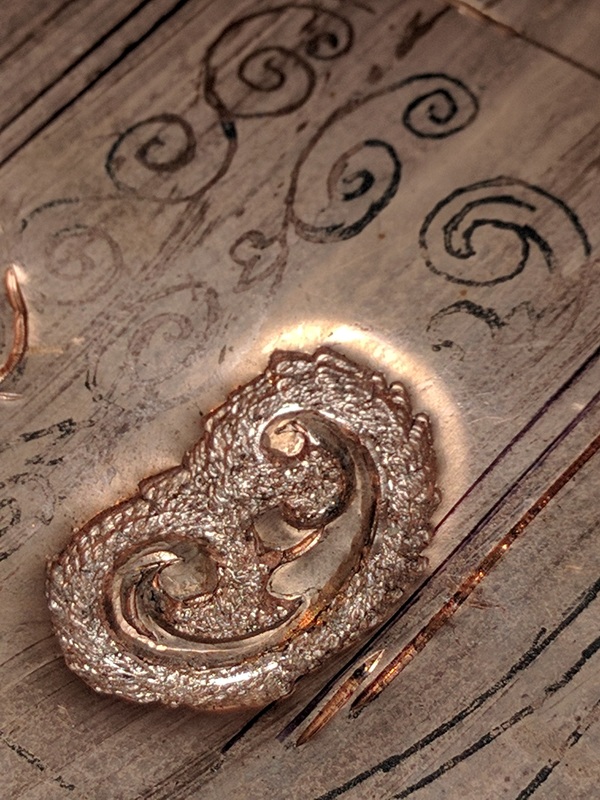
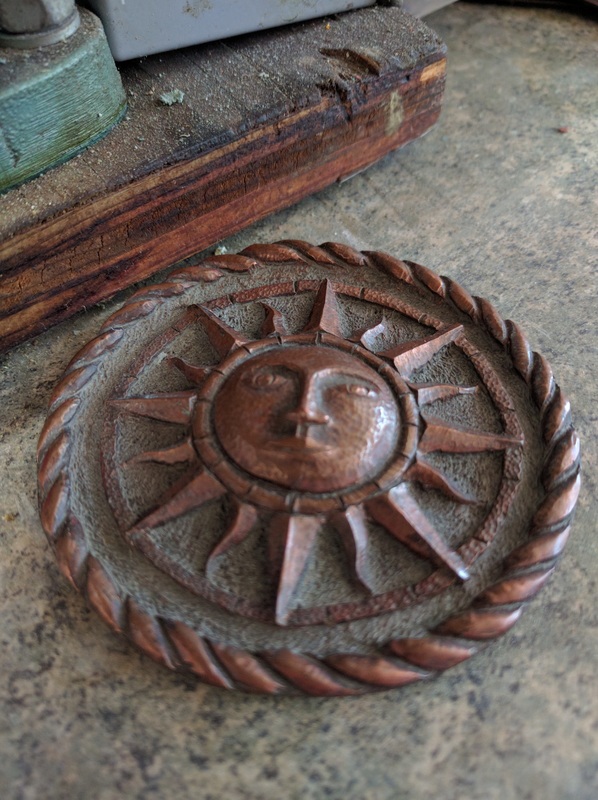
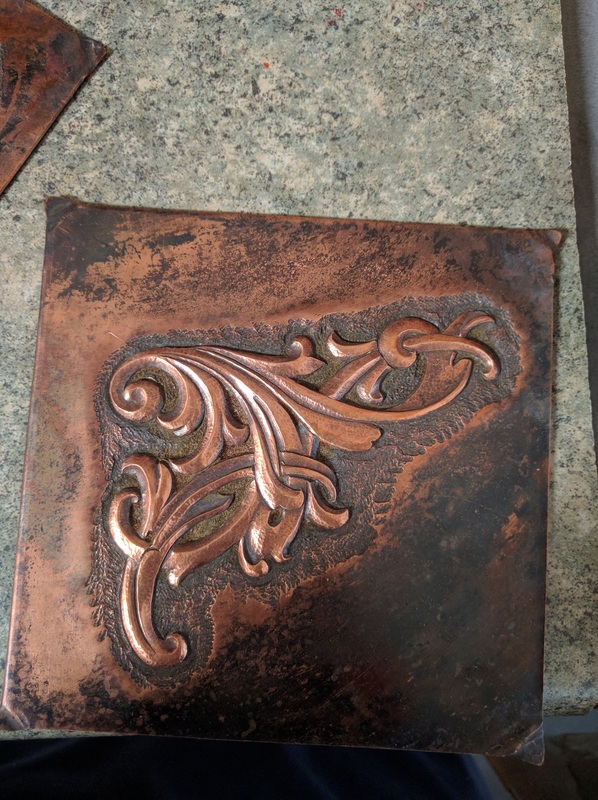
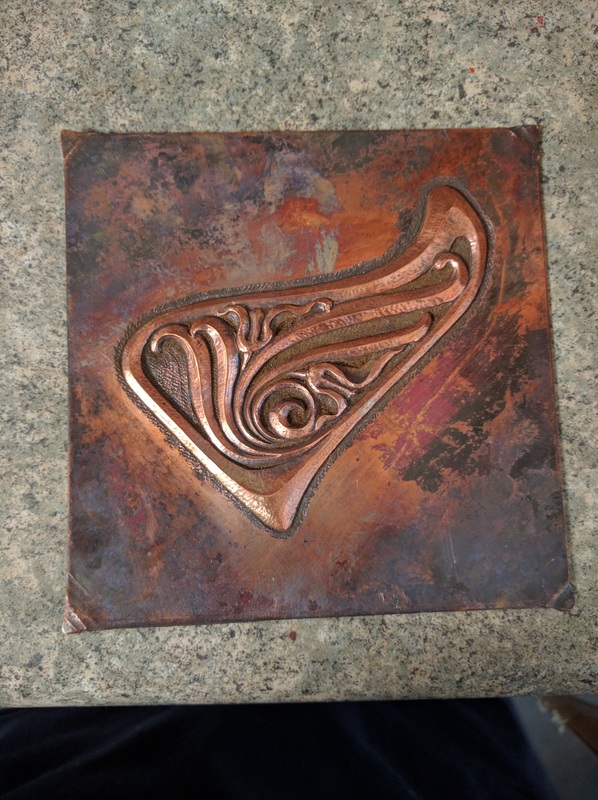
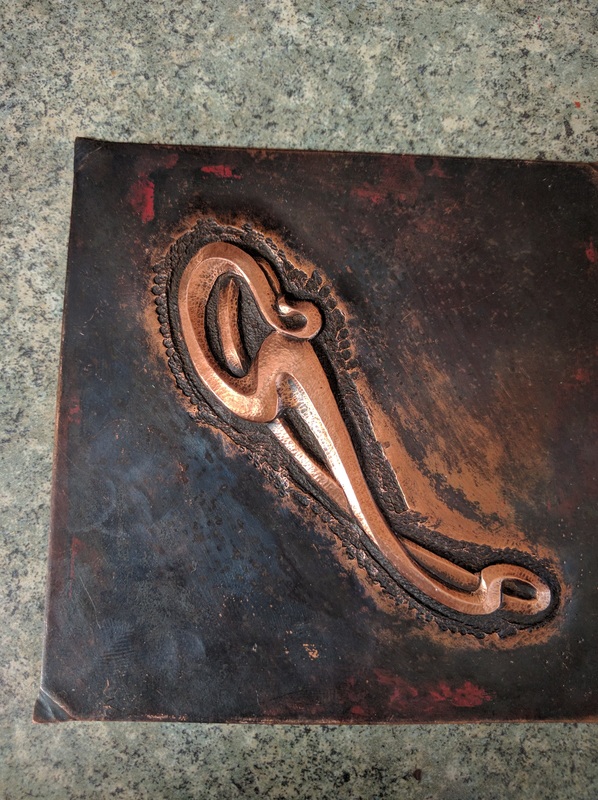
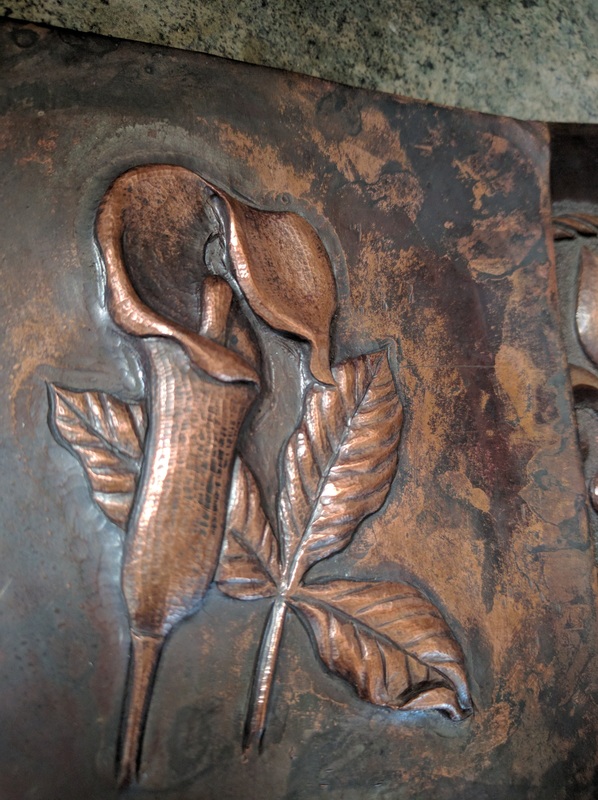
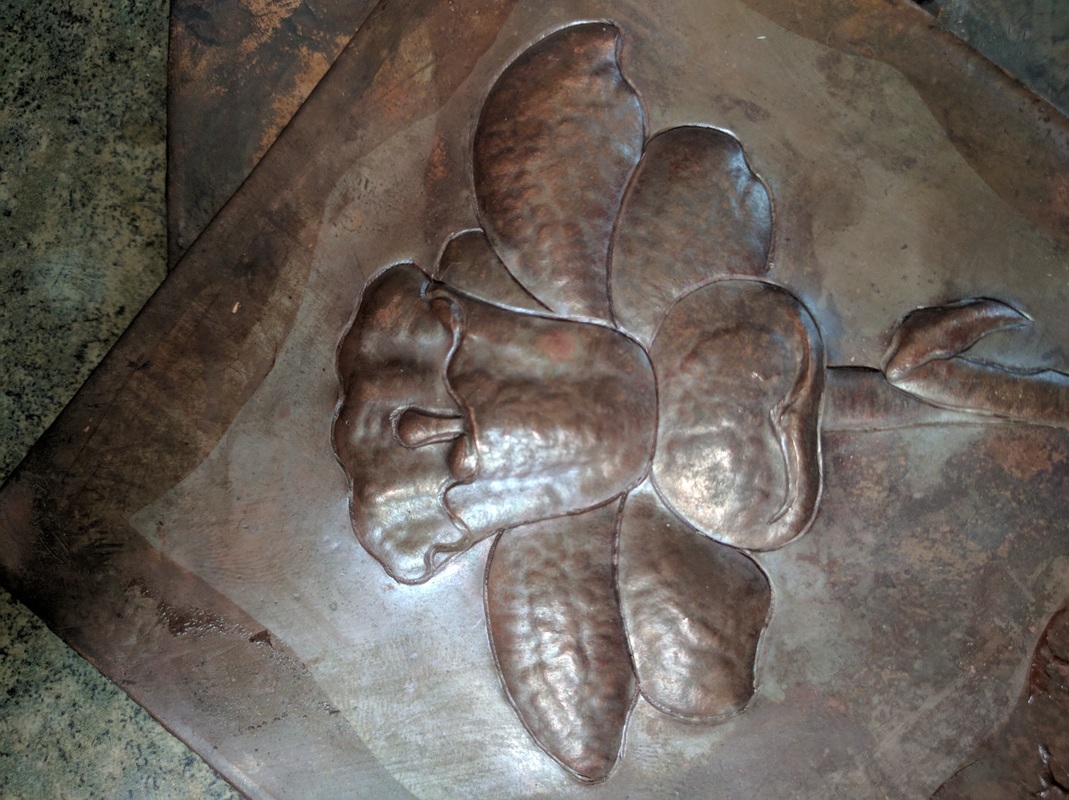
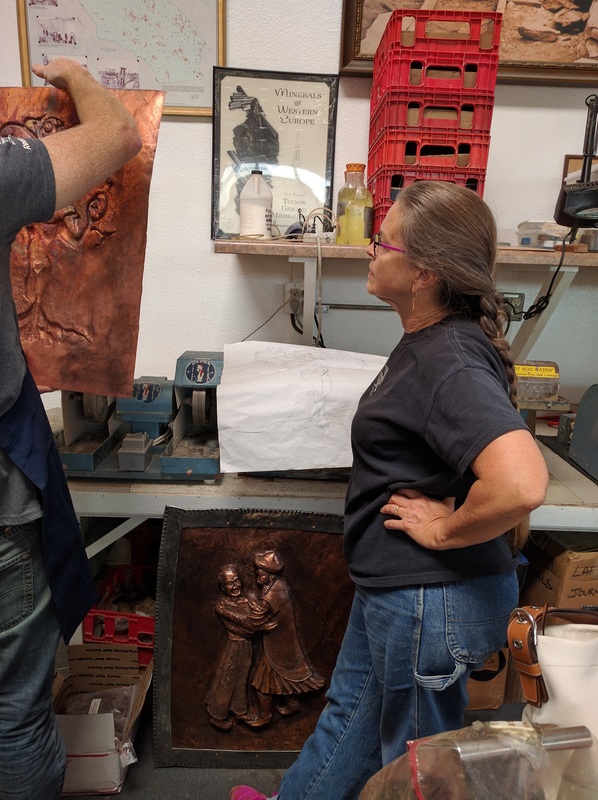
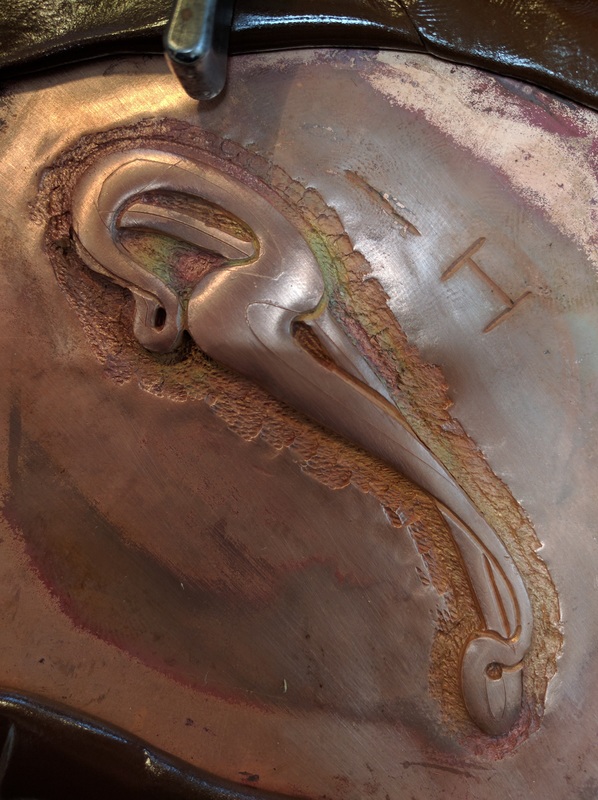
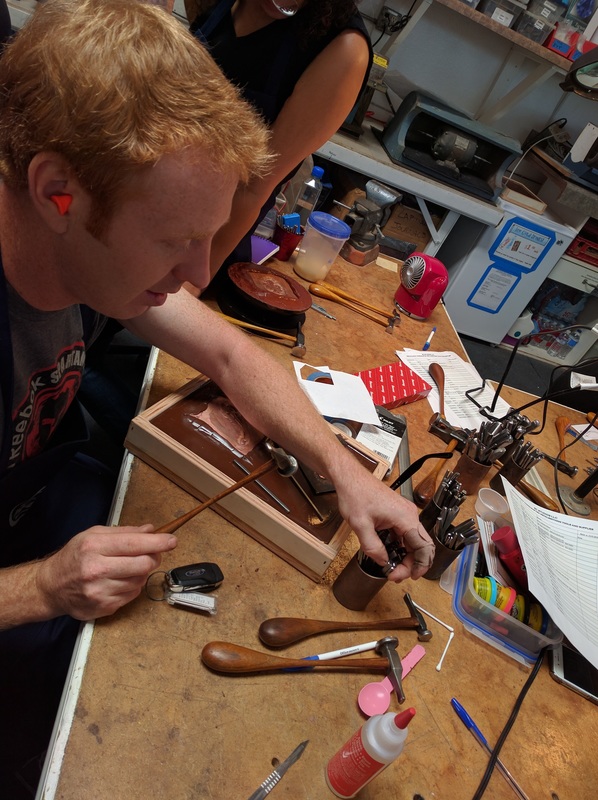
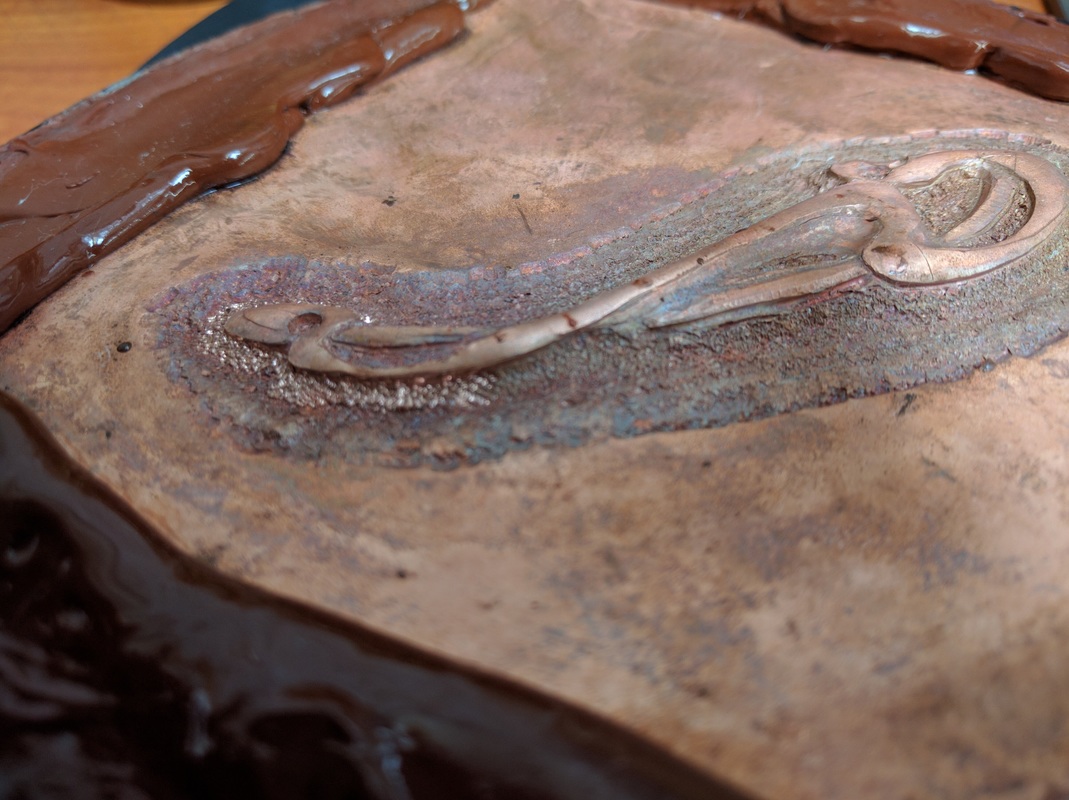
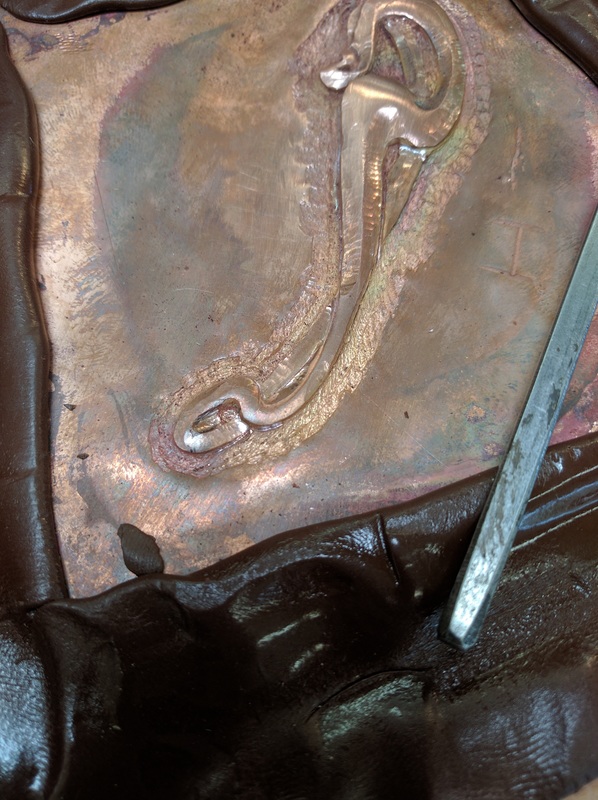
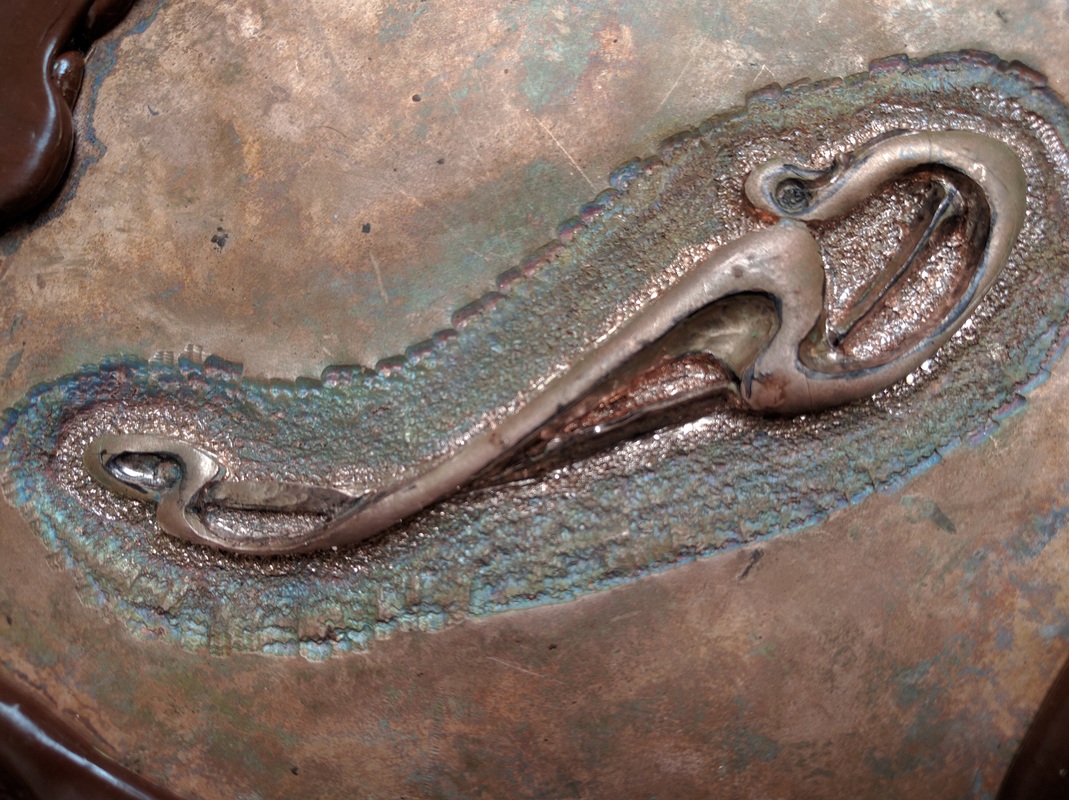
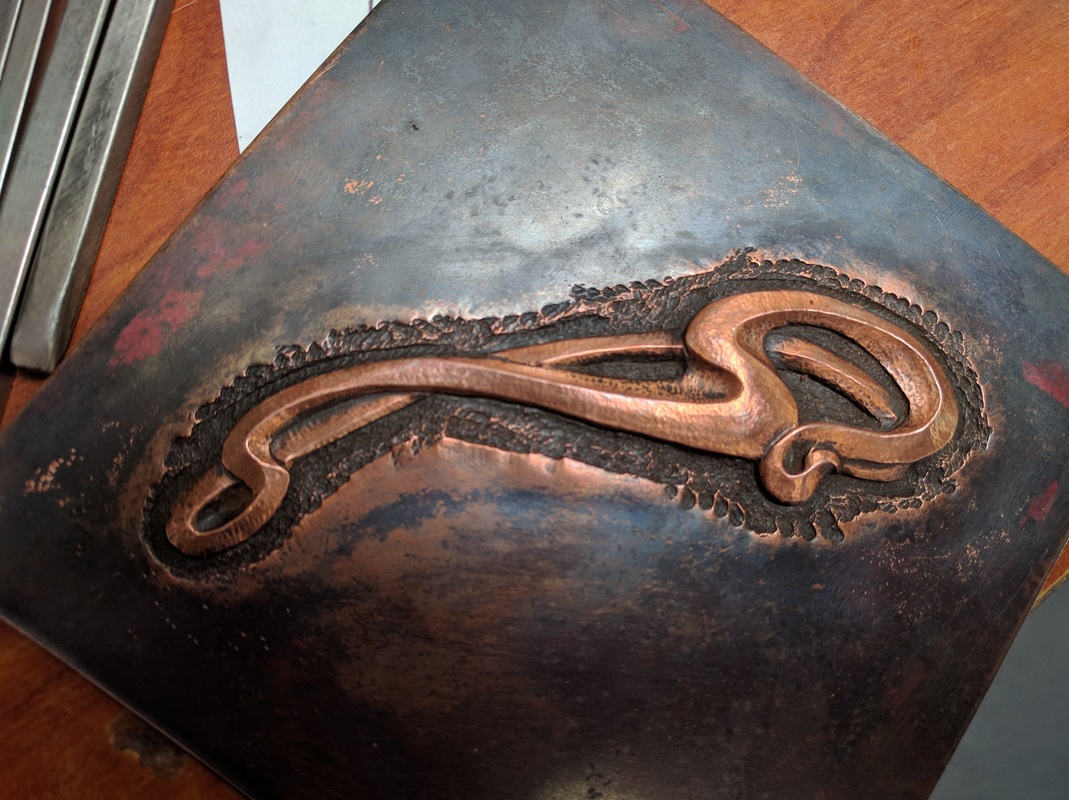
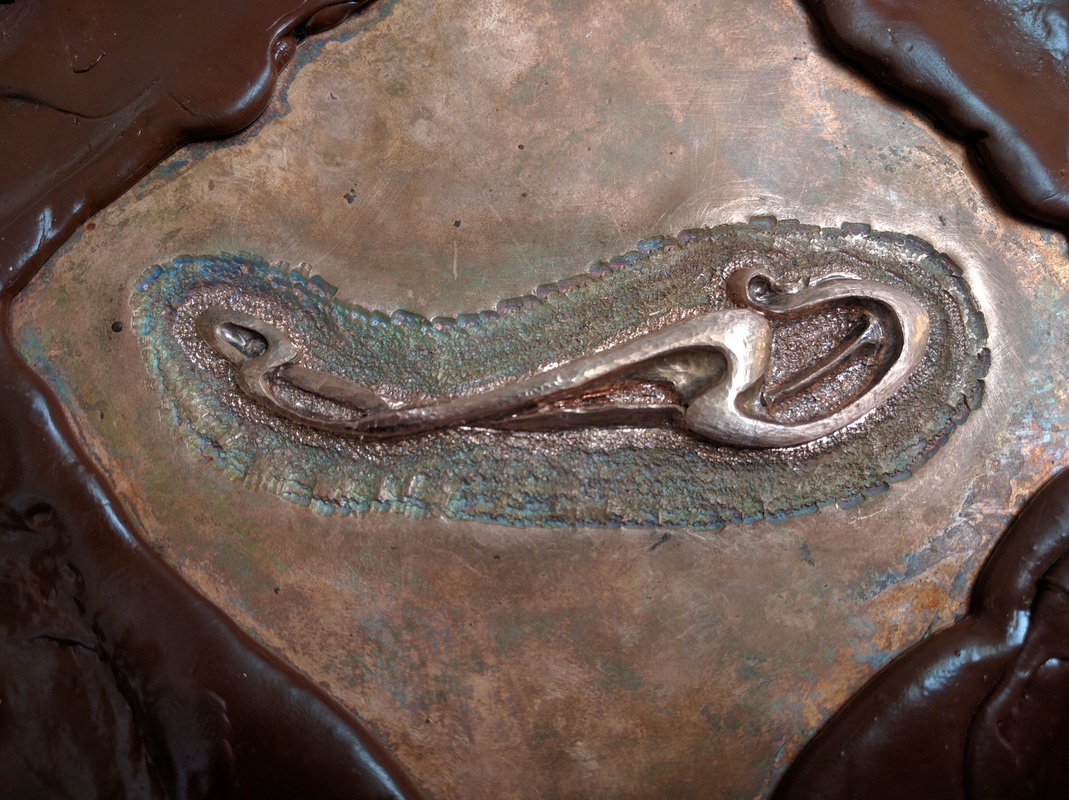
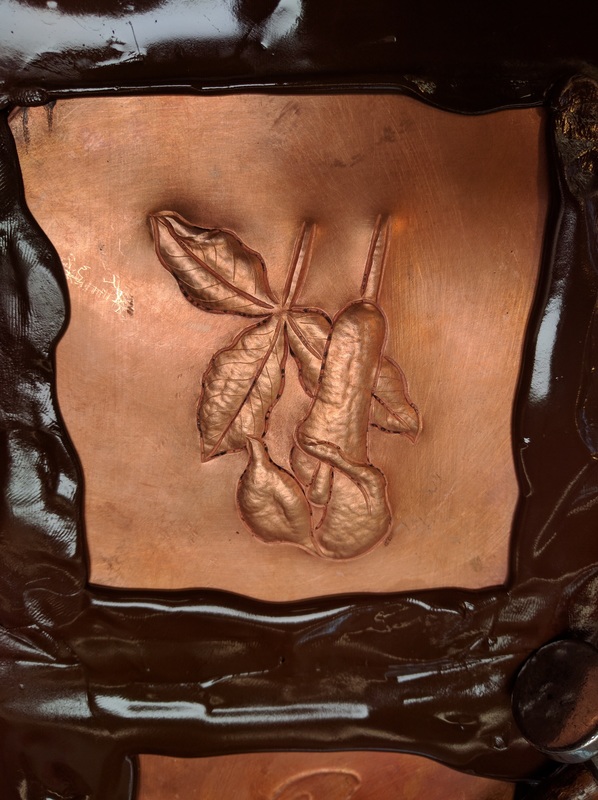
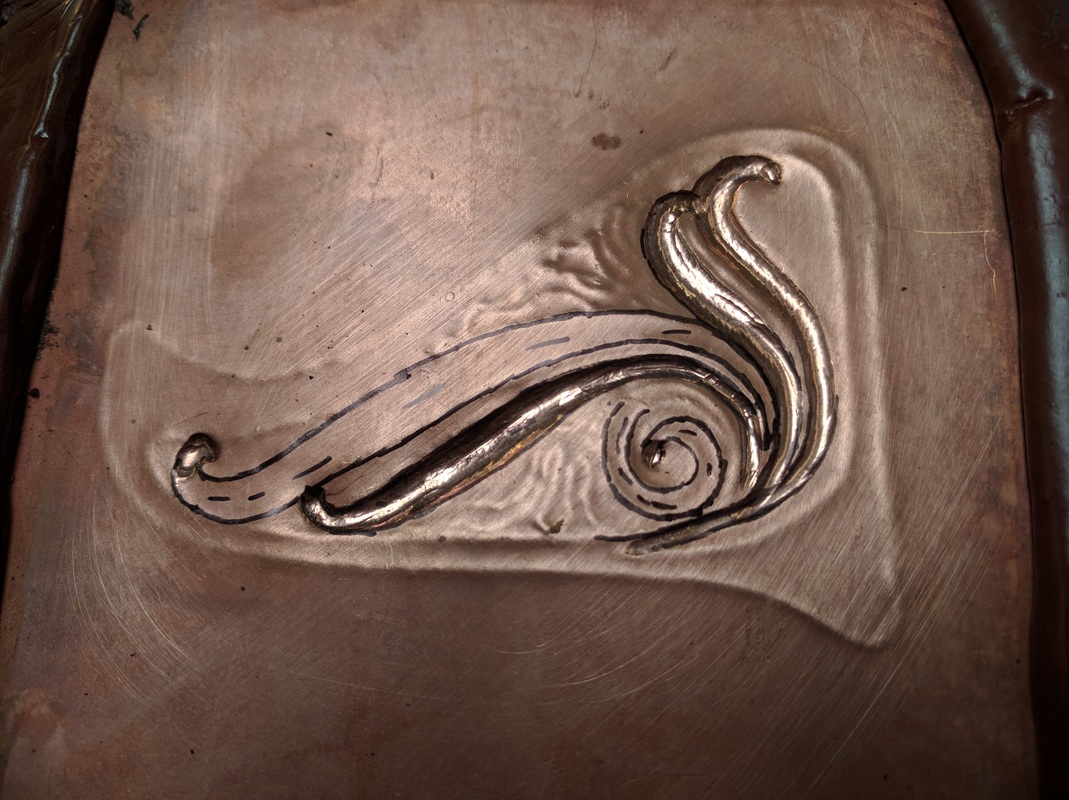
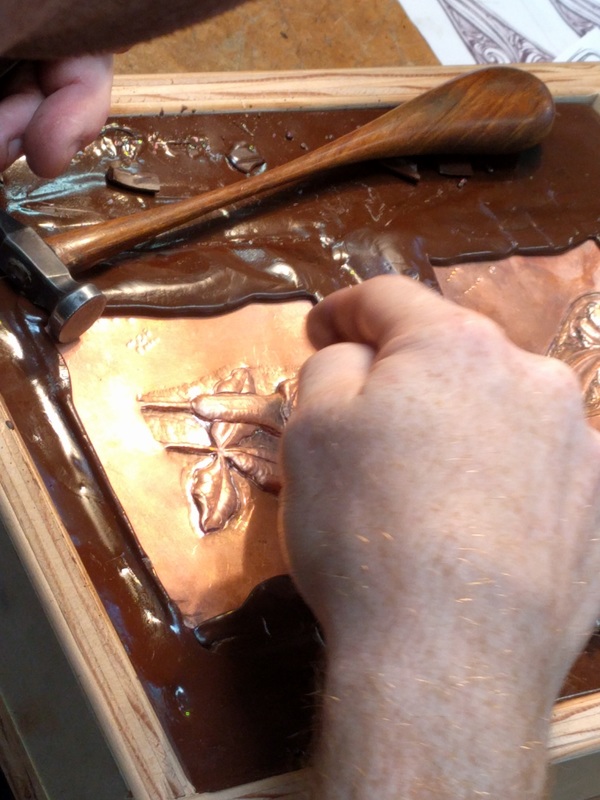
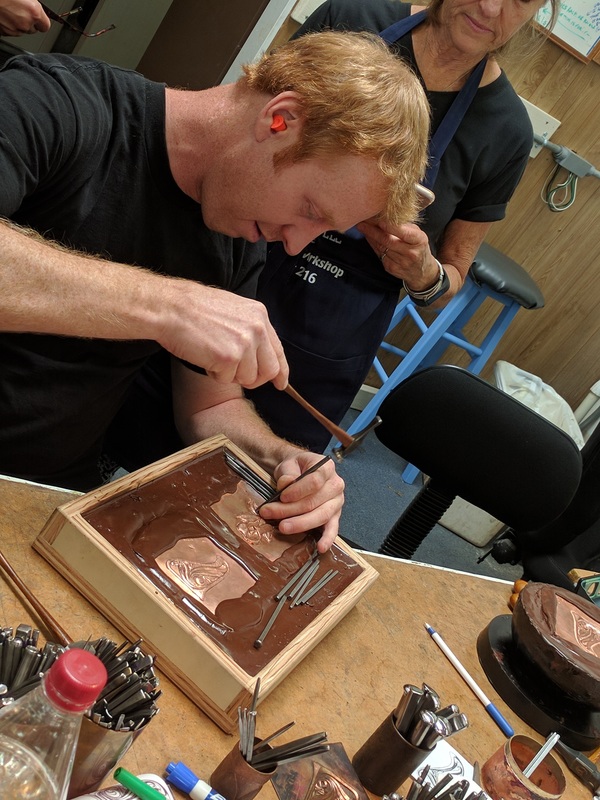
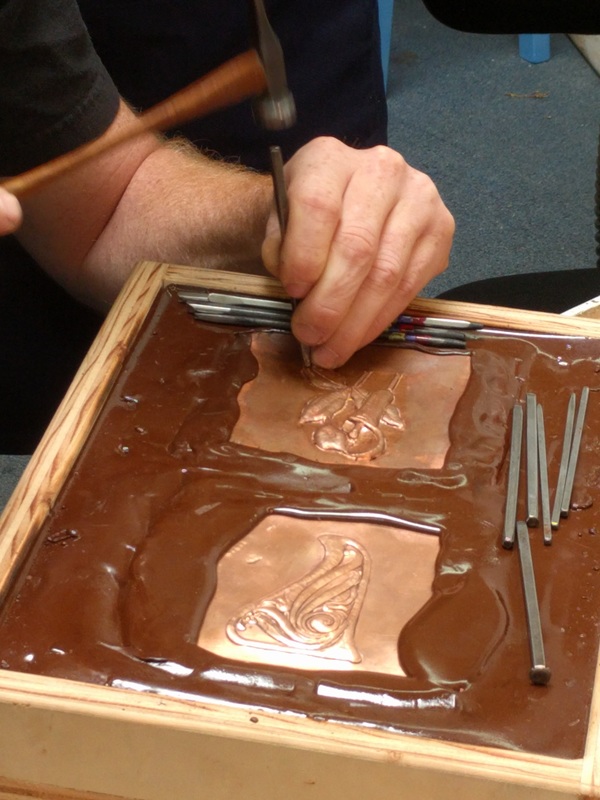
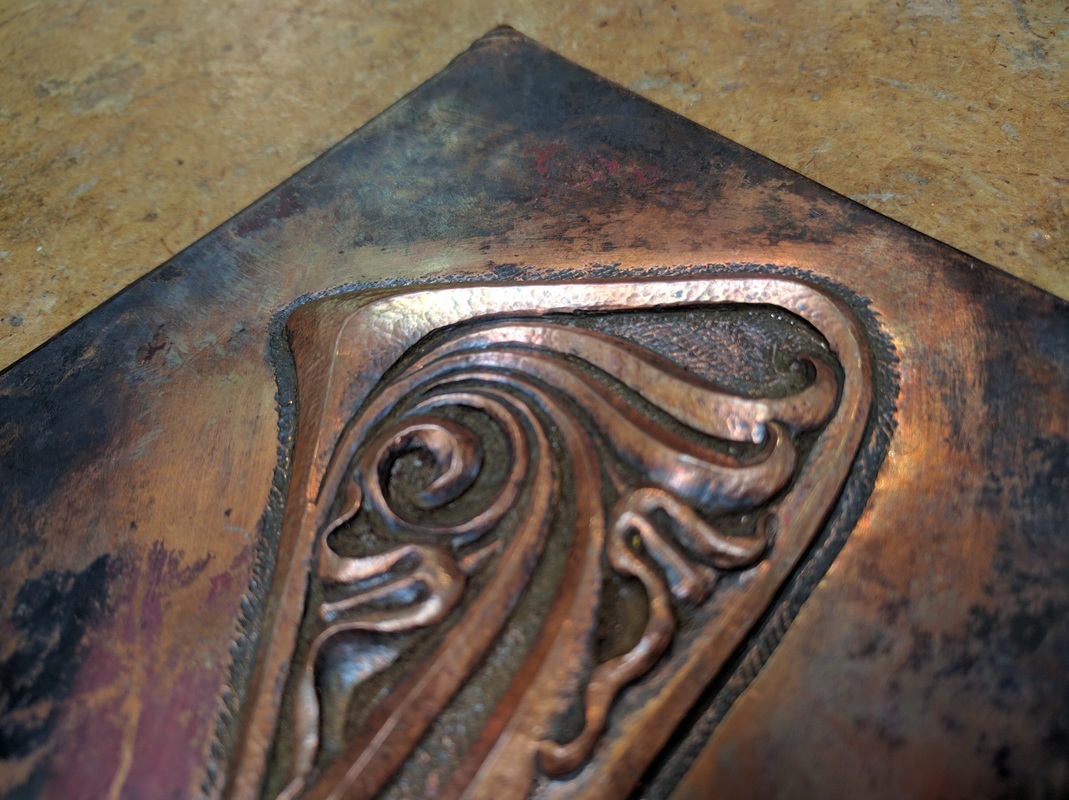
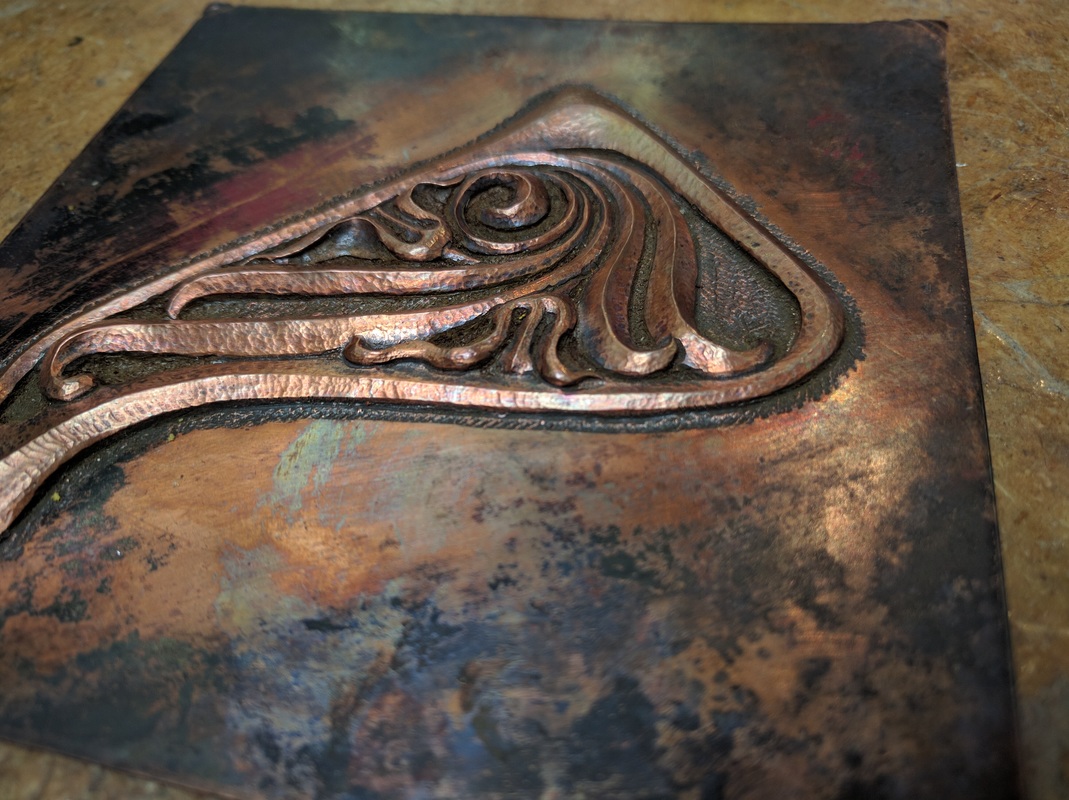
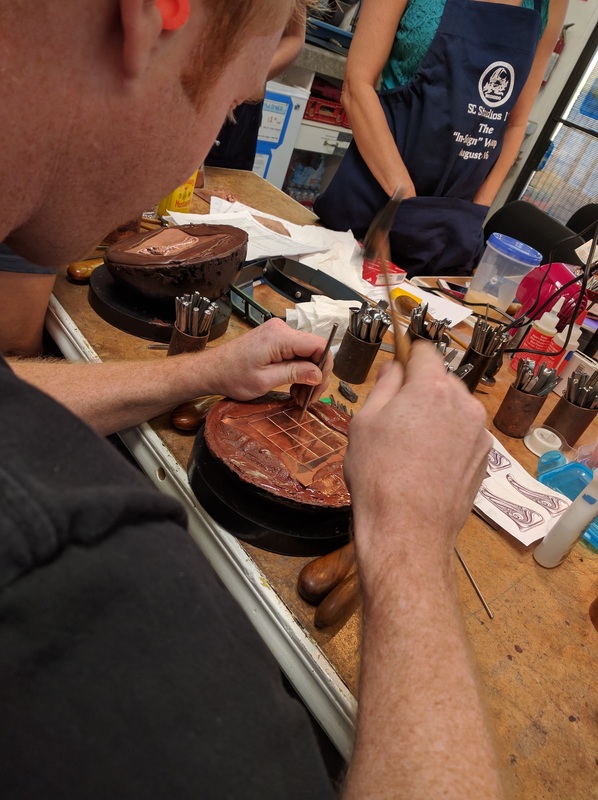
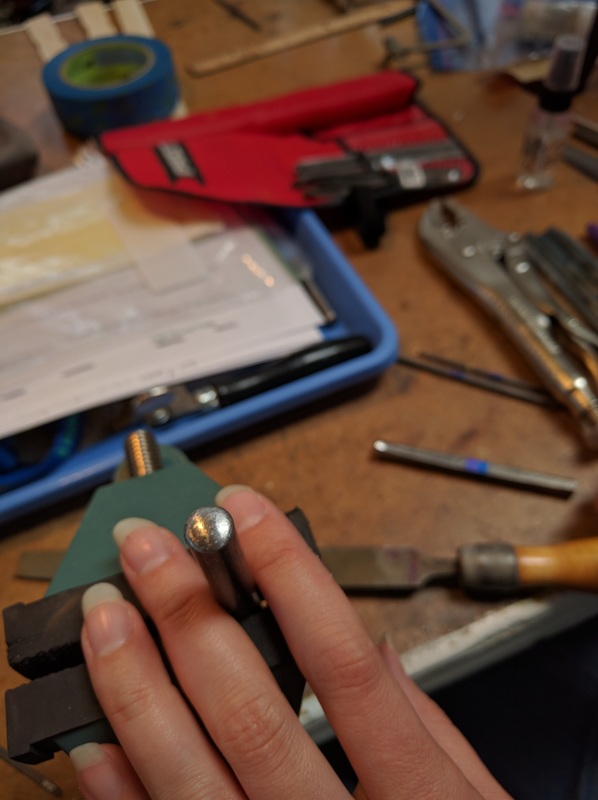
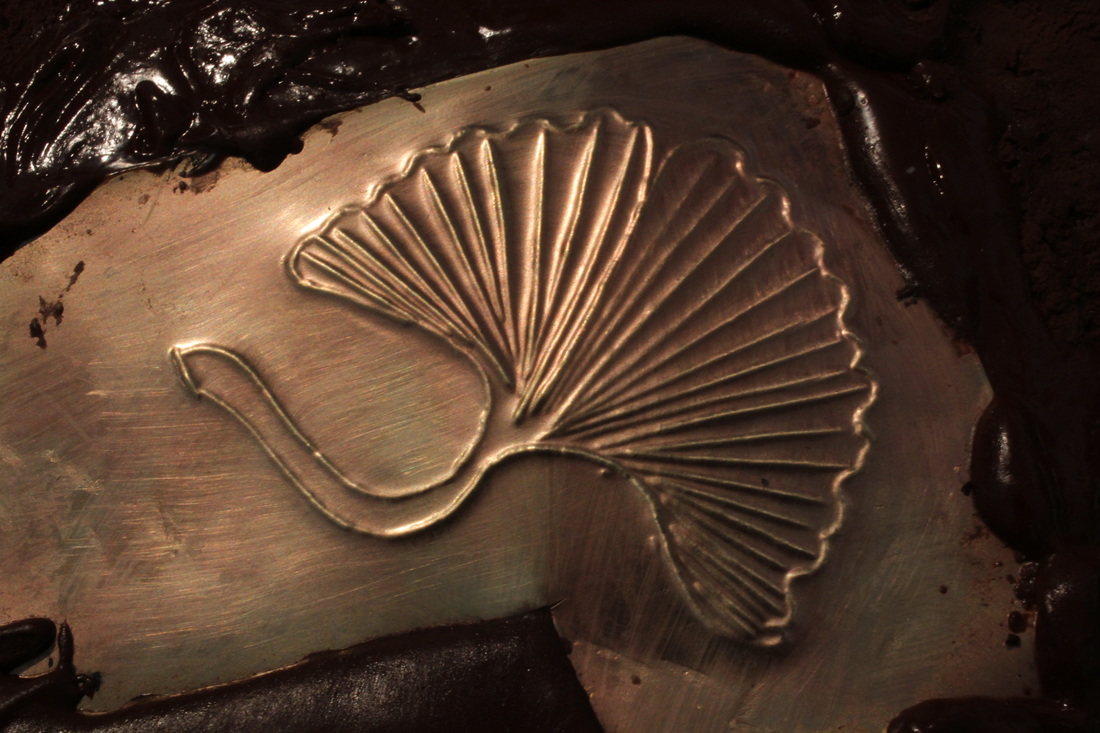
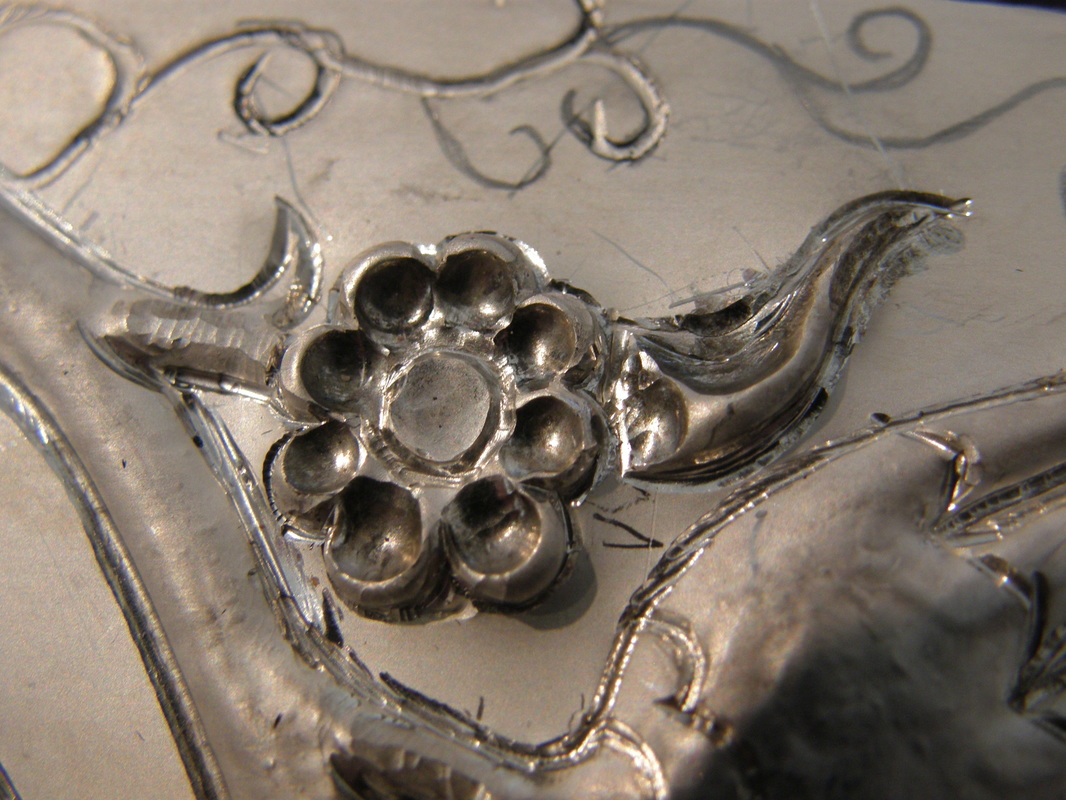
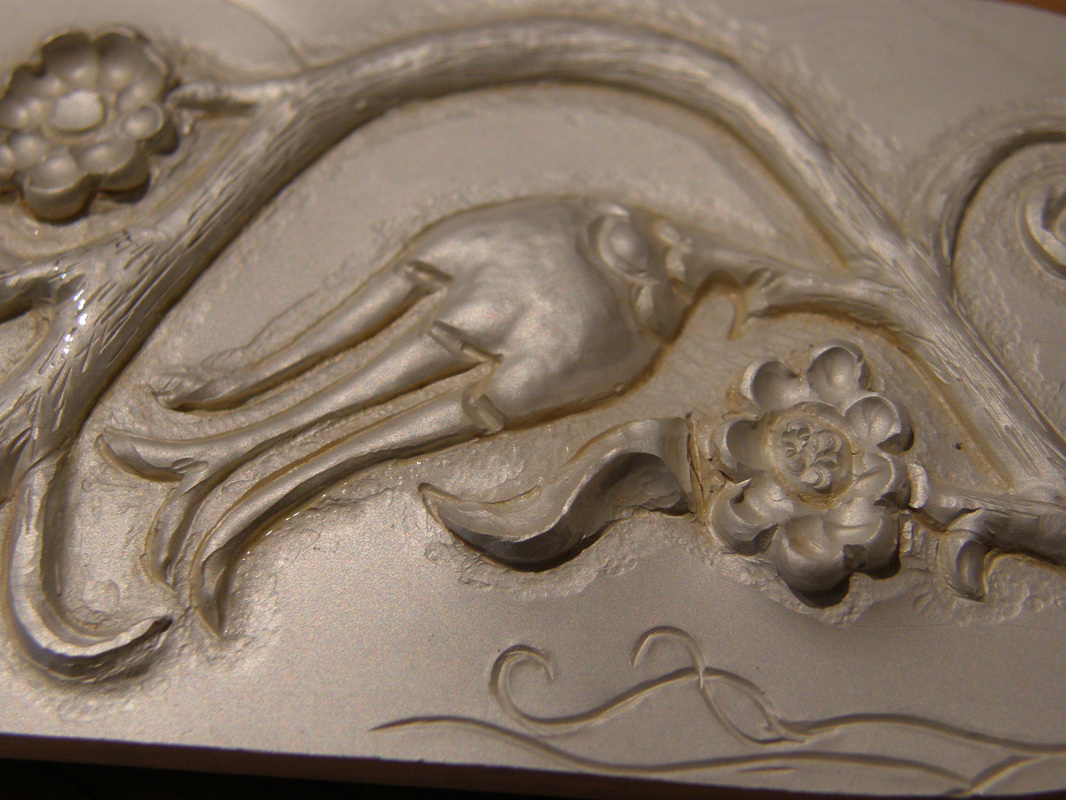
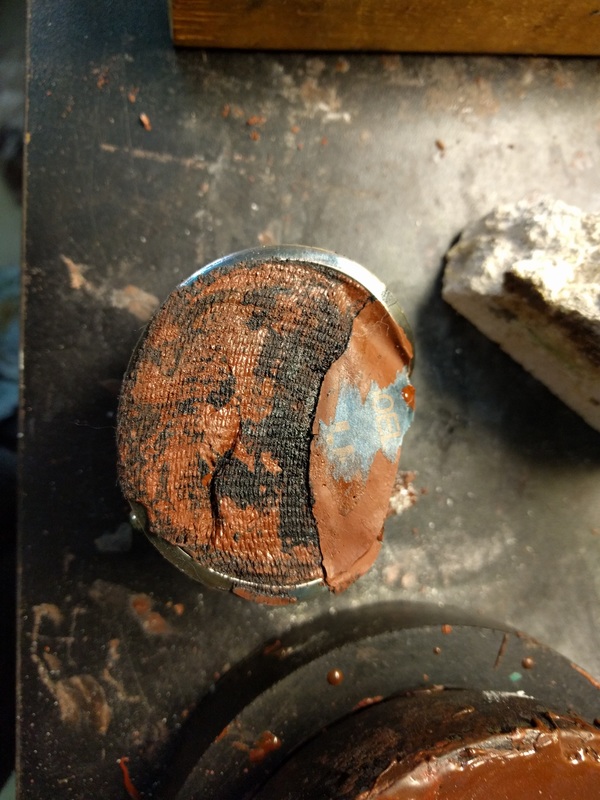
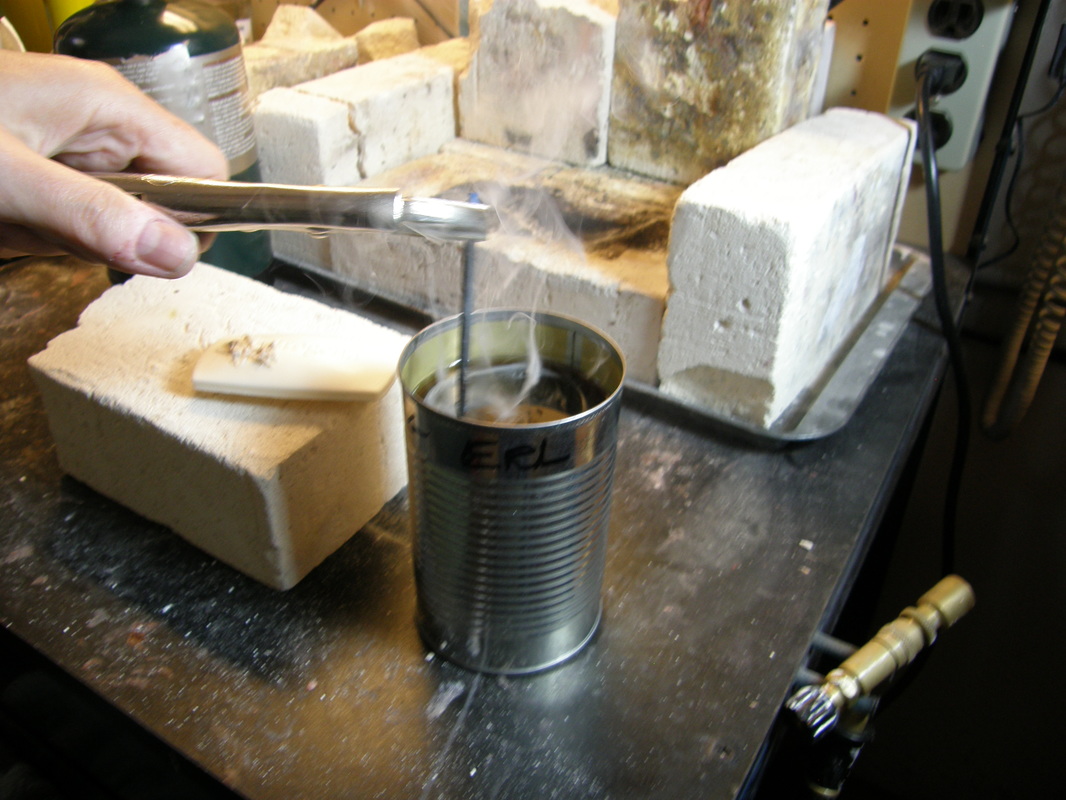
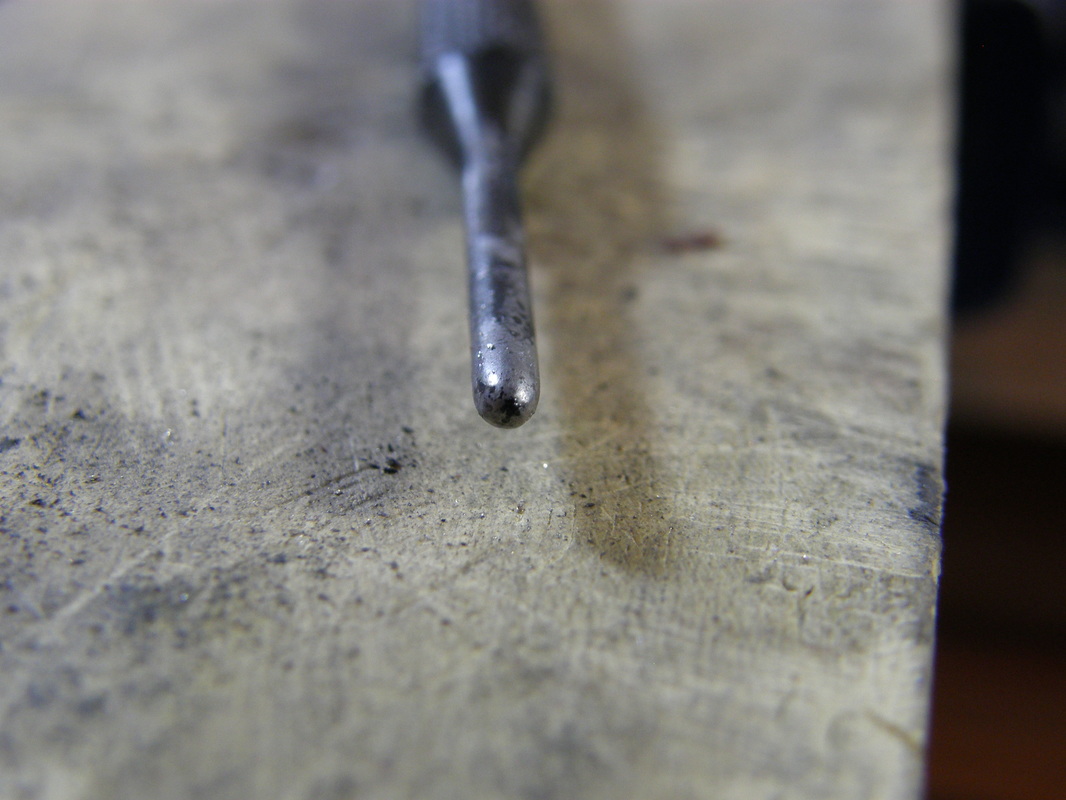
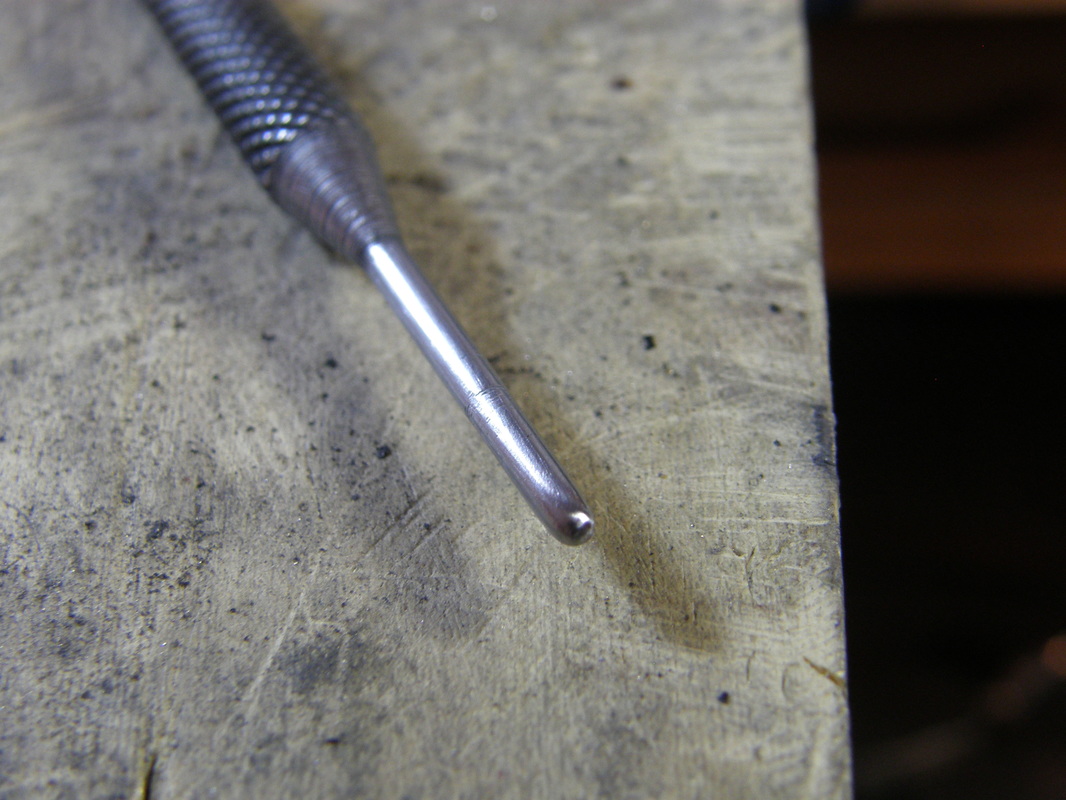
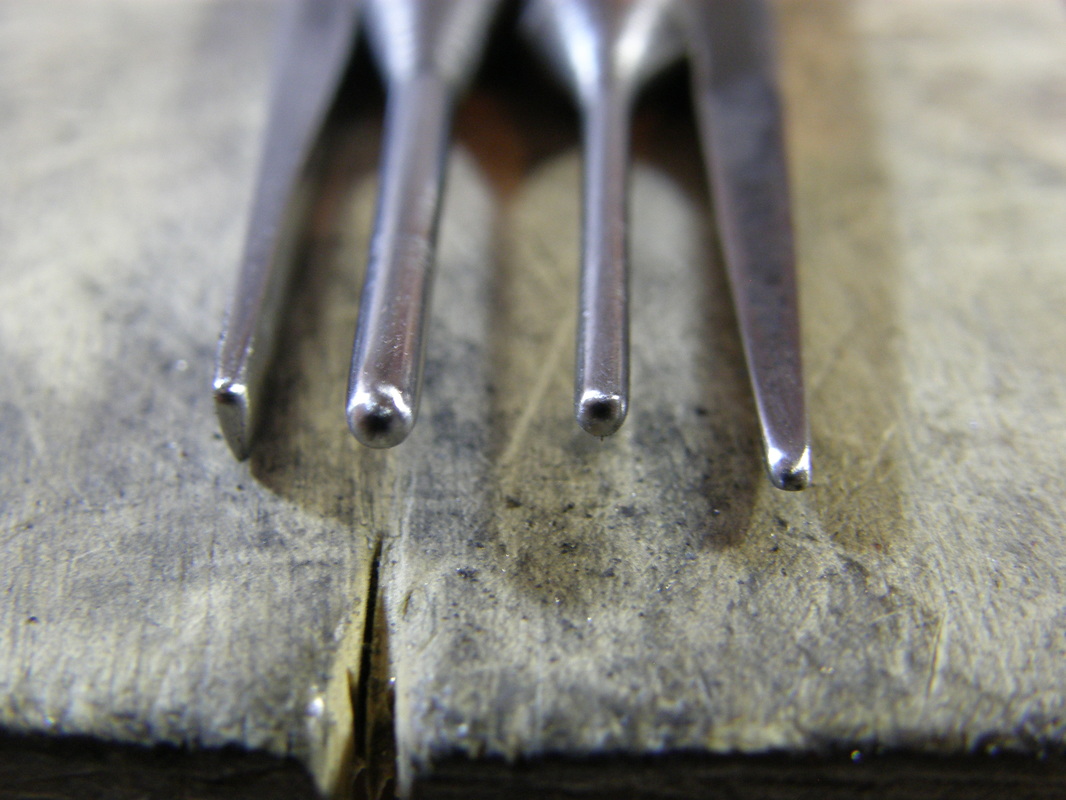
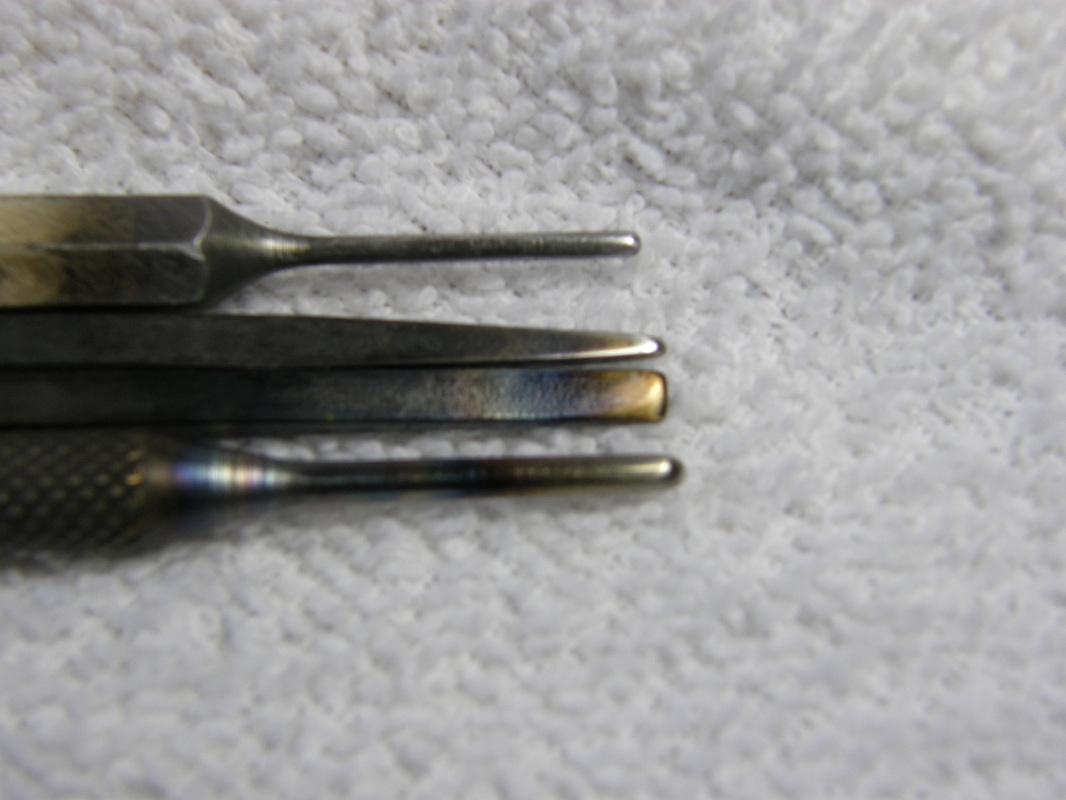
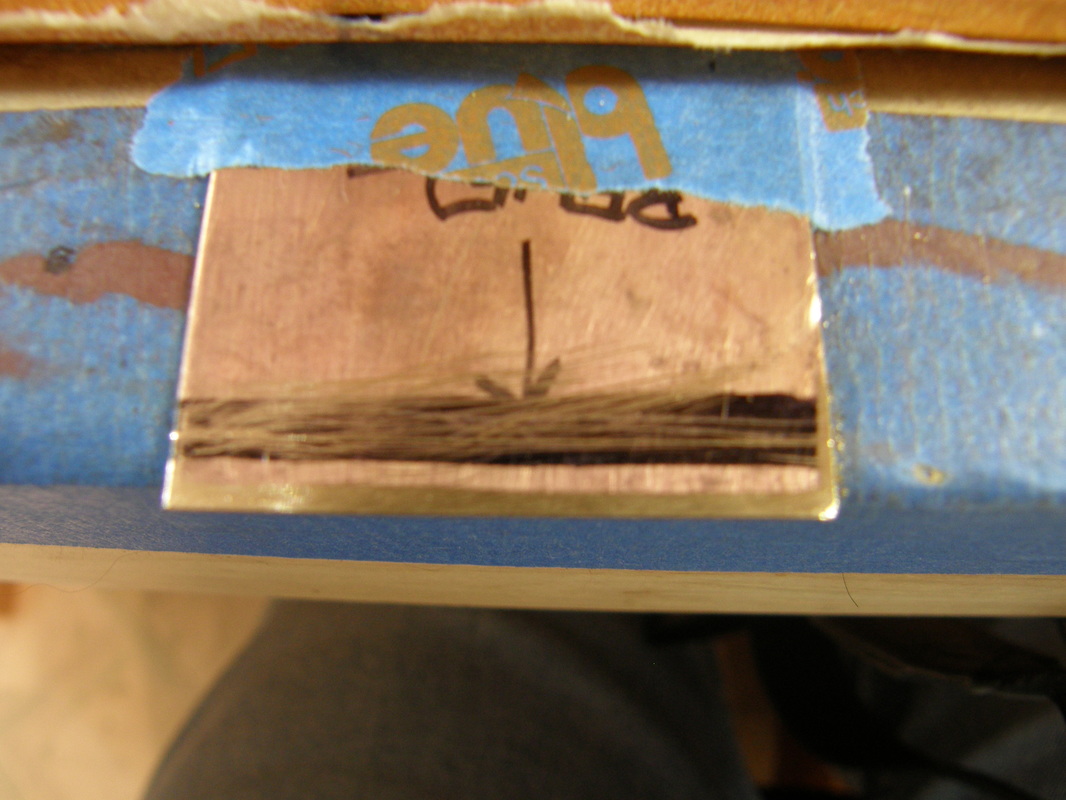
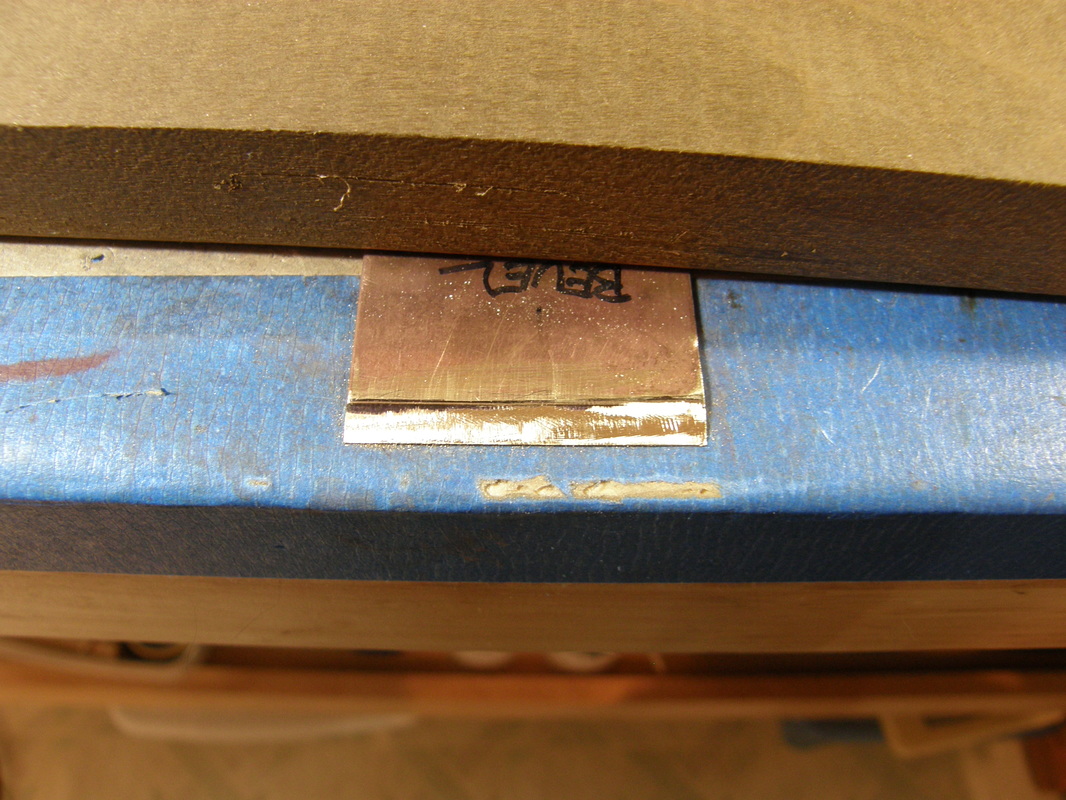
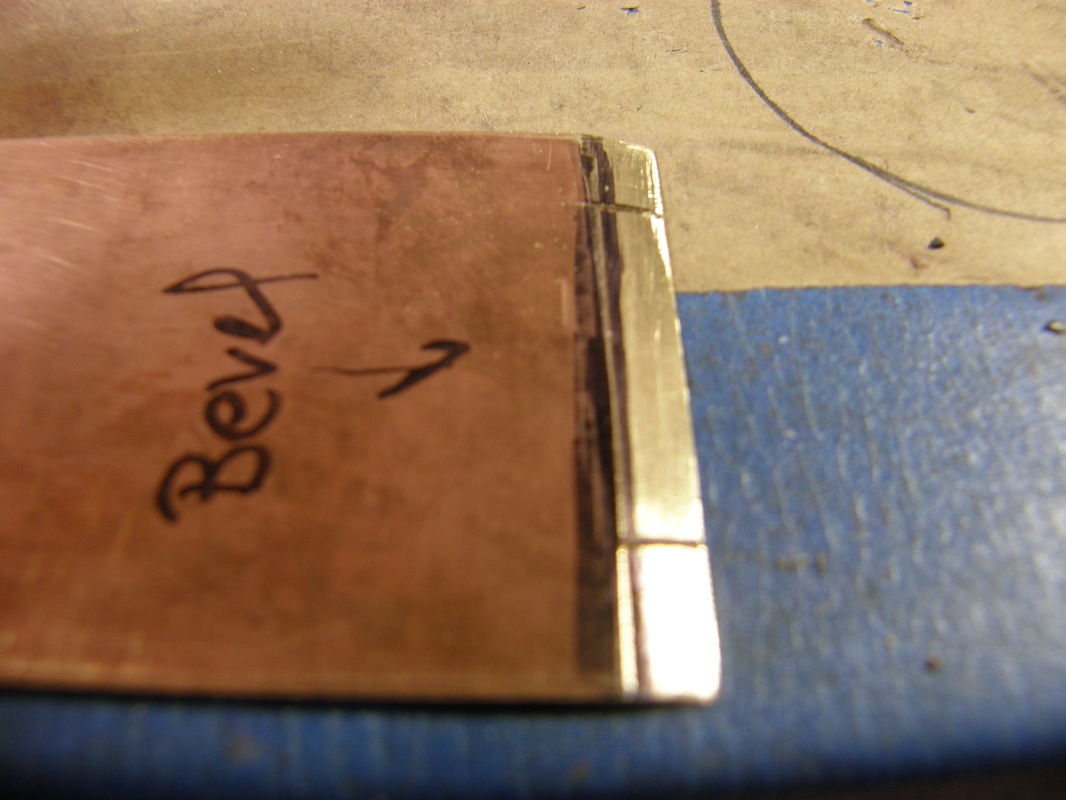
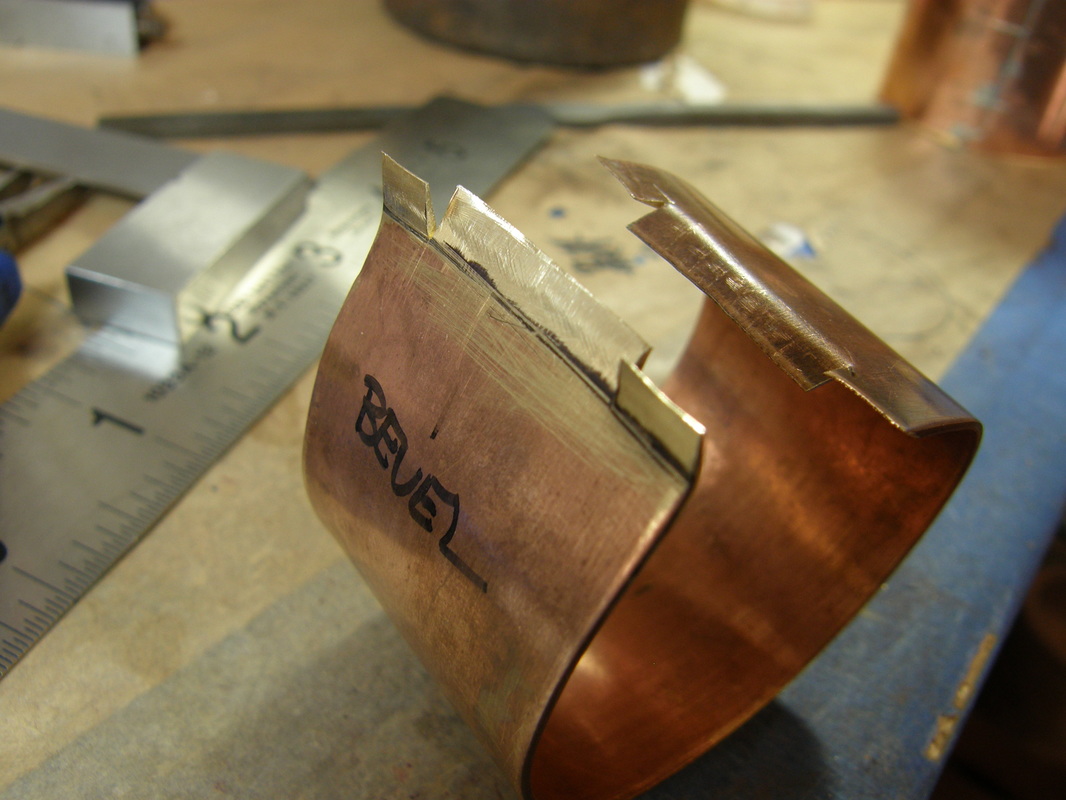
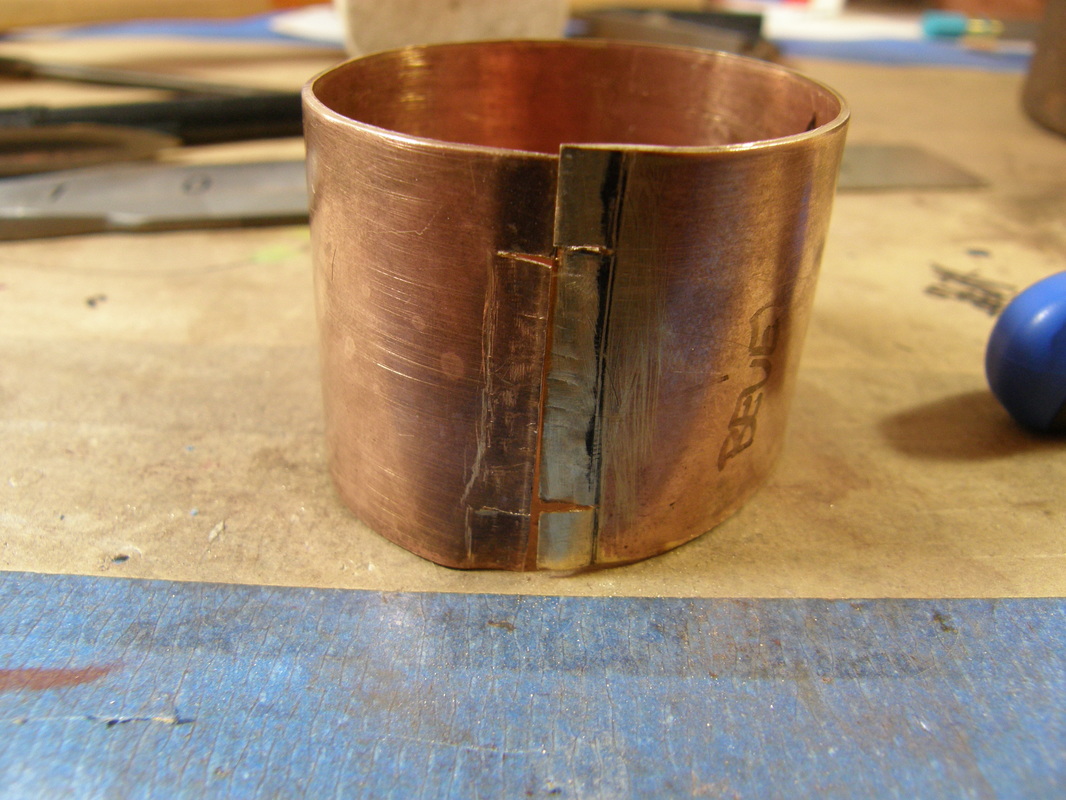
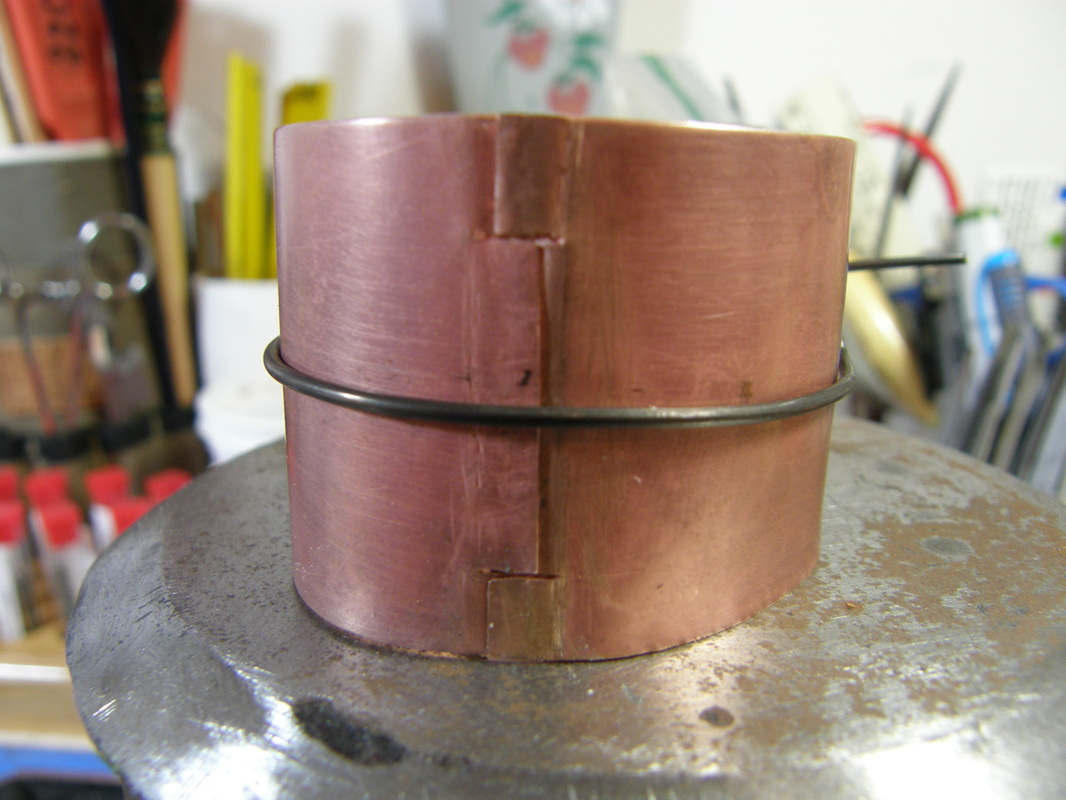
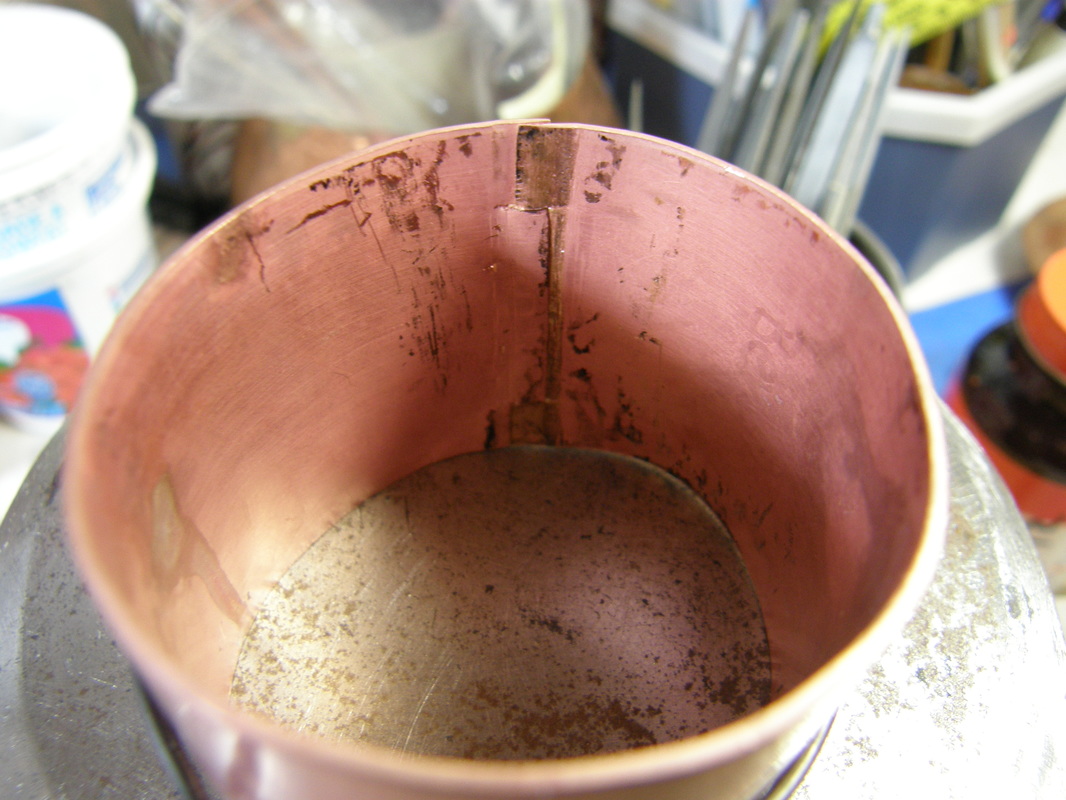
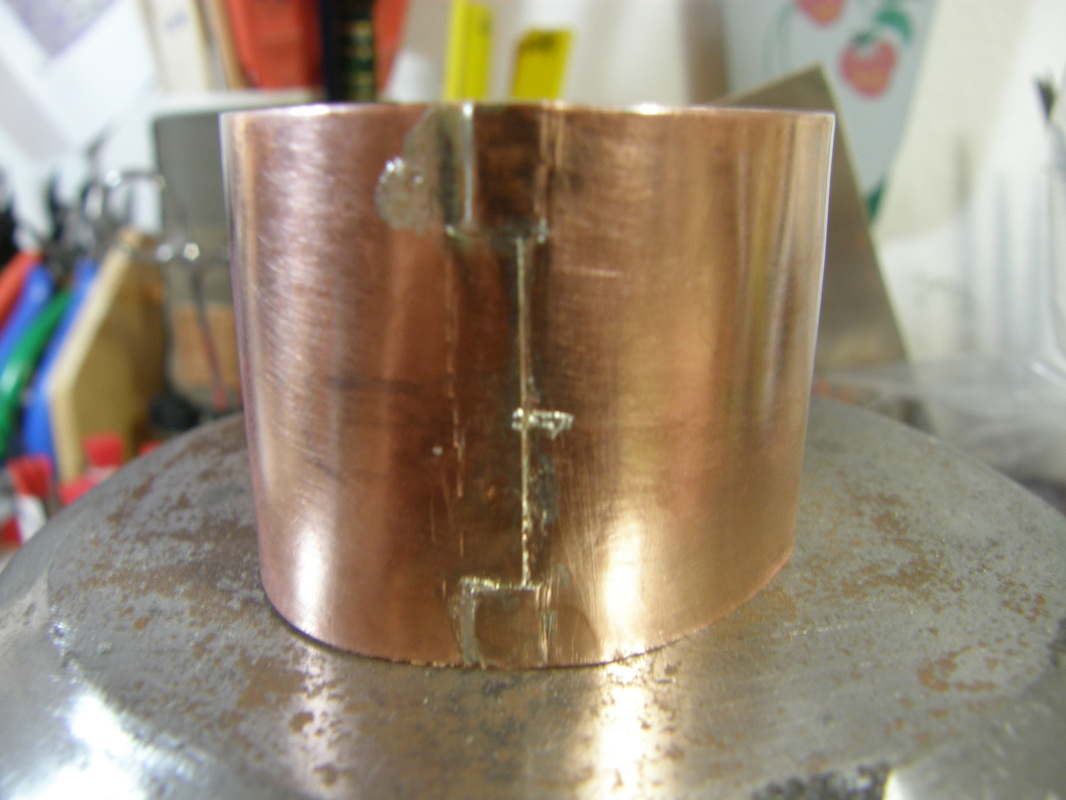
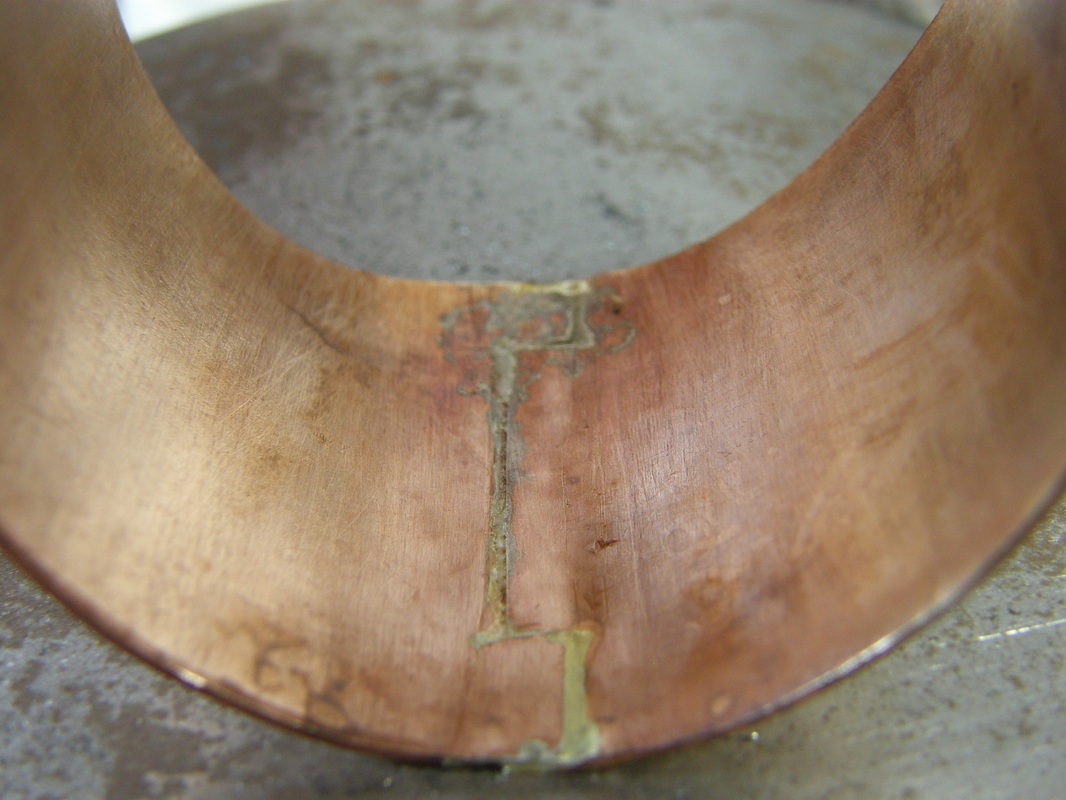
We started off by showing her how to use a snarling iron - this for when you need repousse on a vessel and it is too small to get your hands and tools inside - think cup, vase and such. I brought a cheapie copper cup that I got off of eBay for her to practice on.  

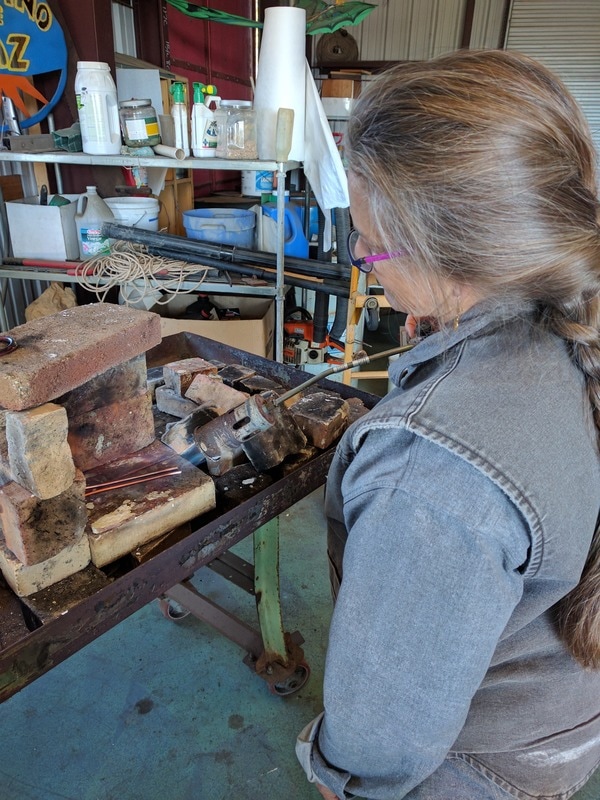
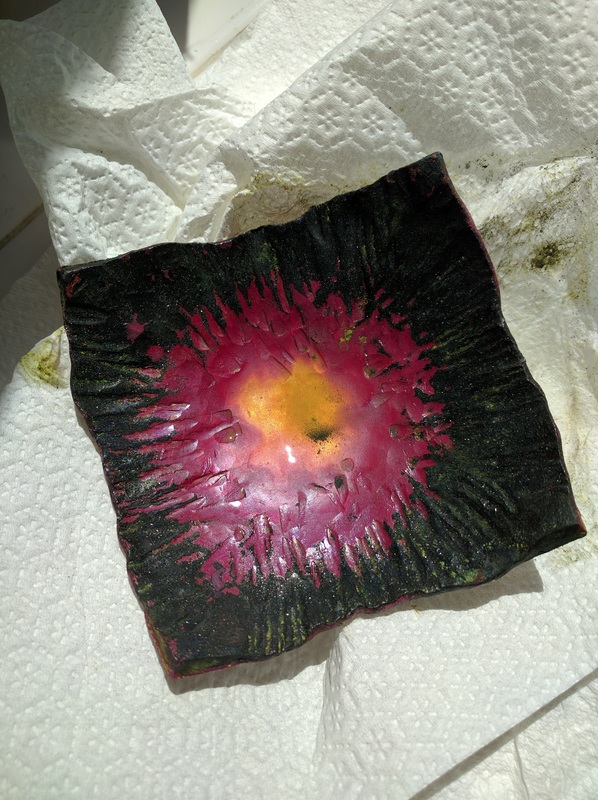
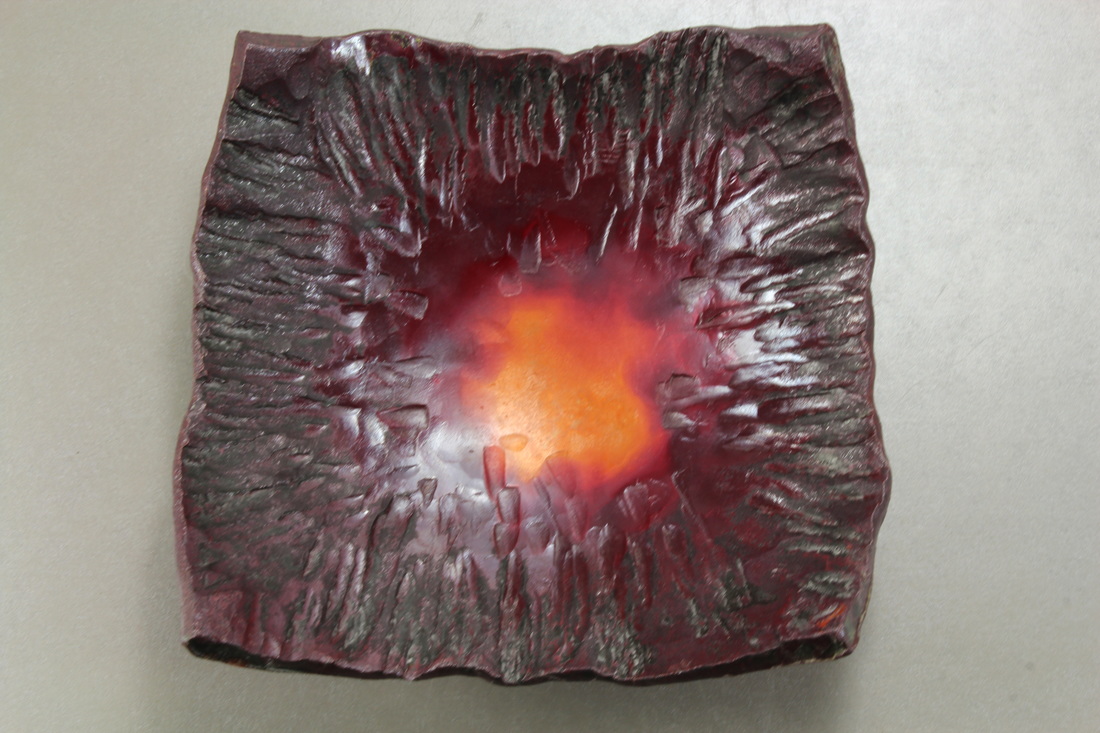
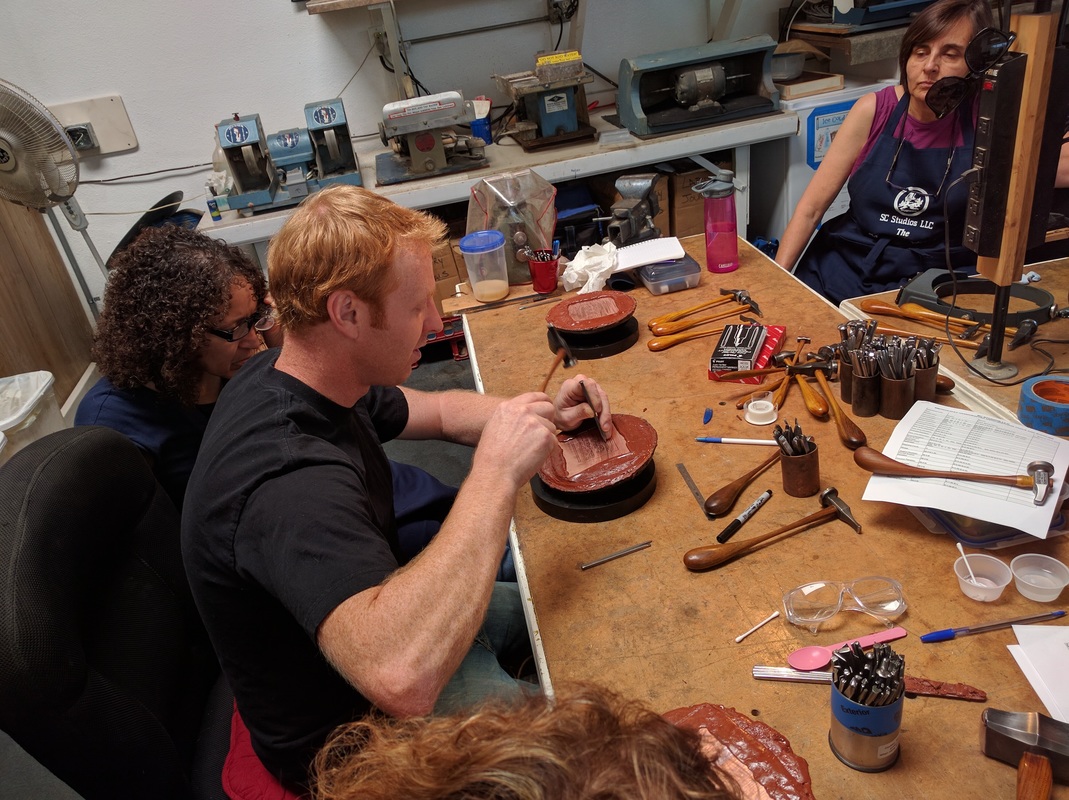
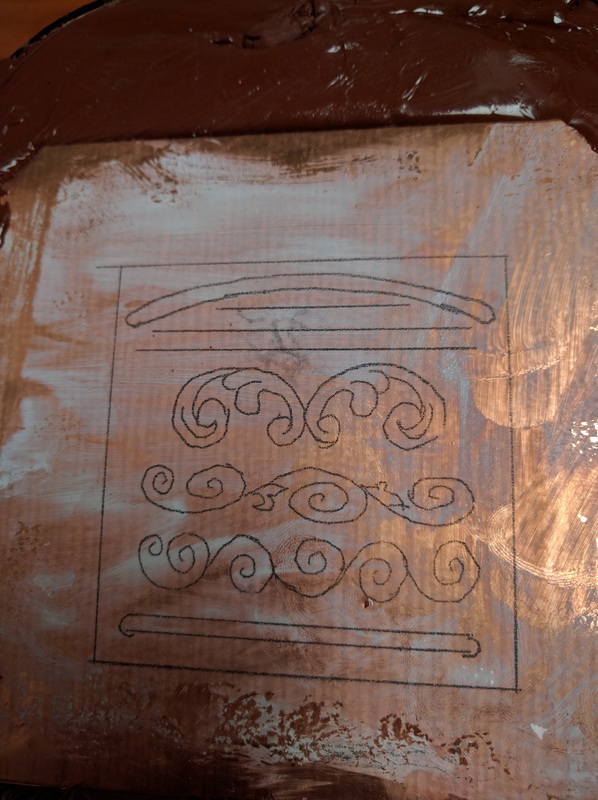
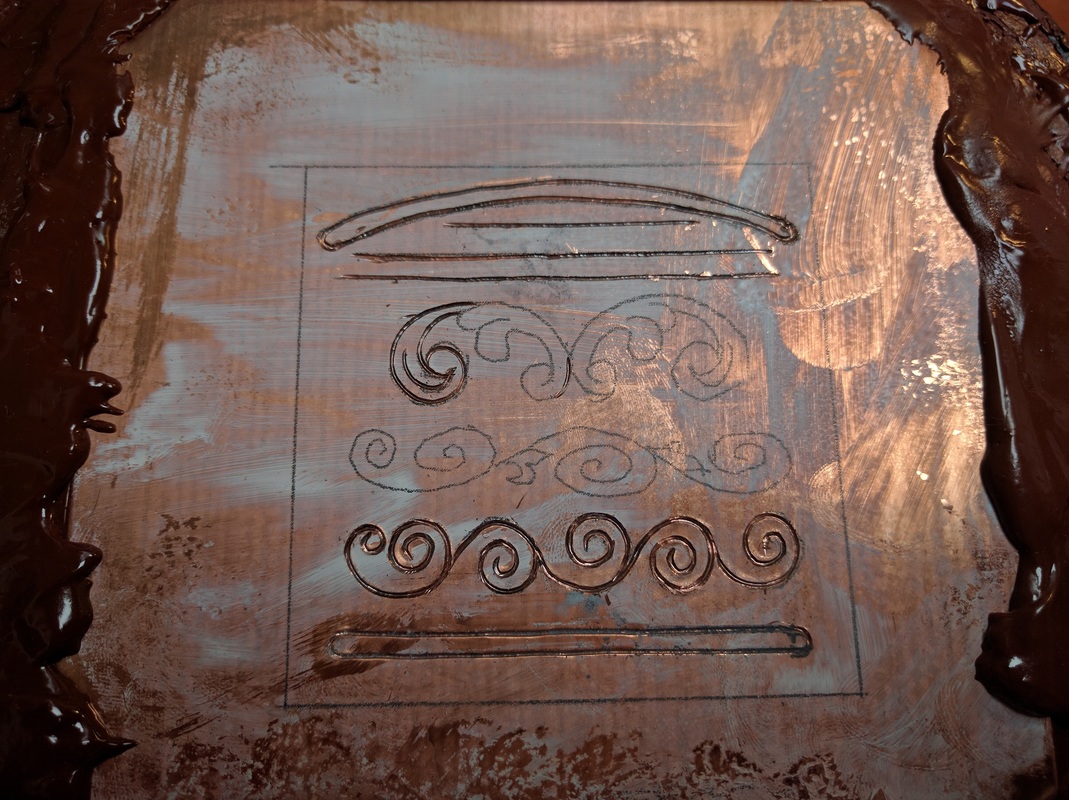
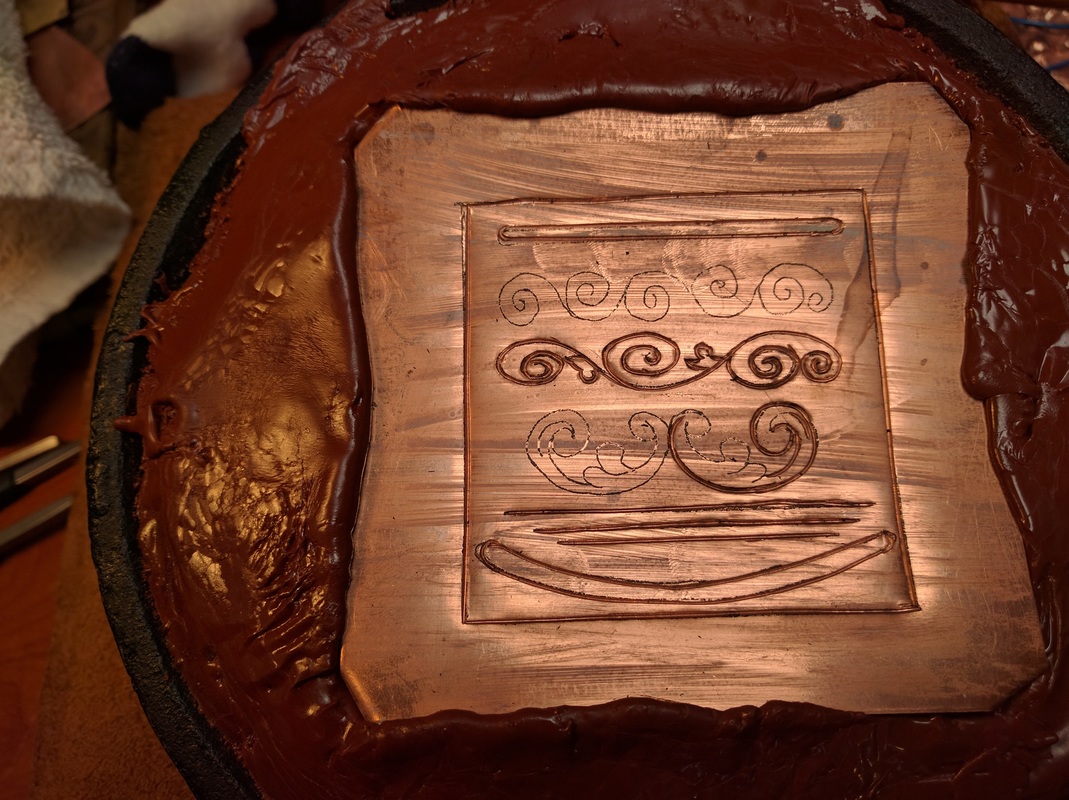
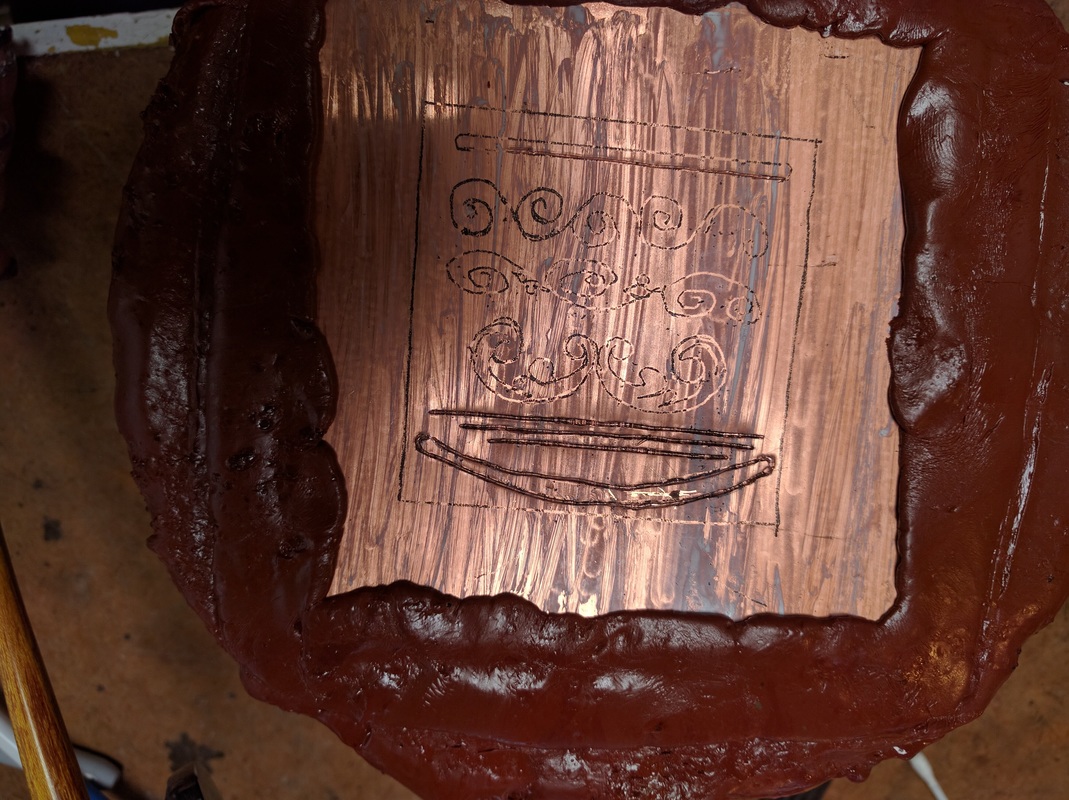
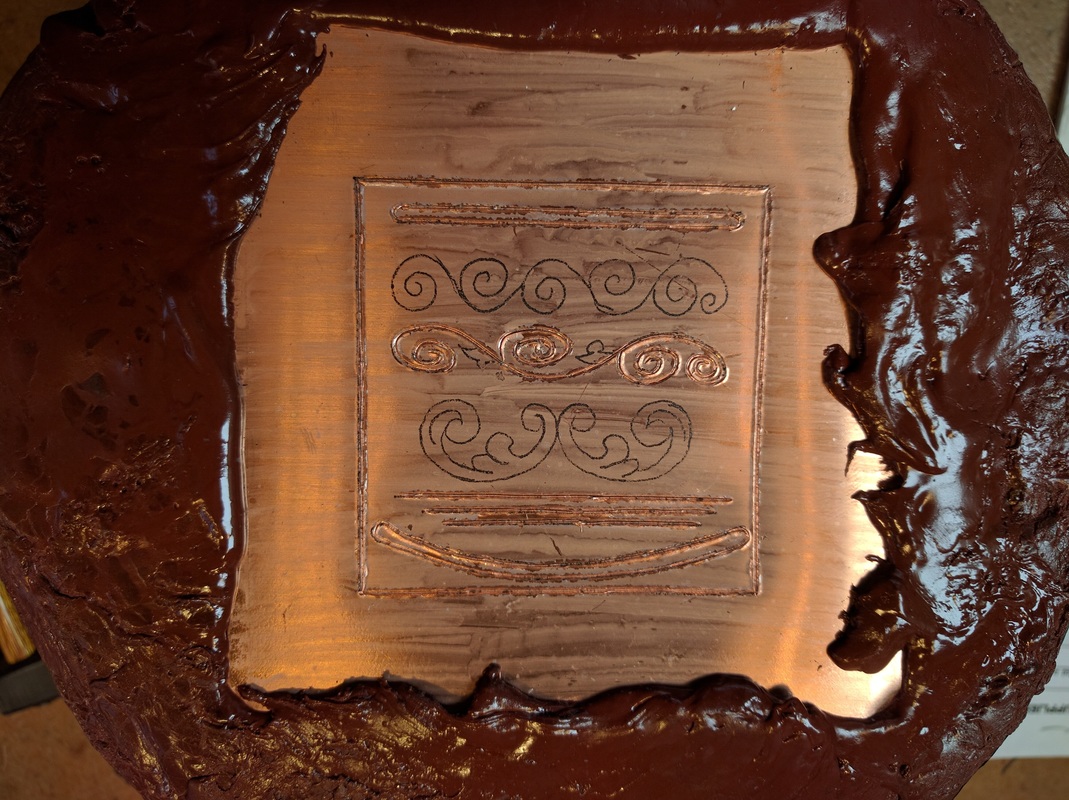
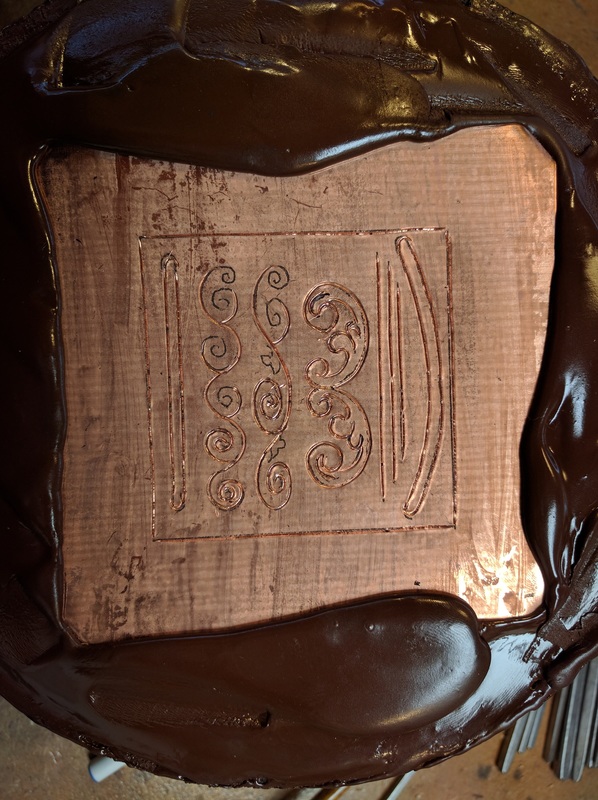
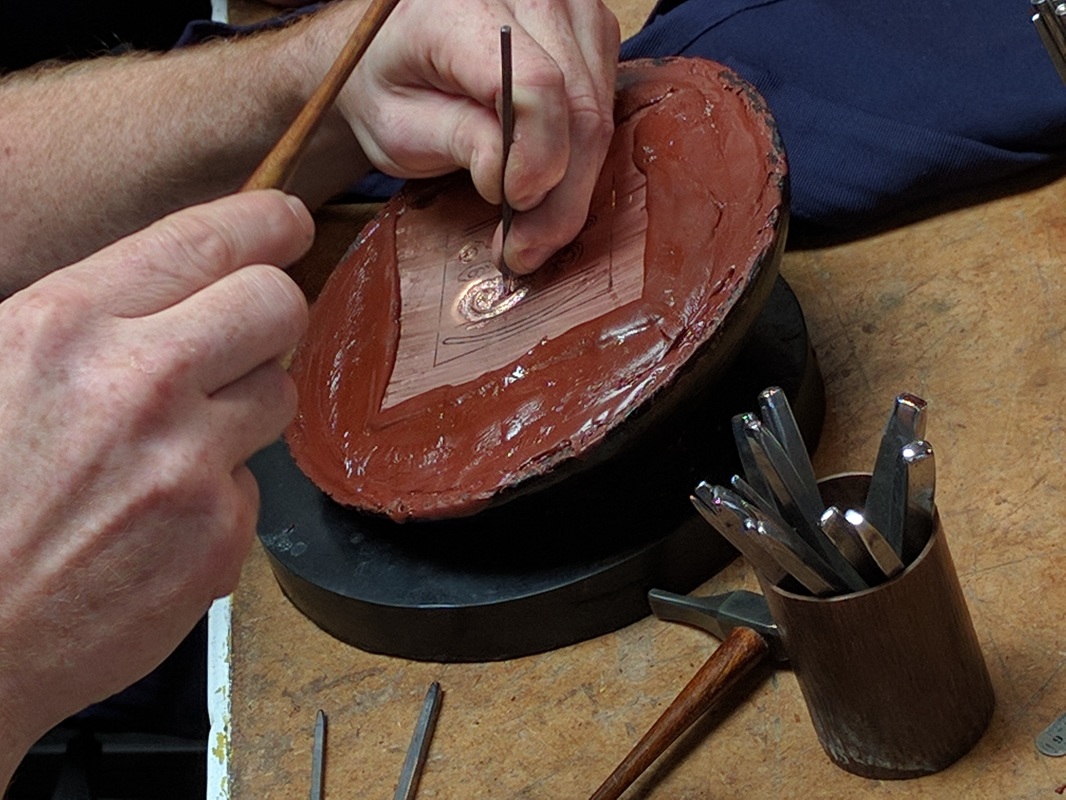
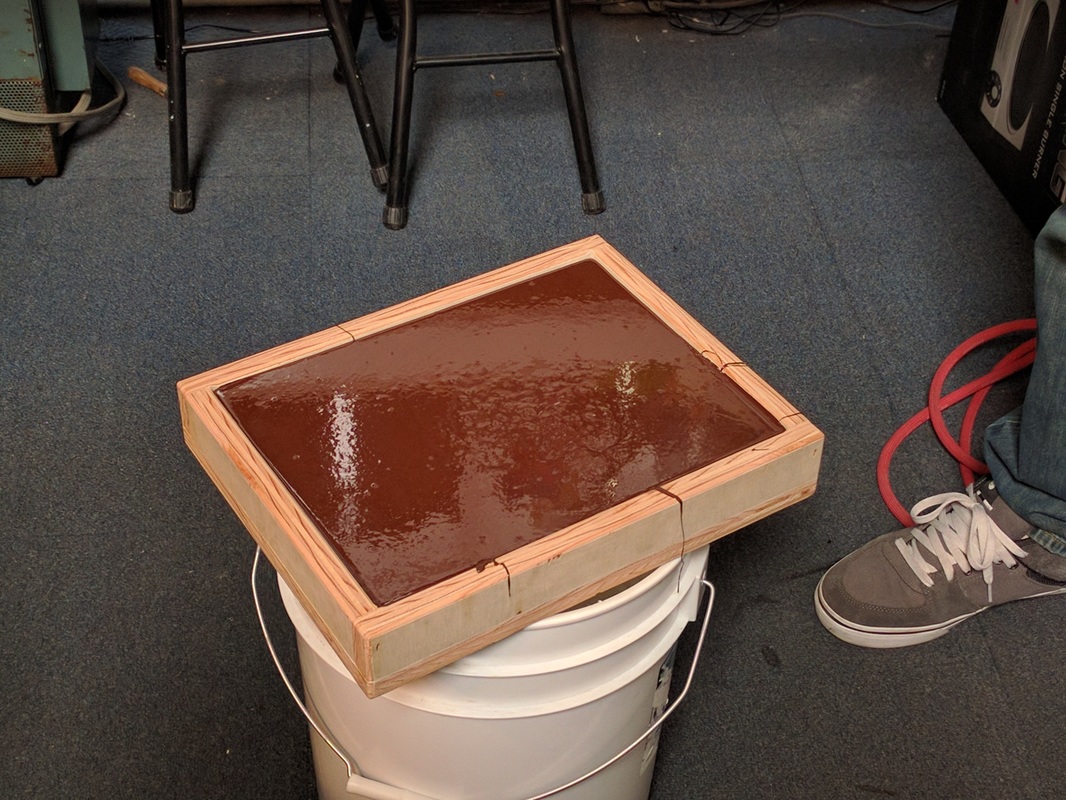
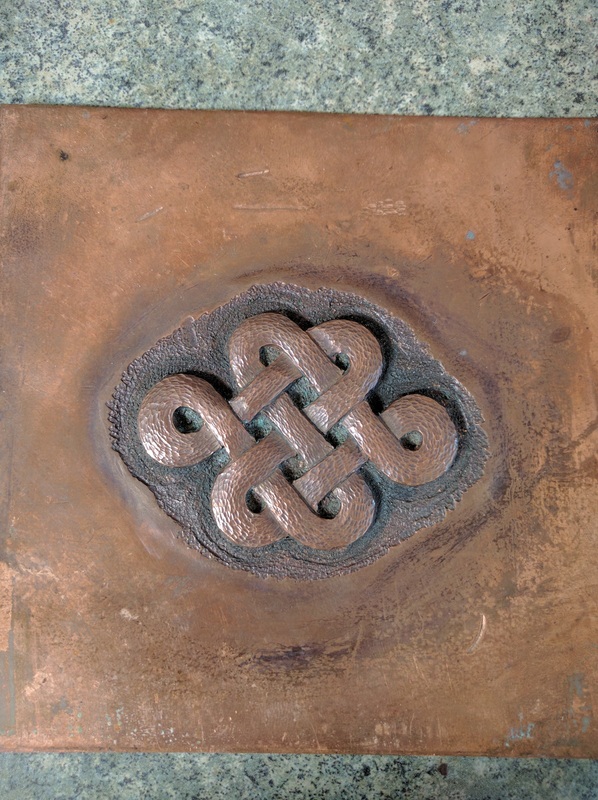
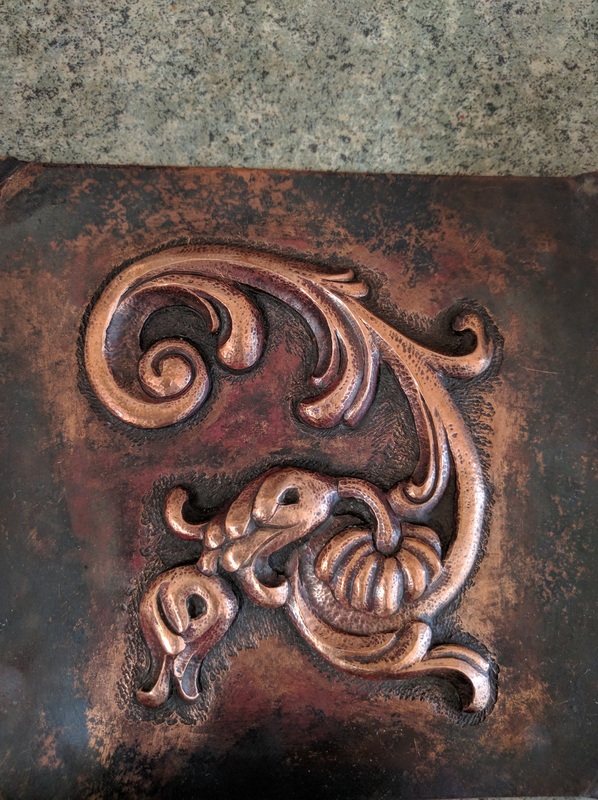
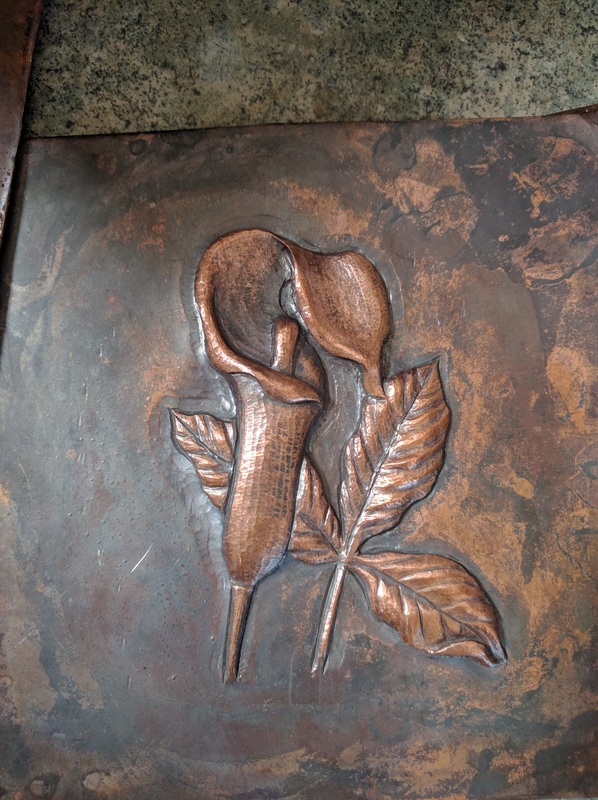
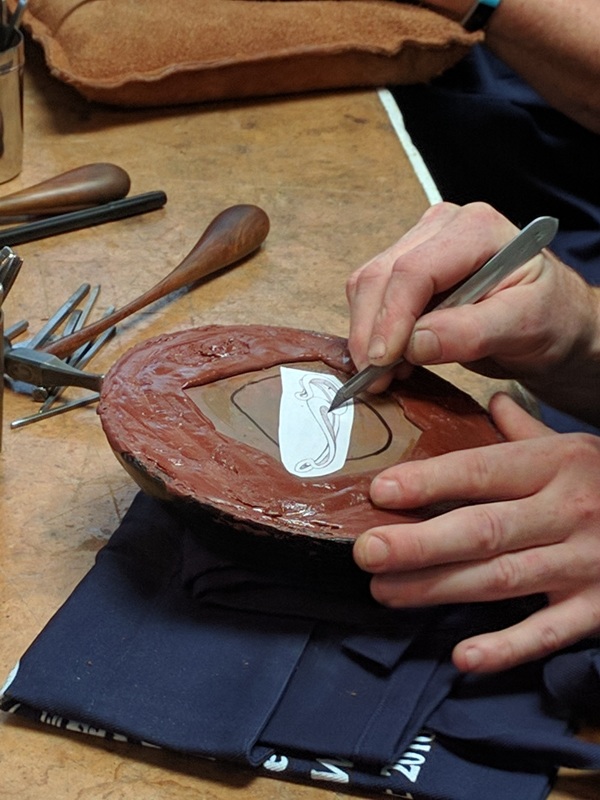
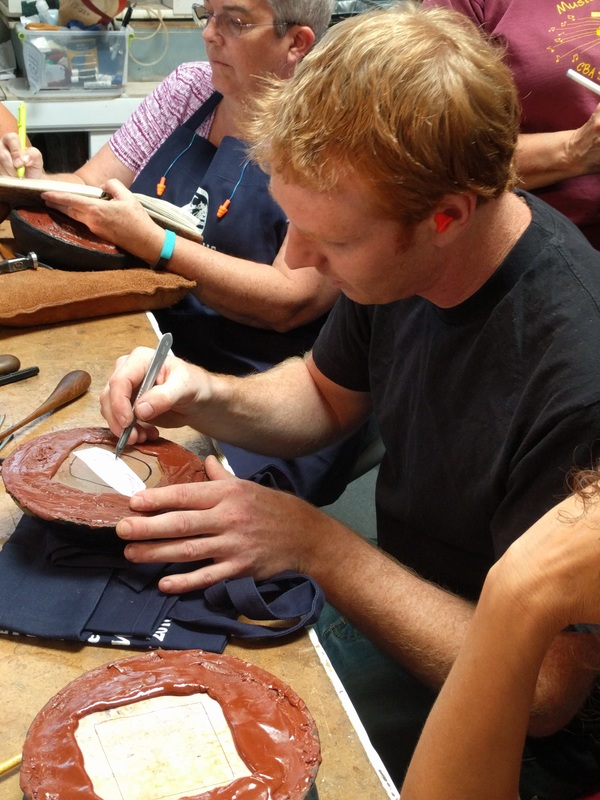
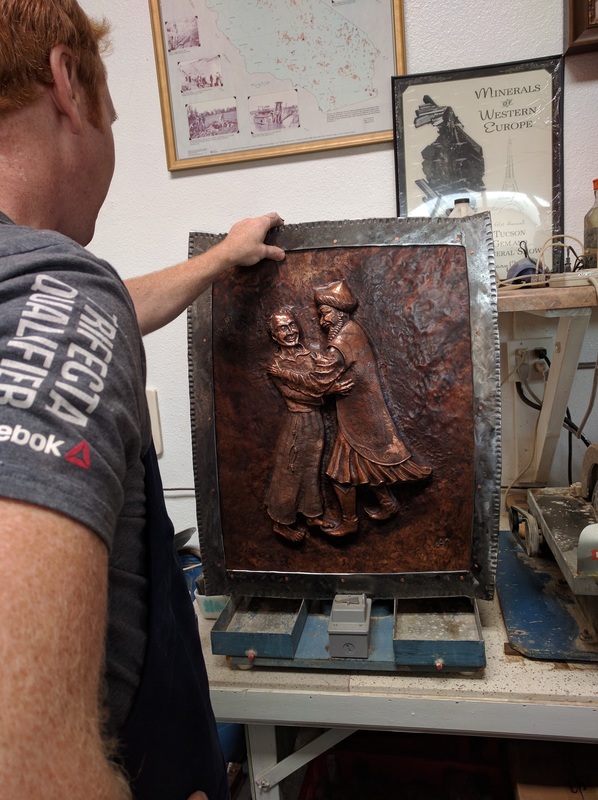
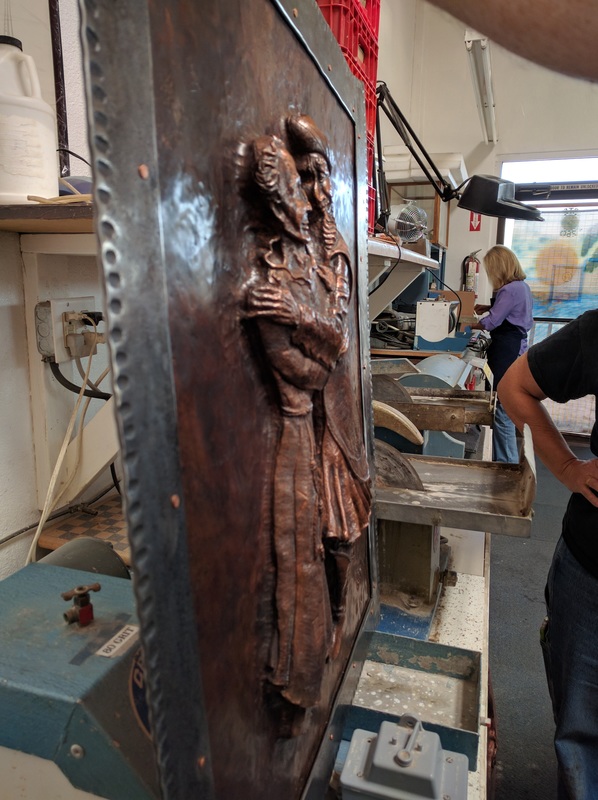
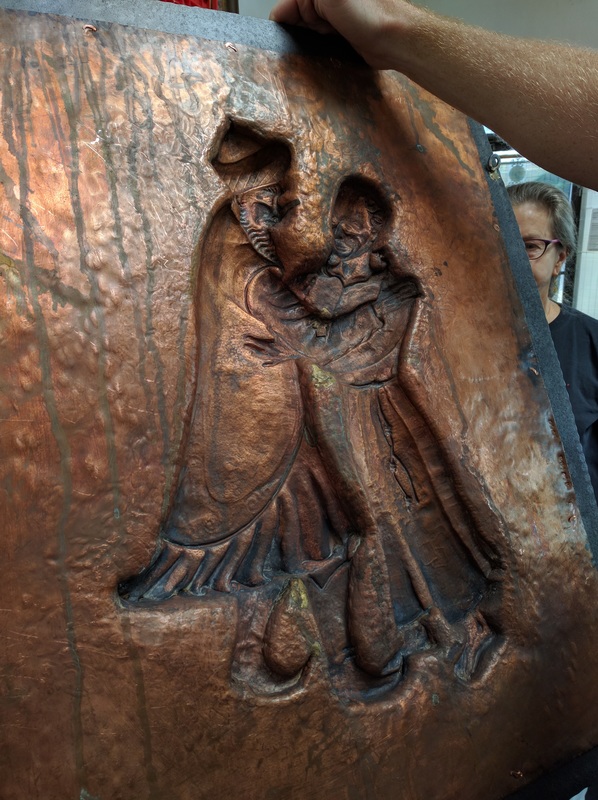
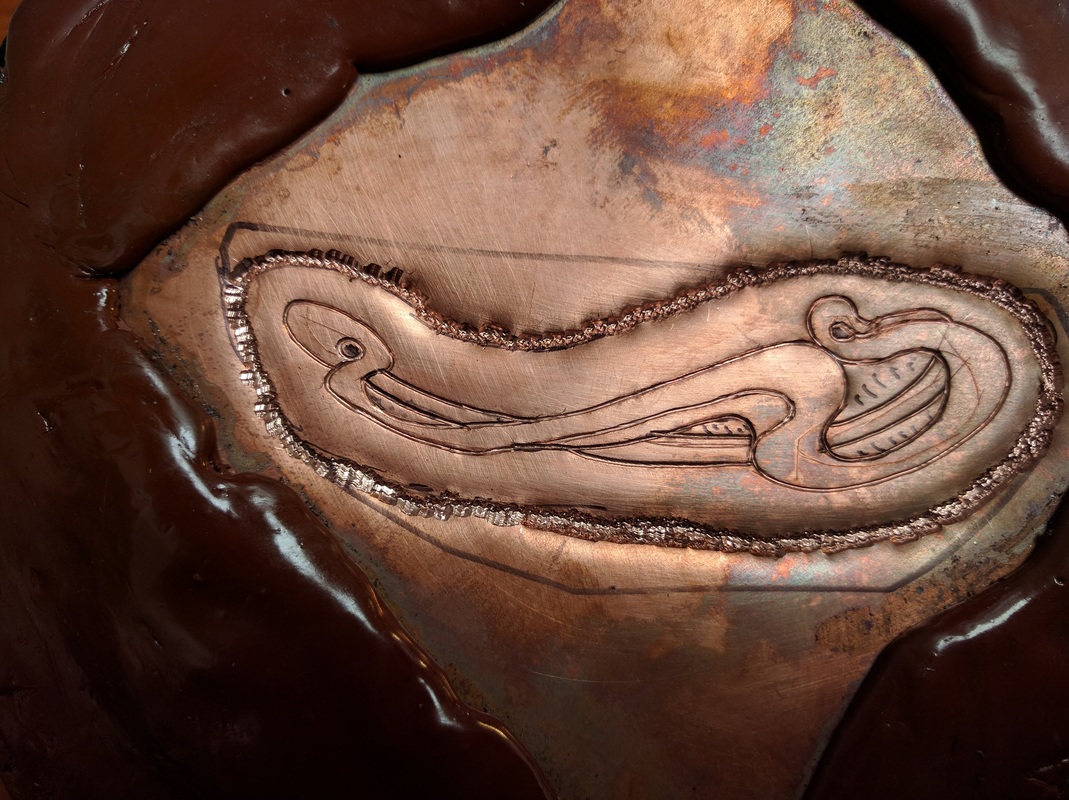
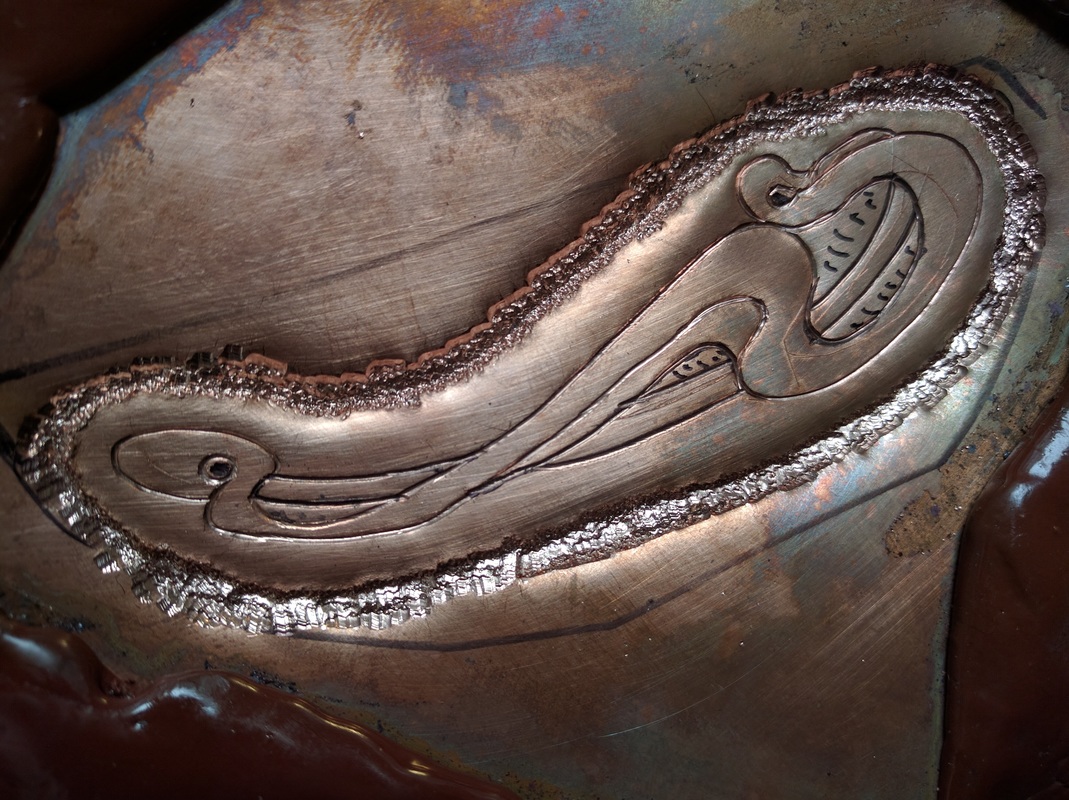
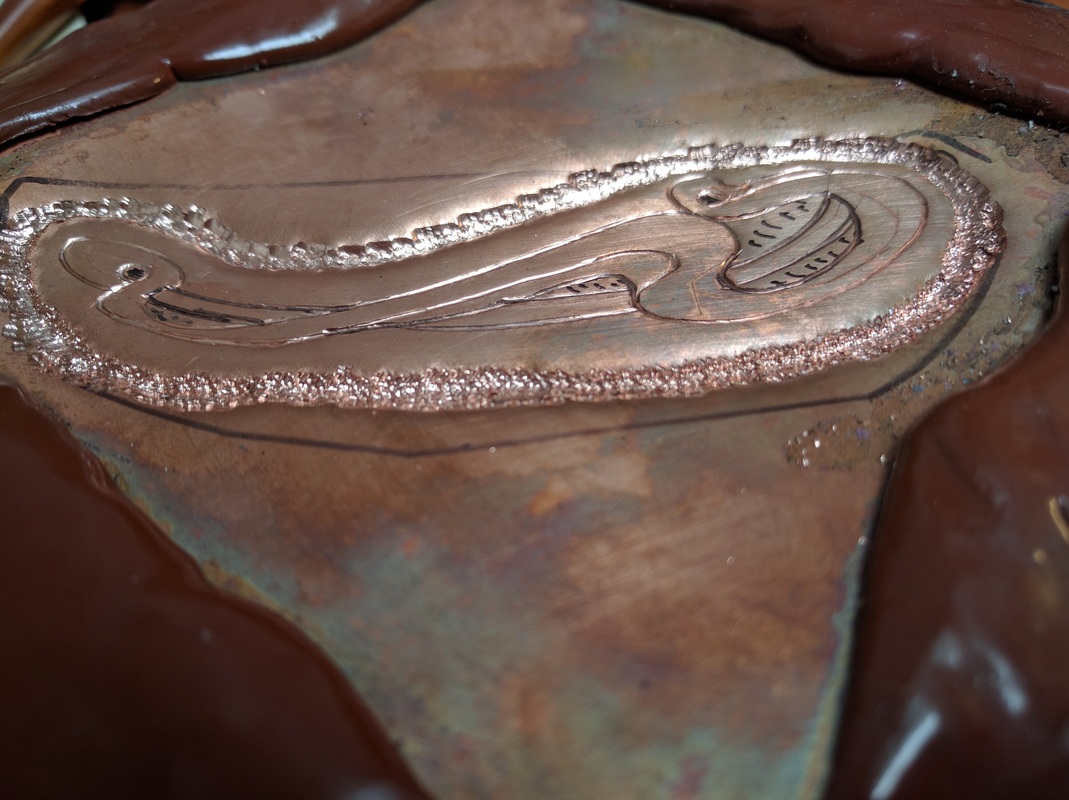
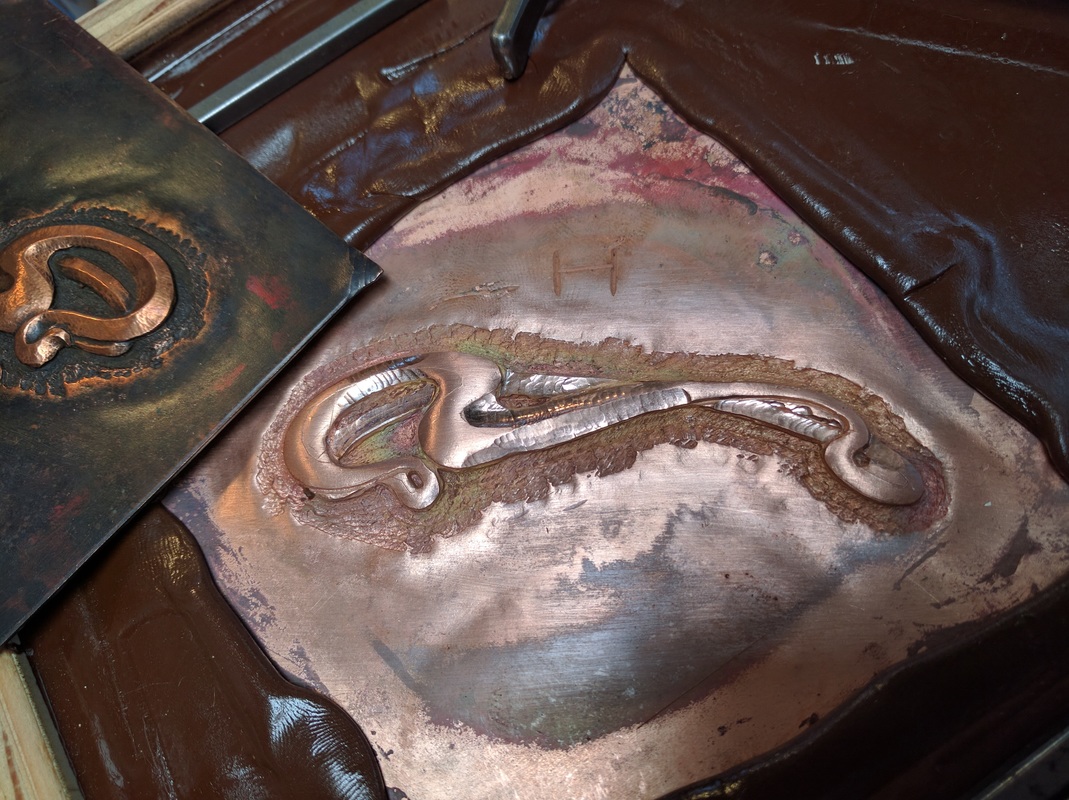
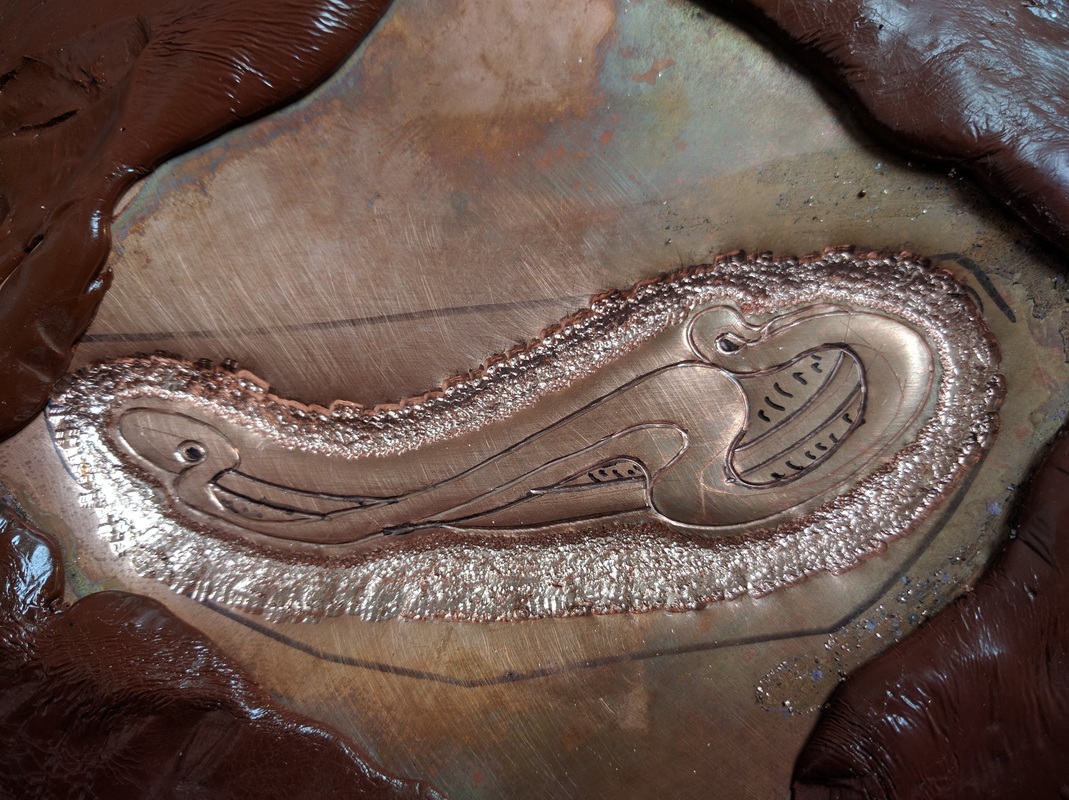
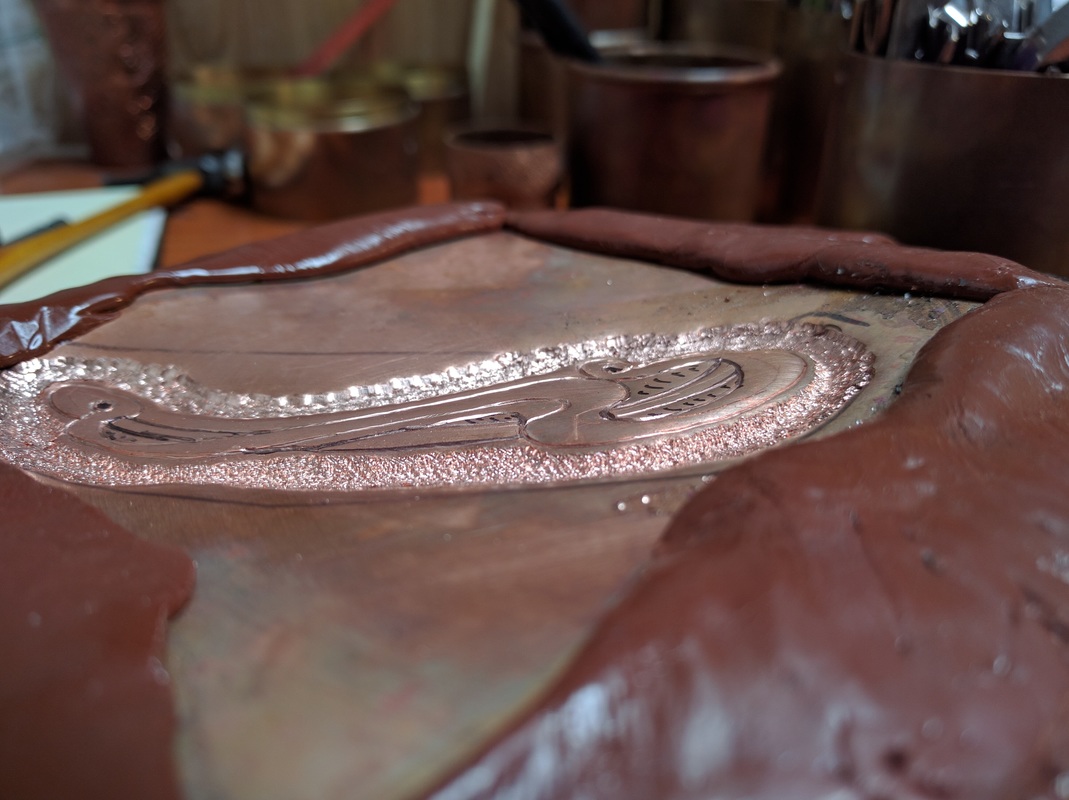
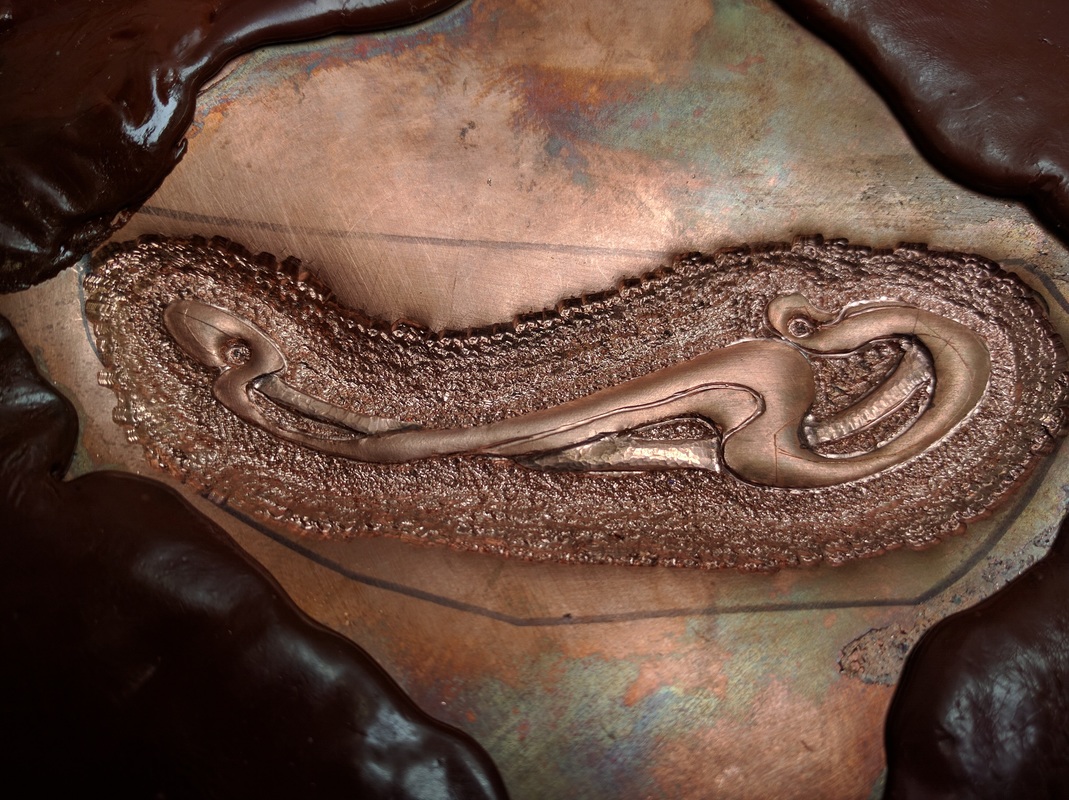
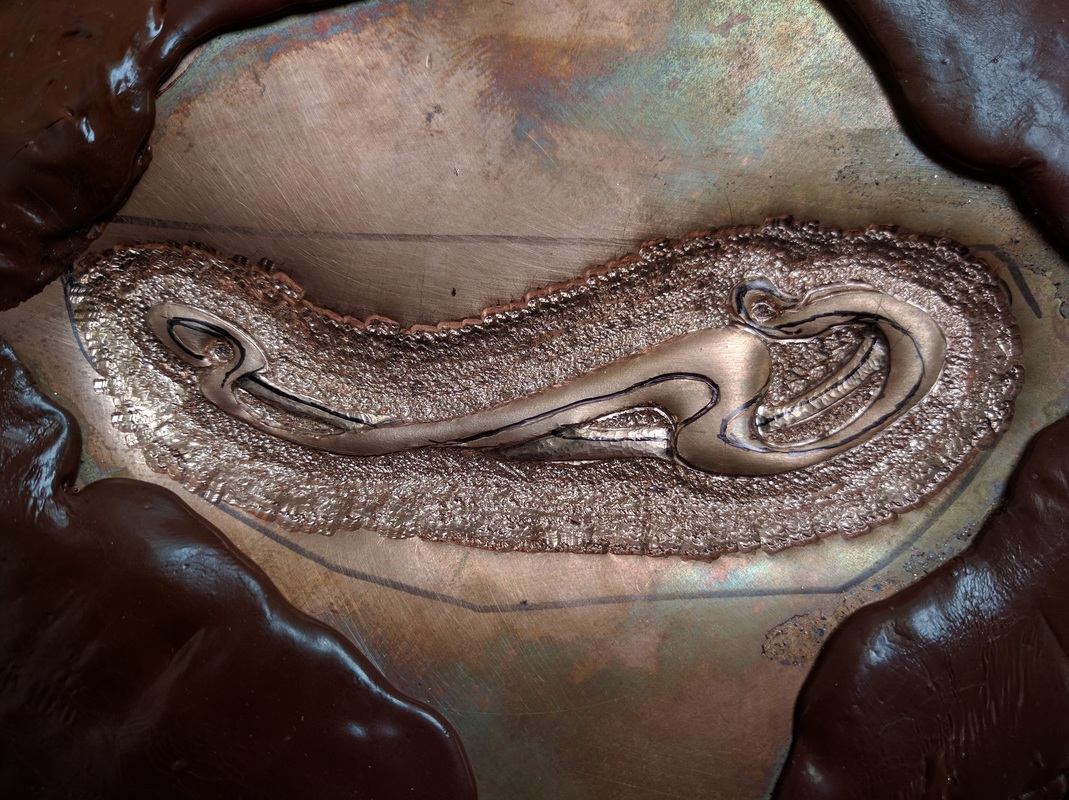
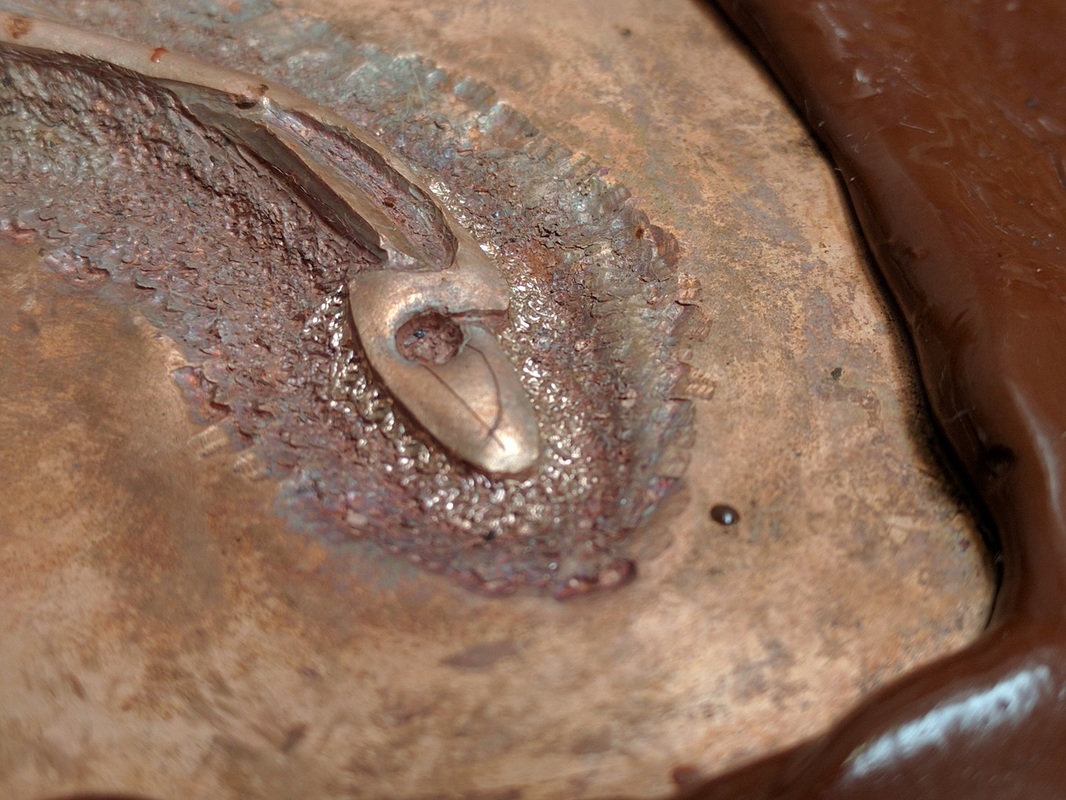
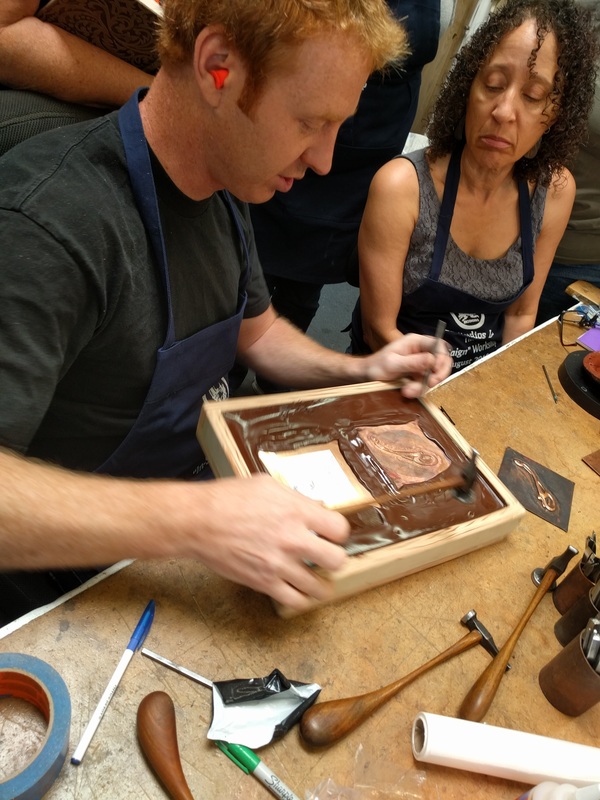
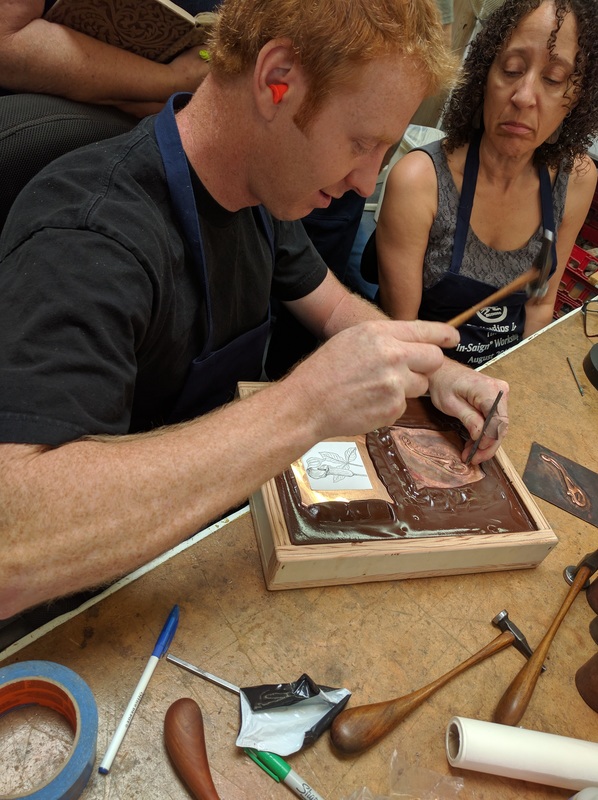
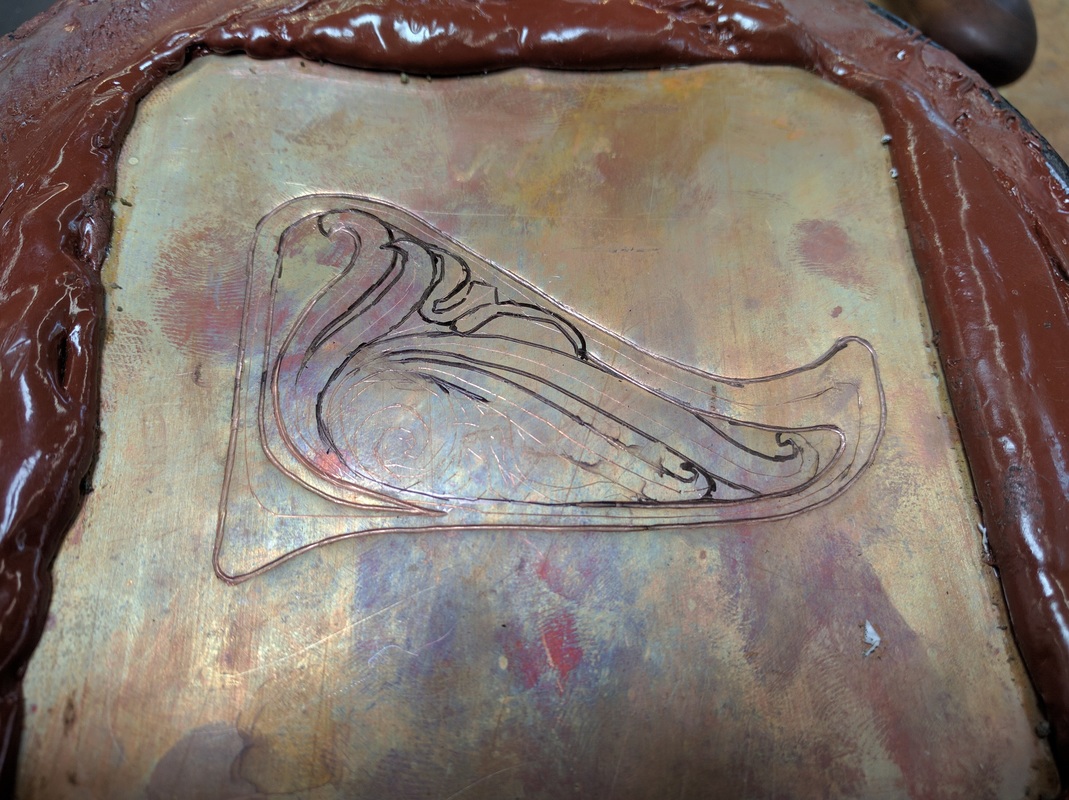
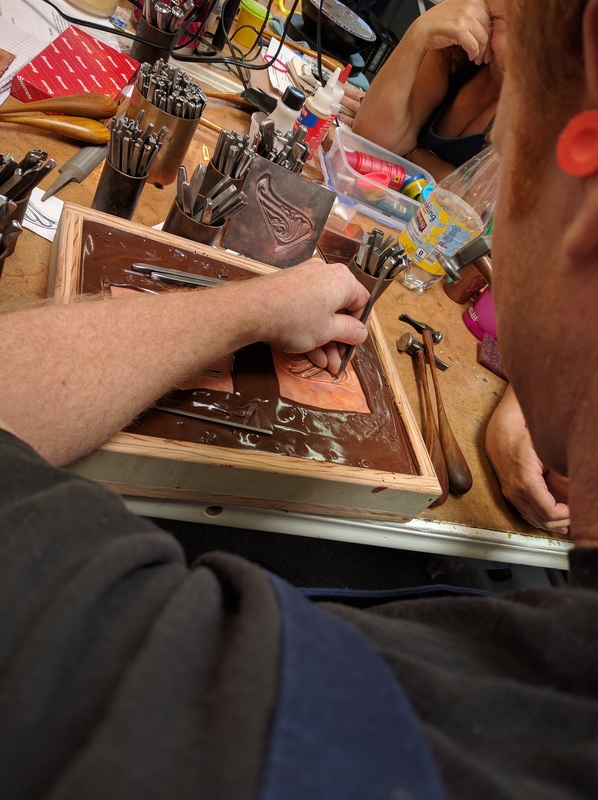
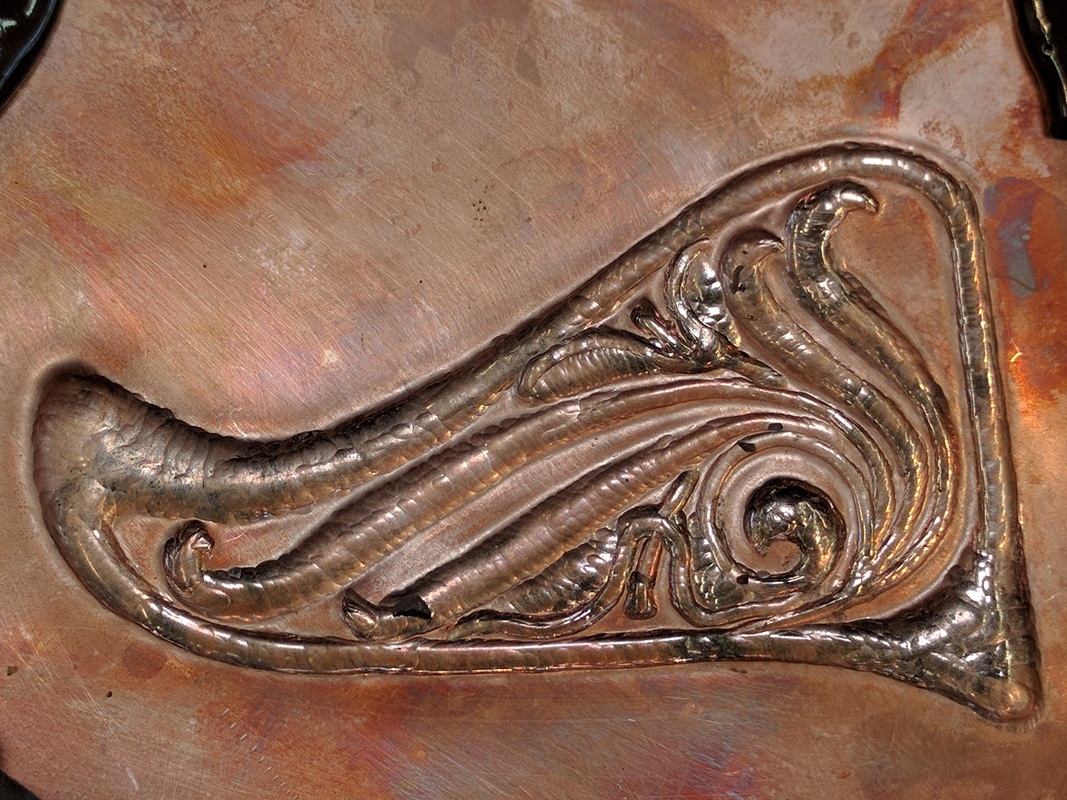
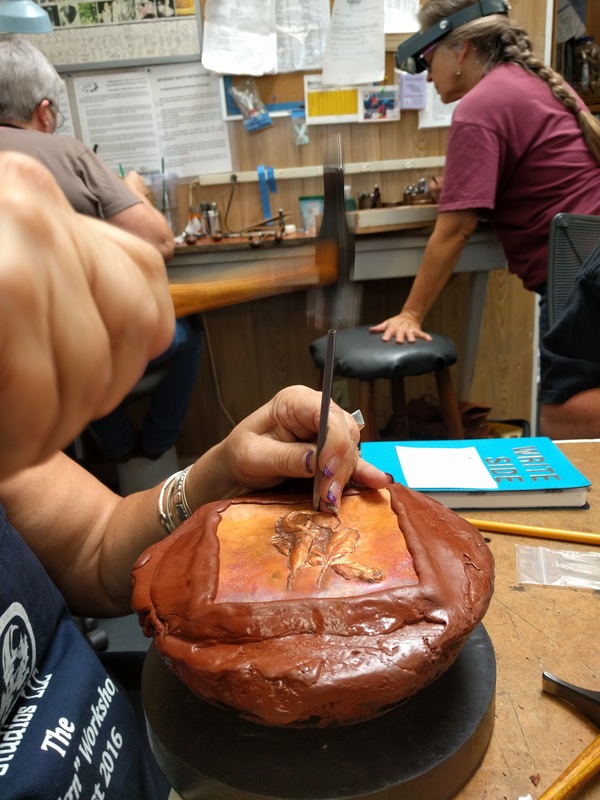
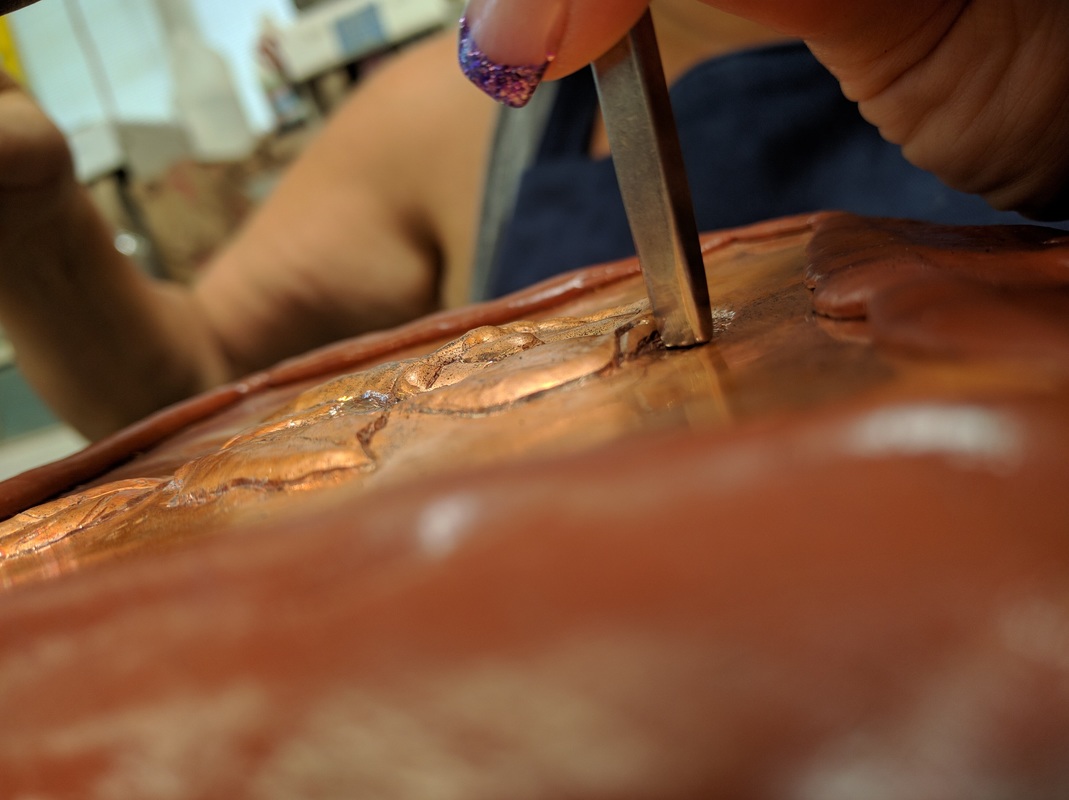
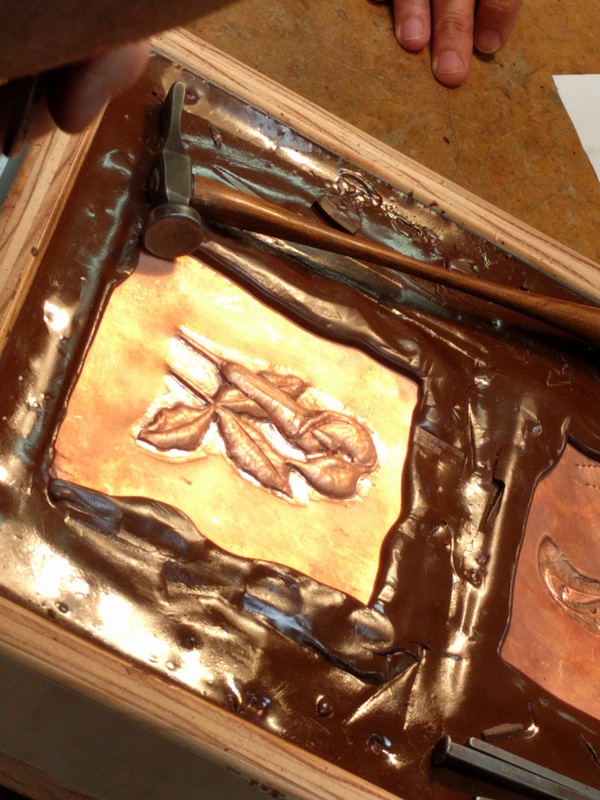
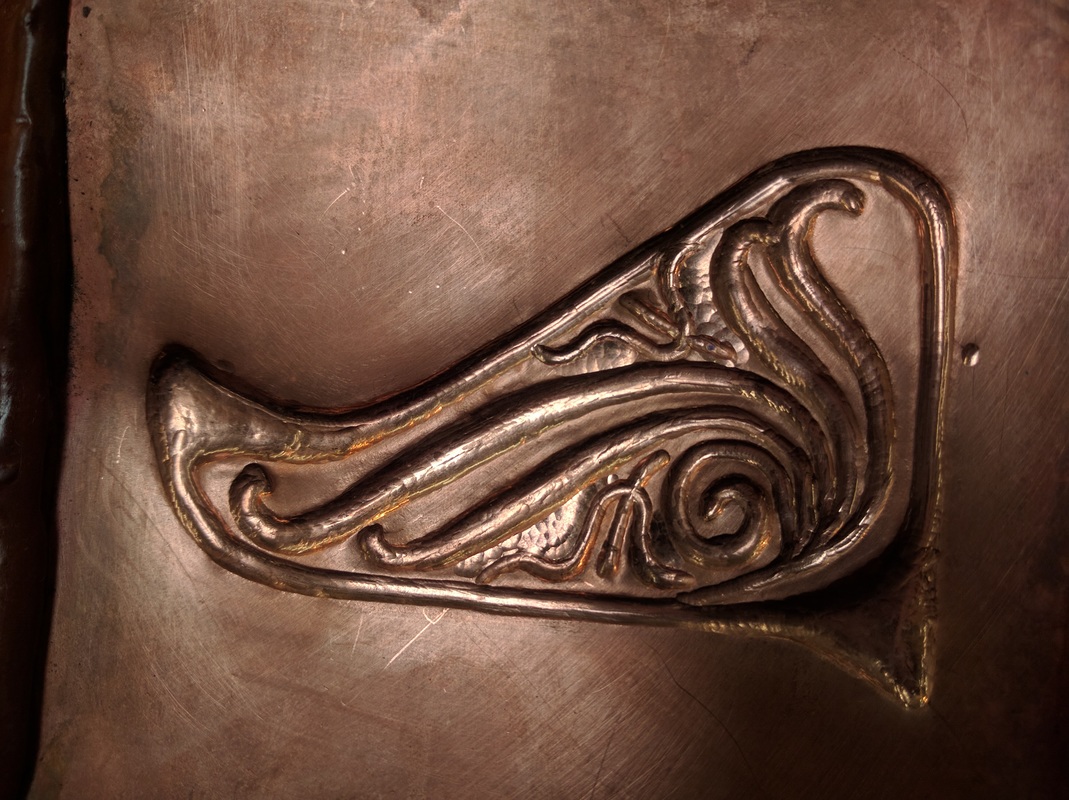
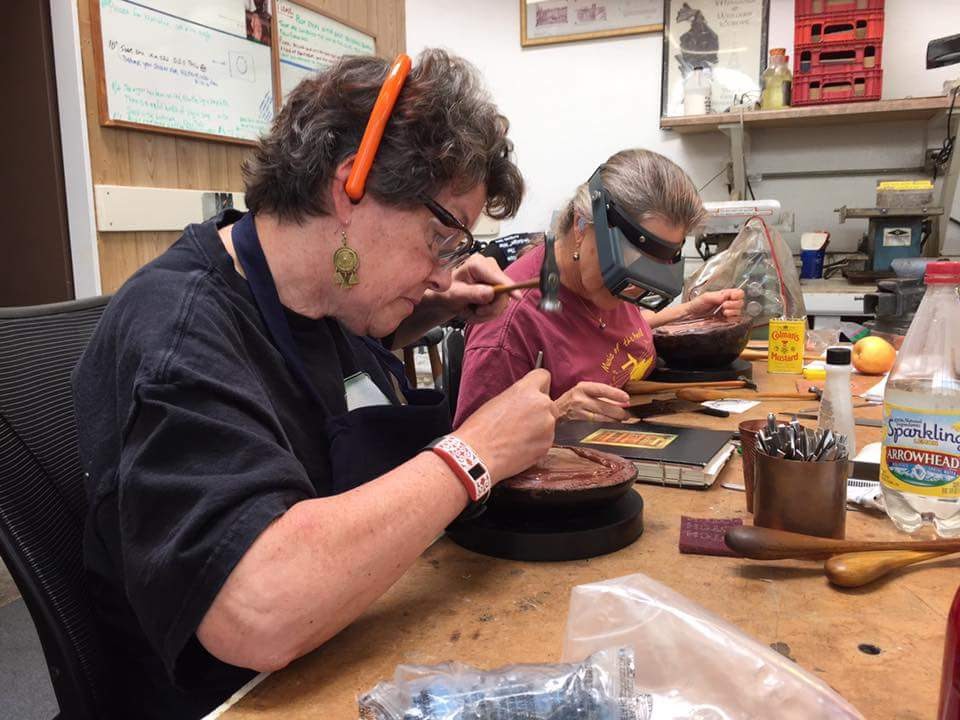
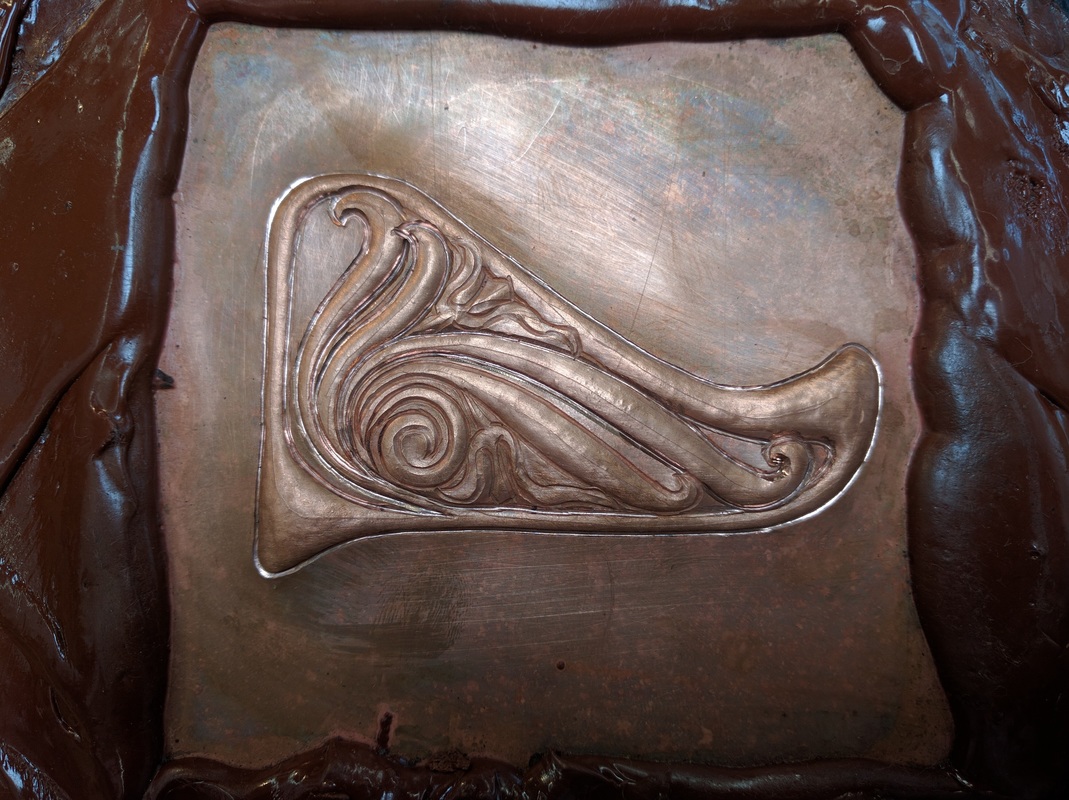
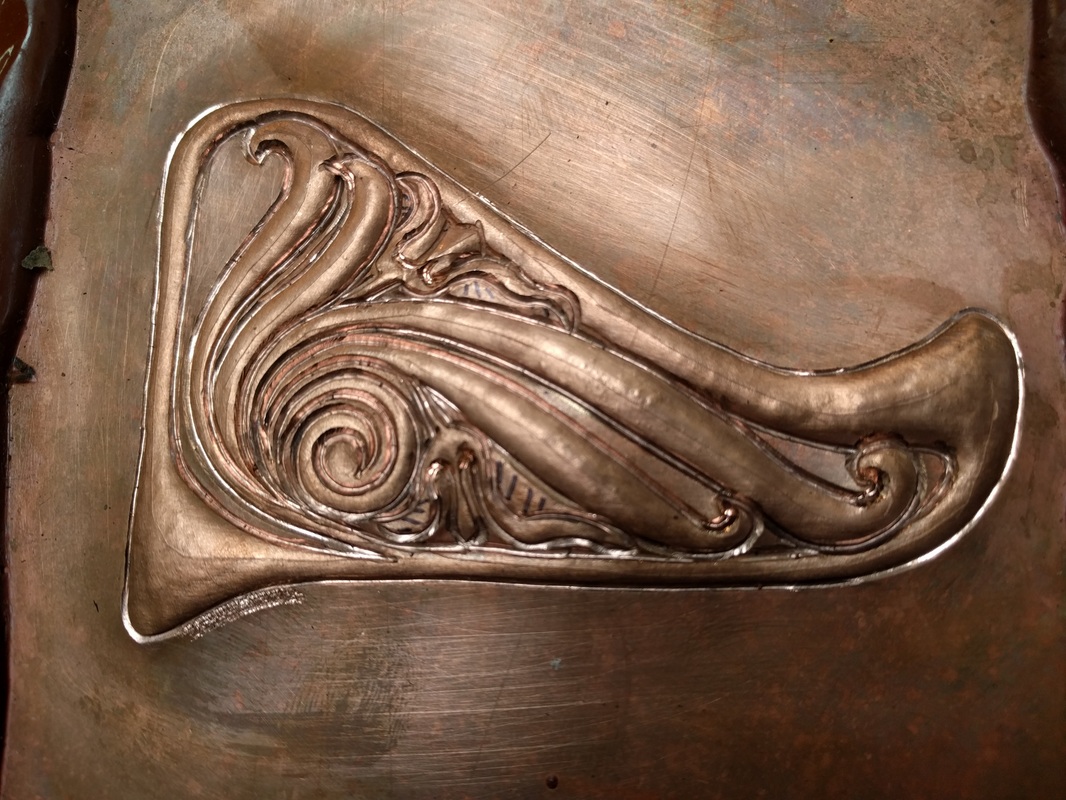
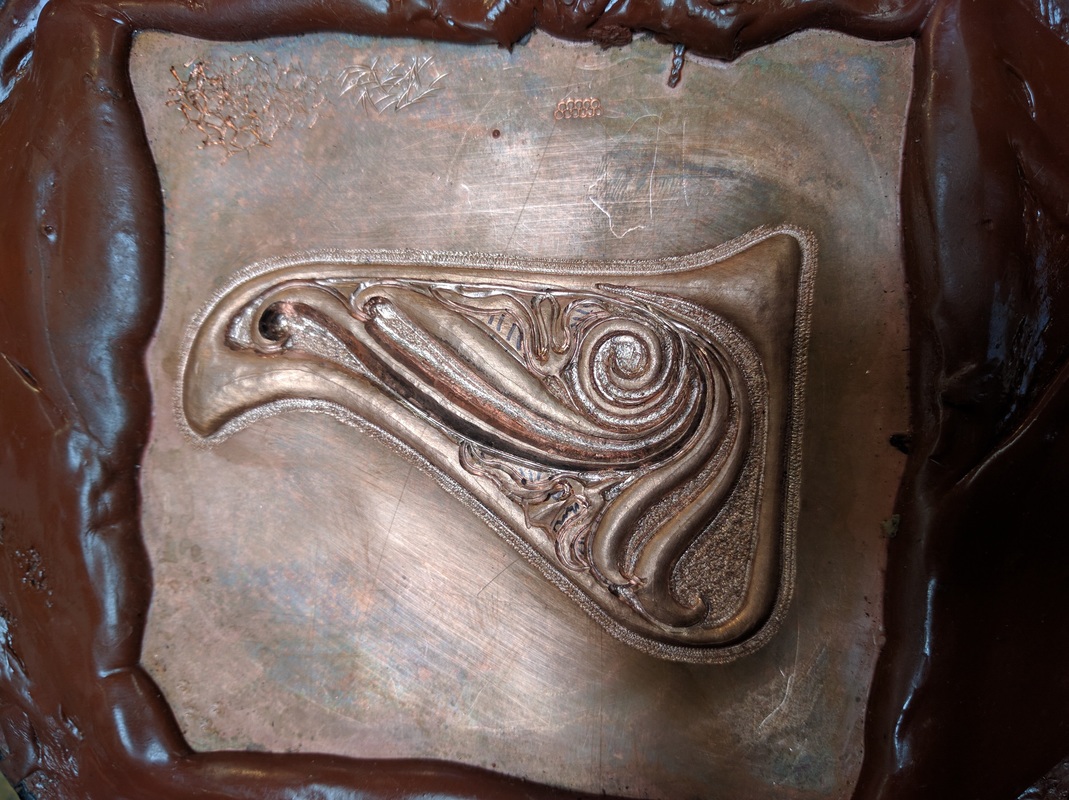
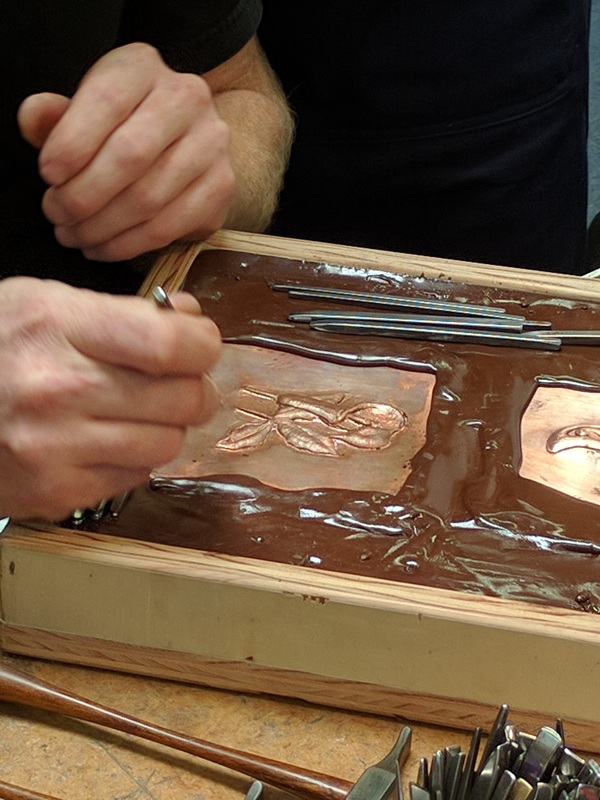
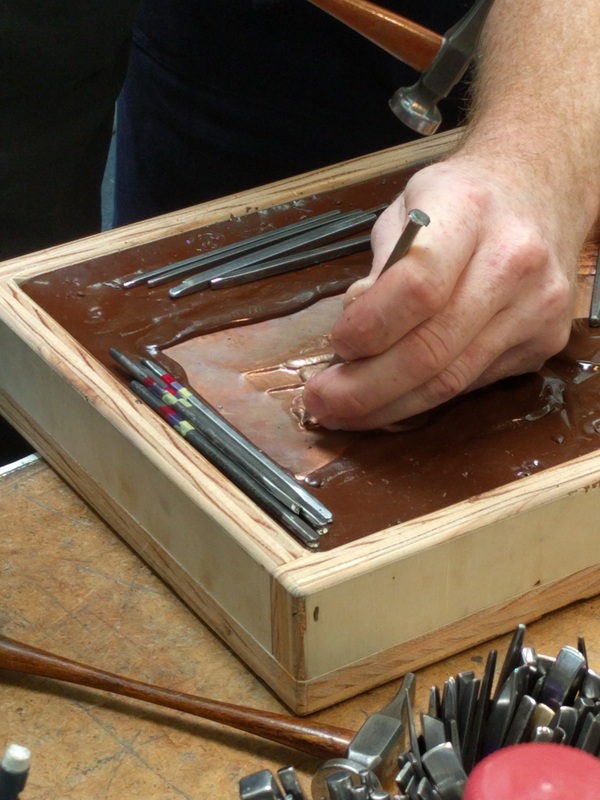
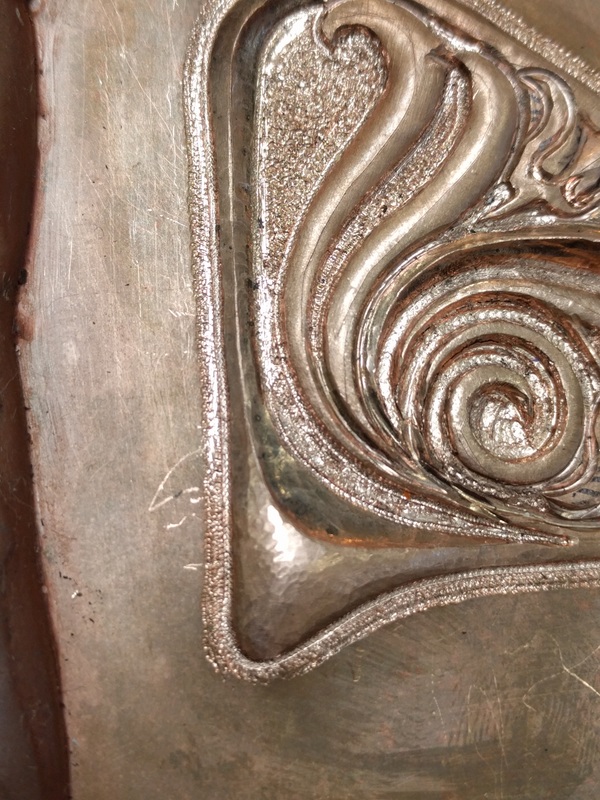
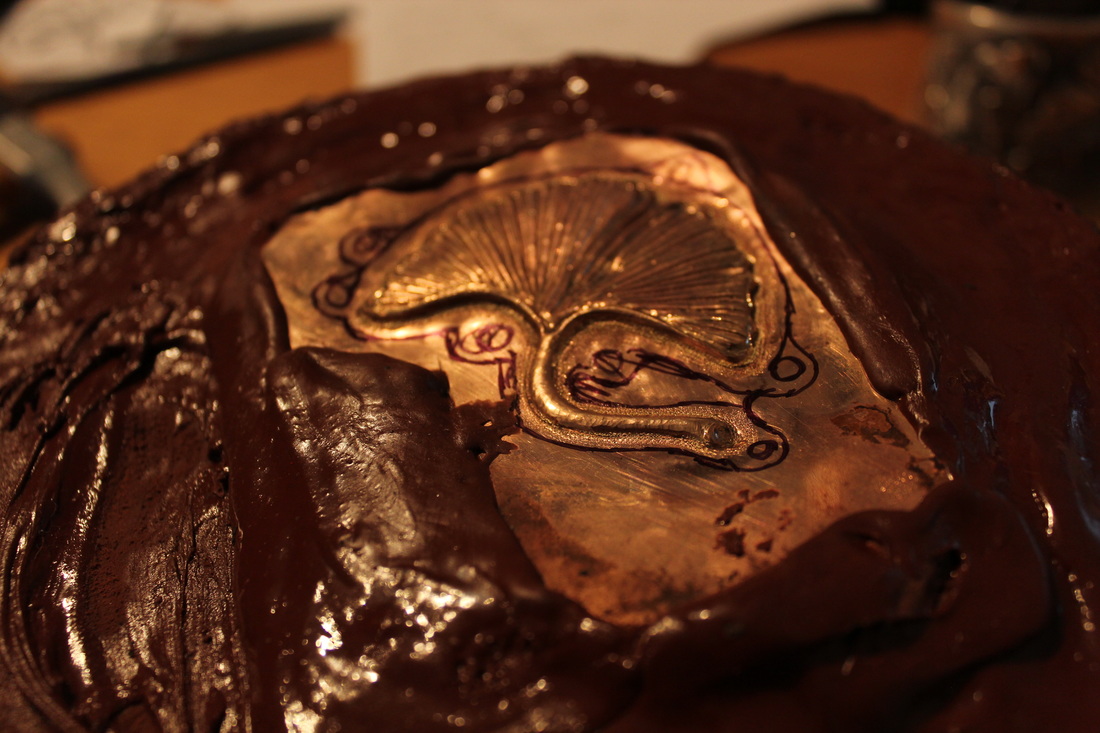
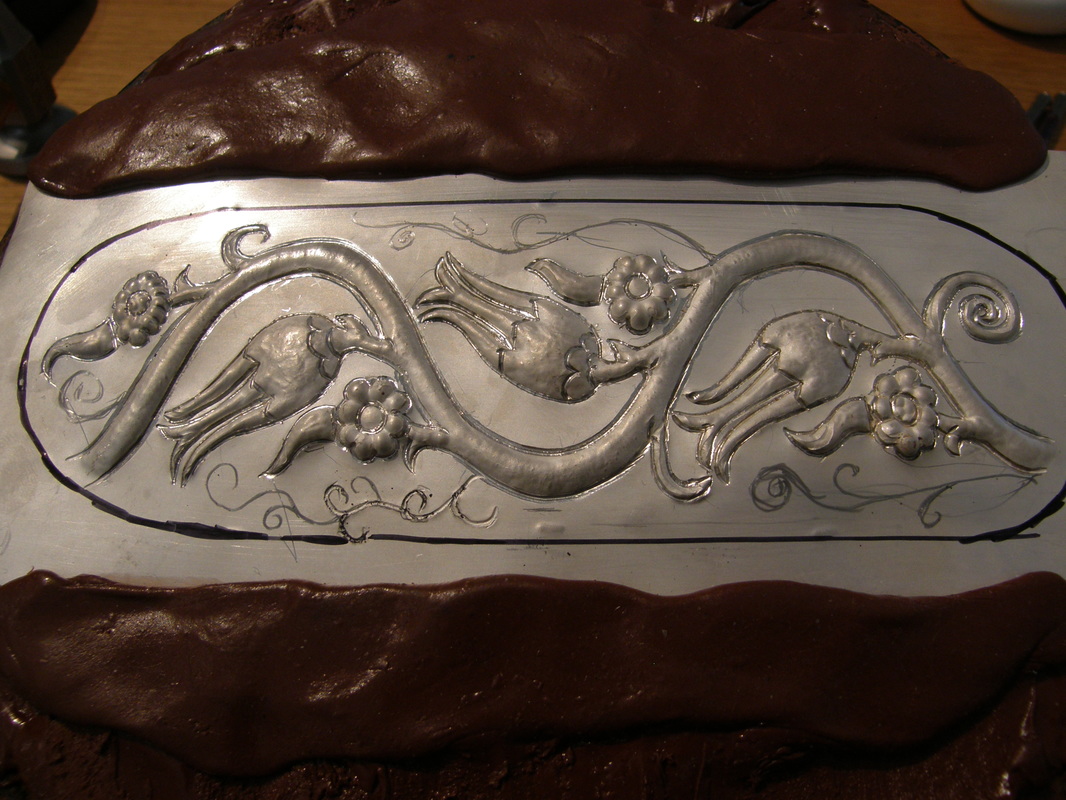
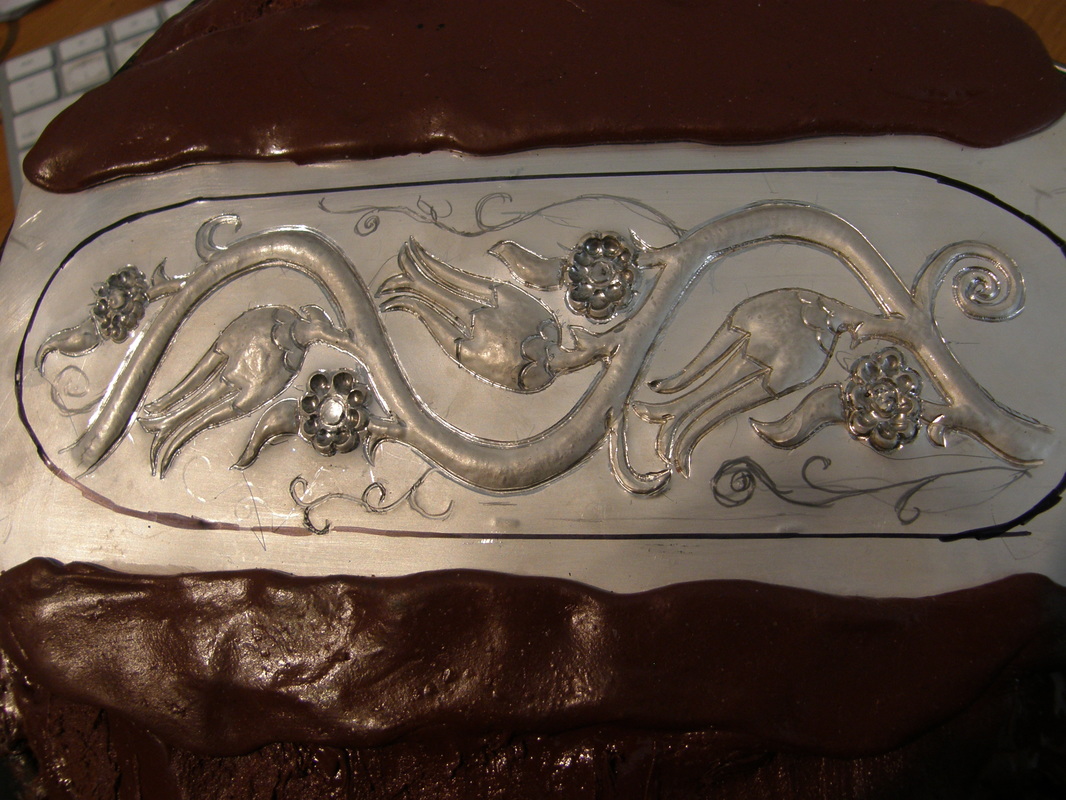
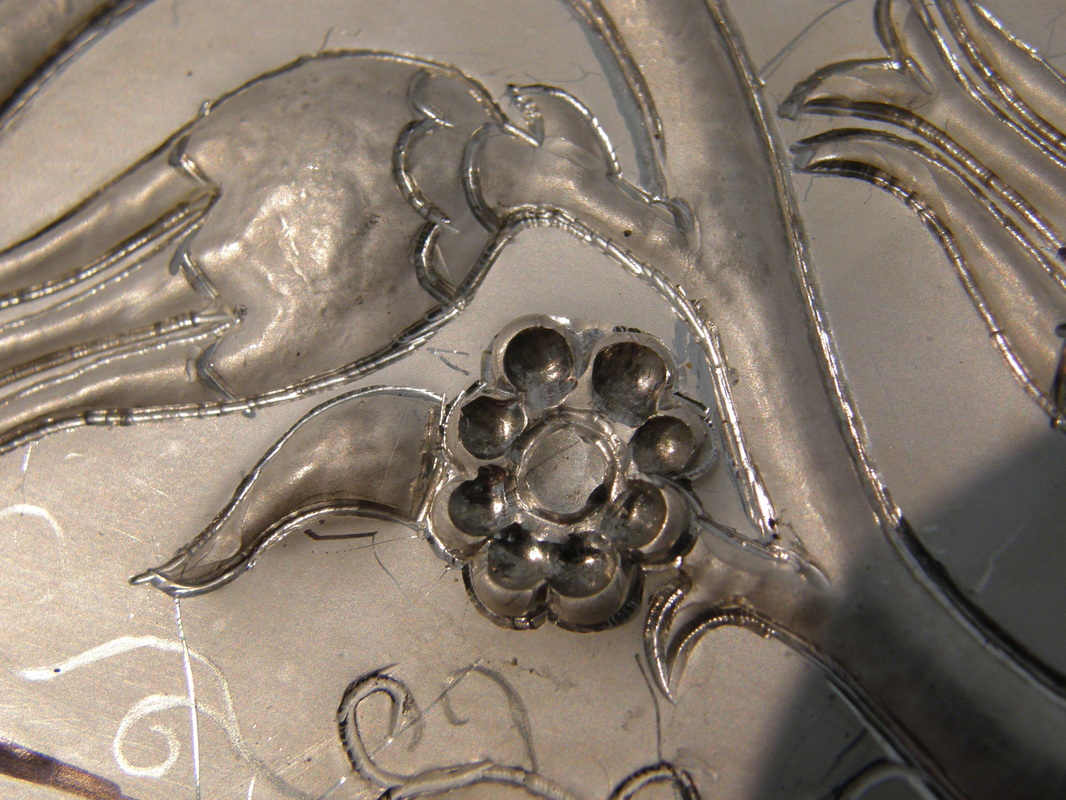
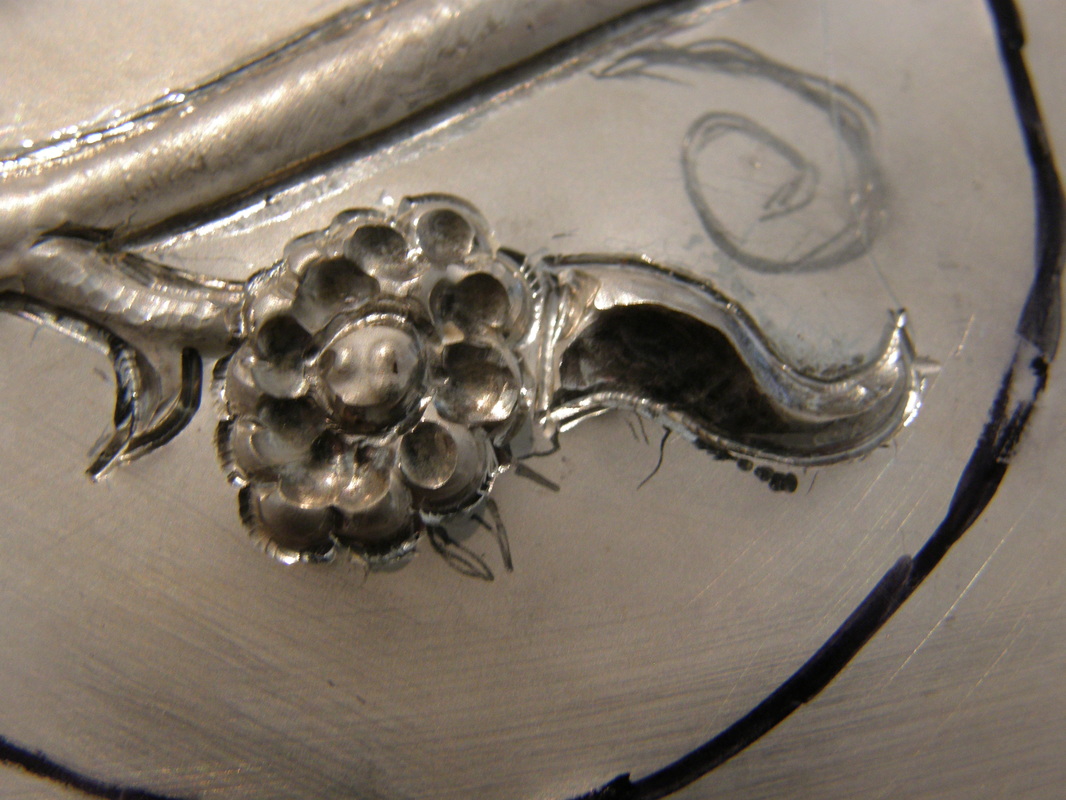
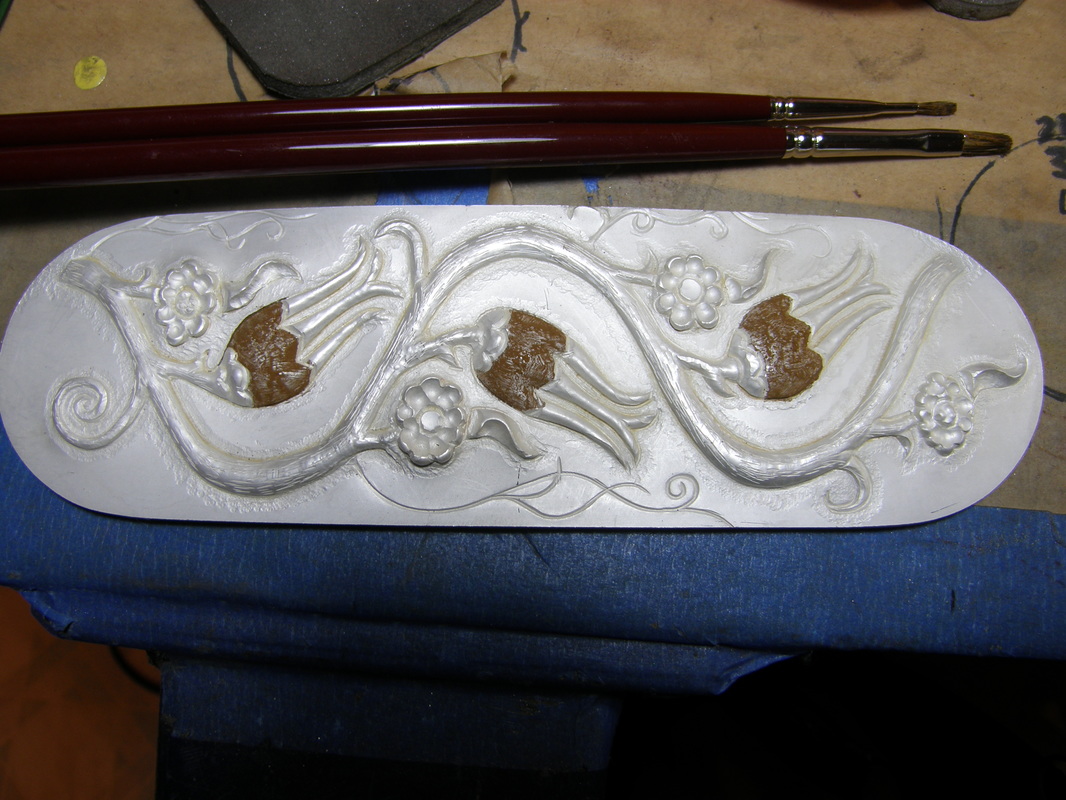
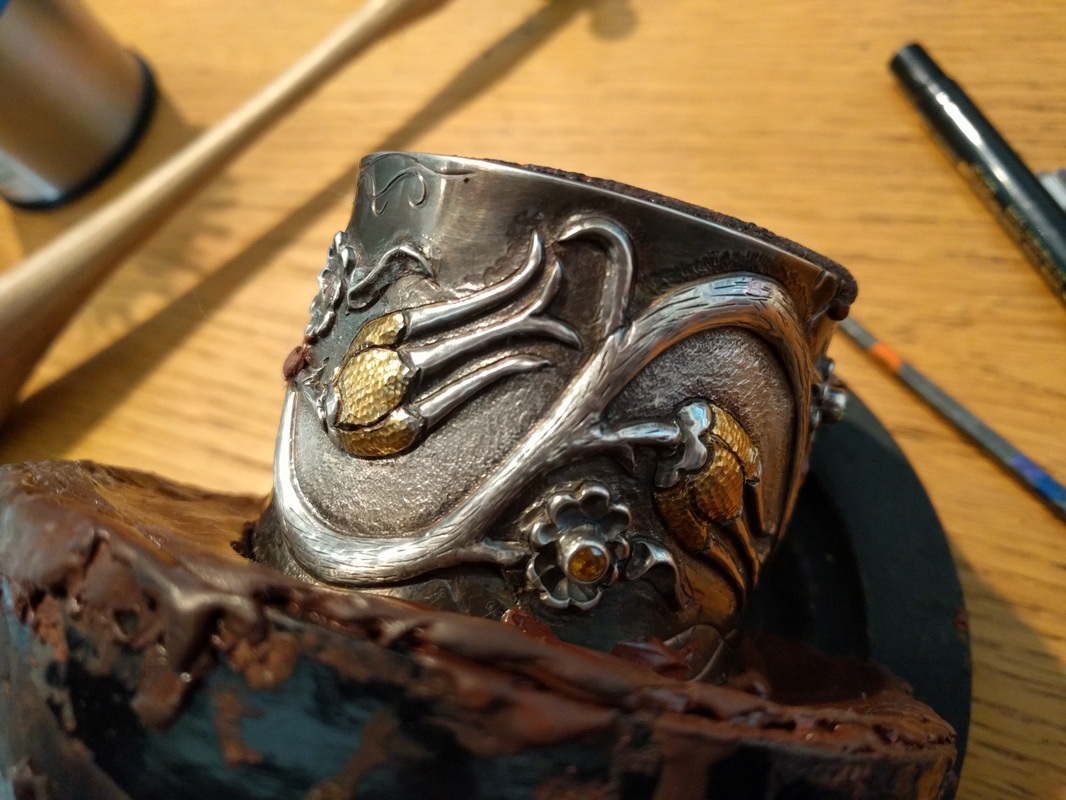
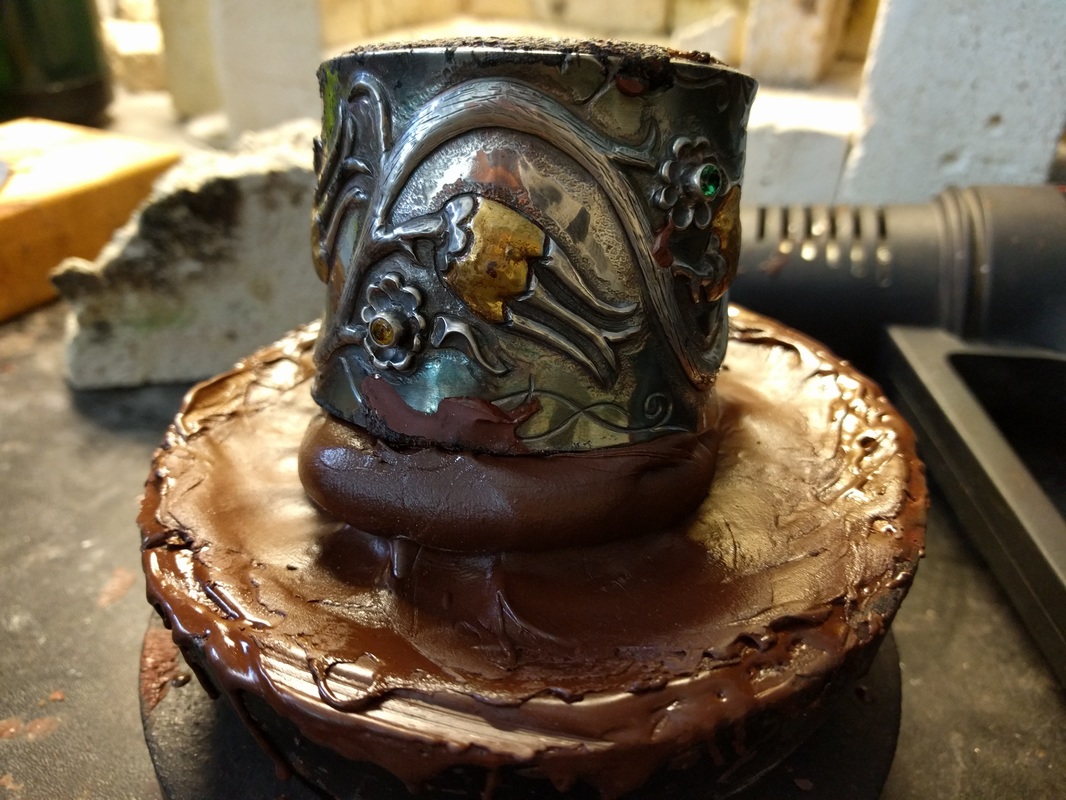
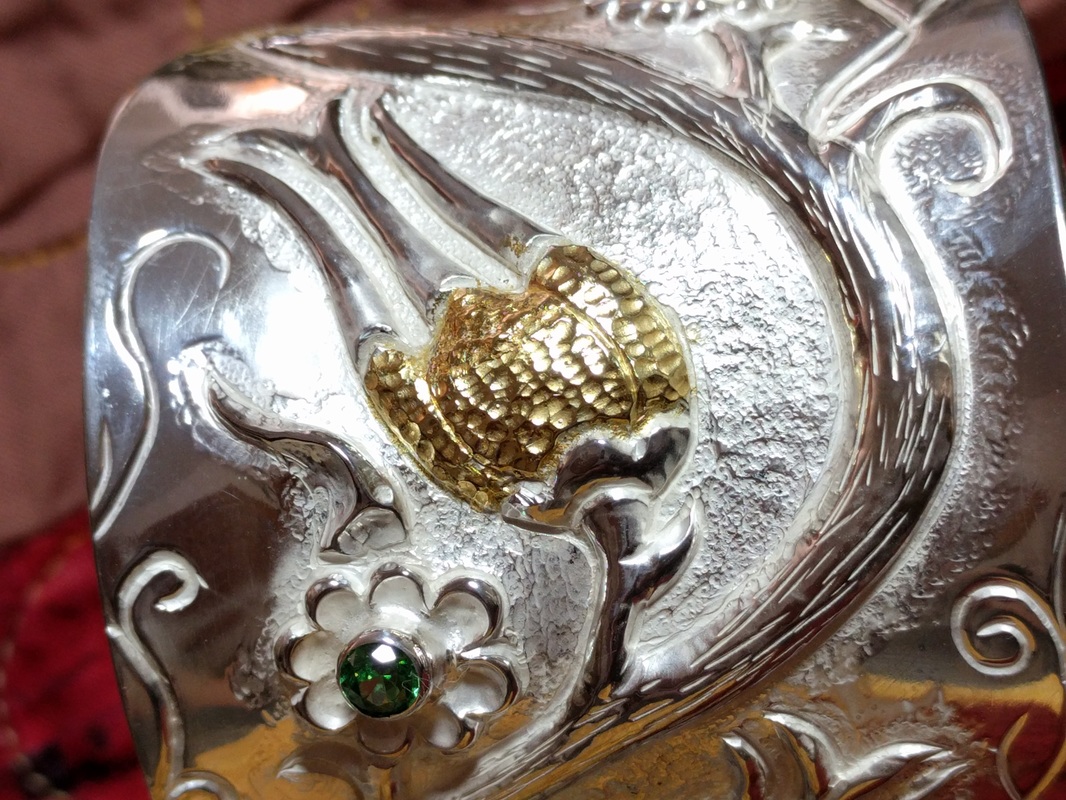
Then I showed her how to put a vessel into her pitch bowl so she could chase on it while still moving/rotating the vessel when moving on to the next section.

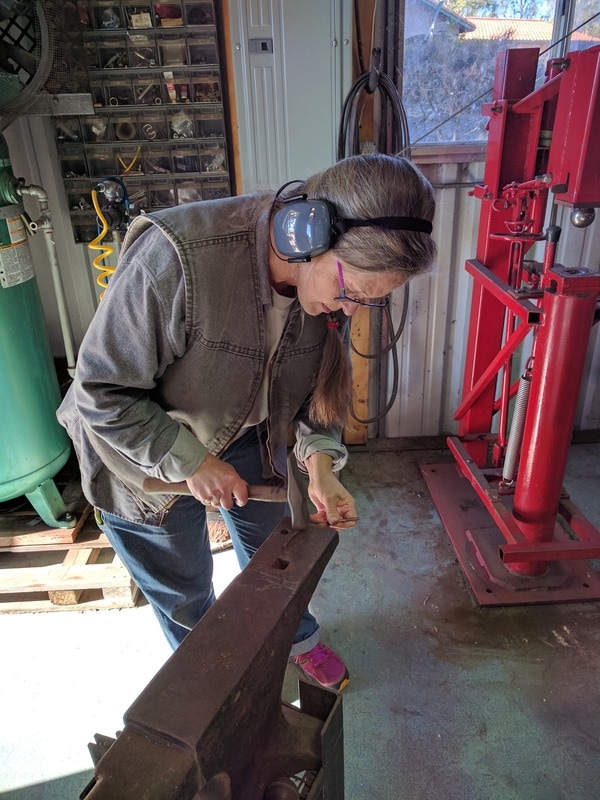
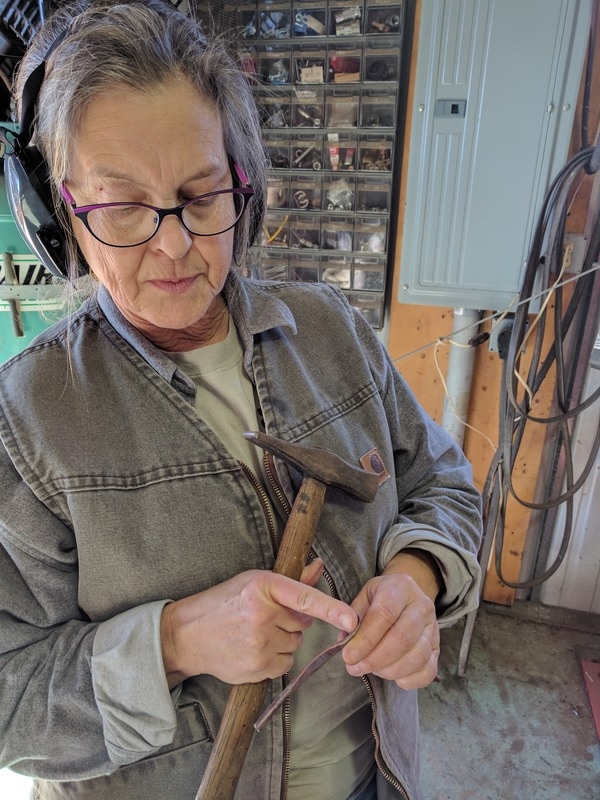
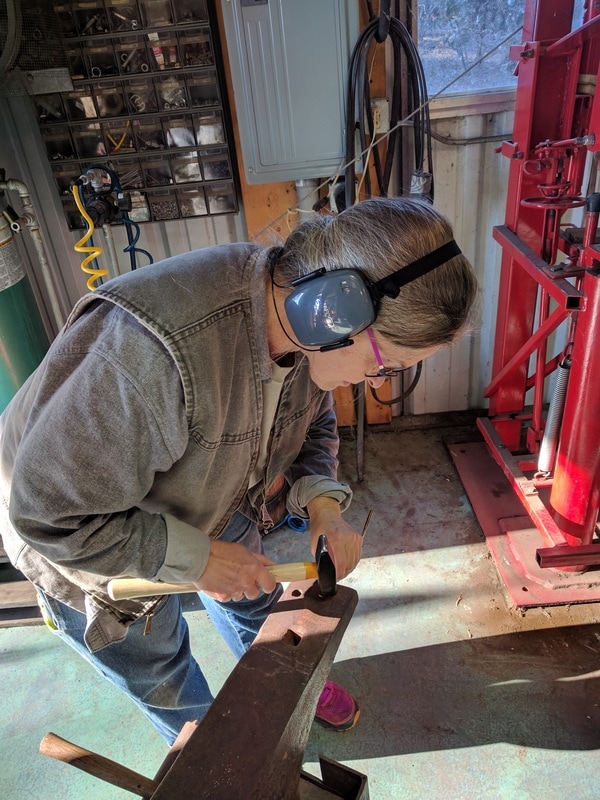
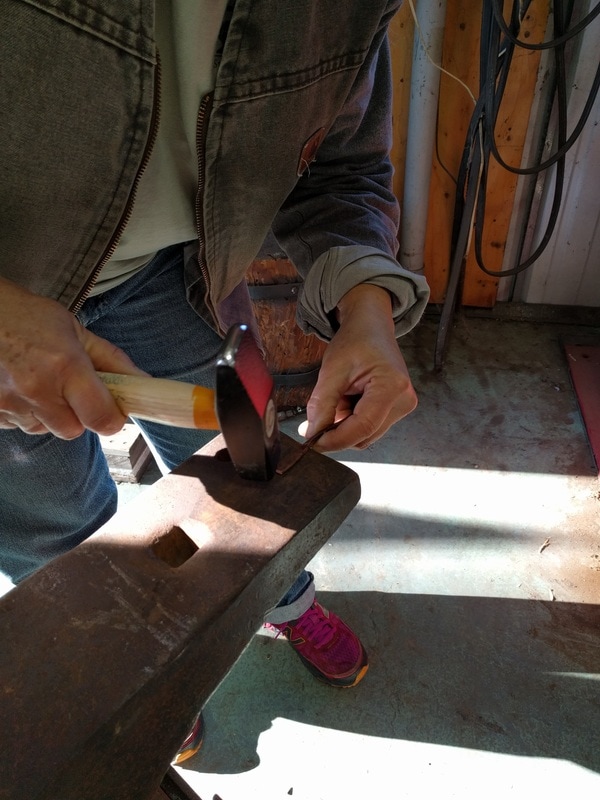
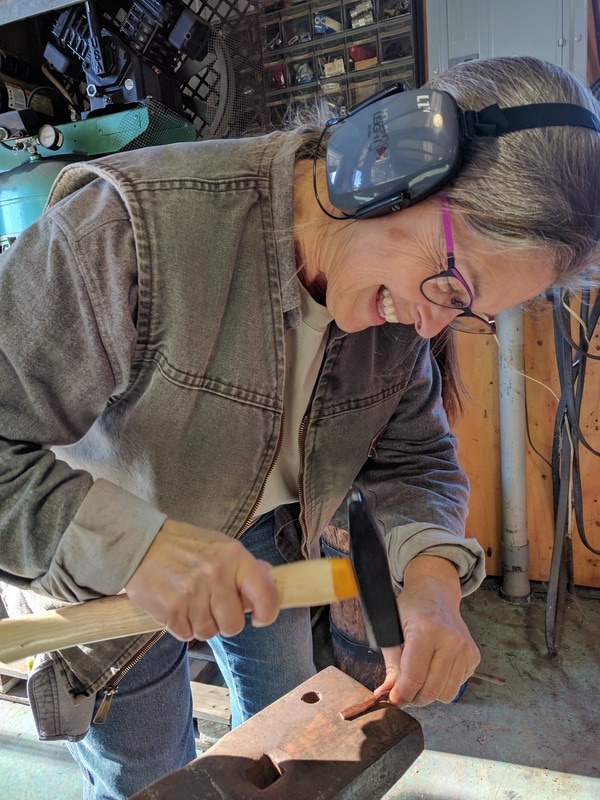
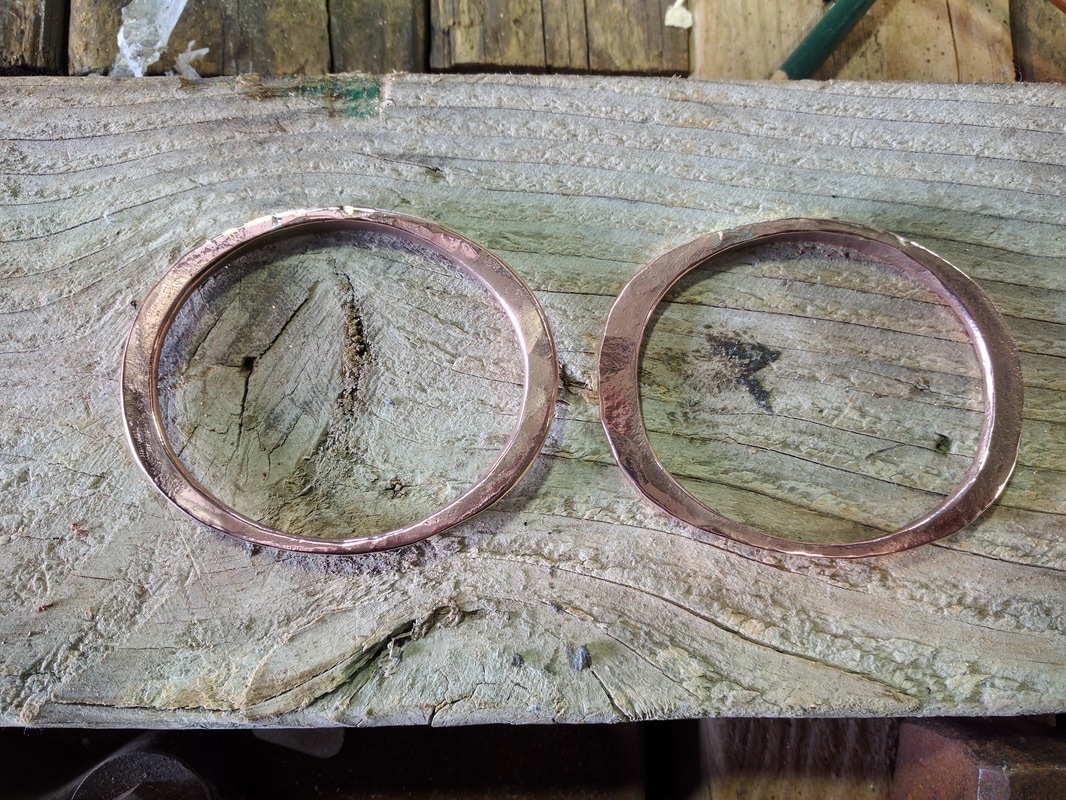
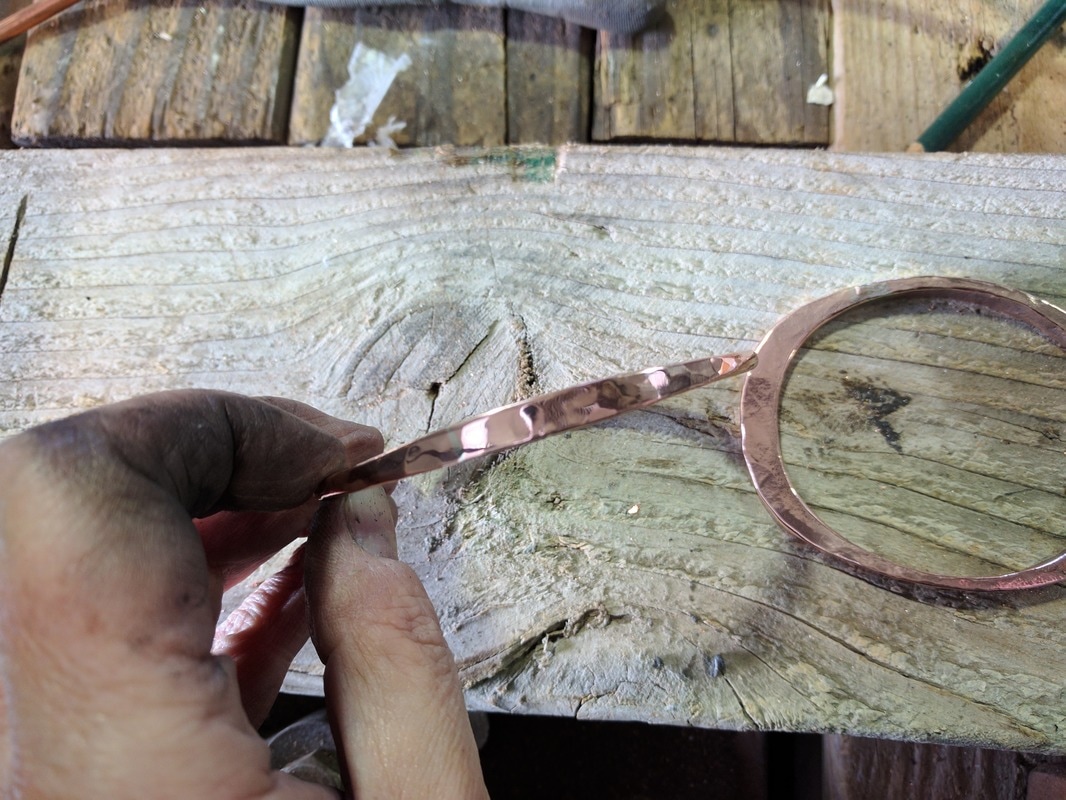
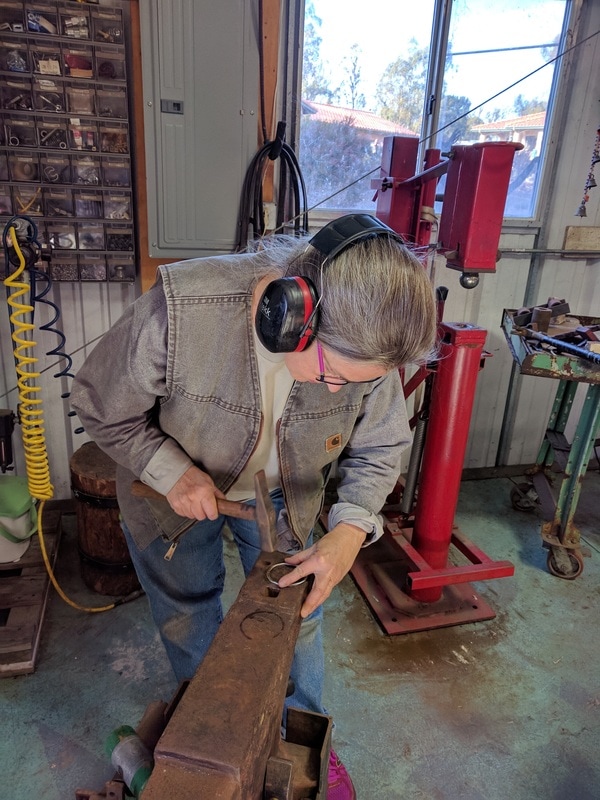
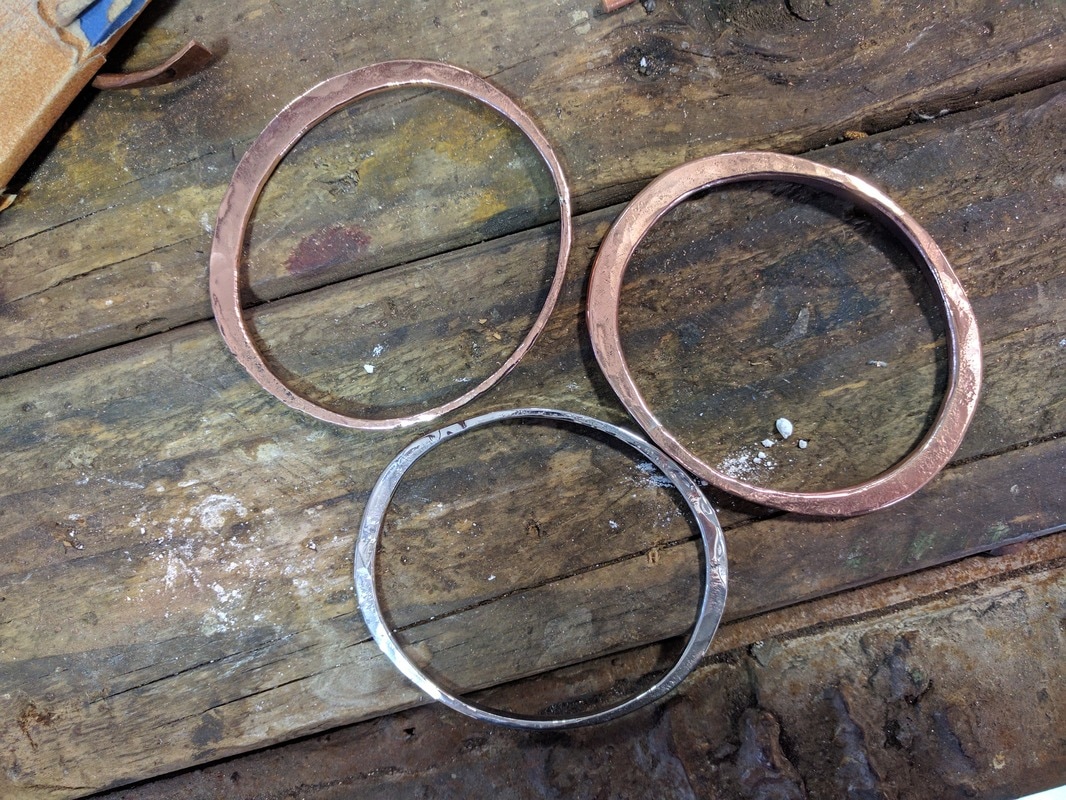
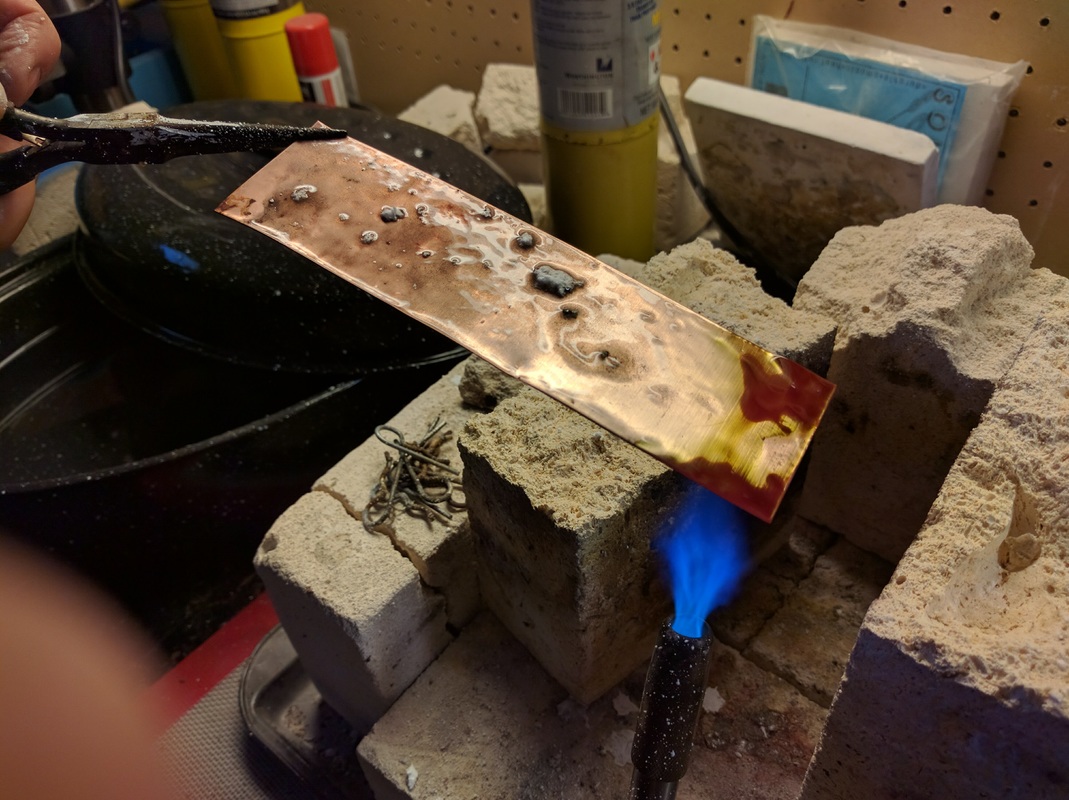
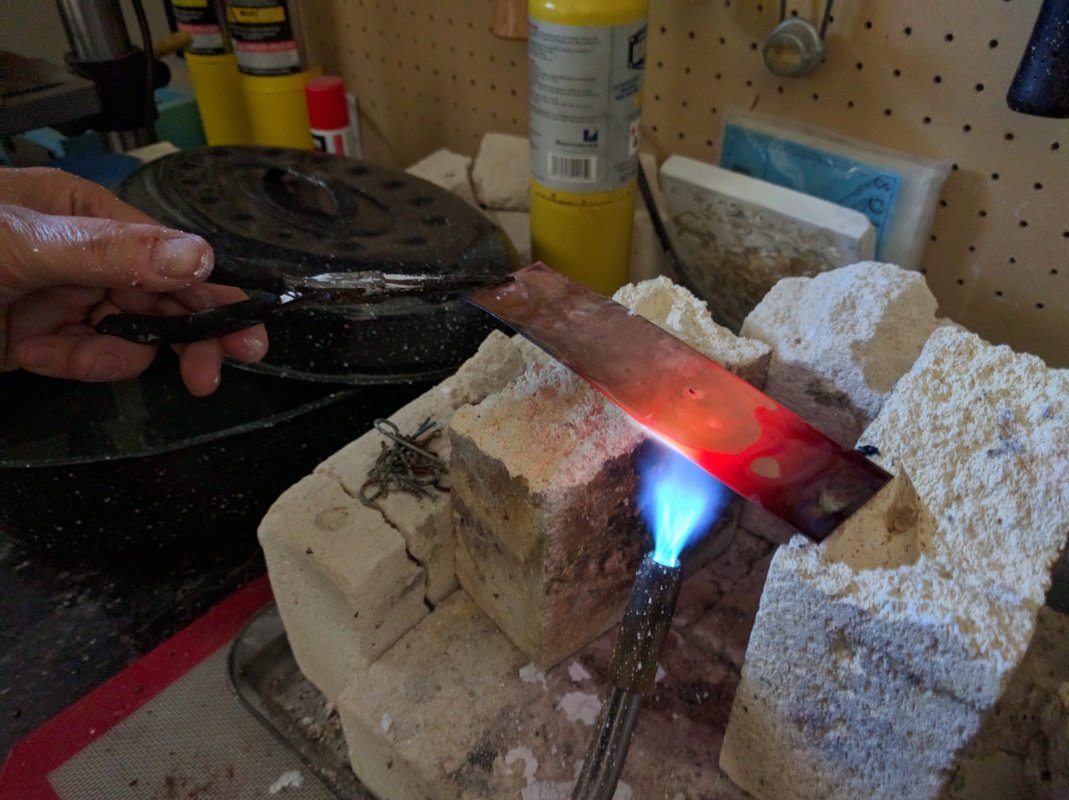
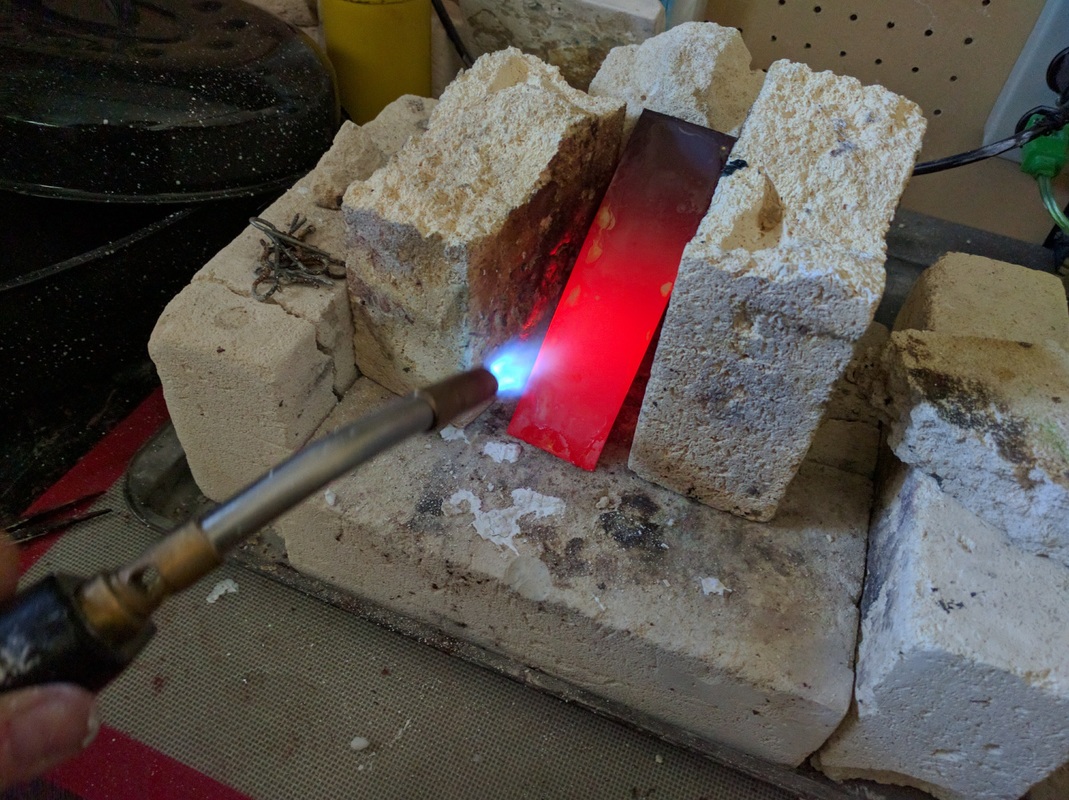
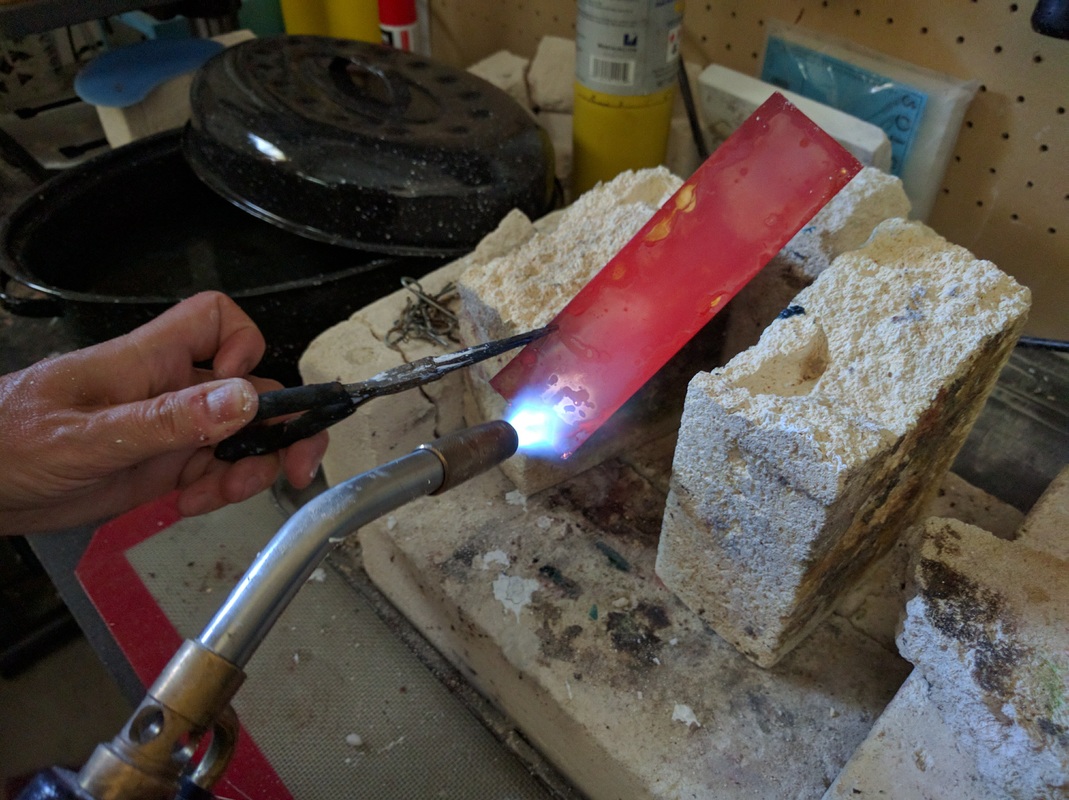
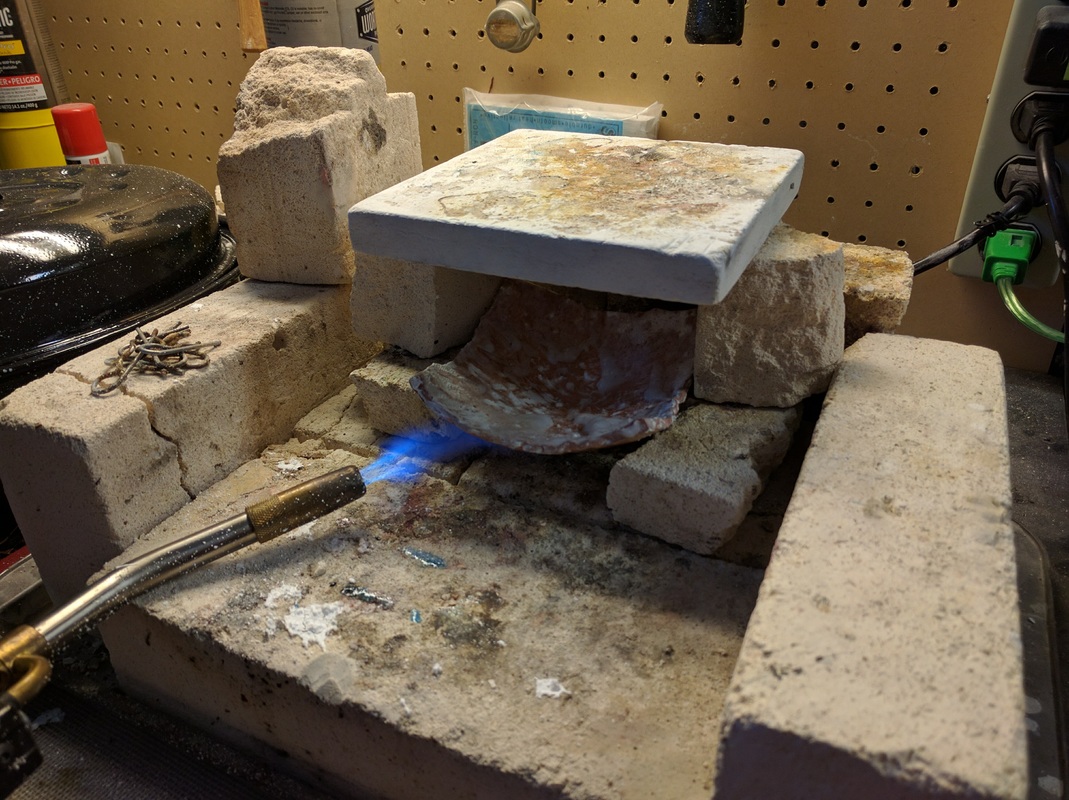
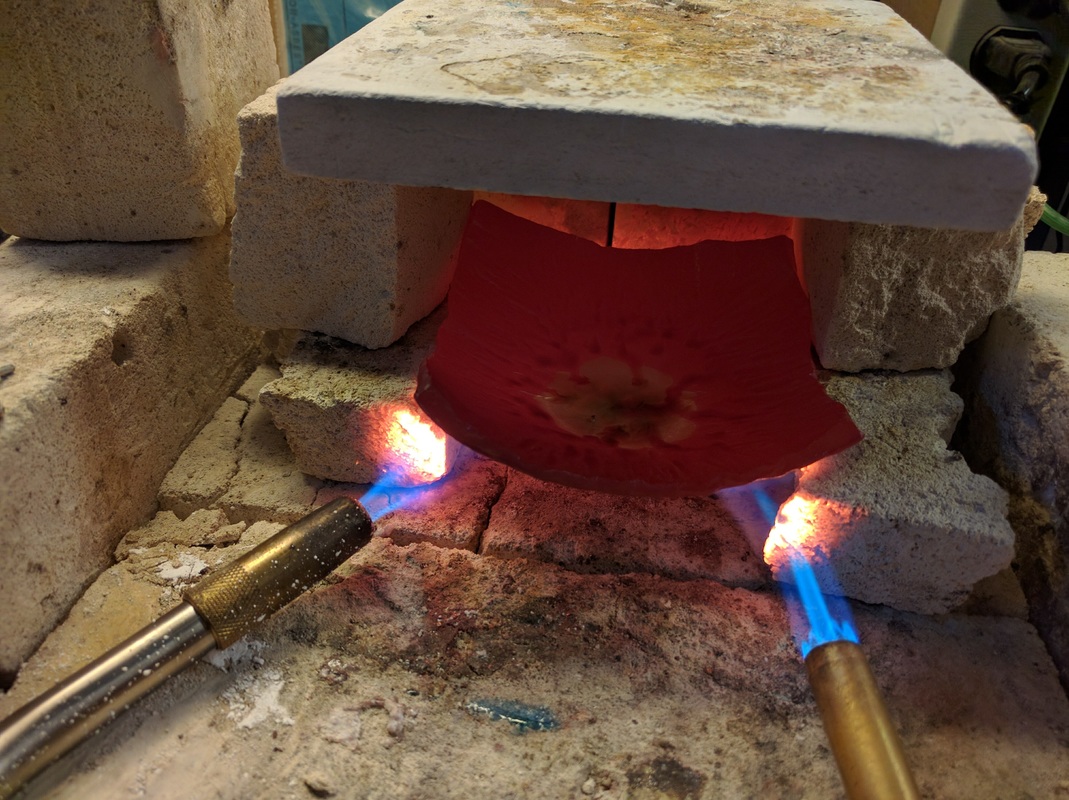
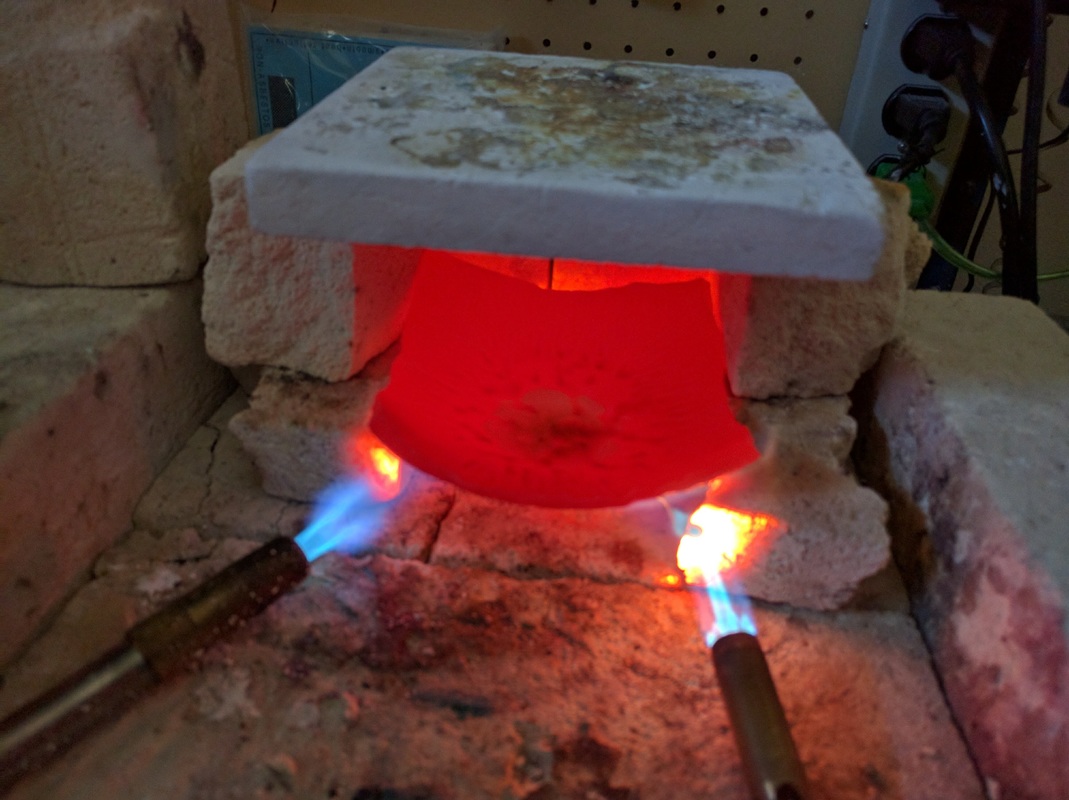
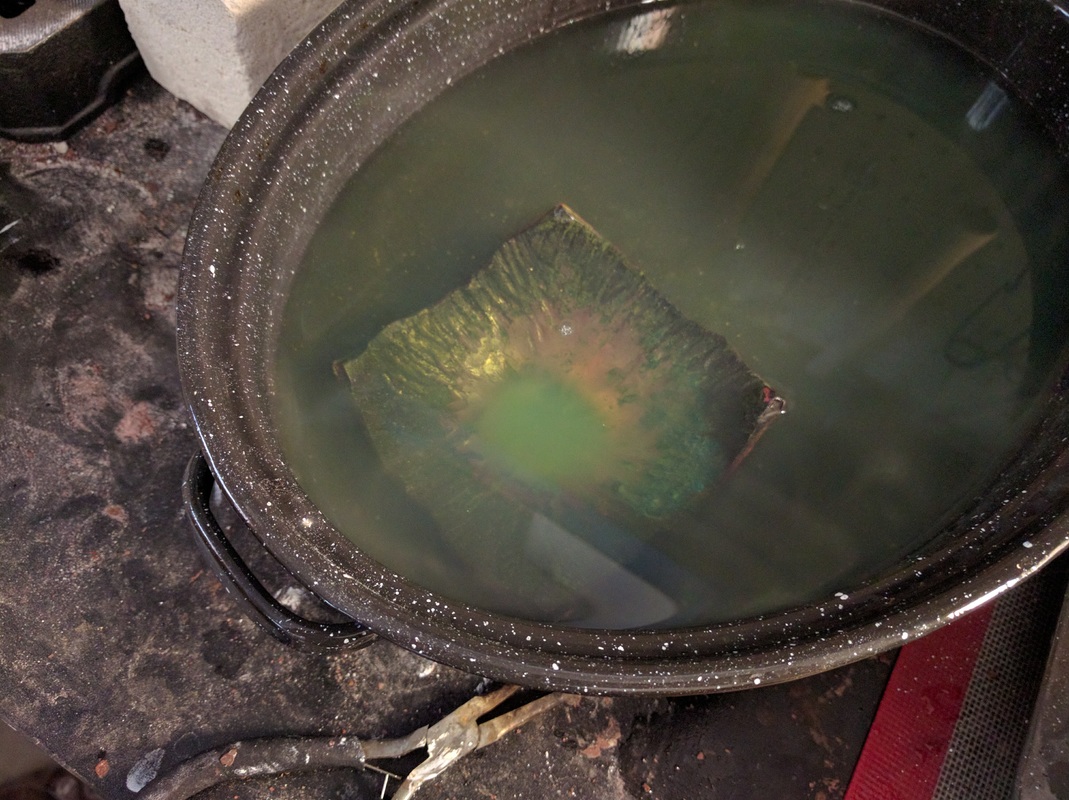
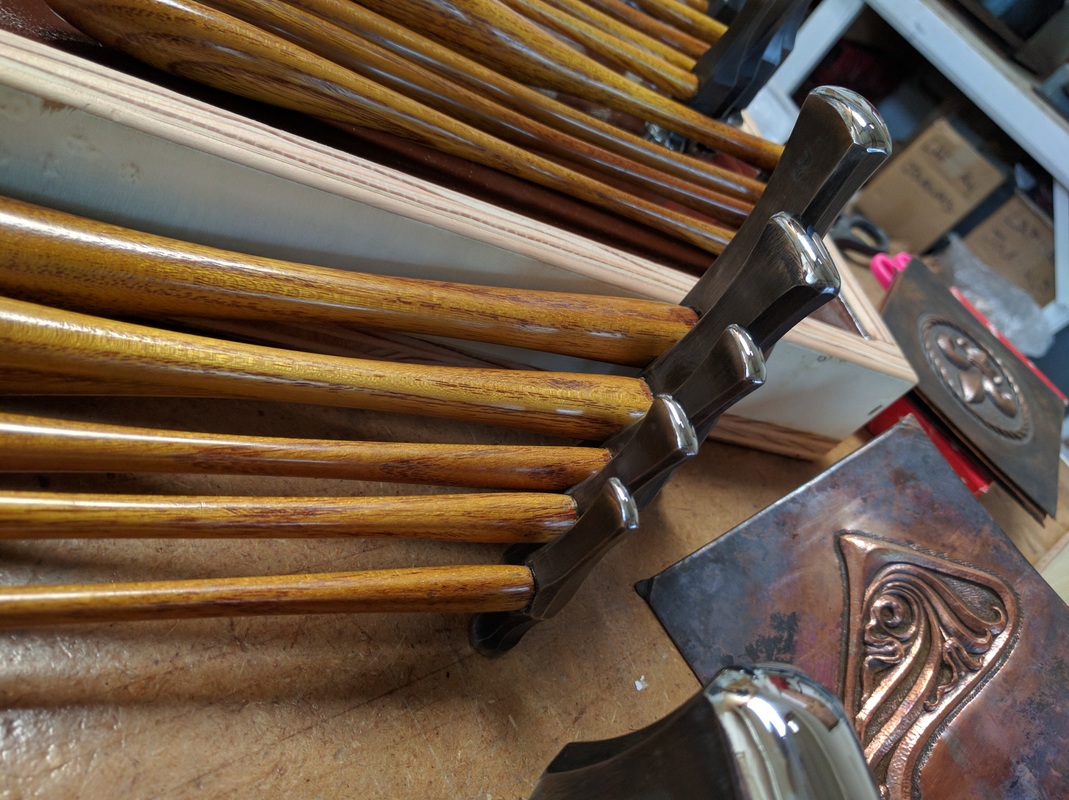
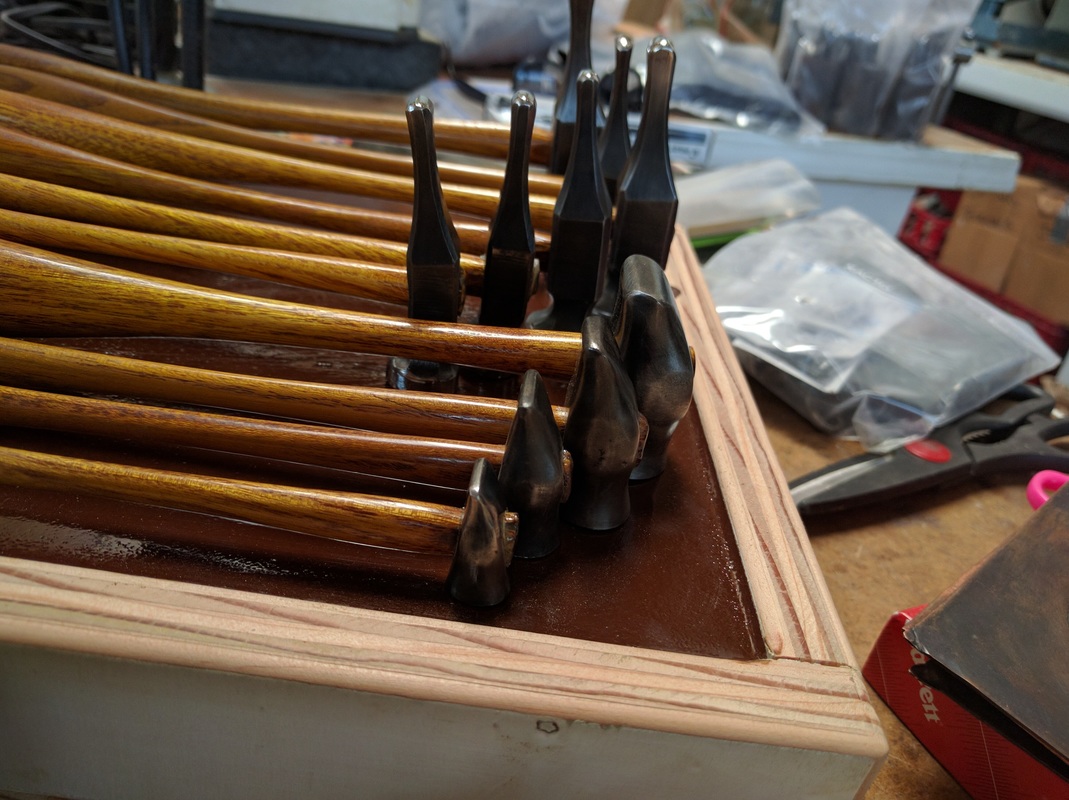
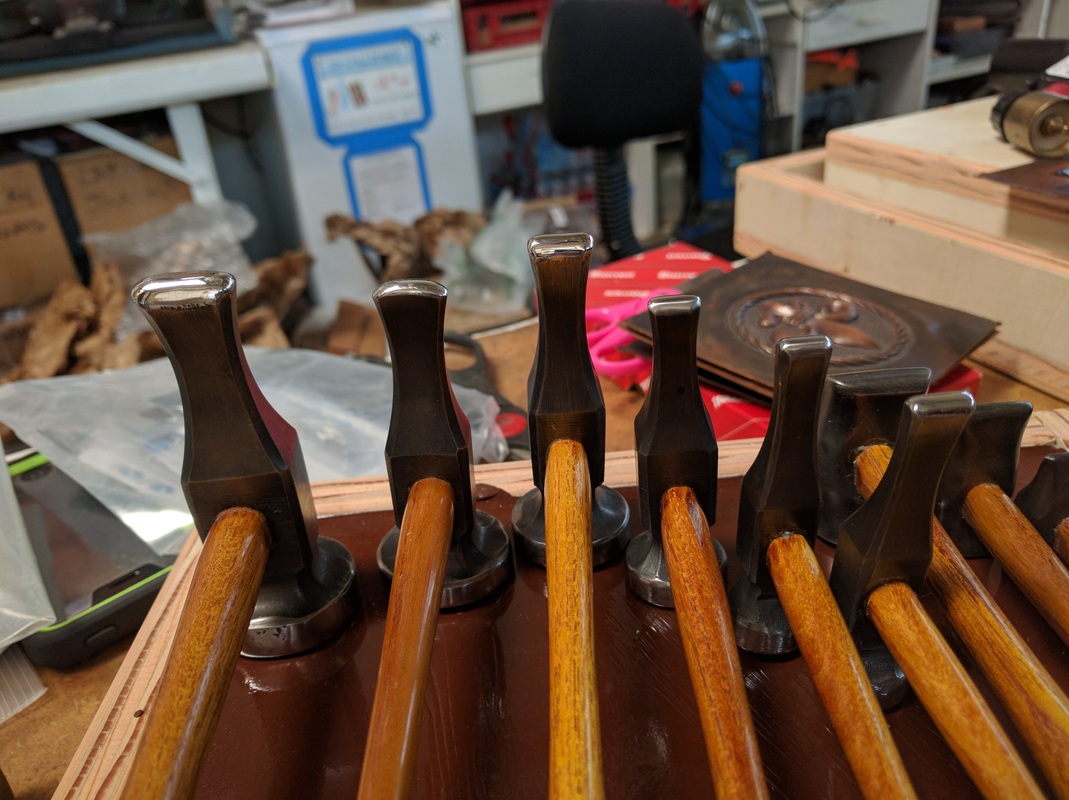
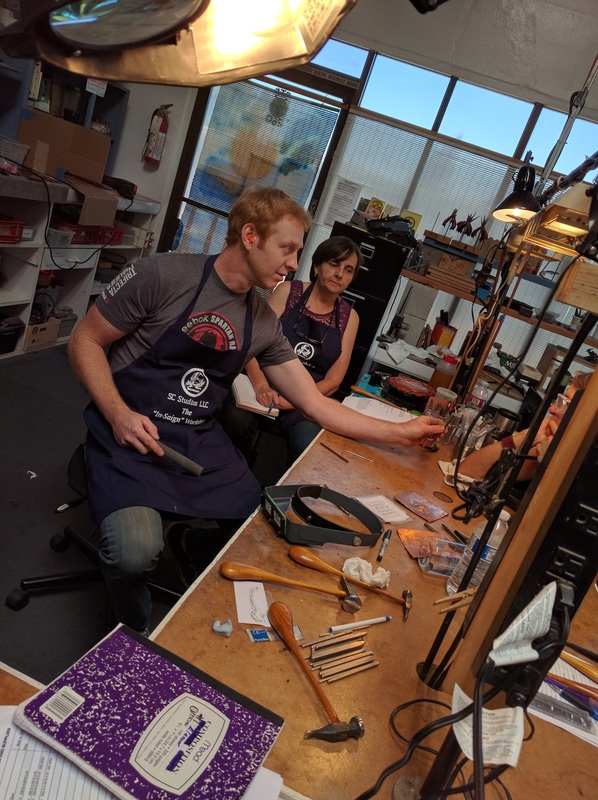
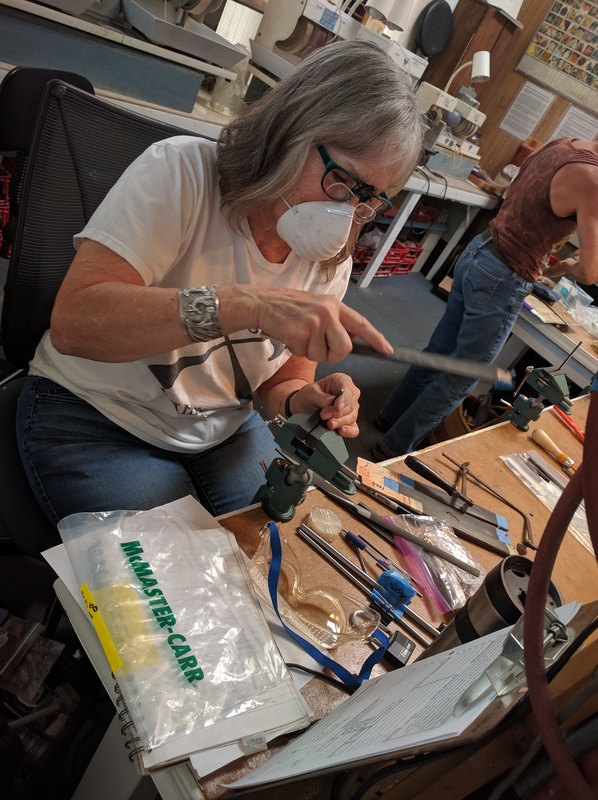
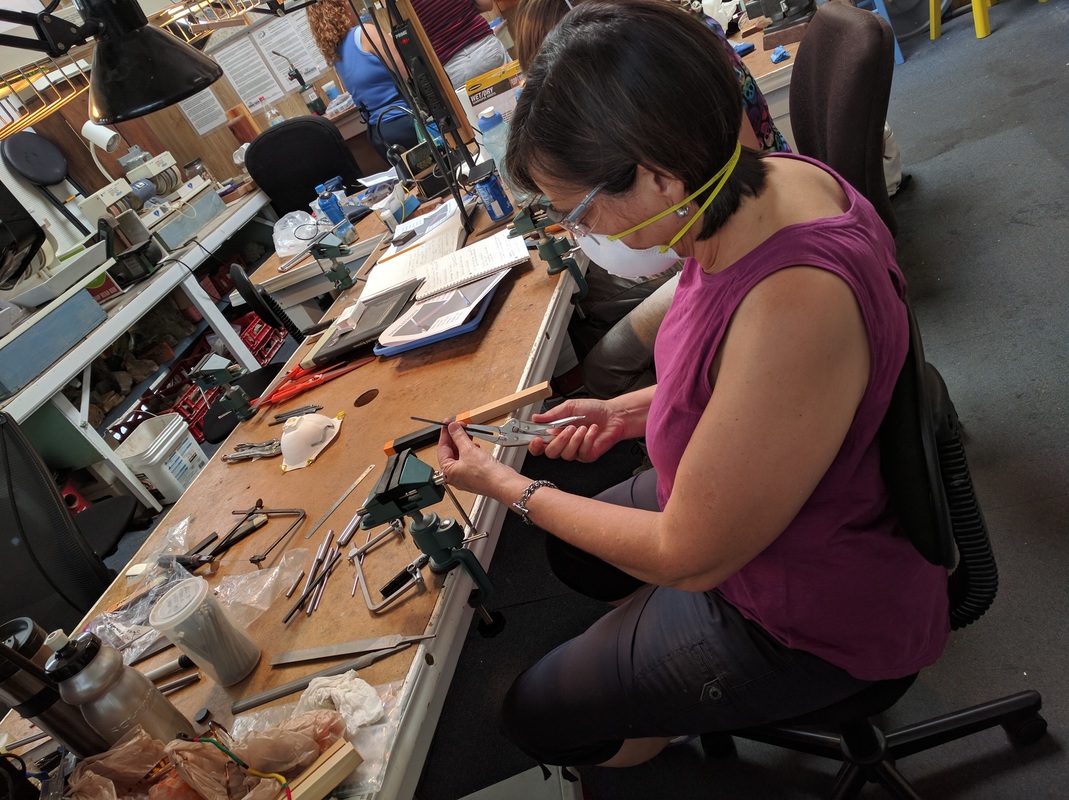
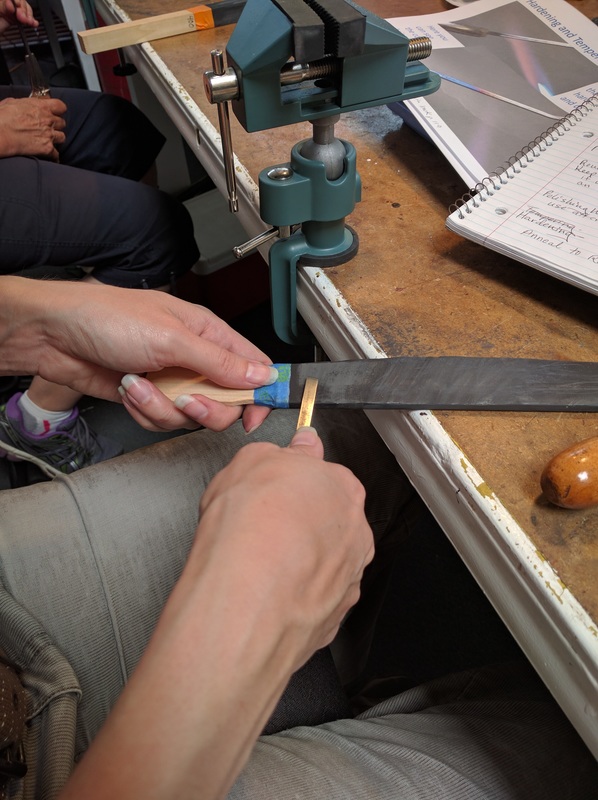
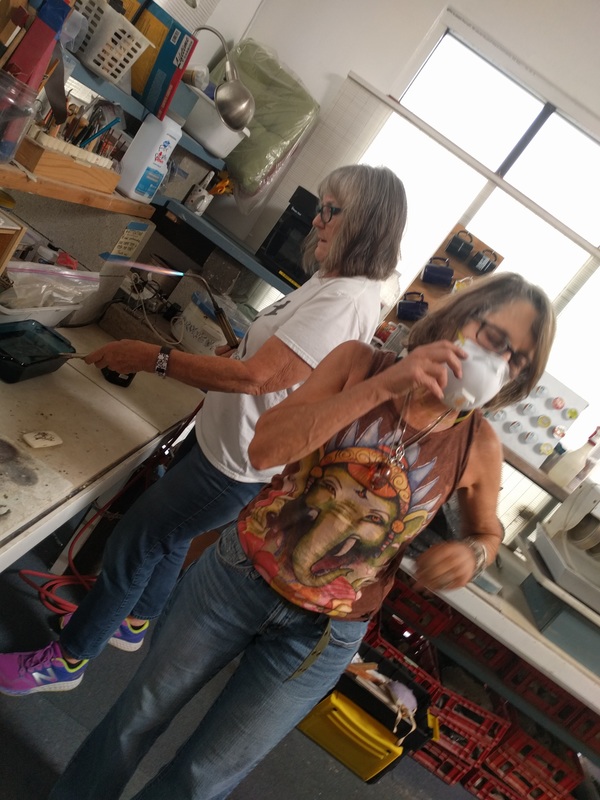
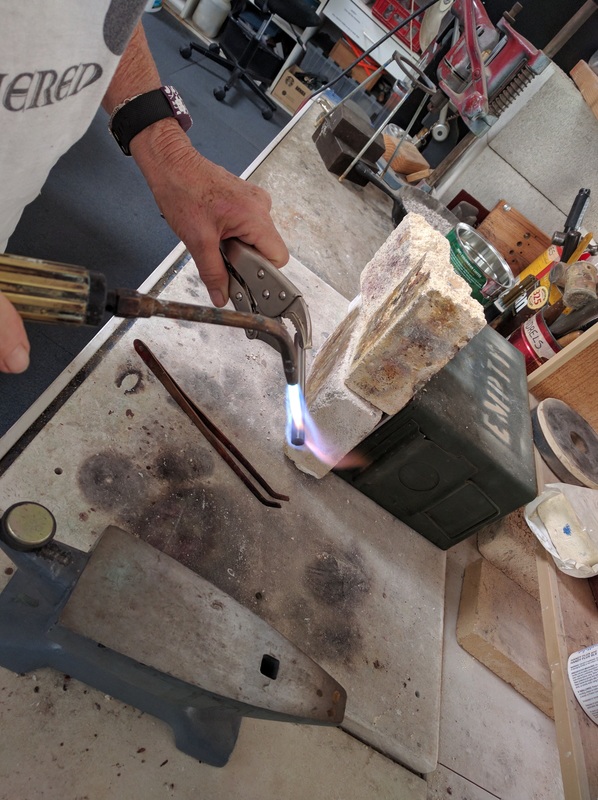
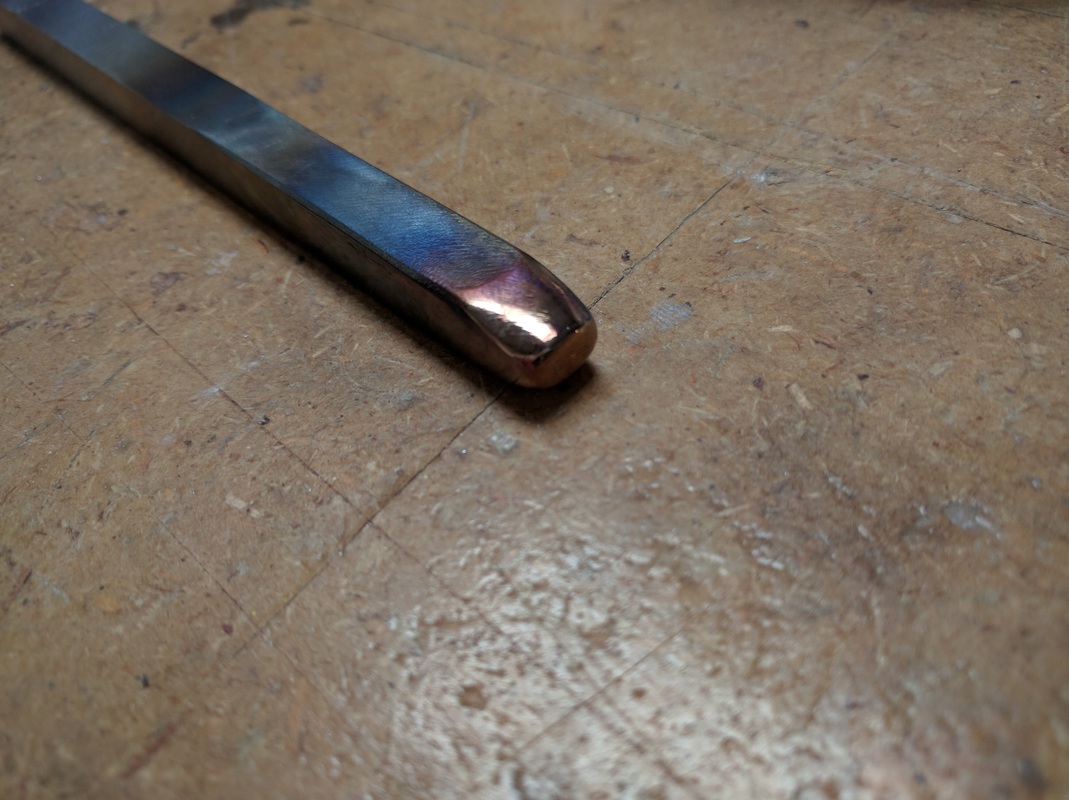
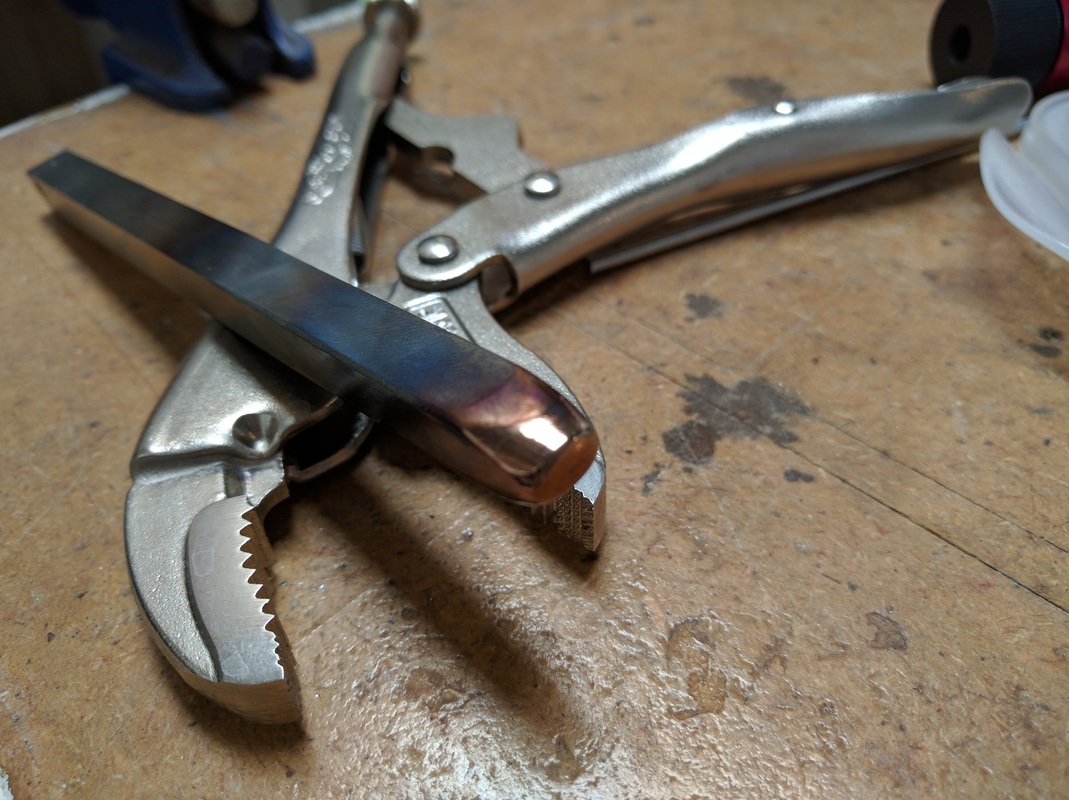
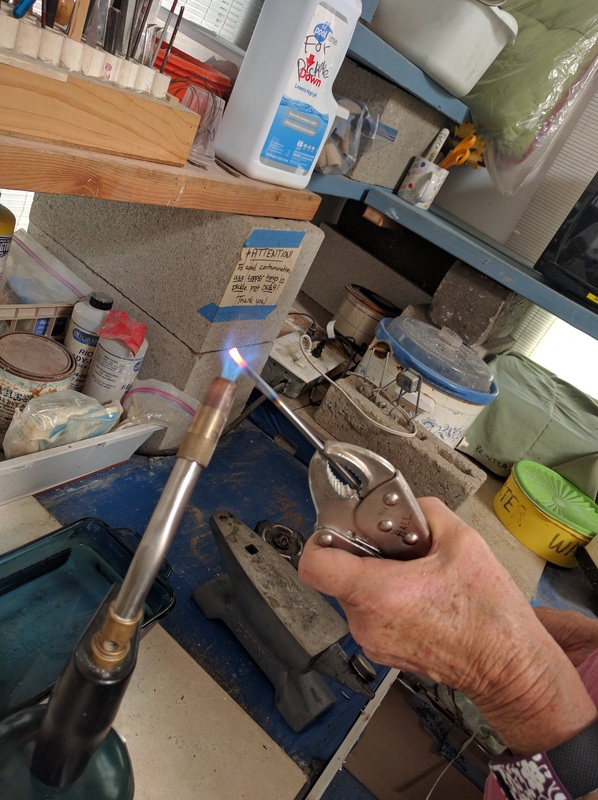
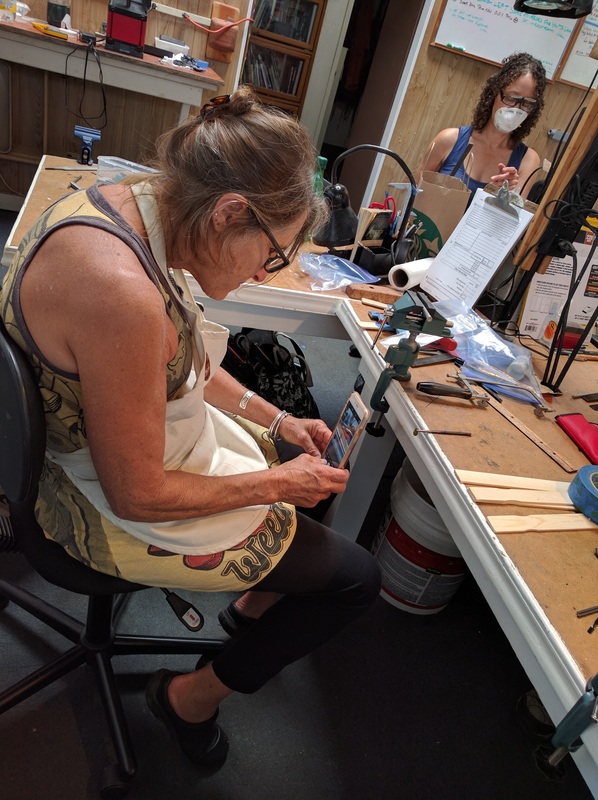
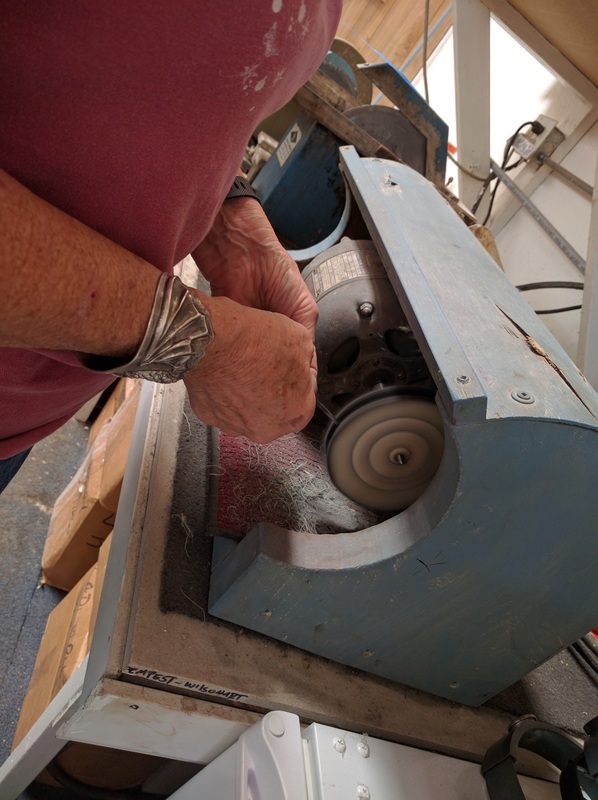
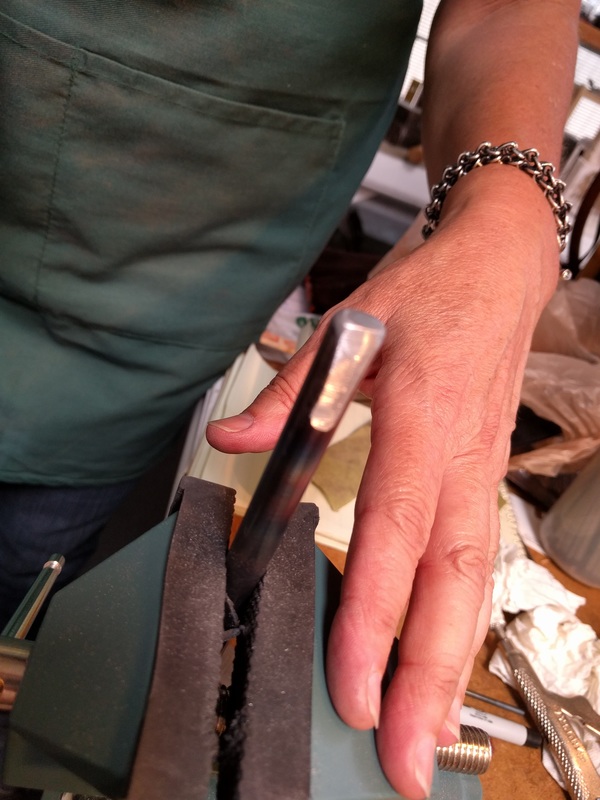
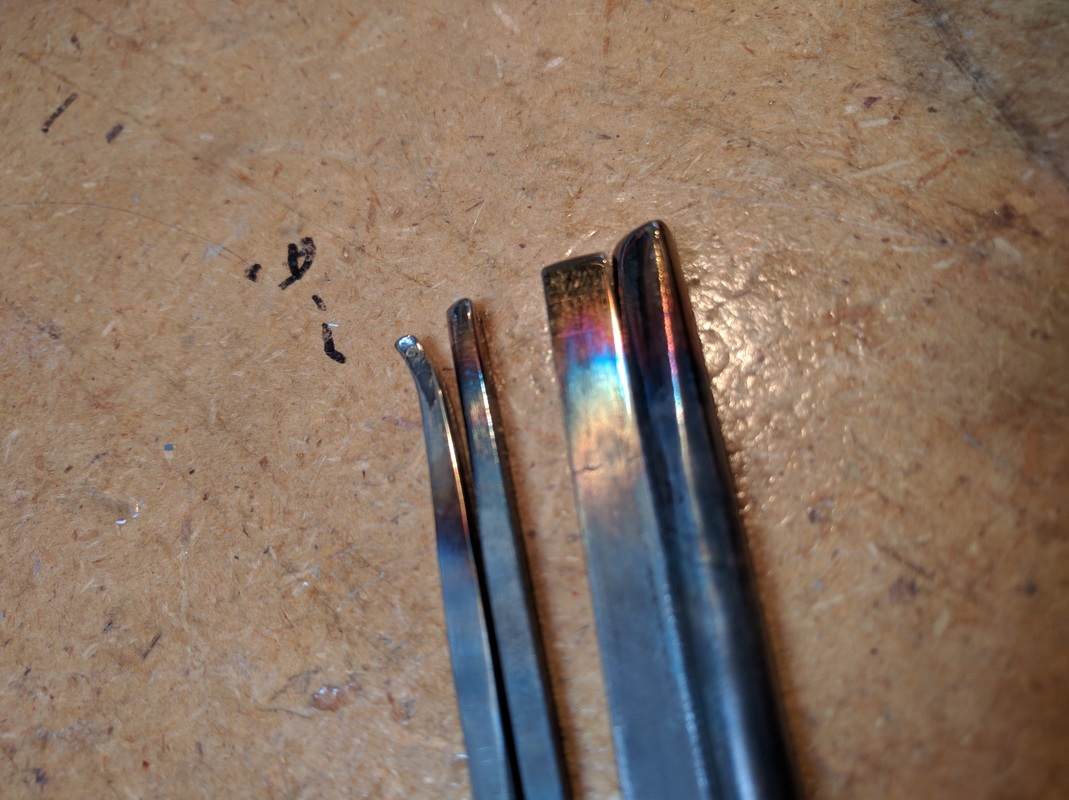
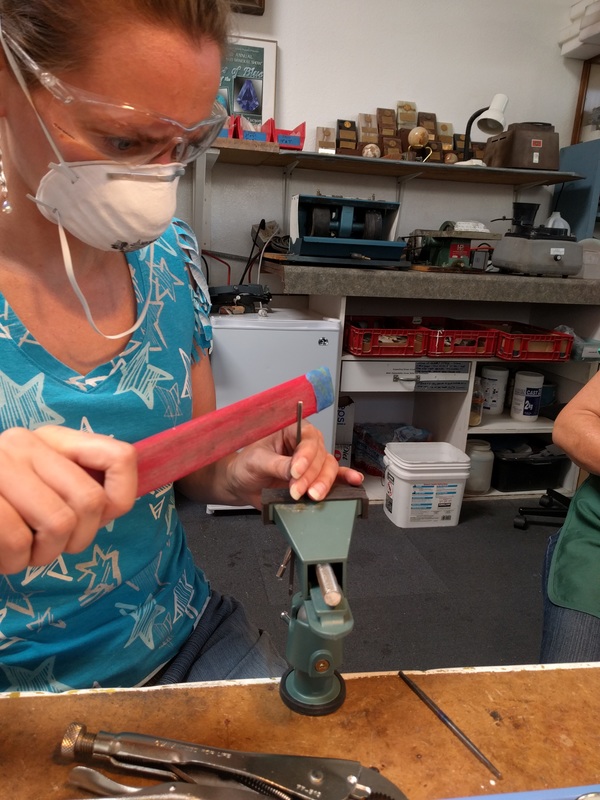
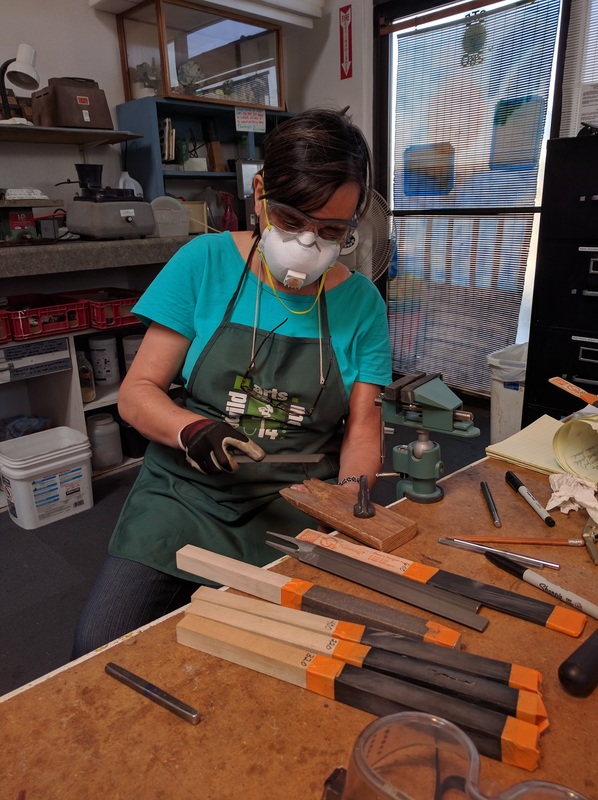
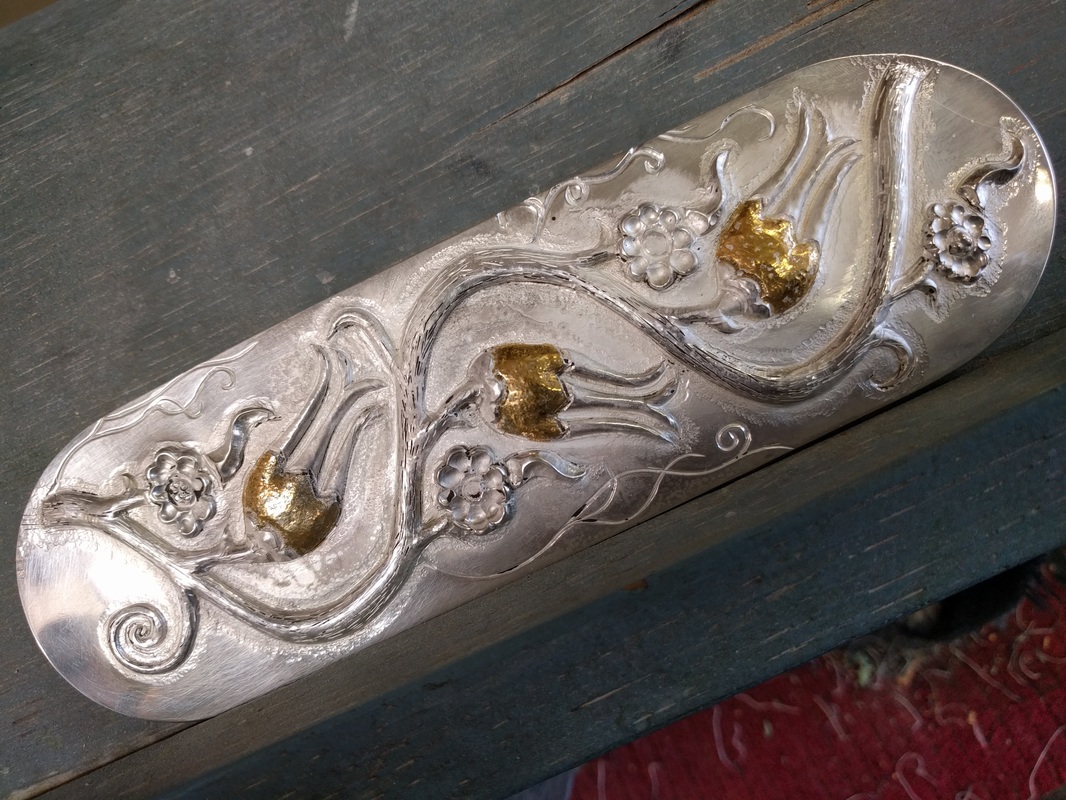
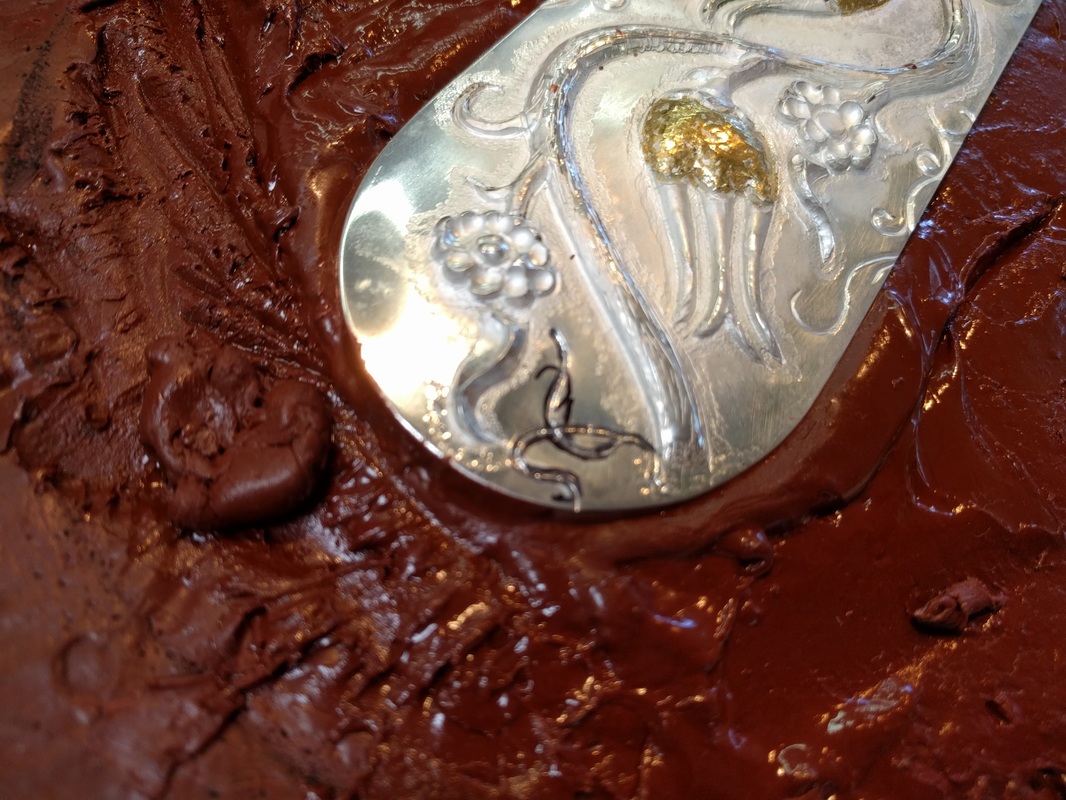
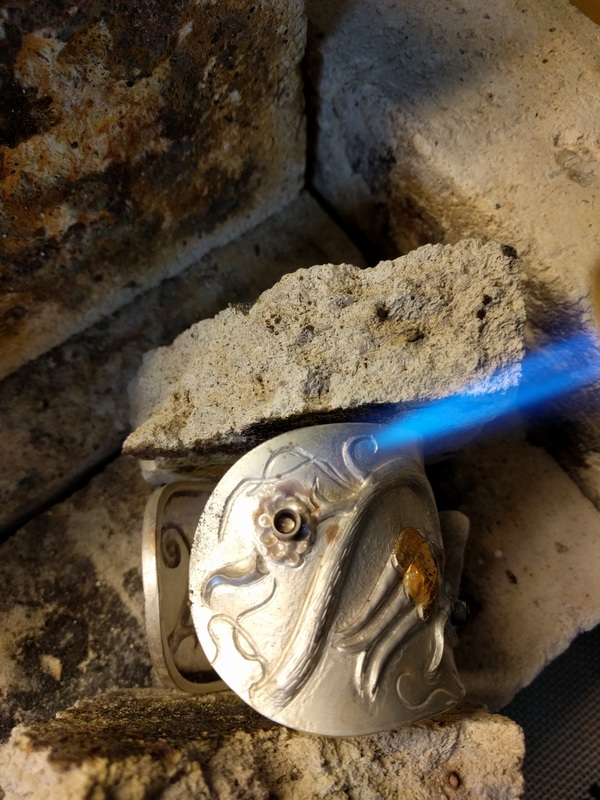
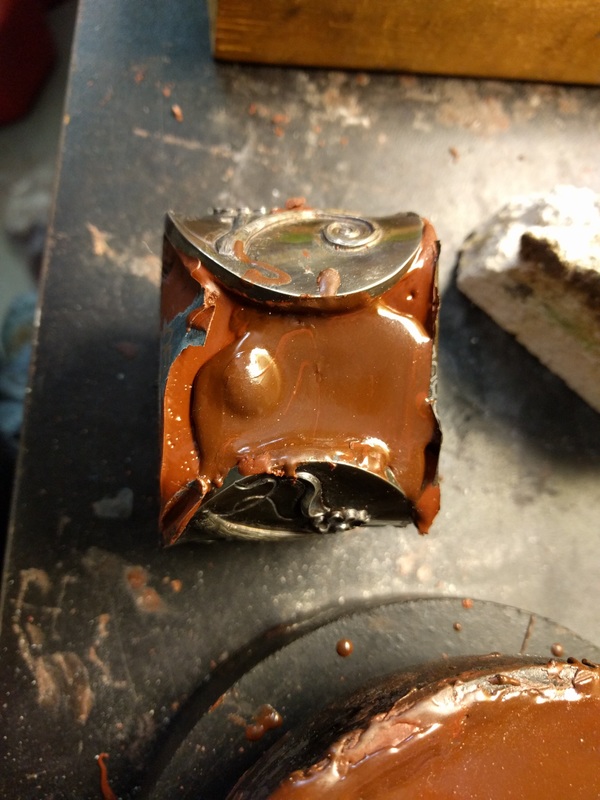
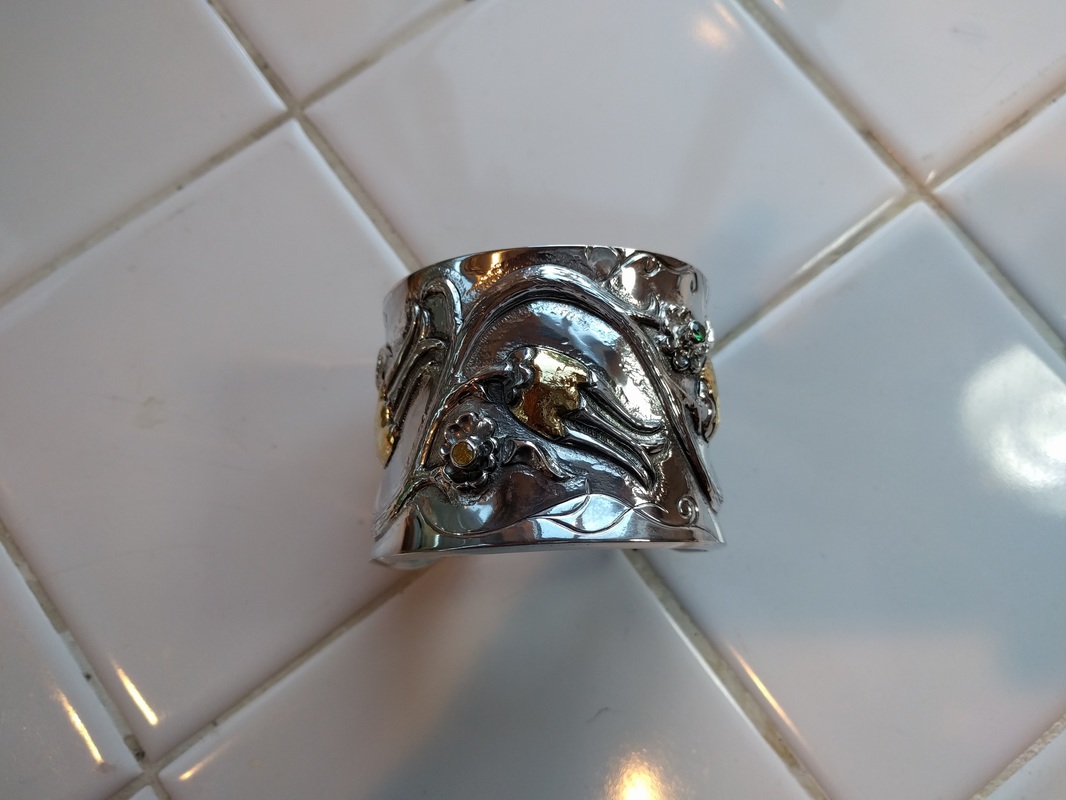
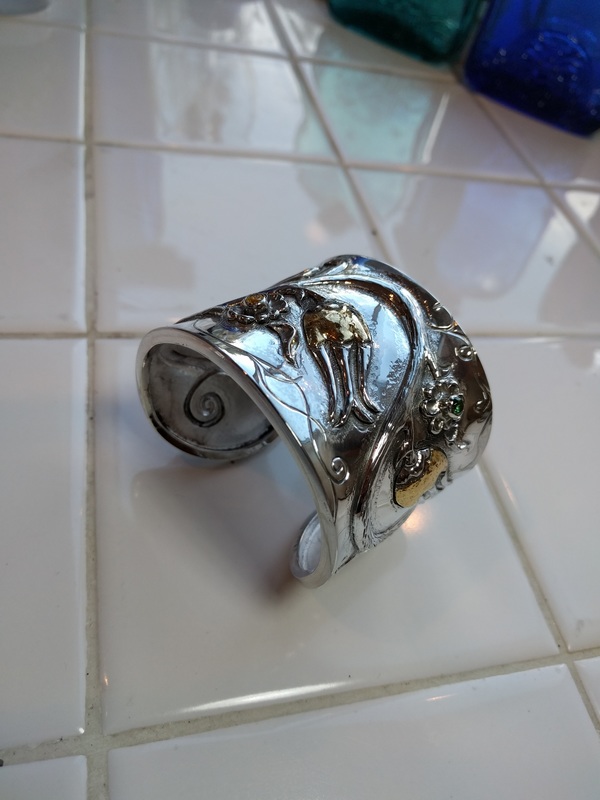
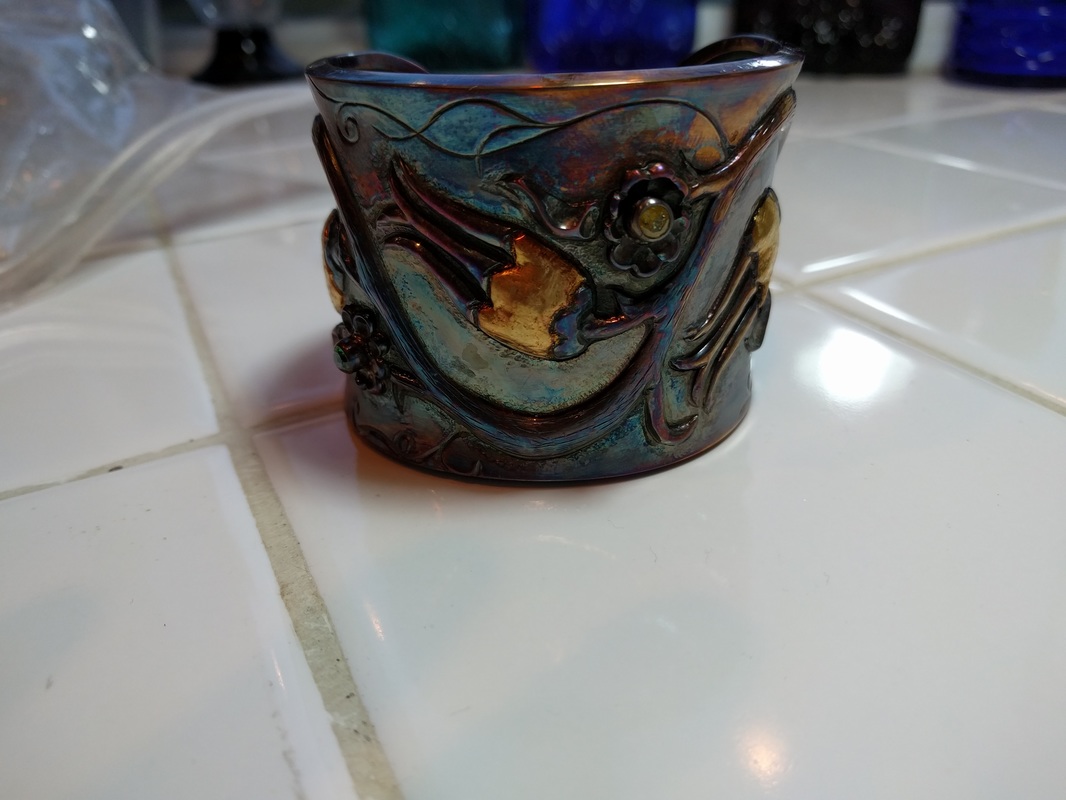
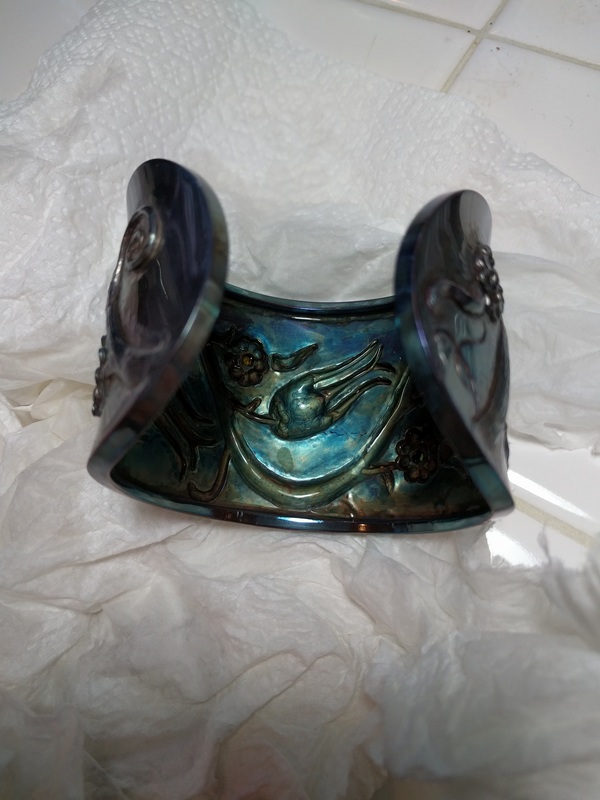
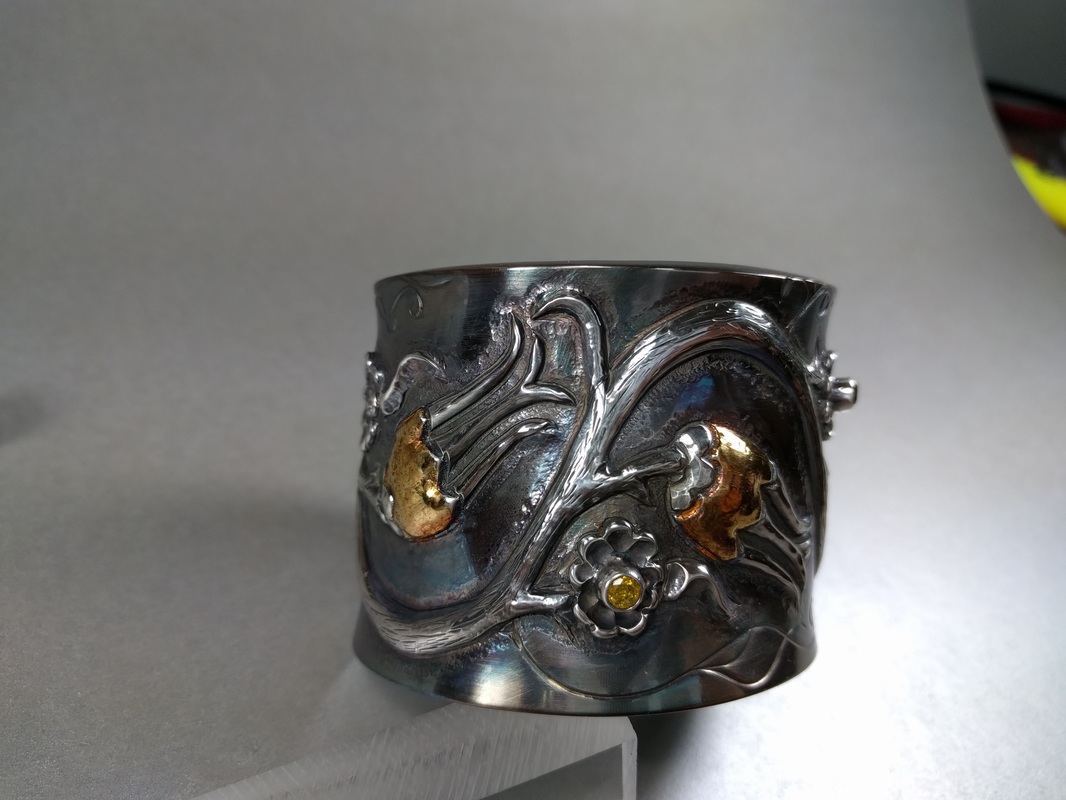
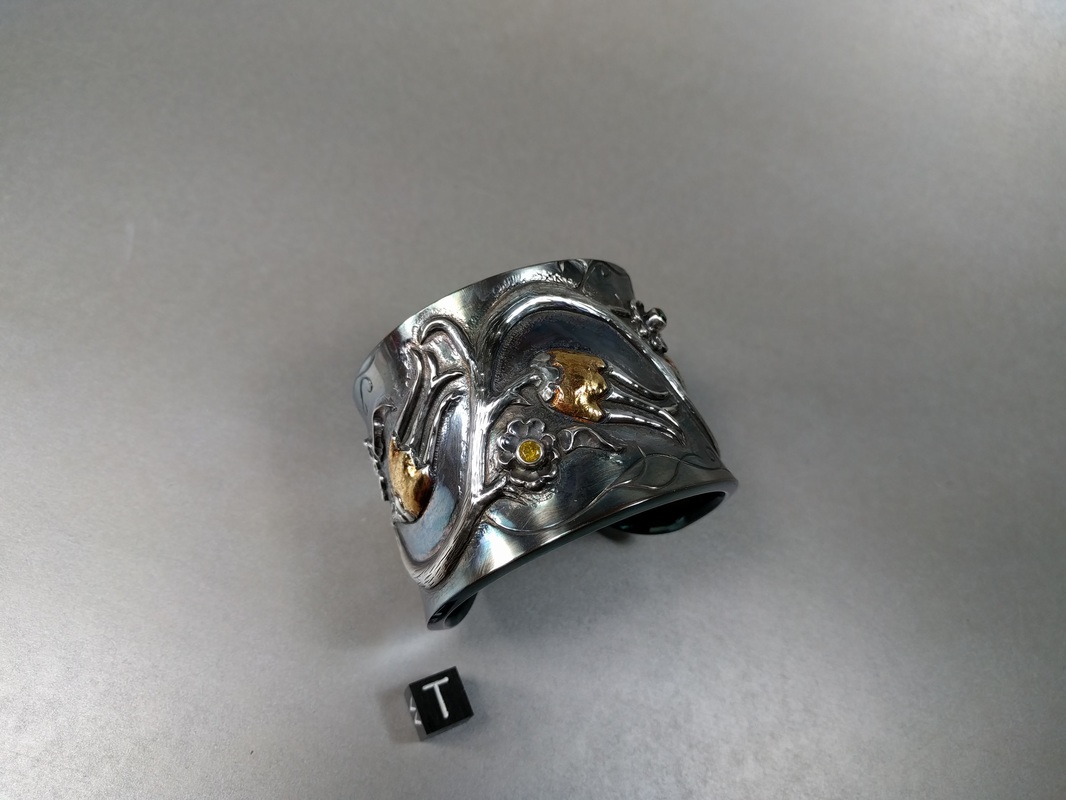
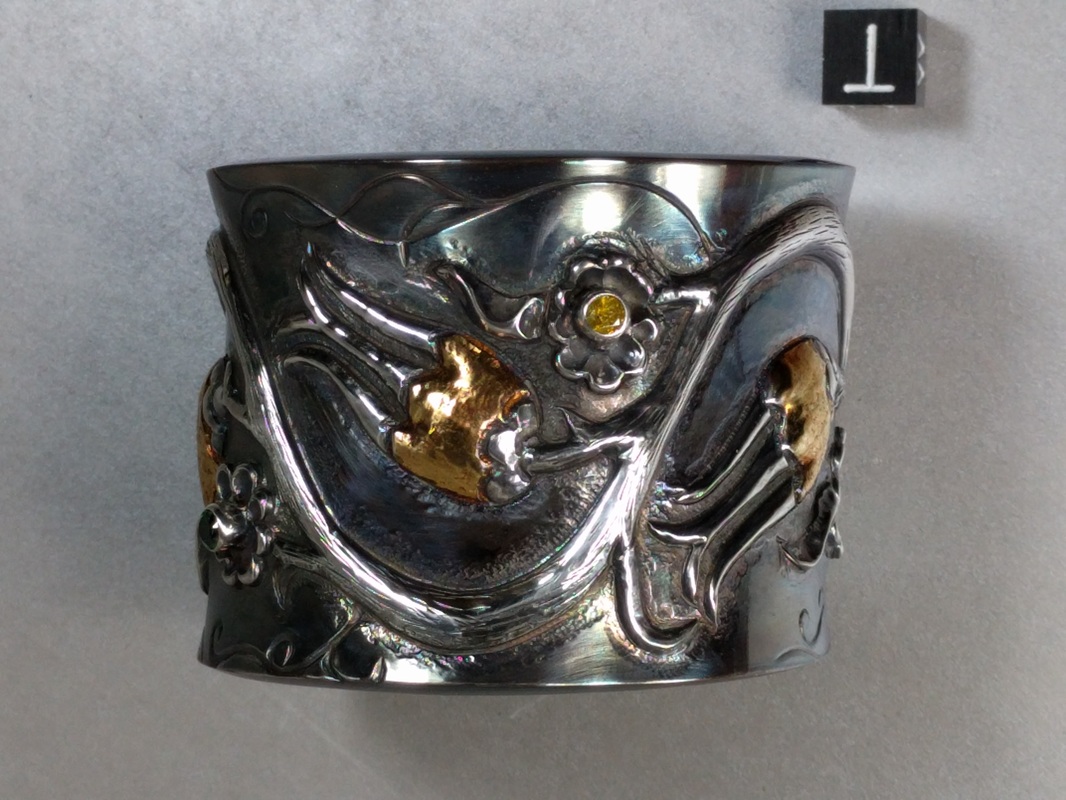
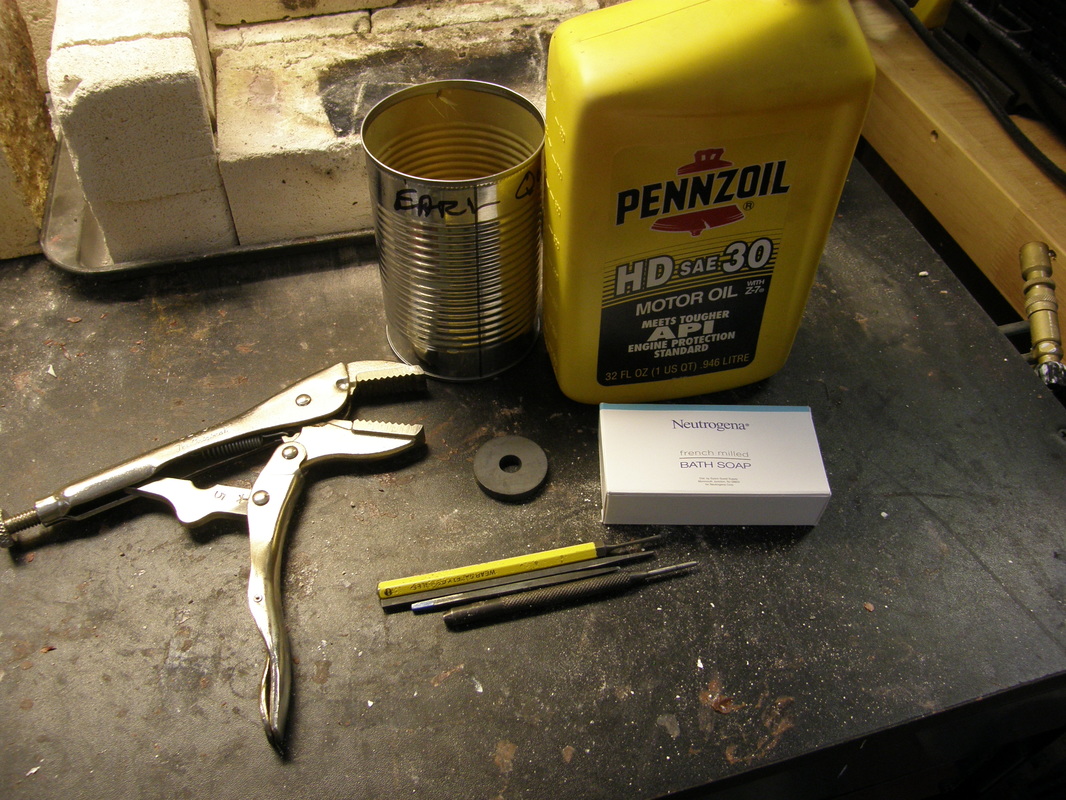
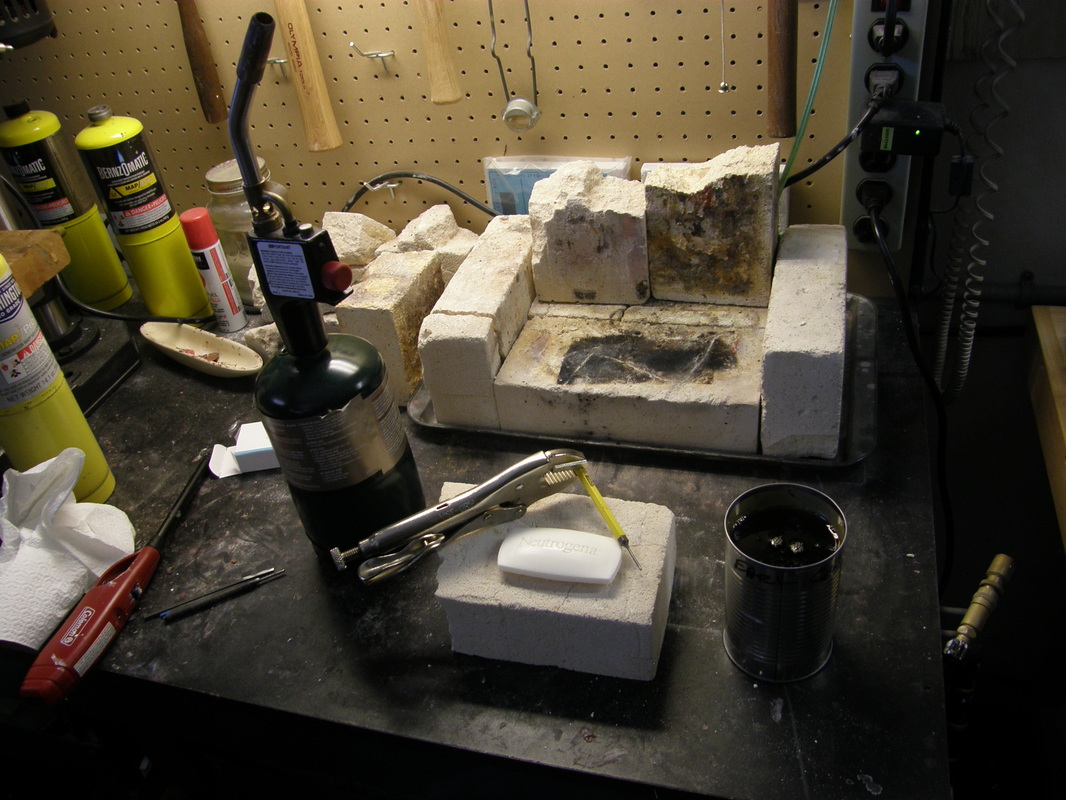
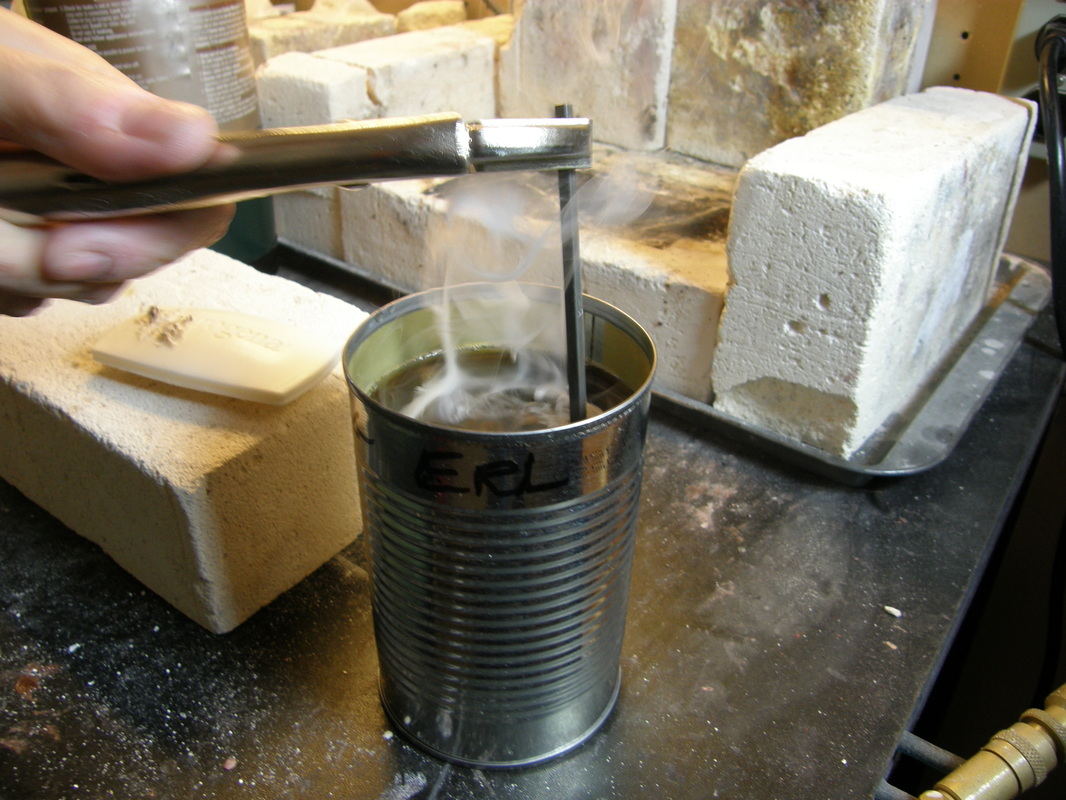
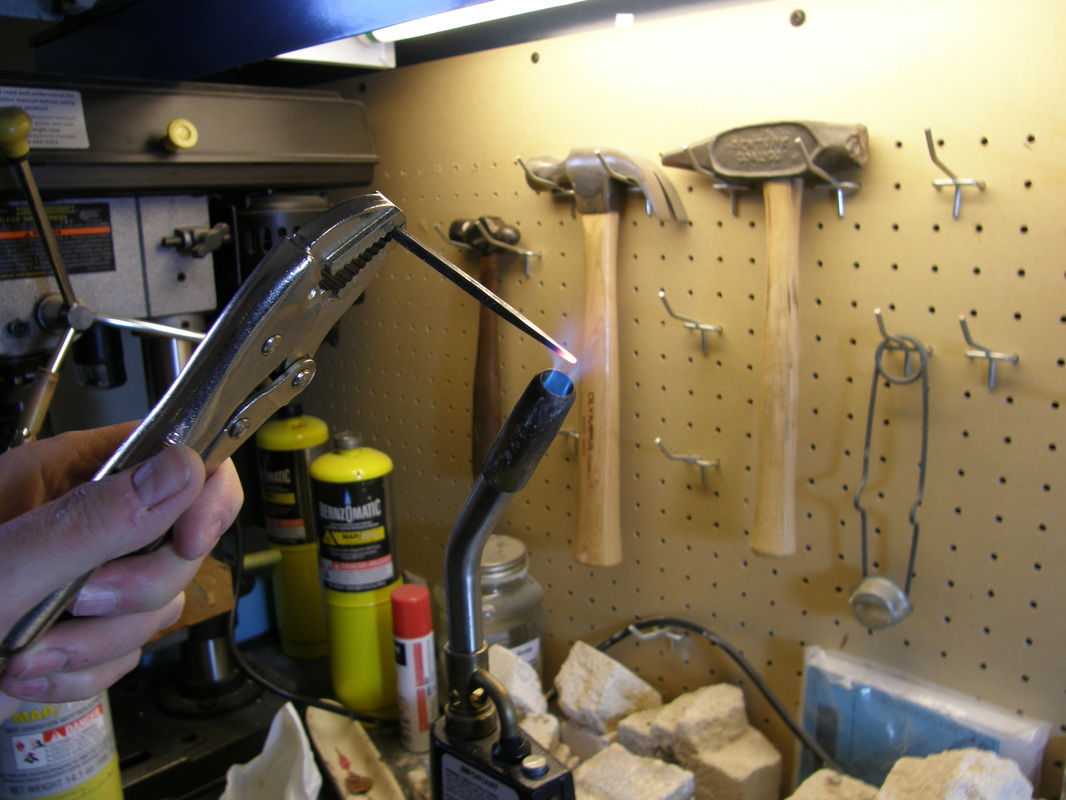
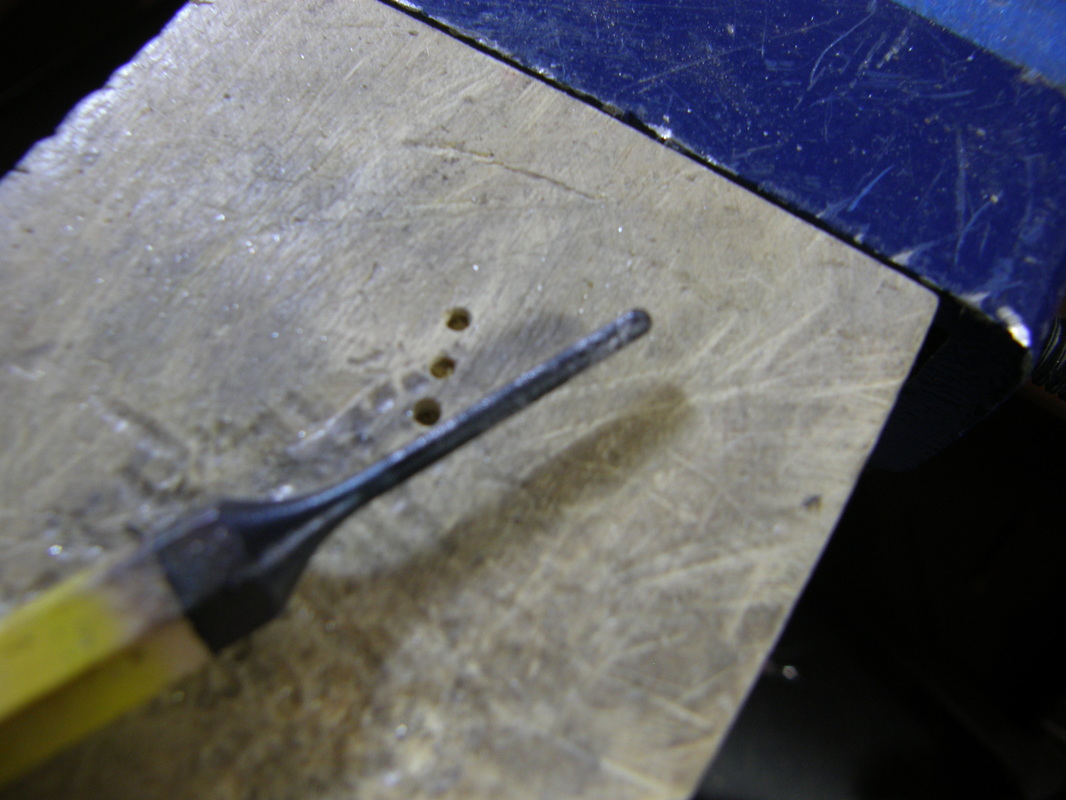
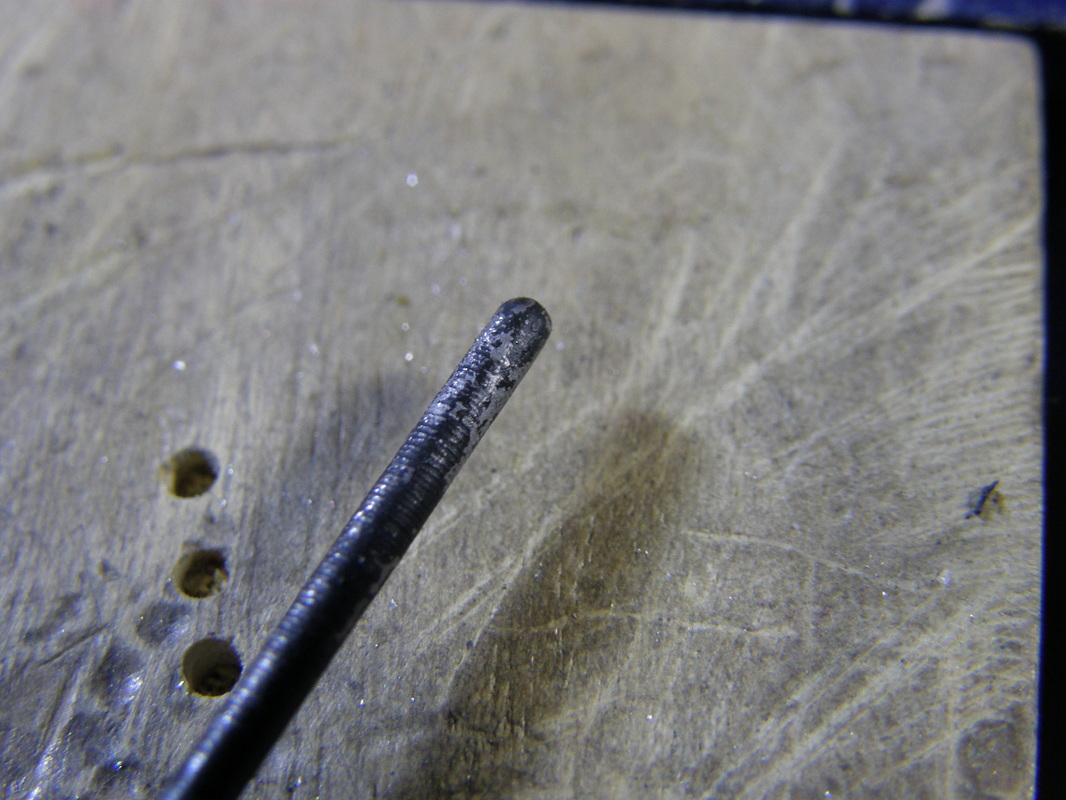
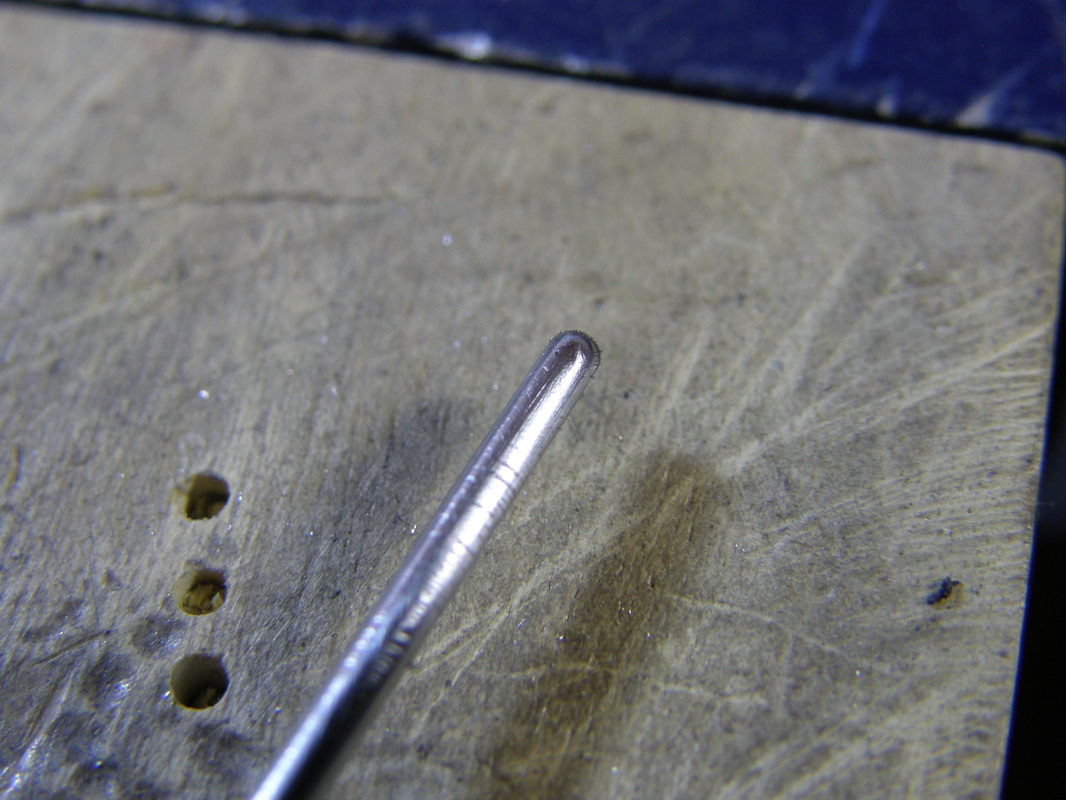
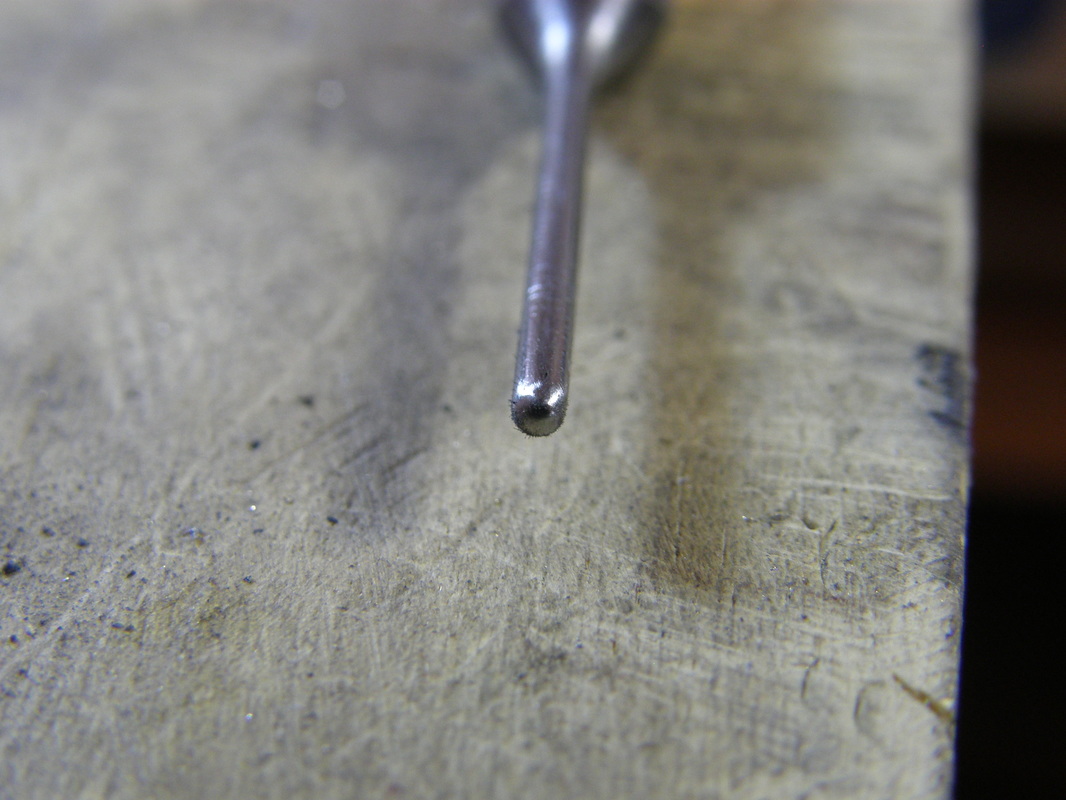
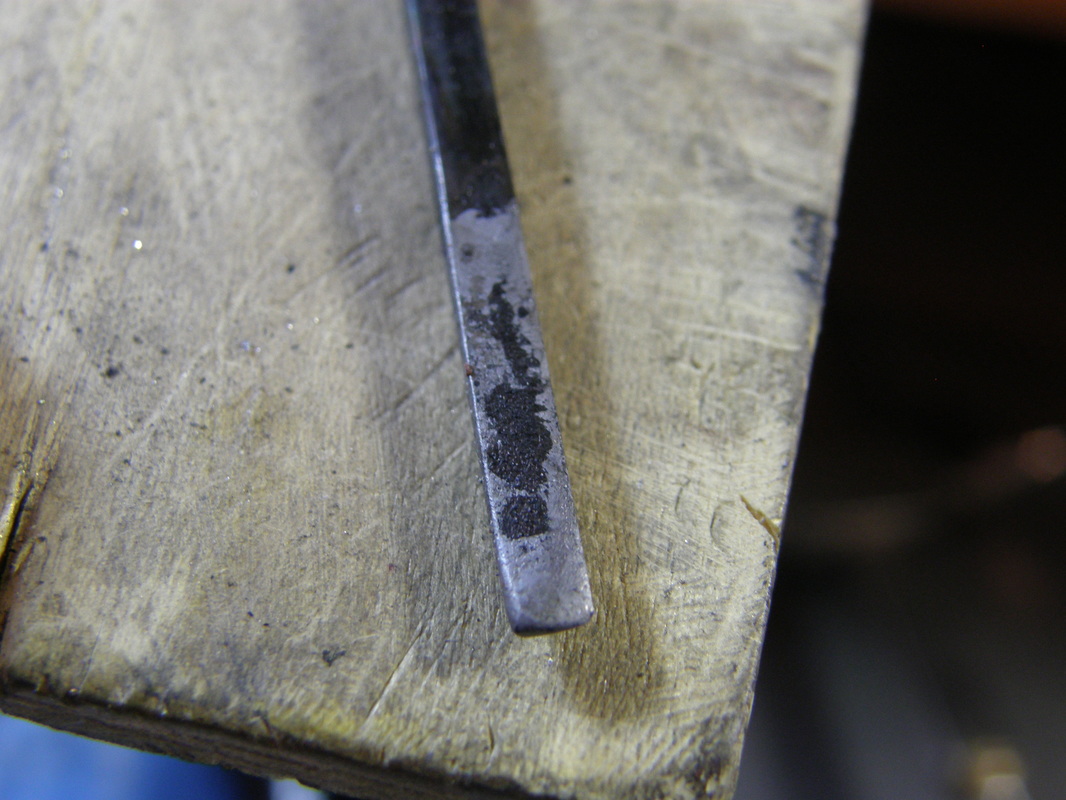
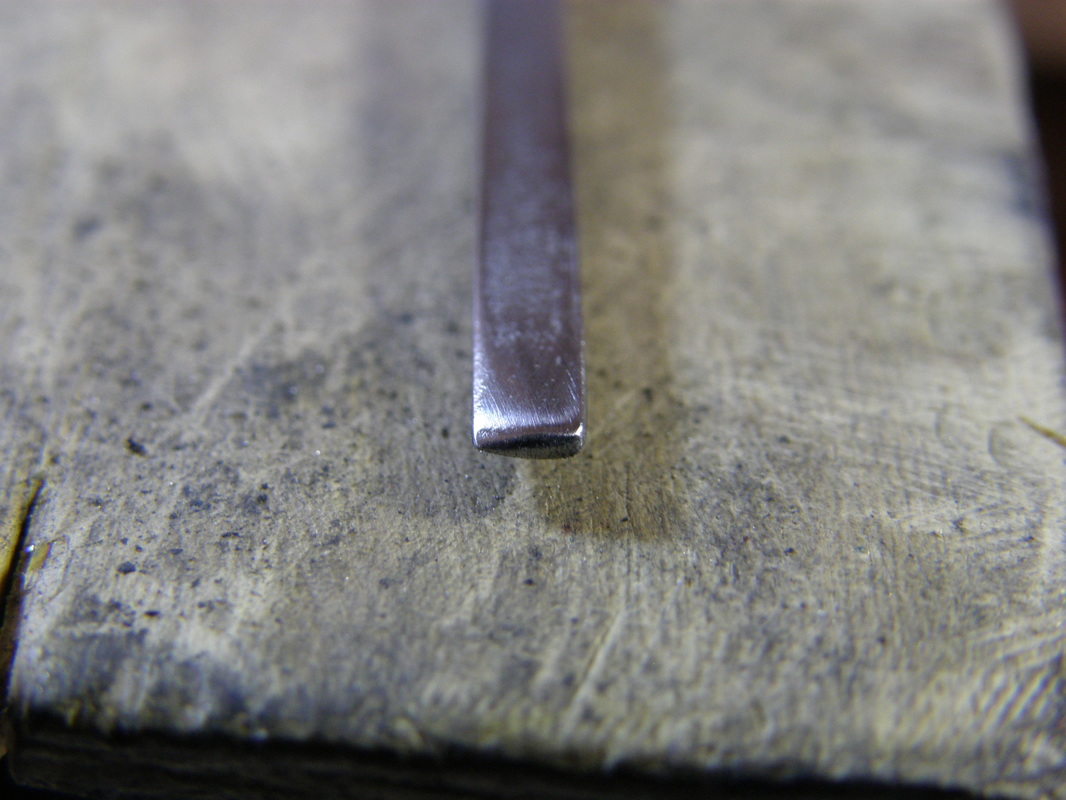
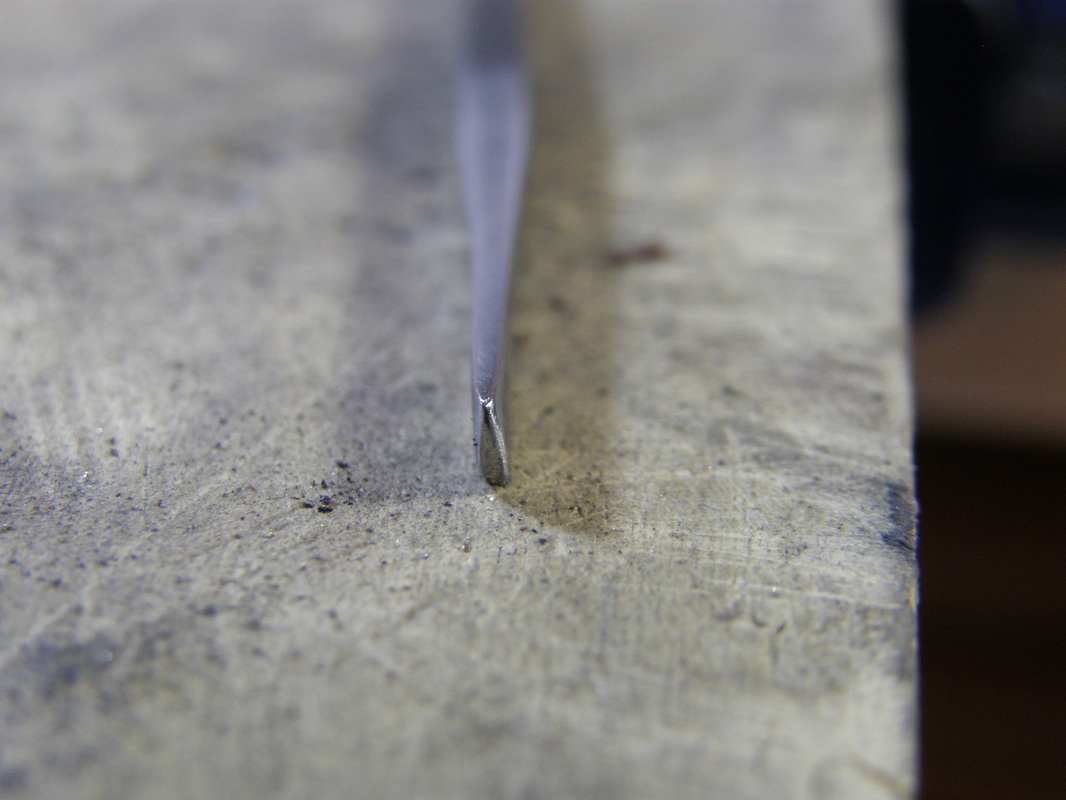
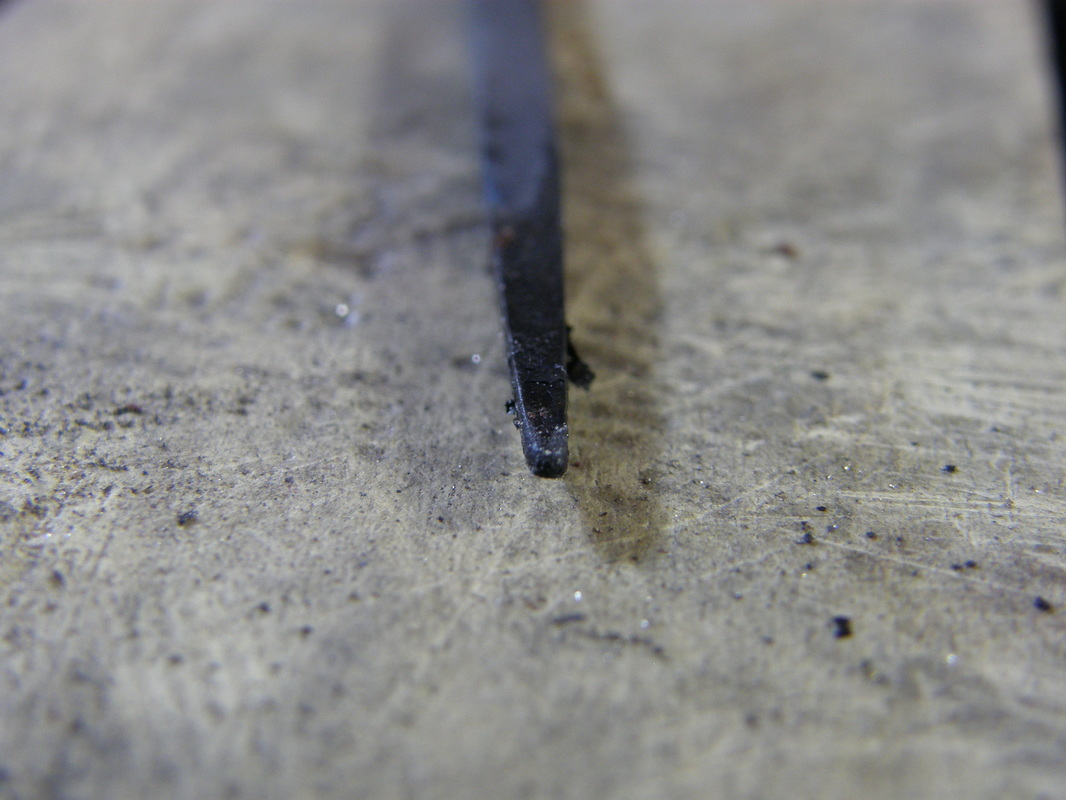
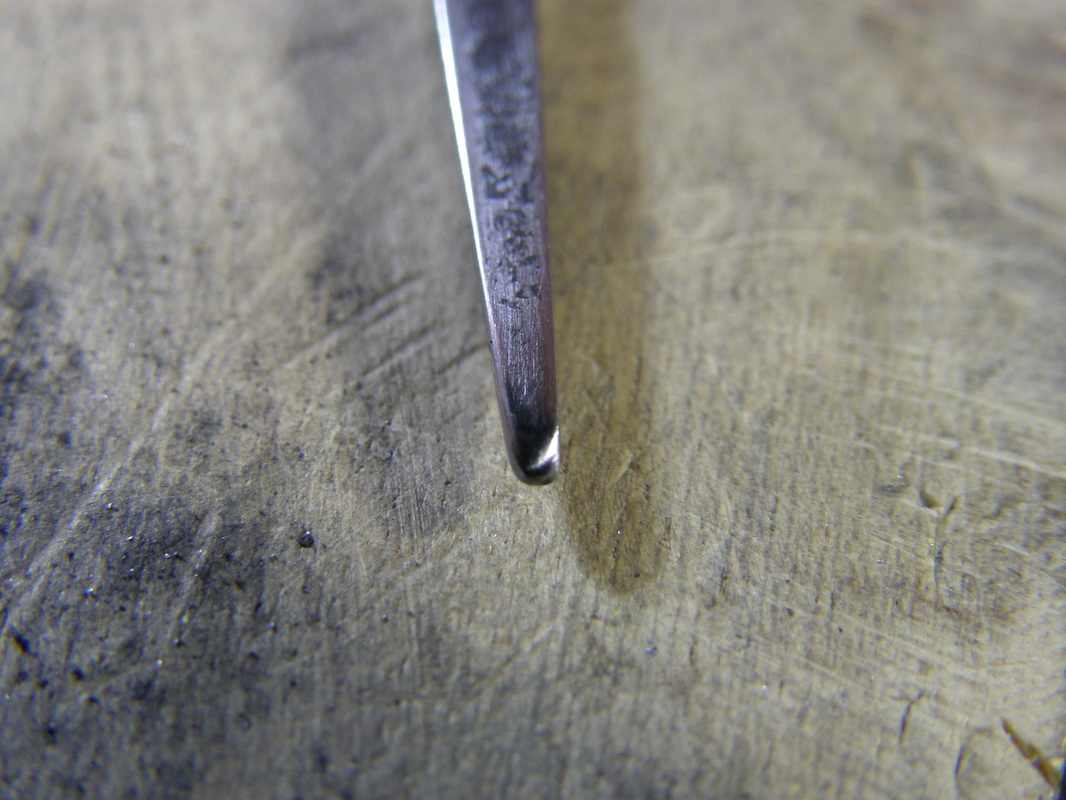
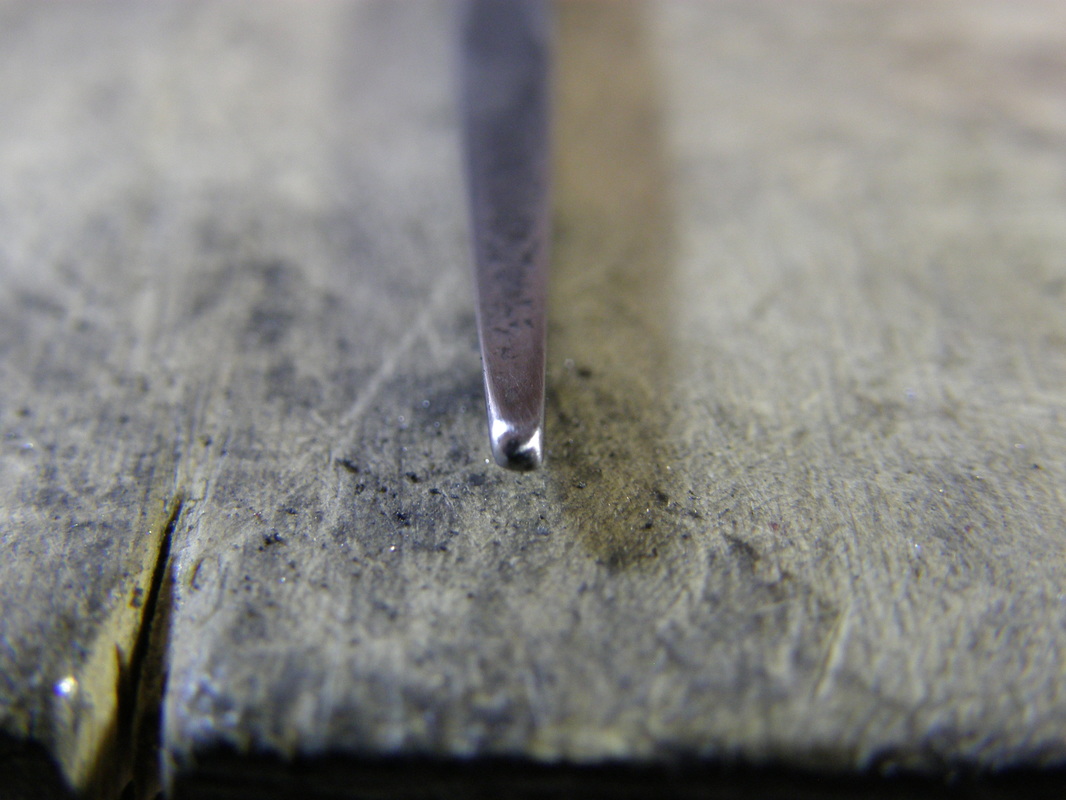
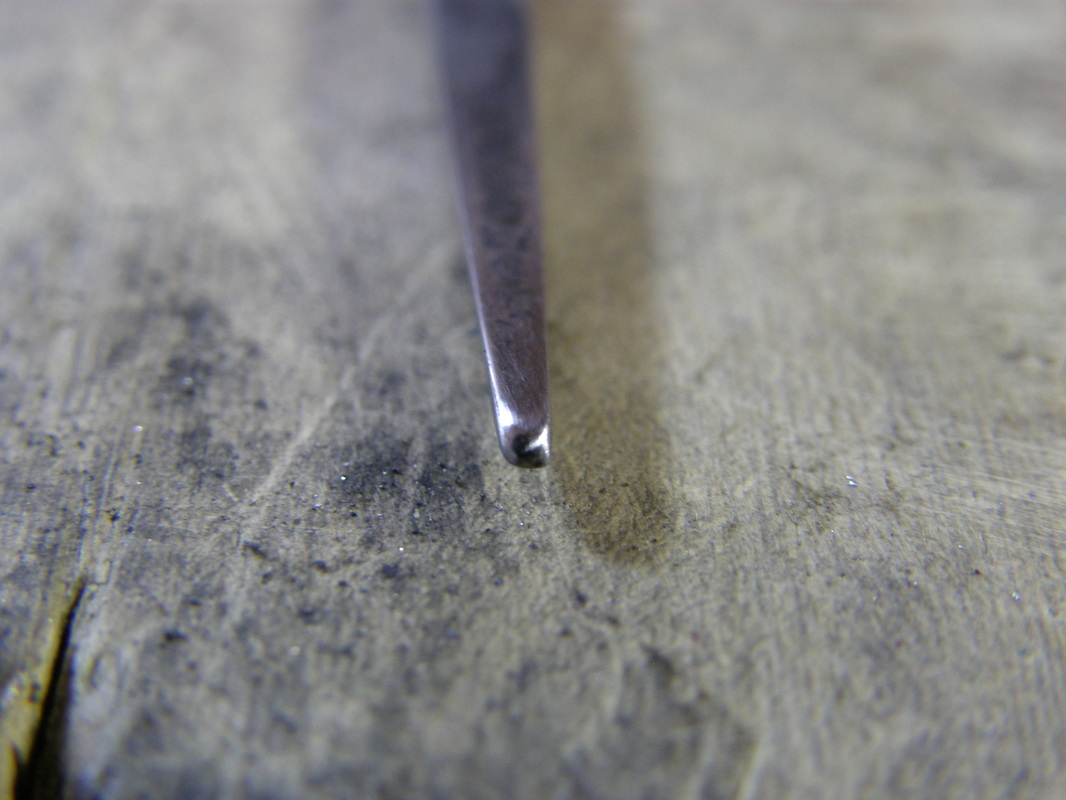
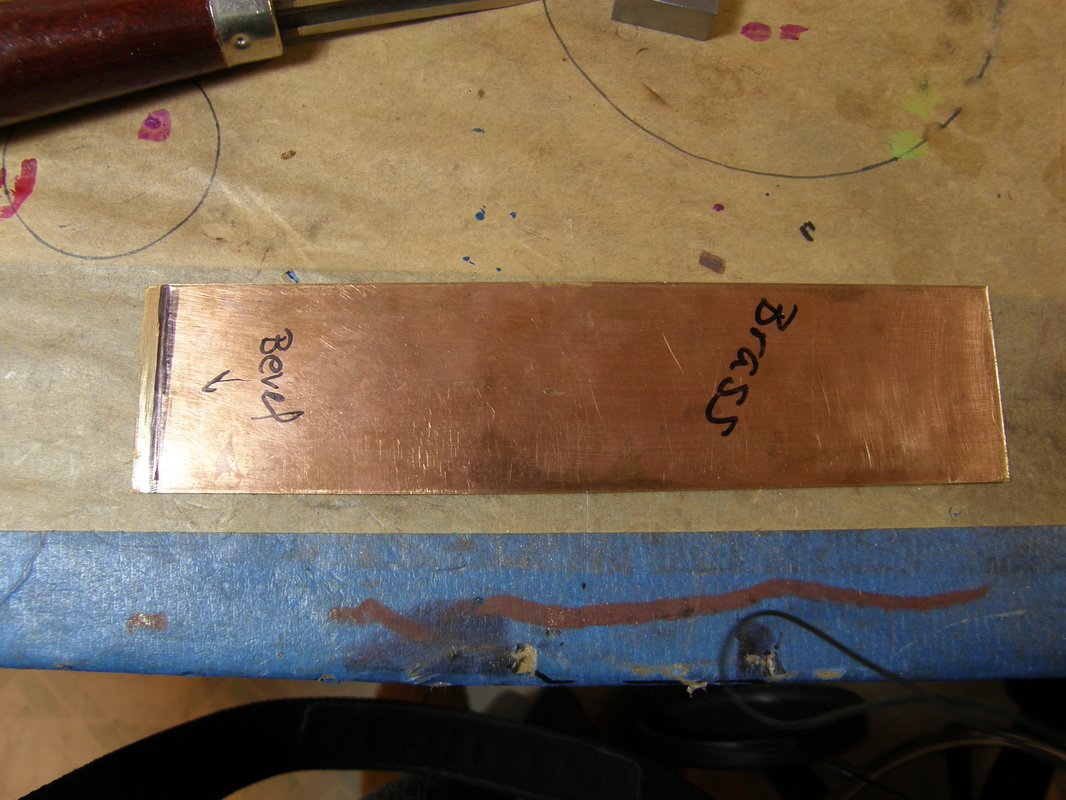
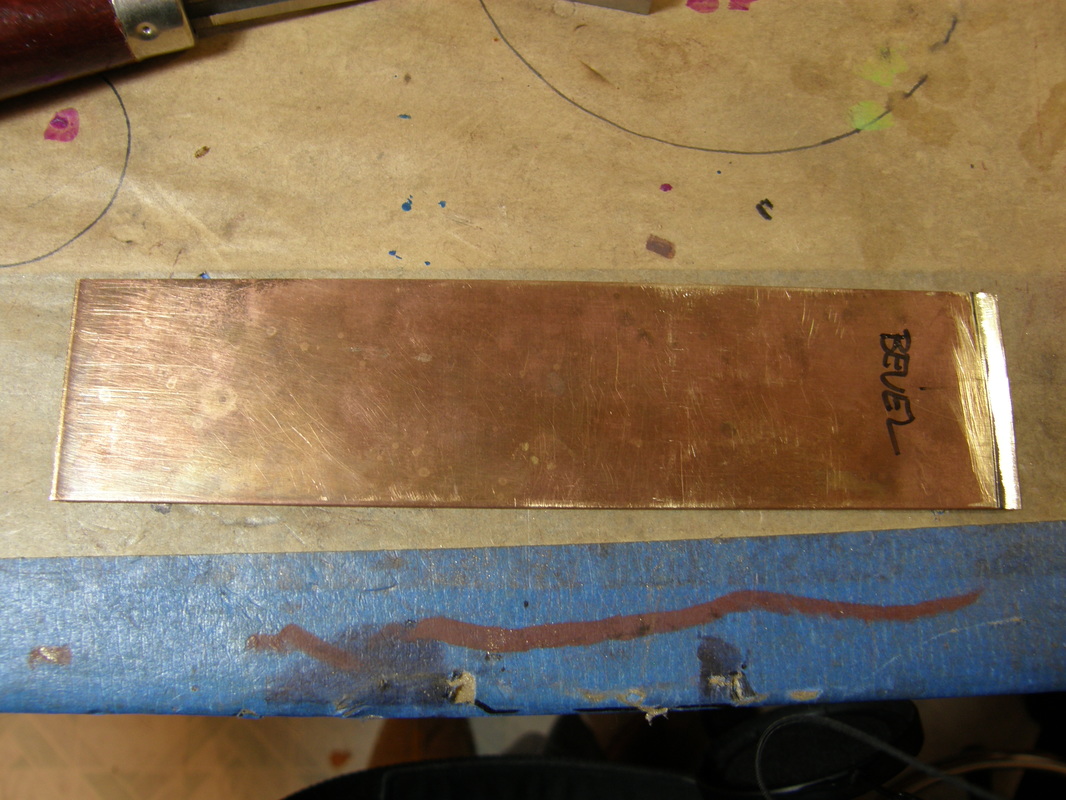
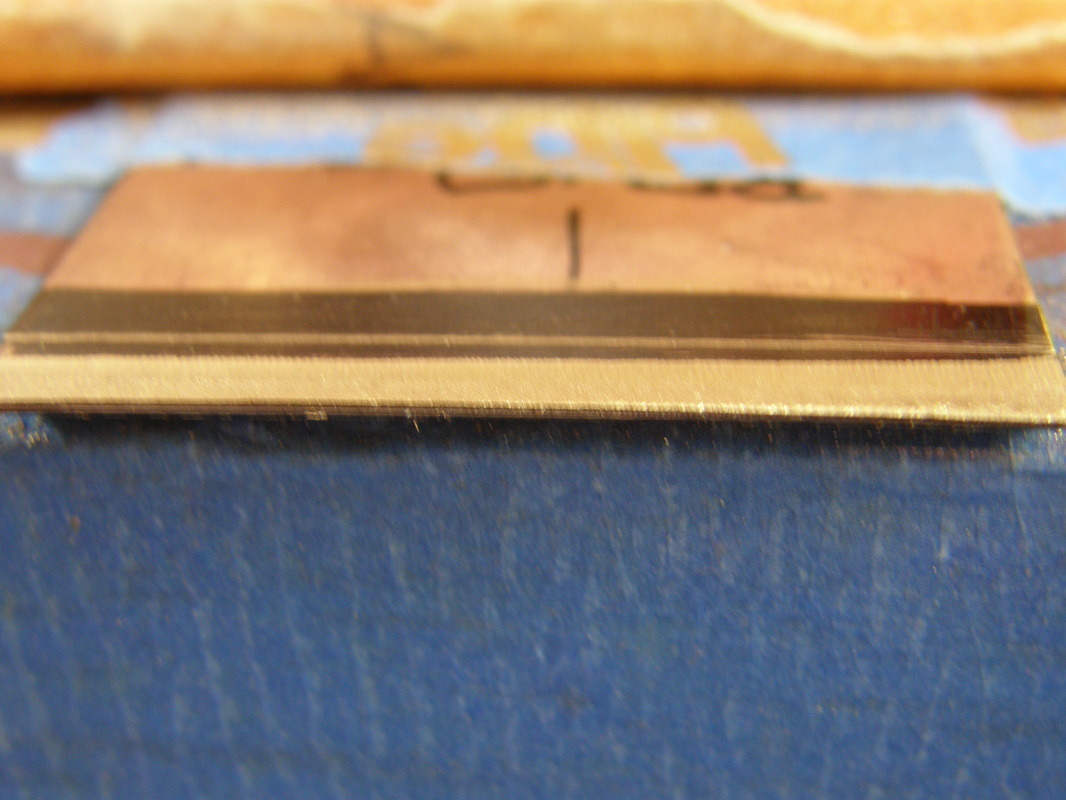
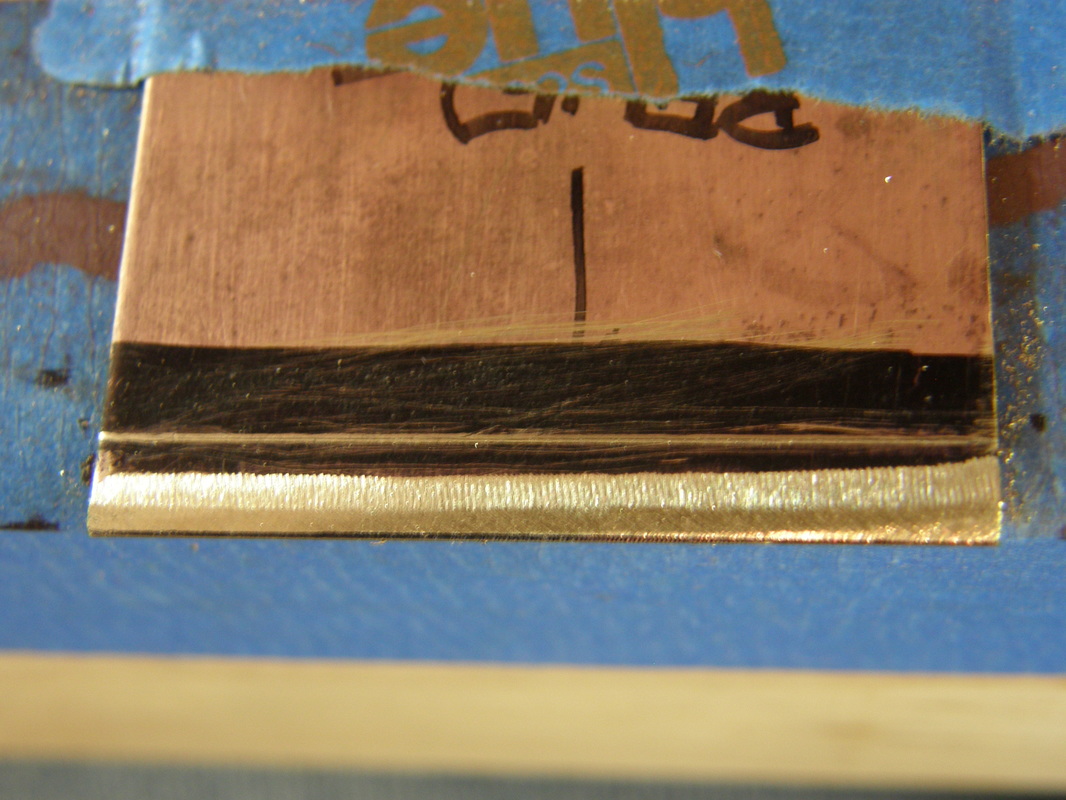
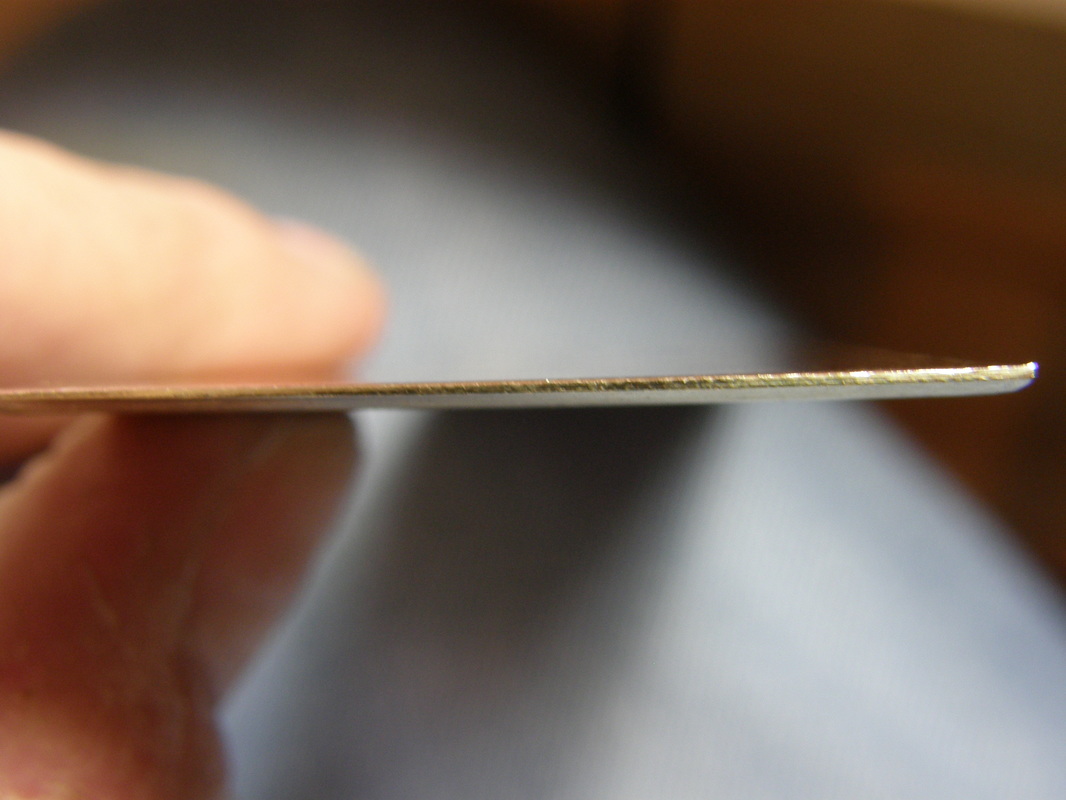
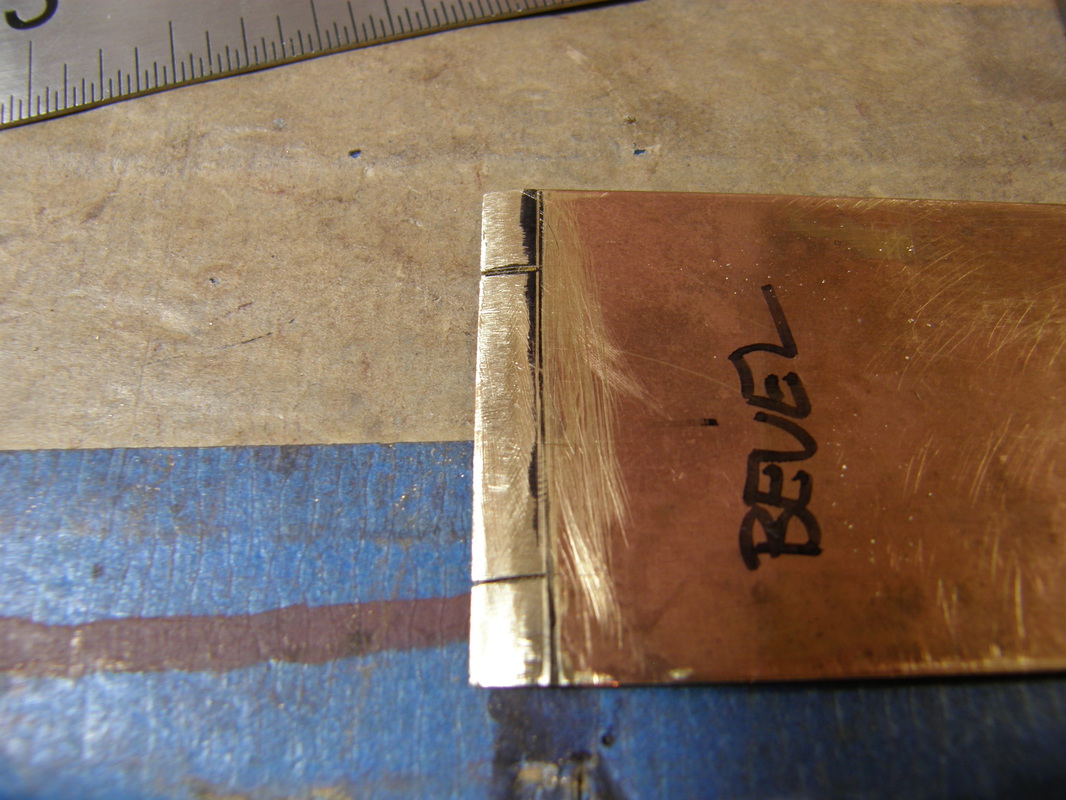
The last thing we worked on and spent most of our time on was FORGING!  We started off with some basic exercises - different shaped hammers moving the metal in different directions; forging round stock (wire) into a square and a rectangle; and then tapers and cross tapers. Once that was done we made some large "jump" rings and forged some bangles. After Jan had the hang of it; I then pulled out some ..wait for it SILVER so she could make a forged bangle using a precious metal. It was her first time working in silver and to see her reaction, watch the small video below and then look at all the pictures I took.
​ 
0 Comments

Red Oxide Patina

9/11/2016

0 Comments

 
Back in 2012, I went up to Adams Forge for a late night fold forming session with hot forging and more. I made a few folded cups and then took on hot forging a 1/4" thick piece of copper.  I never did finish it, I wanted the edges more ruffly, but I was happy with what I did. ​
Picture
And it has been on my workbench ever since. I cleaned it at one point thinking I would put a fumed, Tiffany green patina on it but I never got around to doing that either, so it eventually just tarnished.

After last weekend's tool making workshop, with Jan, where we experimented with the HOT red oxide patina, I decided to do this technique on the forged copper (seen above).  Yesterday, I did a good cleaning and brought it to a bright copper finish (sorry but I did not get a picture of it). Then this morning I explained to the shop elf how it all worked and what I planned - not having a forge, acetylene or a big blast-O-3000 torch, I figured I would use TWO propane plumbers torches and set up a hot box so I could get the copper really, really, red hot. The shop elf also took many of the pictures while I held the torches and flamed on!

We first practiced on two smaller, thinner pieces of copper. Those pictures are next. 
 After the practice piece, I took an enameled metal pan and warmed my water and added a handful of borax and moved it to my soldering station in the garage. I then setup my fire bricks to support and surround the forged piece, I fluxed it really well and lit those torches up.  I estimate it took a good 10 minutes just to get everything hot, then we could see the flux based upon the timestamps on the pictures. Then I just kept pumping in the heat... and then we took the top of the hot box off, I handed the shop elf one of the torches and I picked up the tongs so I could pick up the copper and I dropped it into the water.  It bubbled and steamed and I walked away, allowing the piece to "cool" and to let the oxide develop.  

We went to have a cuppa coffee and wait. 

I pulled it out of the water a while later and could see some amazing effects. The edges were black and the center was a great gold with the red oxide in between. The black, you could see was a crust and there was more oxide underneath; with a soft scrubby and warm water, I was able to remove the crust.  There was red oxide on the out/back side too but it did not hold up as well, to the scrubby but that's ok, as the it is the inside that was important.   

Enjoy the process pictures. The final picture is of it waxed.. and under good lights with the good camera looking down at it and along the edge. ​
Picture
Picture
0 Comments

A Private Workshop

9/6/2016

0 Comments

 
Over the 3-day, Labor Day weekend, I was up in Arroyo Grande, California giving a private tool making workshop to Jan who makes metal sculptures and also does chasing & repousse.. Jan, I met via Facebook but we have never actually met until she attended the In-Saign workshop just a few weeks ago. It was during this workshop that Jan and I discussed a chasing & repousse tool making workshop, as she had never made any tools before; she had just seen demonstrations. It was after she went home, that we settled on having the workshop over Labor Day.

I arrived late Friday night so we could start Saturday morning, making tools.  We went over the basics and started her off making a tool and by lunch time Jan's first tool was completed. She was very excited to have accomplished this.  After lunch,  Jan completed a second tool as well. While Jan was working on her tools, I was working on a few for myself, all the while watching and instructing her. 

We finished up the tool making at around 4pm so we went for a walk with Sophie, Jan's dog and afterwards we played with learning how to get a red-oxide patina on copper which had been a topic we had discussed with Saign our awesome teacher, during the In-Saign workshop. 

On Sunday, day 2, Jan made THREE more tools and I made her a bonus tool too. As the day ended we took Sophie for another walk and just enjoyed the weather.

On Monday, day 3 or 2.5, I gave Jan as soldering lesson with the goal that we would make, together, a tool canister. Jan, being a metal artist knows how to braze and weld but not solder - go figure. We cut the canister bodies from pipe, the bases from sheet and then went for it and by lunch the can's were soldered and now she just has to trim the bases and clean them up. 

Here is a little side/movie of the days adventures.
0 Comments

The In-Saign Workshop

8/23/2016

0 Comments

 
Since the start of the year, I have been organizing a workshop with Saign Charlestein, of SC Studio, at the Palomar Gem & Mineral Club. 
It was a long process. First it was just going to be those of use in the club for 5 days. Then there was interest from some of the people down at the San Diego Mineral & Gem Society so it became TWO - 5 day session with 8 people in each and there was still a small waiting list.   All of this required lots of emails between me and Saign and all the students and at the last minute two people cancelled so I had to contact those on the wait list and re-organize who was in each week so we did not end up with any empty spots. It all worked out in the end and finally last week was the first session and the second session is happening now.

Saign on the first day started all of us off with a lining exercise to gauge our skill level. We did not have any newbies in this class but we did have a wide range of skill level. On the second day he gave us a second project based on how we did and we spent two days working on this. On the fourth and fifth days we started a third project, again based upon how we did on the second project.

Here are pictures from the first session. 
0 Comments

Tool Making for ​Chasing & Repoussé - A 2 Day Workshop

8/1/2016

0 Comments

 
This past weekend I taught a 2-day workshop on making chasing & repoussé tools at the Palomar Gem & Mineral Club in Escondido, California. Again, Diane was my shop elf and there were 6 students.

On Saturday, day one, I had all the students make the same tool from rectangular stock. The tool has a full half circle profile when viewed from the short sized with vertical sides when viewed along the long side. This was a tool that everyone during the worskhop for the Squash Blossom & Vine Cuff.  The students chose this tool and I knew that they could finish this shape easily on the first day which would then give them the skills to make 1 or more the second day.

We discussed tool steel, files, annealing, hardening, tempering, quenching in oil or water, making templates, sanding, polishing and most importantly SHOP SAFETY.

Almost everyone finished their tool by 3pm on the first day and so we then sat down with my vintage tools and each student chose a tool and had to tell us why they chose it.  I wanted to use this exercise as a way to make them think about WHY and WHEN to make a custom tool vs. a general use tool.   Since we had time, I had them anneal the tool stock they would need for this new tool and thus have it ready at the start of day two.  Several students chose smaller tools and even my custom micro tear drop tool I had made for the Squash Blossom cuff; other chose medium and larger sized pushers (for repousse).

Sunday morning arrived early (930 am) and hot and humid and by lunch time most were well on their way to finishing their second tool.  By late afternoon most of their first tools of the day were done and several had started a second if not third tool.   As 5pm approached, all of us were hot, dirty and tired but the students all had a great sense of  accomplishment and empowerment at their new found skills and completed tool.

As usual, here are lots of pictures of the students and work. 
0 Comments

Memorial Day Weekend Project

5/30/2016

 
I like having a 3 day weekend because I can work on a project and IF I planned correctly, I can finish it; and I have done just that.

What was this weekends project? A leather notebook cover with a chasing & repousse panel. I have wanted to do a panel on a book for quite a while but this project has been pushed down the to-do list many times due to prep-work for workshops or commissions or LIFE in general.

Not this weekend; nor did I take on doing a large panel such that I would not be able to finish it and then add to that the time commitment - I took 2 of my cuff's to the setup of the San Diego Fair and I used several hours up on Saturday.

The panel was to be a Ginkgo leaf which also just happened to be the subject of the challenge in the Facebook Chasing & Repousse group. See what I am doing - I am taking care of two goals at once! And even though I am the admin for the group and I organize the challenges, many times I actually don't do them, again for lack of time.

Let's start the project shall we? 
 Step 1 - Make the panel.
 Step 2 - Make the notebook cover.
 Step 3 - Attach the panel to the cover and add a blank book.

The design was to be worked on brass which I thought would be a nice color to go along with the leather notebook cover I was also going to make. YES, not only was a doing the panel and attaching it to a notebook cover, I was making the cover too. Can you say over achiever? 

I put the brass into the pitch on Saturday afternoon and then drew the design on to the metal and even lined it. While the pitch cooled, I drew up the pattern for the notebook cover, played with the dye colors on some scrap leather, and figured out I was going to bind the book into the cover so I could reuse the cover as well as adding a closure.  After I lined the leaf, I turned the metal over so it would be ready for the repousse on Sunday.

Sunday, I was able to do all the repousse and flip it again so I could do the final chasing on Monday (today). I also cut out my leather for the book cover and dyed the outside green and the inside yellow and along the way trimmed the corners so they would be round. The dye would be dry by Monday morning and then I could seal it to give it some water resistance. 

This morning (Monday) I finished up the chasing and removed it from the pitch. I then trimmed the panel and polished it. While it was in the ultrasonic cleaner to remove the polishing compounds,  I punched the holes on the spine of the leather so I could thread the chording. I also punched the holes for the closure.  Once the panel was out of the cleaner, I figured out where the rivets would go, I drilled the holes in the panel; marked the holes on the leather and then punched the holes for the rivets. After attaching the panel, I then used my makers mark to stamp the back of book cover. It was time to add my little notebook and take pictures which puts us now here at posting the pictures and writing this blog post.

Enjoy the pictures and soon I will have a few book covers for sale in my store, I will let you know when.

Squash Blossom & Vine Cuff (Mine)

4/6/2016

1 Comment

 
Now that the workshop is done,  I was able to finish MINE.  I was behind on making mine because I was so sick in February.  
For my cuff, I added the gold to the blossom bodies and put tube set CZ's in the center of all 4 of the small flowers. I originally only set two and after I bent and formed the cuff I realized that it really need to have 4 set stones. 

​As usual, lots of process pictures for you to look at. 
1 Comment

Time to Make Some Tools

2/28/2016

 
I have to admit it - I have a lot of chasing and repousse tools, over 300 of them. But trust me, I know a few people who have more than double that.   Yet, I did not make the majority of them.  Yes, we know I am a hammer whore and I love tools in general but with the day job I found it easier to buy or to get tools made for me. 

Back in 2010 I took a tool making class at Metals Week in Idyllwild, California. This was a week long class where I made straight and curved liners, a large mushroom pusher, a few small pushers and I also learned to customize a hammer. I have also learned tool making from Nancy Megan Corwin; so I do know how to make them. I just don't do it very often.

Then there are those time where you want to make a tool for that special project.  

​A week  ago I finished the teaching sample for the squash blossom cuff. And I had the tools to do it. But I was making it, I thought that making a tool that would make the making of the points of the blossoms easier would be nice - a tear drop.  I also could use a small-er round tool for counter sinking the petals of the round flowers.   So what the heck, lets make them and not only would making my cuff be easier, the students in my workshop, next weekend, could use them too. 

Friday night I went into my tool blank drawer and found two small punches, a pre-shaped tool blank and a tagane blank (a Japanese chasing tool blank) all just begging to be worked on. 

The two punches were 1/32" and 3/32" in diameter so they would be the micro-rounds I would make. The pre-shaped tool blank would be the micro tear drop and for the tanage blank, a nano half round. 

Yesterday, I did the annealing and shaping. After that I took a nap because I am still sick and not sleeping well.  Today I hardened them, removed the scale, polished and the tempered them.  They are now ready for use.

Enjoy the pictures and remember, clicking on one will open it in a new, larger window and from there, you can scroll through them all.  And a thank you goes to the shop elf who took the pictures while I was hardening the tools.

It Seamed Easier Than I Remembered!

12/13/2015

0 Comments

 
Back in October when I went to the Nechamkin Silver Studio to start work on the tea pot, that session was to learn about seaming. Seaming a tube to then raise further is much faster than raising. I came home with assignment to seam some tubes not only for the practice of making and soldering the seams but to end up with some that I can then practice the clean up (of the solder) and the planishing. 

Now, once does not start off making a 6" tall tube unless you have your teacher/instructor/mentor there with you; which is why I was able to the the tube for the actual tea pot; Liza was there and she assisted with the difficult bit.  In other words, you work your way up to something that big. 

To get me started I went with 1 1/2" wide brass that was just under 6" long. This is close to what you would use to make a napkin ring. In this post I did make some napkin rings but I used brass tubing. So why solder a seam using brass if I can get and use tubing? Well dear readers, brass is close to sterling silver in how it works and you can't get sterling silver tubing - you might be able to but it is going to be very expensive. Thus I am practicing with brass and bronze before I move to sterling silver. 

There are several ways to make tubing. You can do a butt joint like you might do with a bezel set stone.  The second type of seam is a beveled seam which gives you more surface area to join and is stronger and better suited when there will be raising.  The third and best type is a keyed, tabbed or interlocked finger joint. This is where cuts are made in the beveled areas and the joined ends are interlocked.  If you have a copy of the Complete Metalsmith, refer to page 60 or look in the index for "seaming". 

Over the past few weekends I have been beveling the edges; they need to be the same width, taper and flat. Yesterday I finished that I cut the tabs and prepared myself for rolling the tube and interlocking the tabs. The tabs must be cut to the same size and the same distance from one edge or they won't match up. I almost got it to fit but I had to anneal again which I did and I let it sit overnight. This morning I finished the rolling of the tube and mating up the tabs and voila - I was able to fit the ends and it held together with only tiny pass of the file. I then put on some binding wire to hold it all while I did the soldering.   I prepped my napkin ring (tube) by fluxing it and getting out my hard solder. I positioned the fire bricks around the tube to hold the heat in and then brought it up to temperature it with my big torch. I carefully first soldered each edge/end of the tube and then focusing the head on the seam, applied more solder and used the heat to pull it down and up the seam; outside and then inside.  It was one of the best soldering jobs I have done and won't have much clean up to do.   

I have now setup my bench for another wider tube - this once in bronze. Overall I will make 4 tubes and the worst one I will attempt to clean and planish by myself (and probably do wrong) before I return to Nechamkin Silver studio next summer when I learn to do it the correct way. 
​

Here are my process pictures
0 Comments

Low-Relief Chasing & Repousse

10/10/2015

0 Comments

 
Picture
As part of my visit to Nechamkin Silver Studio, two weeks ago, I spent 3 days working on low-relief chasing and repousse. 
This is a style that Liza is very proficient at and which I want to do on my teapot. I started to learn this style last year when I was at the studio and this session was to move my skills along. 

I like low-relief chasing & repousse yet I found it frustrating; I felt like a beginner - AGAIN. I knew what to do but the habits of "regular" and "high" kept wanting to take over and as a result, a couple of times I had to go back and push areas down or out as I had move them too far.

I will not finish the piece you see in the mini-movie below. I am going to start it again so when I do finish it I have my original and a completed piece which, I hope, will look much much better. 

​As usual, watch and enjoy!

0 Comments
<<Previous

    RSS Feed

    How to Aquire Your Own Shop Elf

    Archives

    April 2025
    March 2025
    February 2025
    January 2025
    December 2024
    November 2024
    October 2024
    September 2024
    August 2024
    July 2024
    June 2024
    January 2024
    November 2023
    October 2023
    September 2023
    October 2020
    August 2020
    March 2020
    December 2019
    November 2019
    October 2019
    September 2019
    August 2019
    July 2019
    June 2019
    May 2019
    March 2019
    February 2019
    January 2019
    December 2018
    November 2018
    October 2018
    September 2018
    August 2018
    July 2018
    May 2018
    April 2018
    February 2018
    January 2018
    November 2017
    October 2017
    September 2017
    July 2017
    June 2017
    May 2017
    April 2017
    March 2017
    February 2017
    January 2017
    December 2016
    November 2016
    October 2016
    September 2016
    August 2016
    July 2016
    June 2016
    May 2016
    April 2016
    March 2016
    February 2016
    January 2016
    December 2015
    November 2015
    October 2015
    September 2015
    August 2015
    July 2015
    June 2015
    May 2015
    April 2015
    March 2015
    February 2015
    January 2015
    December 2014
    November 2014
    October 2014
    September 2014
    August 2014
    July 2014
    June 2014
    May 2014
    April 2014
    March 2014
    February 2014
    January 2014
    December 2013
    November 2013
    October 2013
    September 2013
    August 2013
    July 2013
    June 2013
    May 2013
    April 2013
    March 2013
    February 2013
    January 2013
    December 2012
    November 2012
    October 2012
    September 2012
    August 2012
    July 2012
    June 2012
    May 2012
    April 2012
    March 2012
    February 2012
    January 2012
    November 2011
    August 2011
    July 2011
    June 2011
    May 2011
    April 2011
    March 2011
    February 2011
    January 2011
    December 2010
    November 2010

    Jan - Nov 2010 History
    File Size: 2272 kb
    File Type: pdf
    Download File

    Jan - Dec 2009 History
    File Size: 2332 kb
    File Type: pdf
    Download File

    Categories

    All
    42
    Art
    A Year Of Repousse
    BFA
    Blacksmithing
    Blogoversary
    Box Project
    Business
    Chasing & Repousse
    Commission
    Education
    Embroidery
    Enamel
    Entries
    Entry
    Exhibition
    Facebook
    Filing
    Fold Forming
    Gold
    Holloware
    Hot Forging
    Hydraulic Press
    Jewelry
    Keum-boo
    Knitting
    Learning
    Leather
    Market
    Metal
    Patina
    Photography
    Polishing
    Publications
    Quilt
    Raising
    Sanding
    Santa Fe Symposium
    Shop Elf
    Sinking
    Social Media
    Soldering
    Store
    Studio Visits
    Superbowl Challenge
    Teaching
    Teapot Project
    Technique
    Temari
    Tin
    Tools
    Vessels
    Visiting Workshops
    Weaving
    Website
    Workshop
    Yubinuki

Powered by Create your own unique website with customizable templates.