Now, once does not start off making a 6" tall tube unless you have your teacher/instructor/mentor there with you; which is why I was able to the the tube for the actual tea pot; Liza was there and she assisted with the difficult bit. In other words, you work your way up to something that big.
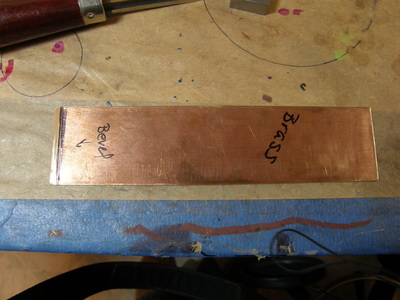
To get me started I went with 1 1/2" wide brass that was just under 6" long. This is close to what you would use to make a napkin ring. In this post I did make some napkin rings but I used brass tubing. So why solder a seam using brass if I can get and use tubing? Well dear readers, brass is close to sterling silver in how it works and you can't get sterling silver tubing - you might be able to but it is going to be very expensive. Thus I am practicing with brass and bronze before I move to sterling silver.
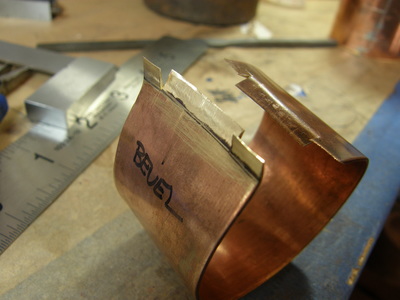
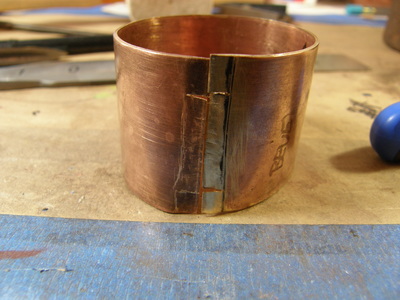
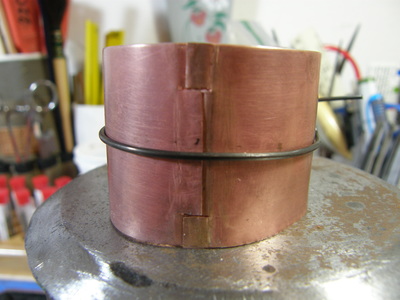
There are several ways to make tubing. You can do a butt joint like you might do with a bezel set stone. The second type of seam is a beveled seam which gives you more surface area to join and is stronger and better suited when there will be raising. The third and best type is a keyed, tabbed or interlocked finger joint. This is where cuts are made in the beveled areas and the joined ends are interlocked. If you have a copy of the Complete Metalsmith, refer to page 60 or look in the index for "seaming".
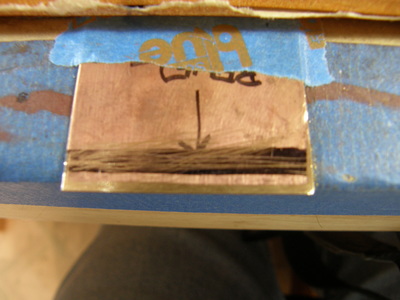
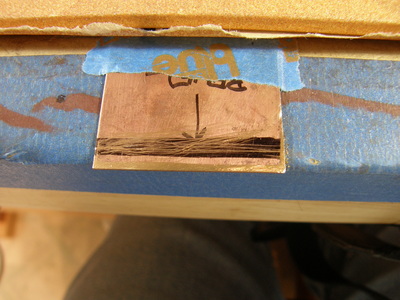
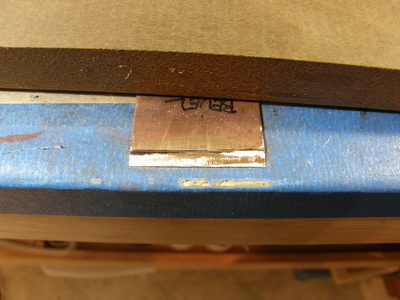
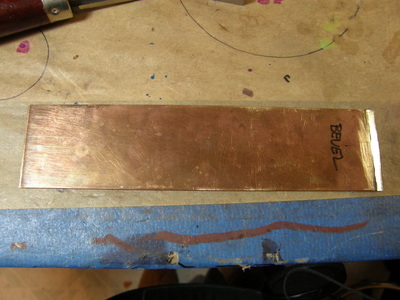
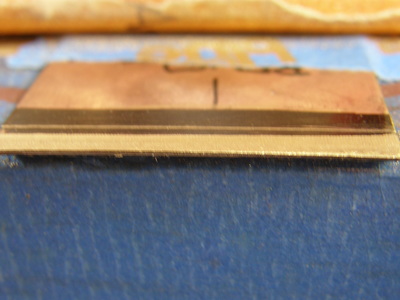
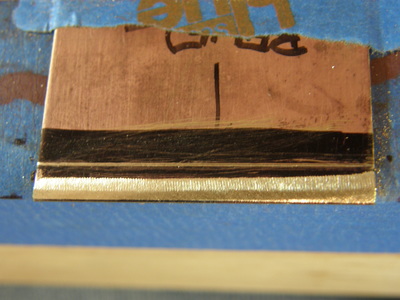
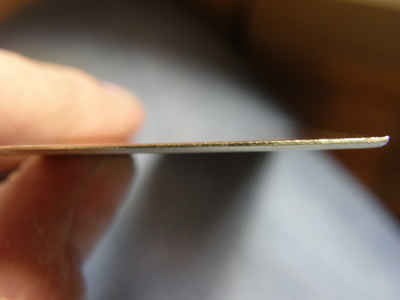
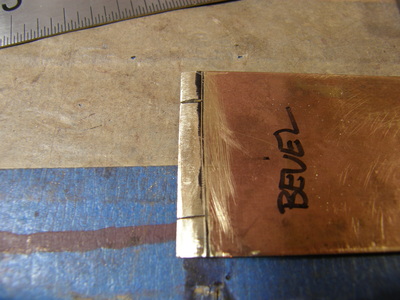
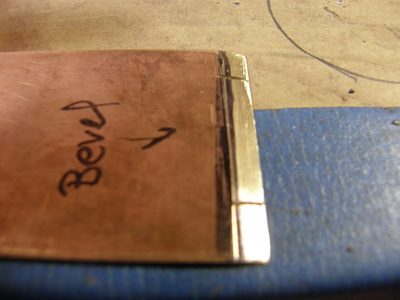
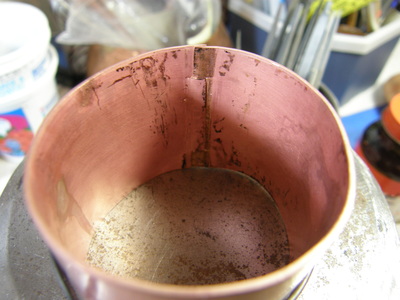
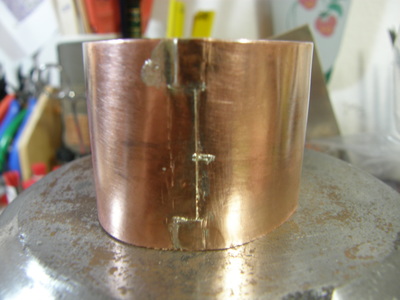
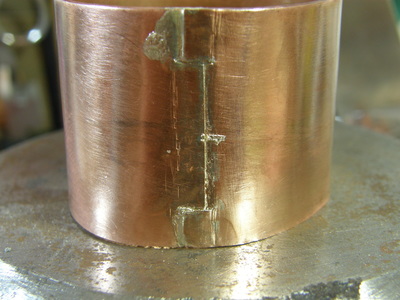
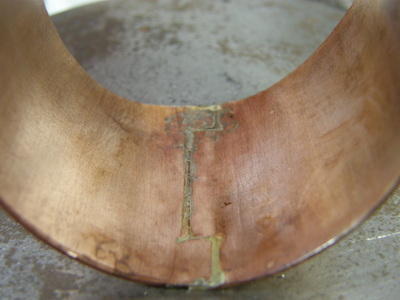
Over the past few weekends I have been beveling the edges; they need to be the same width, taper and flat. Yesterday I finished that I cut the tabs and prepared myself for rolling the tube and interlocking the tabs. The tabs must be cut to the same size and the same distance from one edge or they won't match up. I almost got it to fit but I had to anneal again which I did and I let it sit overnight. This morning I finished the rolling of the tube and mating up the tabs and voila - I was able to fit the ends and it held together with only tiny pass of the file. I then put on some binding wire to hold it all while I did the soldering. I prepped my napkin ring (tube) by fluxing it and getting out my hard solder. I positioned the fire bricks around the tube to hold the heat in and then brought it up to temperature it with my big torch. I carefully first soldered each edge/end of the tube and then focusing the head on the seam, applied more solder and used the heat to pull it down and up the seam; outside and then inside. It was one of the best soldering jobs I have done and won't have much clean up to do.
I have now setup my bench for another wider tube - this once in bronze. Overall I will make 4 tubes and the worst one I will attempt to clean and planish by myself (and probably do wrong) before I return to Nechamkin Silver studio next summer when I learn to do it the correct way.
Here are my process pictures

 RSS Feed
