
There are two parts to this installment of the box project
Part A was 2 weeks ago and B was finished today.
PART A
This box is a triangular box with corners; I figured doing 3 corners was easier than 4 which is why this box is triangular.
Before starting this phase, I pulled out my silversmithing books, again and read up on this subject. Some of the books say to file a bevel on each edge of the corners where the angle depends on how many corers you will have; 45 degrees for 4 corners (45 times 2 equaling 90 degrees) and 30 degrees for 3 corners as the total of all the angles is 180 degrees, yes geometry comes into play here. Then using binding wire and supports, you solder all the corners together. Other books say to scribe the angle into the metal such that the metal is still all connected, for n-1 corners and then you only have to bevel the 2 outside edges. The scribes/grooves are then bent to close up the box and it is easier to solder them all closed. I asked my mentor what is best and she said to scribe but to do that, I had to make a tool to do the scribing cause no one makes them for you to purchase; welcome to silversmithing!!
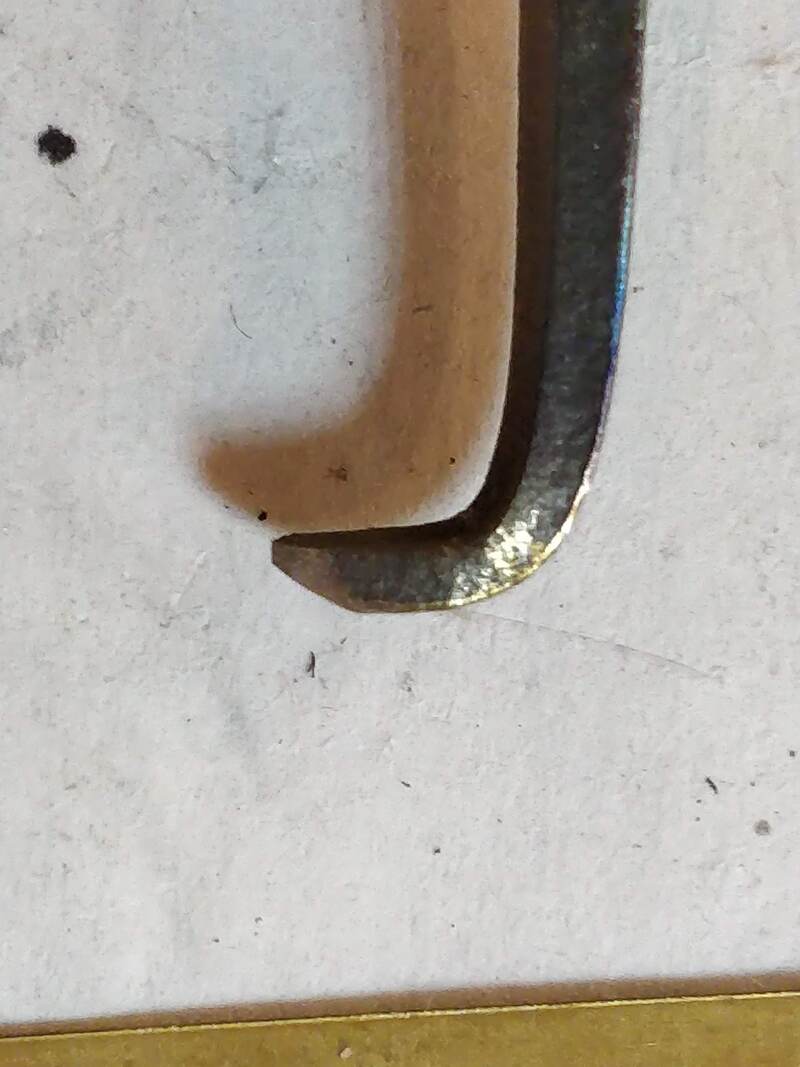
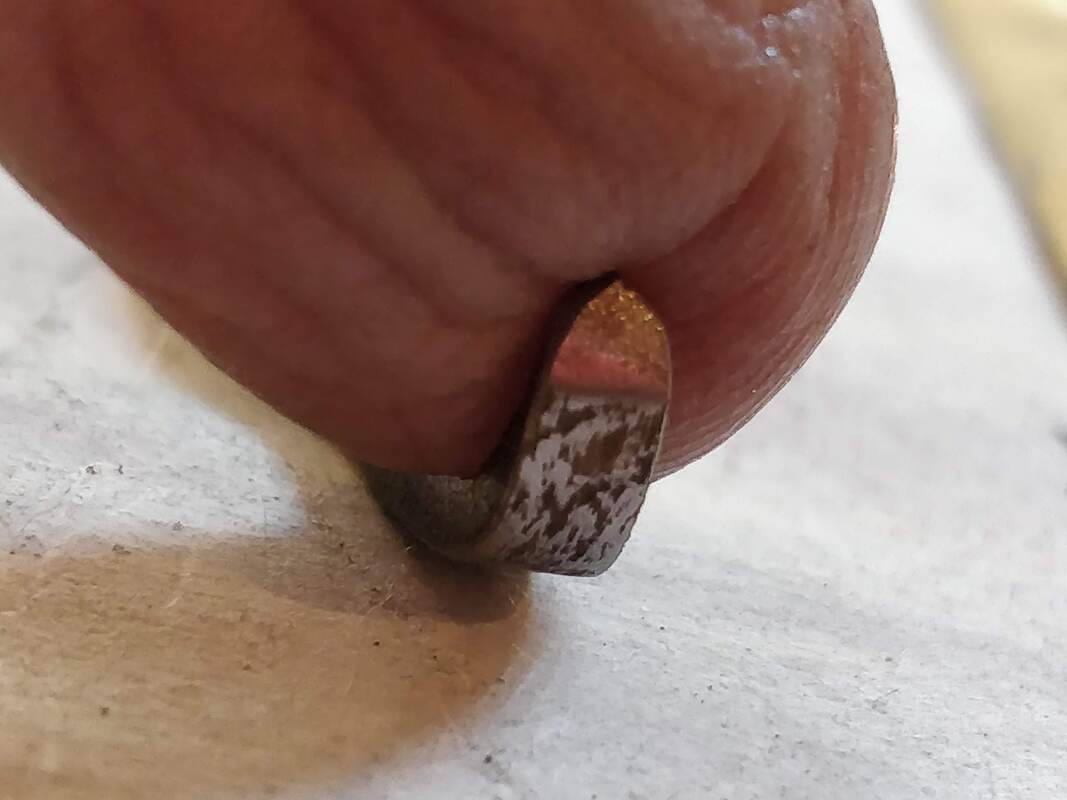
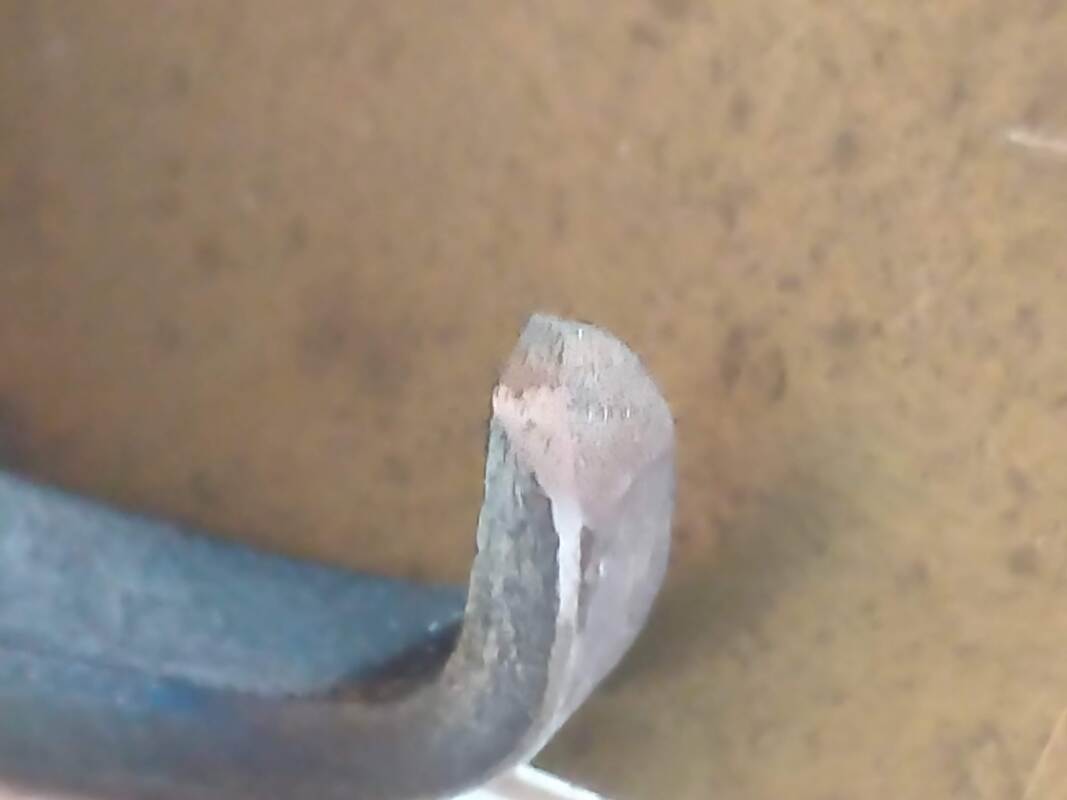
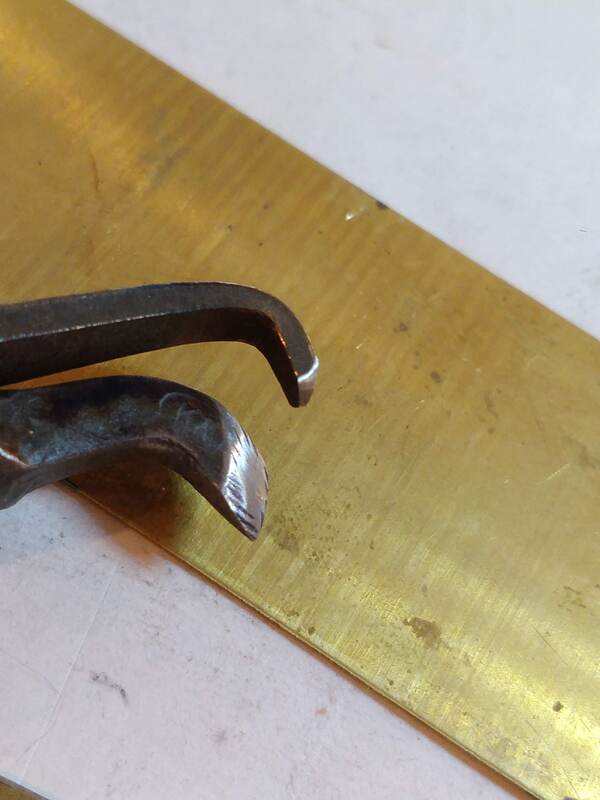
Time to make TWO tools one with a 60 degree and another with 90 degrees. One of my books gave information on how to make these tools out of old files or other tool steel and the shop elf sacrificed (handed over) two files he no longer used for the cause. First you bend the handle down, as this will be scribe and the file become the handle. Then you file and grind in the angles and taper it so there is a very sharp edge right at the tip. I then hardened and tempered the tip. After a few starts, trials and restarts I had my tools and sat down to scribe some lines.
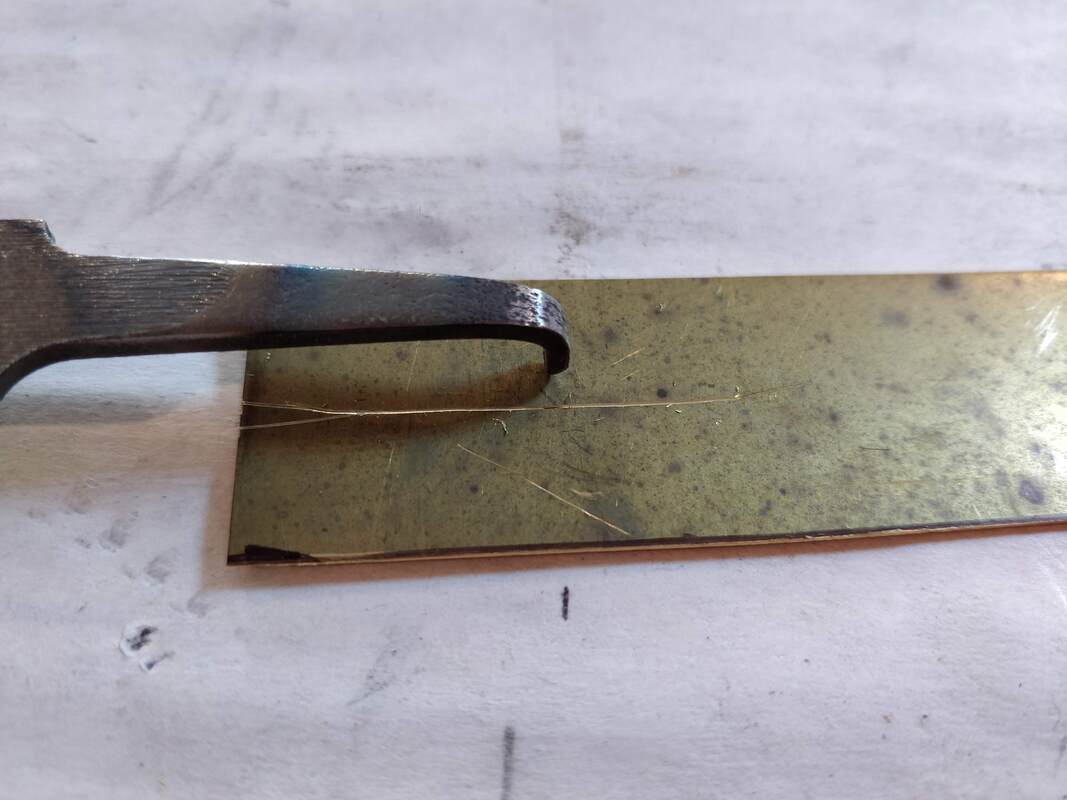
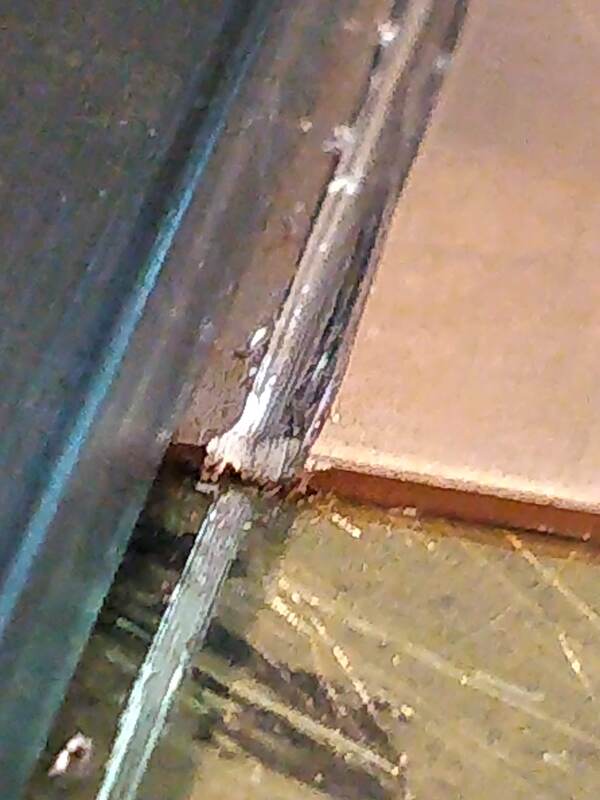
Let's just say it was a bit of a learning experience (not a failure!). I measured a 6" by 1" wide brass piece and drew lines for where the joints would be and then used a tungsten carbide tipped tool to do a shallow scribe using a machinists square. Using some C-clamps and a piece of wood I held the brass to my work table and started to scribe pulling towards me. My tip was not sharp enough to actually pull off metal so I had to keep going back to the bench to refine the point. I also kept popping out of the groove and really scratched up the brass. Eventually I was able to bend the join and form the metal. Then I realized that my measurements were off and the sides were all different lengths and would not meet.
Again, it's a learning experience and the next one would be, damn it, correct! Here are pictures of my tools and my first trial at scribing 60 degree joints.
Part A was 2 weeks ago and B was finished today.
PART A
This box is a triangular box with corners; I figured doing 3 corners was easier than 4 which is why this box is triangular.
Before starting this phase, I pulled out my silversmithing books, again and read up on this subject. Some of the books say to file a bevel on each edge of the corners where the angle depends on how many corers you will have; 45 degrees for 4 corners (45 times 2 equaling 90 degrees) and 30 degrees for 3 corners as the total of all the angles is 180 degrees, yes geometry comes into play here. Then using binding wire and supports, you solder all the corners together. Other books say to scribe the angle into the metal such that the metal is still all connected, for n-1 corners and then you only have to bevel the 2 outside edges. The scribes/grooves are then bent to close up the box and it is easier to solder them all closed. I asked my mentor what is best and she said to scribe but to do that, I had to make a tool to do the scribing cause no one makes them for you to purchase; welcome to silversmithing!!
Time to make TWO tools one with a 60 degree and another with 90 degrees. One of my books gave information on how to make these tools out of old files or other tool steel and the shop elf sacrificed (handed over) two files he no longer used for the cause. First you bend the handle down, as this will be scribe and the file become the handle. Then you file and grind in the angles and taper it so there is a very sharp edge right at the tip. I then hardened and tempered the tip. After a few starts, trials and restarts I had my tools and sat down to scribe some lines.
Let's just say it was a bit of a learning experience (not a failure!). I measured a 6" by 1" wide brass piece and drew lines for where the joints would be and then used a tungsten carbide tipped tool to do a shallow scribe using a machinists square. Using some C-clamps and a piece of wood I held the brass to my work table and started to scribe pulling towards me. My tip was not sharp enough to actually pull off metal so I had to keep going back to the bench to refine the point. I also kept popping out of the groove and really scratched up the brass. Eventually I was able to bend the join and form the metal. Then I realized that my measurements were off and the sides were all different lengths and would not meet.
Again, it's a learning experience and the next one would be, damn it, correct! Here are pictures of my tools and my first trial at scribing 60 degree joints.


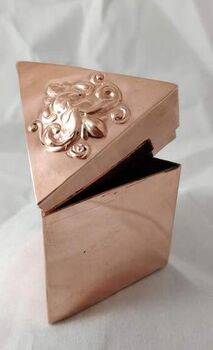
PART B
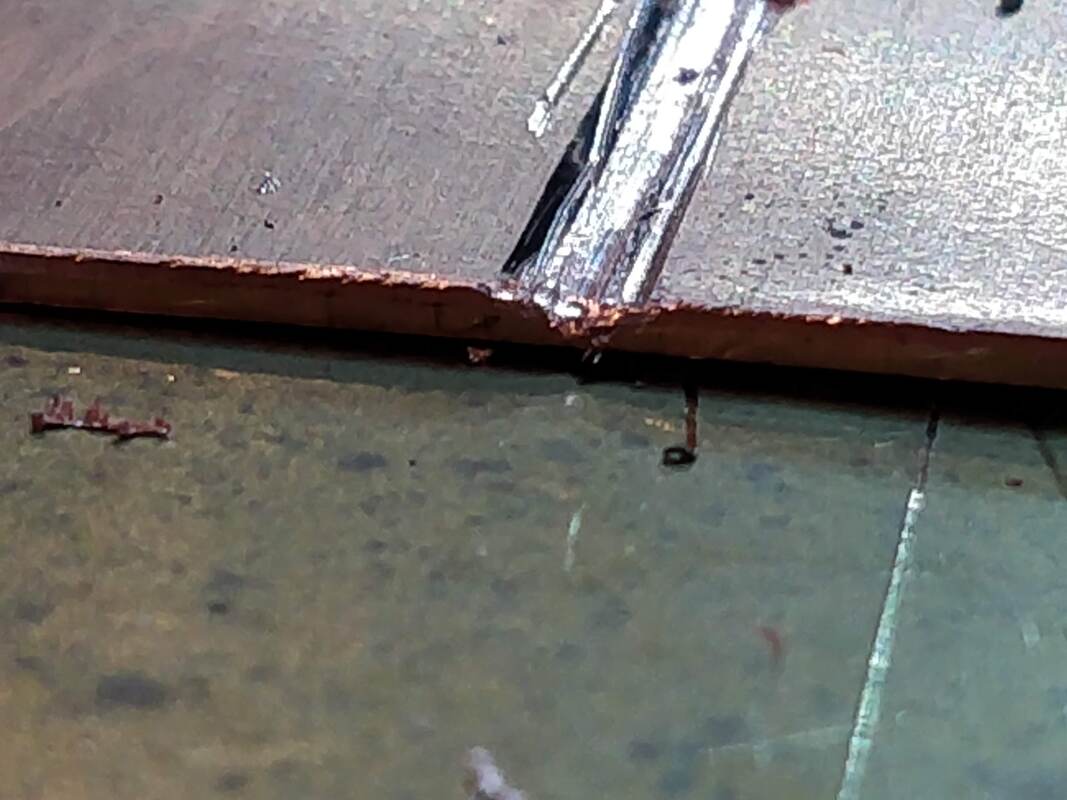
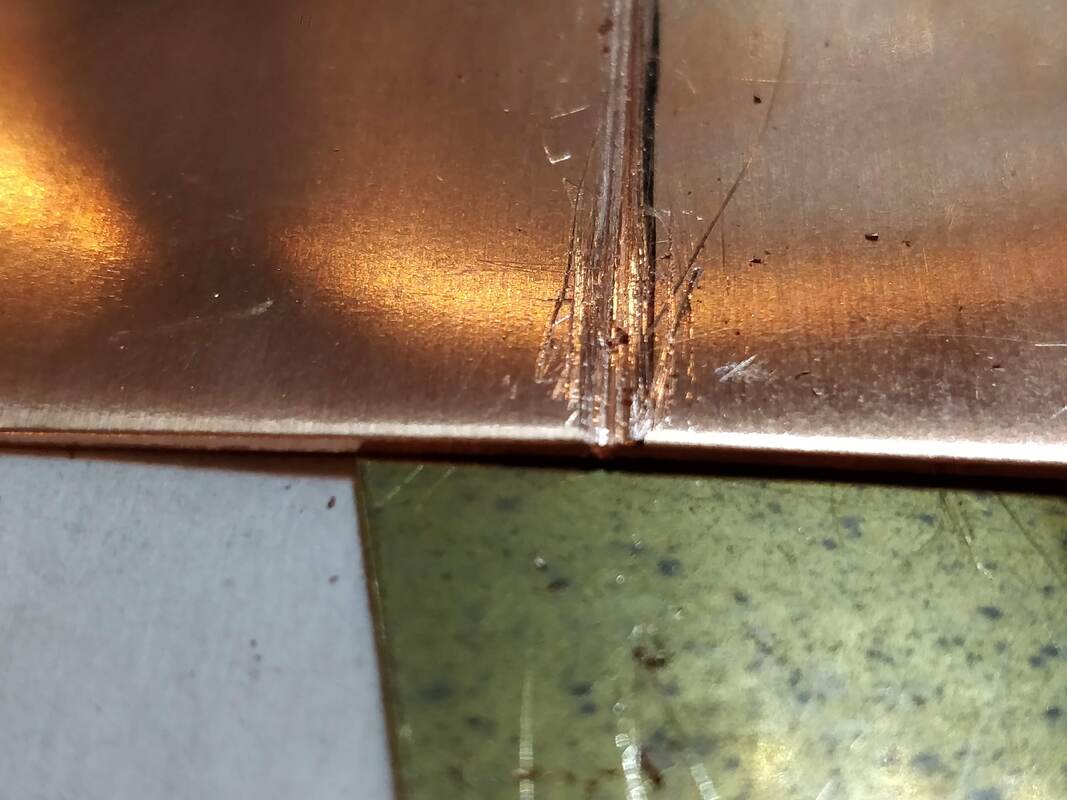
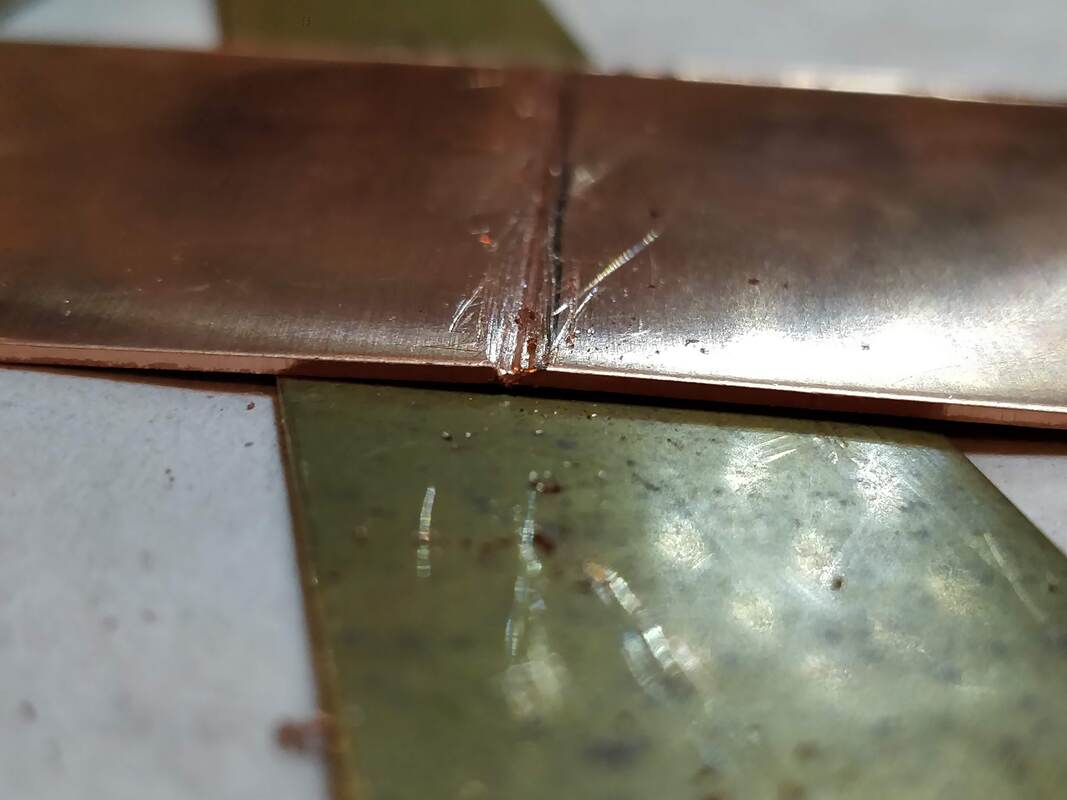
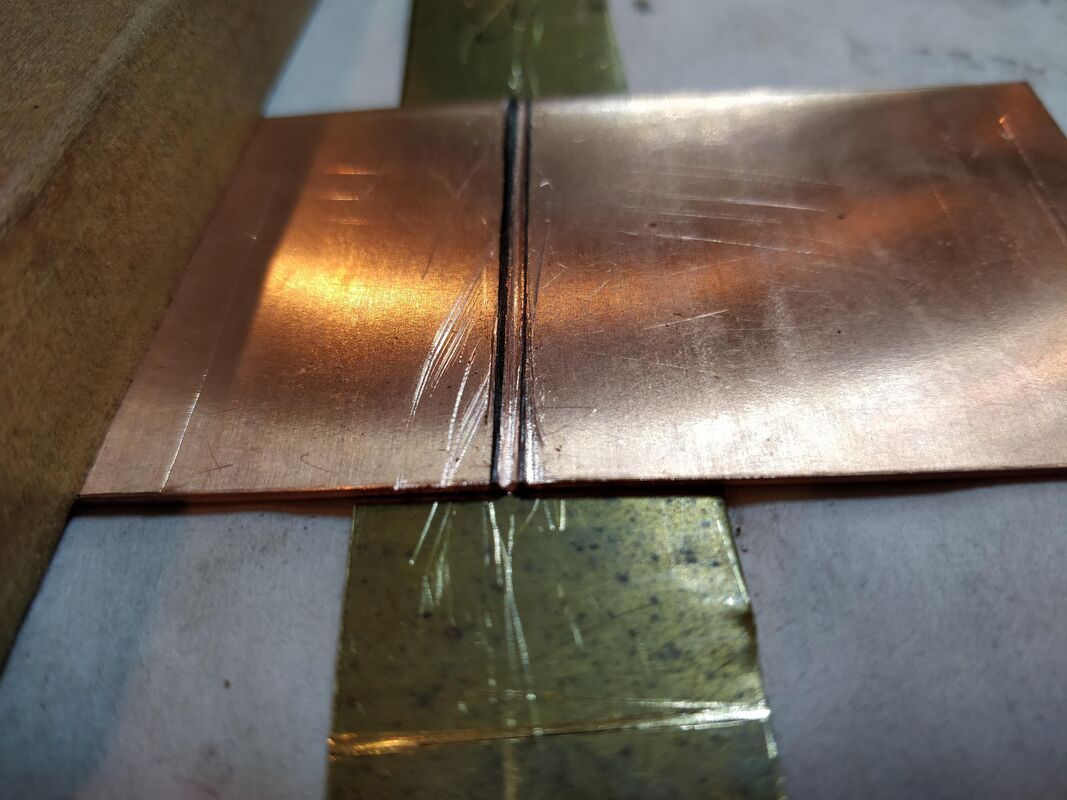
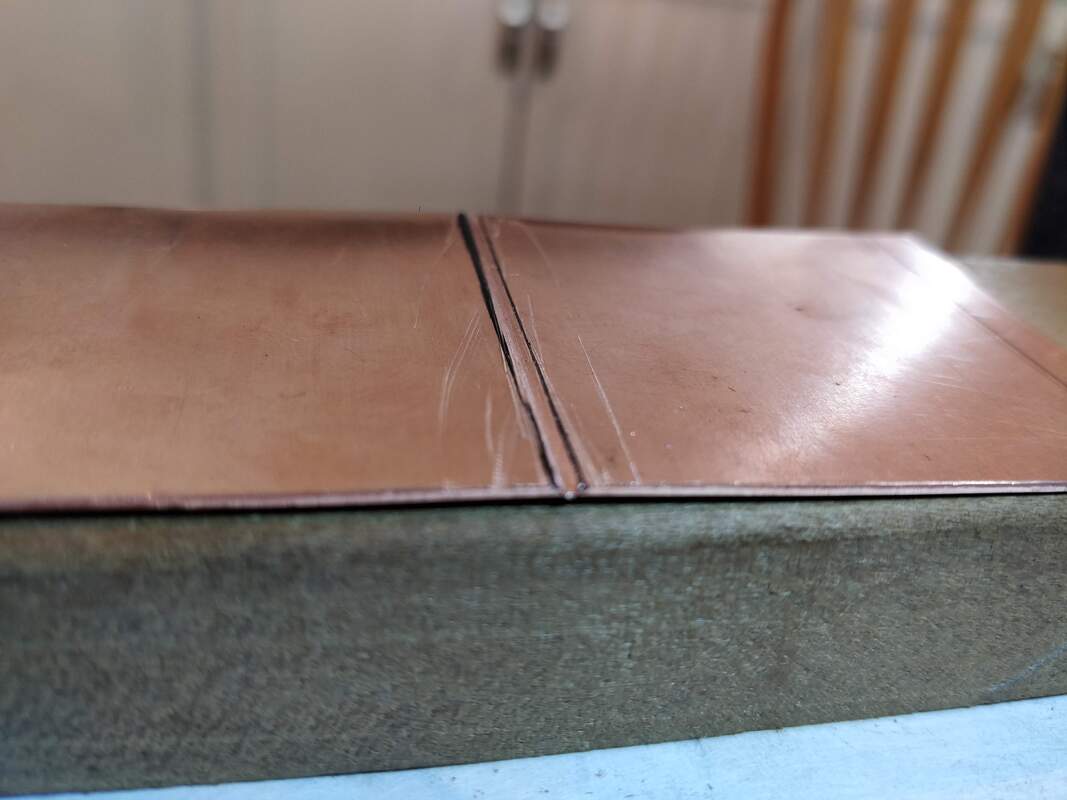
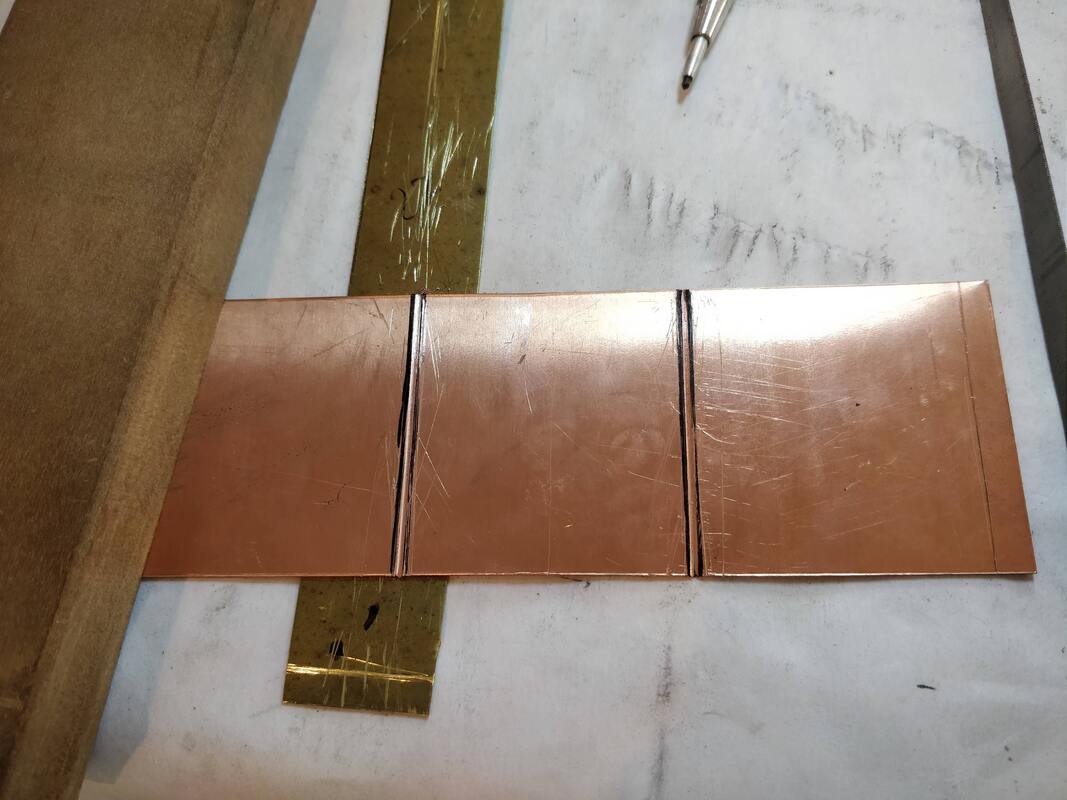
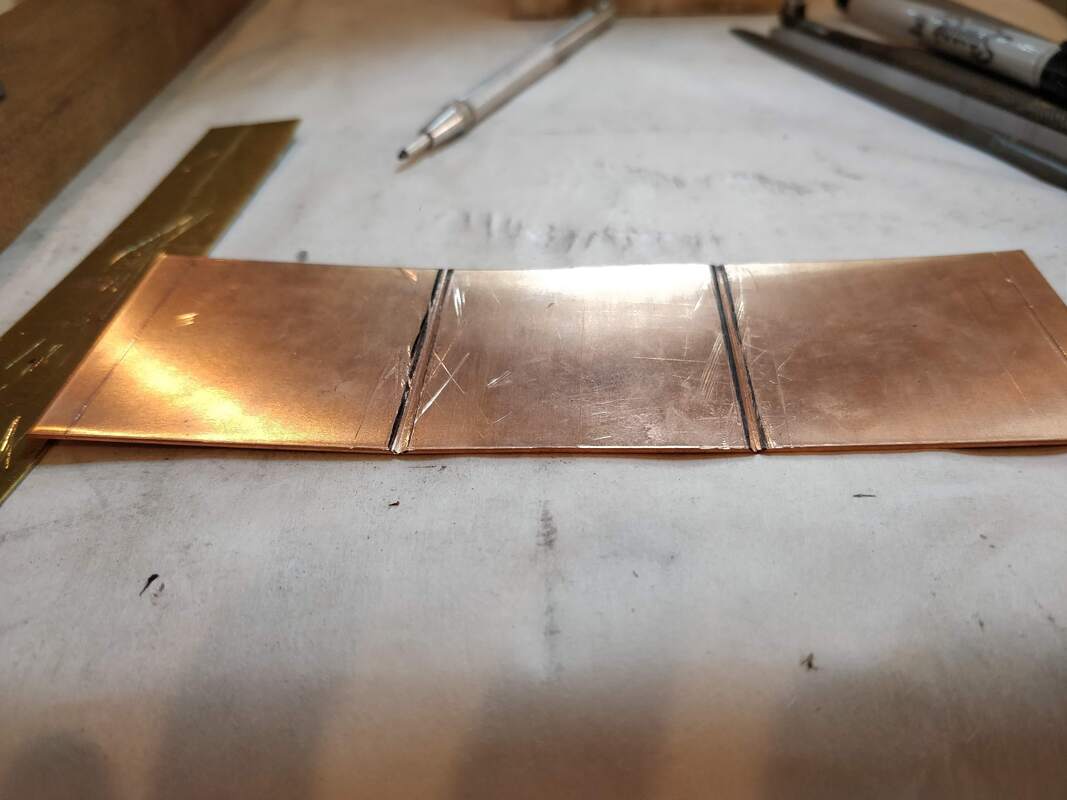
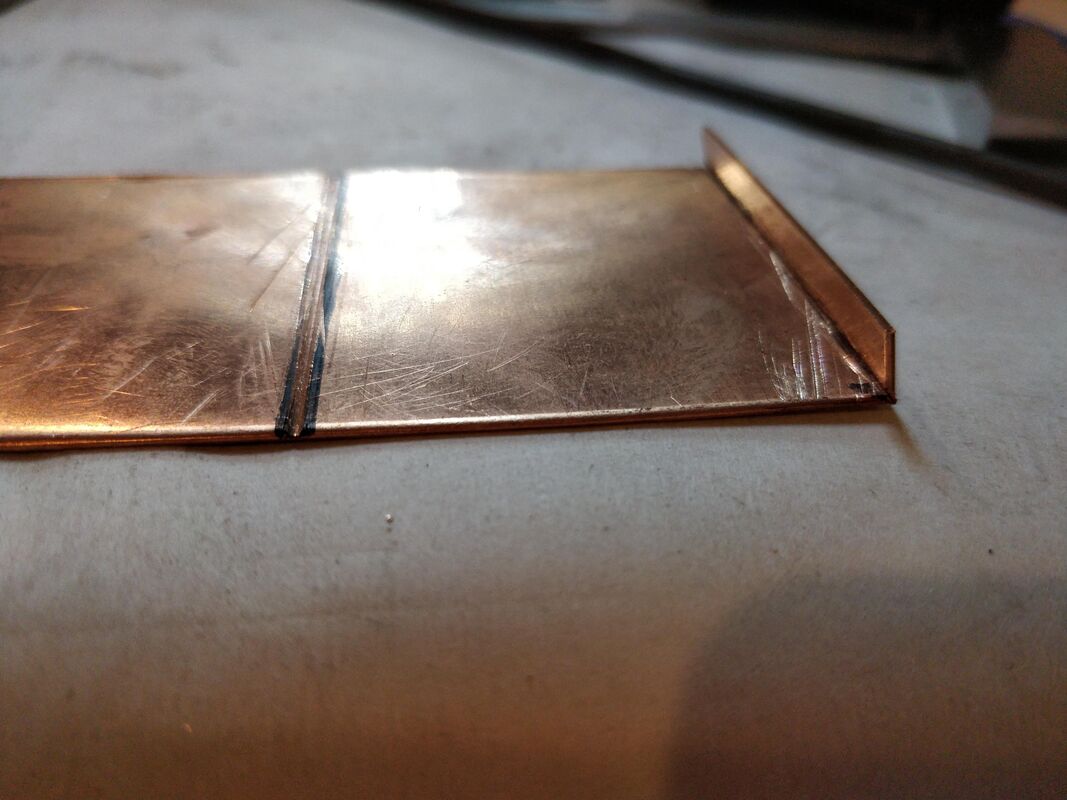
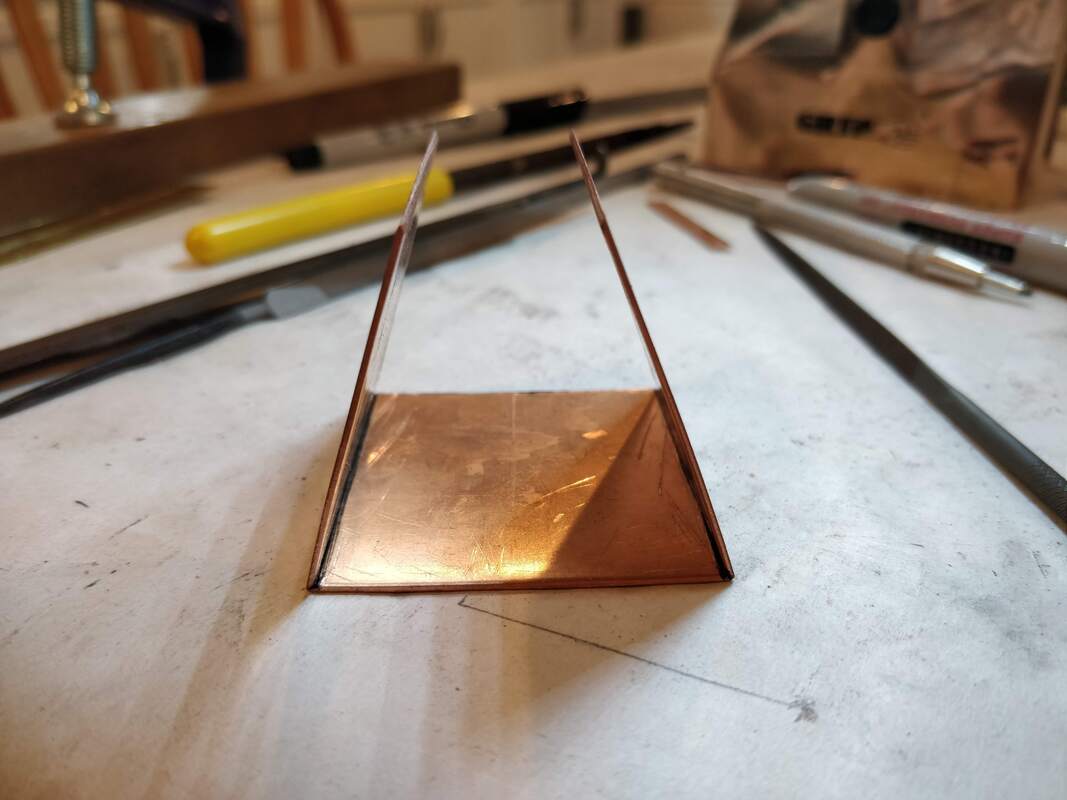
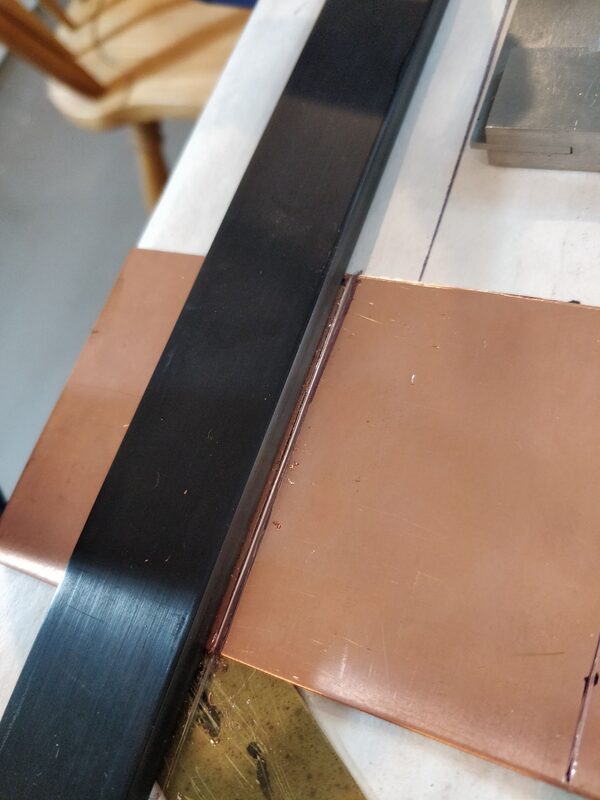
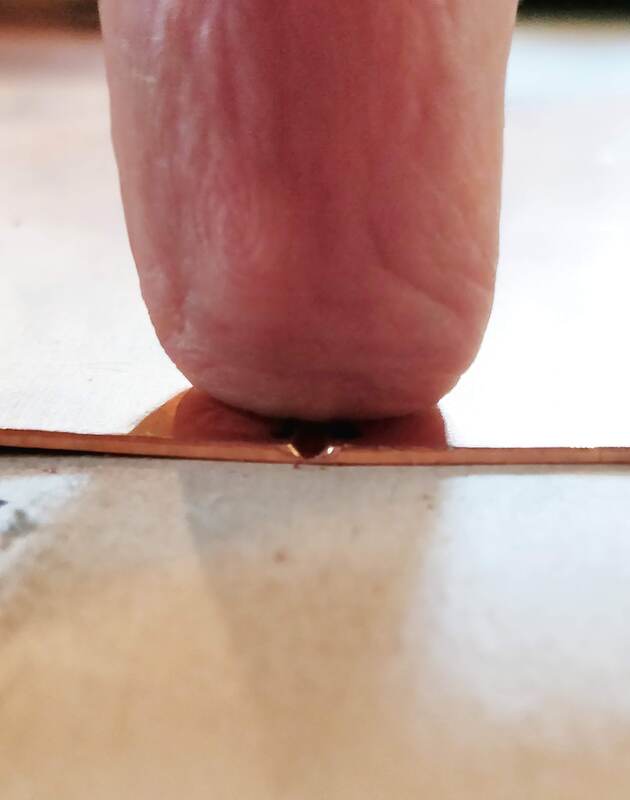
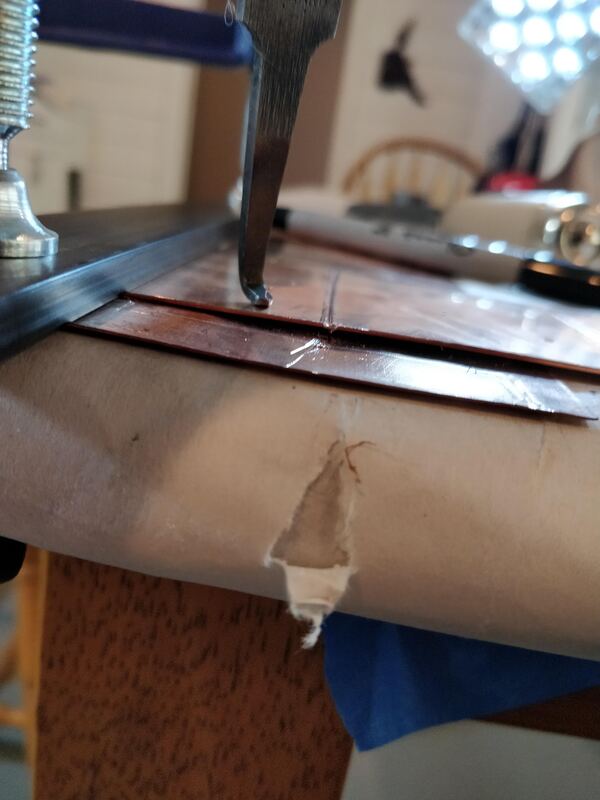
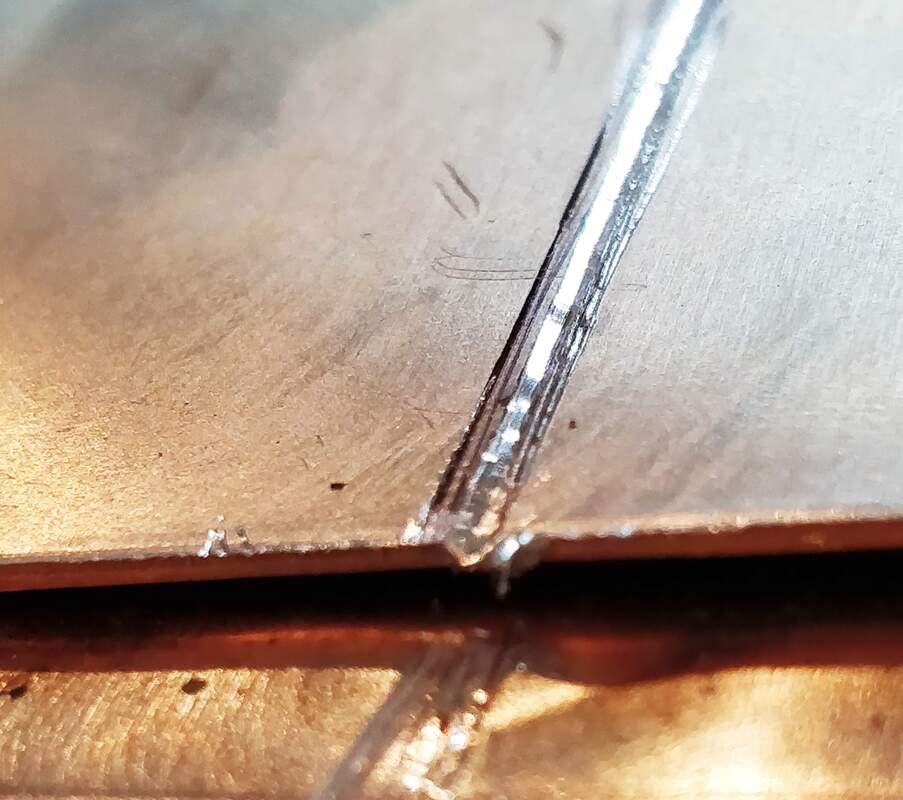
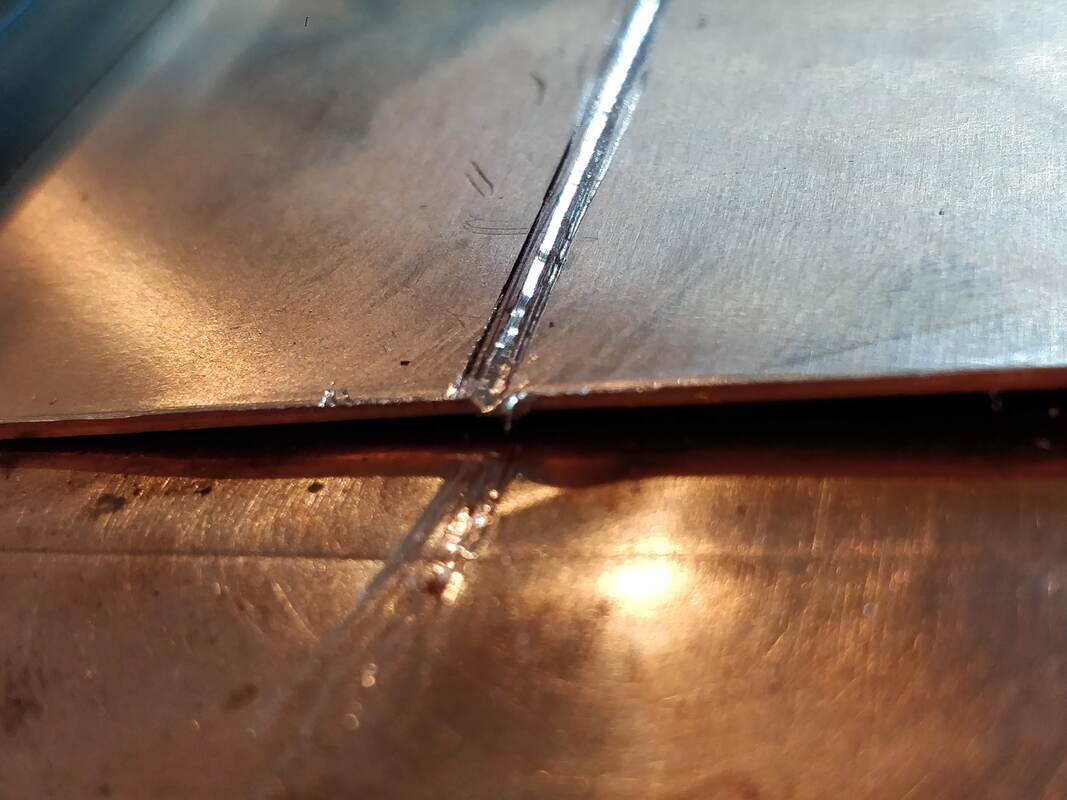
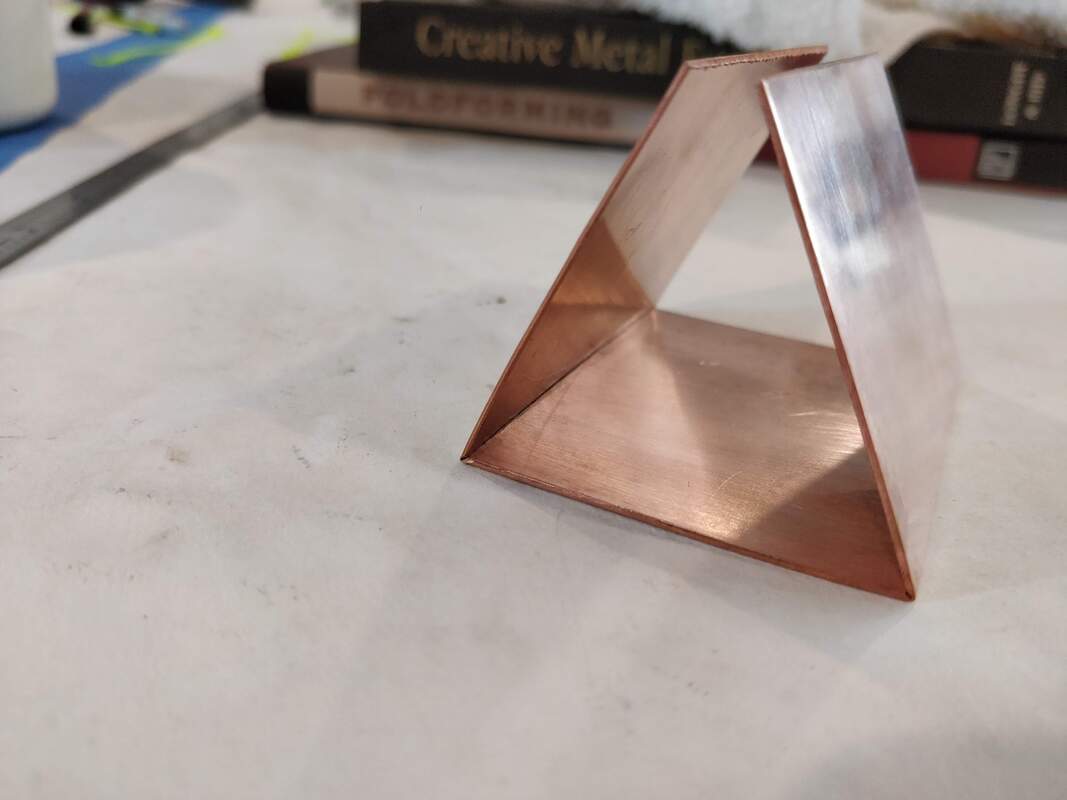
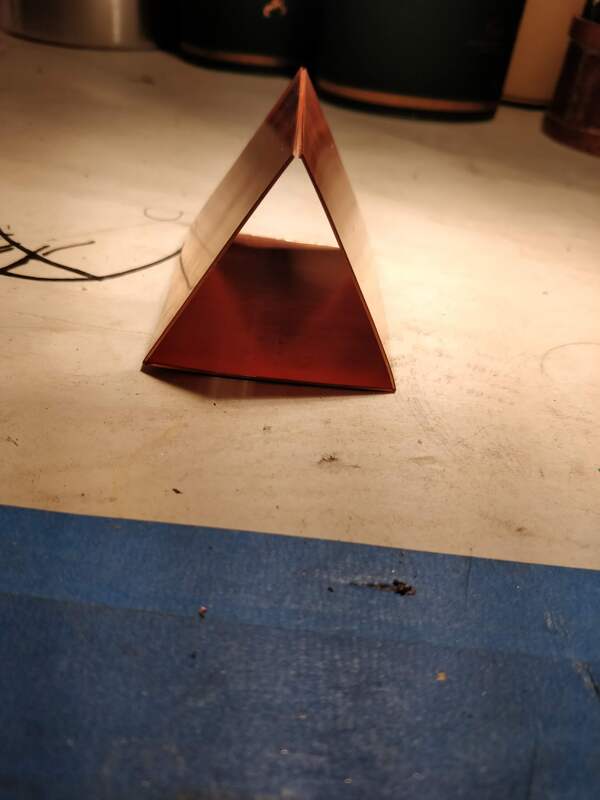
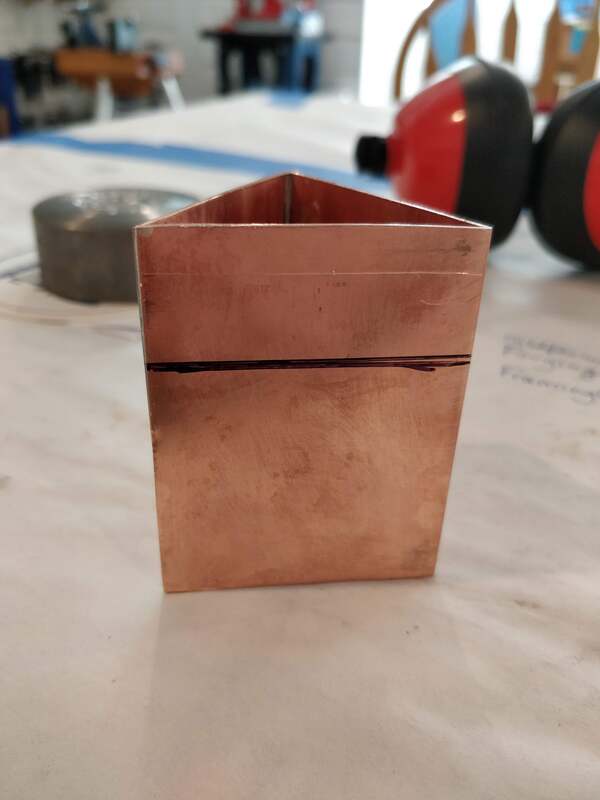
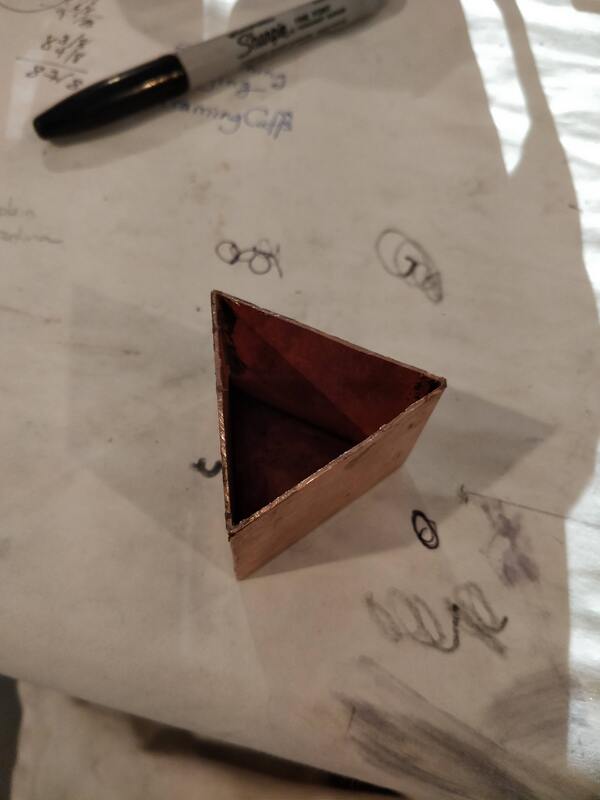
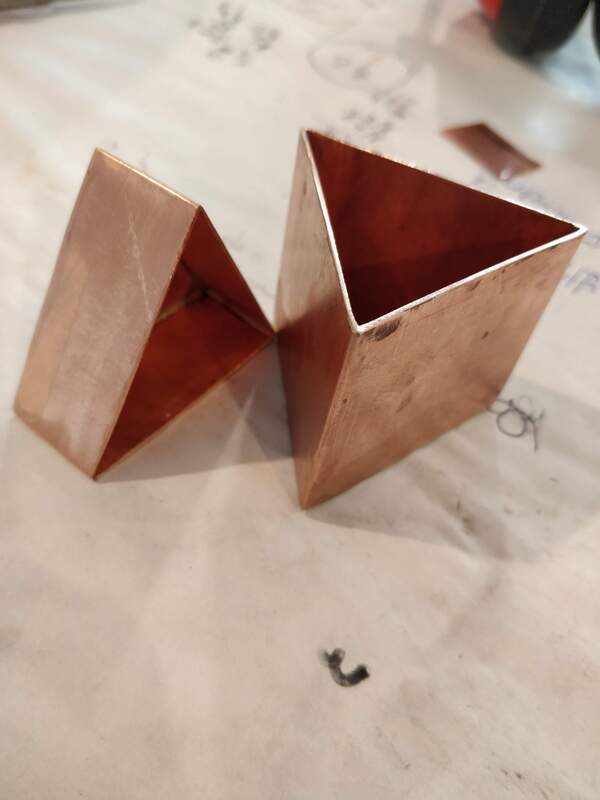
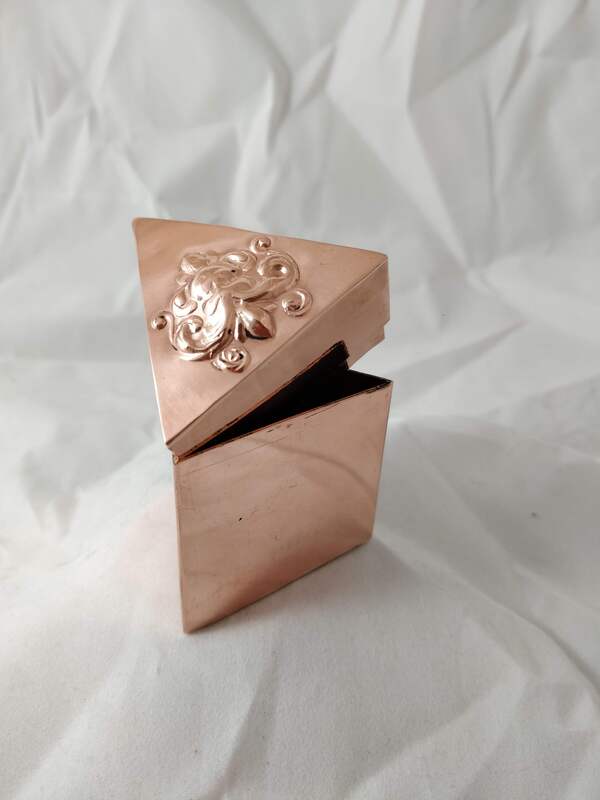
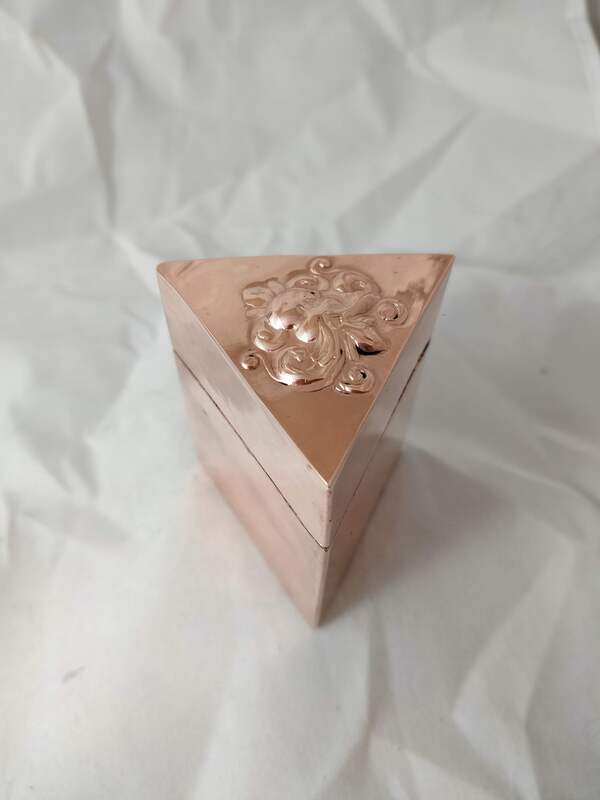
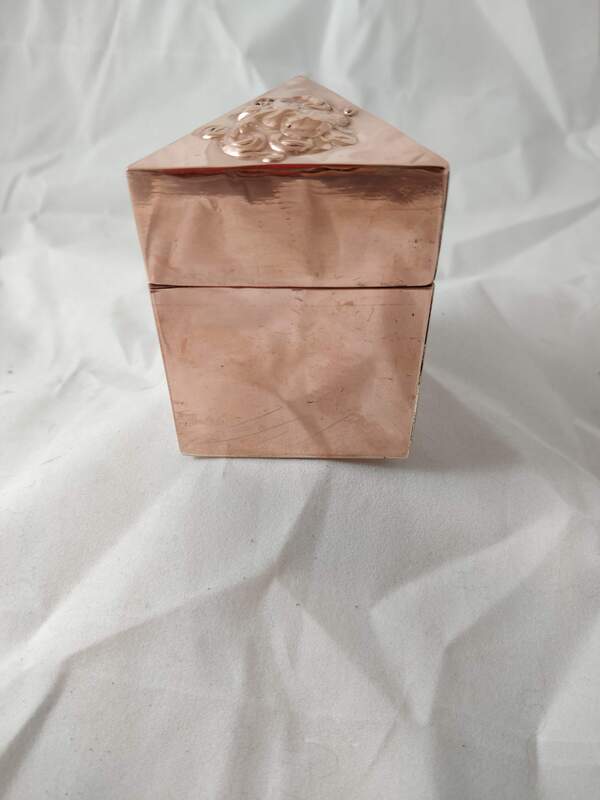
Yesterday I started another piece of metal, this time copper, for a triangular box. I measured 3 or 4 times and this time I used a piece of steel as my clamp and guide which I could hold the scribing tool against to get a straight line. I also used a "three square" file to get a good 60 degree groove. I went slow and careful to get the two grooves and when that was done, I then used my belt sander to put 30 degree bevels on each edge and then it was time to bend; and YES! they met up and when I measure, only one side was 1/32" off.
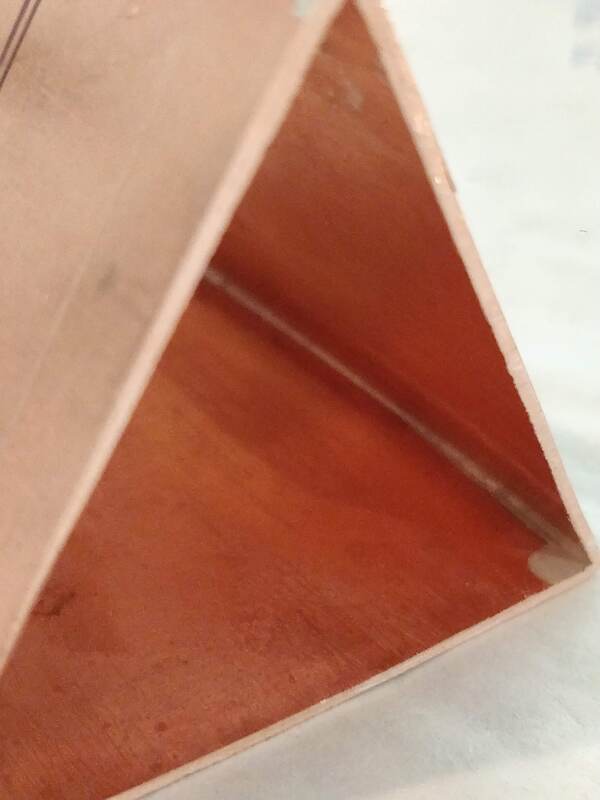
It was now time to solder. I fluxed the inside two joins and the inside and outside joint that was actually open. Then I heated and using hard solder just put a small ball at each open end and using heat, from the outside, I was able to pull the solder to the other open end - isn't it wonderful when things go as they are supposed to.
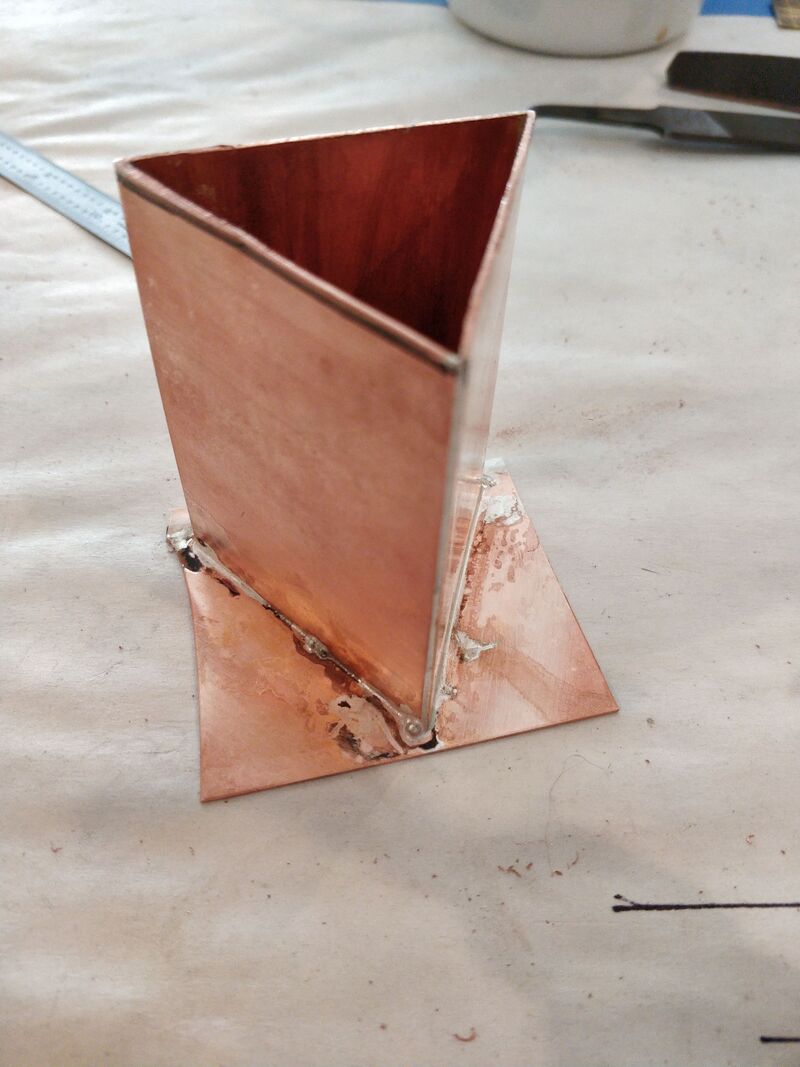
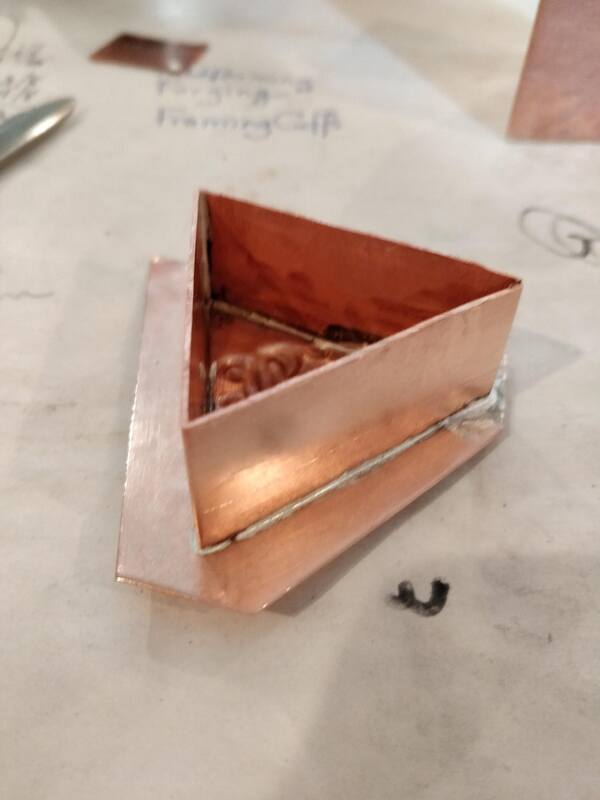
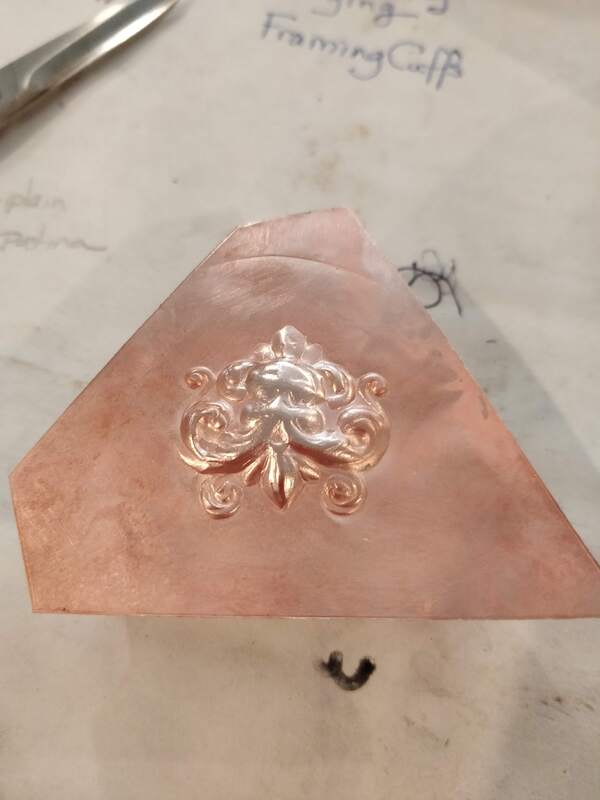
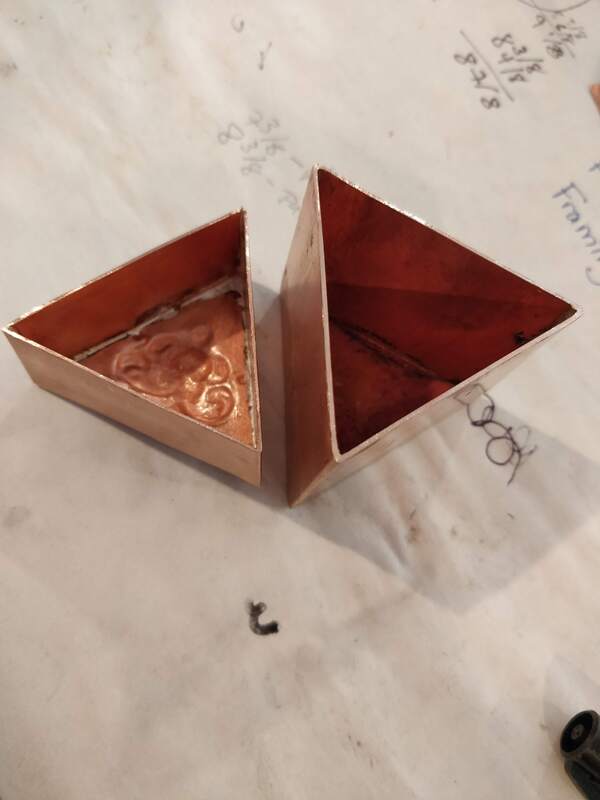
Now to put on a base. I found some scrap 20 g copper that was just the right side and so I soldered on the base and I took another piece to the hydraulic press to another impression for the lid. After trimming up the base, I cut off the lid wall with a separating disk and soldered up the top for the lid.
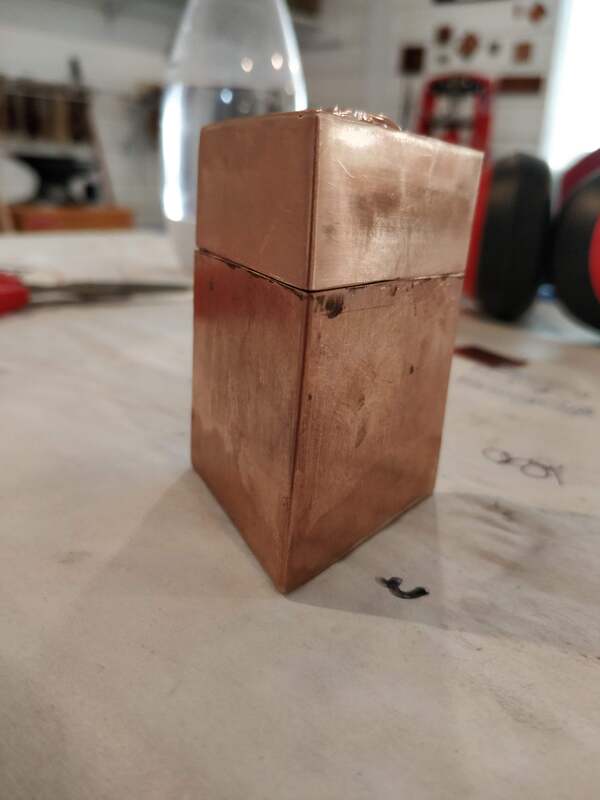
Once the base and top were cleaned up, I tackled the mating edges and added a bezel and just a little bit of sanding to make sure the lid slid into the body; then did a quick polish and I was done!
Next up, over the 4 day Thanksgiving weekend, a square box.
Yesterday I started another piece of metal, this time copper, for a triangular box. I measured 3 or 4 times and this time I used a piece of steel as my clamp and guide which I could hold the scribing tool against to get a straight line. I also used a "three square" file to get a good 60 degree groove. I went slow and careful to get the two grooves and when that was done, I then used my belt sander to put 30 degree bevels on each edge and then it was time to bend; and YES! they met up and when I measure, only one side was 1/32" off.
It was now time to solder. I fluxed the inside two joins and the inside and outside joint that was actually open. Then I heated and using hard solder just put a small ball at each open end and using heat, from the outside, I was able to pull the solder to the other open end - isn't it wonderful when things go as they are supposed to.
Now to put on a base. I found some scrap 20 g copper that was just the right side and so I soldered on the base and I took another piece to the hydraulic press to another impression for the lid. After trimming up the base, I cut off the lid wall with a separating disk and soldered up the top for the lid.
Once the base and top were cleaned up, I tackled the mating edges and added a bezel and just a little bit of sanding to make sure the lid slid into the body; then did a quick polish and I was done!
Next up, over the 4 day Thanksgiving weekend, a square box.


 RSS Feed
