Follow Me On:
The Adventurous Silversmith
  • Home
  • Blog
  • Portfolio
    • Metal Work >
      • Chasing & Repousse
      • Holloware
      • Jewelry
      • Other Wonderful Items
    • Fiber Arts >
      • Temari
      • Yubinuki
  • Resources
    • Library
    • Tools & Equipment
    • Links
  • About
    • Artist Statement
    • Curriculum Vitae
    • How it is Made
    • Contact

Inaugural Class

6/16/2019

1 Comment

 
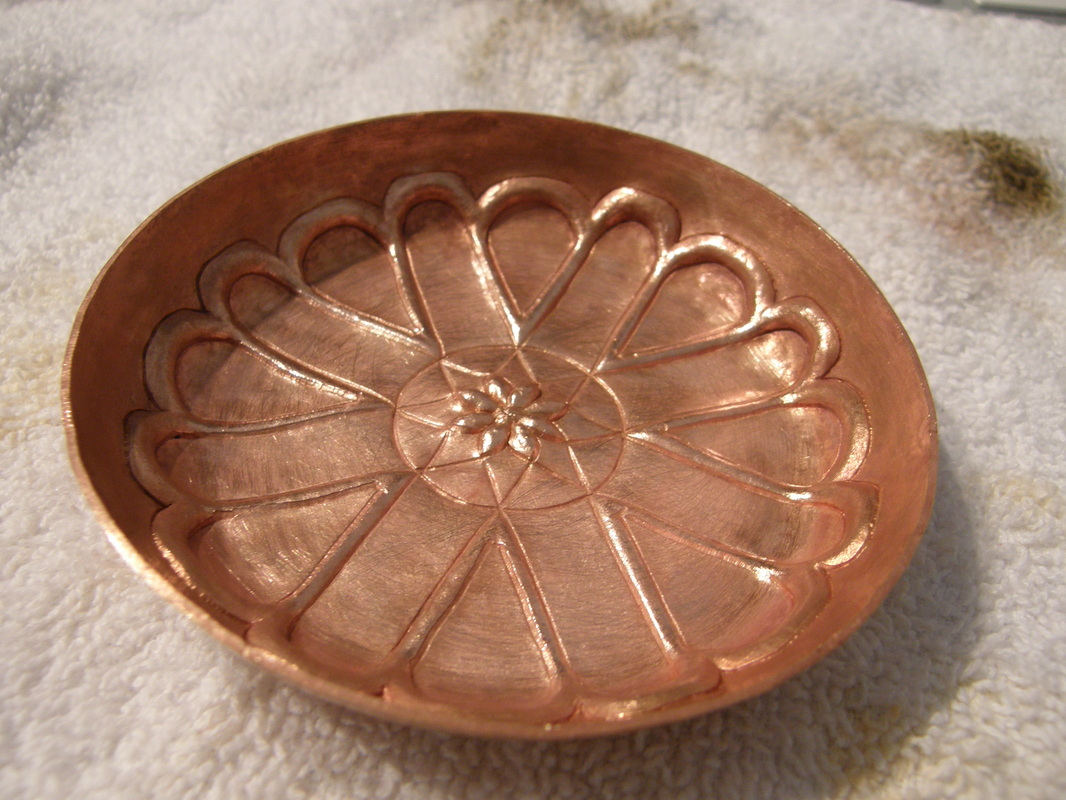
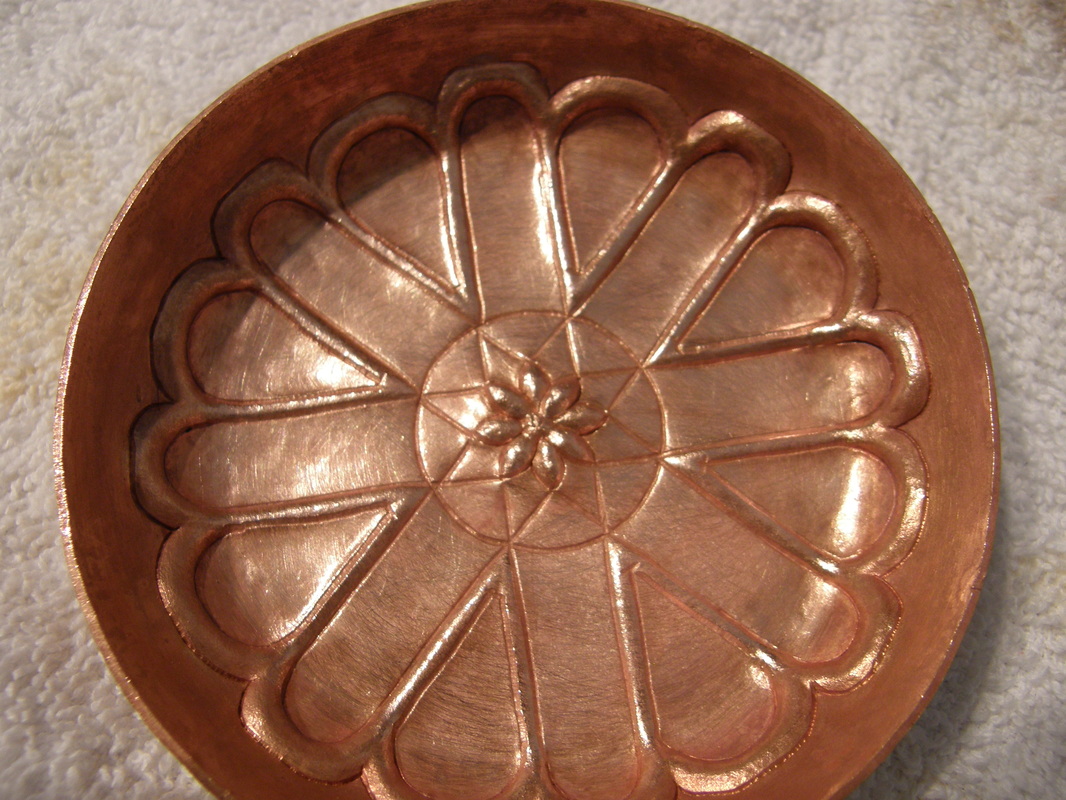
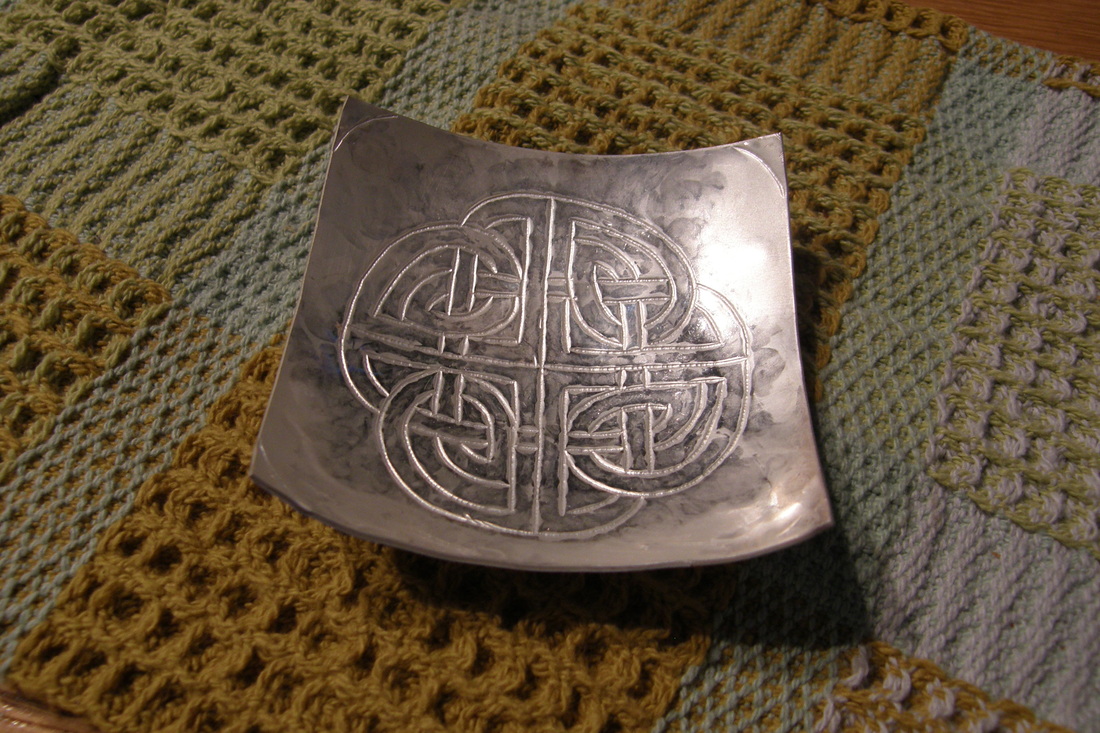
Yesterday I held the inaugural class in my new workshop/studio. The class subject was sinking a simple copper bowl for beginners and was aimed at learning basic skills - working with a torch (annealing), using a jewelers saw (rounding the corners of a copper square), sanding, polishing, hammering (sinking and basic planishing) and observing soldering (adding the ring bases).   We also discussed shop safety, the tools and equipment used and assembling a toolbox to take to classes.

My students were Barbara, Irma, and Nancy. I know Barbara and Irma and Nancy is a friend of Irma's so it was a friendly and relaxed class. 

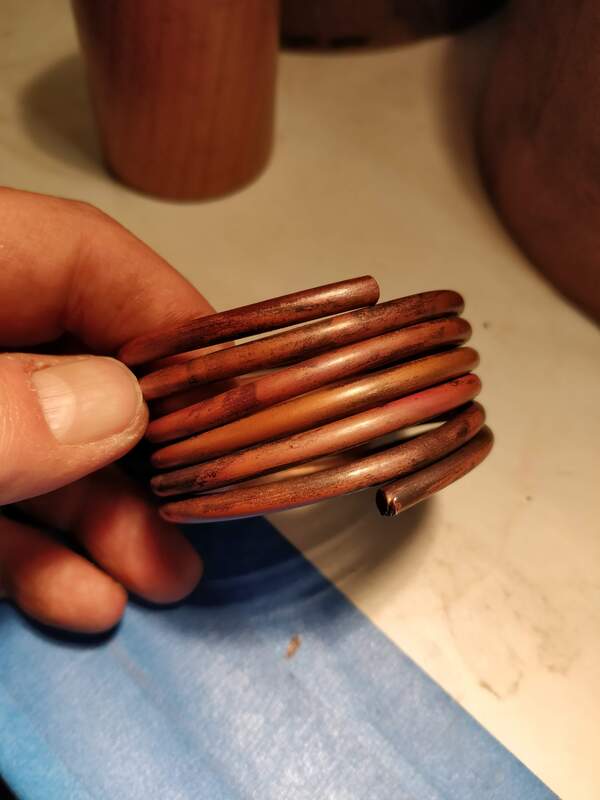
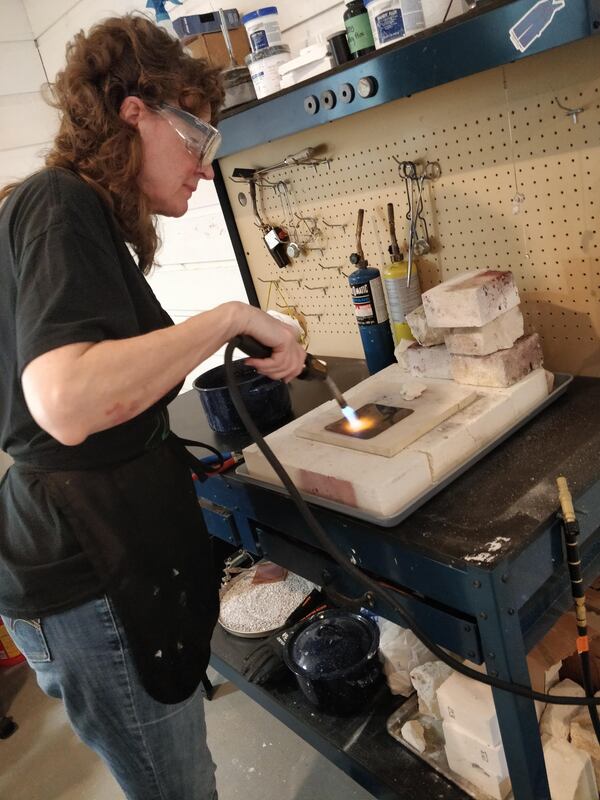
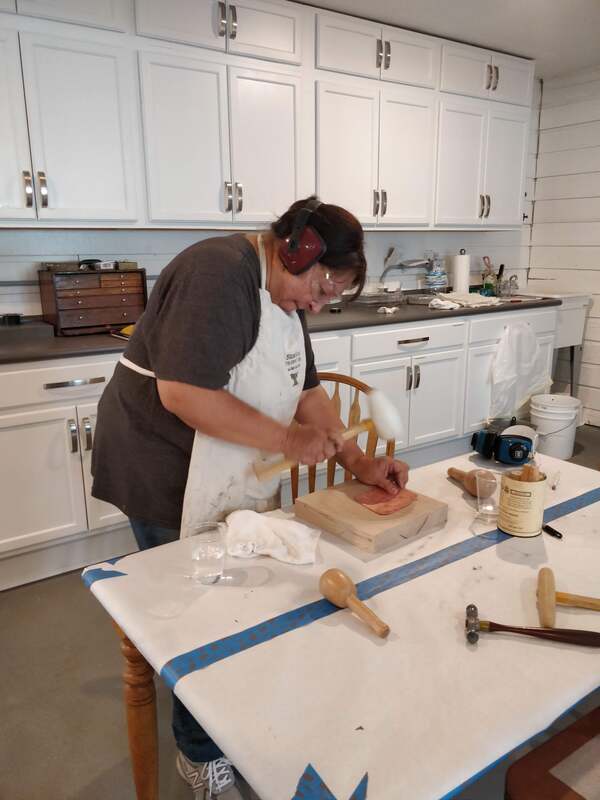
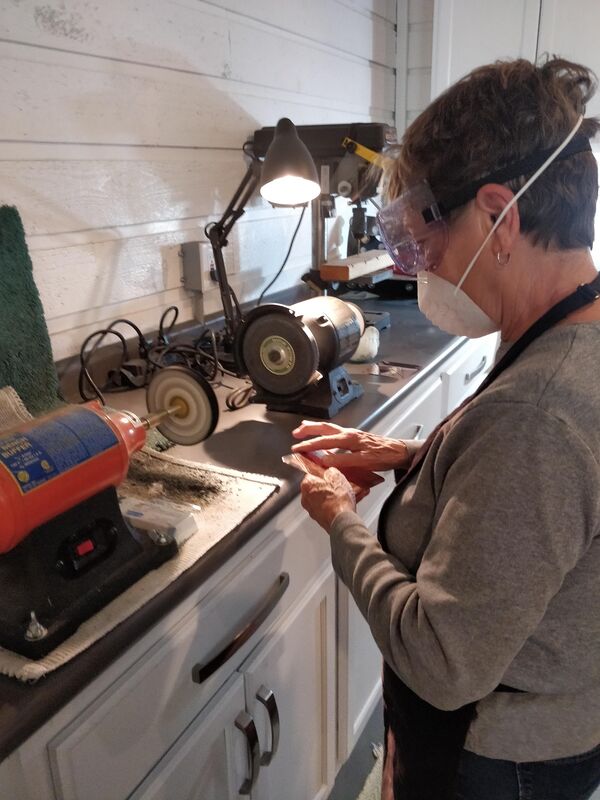
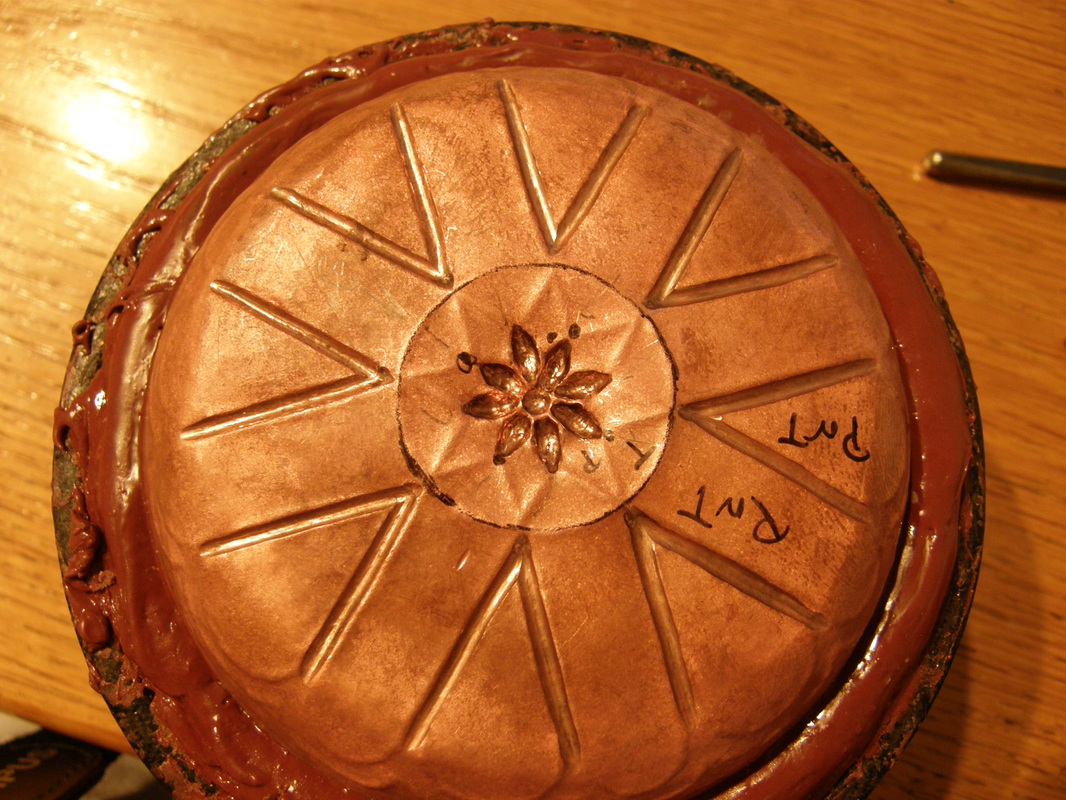
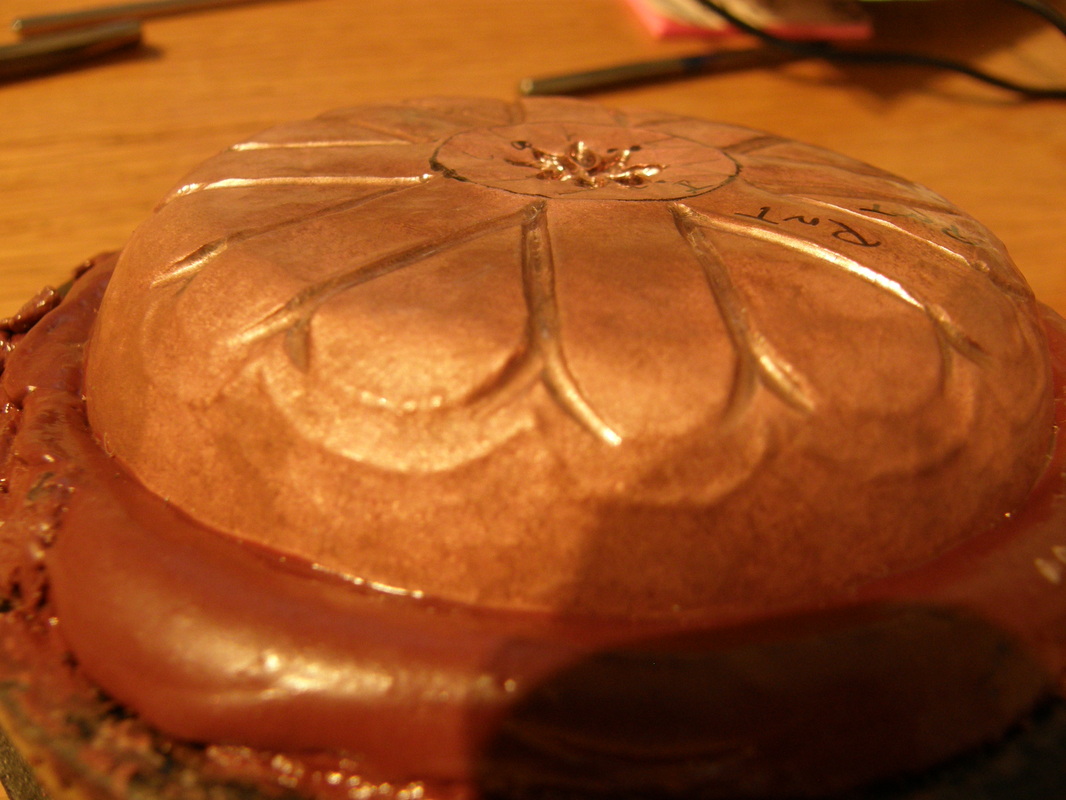
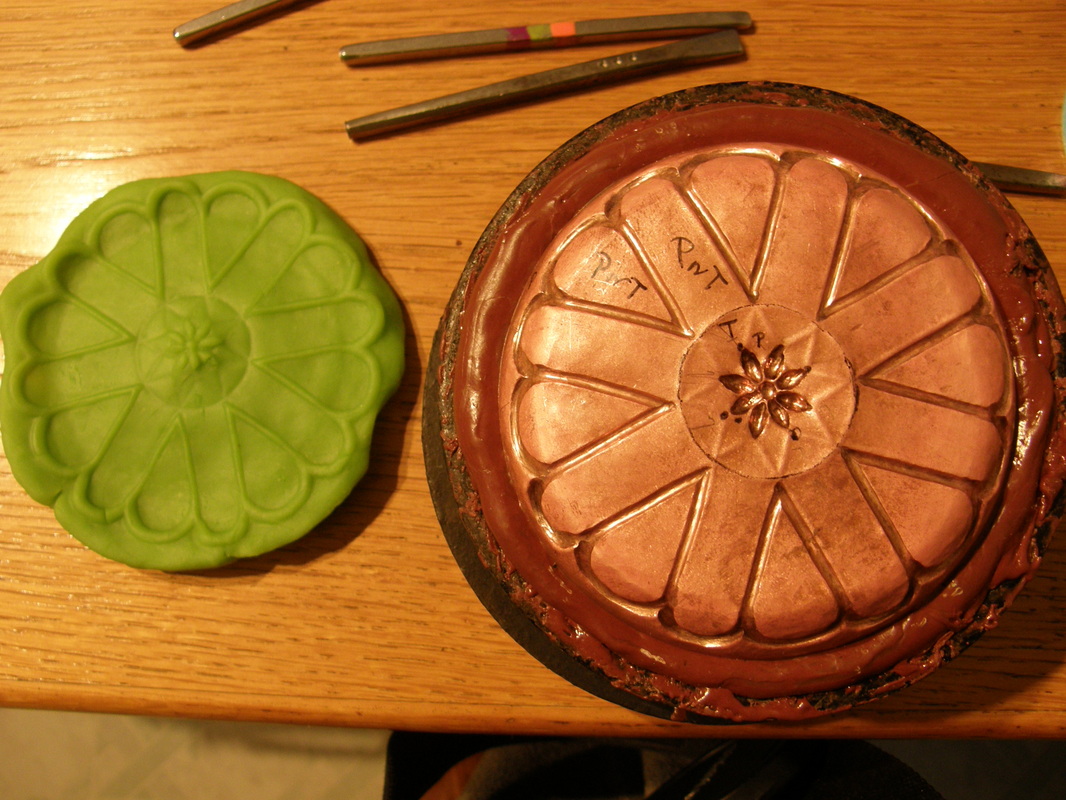
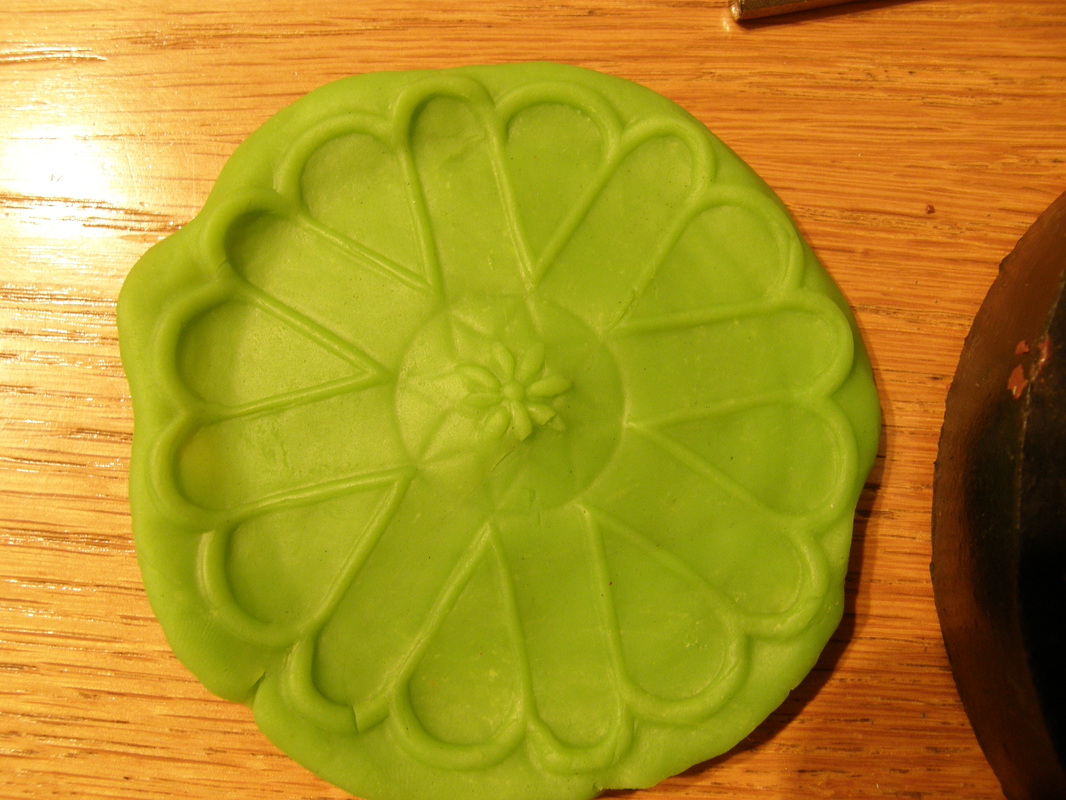
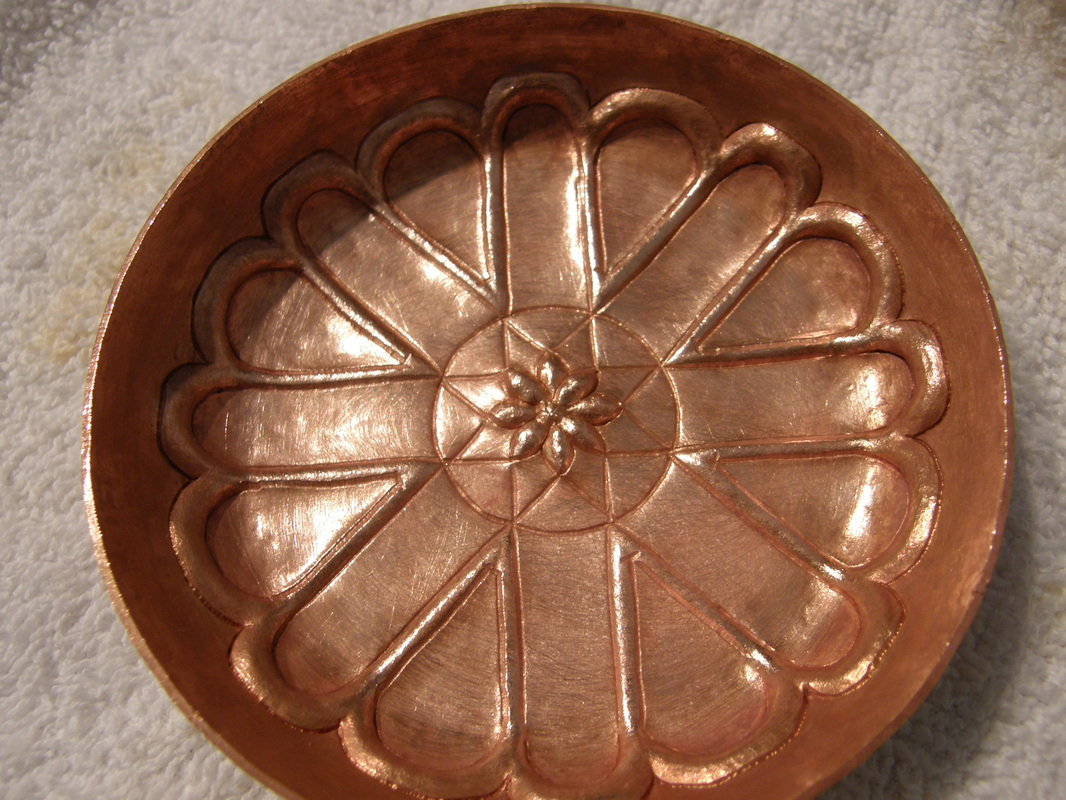
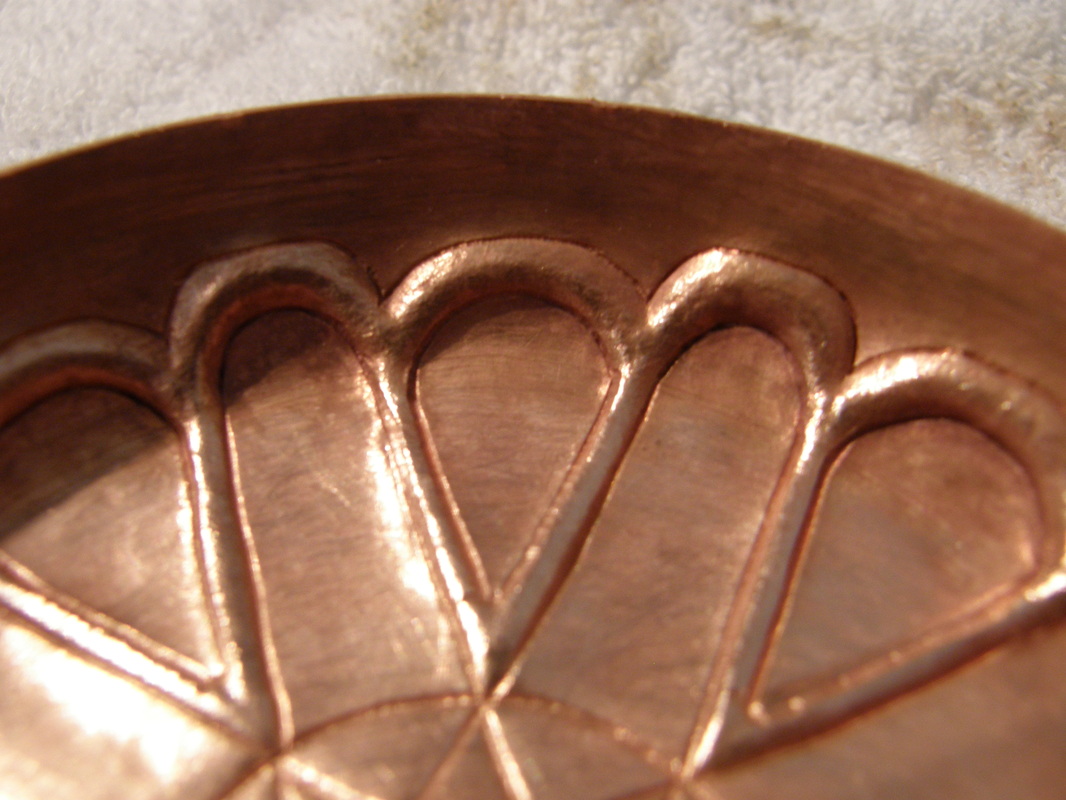
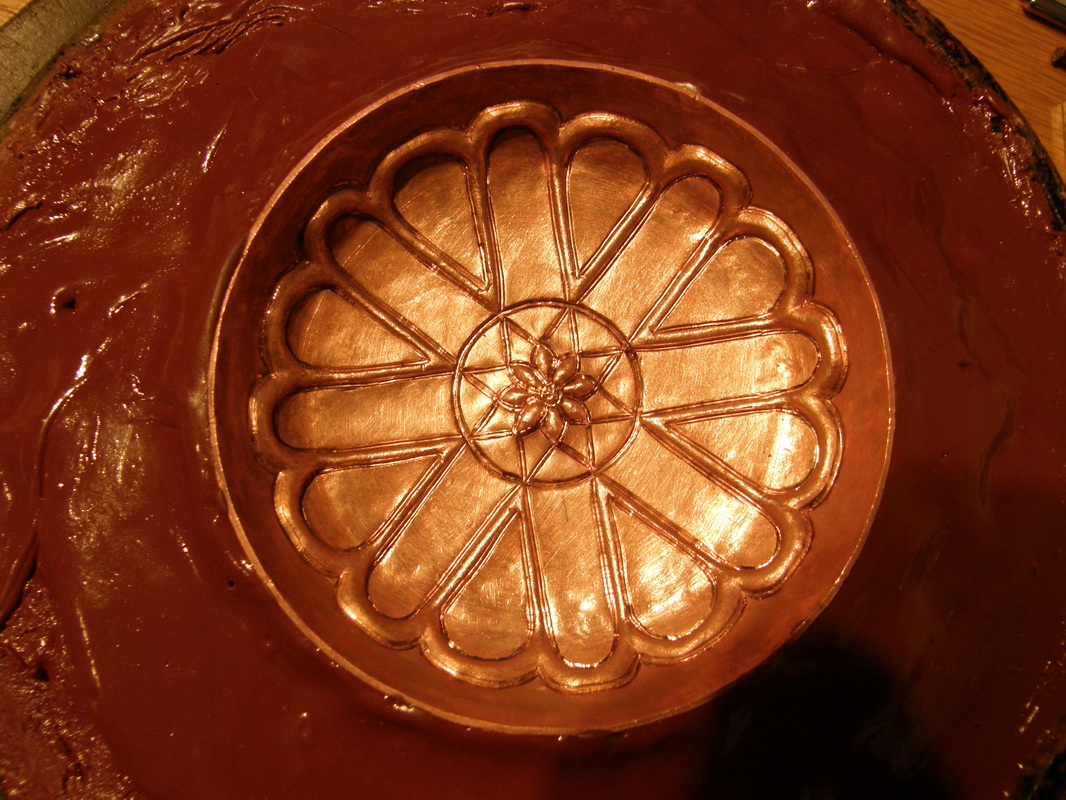
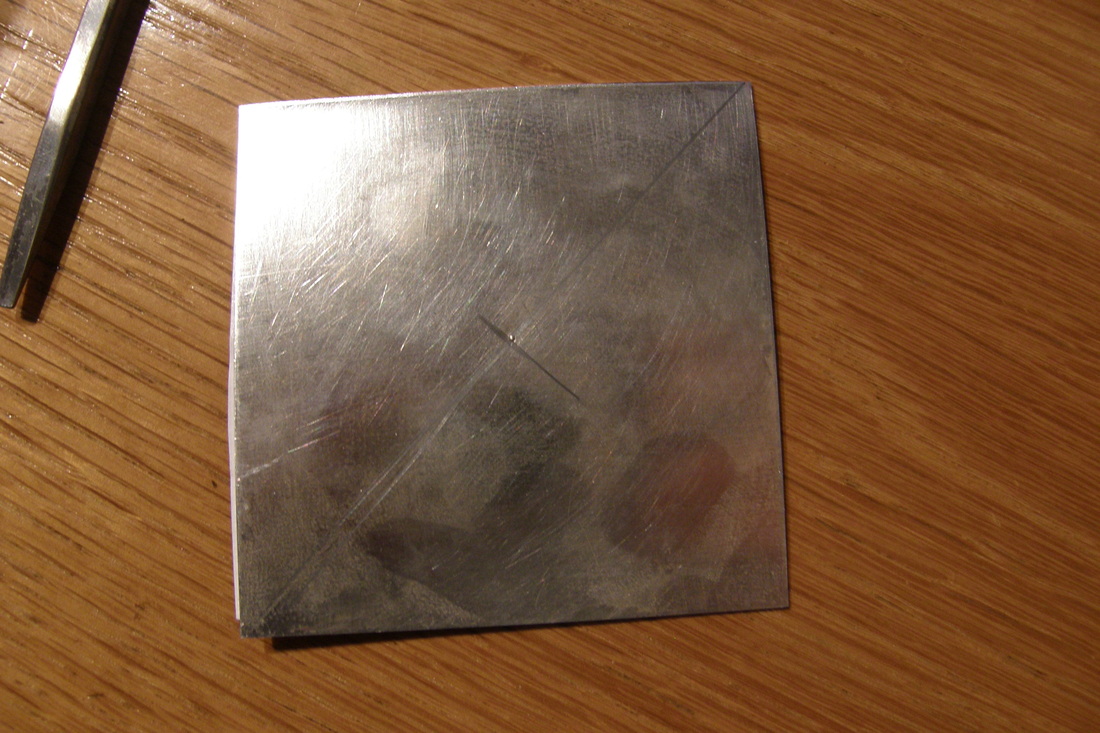
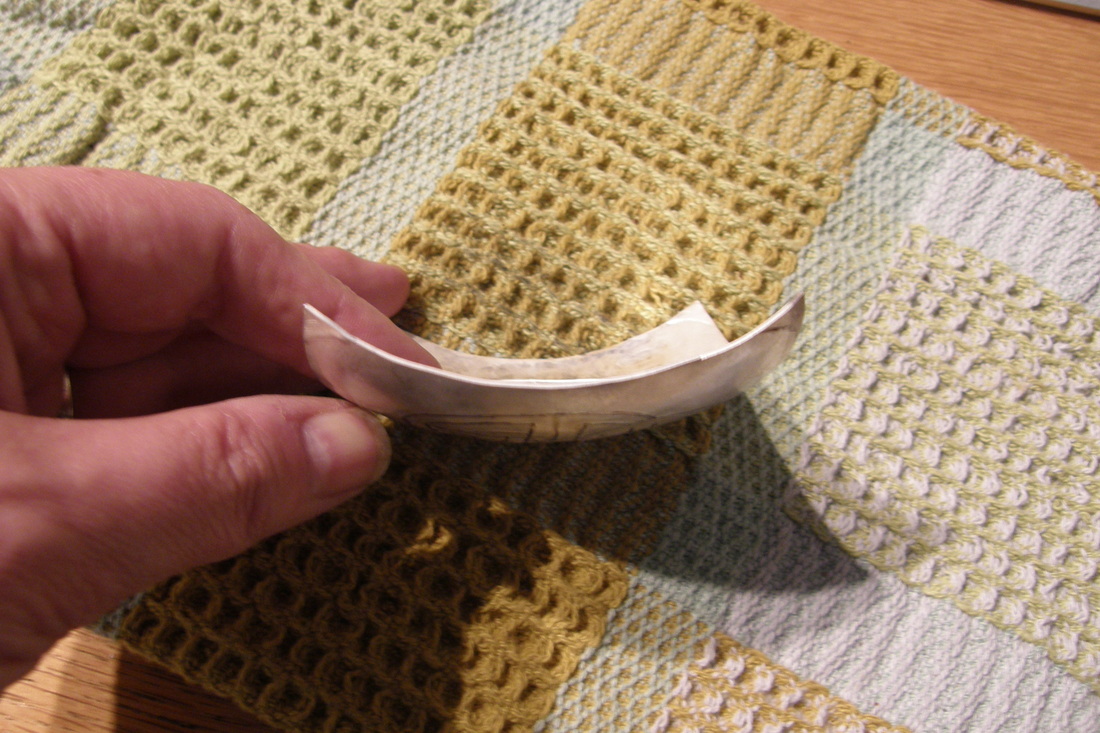
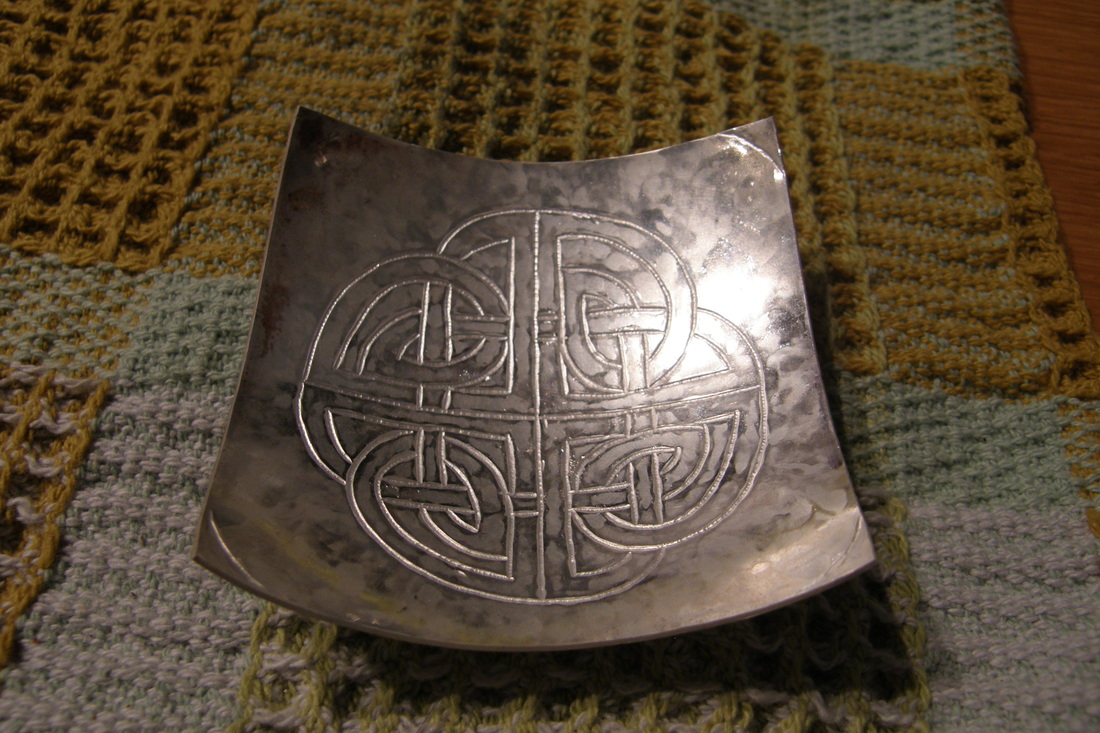
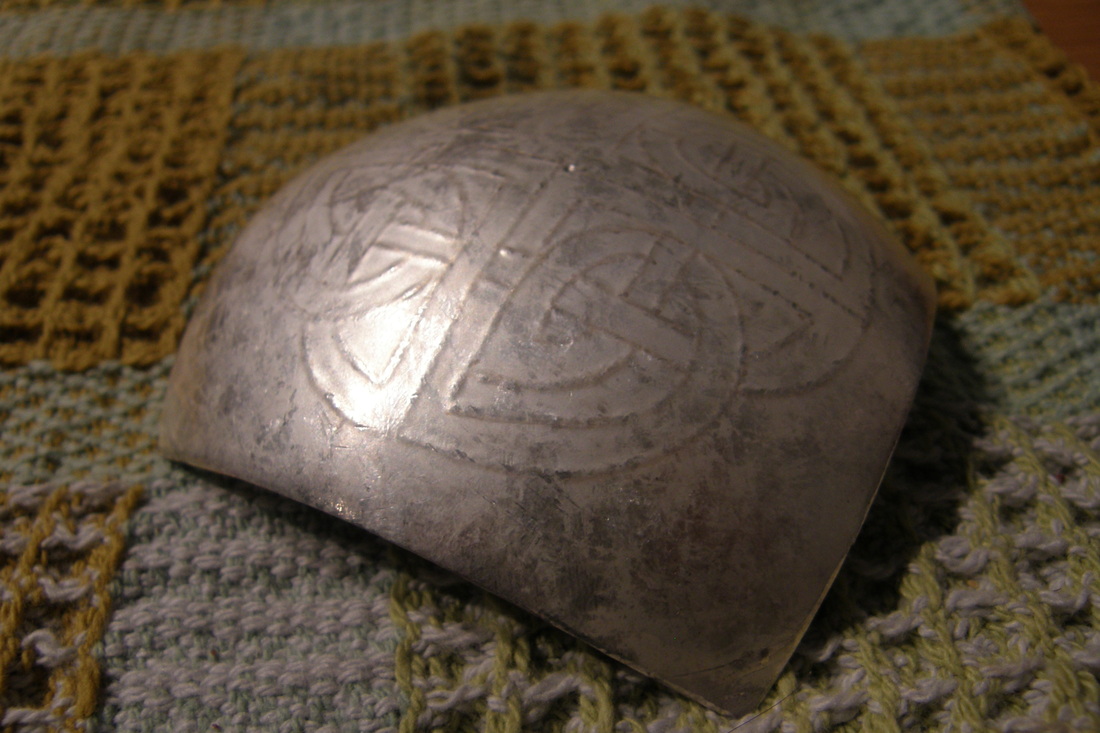
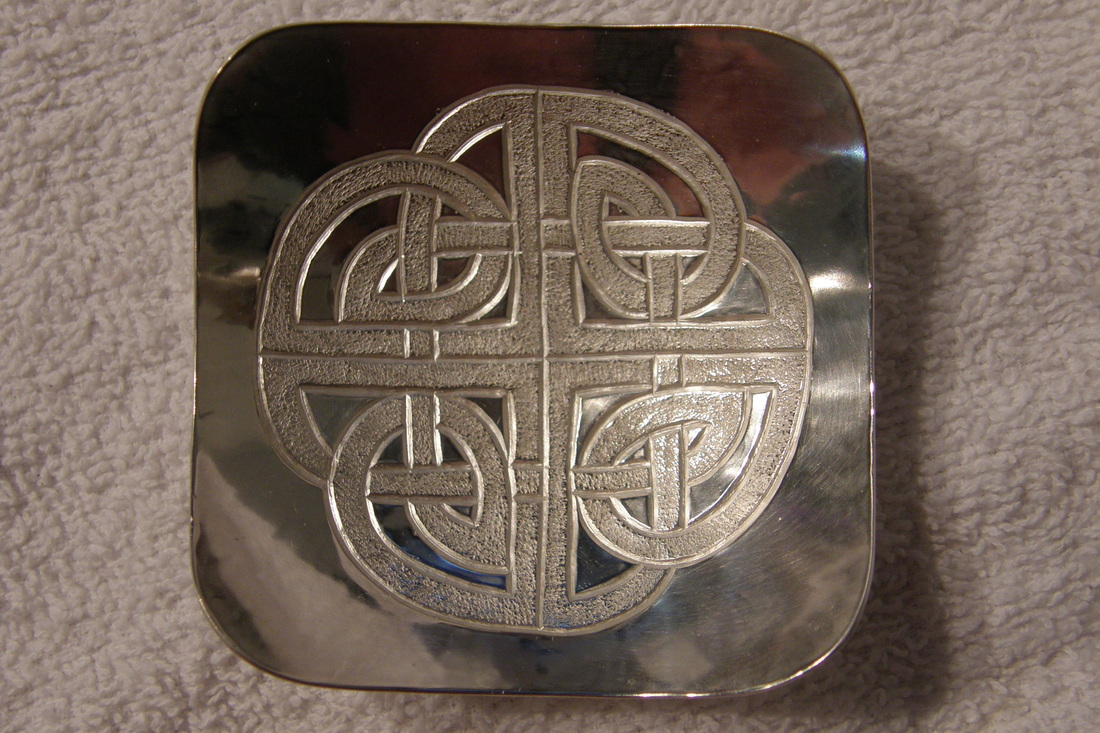
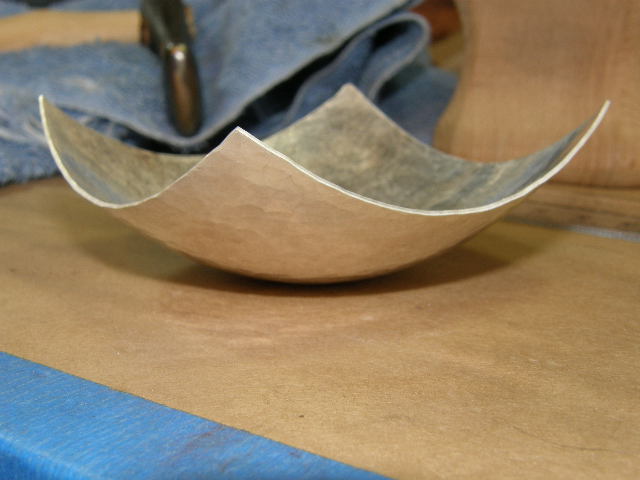
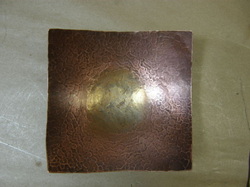
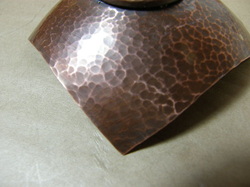
I started the day, before they arrived, annealing, winding, and sawing the ring bases for their bowls. The ladies arrived just before 10 am and into the studio we went!  After "The Safety Discussion", the ladies stamped their initials in the center of one side - this would become the bottom/outside of the bowl. Then they learned how to use the jewelers saw to round the corners. We moved on to sanding the edges and how to make sanding sticks. I then demonstrated polishing the copper to soften all edges and to remove the scratches, while the copper was flat so there was less work to do after the bowl was formed.  Then came the hammering - sinking into the custom wood forms I have had made over the years, and how to anneal in-between each round of going deeper.  When each was happy with the shape and depth of their dish it was time to go to the stake stump and they learned planishing and after that I worked with each of them to solder a ring base on; I did the soldering but they assisted by watching for the flow of the solder and turning the turntable, so I could focus on heating and soldering; they also quenched their dishes and put it in the pickle.  Lastly, they did a final polish and their bowls were done. 

As we sat around the table, after the class, discussing what they learned they asked what they could learn next! 
I guess I need to start planning another class.
1 Comment

Superbowl Challenge IX - The 2017 Edition

2/5/2017

1 Comment

 
It is that time of year again, when Wendy over at Hammermarks has the Superbowl Challenge and this is the ninth year. 
​I was going to do a fabric bowl this year but then I got busy at work and it even overflowed into my weekends so I gave up on that.

Instead I did a forged and sunk copper dish - what else!

I used a drop hammer to forge the edges and then gently sunk the middle. I used 6" square copper that is 0.125" thick or gauge 8.
I then had to pickle it and gave it a good polish. It sat for a week and then began to tarnish, so I cleaned it again (yesterday) and then went into the garage to create the Red Oxide Patina.   This took almost an hour with the setup, heating and quench.  I let it sit and then had to polish it again to bring up the color and then put a good coat of wax on it. This morning I buffed the wax and took pictures.    

I really like it but I think I heated it a bit too much. The red is deep and on the back side, without proper lighting, it look almost black. Then on the inside of the bowl,  the forged areas are on the border between red and black.  I still have some work to do on how to limit or prevent the black oxide from forming.  

I hope you enjoy this slide video (with music!) that shows the process. 
​
1 Comment

The Blood Orange Dish - AYoR #5

5/26/2014

1 Comment

 
The fifth project is now done and I am still on track with one project per month but this one was close.
  
My long term goal is to make vessels with Chasing & Repousse and this was my second project that falls under this category during my AYoR.  The first project, the tool canister, in this series was the first chasing on a 3-D form I had done.

This project started with a different name which was The Deco Dish but after the patina was applied, the different chased sections with the red just yelled BLOOD ORANGE. 

This project also took several months complete and had many gaps in time due to other projects and workshop sneaking in. 

Project Name: The Blood Orange Dish.
Material: Copper Sheet, Sterling Silver Rim with a Sculpt Nouveau Brown Solvent Dye under coat and the Red Dye-Oxide overcoat.

Major Points:
The dish was sunk by me back in December of 2013. The chasing & repousse was done in January and February of 2014, the rim and patina applied in May 2014. Yes a project can take months!

Related Posts: Tray Good, Counting and Planishing, New Vessel Planished, Deco Bowl, Deco Dish - Chasing Done, Rim, The Patina Predicament 

Lessons Learned: 
Soldering the rim - make sure the rim is large enough in diameter to be centered on the edge of the dish, you can make it smaller but not bigger.
Patina - If working with a new patina, don't learn how to "make it" just before you want to apply it. Set aside several weekends to practice the technique. 

1 Comment

Deco Bowl

3/16/2014

1 Comment

 
Back in January, I sunk a small bowl down at Diane's house while also helping her make one too.

Then I planished it.  

Now I am doing the chasing and repousse on it and it has been given the name "The Deco Bowl".

Yesterday I finished the repousse and this morning I completed the lining. I can now move on the the chasing. 

When it is almost done, I will cap the rim with a silver wire.

I hope to finish it before April as I will be back in Brooklyn at Valentin Yotkov's studio for another workshop and I want to show it to my friends who will also be there.

So for now here are lots of process pictures of the lining and repousse - I know everyone enjoys seeing these and look at the links above to see the forming and planishing process.
1 Comment

A (small) Commission

9/8/2013

 
I was commissioned to make a small "thank you" present. 
The design is a small (3" square) sunk dish with some chasing on the inside. Originally the  design was to have been repoussed but I felt that it would have looked odd, the raised design inside a small sunk area. The final decision was to just chase the design and it looks good.  

What it took:

1/2 hour for design
1/2 hour for inserting into pitch pot and doing the initial lining 
3/4 hour for forming/annealing, repeat a few times
3 hours put back in pitch pot and the chasing design
1/2 hour to anneal and get back into shape
1 hour to file, sand and shape corners
1 hour initial polishing
1 hour to make and attach ring base on bottom
2 hours of hand polishing.
Total:  10.25 hours and a good feeling of accomplishment


Here the process pictures.

Getting my hammering mo-jo back

11/25/2010

 
Despite it being almost a month from the smashing event, I have realized that I was still a bit hammer shy and was avoiding starting a new piece.  This being Thanksgiving day, I am off from work and have no company to cook for, it seemed the perfect time to start something new.  

Over my morning coffee, I pondered the question: "What would be nice to make but not too complicated so I could have a nice feeling of accomplishment?" 

First Answer: Make a silver version of the Dish-J. 
Second Answer: Raise a simple silver cylindrical form.

For both, I started with a 3" square of 20 gauge sterling silver. One is made via sinking, the other via raising.  

I have the sinking on the Dish-J completed but I have to order some 12 gauge wire for the base which means I can't really finish it until next weekend.  I am part way "up" with the cylindrical form too. 

When I have completed them, they will be up for sale.

I have just put the potatoes in the over to bake;  I have poured myself a wee dram of Scotch and I shall resume tomorrow (it is 4:30 pm)

Here is an in-process pictures of each. 

Back to the Stake... and a prototype

11/14/2010

 
A few weeks ago I was demoing sinking on a scrap piece of copper that was square. I ended up with what I thought was a pretty nice little dish.  

Today I got back to that design and I made my prototype, I made the dish, planished it, and then added a ring base. I had to go back a planish again since the soldering annealed the piece again (note to self: invent way to solder a base onto a vessel and NOT have the piece get annealed). 

My solder job was only so-so, I was afraid of too much solder and ended up not using enough and now I have some gaps. I have to work on this more but for my sample I am ok with there being some gaps in the solder joint between the ring and the bowl. 

After a good cleaning I added a patina.  

Now I have to make a production piece out of silver and copper and in many sizes...I am calling it 'Dish-J'
Picture
Picture

    RSS Feed

    How to Aquire Your Own Shop Elf

    Archives

    October 2020
    August 2020
    March 2020
    December 2019
    November 2019
    October 2019
    September 2019
    August 2019
    July 2019
    June 2019
    May 2019
    March 2019
    February 2019
    January 2019
    December 2018
    November 2018
    October 2018
    September 2018
    August 2018
    July 2018
    May 2018
    April 2018
    February 2018
    January 2018
    November 2017
    October 2017
    September 2017
    July 2017
    June 2017
    May 2017
    April 2017
    March 2017
    February 2017
    January 2017
    December 2016
    November 2016
    October 2016
    September 2016
    August 2016
    July 2016
    June 2016
    May 2016
    April 2016
    March 2016
    February 2016
    January 2016
    December 2015
    November 2015
    October 2015
    September 2015
    August 2015
    July 2015
    June 2015
    May 2015
    April 2015
    March 2015
    February 2015
    January 2015
    December 2014
    November 2014
    October 2014
    September 2014
    August 2014
    July 2014
    June 2014
    May 2014
    April 2014
    March 2014
    February 2014
    January 2014
    December 2013
    November 2013
    October 2013
    September 2013
    August 2013
    July 2013
    June 2013
    May 2013
    April 2013
    March 2013
    February 2013
    January 2013
    December 2012
    November 2012
    October 2012
    September 2012
    August 2012
    July 2012
    June 2012
    May 2012
    April 2012
    March 2012
    February 2012
    January 2012
    November 2011
    August 2011
    July 2011
    June 2011
    May 2011
    April 2011
    March 2011
    February 2011
    January 2011
    December 2010
    November 2010

    Jan - Nov 2010 History
    File Size: 2272 kb
    File Type: pdf
    Download File

    Jan - Dec 2009 History
    File Size: 2332 kb
    File Type: pdf
    Download File

    Categories

    All
    42
    A Year Of Repousse
    Blacksmithing
    Blogoversary
    Box Project
    Business
    Chasing & Repousse
    Commission
    Education
    Embroidery
    Enamel
    Entries
    Entry
    Exhibition
    Facebook
    Filing
    Fold Forming
    Gold
    Holloware
    Hot Forging
    Hydraulic Press
    Jewelry
    Keum-boo
    Learning
    Leather
    Market
    Metal
    Patina
    Photography
    Polishing
    Publications
    Raising
    Sanding
    Santa Fe Symposium
    Shop Elf
    Sinking
    Social Media
    Soldering
    Store
    Studio Visits
    Superbowl Challenge
    Teaching
    Teapot Project
    Technique
    Temari
    Tin
    Tools
    Vessels
    Visiting Workshops
    Weaving
    Website
    Workshop
    Yubinuki

Powered by Create your own unique website with customizable templates.