Follow Me On:
The Adventurous Silversmith
  • Home
  • Blog
  • Portfolio
    • Metal Work >
      • Chasing & Repousse
      • Holloware
      • Jewelry
      • Other Wonderful Items
    • Fiber Arts >
      • Temari
      • Yubinuki
  • Resources
    • Library
    • Tools & Equipment
    • Links
  • About
    • Artist Statement
    • Curriculum Vitae
    • How it is Made
    • Contact

Technical Drawings

1/7/2017

0 Comments

 
I am trying to clear my to-do list of lots of little tasks - some are personal items, some for The Adventurous Silversmith.  

Thus I have come to the "make stakes" for the teapot project.  One of the prep items for this was to talk to Kevin Potter of PotterUSA, when I pass through Tucson, Az a few weeks ago when coming back from Texas. He said he would make the stake heads for me and to just send him the drawings. 

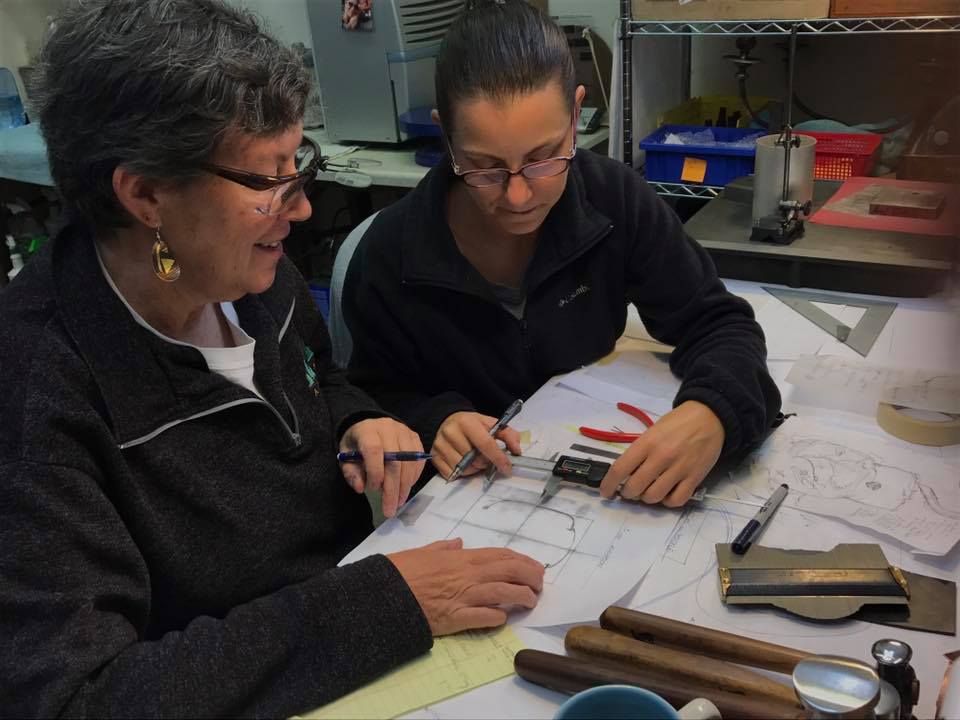
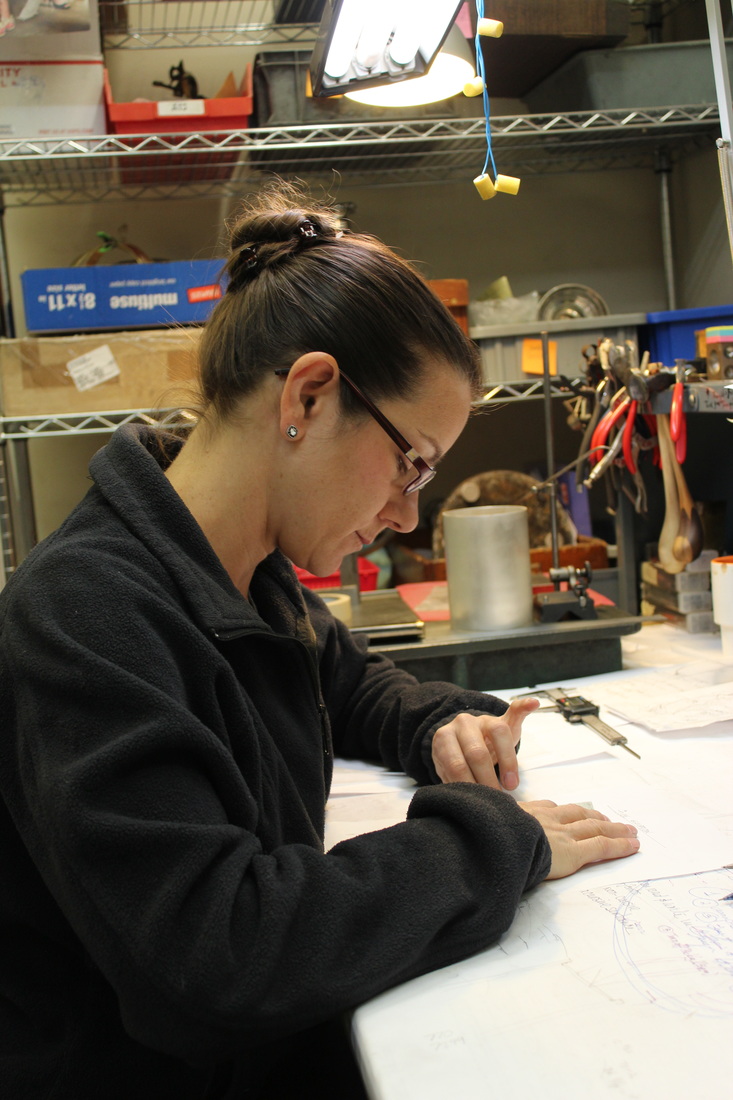
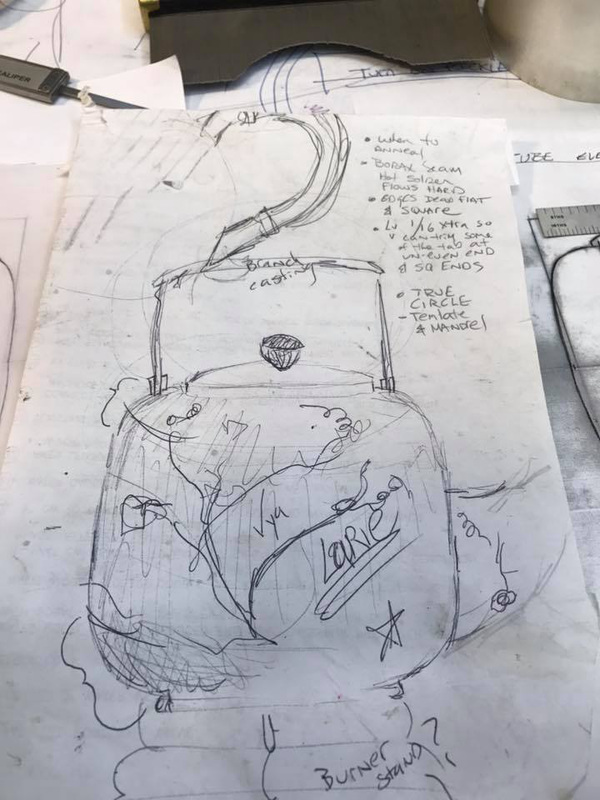
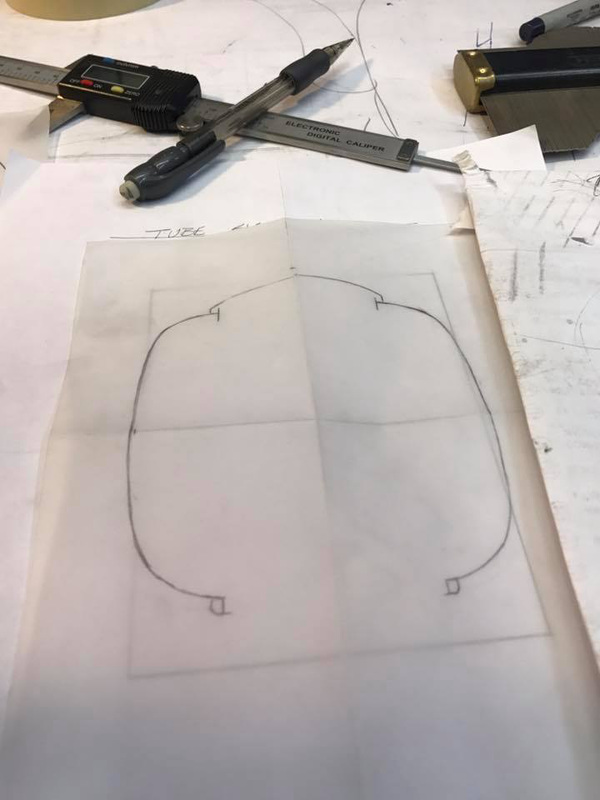
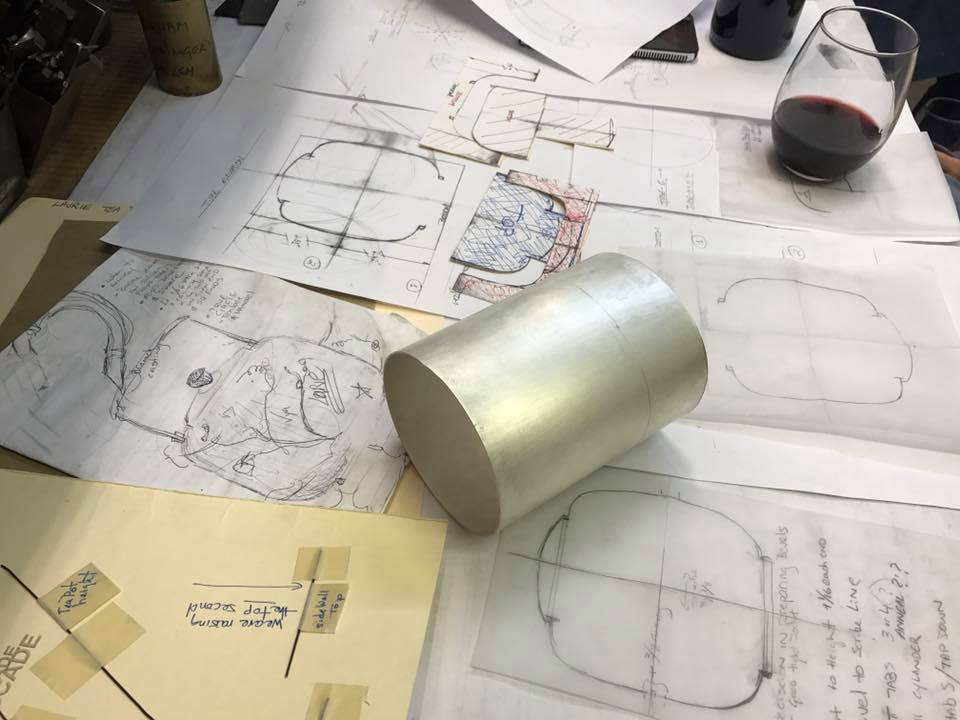
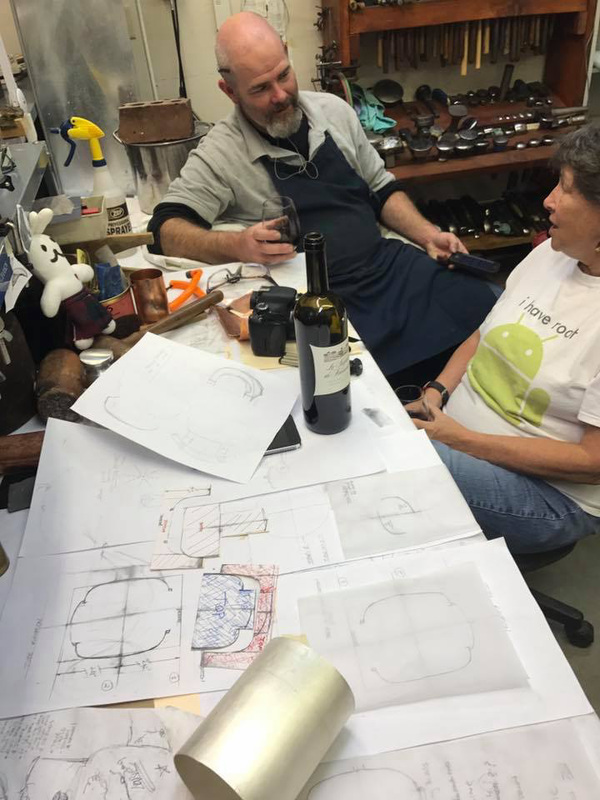
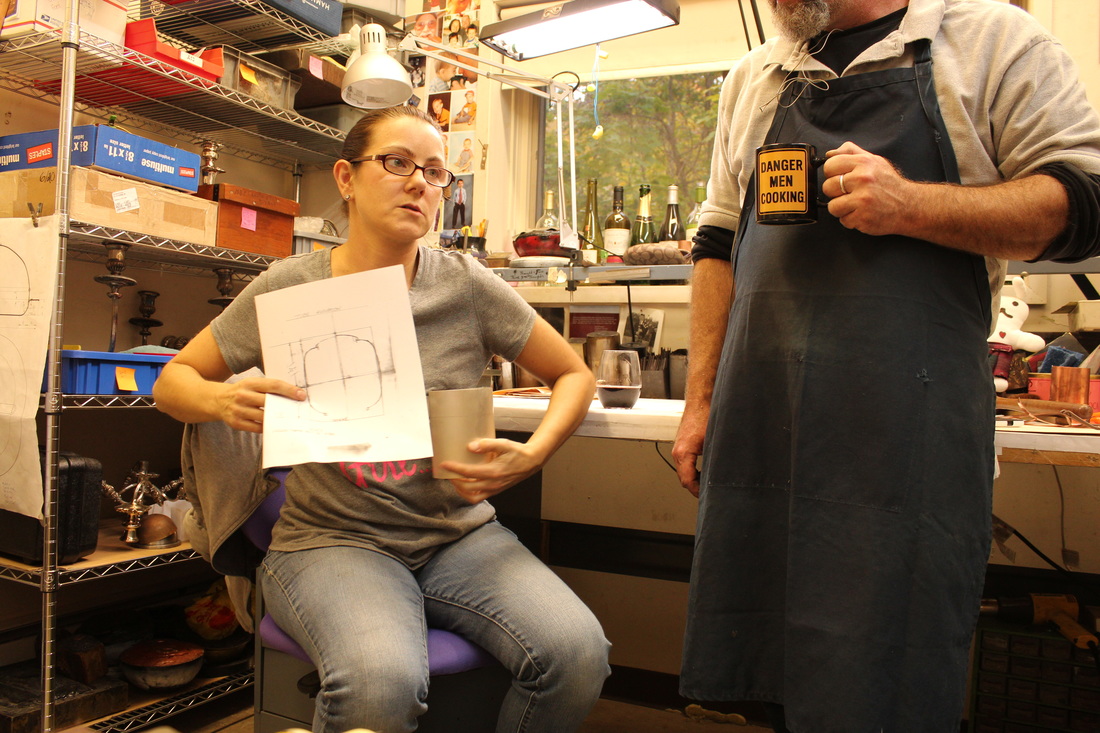
Which brings us to to now.  I have to do four drawings: The planishing stake, the rounding stake, the upper top curve, and the lower bottom curve. 

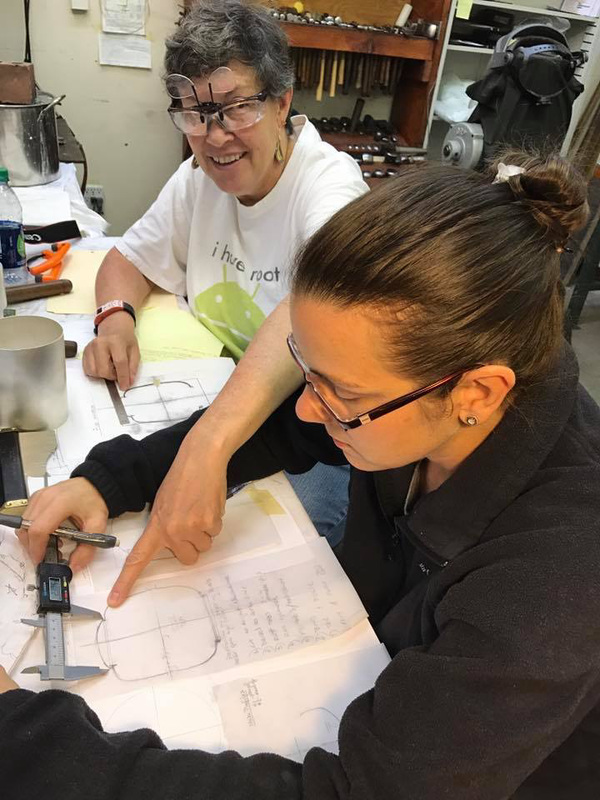
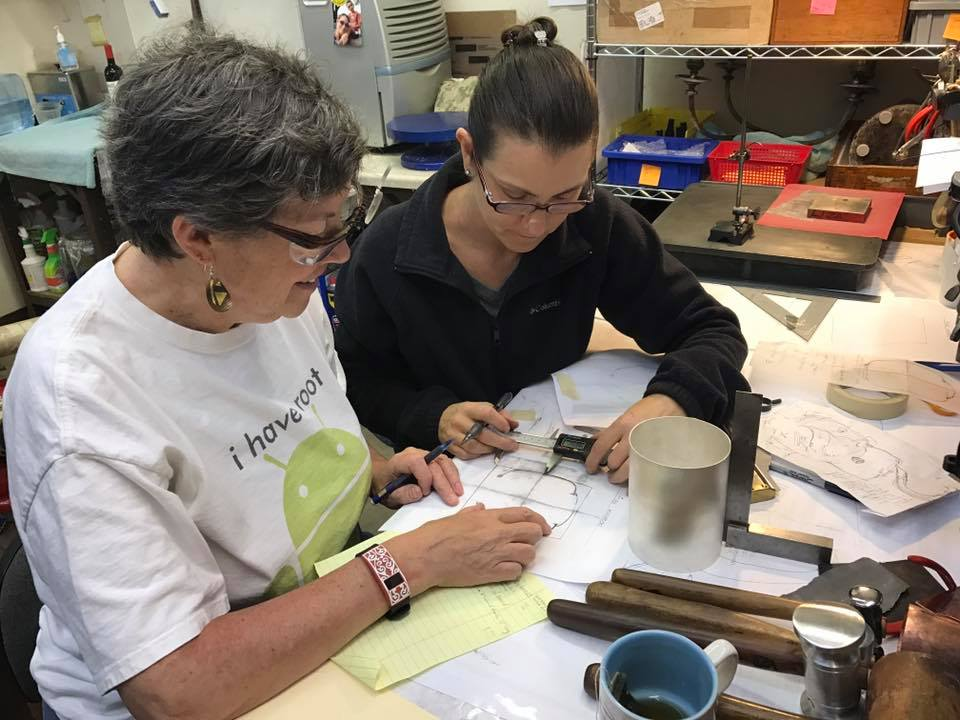
I use QCAD to do my drawings so I can then print them out - or send along and get them made.  I have templates for the curves but I must measure them, several times, before I actual enter the information into the program. 
Picture
Picture
Picture
Picture
0 Comments

The Teapot Project Continues

11/5/2016

 
Last week I took another trip to Nechamkin Silver Studio for the next lesson(s) on the Teapot Project.   

This week I learned many things.   1) cleaning the solder joint inside and out, 2) fix any pin holes, gaps, and under cuts,  3) heavy planish the seam, 4) truing the tube, and 5) planning the next step which is raising the top and bottom.

We started off with how to properly clean the excess solder off the solder joint which is lots of filing and gentle sanding but not taking off the silver; just the solder.   Once that was done we could evaluate the seam to determine what gaps and pin holes had to be fixed and why. Then we moved onto heavy planishing of the seam to get a consistent wall thickness.  All of this consumed 3 days. On the the 4th day and my last with Liza, this week, we trued up the seam and then we could get to work refining the design. We had to take measurements from the sketches and the tube to determine where to start the raising at each end and from there we made our templates. From the templates I can cut/carve wood stake models which I will then have cast.  Then the other design elements had to be considered - spout shape and size the handle shape and where to place both, the lid shape and how to fit the lid to the pot and the bottom rim or feet?  

One must not forget an important part of tea pots - how does it pour? Many a teapot do not pour correctly because the spout is too short or too long which can cause the tea to spill out the lid or placed to high on the pot wall such that the last bit of tea can't be poured.  And the pot handle - can you get the lid off and on easily? Does the pot have a vent hole to facilitate the tea flow?? 

I now have lots of homework to do before I return next year:
1) make 1 if not 2 more tubes, in brass,  so we can use them for practice raising. This means they have to be soldered and cleaned to the point where we ended, this week
2) make a stake for truing the tube(s) because when you heavy planish, the tube is no longer round.
3) get the raising stakes made - so I have to cut the wood and get them cast. Finding a casting house will be fun!
4) study teapot design and make some choices for the spout, handle, lid and lid finial, and the bottom - feet or rim?

Here are lots of pictures ... 

Making A Teapot - Session One

10/10/2015

 
Two weeks ago I was Nechamkin Silver Studio to start what I consider to be an essential project for silversmiths. I am going to say it is a must on the silversmith's "bucket list"  - THE TEAPOT.  

Note: we are talking traditional silversmith, not a present day silversmith who makes jewelry out of silver.  A traditional silversmith how makes hollowware such as bowls and other vessels, trays, dishes, cutlery; and other functional items.

Making a teapot has been on my list of things to learn and make since I started on this path over 5 years ago. Actually it was on my list since I was a little kid and read about silversmiths and now I am finally starting the project.

I have read as many books as I can get my hands on about raising and the various parts of the teapot - the body, the spout, the handle, the lid and the feet or support on the bottom. Then there is the making of the parts - the raising, sinking soldering, making patterns and more. BUT until you start planning and making one, the concept of how much time and effort it takes starts to sink in (yeah, that's a metal pun) and unless you have someone to guide in mentor you, the teapot can be an exceptional failure. 

That brings us to earlier this year when Liza Nechamkin and I started to plan this project which will take many visits to her studio and a lot of homework on my part afterwards to either practice what I learned in each studio visit or to move the project along. 

Which brings us to two weeks ago, which was the first session - Making the body of the teapot.  Way back when, many teapots had raised bodies but raising a body can take time and can be tea-dious (see another pun) and so the body of this teapot will be seamed.     The best seam for long tubes is lapped and keyed which is what I learned to do on the first day of my visit along with forming the sheet into the tube and wiring it for soldering.  On the second day I soldered the tube with hard and I mean HARD solder.  Trust me hard solder does not like to flow and getting a 6" long seam soldered is difficult - imagine that easy solder flows like butter when melted; then hard solder flows like frozen cheese!  Plus the tube started out as 12" long and is 18g (0.04") thick which requires massive amounts of heat to just bring it up to temperature and THEN you have to solder it with hard solder.    

But before I soldered the silver tube, I made a practice tube out of copper with the lapped and keyed seam so I had twice the practice of doing it all including the soldering. 

The soldering was done in three phases - tacking it, the soldering and then the fixing of areas where the solder did not flow or did not flow enough.  The entire process was nerve wracking to say the least but I did it with Liz's wonderful instruction.

Now I have a massive tube of silver on my workbench.  Next time we will clean up the solder and planish the seam and THEN we will raise the top and bottom in.  Until that next session, which will be sometime next year, I will be practicing making lapped and keyed seam and soldering the seams closed.  Hmm, tricket boxes?

Here is a video of the process, enjoy. 

    RSS Feed

    How to Aquire Your Own Shop Elf

    Archives

    October 2020
    August 2020
    March 2020
    December 2019
    November 2019
    October 2019
    September 2019
    August 2019
    July 2019
    June 2019
    May 2019
    March 2019
    February 2019
    January 2019
    December 2018
    November 2018
    October 2018
    September 2018
    August 2018
    July 2018
    May 2018
    April 2018
    February 2018
    January 2018
    November 2017
    October 2017
    September 2017
    July 2017
    June 2017
    May 2017
    April 2017
    March 2017
    February 2017
    January 2017
    December 2016
    November 2016
    October 2016
    September 2016
    August 2016
    July 2016
    June 2016
    May 2016
    April 2016
    March 2016
    February 2016
    January 2016
    December 2015
    November 2015
    October 2015
    September 2015
    August 2015
    July 2015
    June 2015
    May 2015
    April 2015
    March 2015
    February 2015
    January 2015
    December 2014
    November 2014
    October 2014
    September 2014
    August 2014
    July 2014
    June 2014
    May 2014
    April 2014
    March 2014
    February 2014
    January 2014
    December 2013
    November 2013
    October 2013
    September 2013
    August 2013
    July 2013
    June 2013
    May 2013
    April 2013
    March 2013
    February 2013
    January 2013
    December 2012
    November 2012
    October 2012
    September 2012
    August 2012
    July 2012
    June 2012
    May 2012
    April 2012
    March 2012
    February 2012
    January 2012
    November 2011
    August 2011
    July 2011
    June 2011
    May 2011
    April 2011
    March 2011
    February 2011
    January 2011
    December 2010
    November 2010

    Jan - Nov 2010 History
    File Size: 2272 kb
    File Type: pdf
    Download File

    Jan - Dec 2009 History
    File Size: 2332 kb
    File Type: pdf
    Download File

    Categories

    All
    42
    A Year Of Repousse
    Blacksmithing
    Blogoversary
    Box Project
    Business
    Chasing & Repousse
    Commission
    Education
    Embroidery
    Enamel
    Entries
    Entry
    Exhibition
    Facebook
    Filing
    Fold Forming
    Gold
    Holloware
    Hot Forging
    Hydraulic Press
    Jewelry
    Keum-boo
    Learning
    Leather
    Market
    Metal
    Patina
    Photography
    Polishing
    Publications
    Raising
    Sanding
    Santa Fe Symposium
    Shop Elf
    Sinking
    Social Media
    Soldering
    Store
    Studio Visits
    Superbowl Challenge
    Teaching
    Teapot Project
    Technique
    Temari
    Tin
    Tools
    Vessels
    Visiting Workshops
    Weaving
    Website
    Workshop
    Yubinuki

Powered by Create your own unique website with customizable templates.