Follow Me On:
The Adventurous Silversmith
  • Home
  • Blog
  • Portfolio
    • Metal Work >
      • Chasing & Repousse
      • Holloware
      • Jewelry
      • Other Wonderful Items
    • Fiber Arts >
      • Temari
      • Yubinuki
  • Resources
    • Library
    • Tools & Equipment
    • Links
  • About
    • Artist Statement
    • Curriculum Vitae
    • How it is Made
    • Contact

Memorial Day Weekend Project

5/30/2016

 
I like having a 3 day weekend because I can work on a project and IF I planned correctly, I can finish it; and I have done just that.

What was this weekends project? A leather notebook cover with a chasing & repousse panel. I have wanted to do a panel on a book for quite a while but this project has been pushed down the to-do list many times due to prep-work for workshops or commissions or LIFE in general.

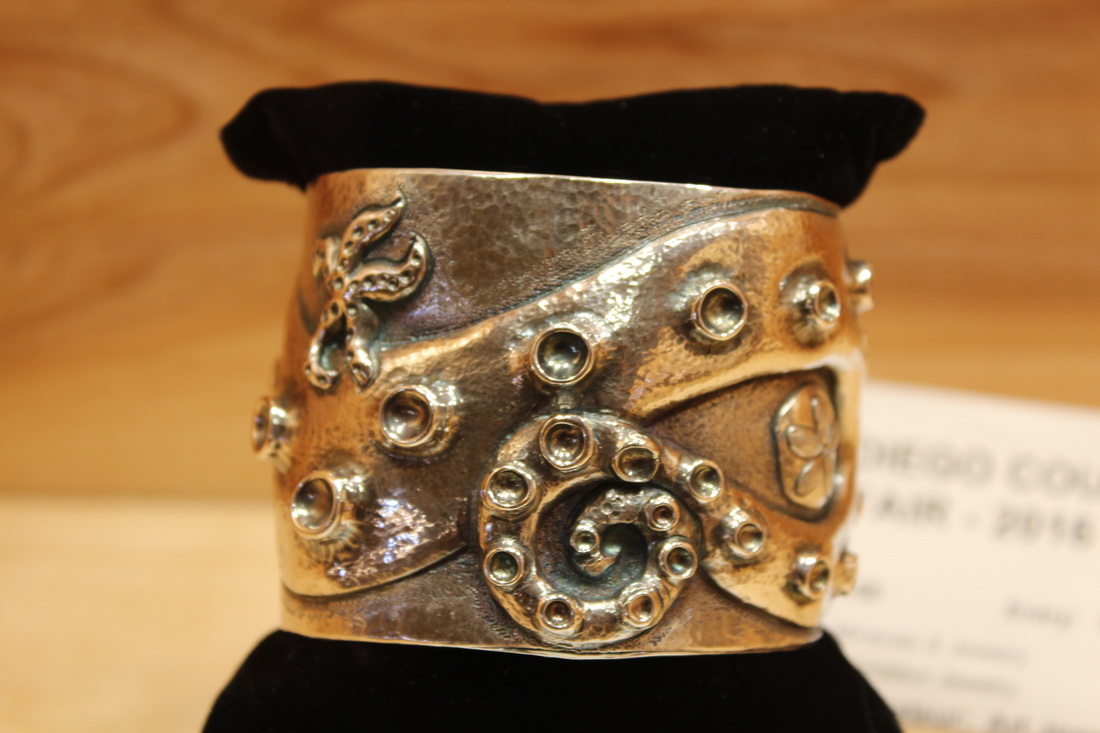
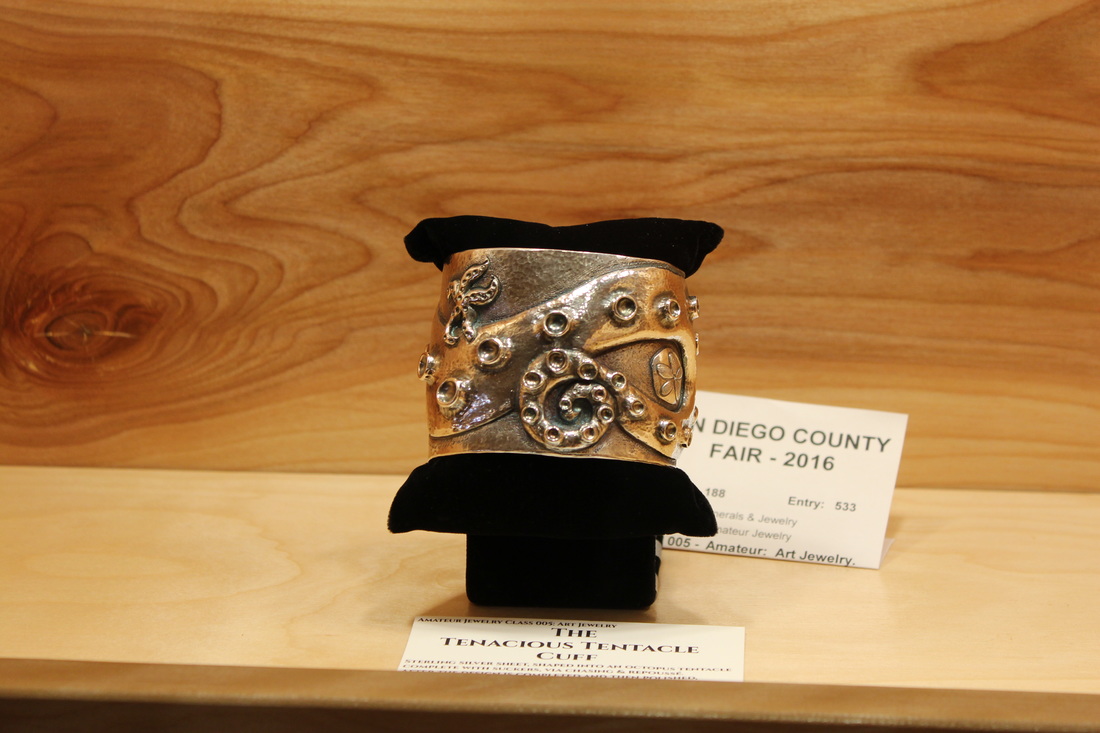
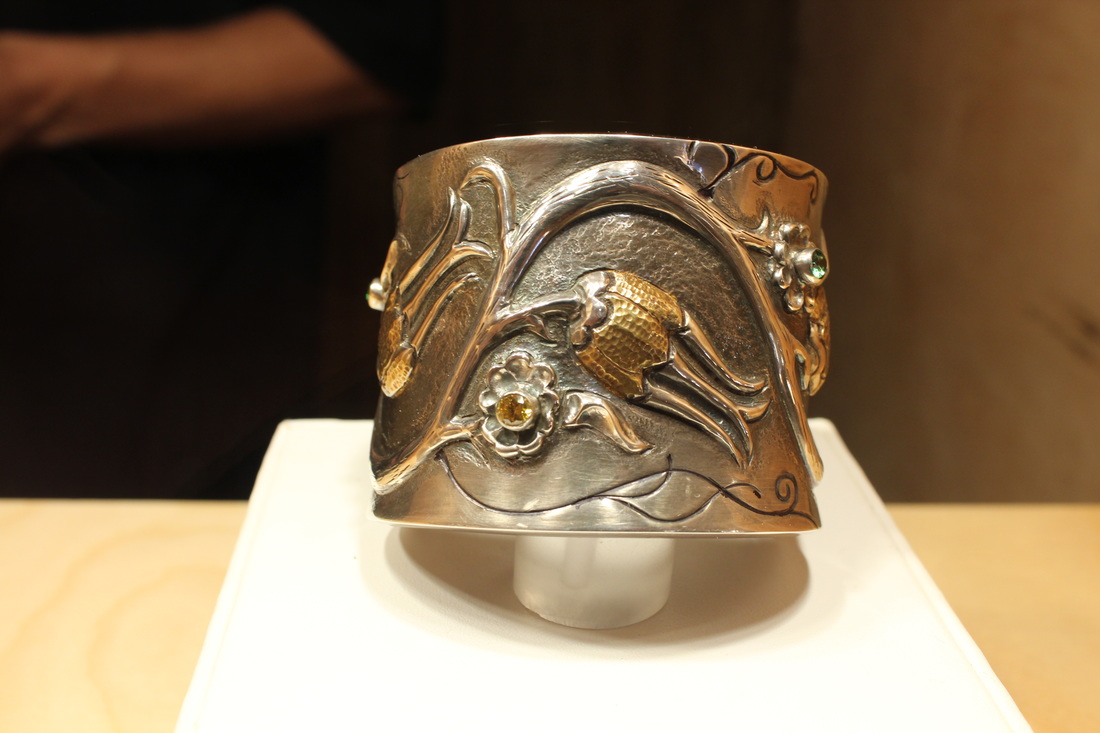
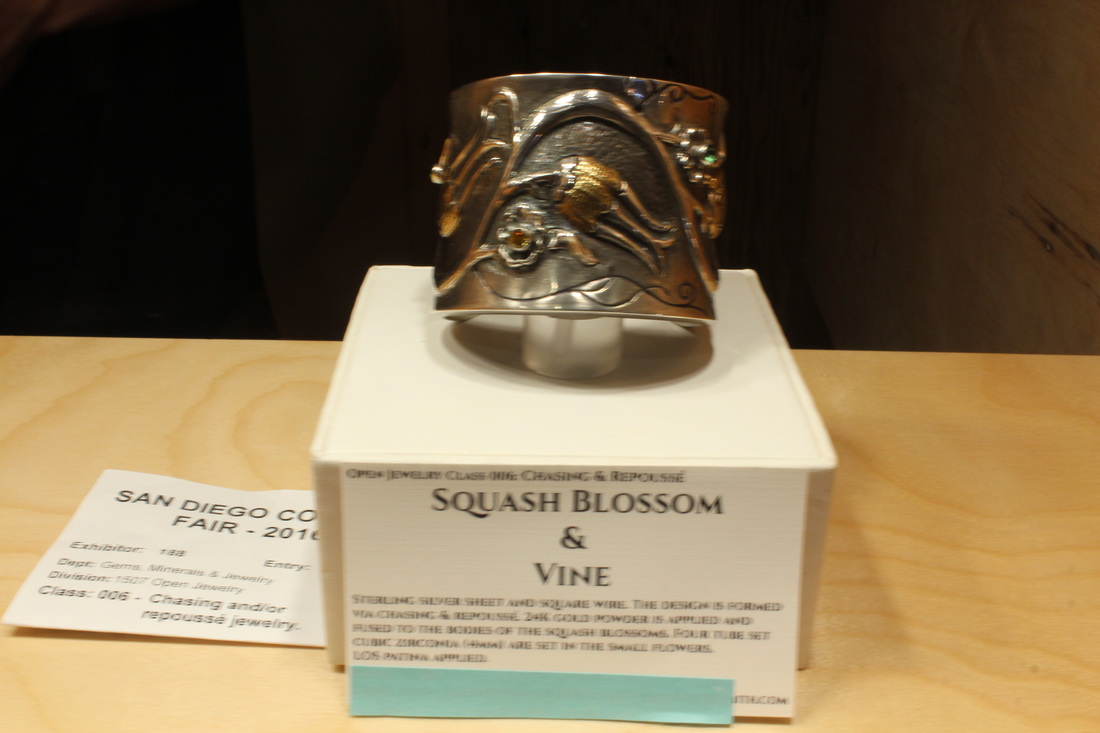
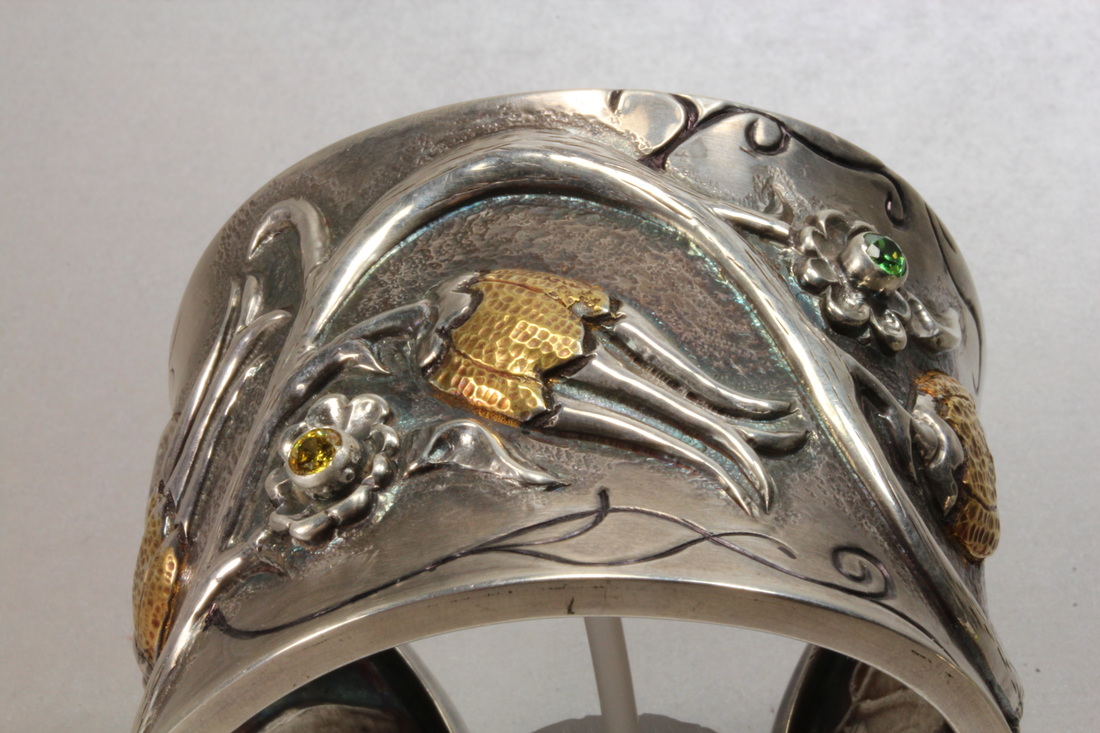
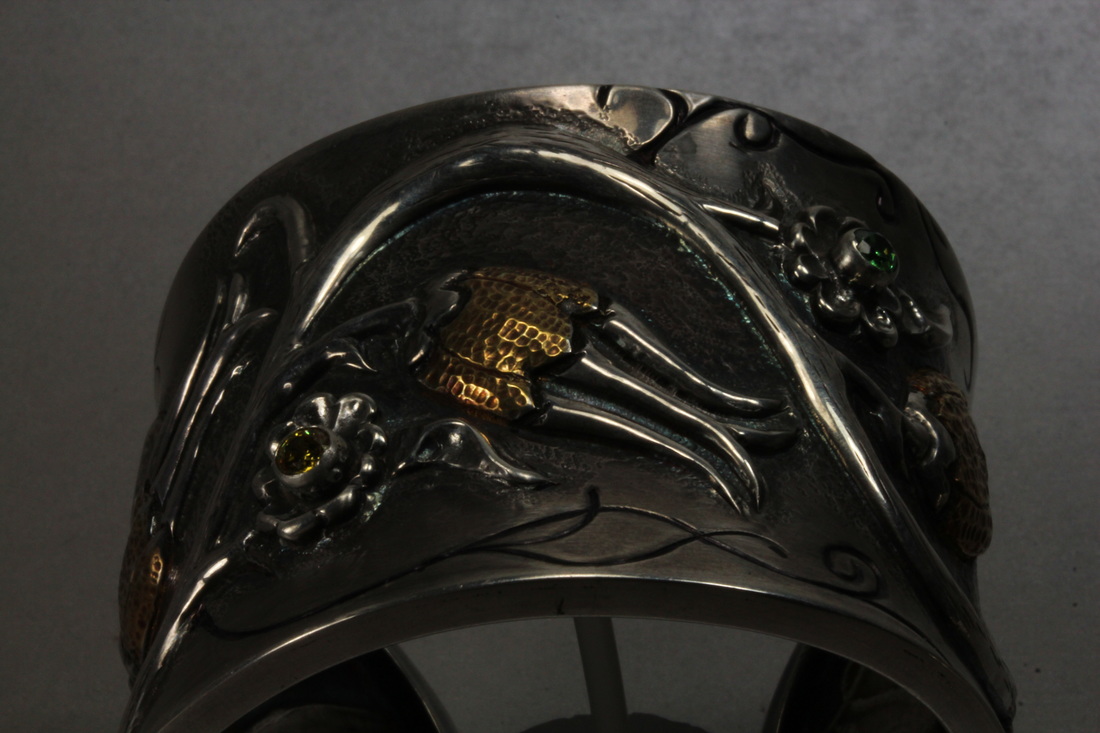
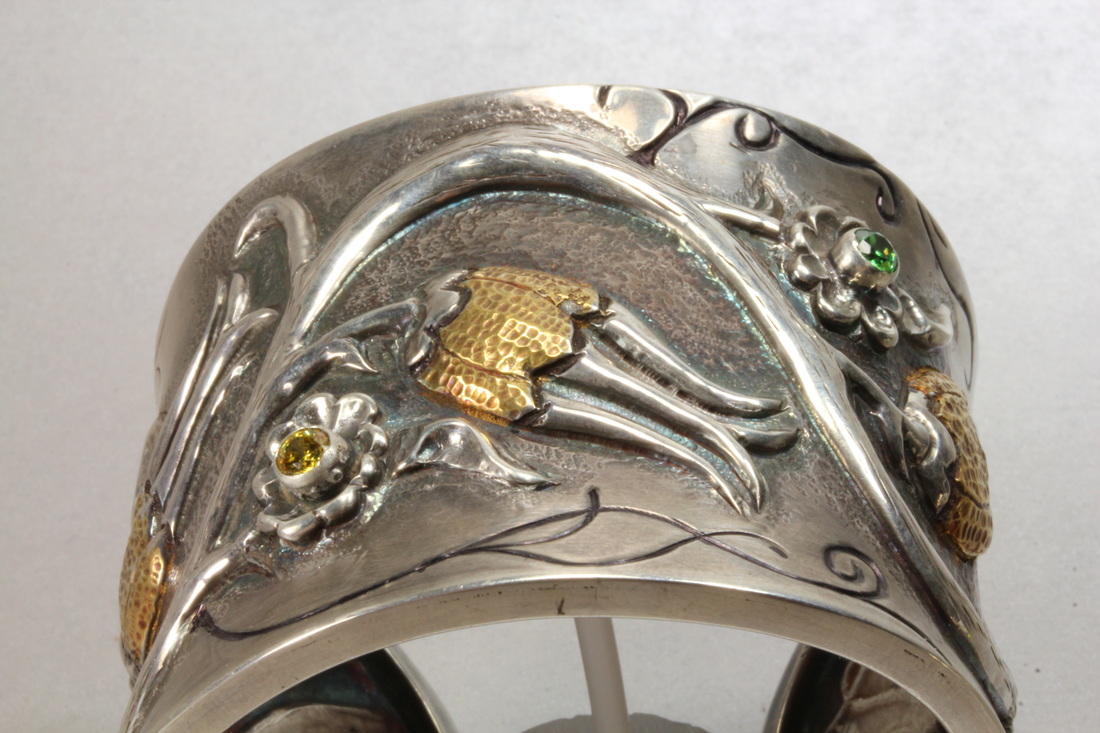
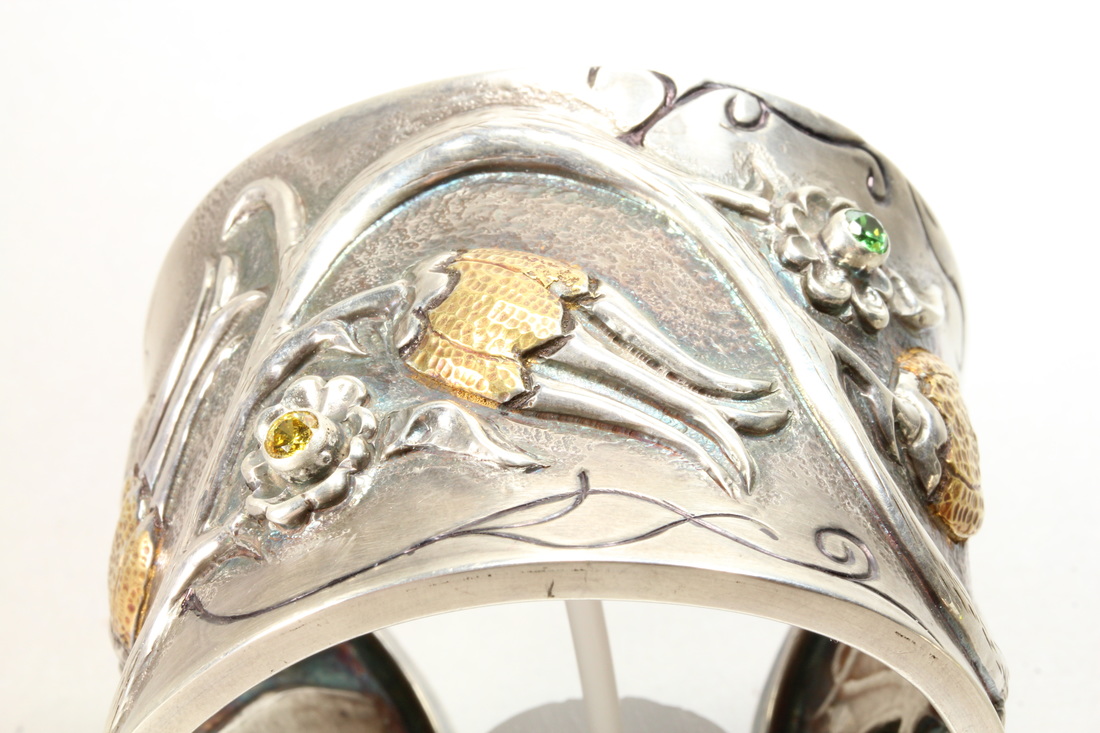
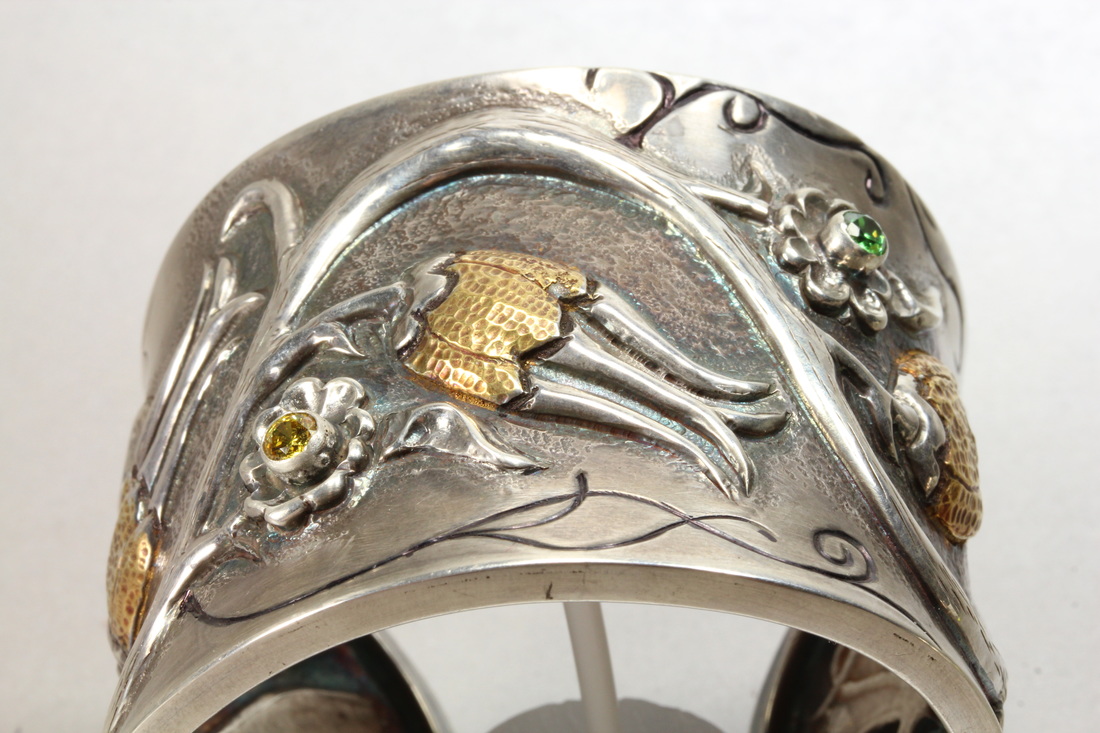
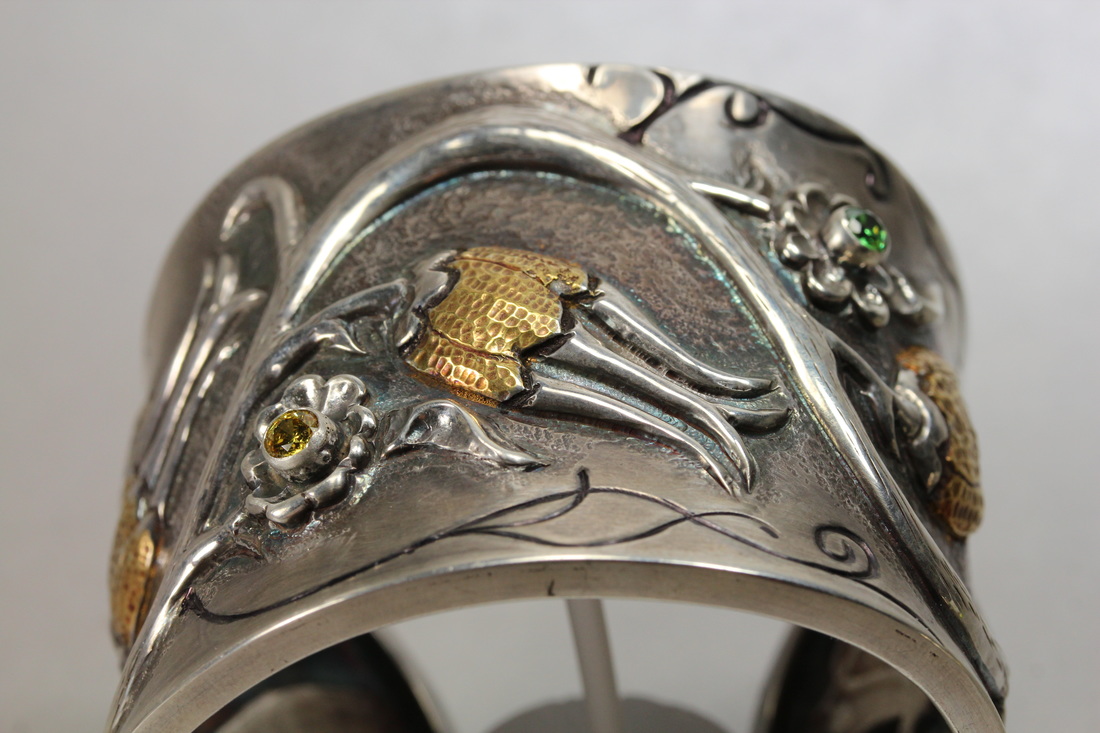
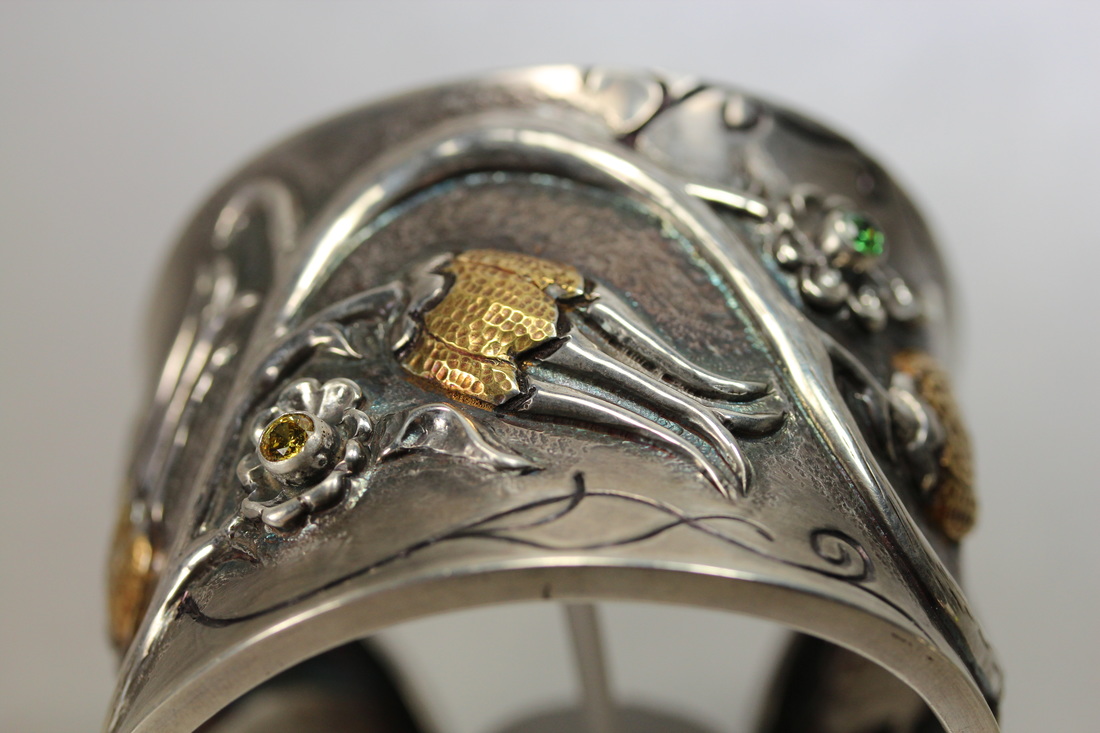
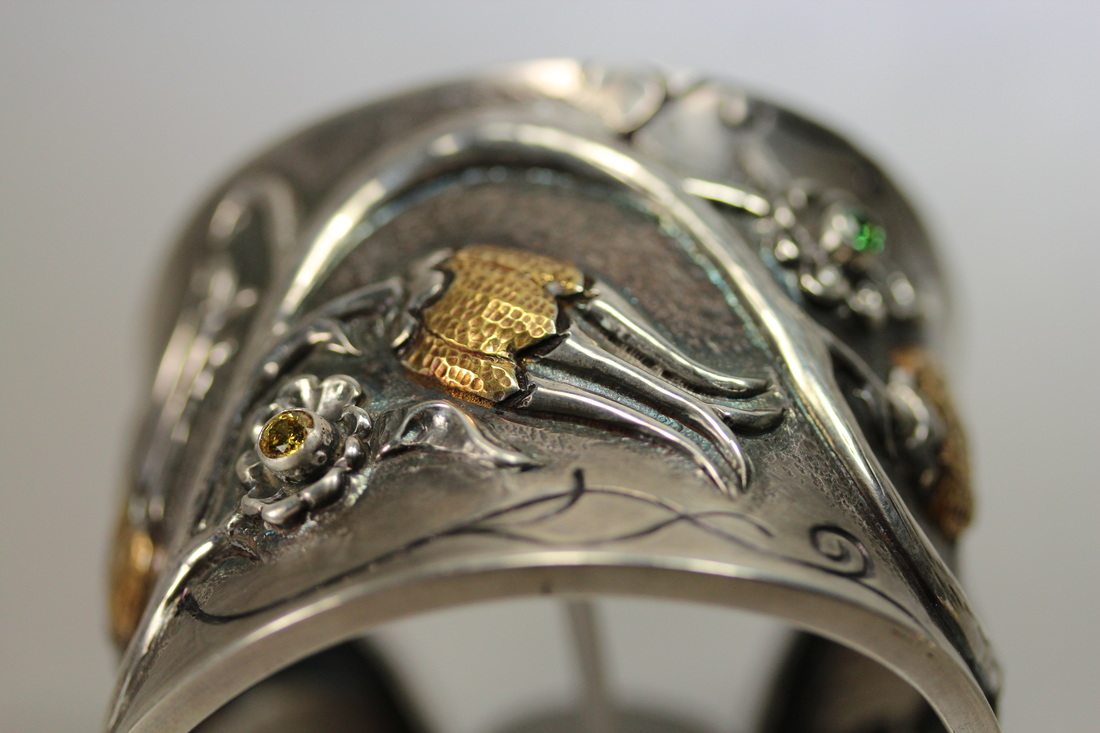
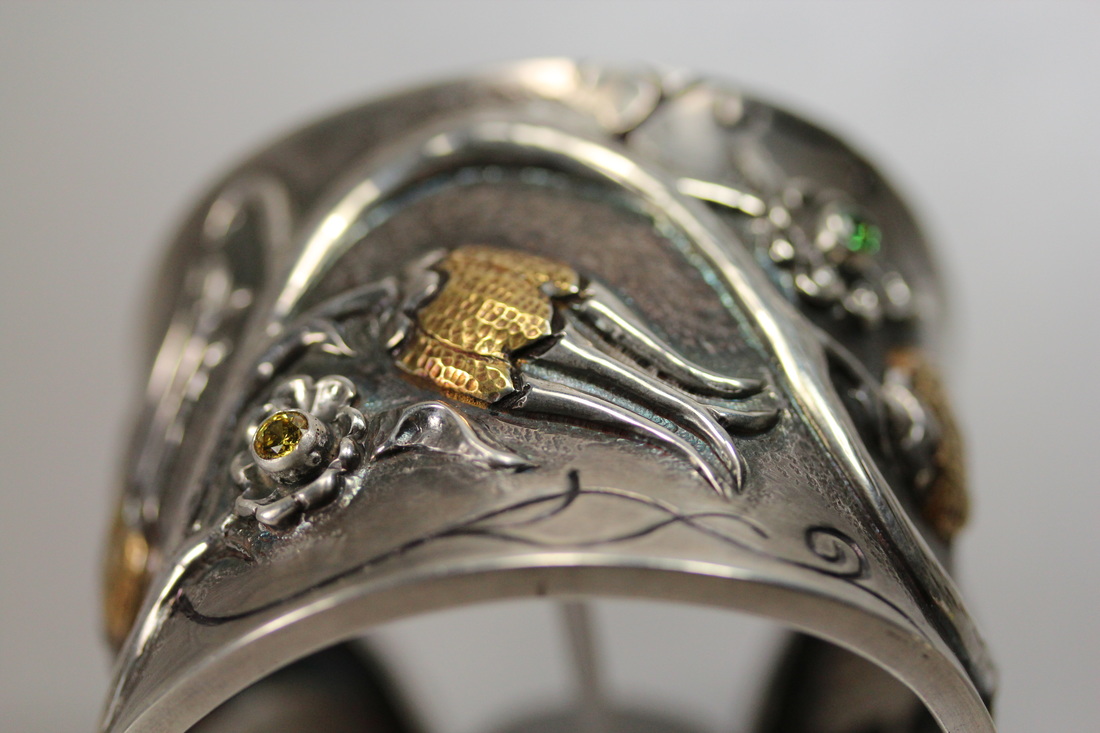
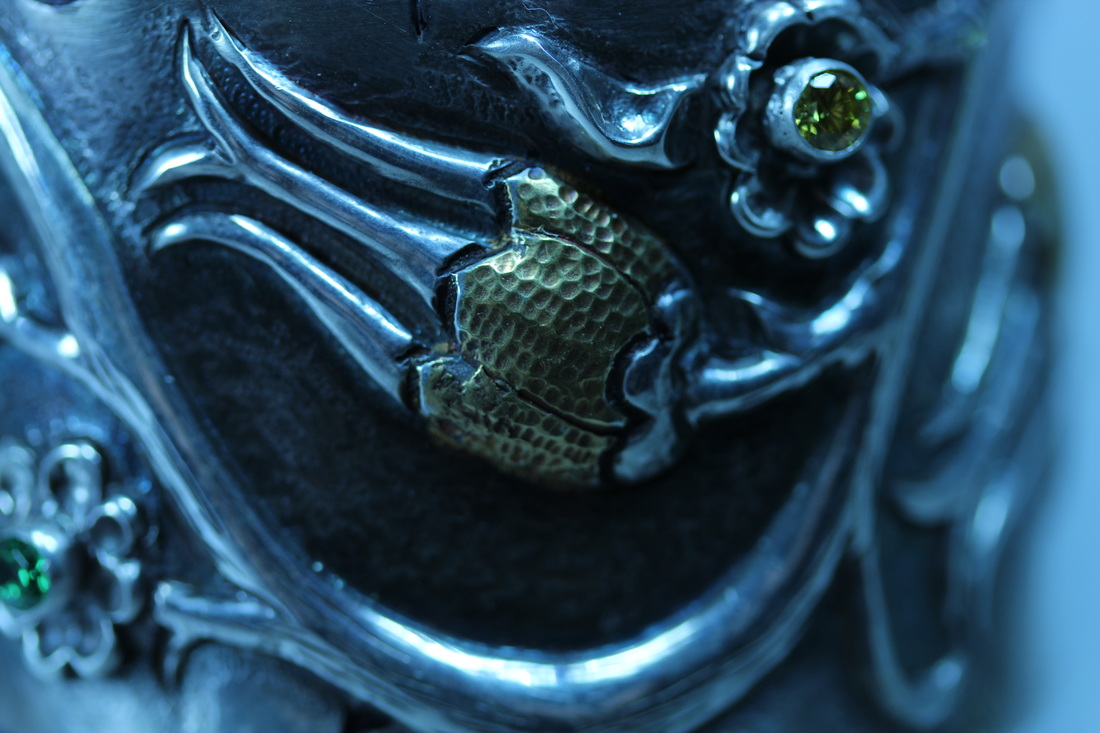
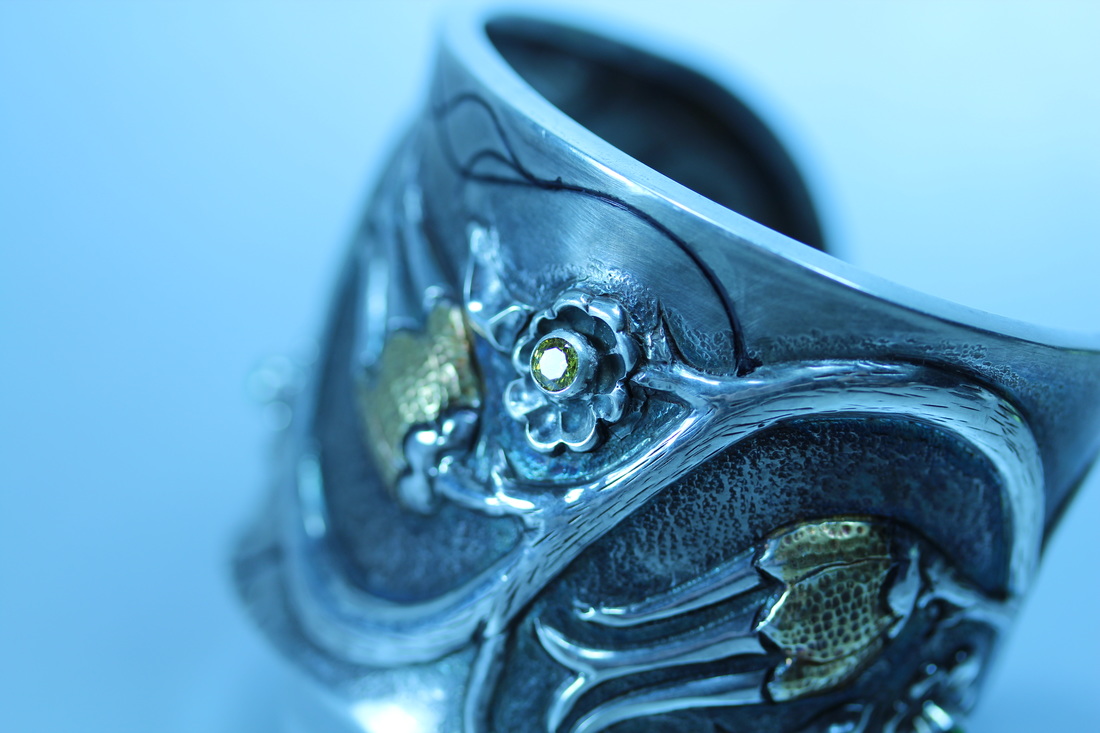
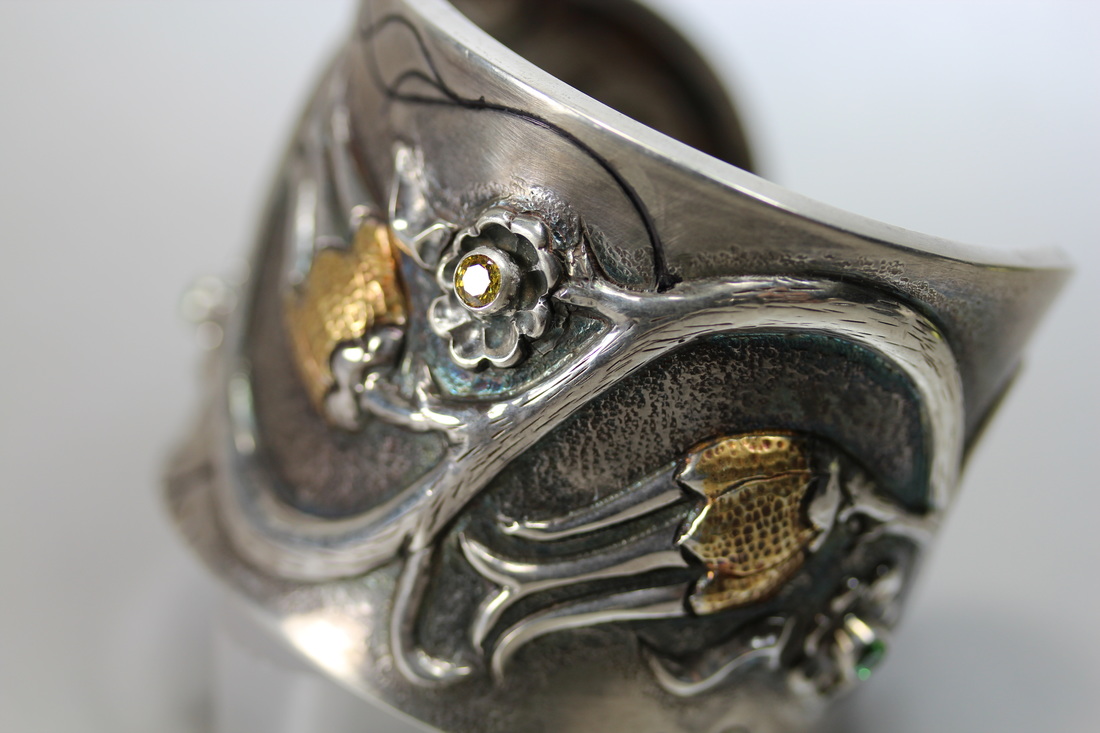
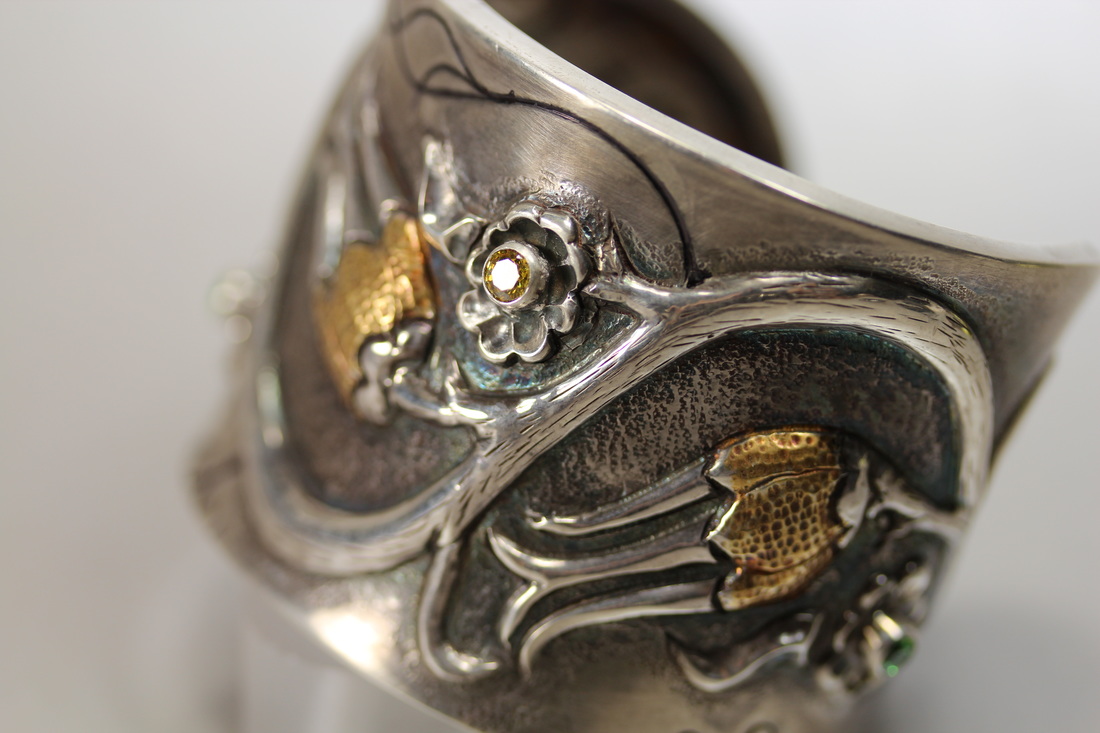
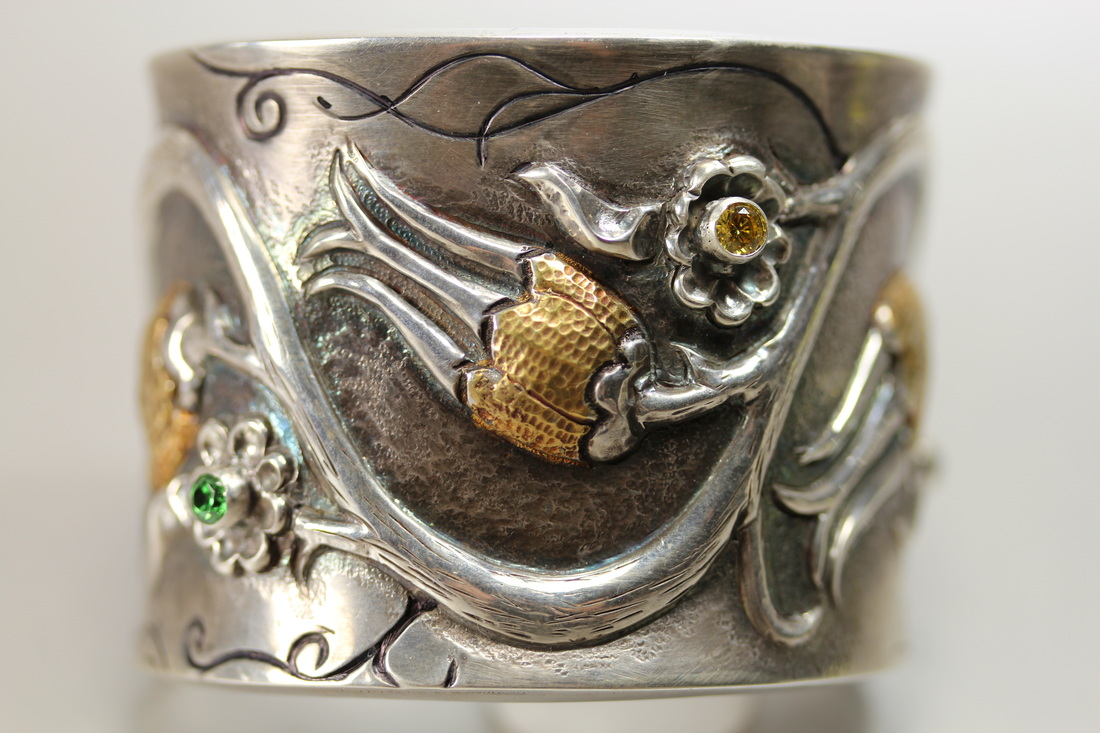
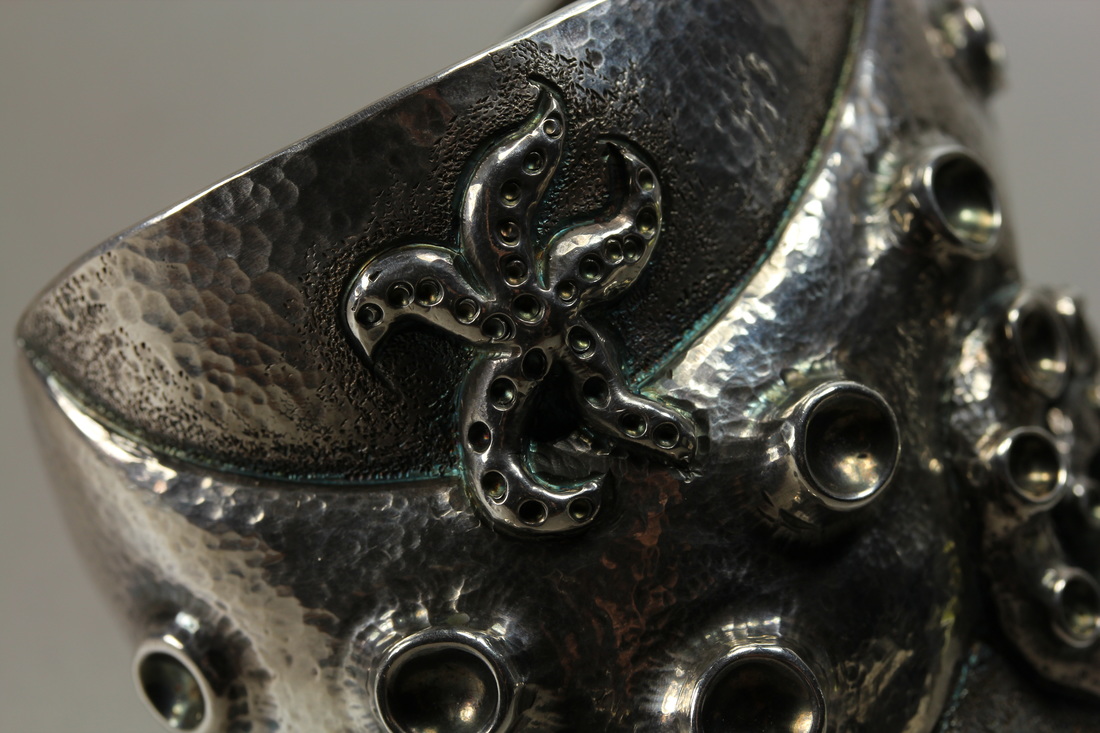
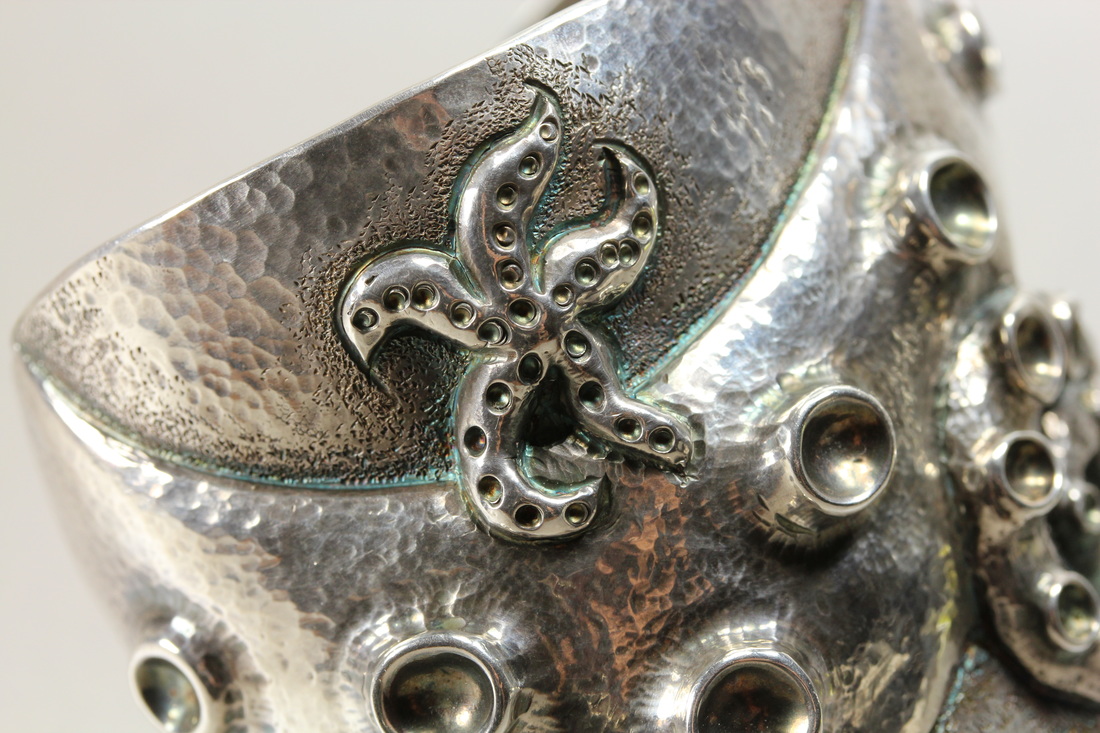
Not this weekend; nor did I take on doing a large panel such that I would not be able to finish it and then add to that the time commitment - I took 2 of my cuff's to the setup of the San Diego Fair and I used several hours up on Saturday.

The panel was to be a Ginkgo leaf which also just happened to be the subject of the challenge in the Facebook Chasing & Repousse group. See what I am doing - I am taking care of two goals at once! And even though I am the admin for the group and I organize the challenges, many times I actually don't do them, again for lack of time.

Let's start the project shall we? 
 Step 1 - Make the panel.
 Step 2 - Make the notebook cover.
 Step 3 - Attach the panel to the cover and add a blank book.

The design was to be worked on brass which I thought would be a nice color to go along with the leather notebook cover I was also going to make. YES, not only was a doing the panel and attaching it to a notebook cover, I was making the cover too. Can you say over achiever? 

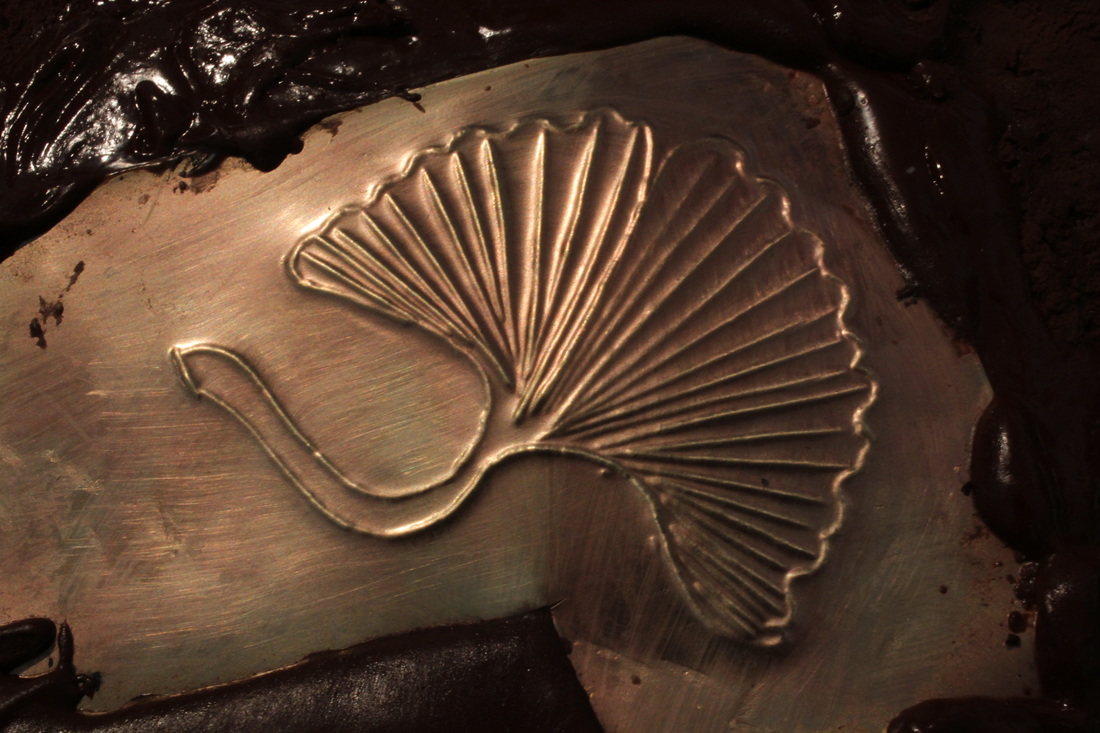
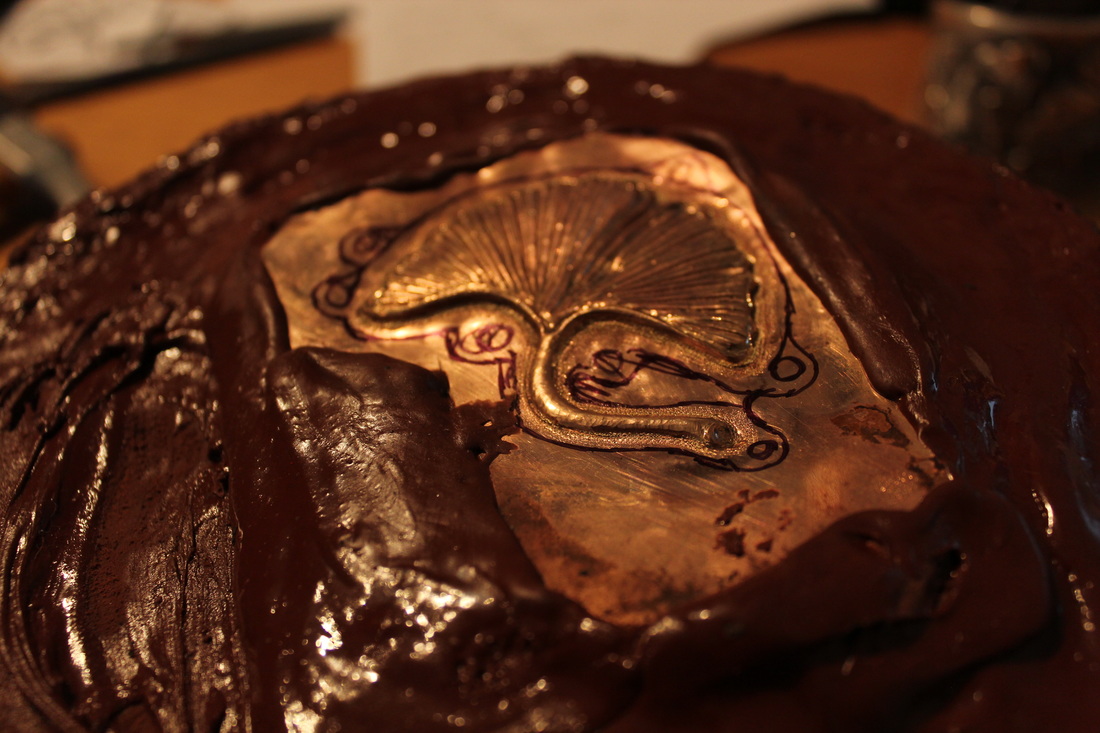
I put the brass into the pitch on Saturday afternoon and then drew the design on to the metal and even lined it. While the pitch cooled, I drew up the pattern for the notebook cover, played with the dye colors on some scrap leather, and figured out I was going to bind the book into the cover so I could reuse the cover as well as adding a closure.  After I lined the leaf, I turned the metal over so it would be ready for the repousse on Sunday.

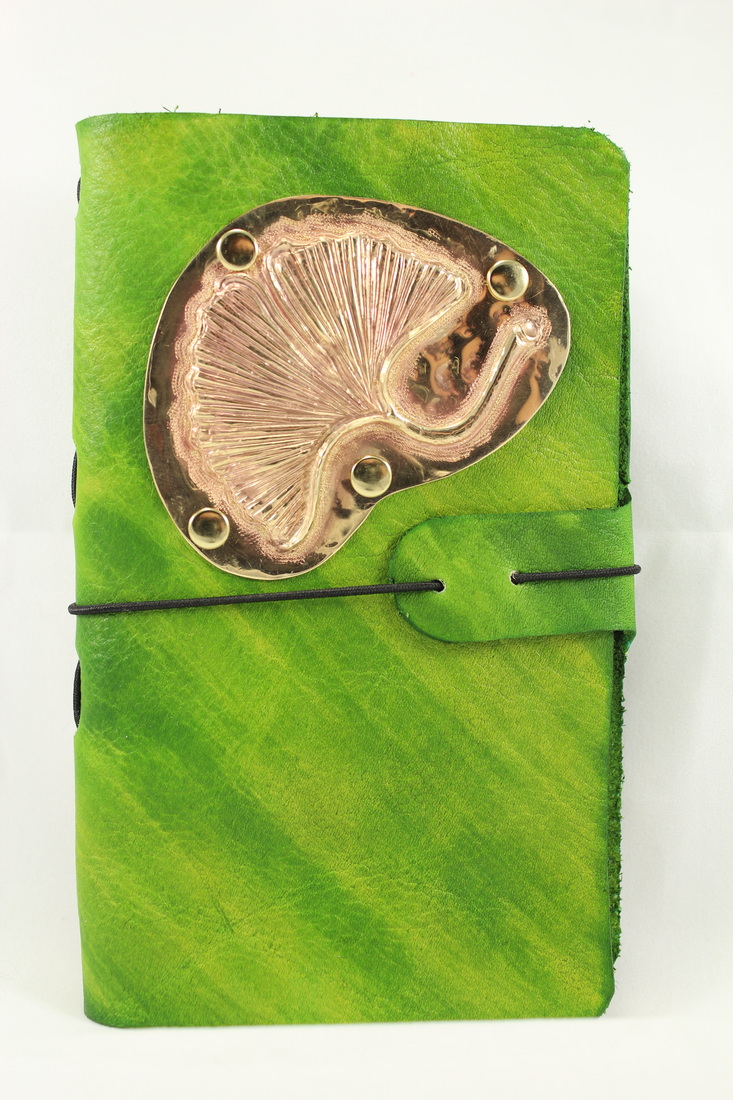
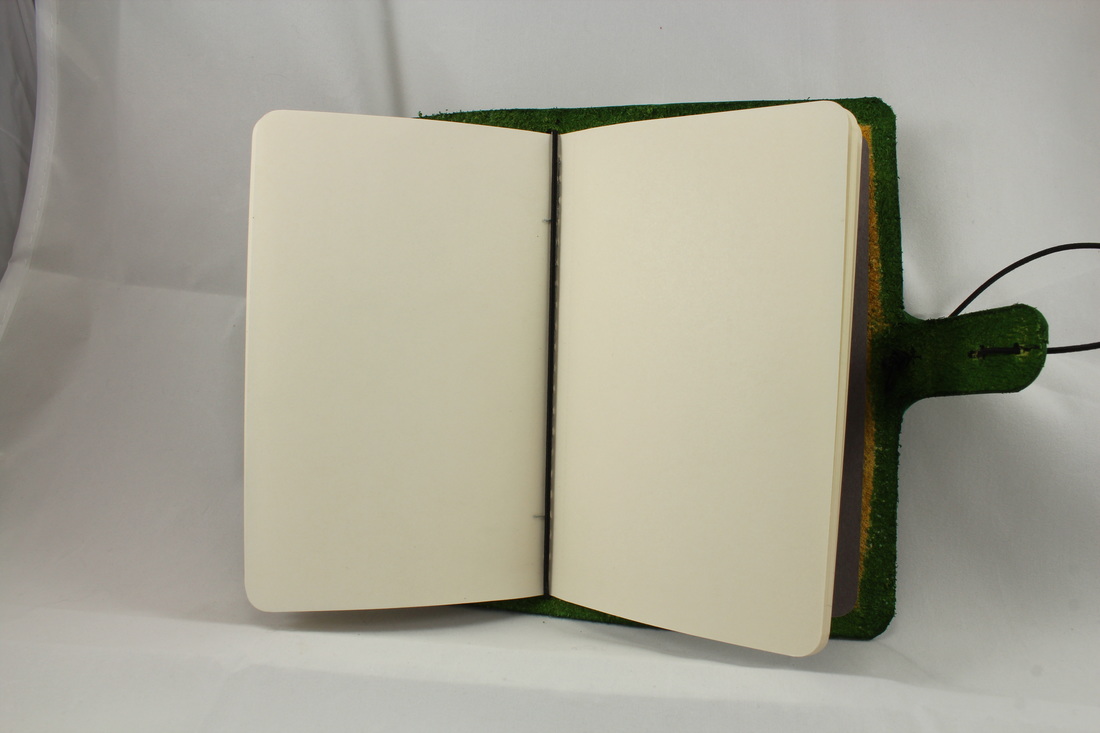
Sunday, I was able to do all the repousse and flip it again so I could do the final chasing on Monday (today). I also cut out my leather for the book cover and dyed the outside green and the inside yellow and along the way trimmed the corners so they would be round. The dye would be dry by Monday morning and then I could seal it to give it some water resistance. 

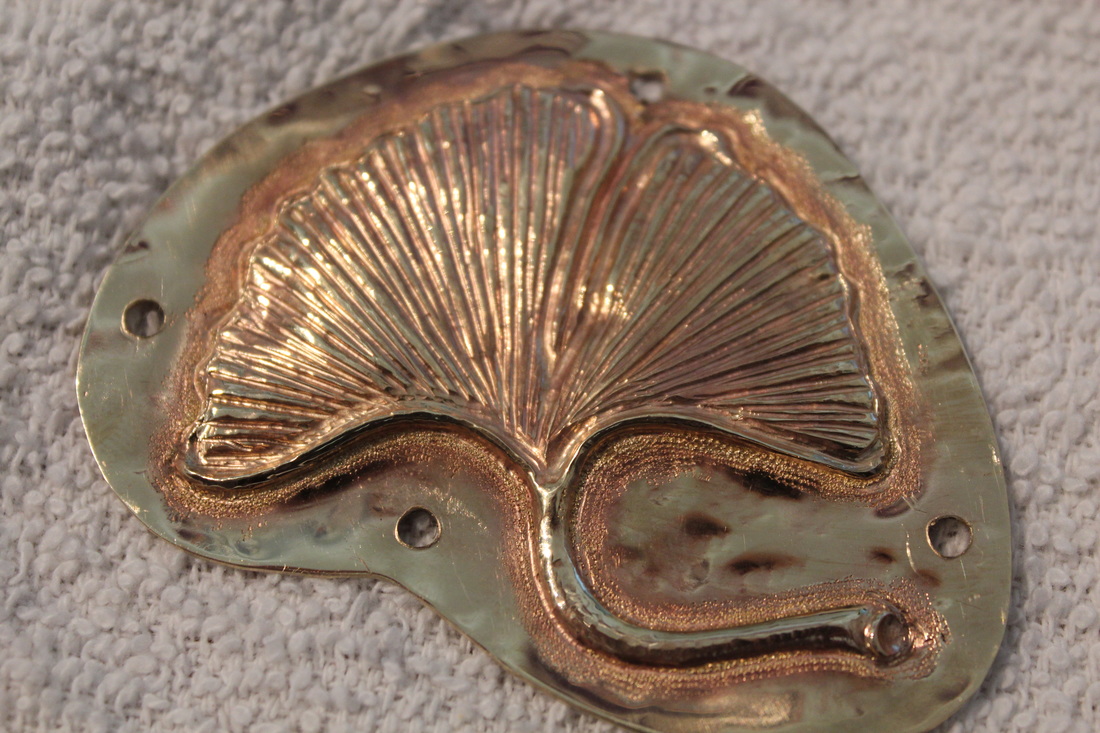
This morning (Monday) I finished up the chasing and removed it from the pitch. I then trimmed the panel and polished it. While it was in the ultrasonic cleaner to remove the polishing compounds,  I punched the holes on the spine of the leather so I could thread the chording. I also punched the holes for the closure.  Once the panel was out of the cleaner, I figured out where the rivets would go, I drilled the holes in the panel; marked the holes on the leather and then punched the holes for the rivets. After attaching the panel, I then used my makers mark to stamp the back of book cover. It was time to add my little notebook and take pictures which puts us now here at posting the pictures and writing this blog post.

Enjoy the pictures and soon I will have a few book covers for sale in my store, I will let you know when.

Time for the San Diego County Fair

5/28/2016

0 Comments

 
Today was the day for me to take my entries to the San Diego County Fair at the Del Mar Fair grounds.  The fair opens Friday, June 3rd and runs through Monday, July 4th.   Today and tomorrow are the days to bring in your entries for the competition in the Hall of Gems & Minerals; so today was the day I took in mine.

Since many of my friends and students also do jewelry, enameling and chasing & repousse we decided to meet at 11:00 and help each other set up and then go to lunch.  

I entered two cuffs. The Squash Blossom cuff in the Chasing & Repousse class and my Tenacious Tentacle cuff in the Art Jewelry class. 

It was during my Squash Blossom cuff class that I suggested that ALL the students (Diane, Eleanor, Stephanie, Sylvia, Laurie, Mary and Heather) should enter their cuffs too. It would give them experience being judged, learning what the judge liked and did not, and wouldn't it be funny if there were SEVEN cuffs in the Chasing & Repousse class that were all the "same".    In the end only Sylvia and Eleanor entered their cuffs so that means that there are three and sure enough, all three cuff's are next to each other in the display case. 

I wish I could see the judge's face when he see them but then again I will find out on exhibitors night when we go around with the judge himself and he tells you in more detail how he scored the entries.

Here are some pictures my pieces.

The judging is this coming week so if the post the results by opening day, I will know the results by next weekend. 
0 Comments

Focus on Depth of Field

5/19/2016

0 Comments

 
Aperture is how open or closed your lens is. This affects not only how much light is allowed in but the depth of field of the subject.
Thus if you want all the subject matter you are shooting, to be in focus, you need a large depth of field and as a result you use a large f-stop this means that the opening in the lens is small.

Yes, it is counter intuitive but just go with it or read this article on the Wikipedia which gets into the math of focal length and size of the pupil of the lens - aperture. 

NOTE: ISO in the film days of photography,  was an indicator of the film's sensitivity to light. Now, ISO, it is used to set the sensitivity of the DSLR sensor. 

Today's self-imposed lesson was to leave the subject and camera position alone. The ISO was also fixed, auto-focus was turned on, the white balance was again custom based upon my lights and to then play with the f-stops to see how the depth of field changed.  These images were taken with the 60mm f/3.2 macro lens. 

I started again with an auto image. This time I used the setting of A-Dep  which sets the camera to get the best depth of field while picking the ISO and the Sutter Speed. The meta data show the following - ISO: 400;  Tv: 1/6; Av: 32.  As you can see the cuff from the front to to the back are all in focus.  
Picture
Next I want to achieve the same with the camera on full manual mode and after that, adjust the f-stops to narrow the depth of field while keeping the ISO constant. 
​Here is my first attempt - ISO: 400;  Tv: 1/30; Av: 32. Which of course because the shutter speed was faster, resulted in a darker image since not enough light was allowed in.
Picture
I slowed the shutter speed down to 1/4 and I got a very close match to the A-Dep picture at the top. 
Picture
In the next series of pictures, I left the ISO at 400, and I halved the f-stop each time (open up the lens) which also means I have to INCREASE the shutter speed, to compensate for the amount of light which would be too much as wash out the image.  Note: In the old days with film cameras you would double the shutter speed to compensate for the halving of the aperture but with DSLR's you can actually go in-between to third stops and get better results.  
To prove this point, this first picture is  ISO: 400;  Tv: 1/30; Av: 18 and as you can see it is over exposed.
Picture
The shutter speed was 1/4 and because halved the f-stop, I should double the shutter speed to 1/8 which I did for this next picture. The image is now, not over exposed but if you look at the back edge of the cuff, you can see that is not quite as in focus which of course is due to the change in depth of field. Also note how the vine just above the blossom is still in focus. 
Picture
This next image is with the f-stop changed to 9 and the shutter speed at 1/80. The color looks as good as the image just above but this time you can really see that both the front edge and the back of the cuff as well as the sides are not fuzzy and out of focus. YES! the change in the depth of field is very visible and the vine is just out of focus. Again the meta-data is now ISO: 400;  Tv: 1/80; Av: 9
Picture
Halving the f-stop again, the meta-data is ISO: 400;  Tv: 1/320; Av: 4.5. Then change in depth of field is even more pronounced as even the vine is very out of focus and the sides and top and bottom are very fuzzy; all because of depth of field is getting shorter. 
Picture
This last image is the extreme end - a f-stop of 2.8 - ISO: 400;  Tv: 1/800; Av: 2.8. You can see that even the back edge of the blossom is now out of focus. 
Picture
Lastly, I decided to change the ISO. The larger the ISO, the more sensitive to light your camera is; and this can result in graininess. The theory is that in LOW-light situations you increase the ISO so you don't have to use a flash but to compensate, in good light, you have to increase the shutter speed.  That is what I did with this picture and here is the meta-data ISO: 800;  Tv: 1/1600; Av: 2.8. If you look closely at this picture below and the one just above it and look at the gold that is textured on the blossom, you should be able to see that the detail, on the lower image, is not as crisp. 
Picture
Today, as you can also see, I have learned how to adjust the camera settings to achieve good images with the right depth of field which requires setting the white balance, ISO, shutter speed (Tv) and aperture (Av).  
0 Comments

More Photography Learning

5/17/2016

0 Comments

 
Yesterday, I went back to the photography room and this time I set up the space to take pictures of two of my cuffs that I am entering into the San Diego County Fair. Taking pictures of my entries is not a requirement but since I have been making display stands for them, they seemed the perfect subjects for this weeks practice lesson. 

This week my goal was to use the macro lens and to
  1. take just a few pictures with the camera in auto mode; this is for comparison with those in manual mode.
  2. then use full manual to get familiar with the setting I needed to adjust to get a good picture. 
  3. and don't worry about using a light tent to prevent glare, reflection and shadow. 
  4. No use of RAW at this time. 
I took 22 pictures total and the first picture with the camera on auto actually came out rather nice. As you can see the depth of field is really short as gold on the blossom is in focus and the background just below it is out of focus. Here are the specs on this picture: Shutter Speed (Tv): 1/80; Aperture (Av): 2.8; ISO: 200; WB:Auto ​
Picture
The next picture is MANUAL MODE.  YES, it is blue because the white balance was off and it is a bit dark; I adjusted that later. The spec's for this picture are: Tv: 1/125; Av: 2.8; ISO: 100; WB: Custom. 
Picture
I then adjusted the cuff but left all the settings the same.
Picture
Here I changed the White Balance: Auto and left the other settings alone. You can see how the color is much better. 
Picture
The camera has the ability to "set" a custom white balance based upon a picture you take of a white piece of paper under the lights you are using. Then it reads the picture and it adjusts how colors are read when you take a picture.  Here is the next picture I took with the correct custom white balance. Compared to the image above, I think the cuff actually looks more silver. 
Picture
Next I repositioned the cuff to get a full shot of it. As you can see the depth of field is still a bit off since the edges of the cuff are out of focus.  But at this point I switched out the Squash Blossom for the Tenacious Tentacle. 
Picture
This is one of the images I took of the cuff. The settings are a bit different.  Tv:1/30; Av: 8.0; ISO:100; WB: Custom. The image is a bit dark so to correct this I can lower the shutter speed to allow more light in OR I can increase the ISO which is what I did. 
Picture
After two more pictures, I had the ISO at 400 and this is the result. The image is NOT dark, the color looks good and you can even see the patina!
Picture
At this point I was done for the morning. I really saw and learned how to adjust the camera to get better pictures. Next I need to play with depth of field, reducing reflection and shadow.   Overall I would say I leveled up!
0 Comments

It's Camera Time!

5/10/2016

2 Comments

 
My "new" camera arrived this week from B&H Photo in NYC. This place is like a crack store - there is so much tech it makes me giddy. I bought a Canon EOS Rebel T3i 600D body with the 18-55 IS kit lens and an add on macro lens that is f/2.8 60mm.

I say "new" as it is new to me and only the macro lens is new. I also bought a second battery, body lens cover, rear lens cover for the kit lens, tether for the lens cover on the macro lens, camera bag, a remote shutter release, and 64 G SDxC card for high speed access since I will be shooting not only JPEG but RAW. I had to buy some of these items because they did not come with the camera because it was used.

Saturday I spent most of the day setting up my Macintosh to work with the Canon RAW image files (CR2). I have Adobe CS3 on my Mac and have no plans to upgrade it to the Adobe Creative Cloud subscription service but the issue is that the CR2 raw plug in that works with Adobe Bridge or Lightroom does not work with what I have. Damn!

Thus I found the Adobe Digital Negative (DNG) converter which will convert from CR2 to Adobe Raw but I loose some of the metadata. Finding and sorting this out took at least an hour and trust me I am a master Googler; it was just hard to find on the Adobe site . There is Canon software and again, because this is a used camera, the DVD was not included so I next went off to find that software and the firmware update. Two hours later the firmware was updated as was the other software which included:
  1. the utility program to update the firmware and will import images right off the camera;
  2. the Photo Pro 4 software which is for working with the raw files - like Adobe Bridge/Lightroom;
  3. the Image Stitcher software for making a panoramic image from many photos which I may uninstall;
  4. the Video Encoder which I will need for future video tutorials;
  5. the Picture Style Editor which is for those pro's who process images and have to do color corrections and and allows you to save the styles for reuse. This I may uninstall too;
  6. and lastly The Image Browser EX which is kinda like the Photo Pro software but is geared toward those who shoot mostly JPG and it will edit movies. I will probably uninstall this too since I have Photoshop and iMovie
Sunday morning I was awake at 6:30 am, why? oh why!!, I went into the room where we not only have our weight training setup but a table for photography, and turn on the lights so they could warm up. I then picked a nice mineral specimen to use as my subject while I played with the f-stop, ISO, speed and other shooting modes on the camera. I now know how to change the ISO/f-stop/Speed and the white balance, color corrections and a few other things. I still don't know A LOT but that will happen with time.

Here they are with the settings I used, no other after processing touch up. The titles are as follows: the Camera Mode: ISO, f-stop, shutter speed. Yes, the mineral is Malachite with Druzy Quartz. The background is a pale gray.
Don't forget to click on an image to open it so you can see more detail.
2 Comments

    RSS Feed

    How to Aquire Your Own Shop Elf

    Archives

    October 2020
    August 2020
    March 2020
    December 2019
    November 2019
    October 2019
    September 2019
    August 2019
    July 2019
    June 2019
    May 2019
    March 2019
    February 2019
    January 2019
    December 2018
    November 2018
    October 2018
    September 2018
    August 2018
    July 2018
    May 2018
    April 2018
    February 2018
    January 2018
    November 2017
    October 2017
    September 2017
    July 2017
    June 2017
    May 2017
    April 2017
    March 2017
    February 2017
    January 2017
    December 2016
    November 2016
    October 2016
    September 2016
    August 2016
    July 2016
    June 2016
    May 2016
    April 2016
    March 2016
    February 2016
    January 2016
    December 2015
    November 2015
    October 2015
    September 2015
    August 2015
    July 2015
    June 2015
    May 2015
    April 2015
    March 2015
    February 2015
    January 2015
    December 2014
    November 2014
    October 2014
    September 2014
    August 2014
    July 2014
    June 2014
    May 2014
    April 2014
    March 2014
    February 2014
    January 2014
    December 2013
    November 2013
    October 2013
    September 2013
    August 2013
    July 2013
    June 2013
    May 2013
    April 2013
    March 2013
    February 2013
    January 2013
    December 2012
    November 2012
    October 2012
    September 2012
    August 2012
    July 2012
    June 2012
    May 2012
    April 2012
    March 2012
    February 2012
    January 2012
    November 2011
    August 2011
    July 2011
    June 2011
    May 2011
    April 2011
    March 2011
    February 2011
    January 2011
    December 2010
    November 2010

    Jan - Nov 2010 History
    File Size: 2272 kb
    File Type: pdf
    Download File

    Jan - Dec 2009 History
    File Size: 2332 kb
    File Type: pdf
    Download File

    Categories

    All
    42
    A Year Of Repousse
    Blacksmithing
    Blogoversary
    Box Project
    Business
    Chasing & Repousse
    Commission
    Education
    Embroidery
    Enamel
    Entries
    Entry
    Exhibition
    Facebook
    Filing
    Fold Forming
    Gold
    Holloware
    Hot Forging
    Hydraulic Press
    Jewelry
    Keum-boo
    Learning
    Leather
    Market
    Metal
    Patina
    Photography
    Polishing
    Publications
    Raising
    Sanding
    Santa Fe Symposium
    Shop Elf
    Sinking
    Social Media
    Soldering
    Store
    Studio Visits
    Superbowl Challenge
    Teaching
    Teapot Project
    Technique
    Temari
    Tin
    Tools
    Vessels
    Visiting Workshops
    Weaving
    Website
    Workshop
    Yubinuki

Powered by Create your own unique website with customizable templates.