Four years ago, I started this blog. Well actually I started it over at the Ganoksin website but I eventually set up my own website and migrated the blog to here.
I can't actually believe it.
Four years ago, I started this blog. Well actually I started it over at the Ganoksin website but I eventually set up my own website and migrated the blog to here. 
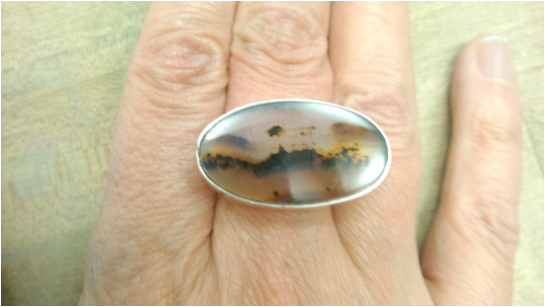
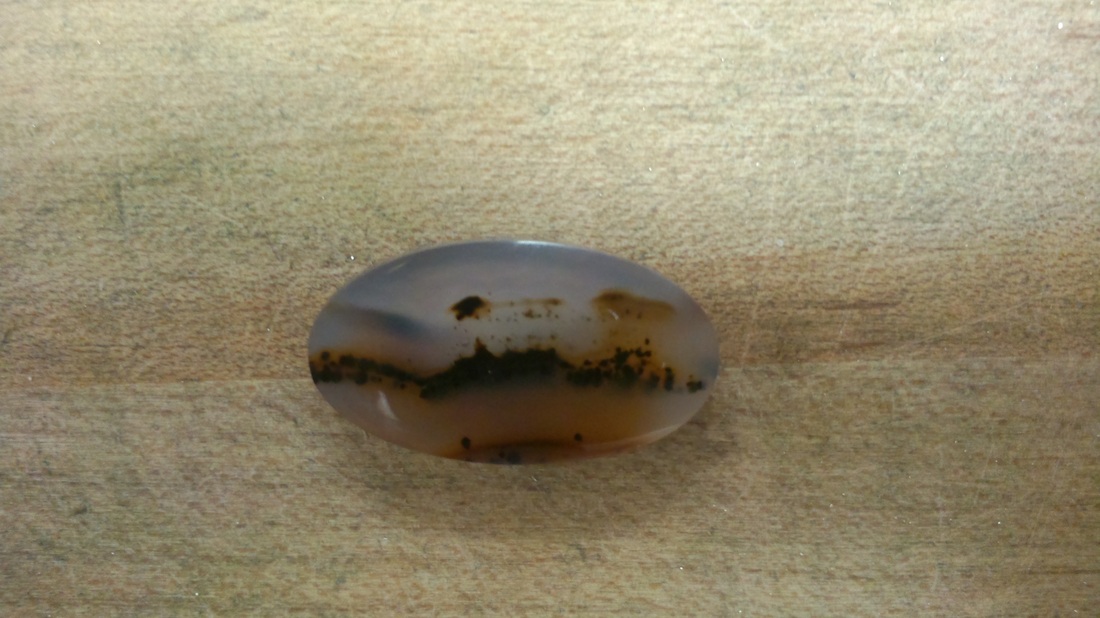
I started, oh, so, long ago, with just cutting a few cab's, then setting them in a silver bezel. Then it was chains and some jewelry. 
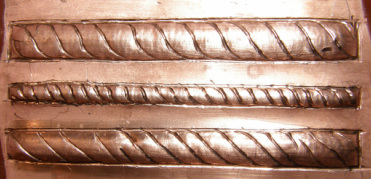
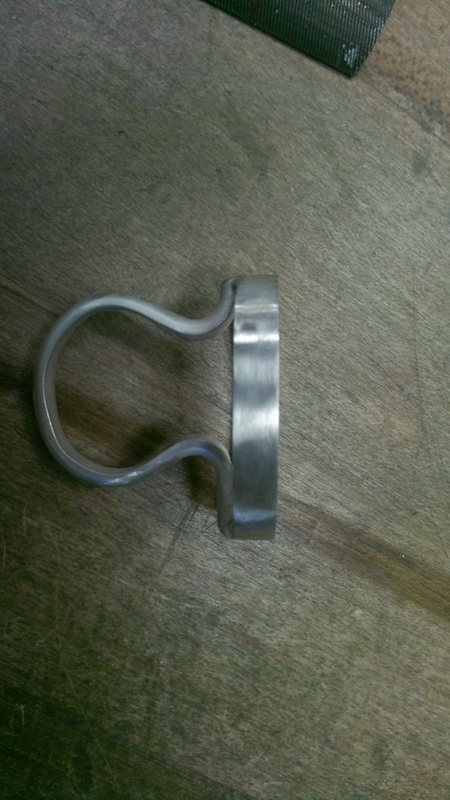
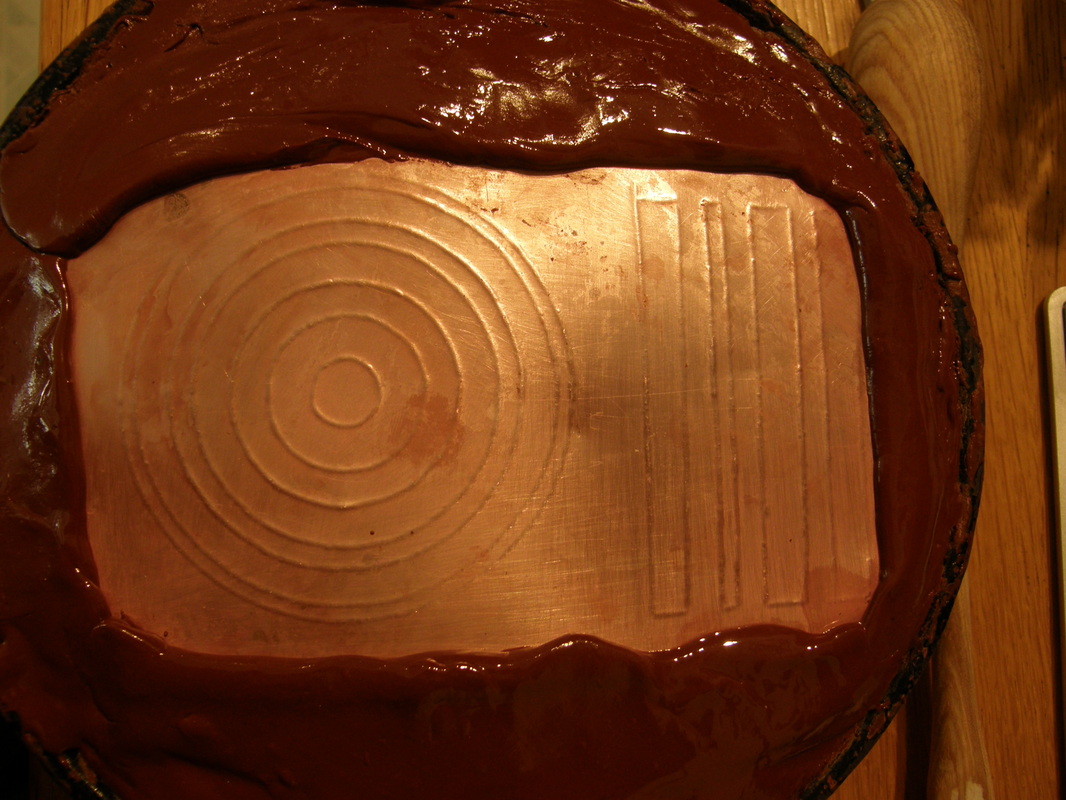
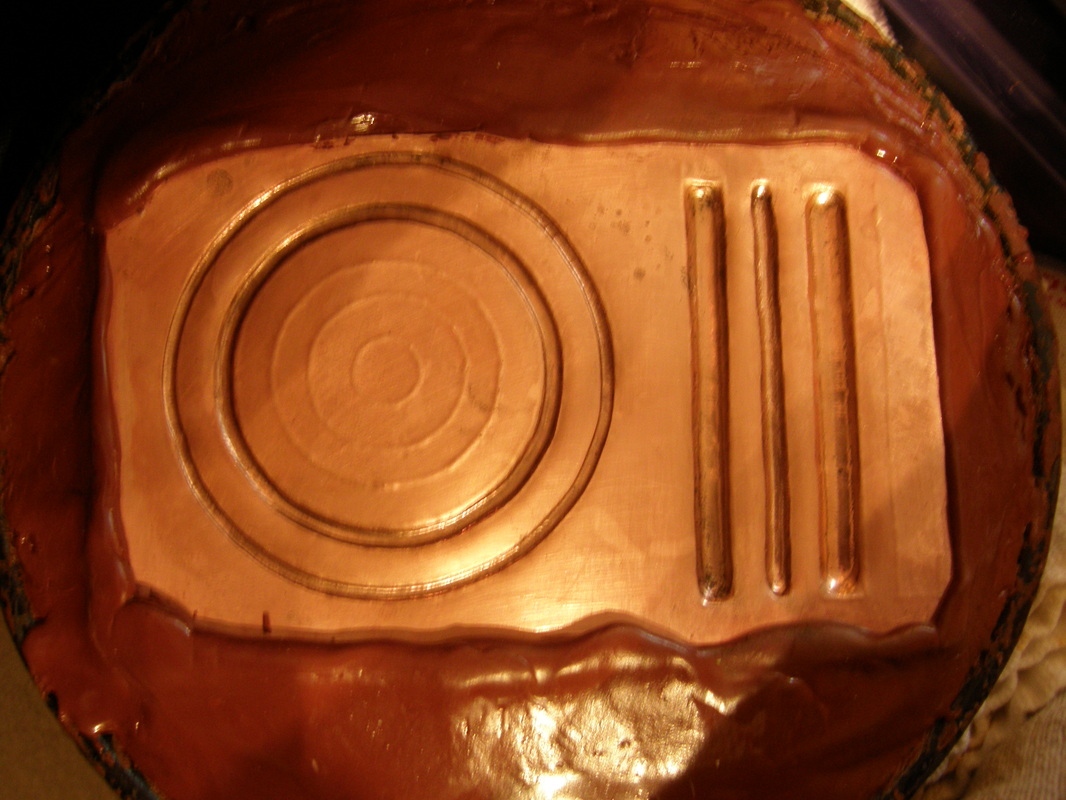
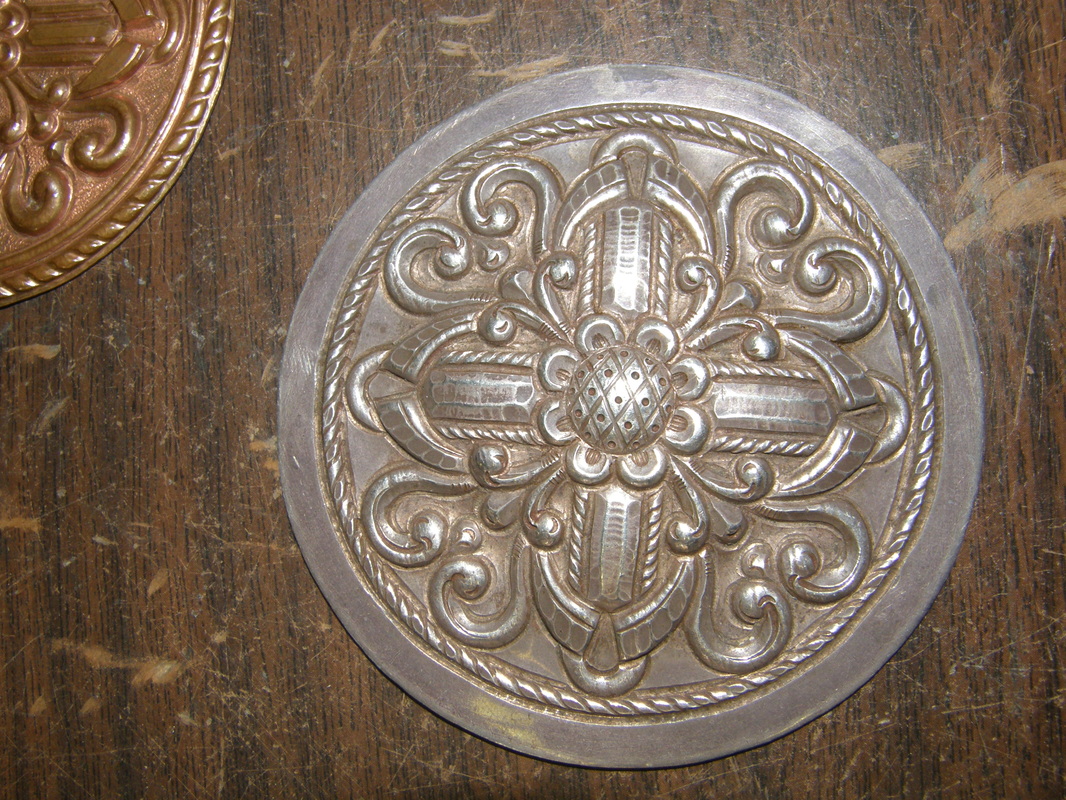
But NOW, it is hollowware and chasing and repousse. With of course various side trips into enamel, fold forming, and blacksmithing and many many classes, workshop and trips along the way. So please tell me what you have liked reading about - so I can share the memory with you. Trust It was March of 2012 when I made the Calimari Cuff and I submitted the picture to Art Jewelry Magazine for their Gallery section. It was accepted and I sent the cuff to them, in April, so it could be photographed. The cuff was returned to me in May and I then entered it into the San Diego County Fair.
I was told that it would be a few months before would actually be published in the magazine. And I waited, and checked the May 2012 issue. And I waited, and checked the July 2012 issue And I waited, and checked the September 2012 issue And I waited, and checked the November 2012 issue And I waited, and checked the January 2013 issue. And then I kind gave up. I figured it was now over a year and it was not going to be published. Well, I was properly surprised yesterday when I received an email stating that the Calamari Cuff was to be in the Gallery section of the May 2013 issue. "On the Ropes" is a boxing term, because it originally meant that one of the boxers was pushed up against the ropes of the ring (and they were usually getting hit a bit and to avoid the hits, they were backing up and eventually, their back was against the ropes). The term has now entered our lexicon to mean: On the verge of defeat or collapse; hopeless or powerless. And let me tell you, that working on this exercise has me literally and figuratively ON THE ROPES. In my prior post about this exercise, I showed the copper I was preparing for this exercise. Now, I am actually chasing the lines of the rope and it is not easy. To steal another boxing term - I want to throw the towel in on this. But I made a promise to myself that I would not only do this exercise but I would try to perfect my ability to do it. I could just walk away and leave that last blog post with no follow up and never ever do a rope border around my work. But noooo, I have challenged myself and I like to win; could I really walk away? [Well I could but that does not make me grow as an artist] I am finding the first skill to master which is that line, that represents the twist of the rope fibers is *&#@!!! hard. It is not just a straight line at an angle across the (repousse) ridge that is the body of the rope. The start and end point have to be curved slightly to give the proper perspective of that twist. ![]() Here is a line drawing that I did in Adobe Illustrator to show how it should look. Getting that twist to look just right is hard. So after making many "lines" just working on perfecting the movement; then it was to move on to getting them consistent from line to line. The next part of the technique is to space them evenly. No, they don't have to be exactly spaced, a wee bit off will not be seen by the eye but if one is just enough too far or too close, your eye will be pulled to it because your brain has had the pattern it is seeing jarred. But wait, there is more. The distance between the twists in the rope should be aesthetically matched to the thickness of the rope. ![]() Rope Practice My first lines I did along the straight sections so I work on perfecting my rope. So, starting at the bottom of the picture which was my attempt; I attempted to do all the technique at the same time: proper angle, distance apart, consistency of line. Go ahead, laugh because, even I admit it, it looks pretty bad. There is even one that I did not finish- oops make that two. The middle rope was even harder because I had a smaller rope body to work on, which forced me to find a smaller tool that would fit. Here you can see that the beginning and ends of the twists are more consistent and wow, my spacing is even better. Then lastly, the top rope! Good beginnings and endings. A few of the lines need some better transitions of the curves from right to left (I can do that when I am done with this post) and my spacing appears pretty even. Next time, I will work on the rope circles. Stay tuned. Now a days, I don't make jewelry very often but when I do, I make stuff like this! The agate was purchased while I was in Tuscon, I just had to have it since the scene just called out to me.
I had been playing with which way to orient the stone it since I got back - vertical, horizontal, around and around but it had horizontal BECAUSE of the scene. Then, because of the translucent nature of the agate, the bezel setting is opened backed. And to further aid in light getting behind the stone, connection between the bezel and the shank is formed such that it raises the bezel off the (my hand) . Here are a few more pictures showing the setting and how the shank was formed such that it raises the setting off of my hand. When I finished my chasing and repousse piece in Tucson, I actually did not do one part and that is the rope that goes around the outside of the design. Here is Val's sample and below that is mine. When I was asked about it being missing I admitted that I wanted to do the rope (not really but you have to do it if you are going to learn) but I was not confident that I would not get it a perfect as the rest of the piece. What I said I wanted to do was, when I got home I would make a practice piece of circular and straight ridges and practice the making the rope(s) so I knew I could do it correctly.
And that is what I am working on now. Last weekend I lined and started the repousse for the practice piece. Today I expect to finish the repousse and start the chasing of the rope. When I am done with my ropes then I will make another sample of this piece in copper. Once that is done, THEN I will do a variation of this piece in silver. The variation has more ropes as detail and it is domed a bit. |
Archives
January 2025
![]()
![]()
Categories
All
|