
As an adventurous silversmith, making boxes should be a part of my skill set; but was not up until this past weekend.
Two weeks ago, I set about planning how I would accomplish that skill set via planned projects and every increasing difficulty.
Here is the progression of projects done in bras as brass is the closest to sterling silver in how it behaves so I can work out the process before committing to sterling.
I will eventually do some chasing and repousse on the boxes, not these but others made for a C&R project but first, one must learn to make boxes. To that end, pulled out my silversmithing books and read up on box making. I also sent a list of questions I came up with after my reading, to my mentor Liza, the Silversmith.
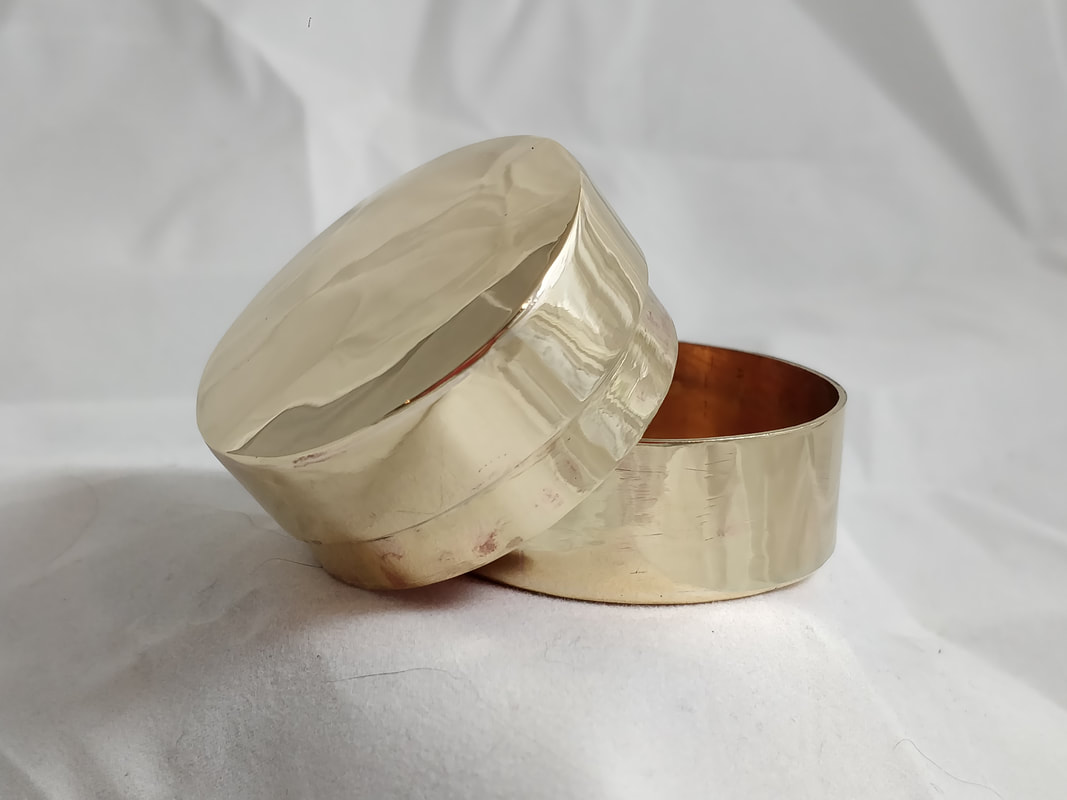
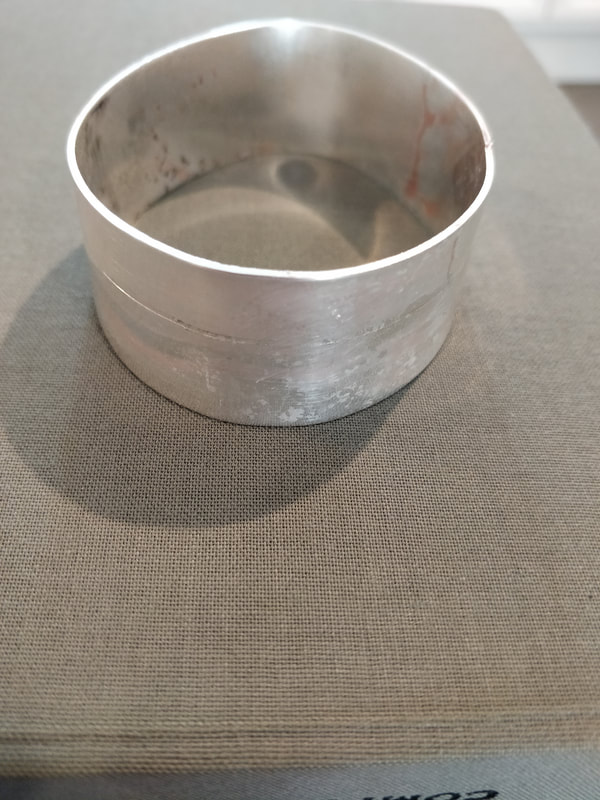
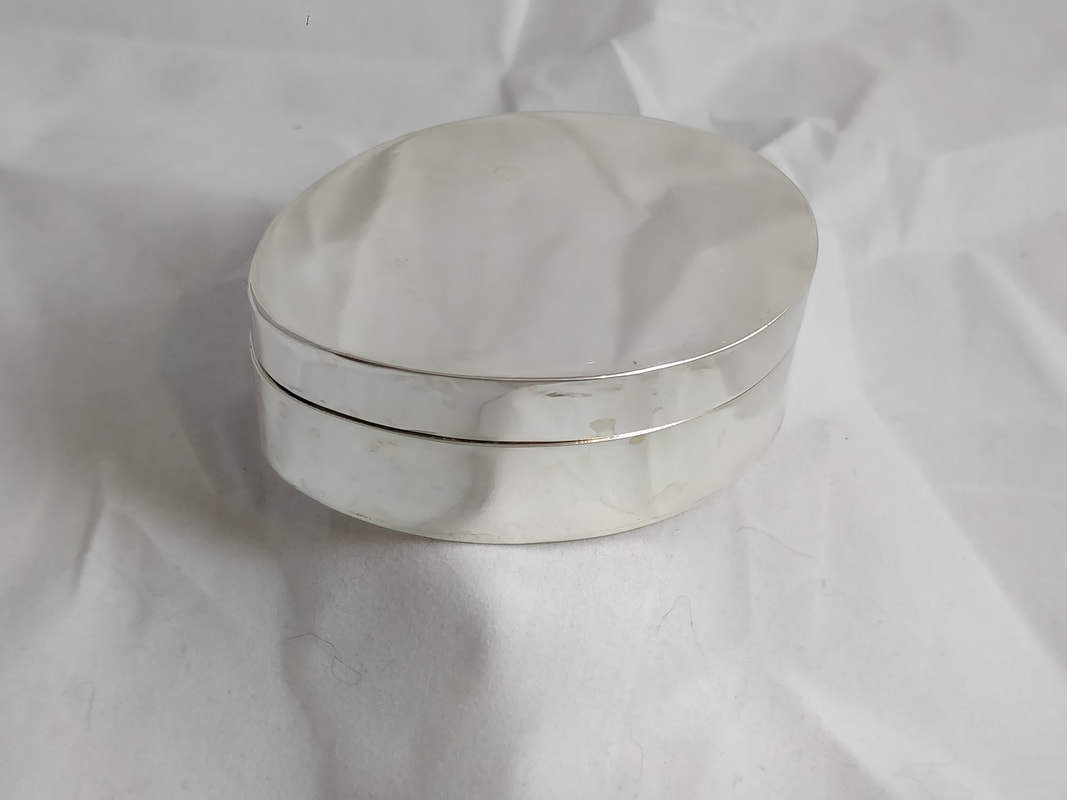
Saturday morning, I went into the studio, pulled out some brass and got to work. I was in the studio about 8 hours though not all of it was making the box. First I had to design the box and figure out what I could make with the brass I had and cut it. Then as the box construction progressed - soldering, sawing, filing/sanding, and polishing, there was quite a bit of down time as I waited for the metal to have the oxides to be removed in the pickle, then washing and scrubbing; calculating the size and making of the bezel to fit the lid. I normally track my time but for this I did not since I knew that with all that thinking, the manufacturing time would not be valid. At 5 pm I was done and I was quite proud of what I had made and accomplished let alone not screwing it up! I was also so focused on making the box, I did not take any process pictures but here is the box finished. It is about 1.7” in diameter and just over 1” tall, with a slightly domed top.
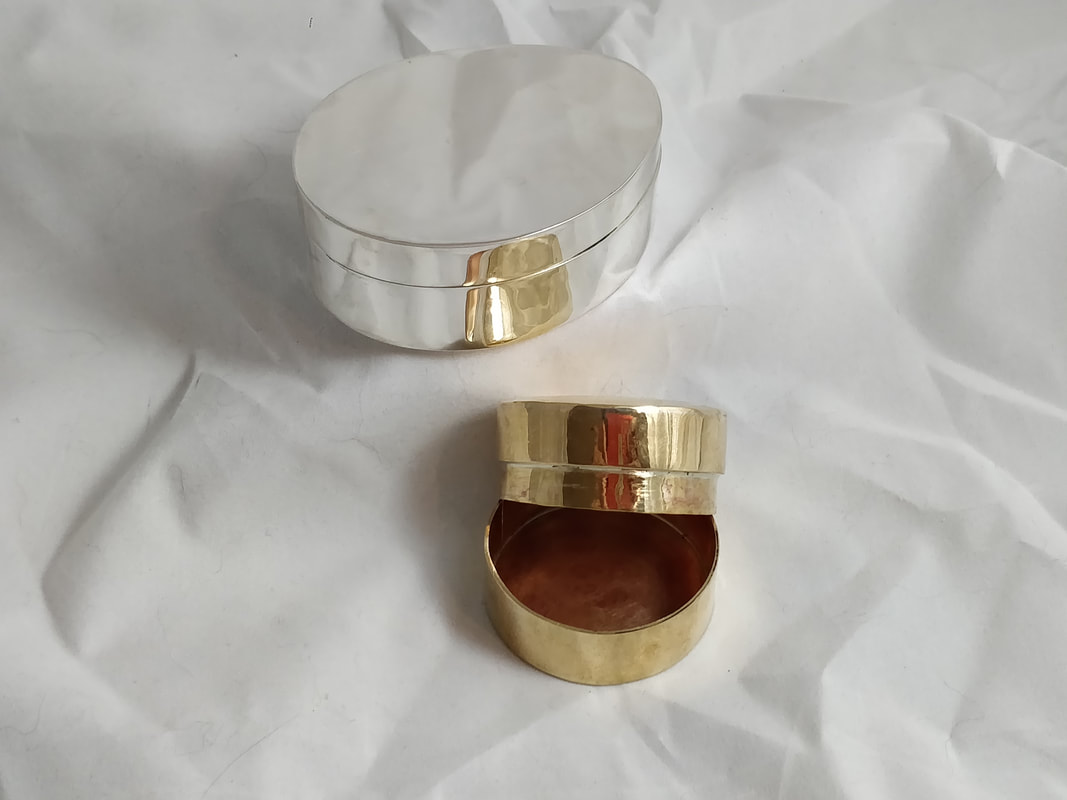
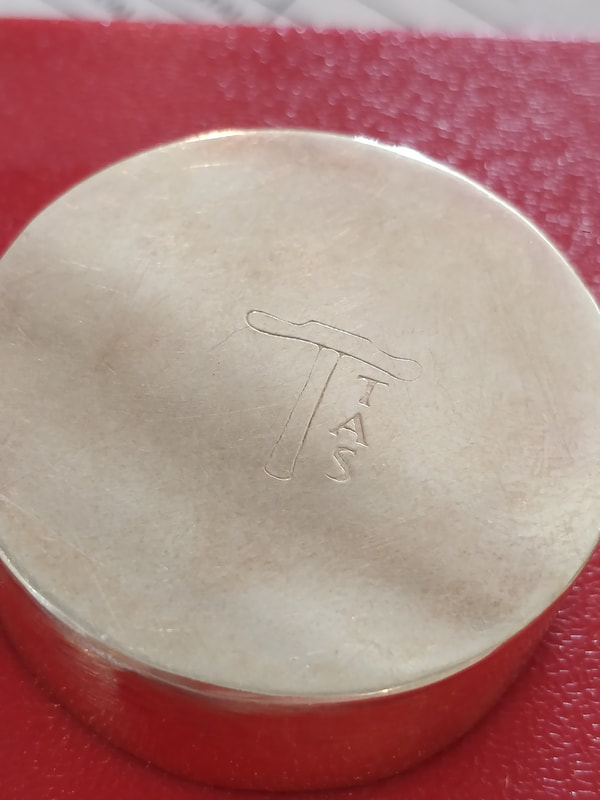
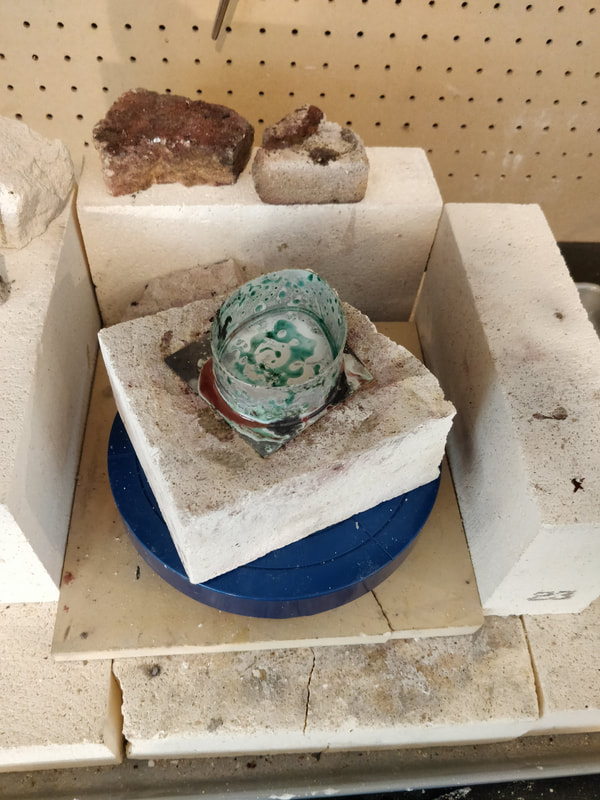
With my first box under my belt, I decided to make another “round” box, on Sunday, using sterling. My brass box was made with 20 g but the silver box would be from 18 g and I would have to coat all the silver pieces, with borax when I did any heating or soldering to prevent fire stain. When I first went into the studio at 9 am, the first thing I did was turn on the hot plate with my enamel pot filled borax water to re-dissolve the super saturated solution as the borax which had precipitated, as crystals and fallen out of the solution over the past few weeks as it had cooled. I found a good piece of silver and made my measurements and cut the pieces for the walls, top and bottom plate, and the bezel. I stamped my makers mark on the top and bottom plates marking that for the bottom, the mark was on the outside but for the lid, the mark was on the inside; and I marked the material as “sterling”.
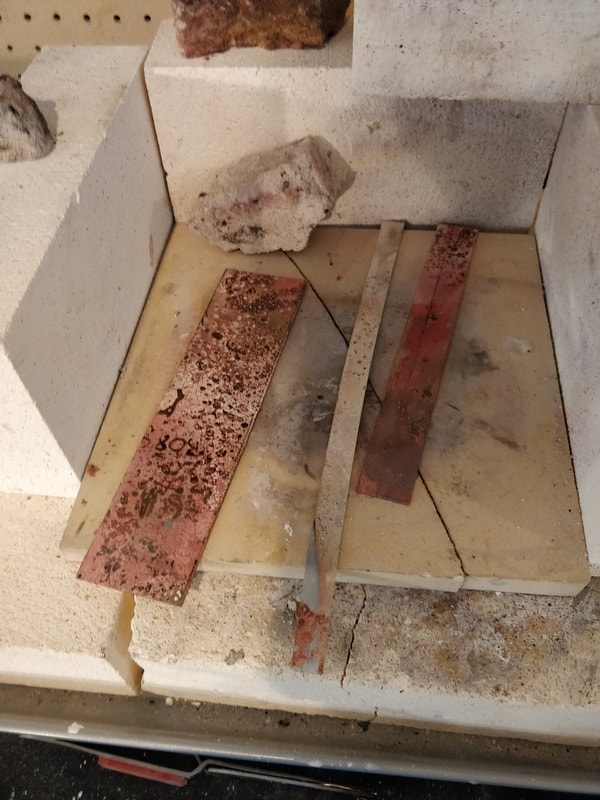
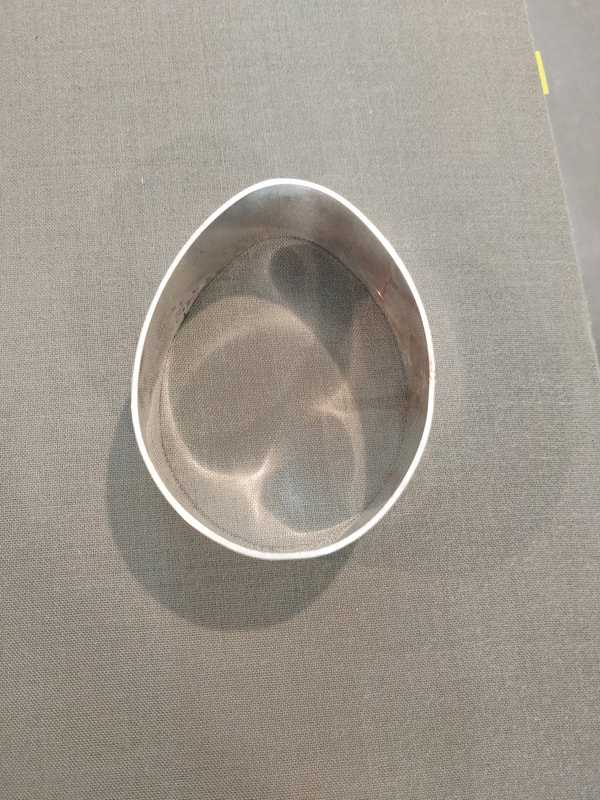
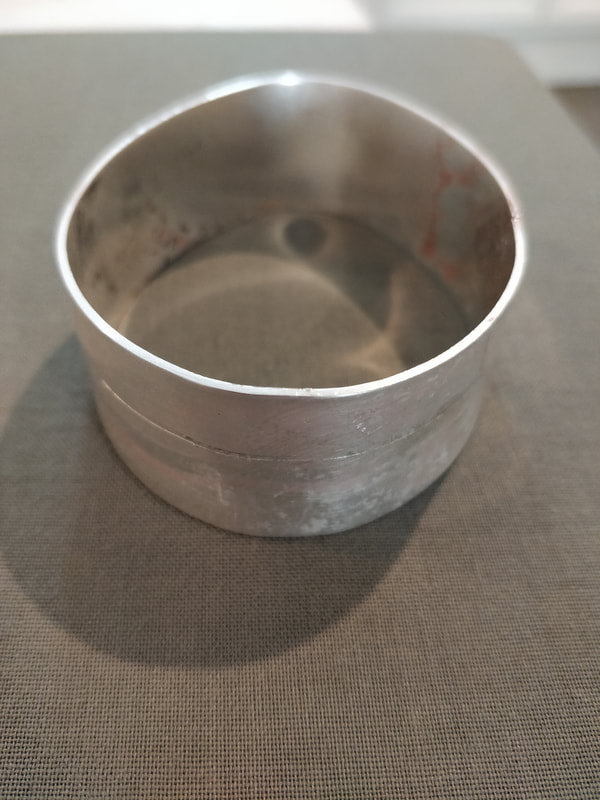
First up was borax-ing and then annealing the piece that would be the walls, pickling and cleaning. I filed the edges where the side seam would be, formed a tube and used binding wire to hold it tight, against heat expansion; I then coated it in borax, soldered the seam, and put it back in the pickle. I formed the shape of my tube, into an ovoid so there was only one way to put the lid on. Next up was soldering the base plate with more borax coating of course. I then cut what would be the wall for the top, from the part that was the bottom of the box followed by borax coating the top plate and soldering it to the wall for the top. Then everything was cleaned, again.
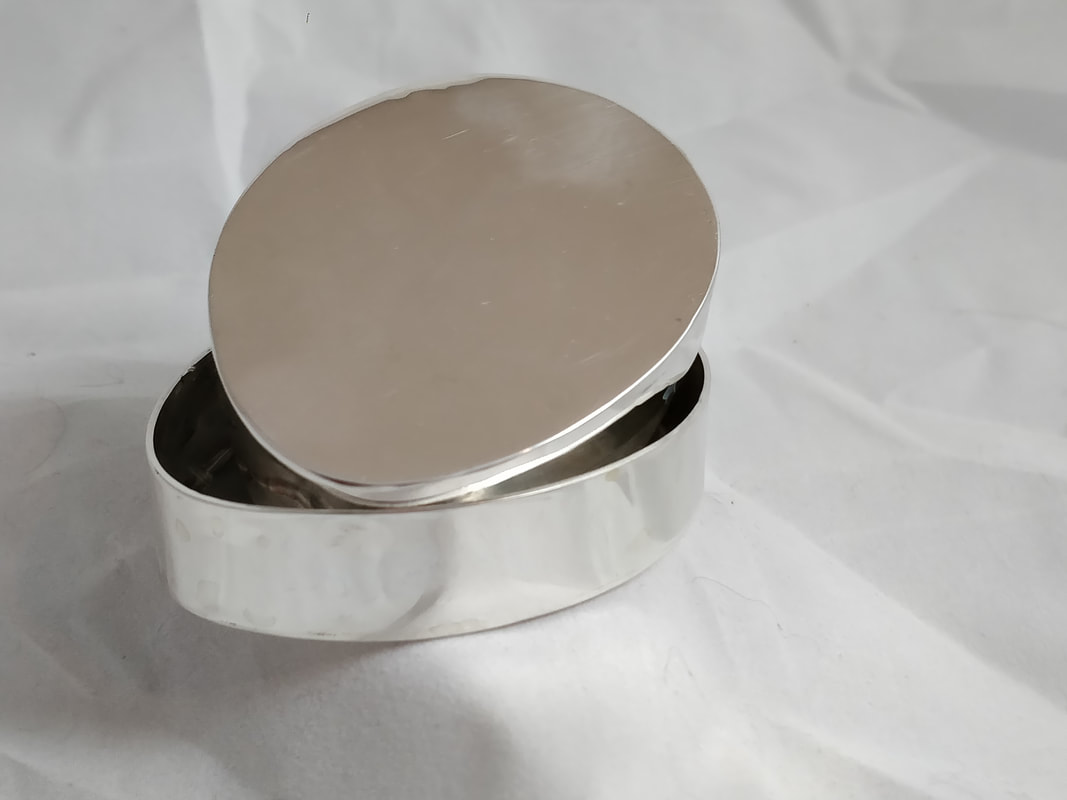
Now that both parts of the box were soldered to their respected plates and separated it was time to file and sand the mating edges to get them flat as and smooth as well as filing and sanding the plates flush with the walls – that took some time. After that was completed, I created and soldered the bezel into the top of the lid, again applying the borax coat and cleaning afterwards in pickle and finishing with warm soapy water.
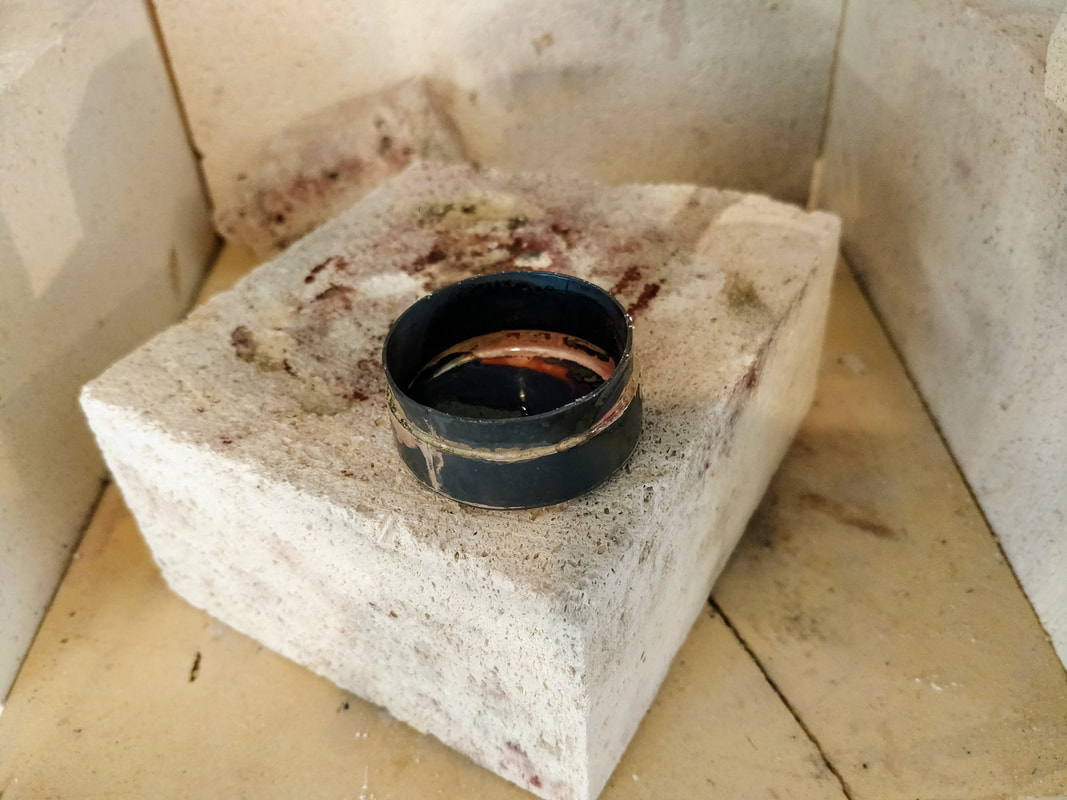
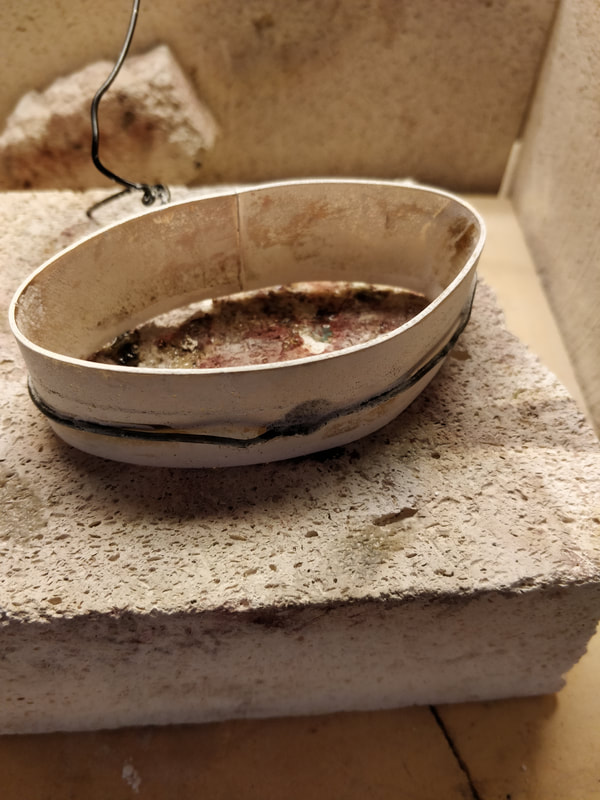
The box construction was done, time to polish it all up BUT I had a problem, there was a lot of fire stain all over the box. This was rather annoying considering the care I took to coat my surfaces with borax and it then required me to do a “polish” with an aggressive compound to polish it out which removes the silver on top of the oxides and the oxide layer to get to un-oxidized silver below it. I probably spent almost an hour polishing, cleaning and verifying each surface until I had it all removed; then I could finally do a 3 step polish and be really really done.
Overall I was in the studio over 8 hours on Sunday, I remember to take some pictures and record the actual working time which was about 5 hours but I know that with every box I make, the time it takes will go down as I now know the basic process.
Two weeks ago, I set about planning how I would accomplish that skill set via planned projects and every increasing difficulty.
Here is the progression of projects done in bras as brass is the closest to sterling silver in how it behaves so I can work out the process before committing to sterling.
- Small round box with a flush seam and slip lid
- Large/Tall “round” box with a keyed seam and slip lid. The taller the box, the harder it is to heat resulting in the flush seam possibly shifting where as a keyed seam locks it in place.
- Square/Rectangular box with mitered corners and slip lid
- Square/Rectangular box (mitered corners again) with a hinge and a small clasp which has yet to be determined if I can make – I have a book on various clasps
- A round box with a hinge and small clasp
I will eventually do some chasing and repousse on the boxes, not these but others made for a C&R project but first, one must learn to make boxes. To that end, pulled out my silversmithing books and read up on box making. I also sent a list of questions I came up with after my reading, to my mentor Liza, the Silversmith.
Saturday morning, I went into the studio, pulled out some brass and got to work. I was in the studio about 8 hours though not all of it was making the box. First I had to design the box and figure out what I could make with the brass I had and cut it. Then as the box construction progressed - soldering, sawing, filing/sanding, and polishing, there was quite a bit of down time as I waited for the metal to have the oxides to be removed in the pickle, then washing and scrubbing; calculating the size and making of the bezel to fit the lid. I normally track my time but for this I did not since I knew that with all that thinking, the manufacturing time would not be valid. At 5 pm I was done and I was quite proud of what I had made and accomplished let alone not screwing it up! I was also so focused on making the box, I did not take any process pictures but here is the box finished. It is about 1.7” in diameter and just over 1” tall, with a slightly domed top.
With my first box under my belt, I decided to make another “round” box, on Sunday, using sterling. My brass box was made with 20 g but the silver box would be from 18 g and I would have to coat all the silver pieces, with borax when I did any heating or soldering to prevent fire stain. When I first went into the studio at 9 am, the first thing I did was turn on the hot plate with my enamel pot filled borax water to re-dissolve the super saturated solution as the borax which had precipitated, as crystals and fallen out of the solution over the past few weeks as it had cooled. I found a good piece of silver and made my measurements and cut the pieces for the walls, top and bottom plate, and the bezel. I stamped my makers mark on the top and bottom plates marking that for the bottom, the mark was on the outside but for the lid, the mark was on the inside; and I marked the material as “sterling”.
First up was borax-ing and then annealing the piece that would be the walls, pickling and cleaning. I filed the edges where the side seam would be, formed a tube and used binding wire to hold it tight, against heat expansion; I then coated it in borax, soldered the seam, and put it back in the pickle. I formed the shape of my tube, into an ovoid so there was only one way to put the lid on. Next up was soldering the base plate with more borax coating of course. I then cut what would be the wall for the top, from the part that was the bottom of the box followed by borax coating the top plate and soldering it to the wall for the top. Then everything was cleaned, again.
Now that both parts of the box were soldered to their respected plates and separated it was time to file and sand the mating edges to get them flat as and smooth as well as filing and sanding the plates flush with the walls – that took some time. After that was completed, I created and soldered the bezel into the top of the lid, again applying the borax coat and cleaning afterwards in pickle and finishing with warm soapy water.
The box construction was done, time to polish it all up BUT I had a problem, there was a lot of fire stain all over the box. This was rather annoying considering the care I took to coat my surfaces with borax and it then required me to do a “polish” with an aggressive compound to polish it out which removes the silver on top of the oxides and the oxide layer to get to un-oxidized silver below it. I probably spent almost an hour polishing, cleaning and verifying each surface until I had it all removed; then I could finally do a 3 step polish and be really really done.
Overall I was in the studio over 8 hours on Sunday, I remember to take some pictures and record the actual working time which was about 5 hours but I know that with every box I make, the time it takes will go down as I now know the basic process.


 RSS Feed
