Follow Me On:
The Adventurous Silversmith
  • Home
  • Blog
  • Portfolio
    • Metal Work >
      • Chasing & Repousse
      • Holloware
      • Jewelry
      • Other Wonderful Items
    • Fiber Arts >
      • Temari
      • Yubinuki
  • Resources
    • Library
    • Tools & Equipment
    • Links
  • About
    • Artist Statement
    • Curriculum Vitae
    • How it is Made
    • Contact

Another Weekend of Teaching

11/20/2019

0 Comments

 
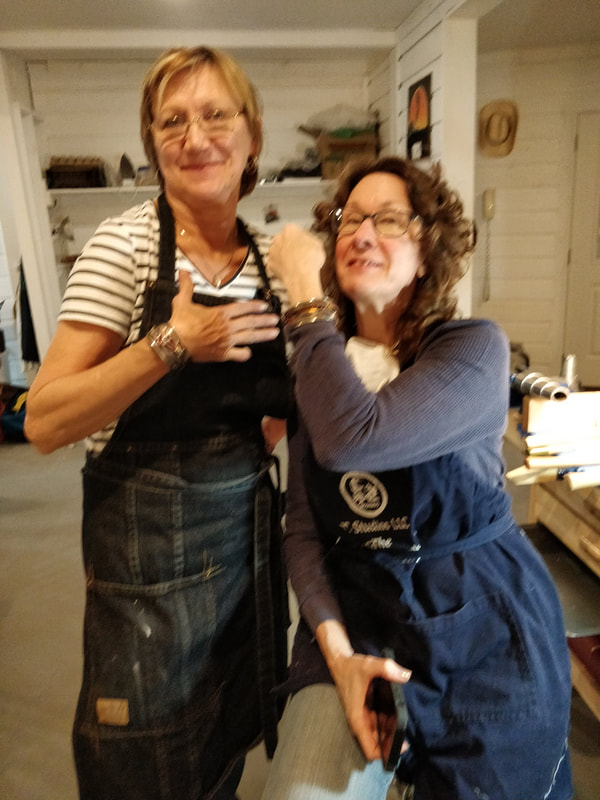
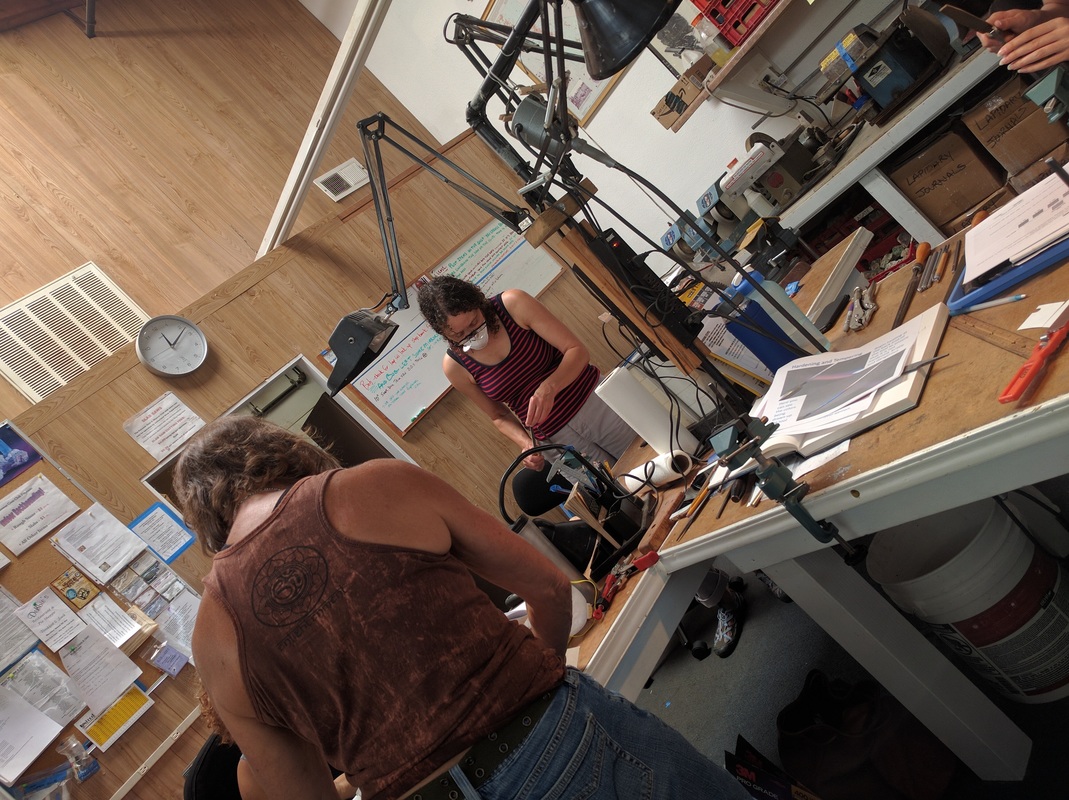
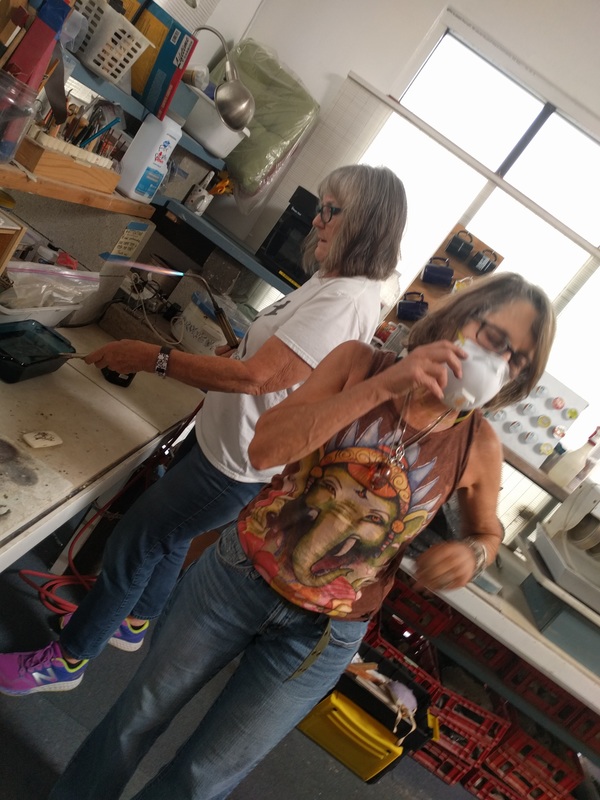
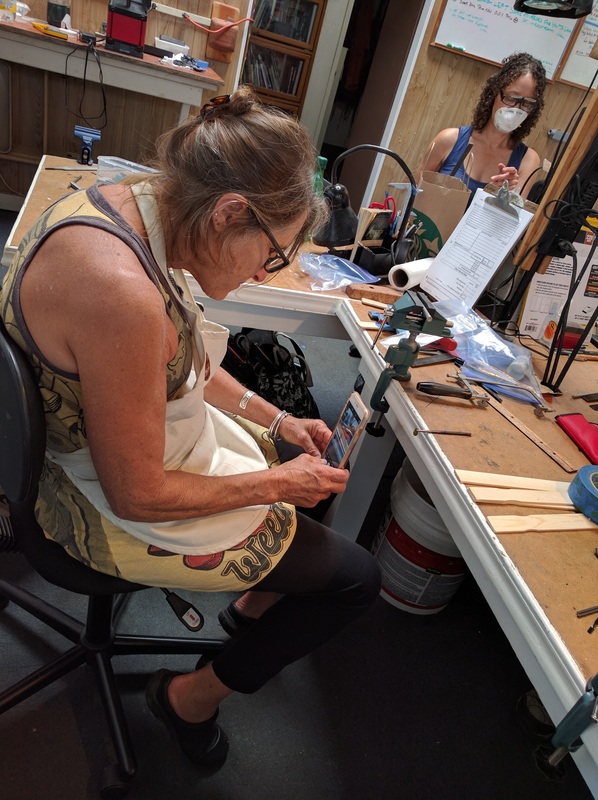
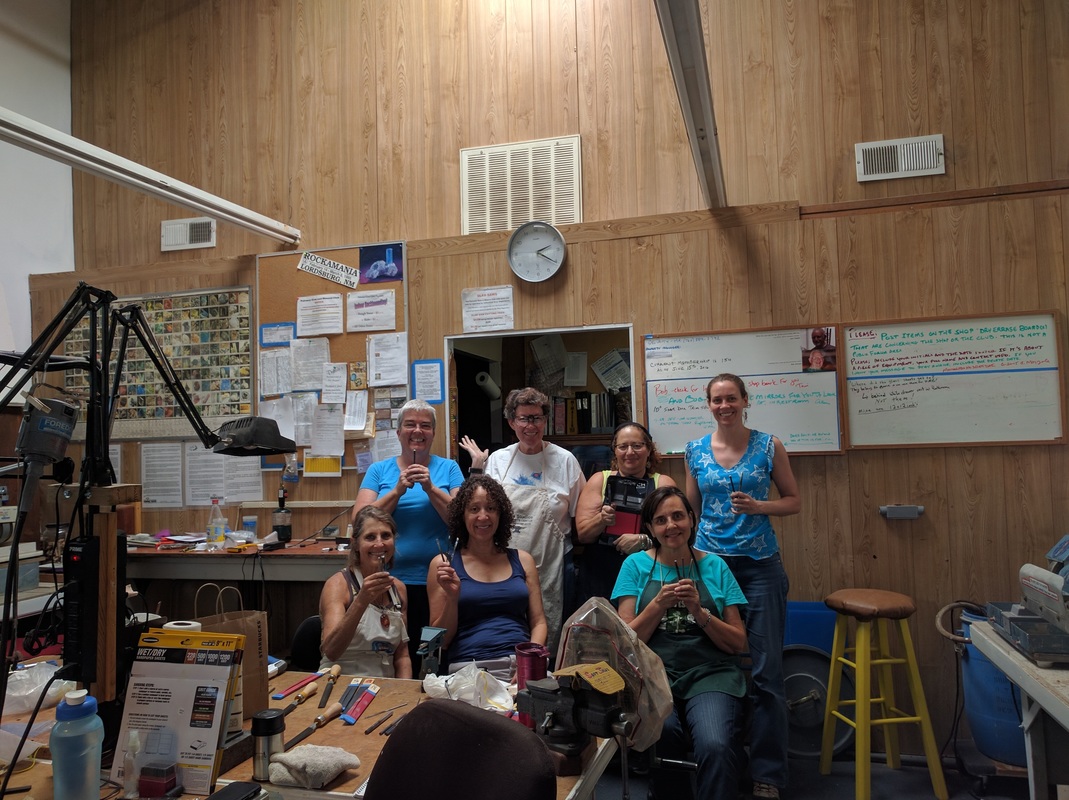
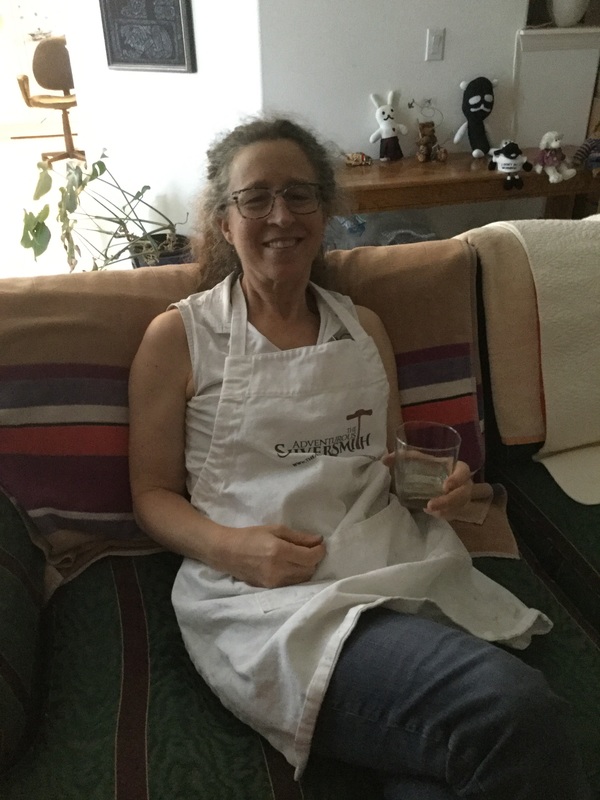
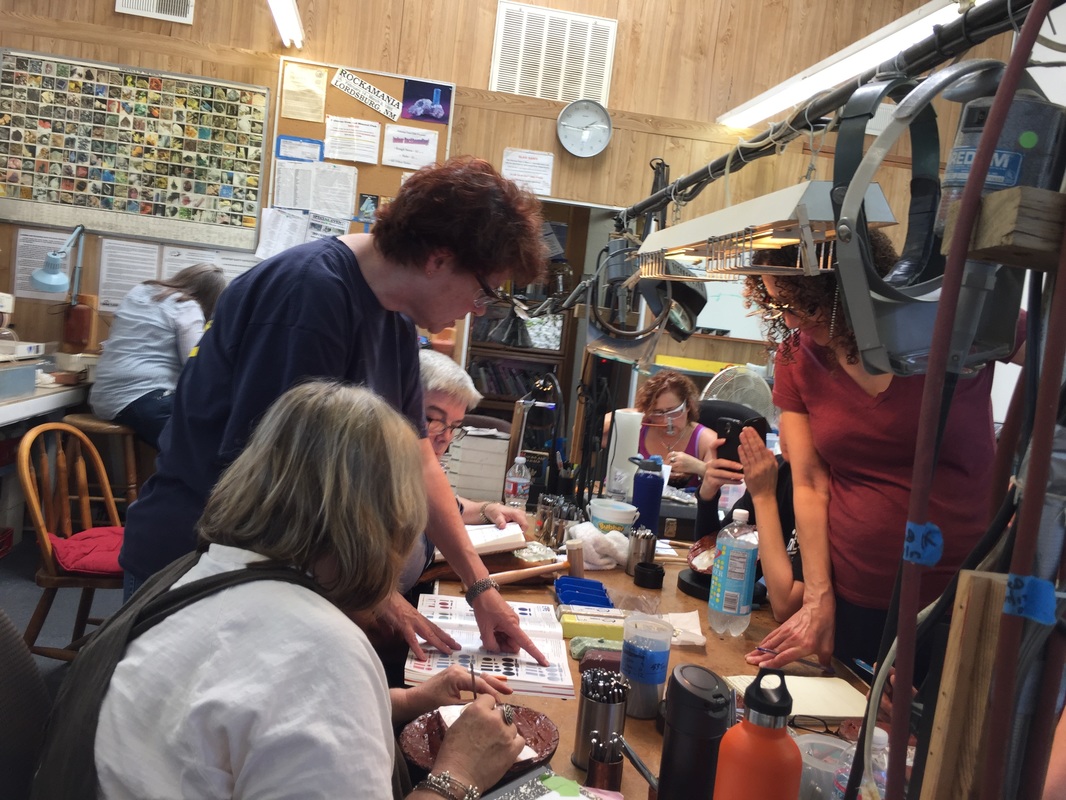
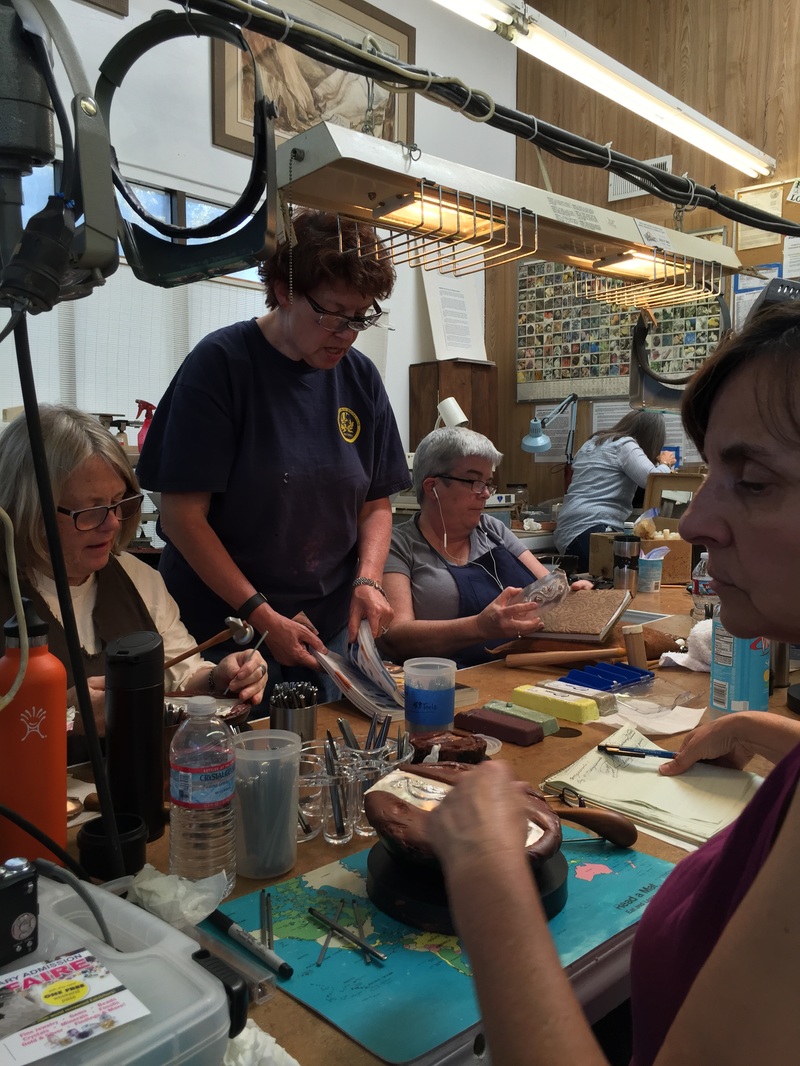
This past weekend, Sherri, came back to my studio for another 2 days of workshops and another student, Barbara, joined her on Saturday.

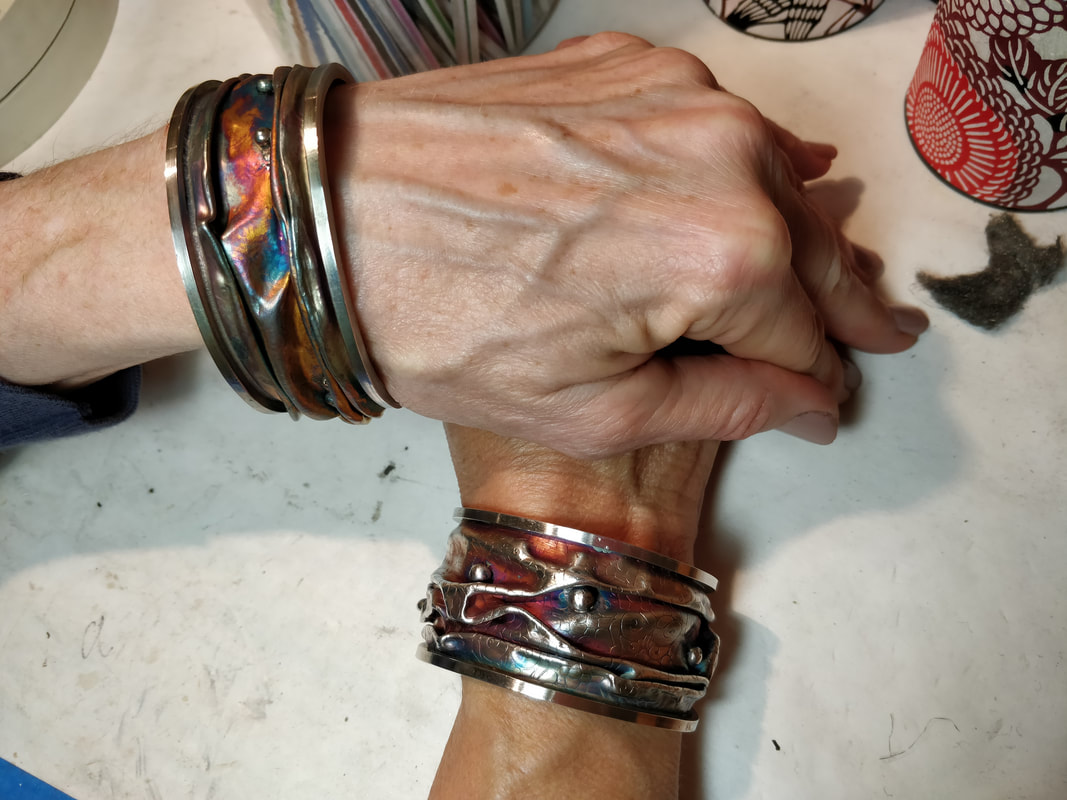
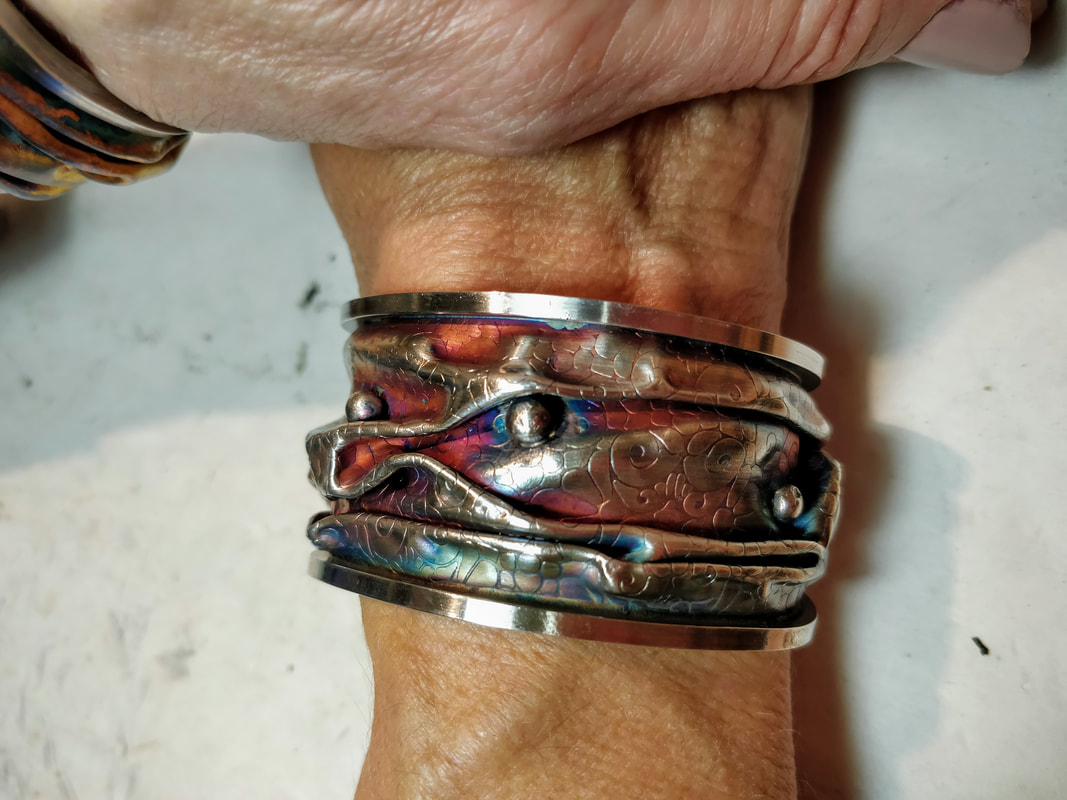
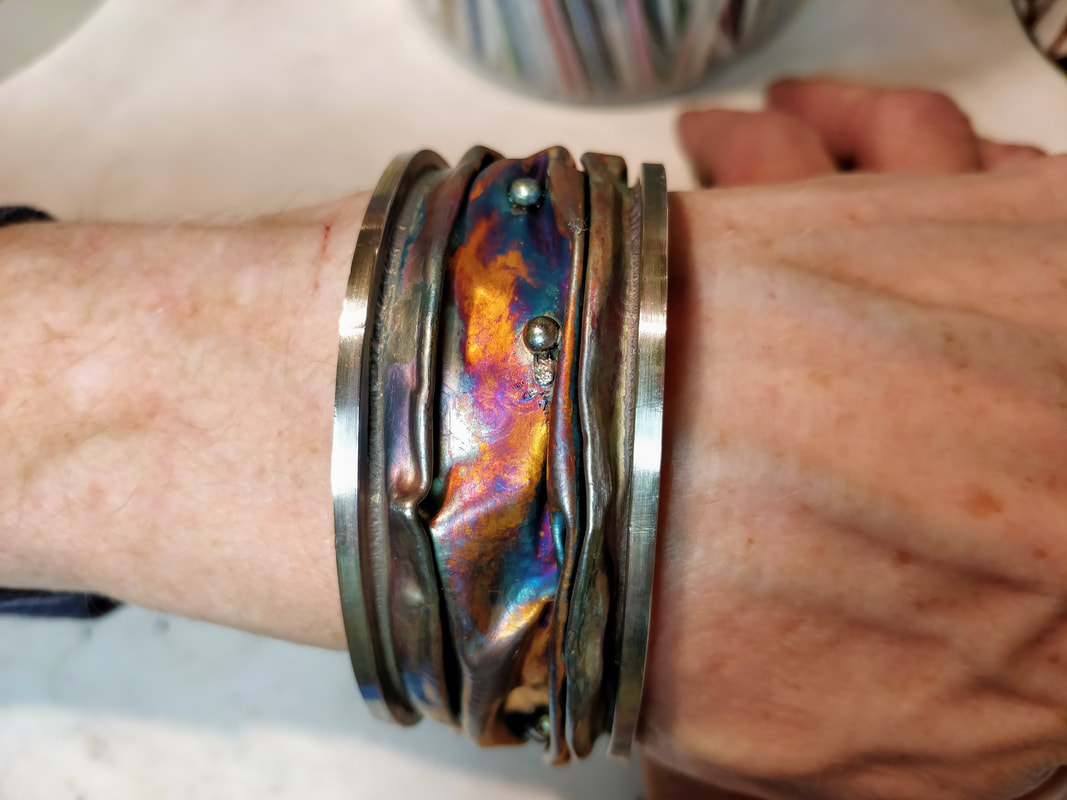
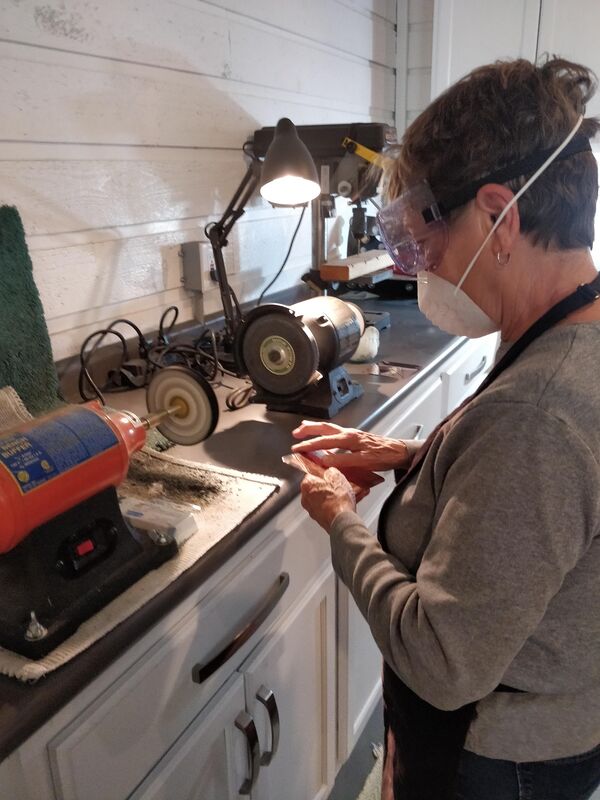
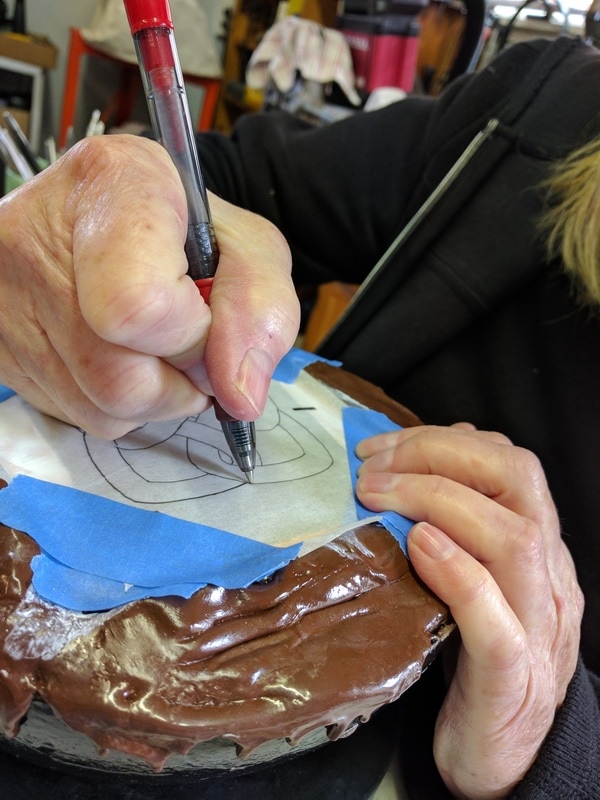
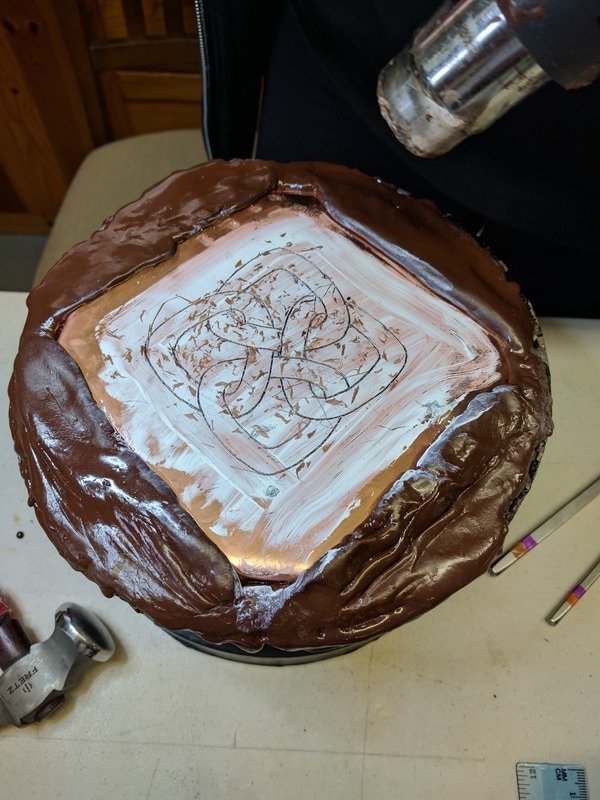
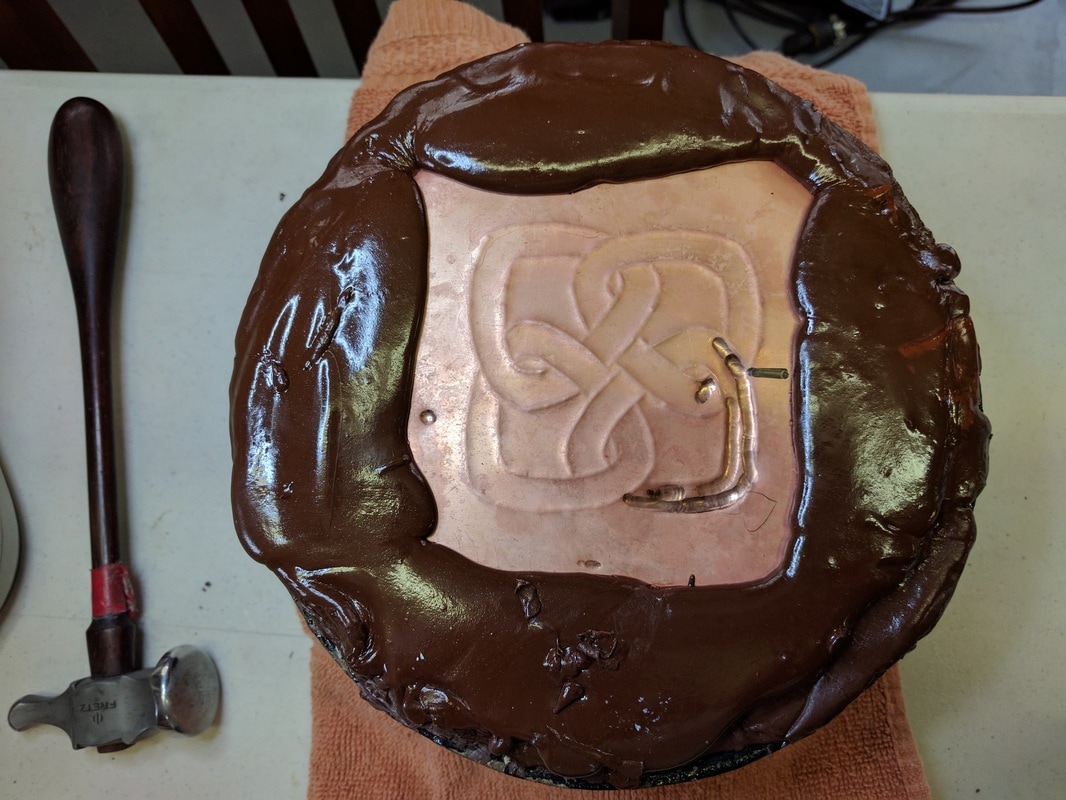
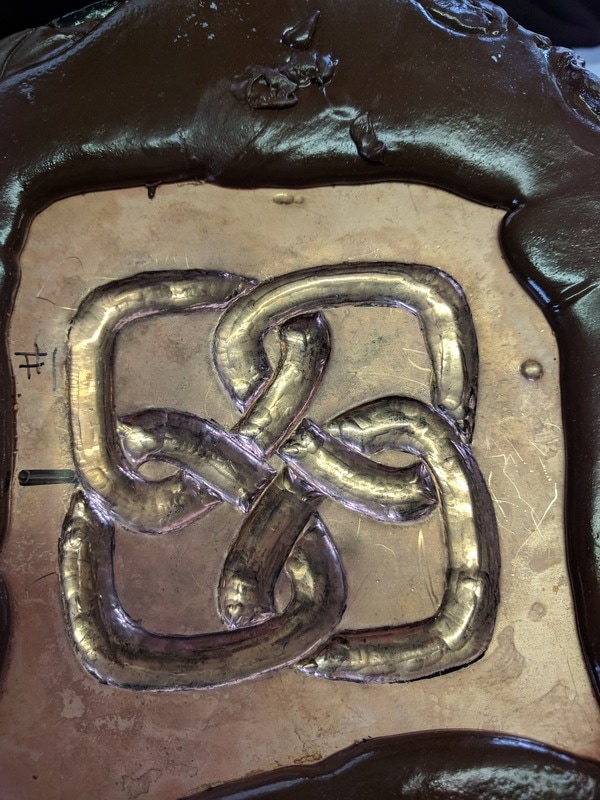
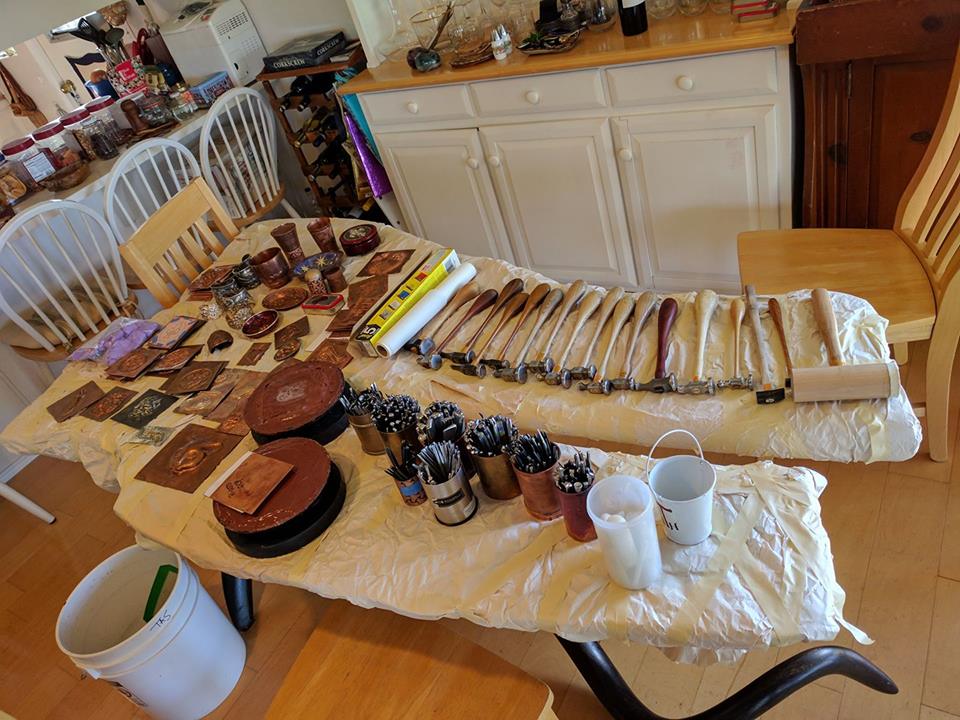
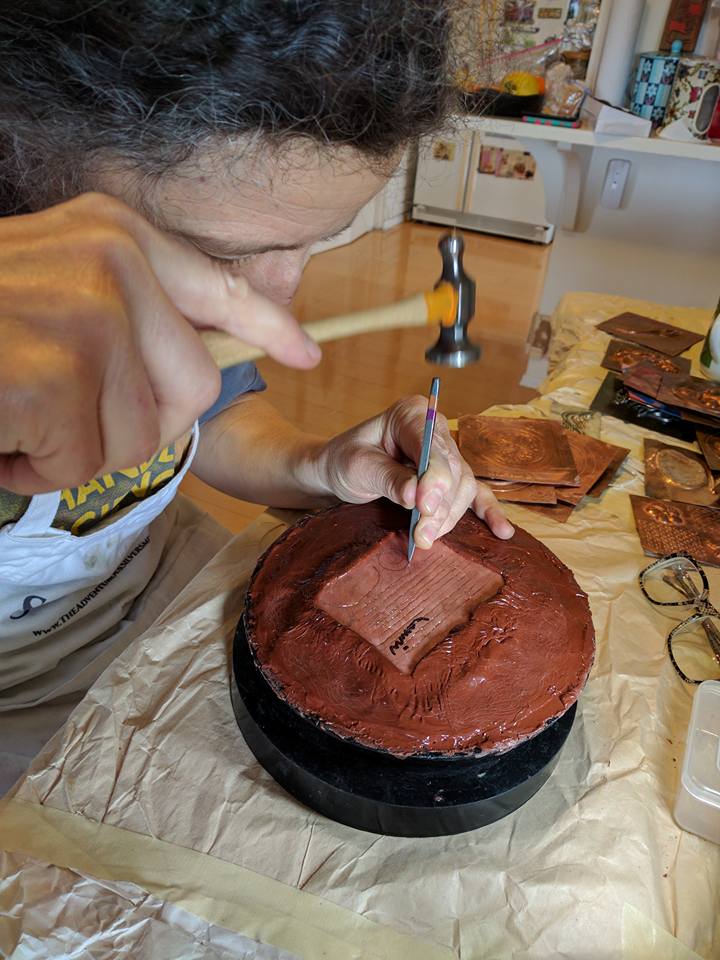
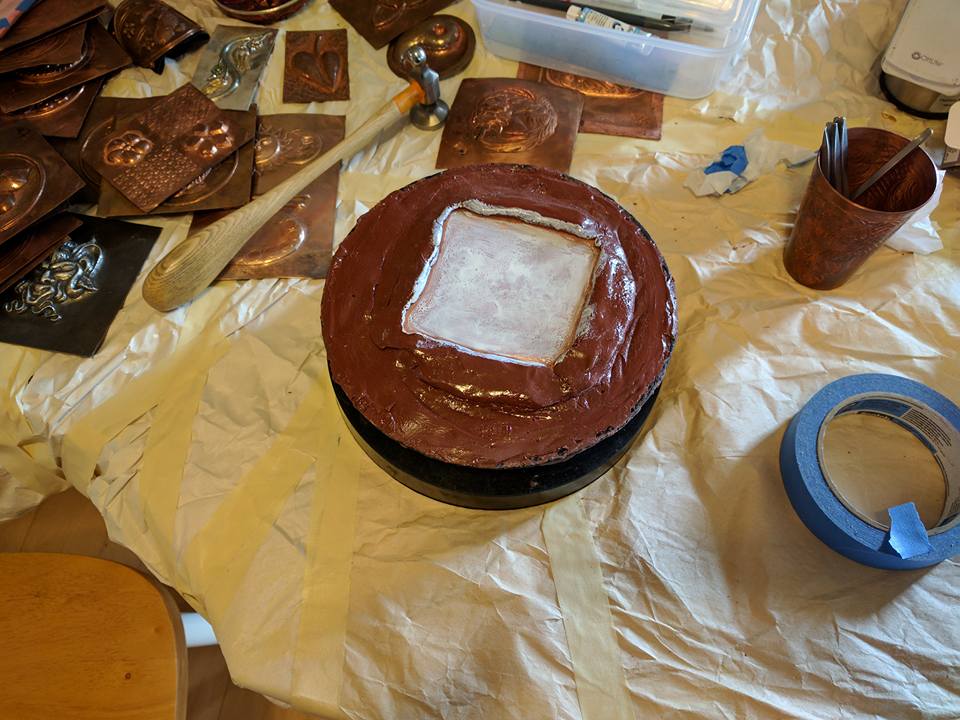
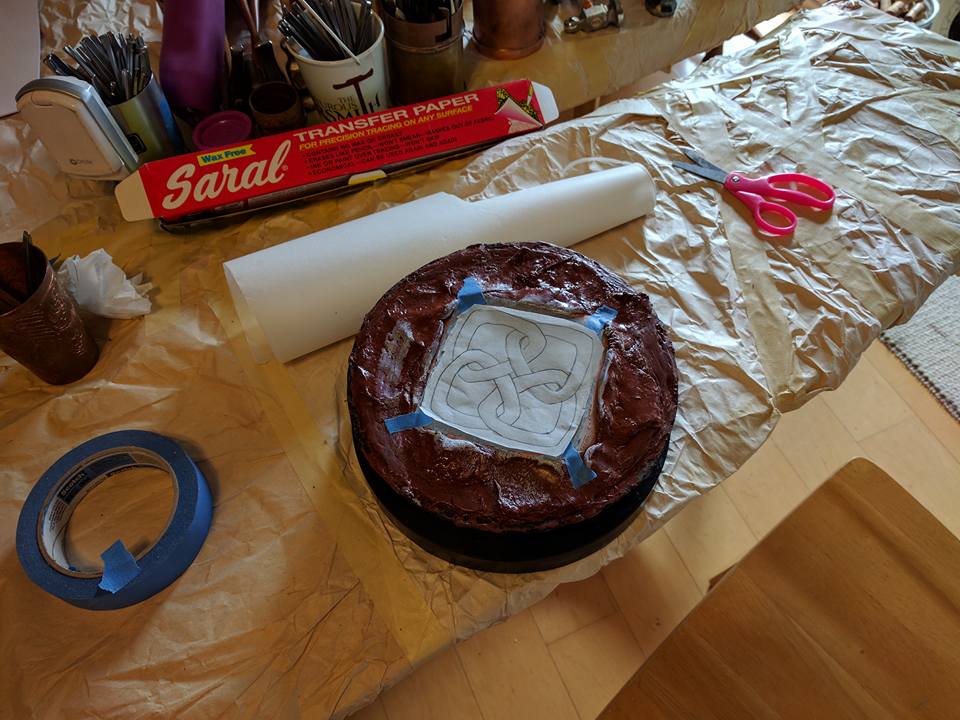
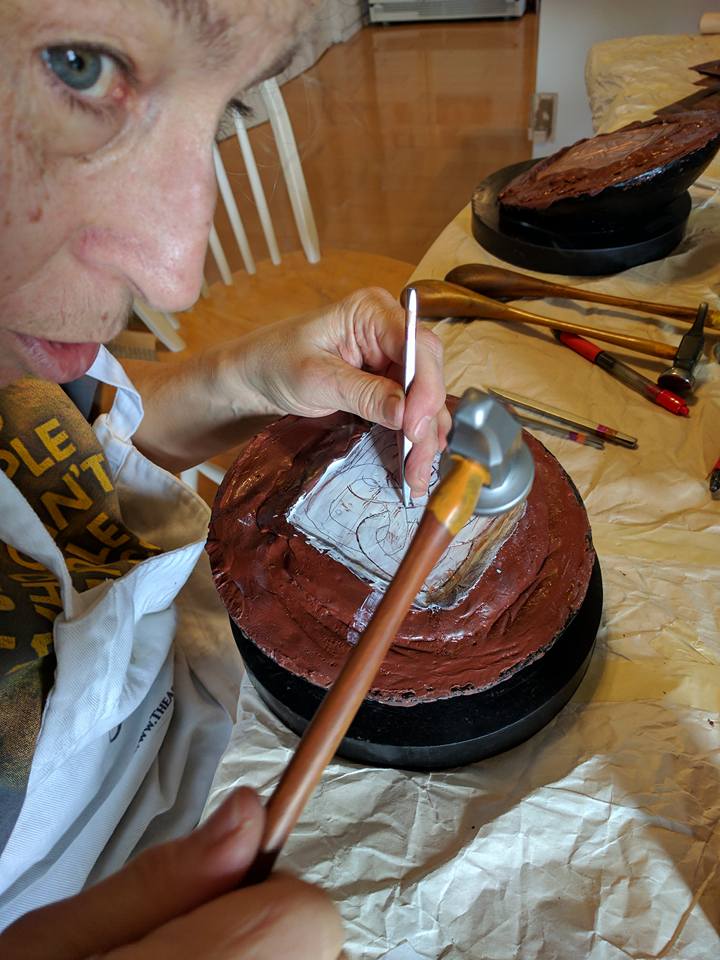
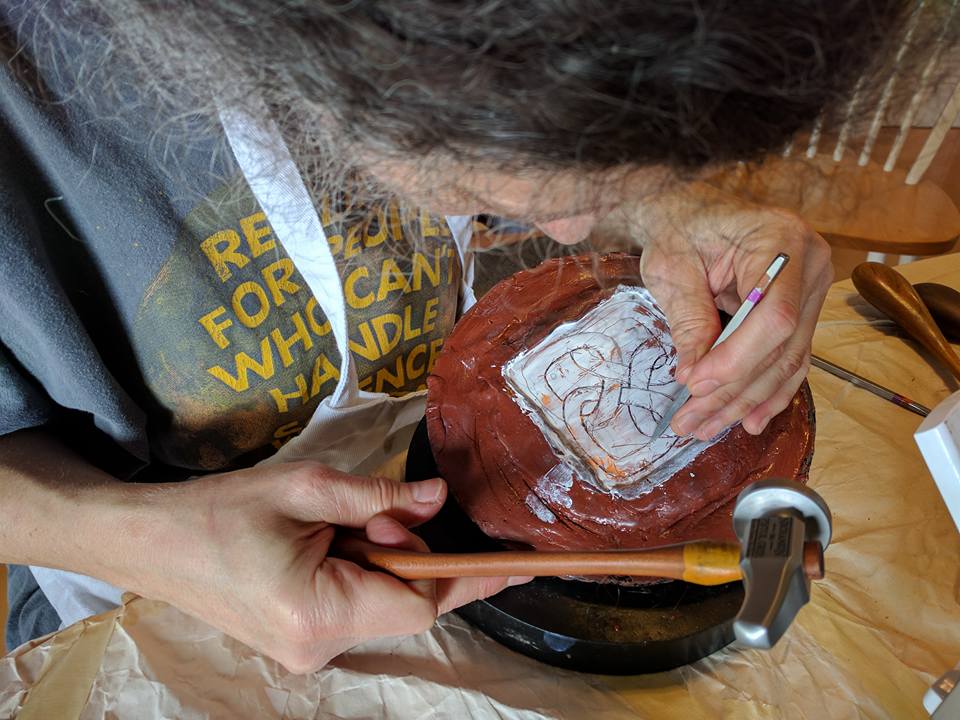
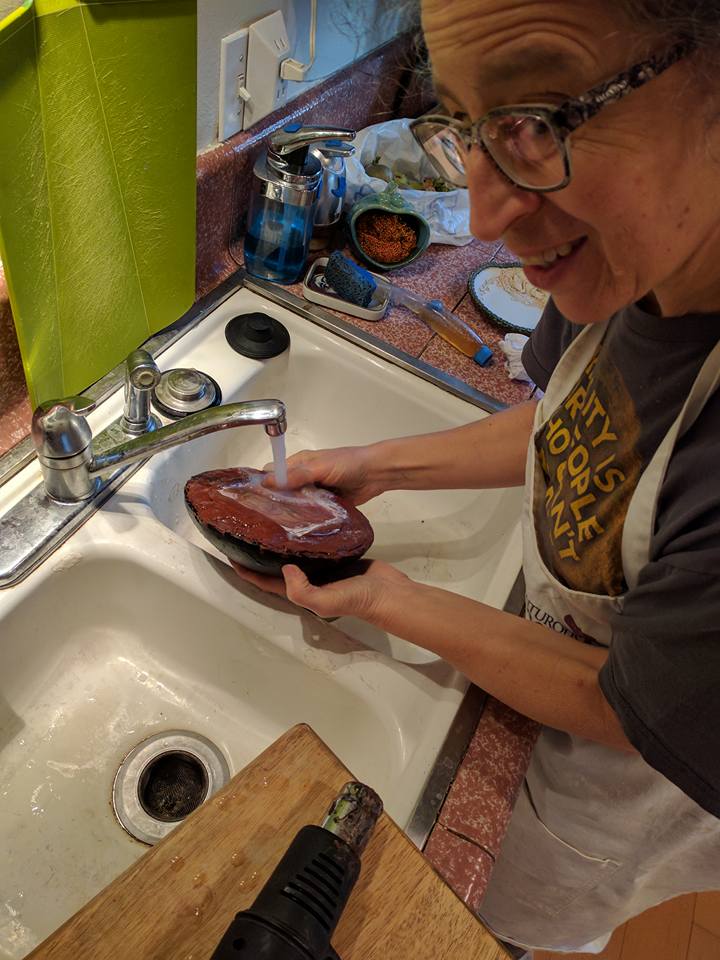
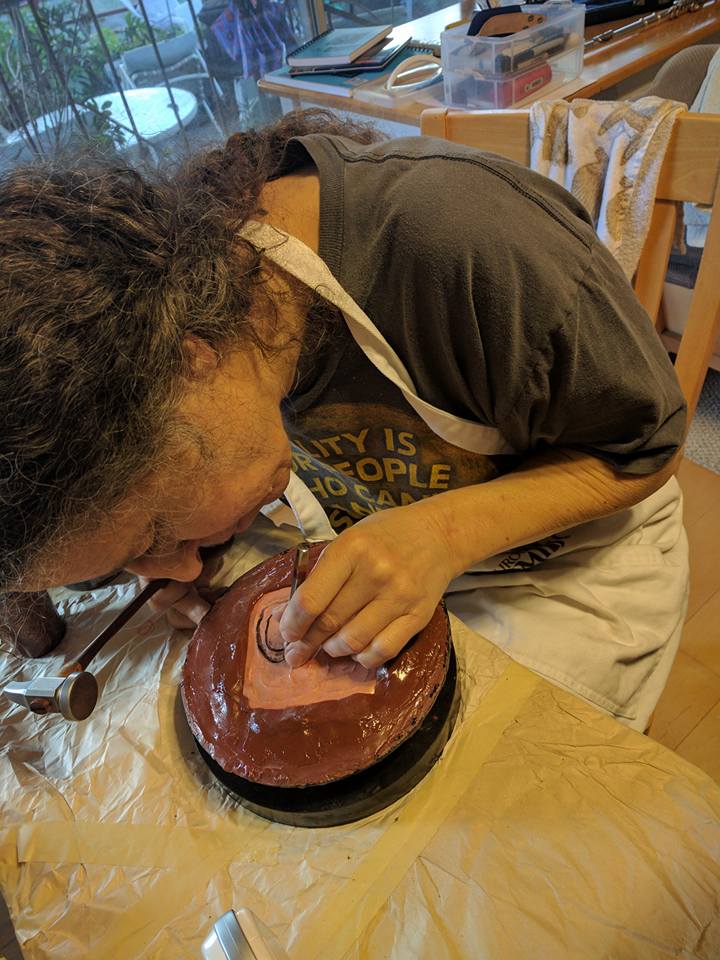
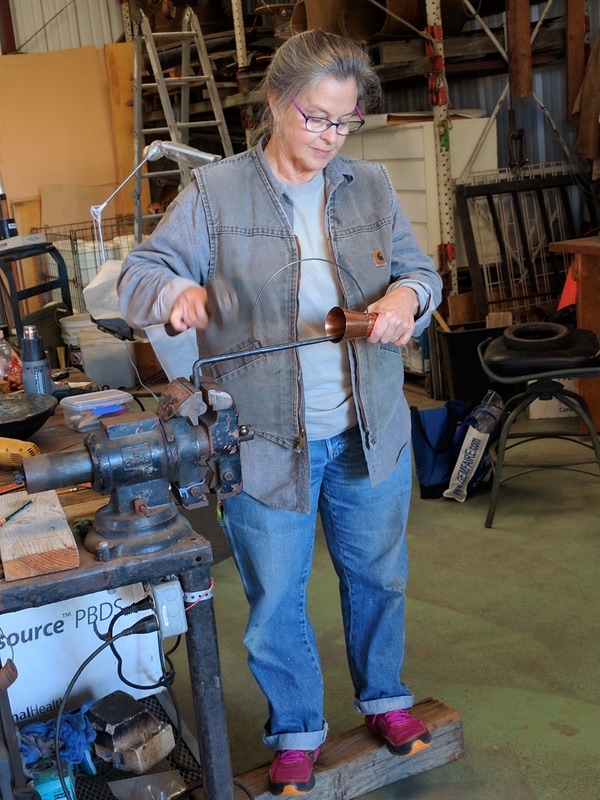
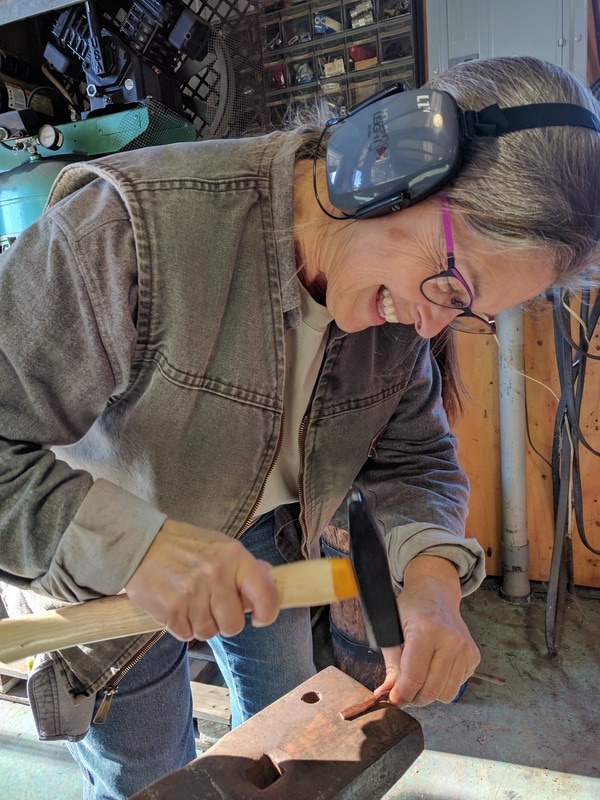
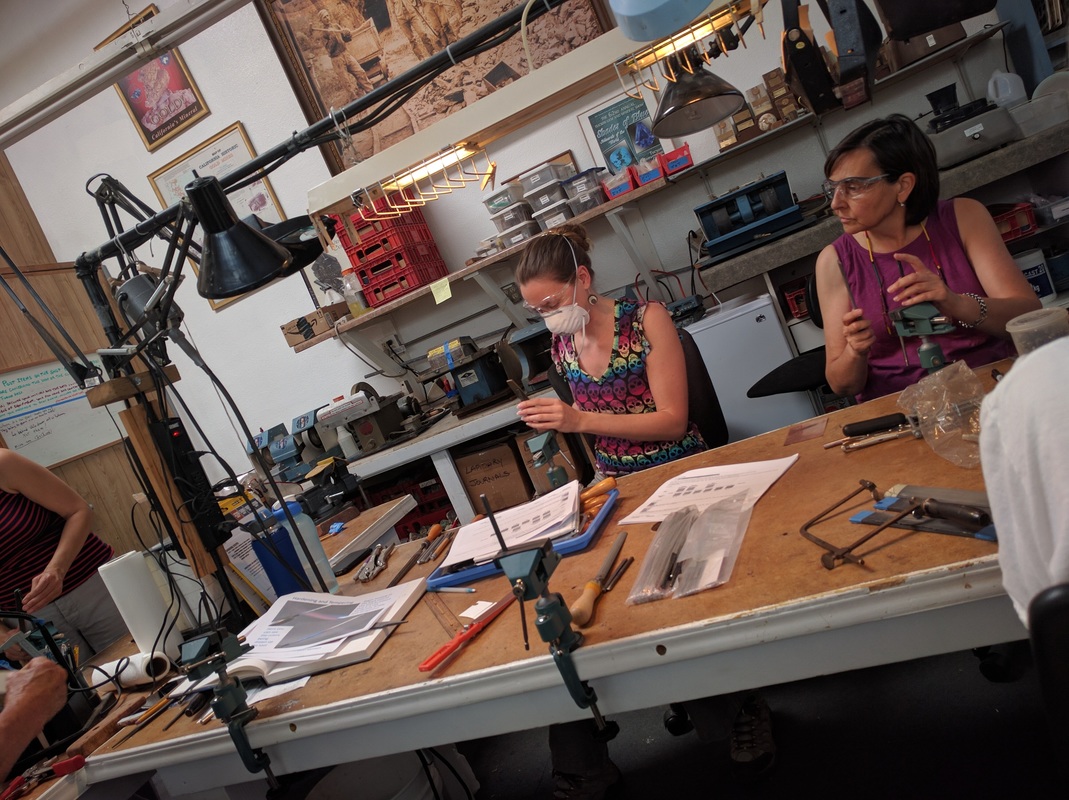
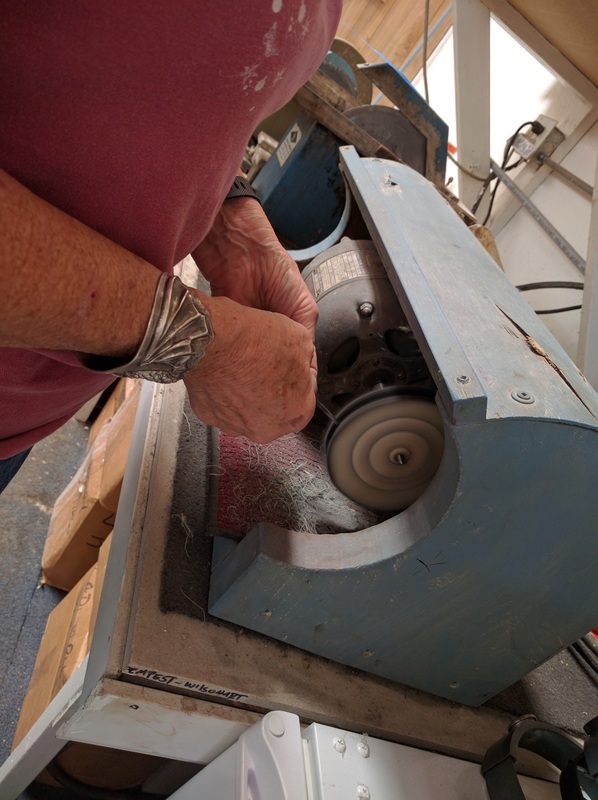
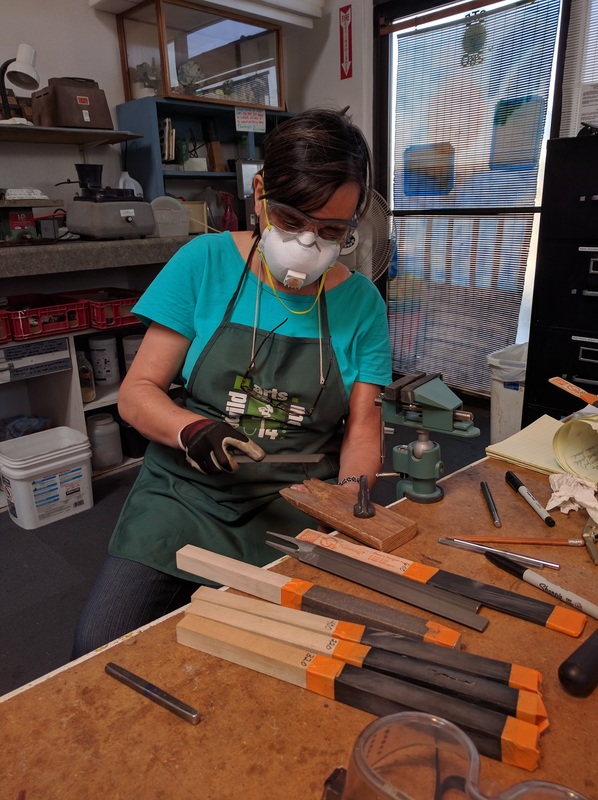
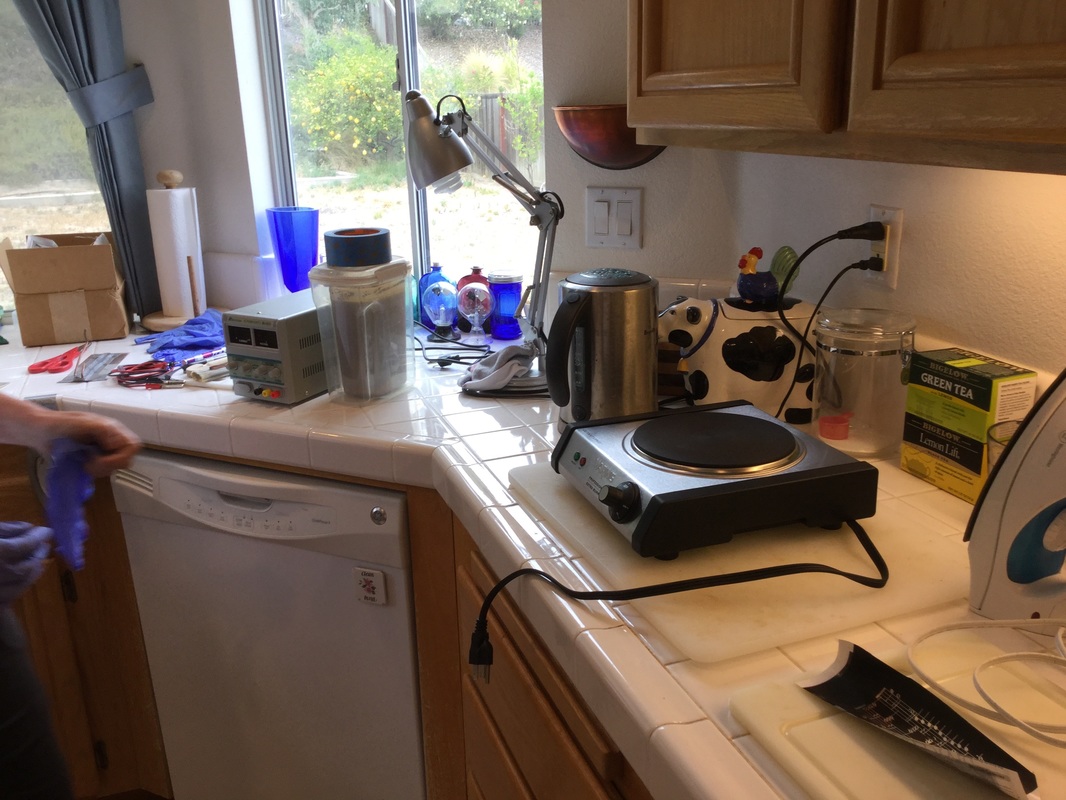
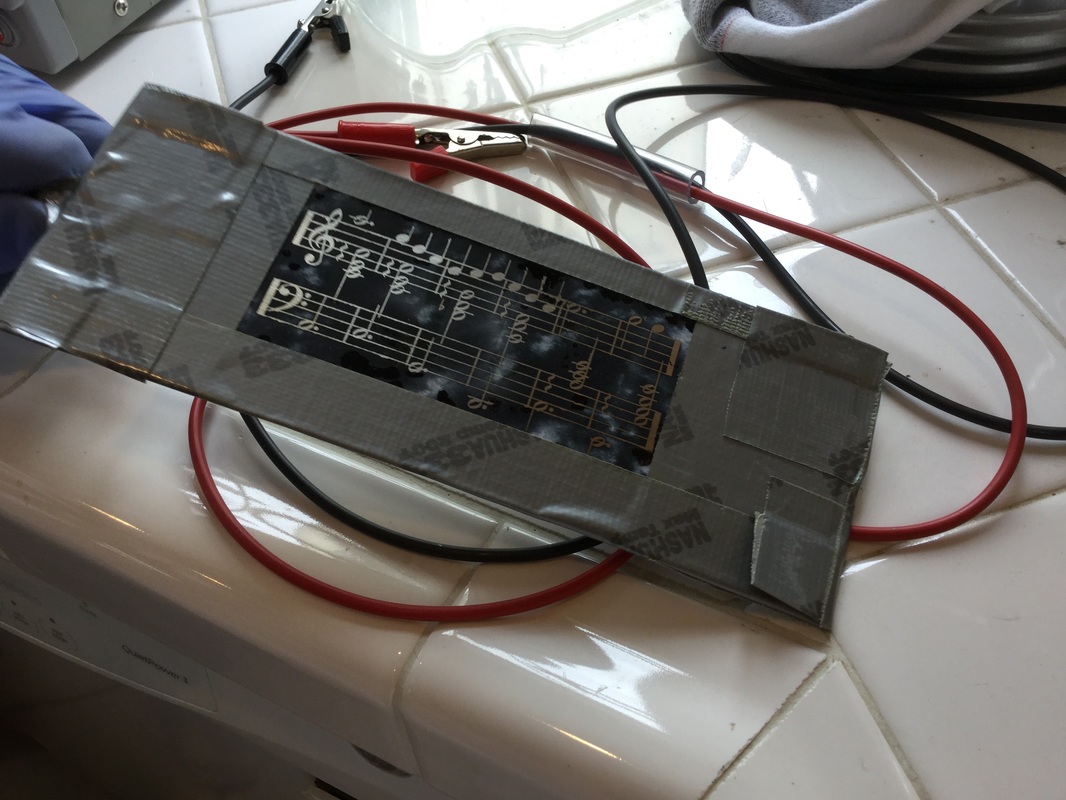
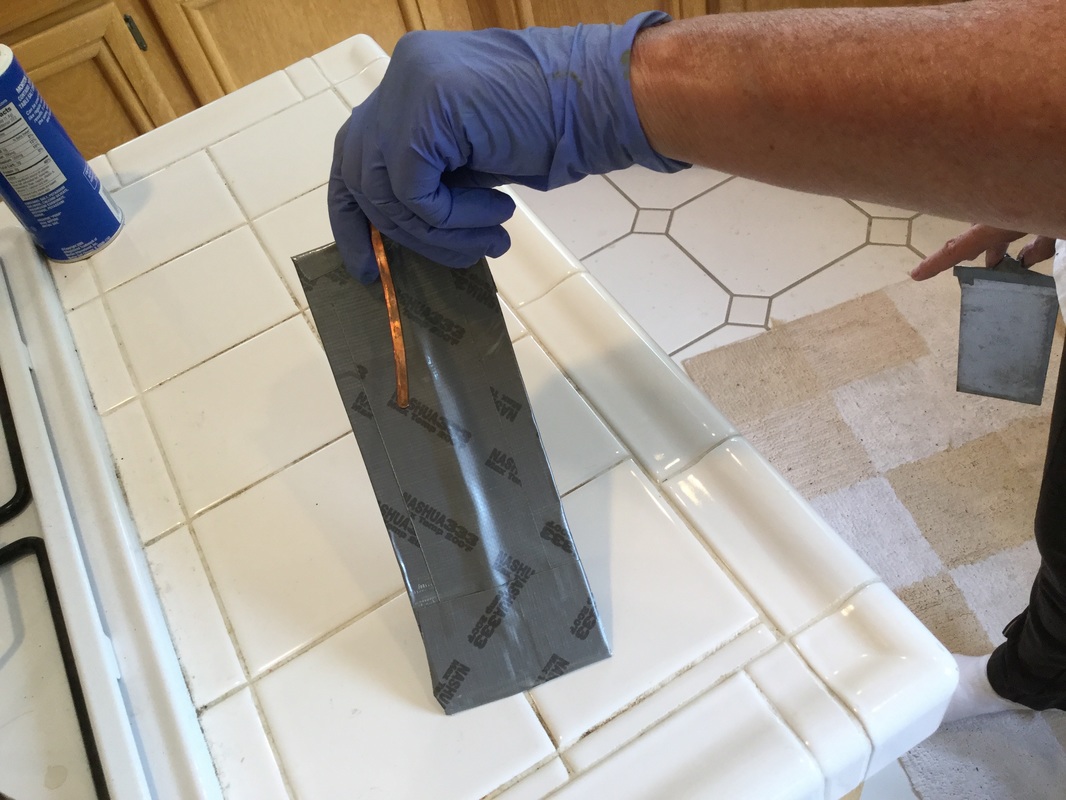
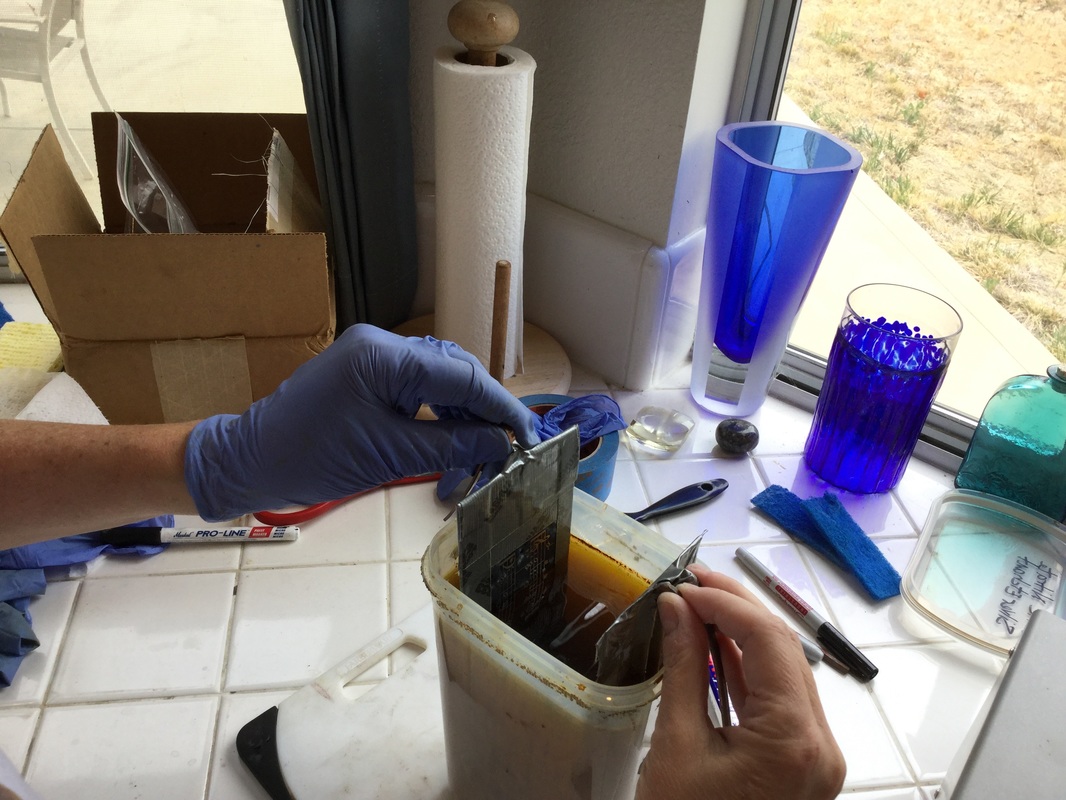
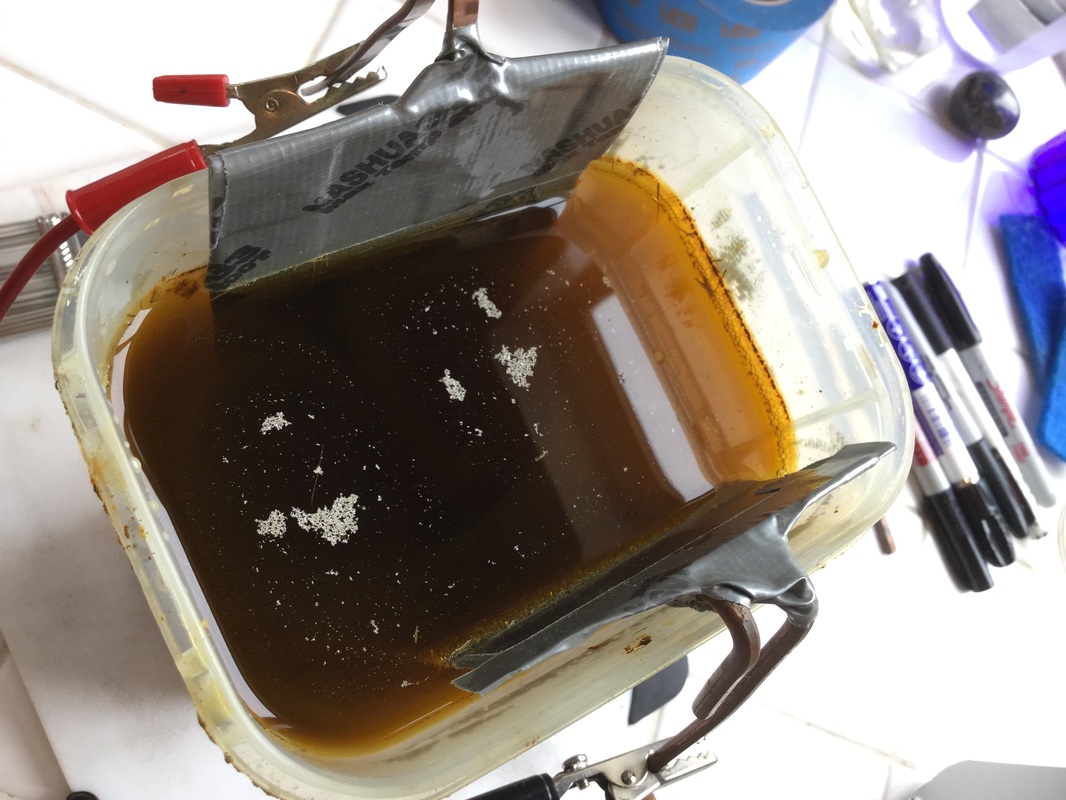
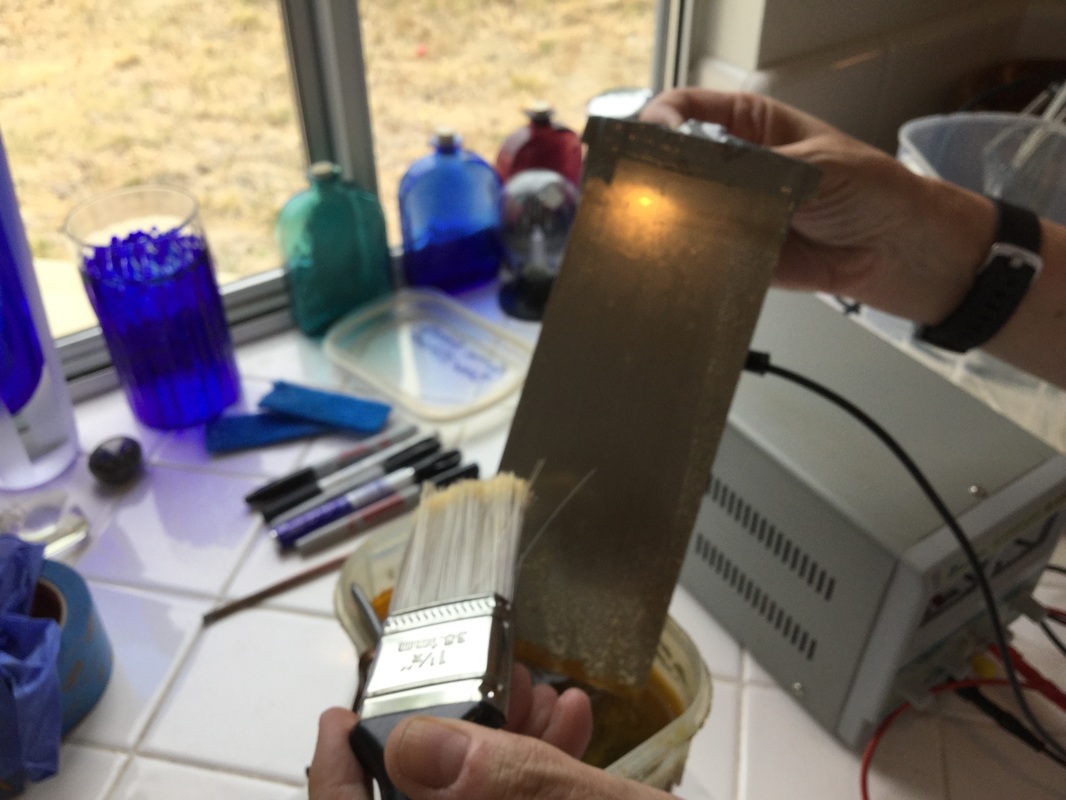
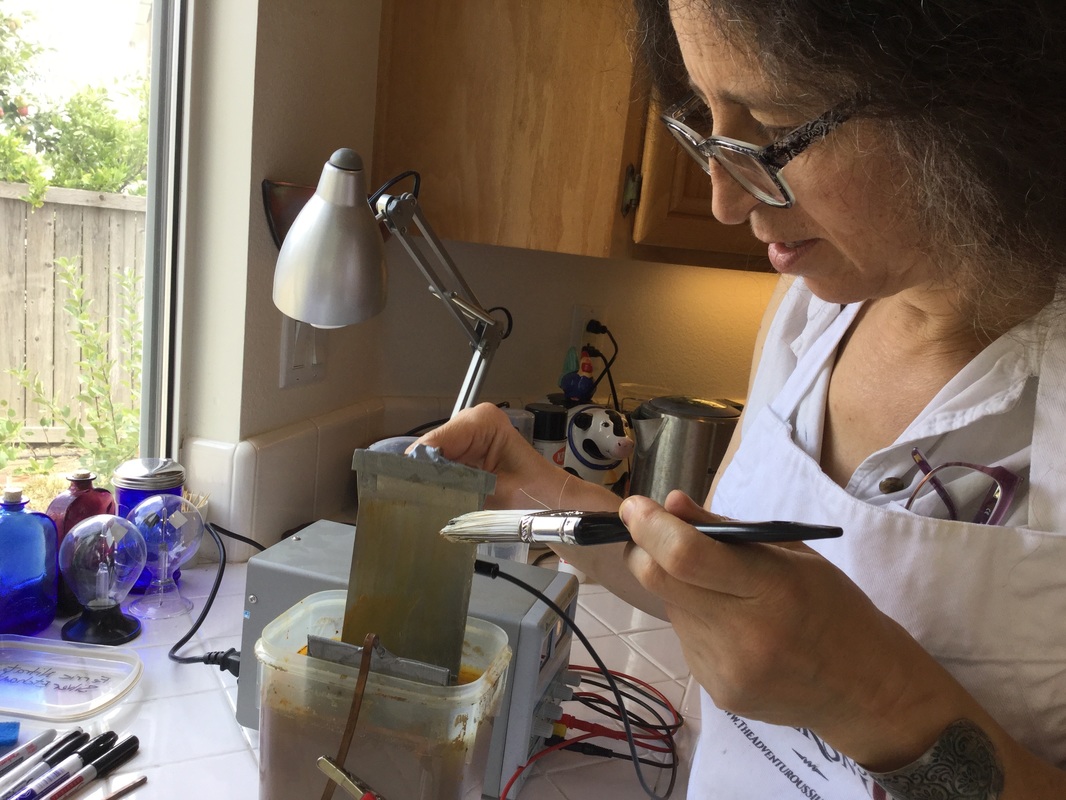
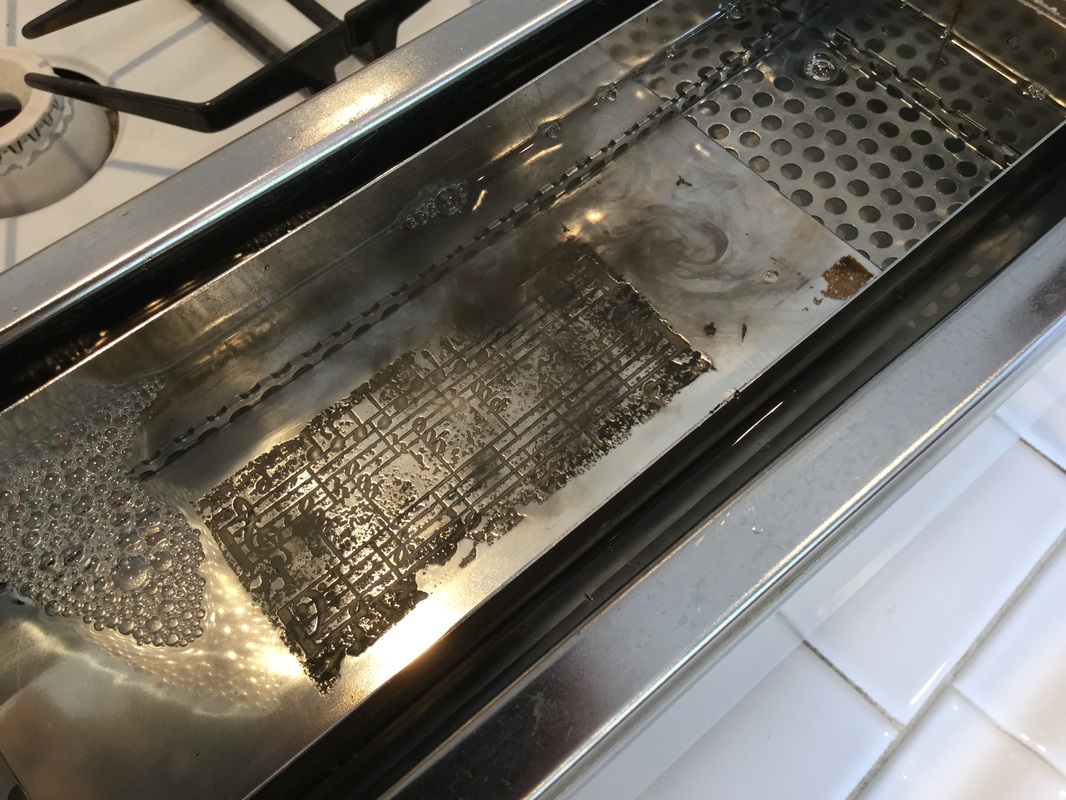
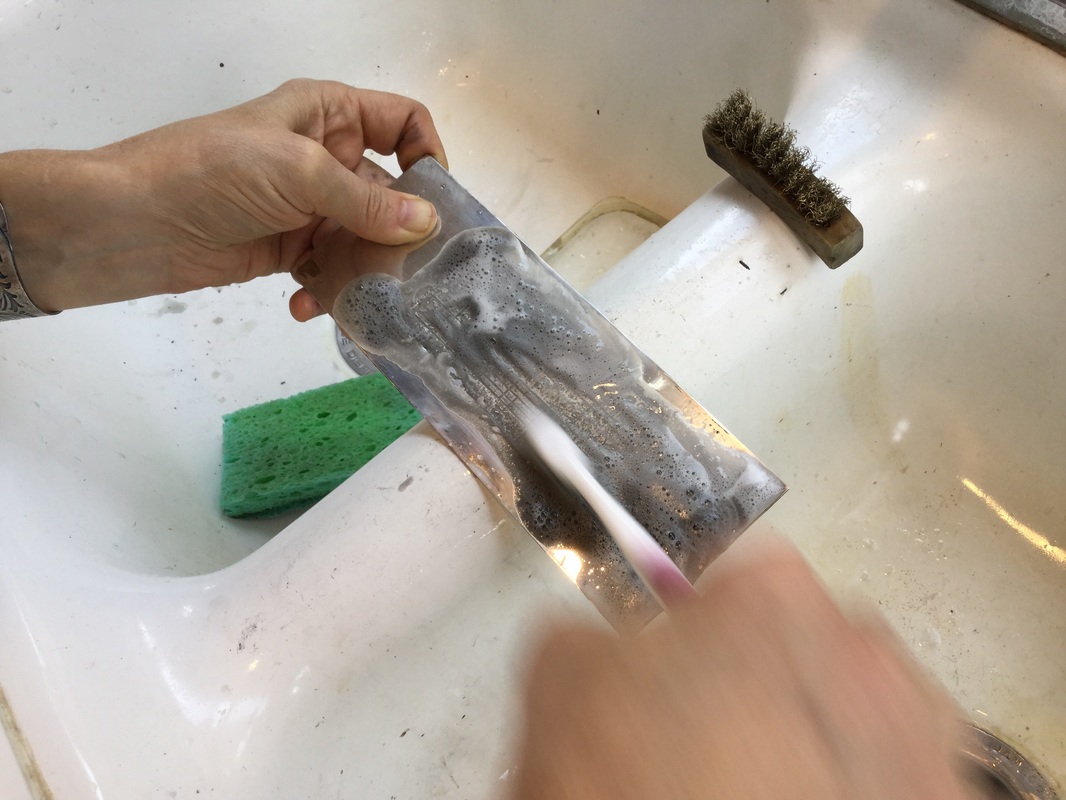
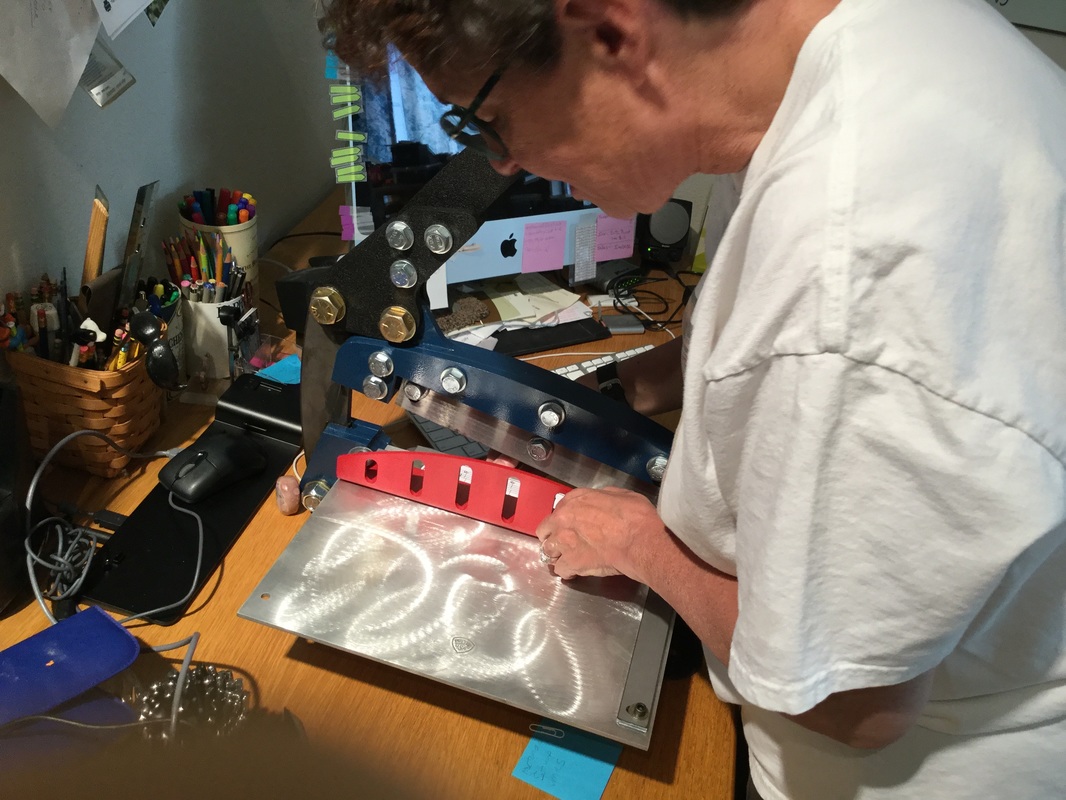
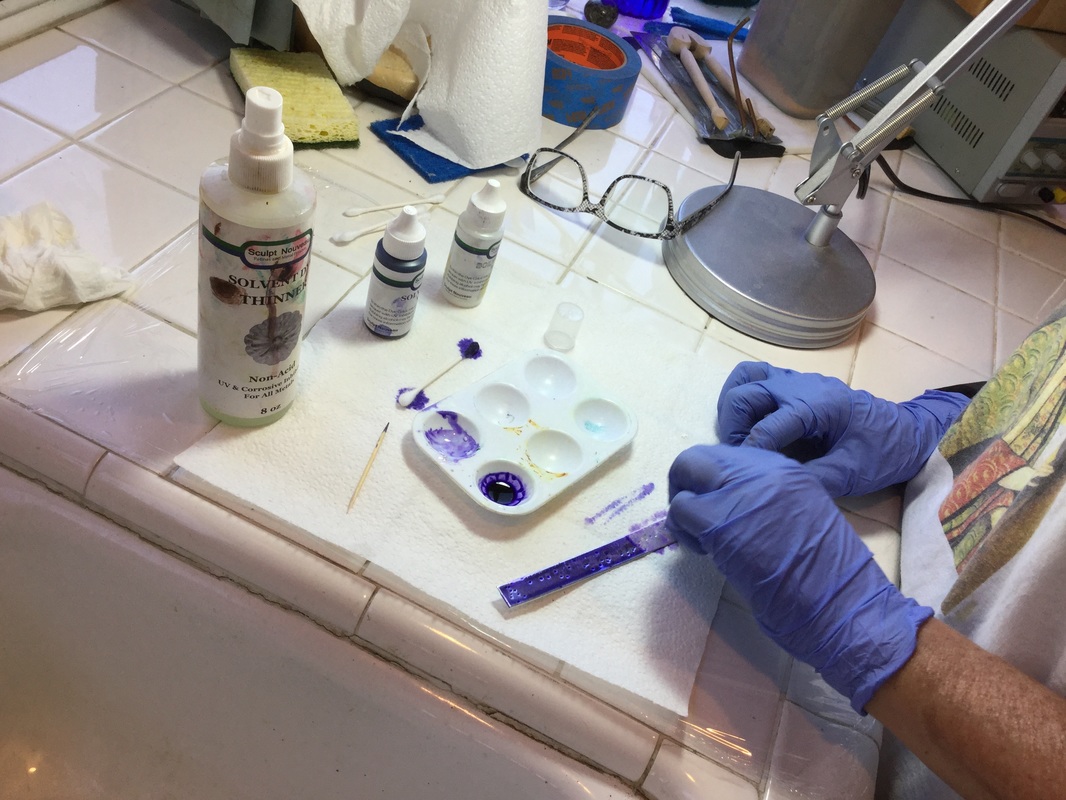
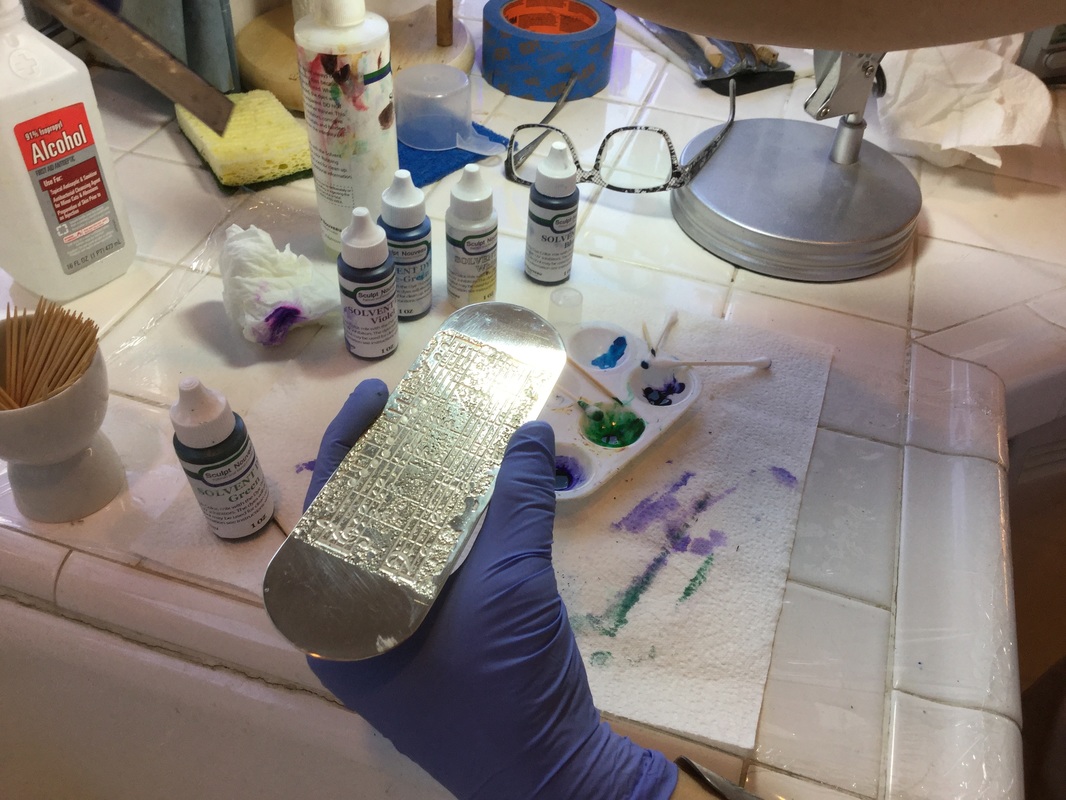
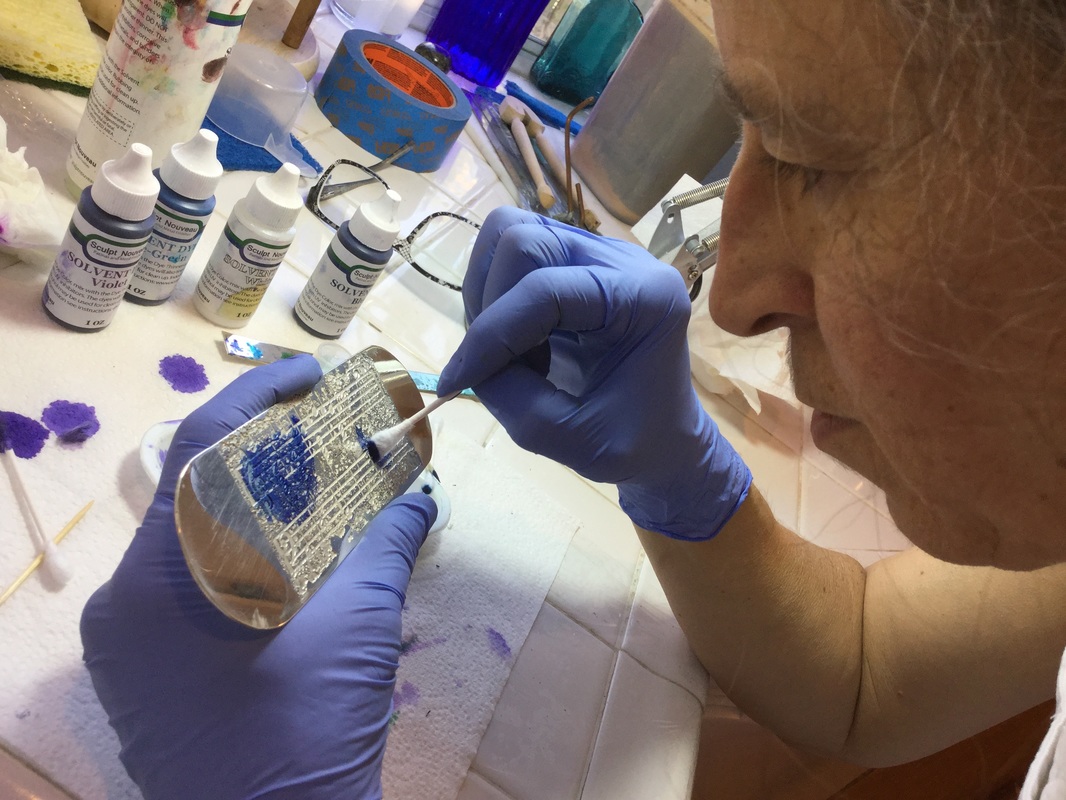
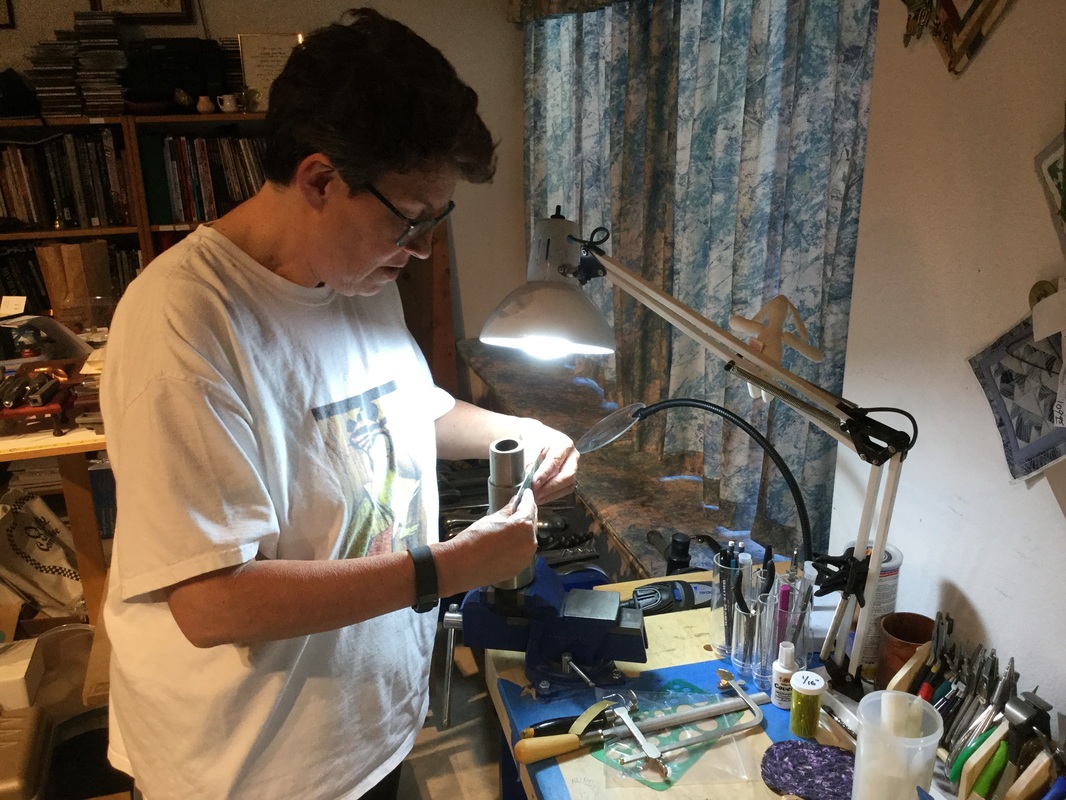
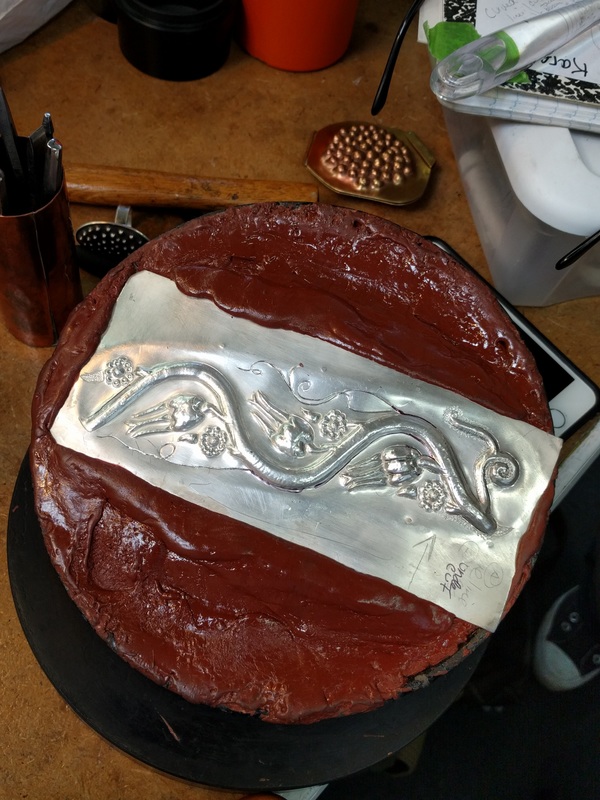
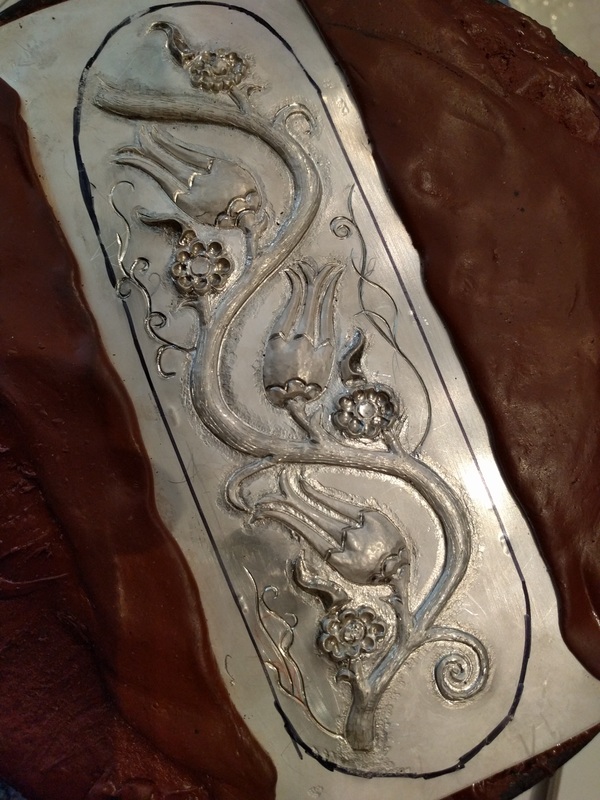
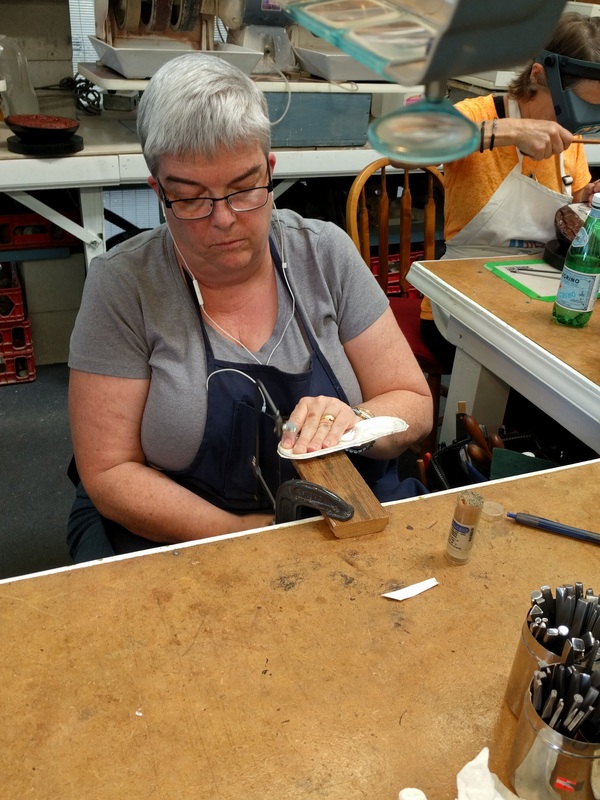
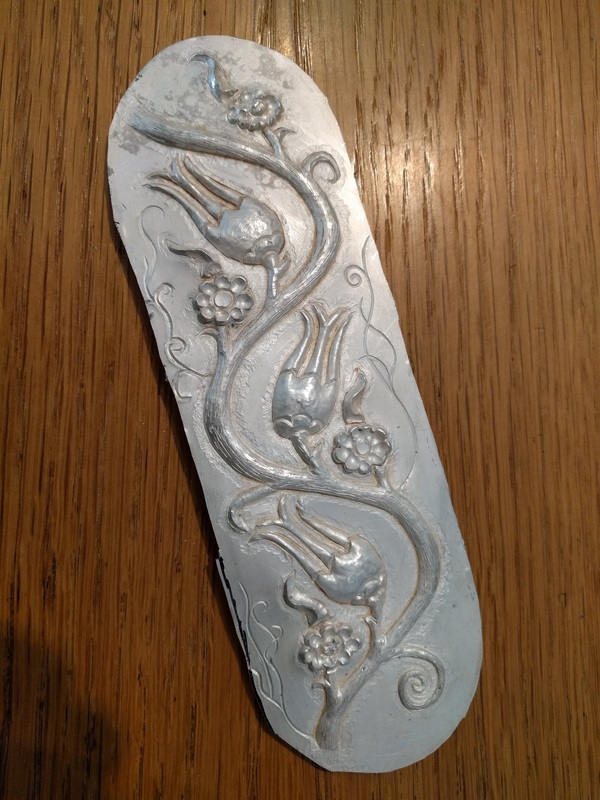
Saturday’s workshop was a Fold Formed Cuff project but the following skills were also covered: using a rolling mill to texturize the metal, stick soldering with hard solder, fold forming basics, and liver of sulfur patina. We started the day at 10:00 am and the cuffs were completed by 5:30 pm.

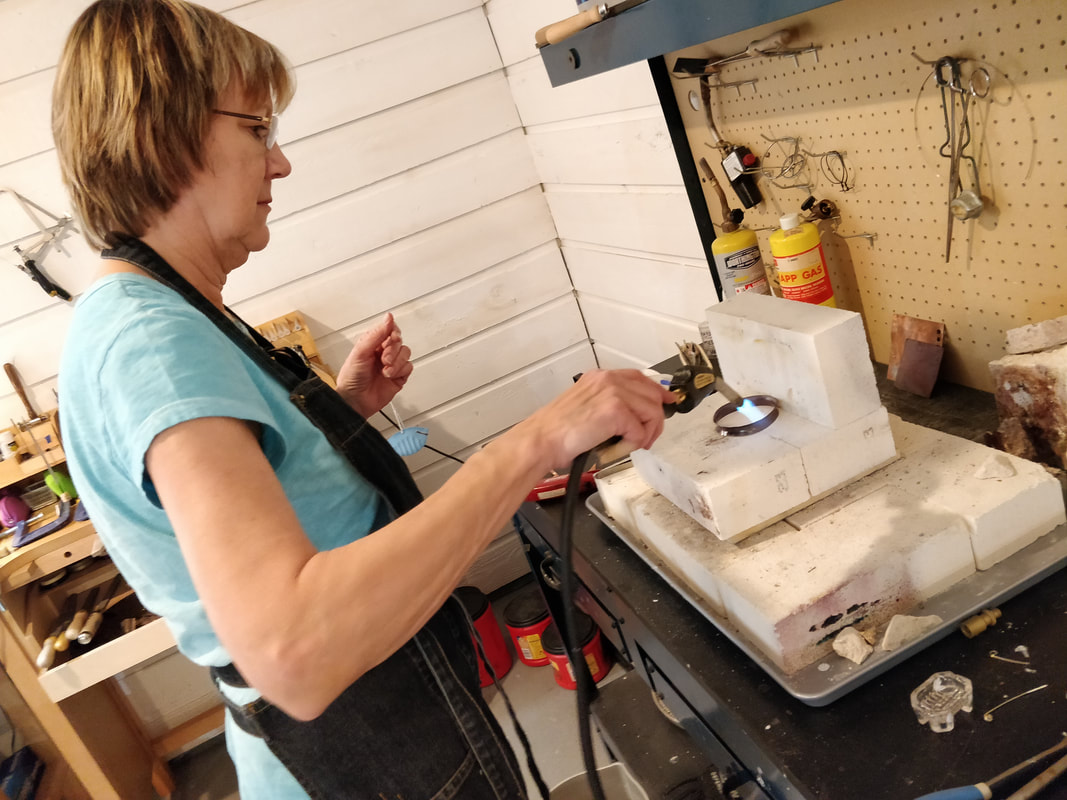
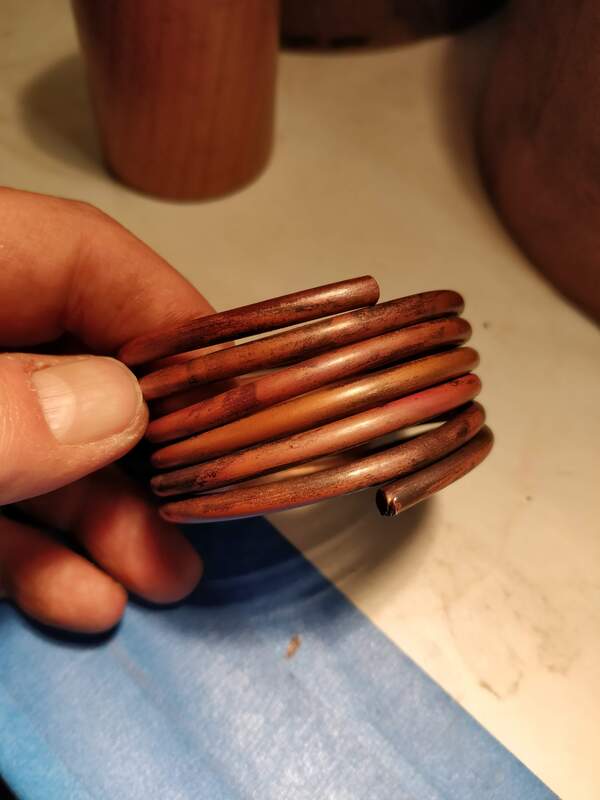
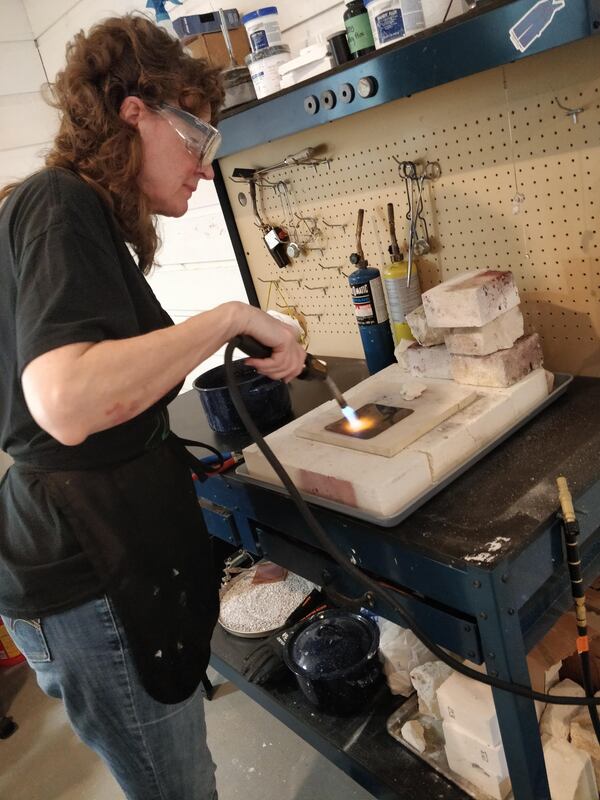
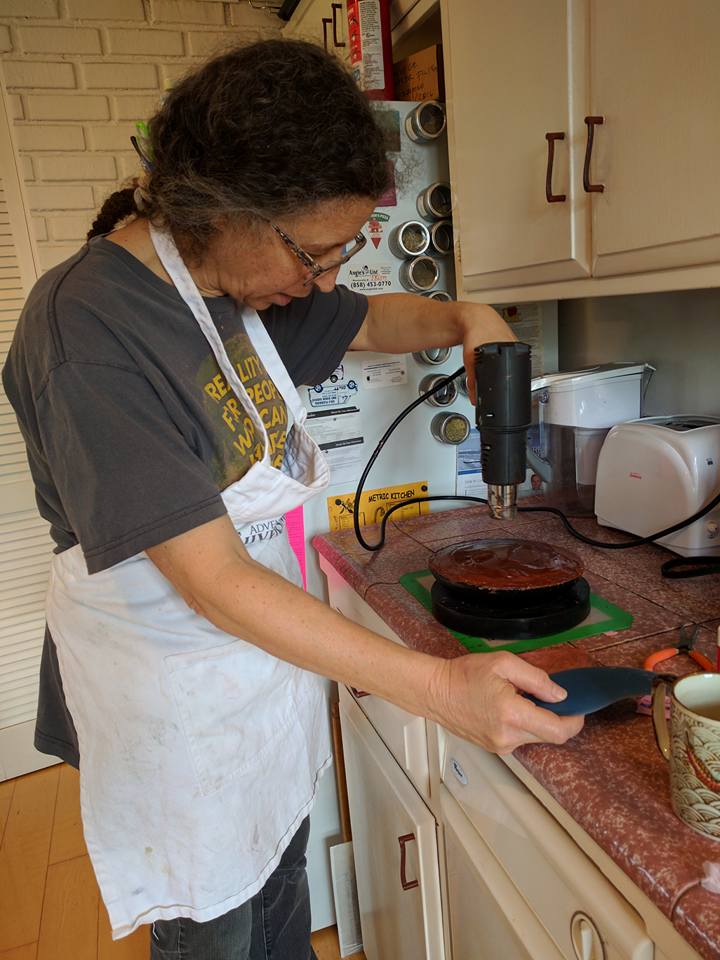
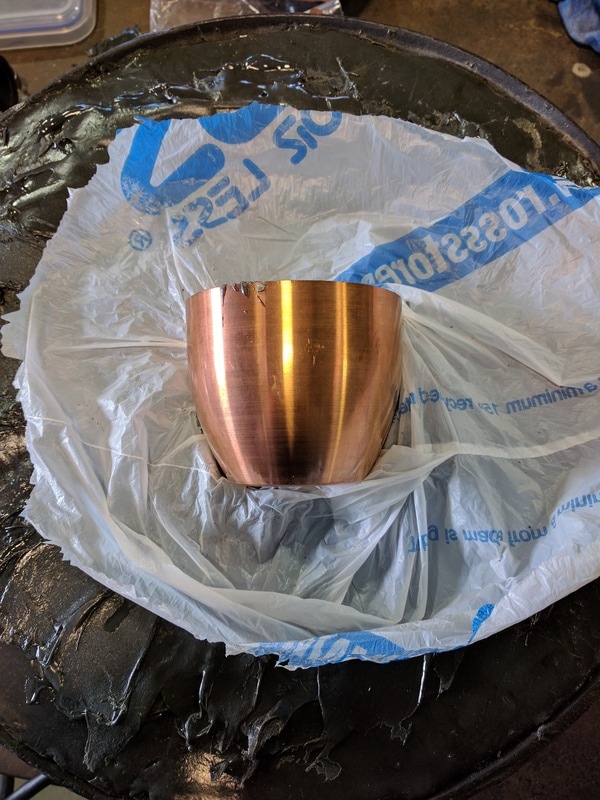
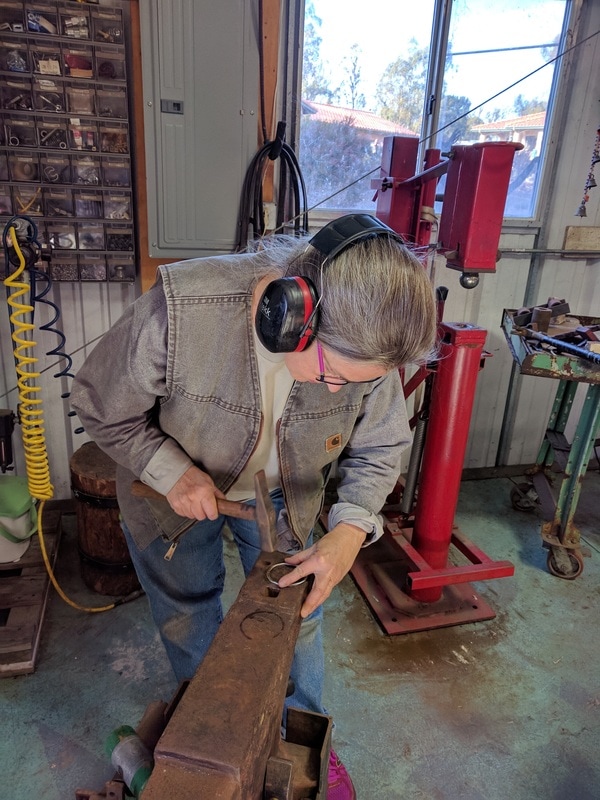
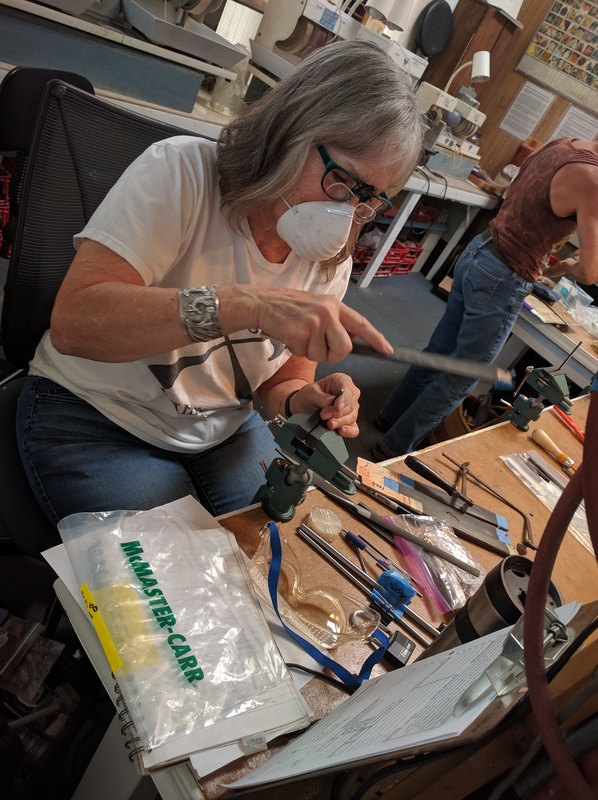
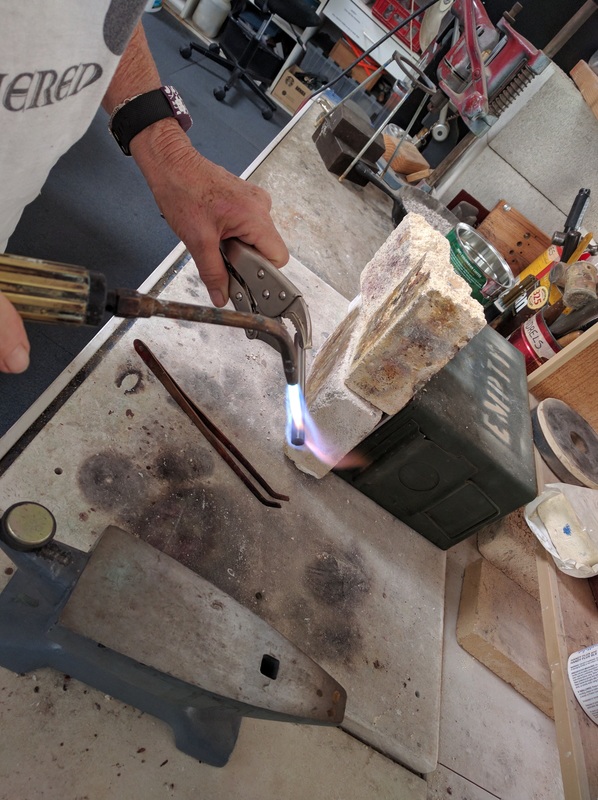
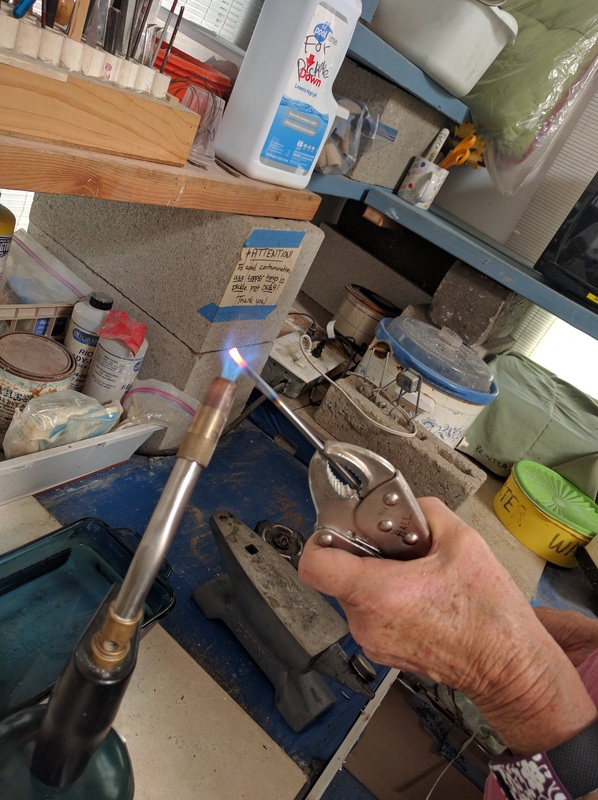
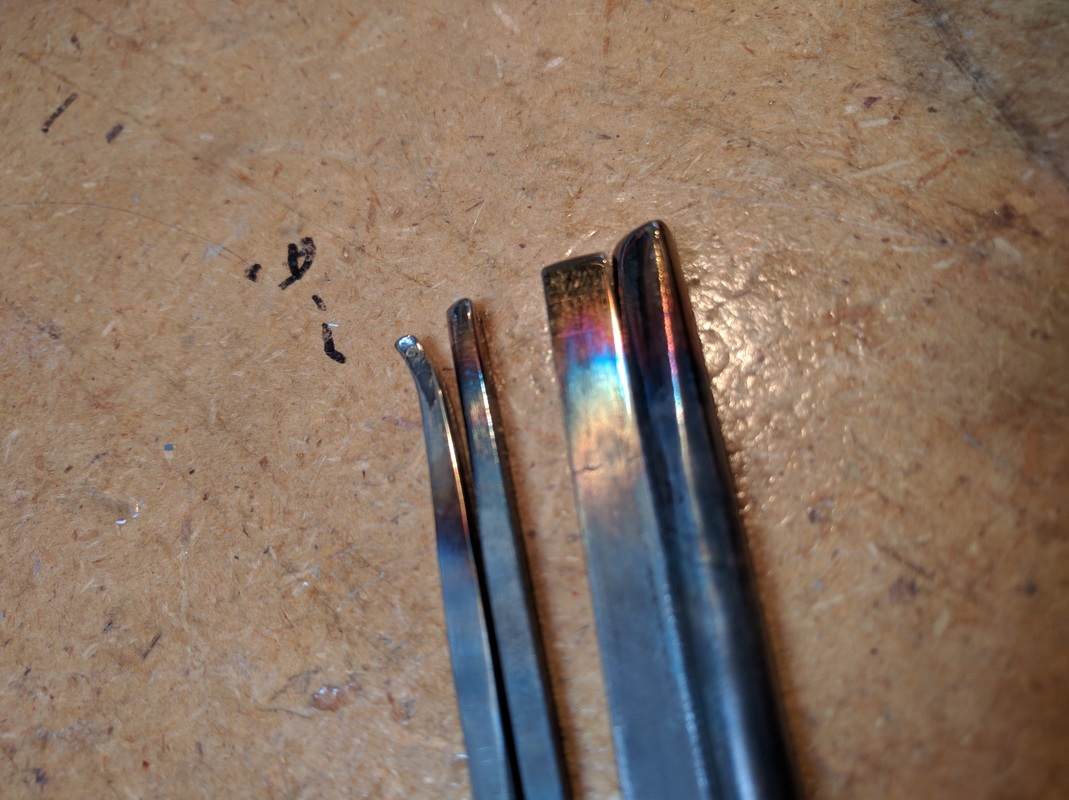
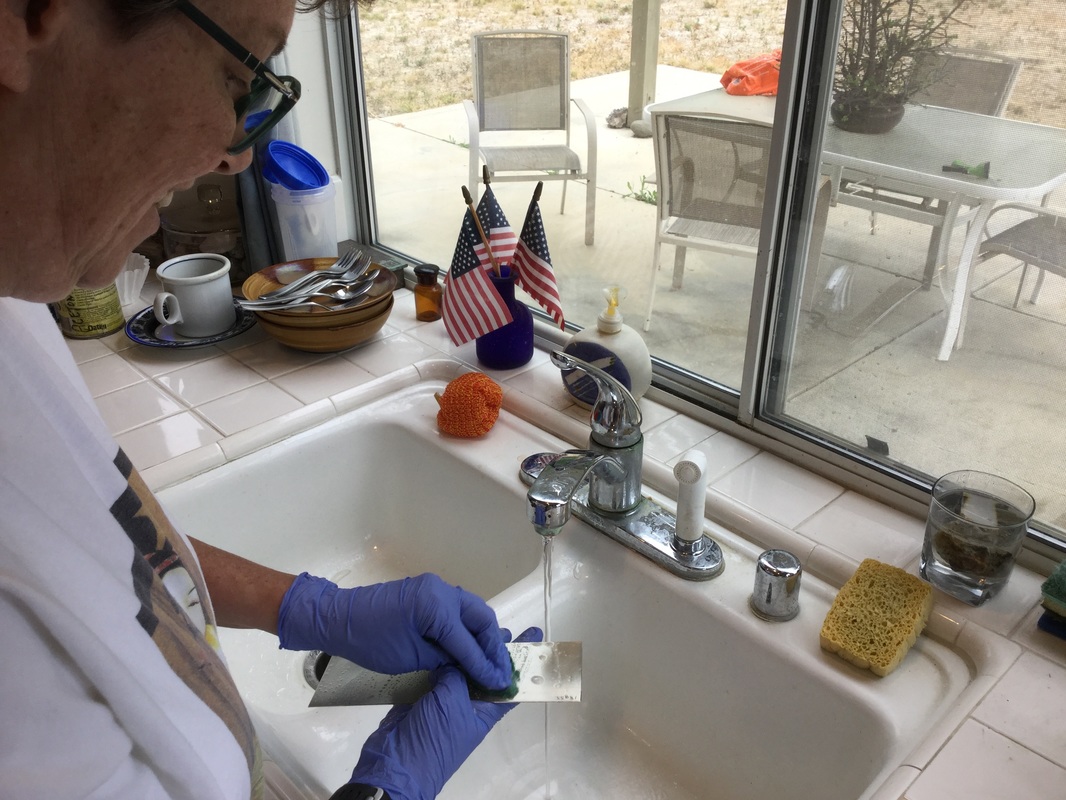
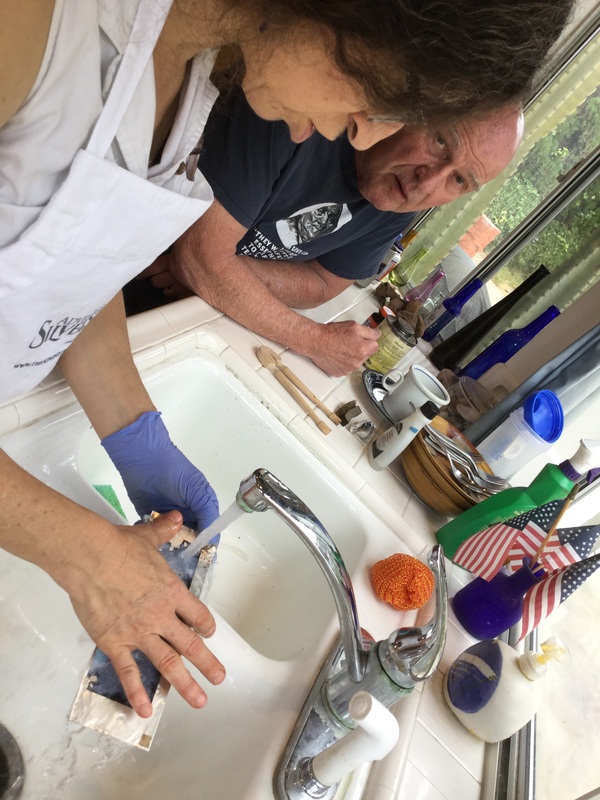
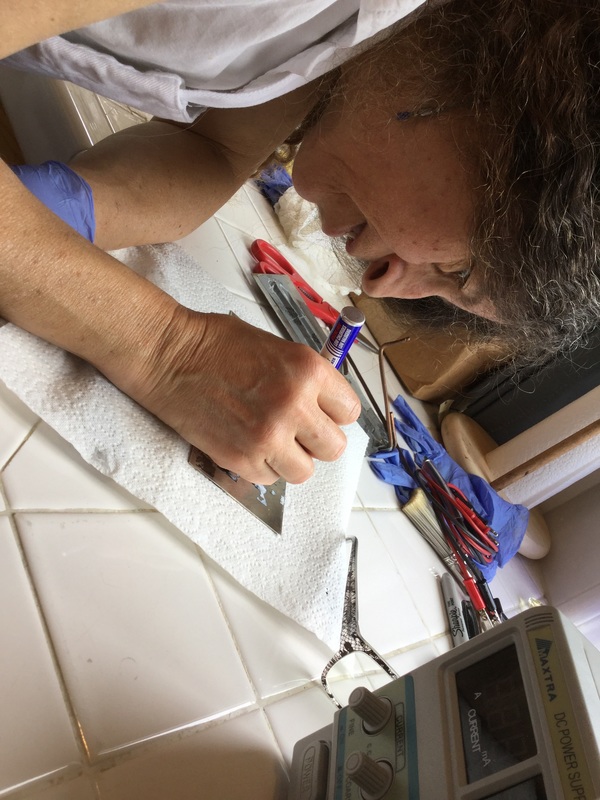
On Sunday we started the day with working on Sherri’s on soldering skills. We started with copper scrap taken from my cut off pile, and I set up for a butt joint between 2 flat pieces; starting with a smaller torch flame that she was comfortable with Sherri quickly saw that the copper never got hot enough to melt the solder. We increased the tip size and had a slightly larger flame; again the solder would not flow. We then increased the flame, a lot, and Sherri was able to solder the two pieces together. The copper went into the pickle and after we cleaned it, I then bent another piece of copper and stood it on the 2 pieces of copper that had been soldered together. This time, using hard solder we put a small ball at each end of the joint and Sherri started to heat everything. With a slight adjustment of the flame (larger) the copper got hot and the solder melted and using the heat of the flame, she was able to pull the solder along from each end and completed filling the joint. Sherri now had a better understanding of how to gauge how much flame/heat is required when working with more metal AND how to practice soldering without doing on a production piece!

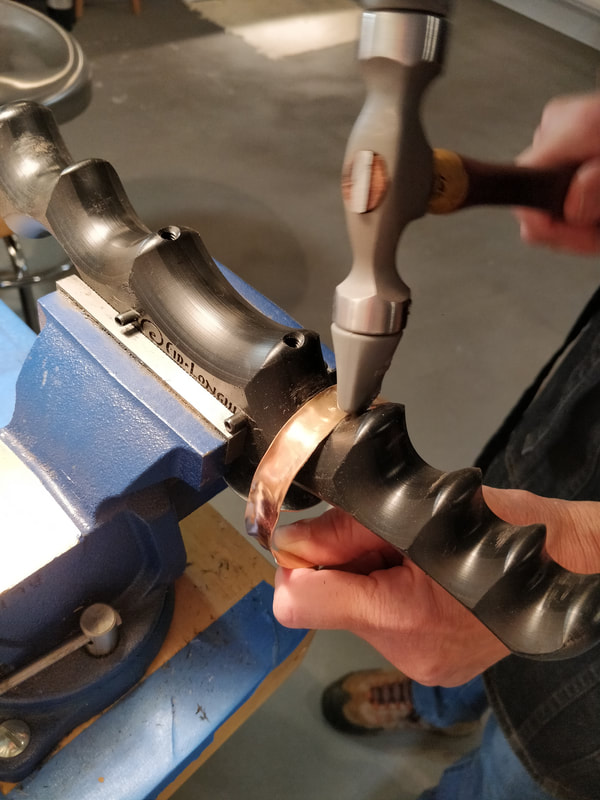
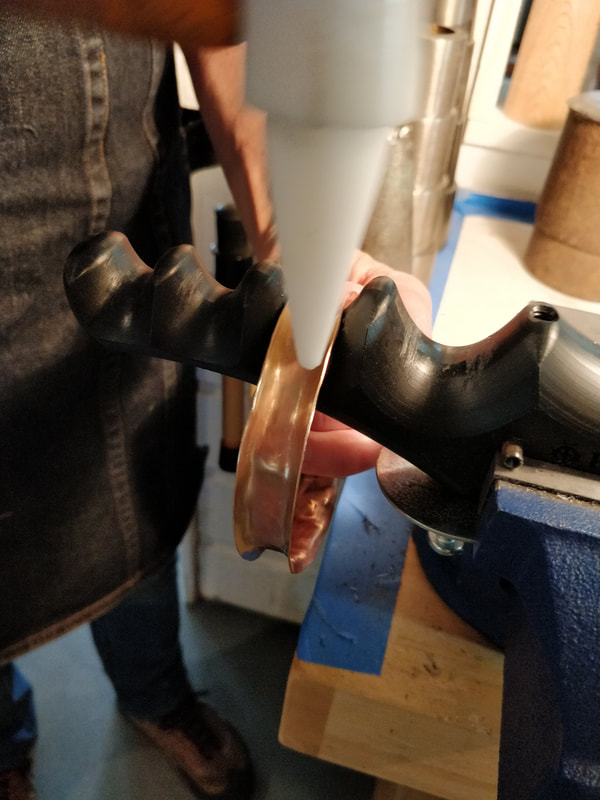
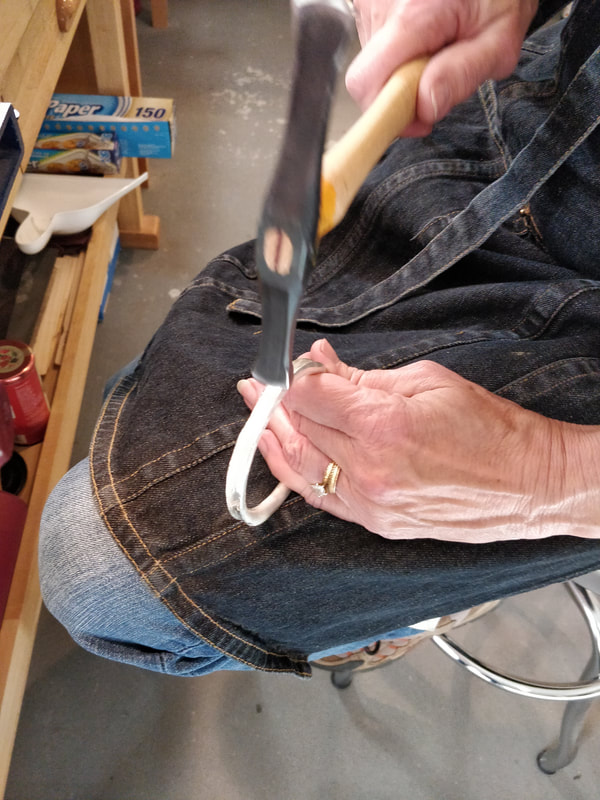
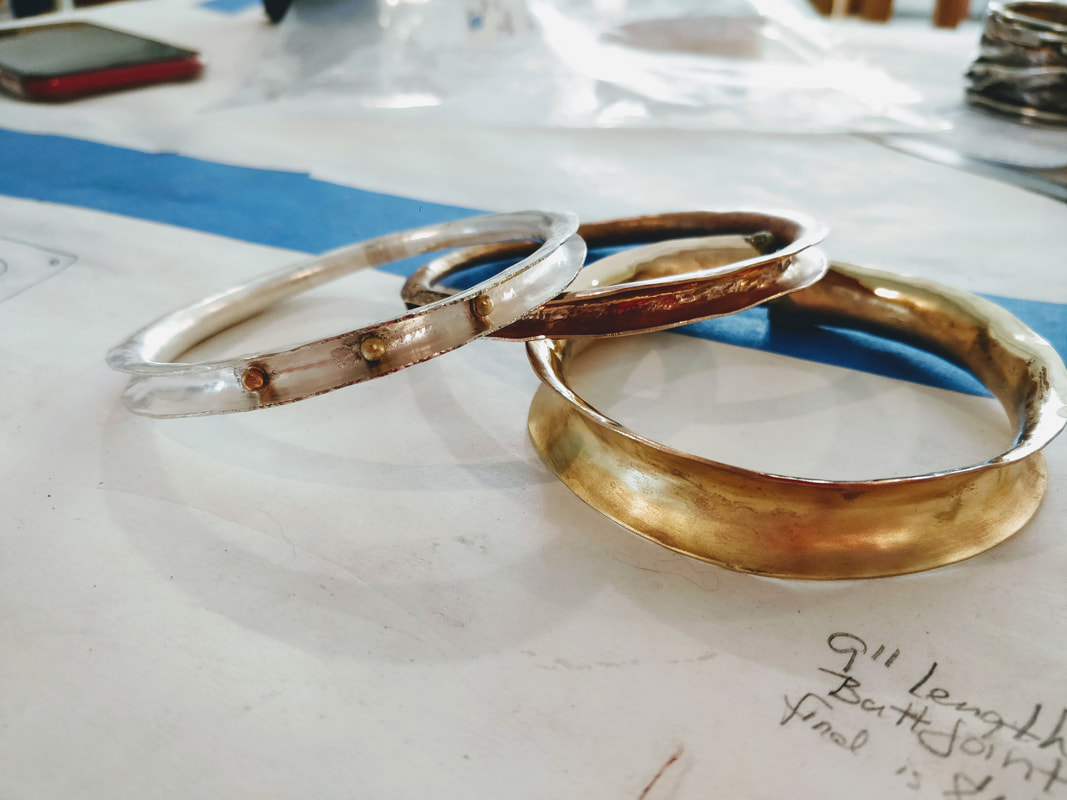
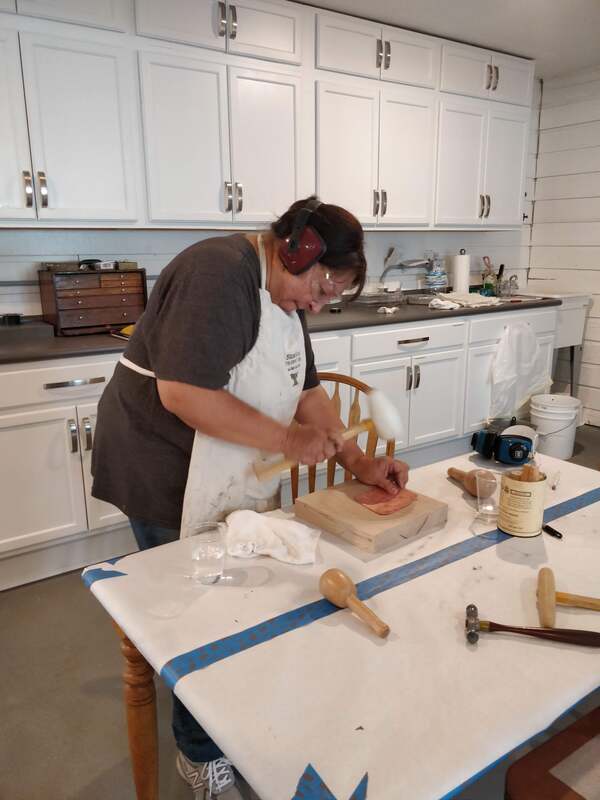
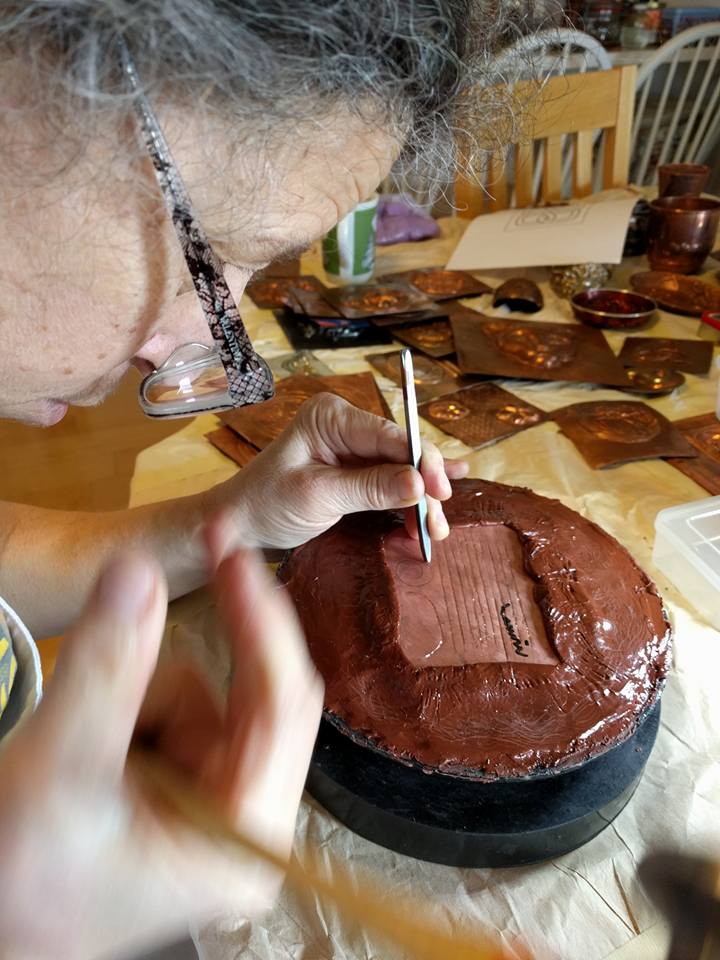
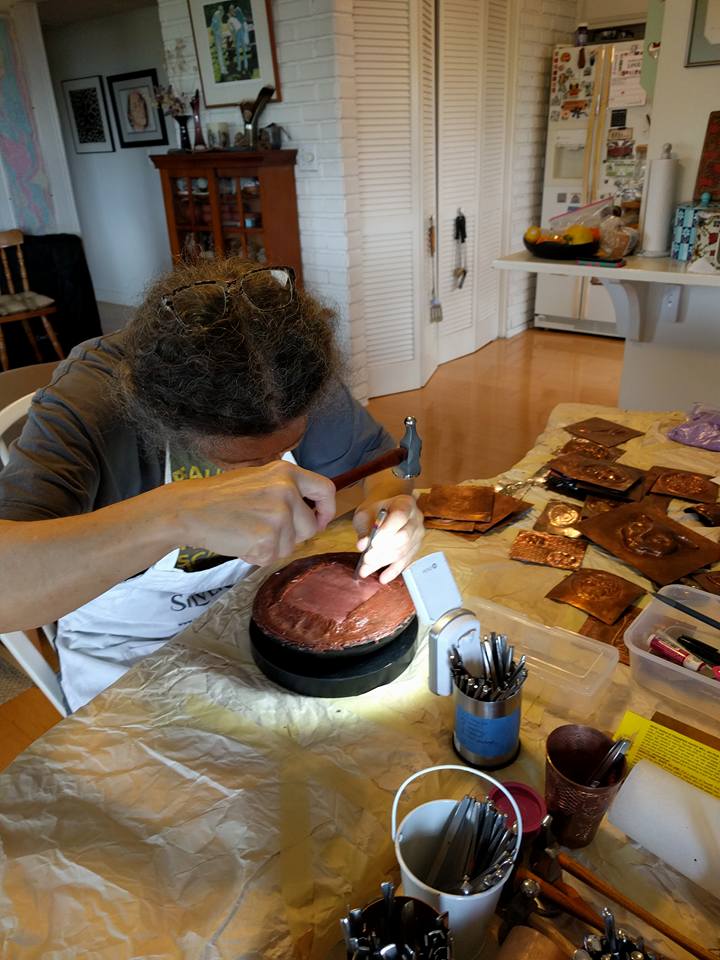
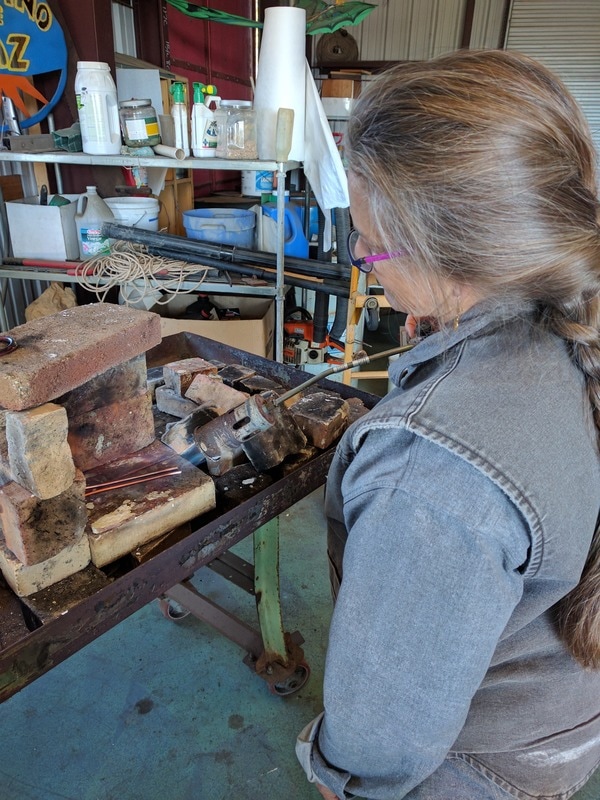
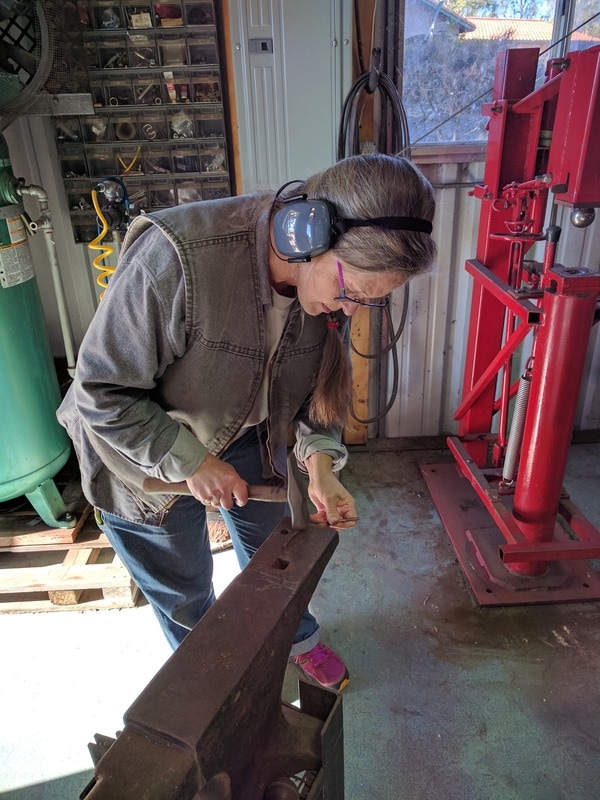
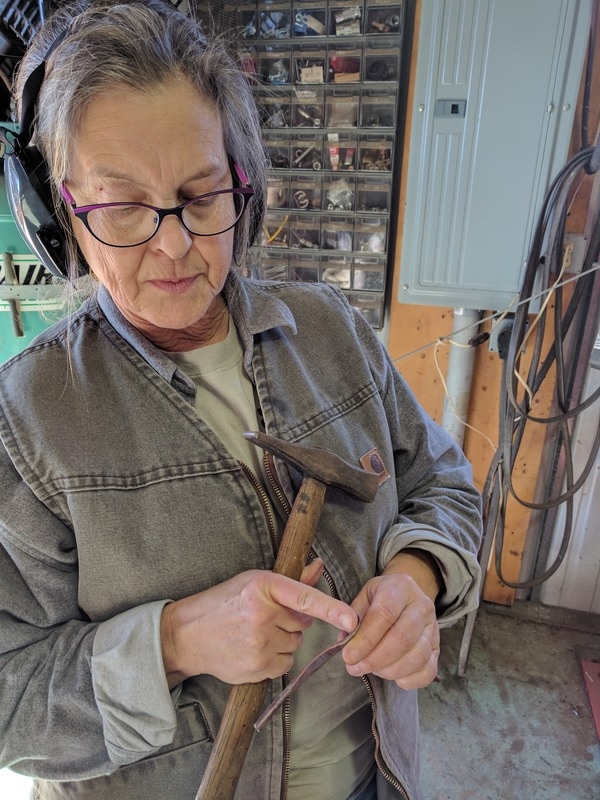
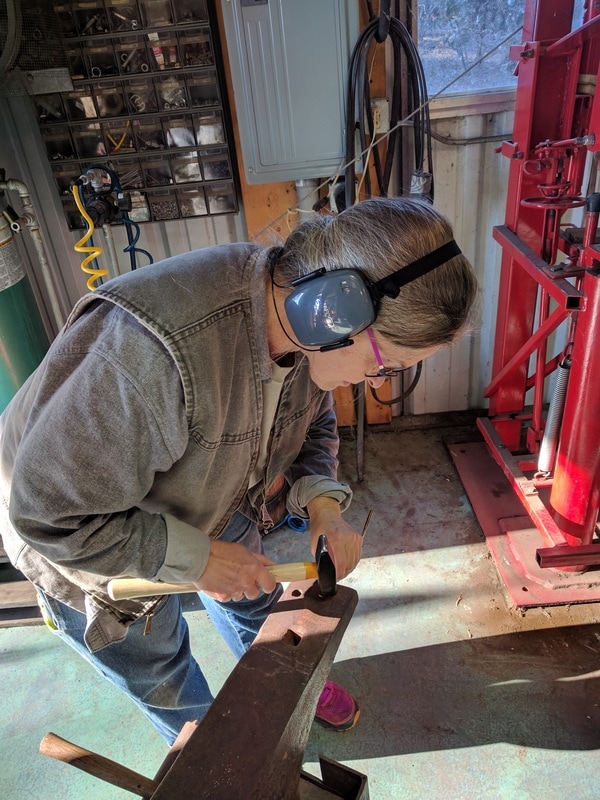
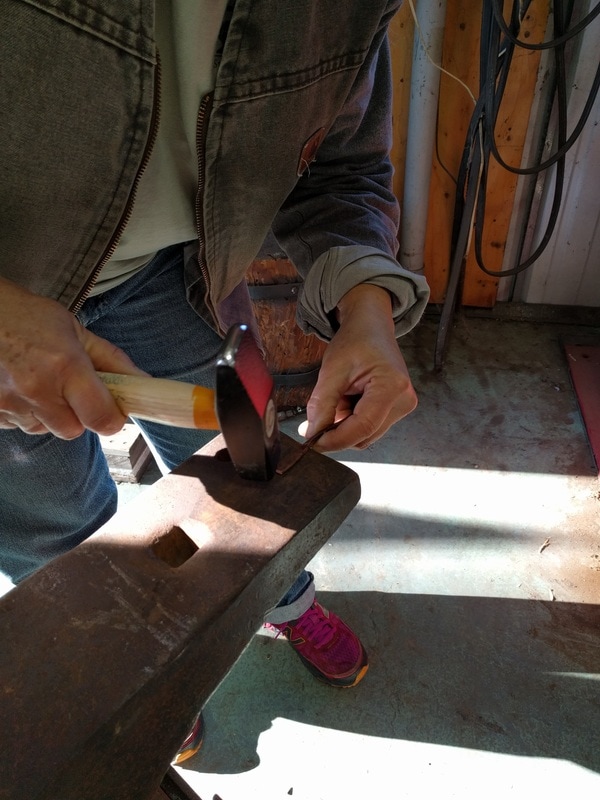
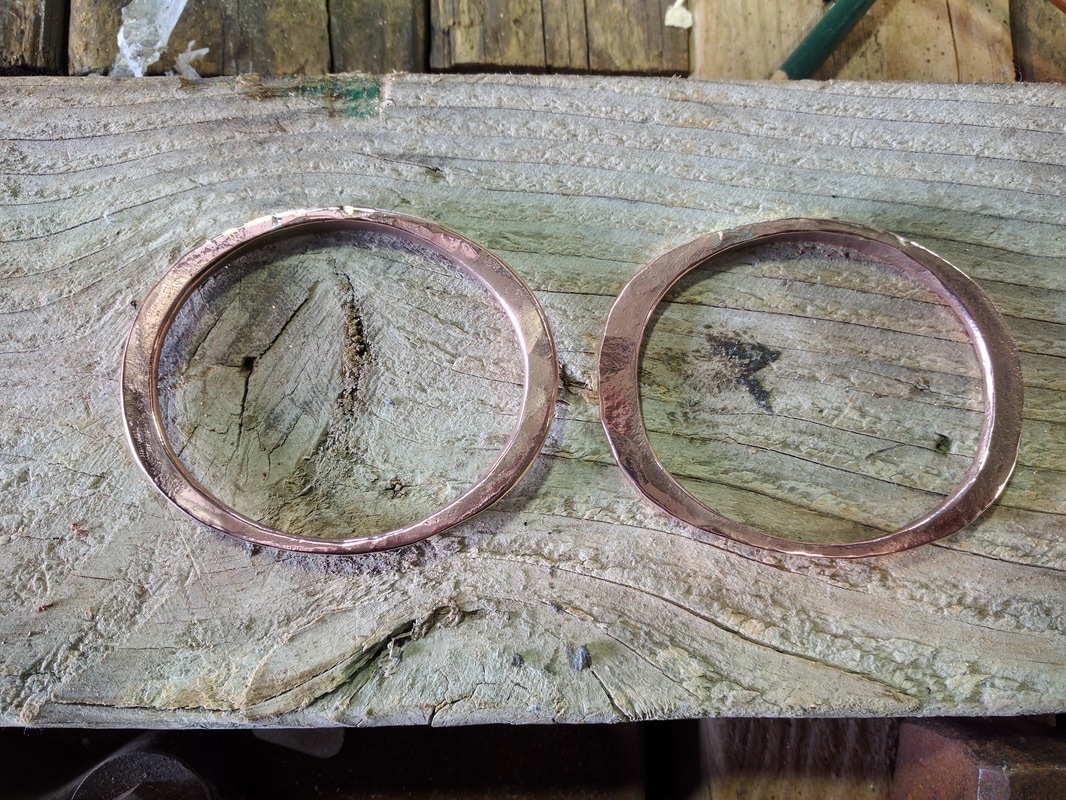
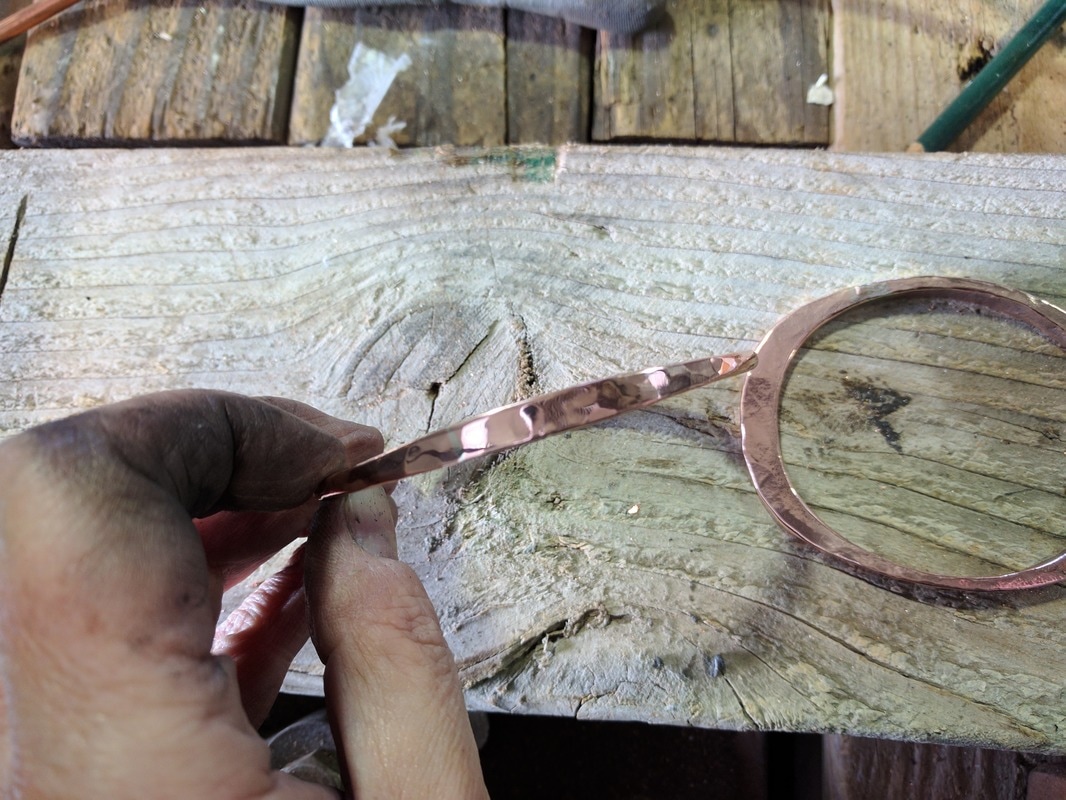
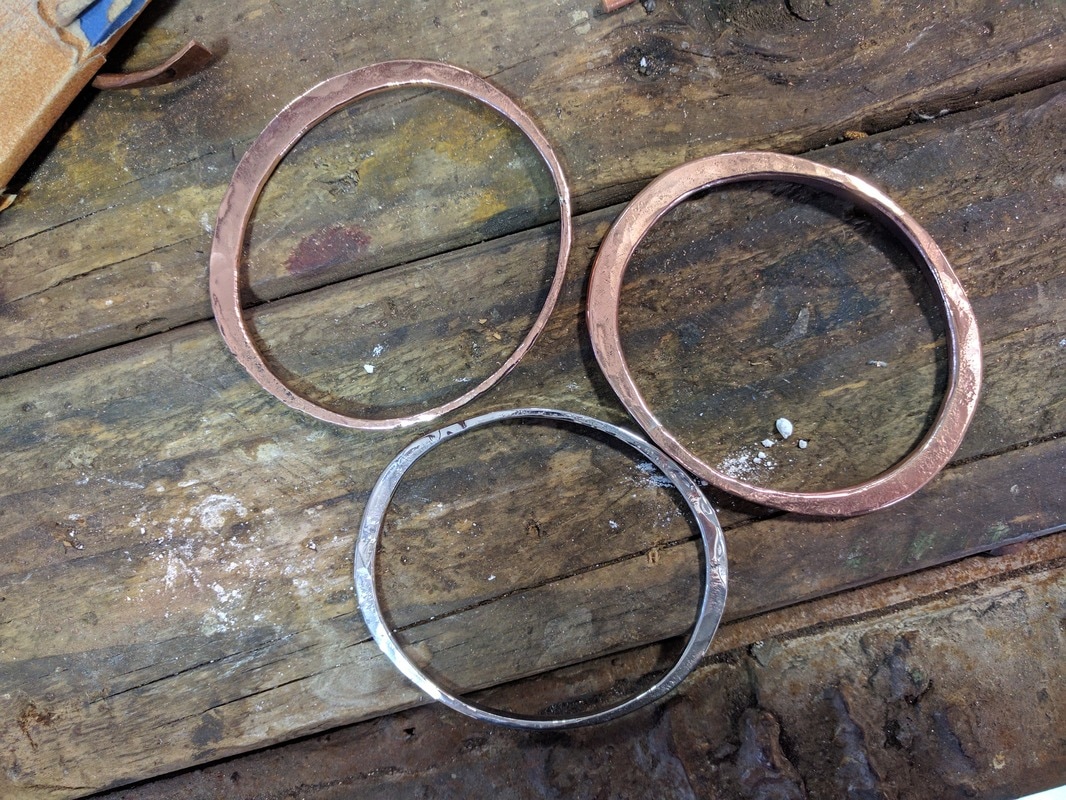
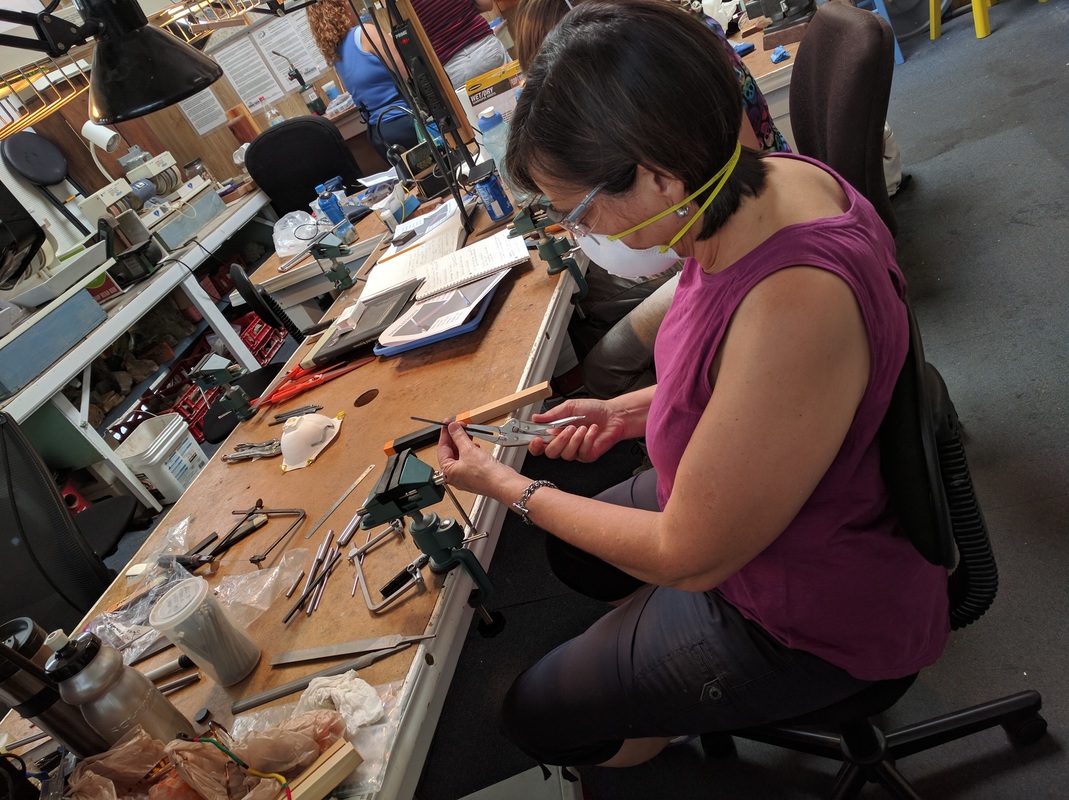
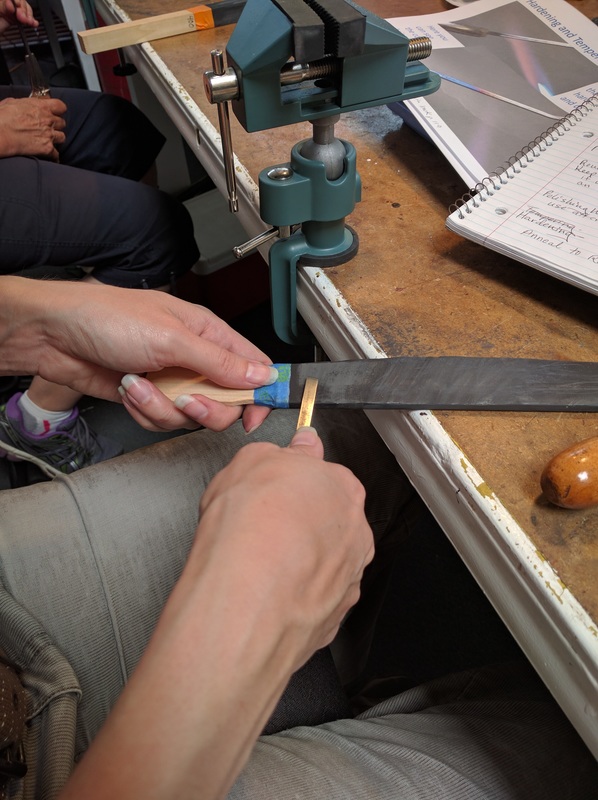
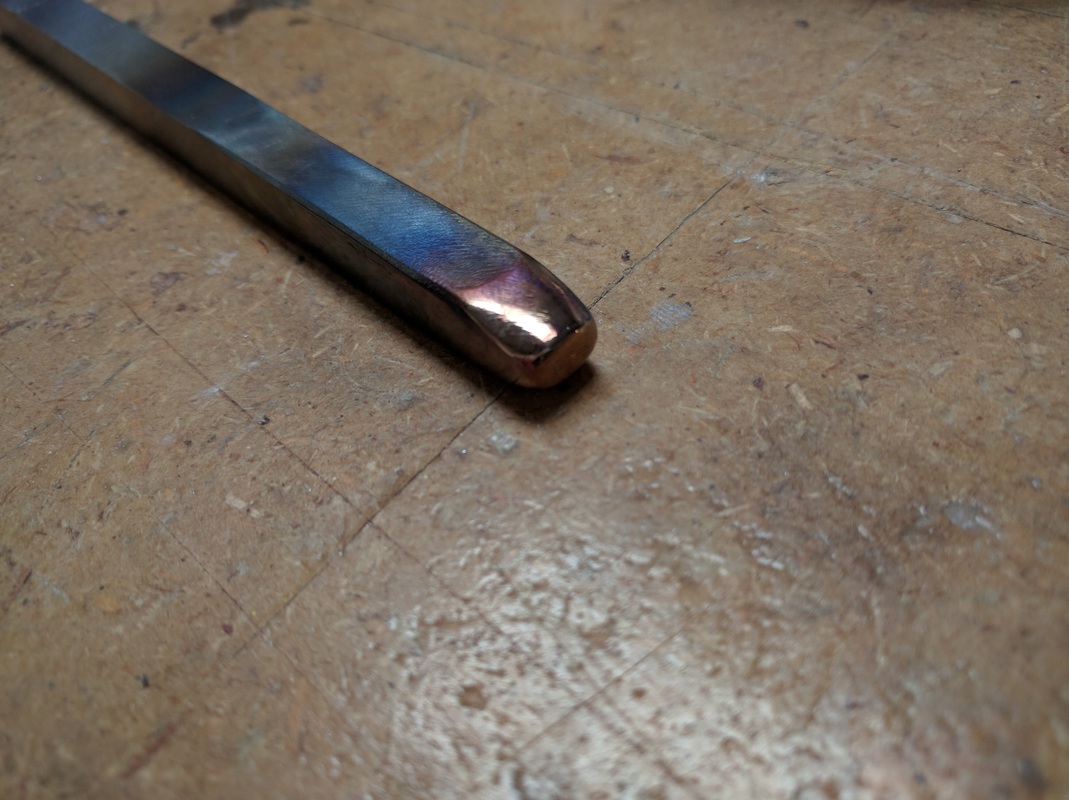
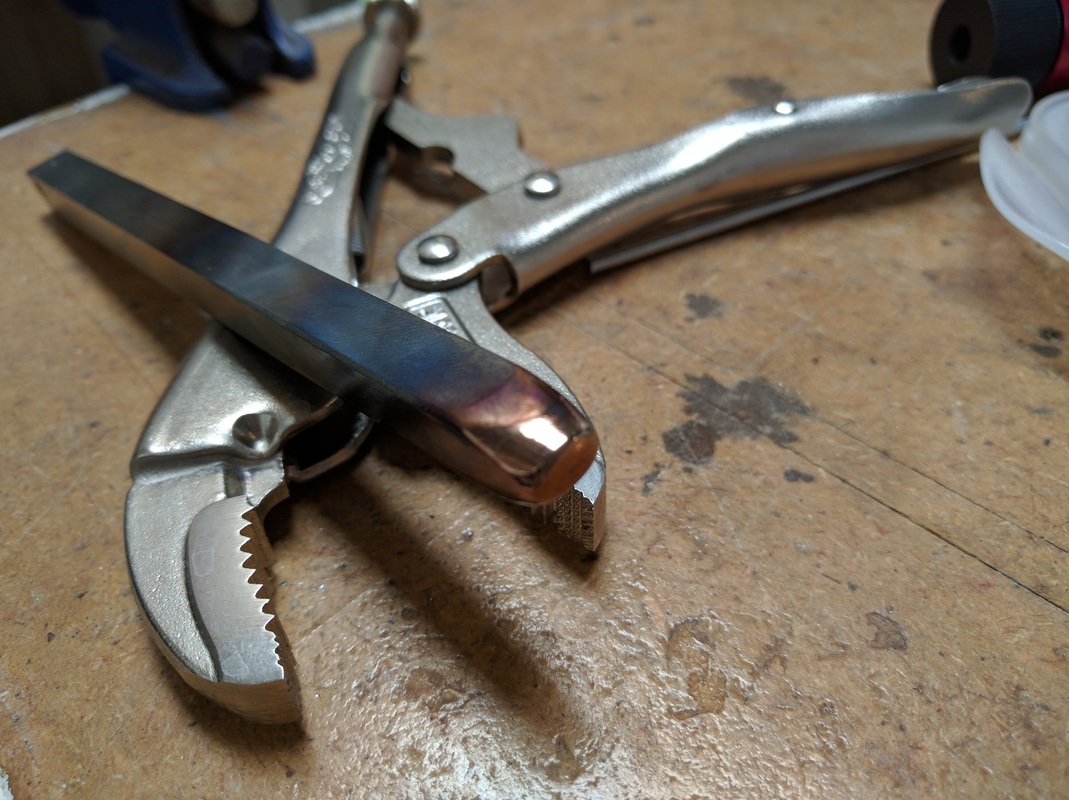
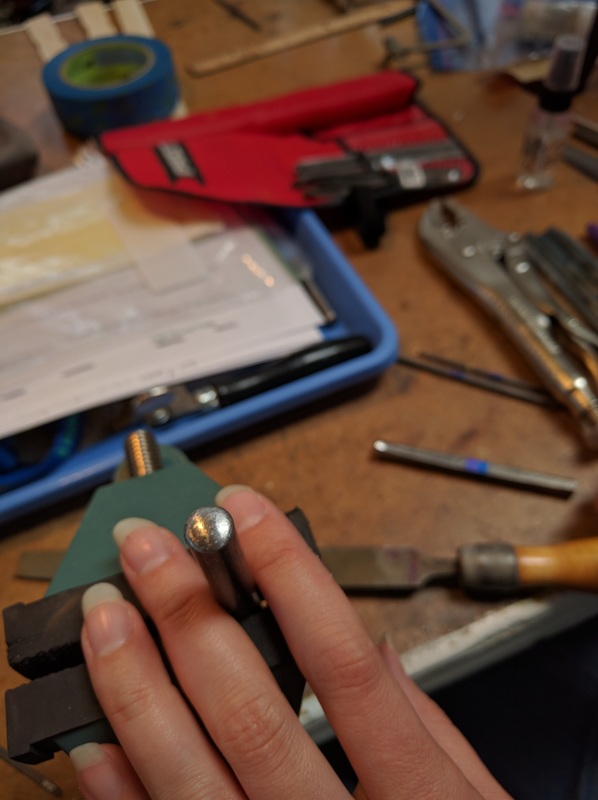
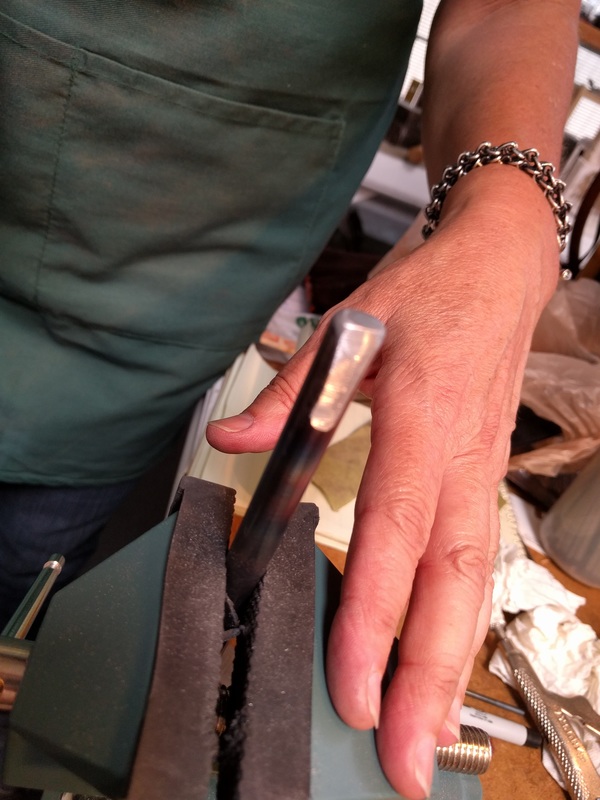
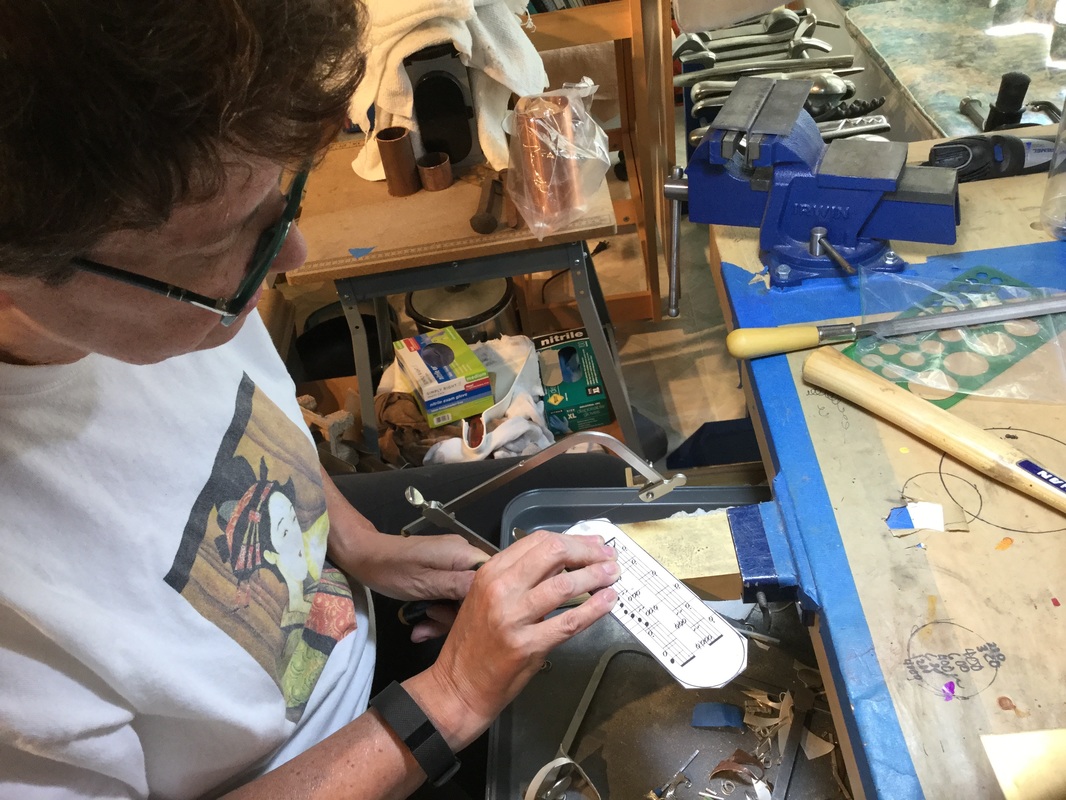
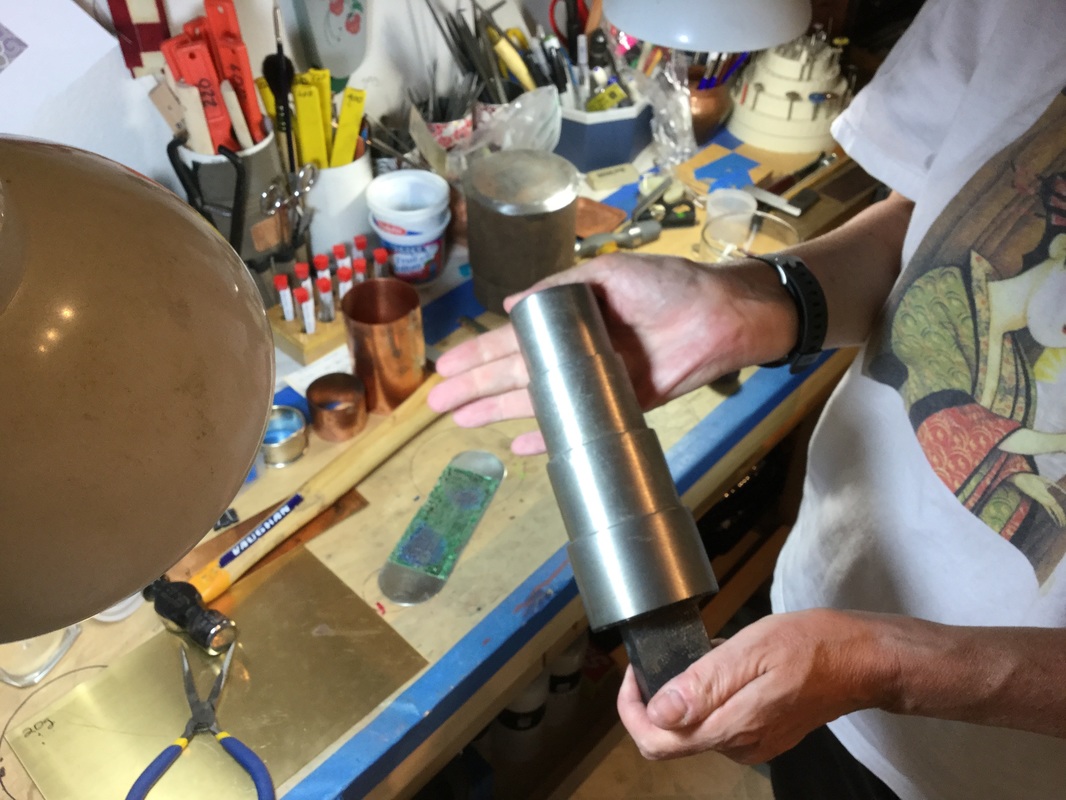
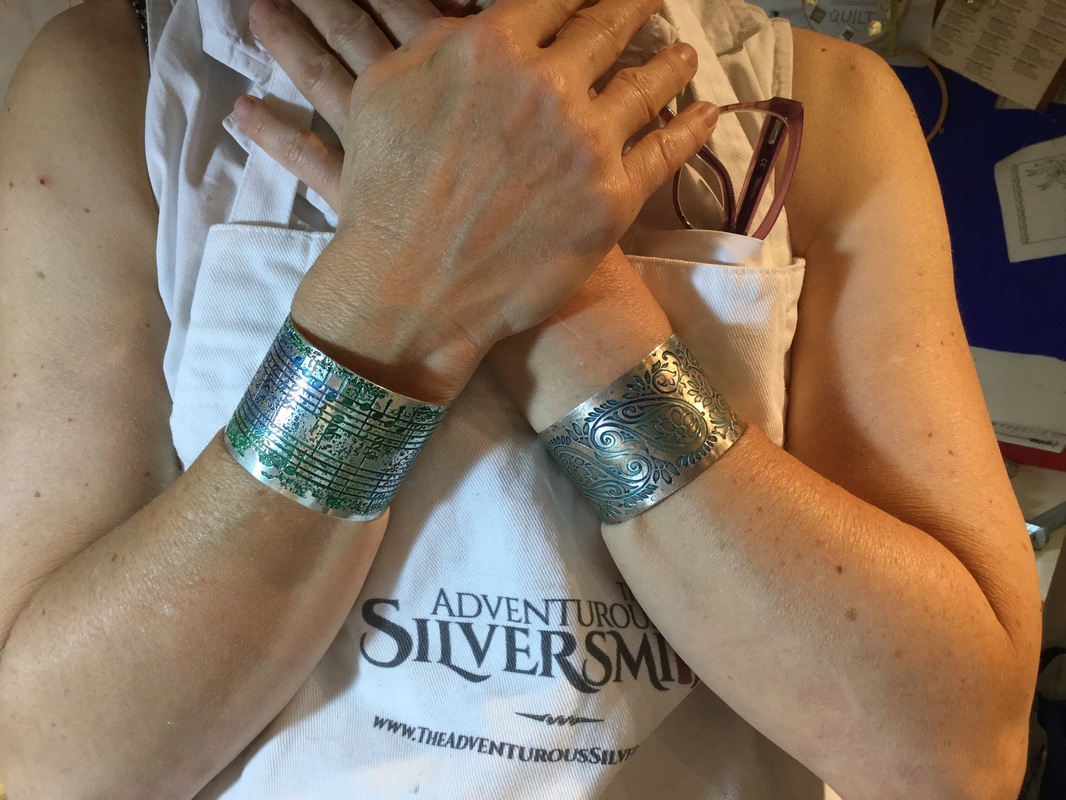
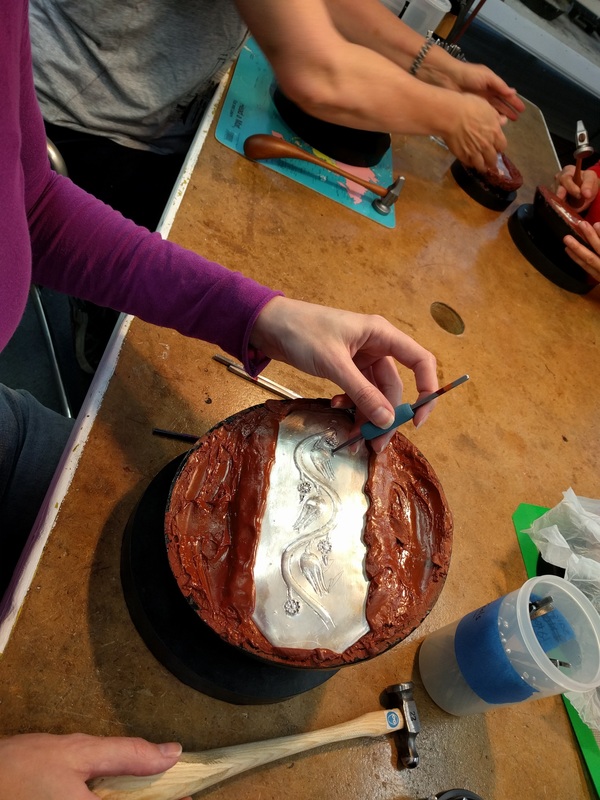
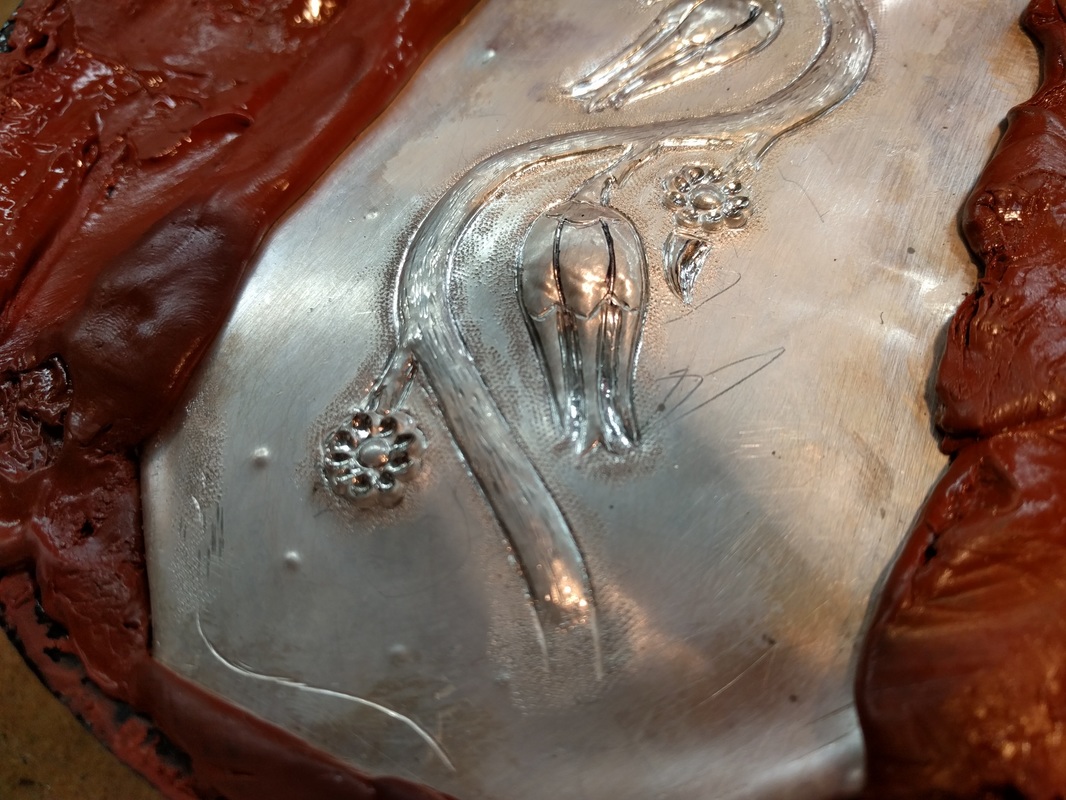
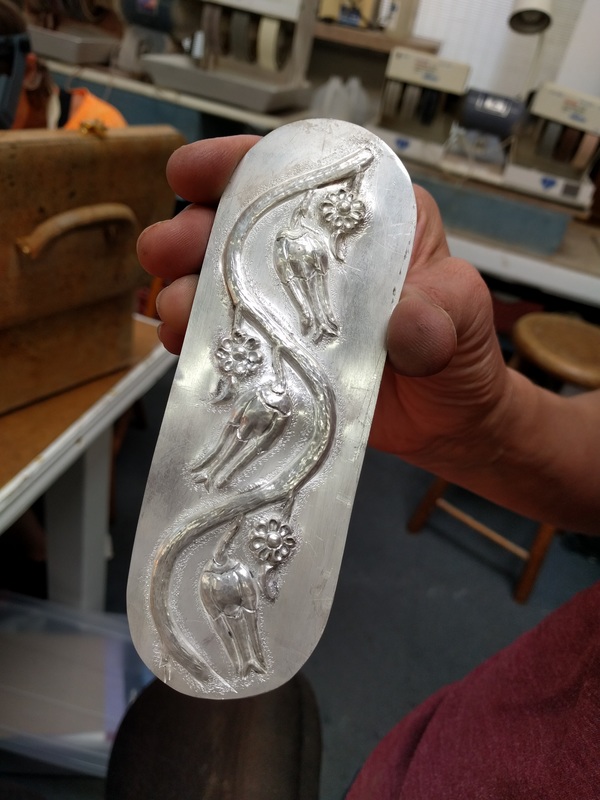
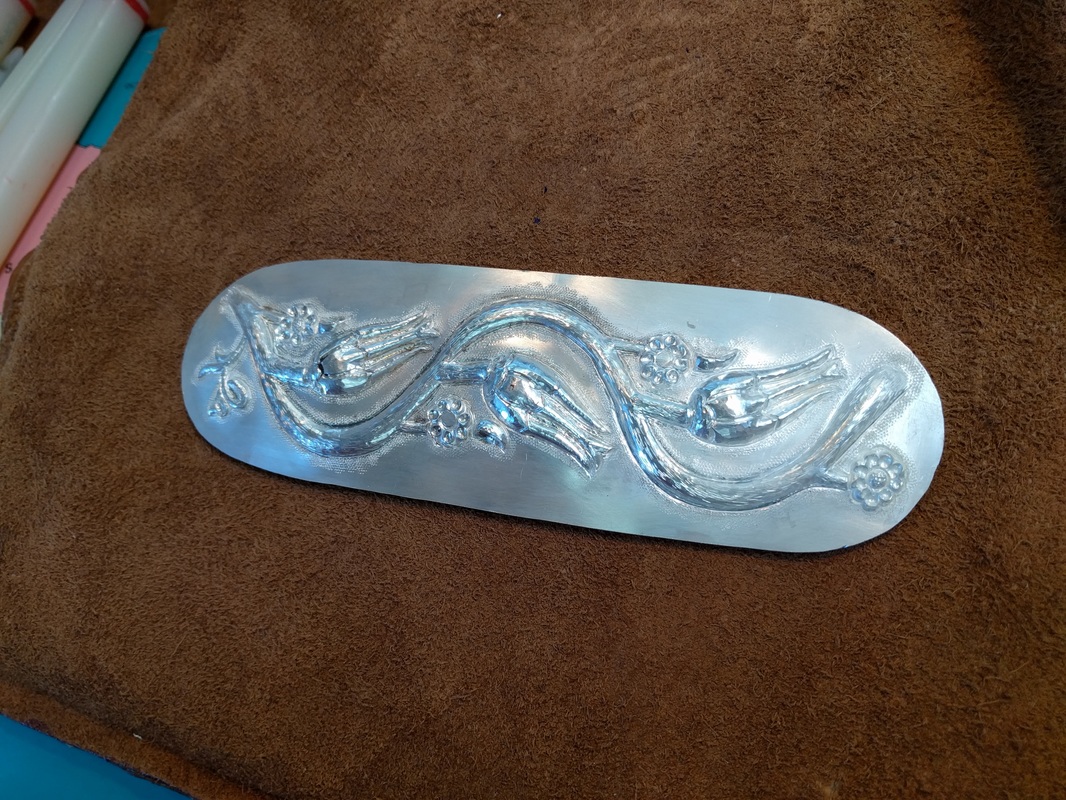
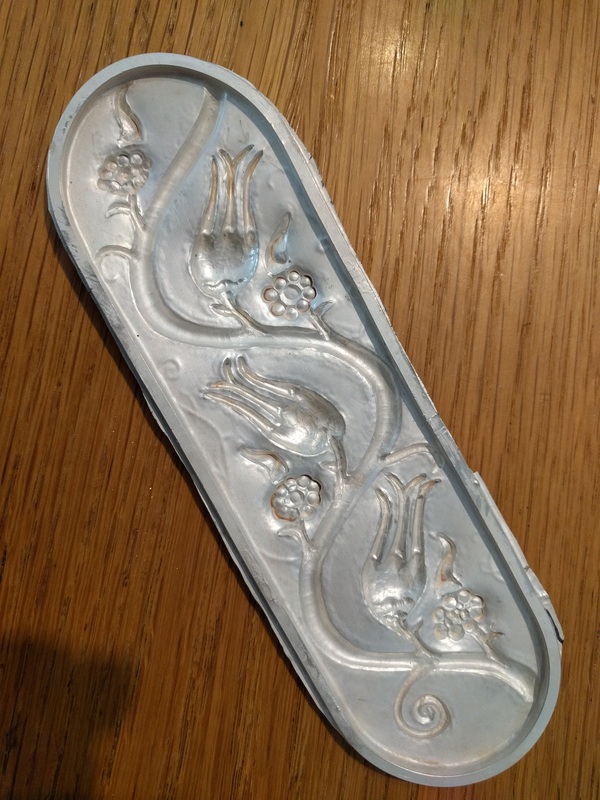
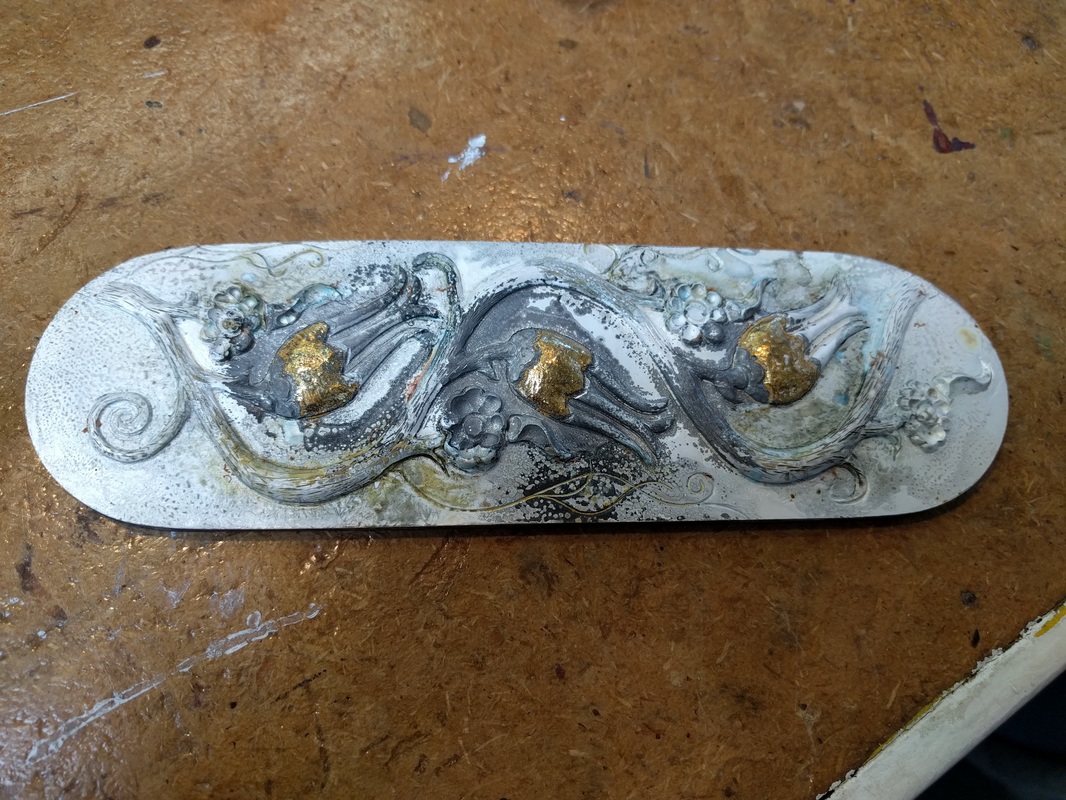
It was now time to start the anticlastic bangle, similar to what I had made last month. We started with brass and then moved to silver. We discussed getting a good seam with hard solder so it does not split during the forming and how to recover if a split does start; forming the bangle with sinusoidal stakes and the correct hammer(s); and cutting the metal length to get a proper sized bangle when done. The bangle was finished by adding some gold ball accents and edge thickening.
0 Comments

Art Nouveau Cuff - Private Class

9/22/2019

0 Comments

 
After I completed my Art Nouveau cuff last month, a friend asked to make one for herself (she is a cuff person, like me) so we scheduled a private session for her but I should note that she is a metalsmithing novice having only made a small bowl back in June. Barbara was aware that making the cuff was going to be intense with lots of information about technique and tools to absorb as she worked on the cuff but she was game.  Oh, and I would be making a cuff, as well, along side her since I had received a commission for one.

We started off measuring her wrist so we could size the cuff and marking it. Then it was time to saw the outside and do the pierce work. I only broke 3 saw blades but Barbara broke 12 but she now knows how to saw. 

Next up was the filing and sanding - along the outside edges and inside the pierced areas. 

After that it was on to the polishing, forming the cuff, and then patina. Barbara said she wanted a traditional LOS patina which is to get the silver black/gray all over then polishing the high points back so the nooks and crannies are dark; to which I said OK but she was getting a lesson in how to work with LOS which, if you do it MY way, will results in some colors ranging from golds, raspberry, purples, and blues - before you ever get to the gray and black.    We mixed up the LOS and started dipping and rinsing. First Barbara got golds and was surprised; then a hint of raspberry, still commenting that it was interesting but would like it to go black - I said "Patience Grasshopper!". The colors then started to darken and she had purples and blues - and she stopped! Barbara was amazed at the color and was now reconsidering. We quickly polished up the high spots, put her cuff on and decided that she was DONE!!

Here is a mini movie I made, with music, from pictures I took, of her making her cuff.
0 Comments

Inaugural Class

6/16/2019

1 Comment

 
Yesterday I held the inaugural class in my new workshop/studio. The class subject was sinking a simple copper bowl for beginners and was aimed at learning basic skills - working with a torch (annealing), using a jewelers saw (rounding the corners of a copper square), sanding, polishing, hammering (sinking and basic planishing) and observing soldering (adding the ring bases).   We also discussed shop safety, the tools and equipment used and assembling a toolbox to take to classes.

My students were Barbara, Irma, and Nancy. I know Barbara and Irma and Nancy is a friend of Irma's so it was a friendly and relaxed class. 

I started the day, before they arrived, annealing, winding, and sawing the ring bases for their bowls. The ladies arrived just before 10 am and into the studio we went!  After "The Safety Discussion", the ladies stamped their initials in the center of one side - this would become the bottom/outside of the bowl. Then they learned how to use the jewelers saw to round the corners. We moved on to sanding the edges and how to make sanding sticks. I then demonstrated polishing the copper to soften all edges and to remove the scratches, while the copper was flat so there was less work to do after the bowl was formed.  Then came the hammering - sinking into the custom wood forms I have had made over the years, and how to anneal in-between each round of going deeper.  When each was happy with the shape and depth of their dish it was time to go to the stake stump and they learned planishing and after that I worked with each of them to solder a ring base on; I did the soldering but they assisted by watching for the flow of the solder and turning the turntable, so I could focus on heating and soldering; they also quenched their dishes and put it in the pickle.  Lastly, they did a final polish and their bowls were done. 

As we sat around the table, after the class, discussing what they learned they asked what they could learn next! 
I guess I need to start planning another class.
1 Comment

Another Private Workshop

3/7/2017

0 Comments

 
It is turning into a very busy month as I just finished days one and two of another 4 day private workshop. Next weekend, I will teach days 3 and 4 and then the weekend after that, I am doing day 3 of the first private workshop which began last month. 

My newest student, took a class several years ago but then never did any other chasing & repousse; thus we started with the basics. She and I were pleased to find out she had not forgotten the basics; thus the lining exercises were completed by lunch on the first day. We spent the afternoon transferring the learning design and lining it and the repousse was started. In-between it all we discussed hammers, tools, pitch, safety and even some general chatting occurred.

The second day, Sunday, she finished the repousse - YIPEE.  

I honestly think we will finish the final chasing on day 3, this upcoming Saturday and we are now discussing what to do on Sunday, day 4. Maybe we make a tool or start a project she would like to do.  Stay tuned for another post next week to see what happened. 

Here are just a few pictures, of course 
​
0 Comments

Teaching Workshop and Other Changes

2/19/2017

1 Comment

 
Yesterday I taught the first day, of four, of a private chasing & repousse workshop, in San Diego. This workshop was the beginning level and when scheduling this workshop, I finally admitted to myself that the large fleur-de-lis, I normally teach may be a bit too much for a beginner class that is ONLY 4 days as most times, the students don't finish it.  As a result, I have changed the design for the beginning workshop and what was the first design will now be the advanced beginner design. I am also going to add projects to the list of classes I teach, so students can follow each level with something that they can make, wear and build upon their skills. This is all detailed on the workshops page. 

As for yesterday, Lisa made great progress. She learned to anneal, put the metal in the bowl, line and we just got to repousse when we stopped. Afterwards we went to dinner, saw a friend and his band play some music and I got to drive home, late but happy as a result of the fun we had. Here, as usual are pictures. 
1 Comment

Forge On

1/21/2017

0 Comments

 
Last weekend, I went back to Jan's to play; it was a three day weekend so it was the perfect time for us to get together. Not only were we going to PLAY but Jan asked about a few techniques she wanted to learn.

We started off by showing her how to use a snarling iron - this for when you need repousse on a vessel and it is too small to get your hands and tools inside - think cup, vase and such. I brought a cheapie copper cup that I got off of eBay for her to practice on.  

Then I showed her how to put a vessel into her pitch bowl so she could chase on it while still moving/rotating the vessel when moving on to the next section.

The last thing we worked on and spent most of our time on was FORGING!  We started off with some basic exercises - different shaped hammers moving the metal in different directions; forging round stock (wire) into a square and a rectangle; and then tapers and cross tapers. Once that was done we made some large "jump" rings and forged some bangles. After Jan had the hang of it; I then pulled out some ..wait for it SILVER so she could make a forged bangle using a precious metal. It was her first time working in silver and to see her reaction, watch the small video below and then look at all the pictures I took.
​ 
0 Comments

A Private Workshop

9/6/2016

0 Comments

 
Over the 3-day, Labor Day weekend, I was up in Arroyo Grande, California giving a private tool making workshop to Jan who makes metal sculptures and also does chasing & repousse.. Jan, I met via Facebook but we have never actually met until she attended the In-Saign workshop just a few weeks ago. It was during this workshop that Jan and I discussed a chasing & repousse tool making workshop, as she had never made any tools before; she had just seen demonstrations. It was after she went home, that we settled on having the workshop over Labor Day.

I arrived late Friday night so we could start Saturday morning, making tools.  We went over the basics and started her off making a tool and by lunch time Jan's first tool was completed. She was very excited to have accomplished this.  After lunch,  Jan completed a second tool as well. While Jan was working on her tools, I was working on a few for myself, all the while watching and instructing her. 

We finished up the tool making at around 4pm so we went for a walk with Sophie, Jan's dog and afterwards we played with learning how to get a red-oxide patina on copper which had been a topic we had discussed with Saign our awesome teacher, during the In-Saign workshop. 

On Sunday, day 2, Jan made THREE more tools and I made her a bonus tool too. As the day ended we took Sophie for another walk and just enjoyed the weather.

On Monday, day 3 or 2.5, I gave Jan as soldering lesson with the goal that we would make, together, a tool canister. Jan, being a metal artist knows how to braze and weld but not solder - go figure. We cut the canister bodies from pipe, the bases from sheet and then went for it and by lunch the can's were soldered and now she just has to trim the bases and clean them up. 

Here is a little side/movie of the days adventures.
0 Comments

Tool Making for ​Chasing & Repoussé - A 2 Day Workshop

8/1/2016

0 Comments

 
This past weekend I taught a 2-day workshop on making chasing & repoussé tools at the Palomar Gem & Mineral Club in Escondido, California. Again, Diane was my shop elf and there were 6 students.

On Saturday, day one, I had all the students make the same tool from rectangular stock. The tool has a full half circle profile when viewed from the short sized with vertical sides when viewed along the long side. This was a tool that everyone during the worskhop for the Squash Blossom & Vine Cuff.  The students chose this tool and I knew that they could finish this shape easily on the first day which would then give them the skills to make 1 or more the second day.

We discussed tool steel, files, annealing, hardening, tempering, quenching in oil or water, making templates, sanding, polishing and most importantly SHOP SAFETY.

Almost everyone finished their tool by 3pm on the first day and so we then sat down with my vintage tools and each student chose a tool and had to tell us why they chose it.  I wanted to use this exercise as a way to make them think about WHY and WHEN to make a custom tool vs. a general use tool.   Since we had time, I had them anneal the tool stock they would need for this new tool and thus have it ready at the start of day two.  Several students chose smaller tools and even my custom micro tear drop tool I had made for the Squash Blossom cuff; other chose medium and larger sized pushers (for repousse).

Sunday morning arrived early (930 am) and hot and humid and by lunch time most were well on their way to finishing their second tool.  By late afternoon most of their first tools of the day were done and several had started a second if not third tool.   As 5pm approached, all of us were hot, dirty and tired but the students all had a great sense of  accomplishment and empowerment at their new found skills and completed tool.

As usual, here are lots of pictures of the students and work. 
0 Comments

The Etching Expedition

6/15/2016

2 Comments

 
After 2 other cancelled play dates, the etching of the musical cuff finally happened this past weekend.  Lisa, the awesome DBA and muscian, drove the LOoOoonnnNnggggG distance to my house (it was a 50 minute drive, and it really isn't that far!) and arrived at 11 am. It should be noted that she should have arrived at 10am but her day job got in the way.

We got started right away. We walked through the design in Illustrator, the export to Photoshop, import to PS and the inverting of the drawing,  printing on the paper, cleaning the silver and applying the mask to silver.  Oh, trust me I had every thing laid out - silver, iron, hot plate, etching bath, rectifier, gloves, paint pens, tape - all in the kitchen by the sink. 

The first and the SECOND application of the mask did not work but we got it on the third time and then it was the fixing of the mask, applying the electrodes and applying the power.  

IT's ALIVE!, IT's ALIVE!!!

Every 10 minutes we checked the progress and after 40 minutes, out of the etching bath it came.  We rinsed and then found that some of the masking had not taken and had come off during the every 10 minute check when we brushed off the surface with a soft brush.   But we moved on to remove the electrode and tape that masked the back. After cleaning it was then into the garage to do a preliminary polish; trim with shear and sanding sticks; and back to the garage to finish the polishing with the soon to be cuff having many baths in the ultrasonic cleaner in-between the various compounds.  After all the etching, trimming, and polishing Lisa applied some solvent dye to color the bars and notes and then we shaped it for her wrist.   

THEN we popped a bottle of champagne, celebrated and went out for dinner.    Here are LOTS of pictures but not all of them as we took over 143!
2 Comments

Squash Blossom & Flower Cuff Workshop - Days 3 and 4

3/27/2016

0 Comments

 
Last Sunday was day 3 and yesterday, Saturday was day 4 of the Squash Blossom & Flower cuff.  You can read about sessions 1 and 2 here. 

Last Saturday we only had 7 of the 8 students attends as one was out sick with that thing that has been going around (and I had in February). But we had to keep moving... we spent more time working on the repousse and most of the students were actually ready to start the chasing on the front.  

On Friday night, the day before yesterday, we met at the club shop for an open "studio" session from 6 pm - 9 pm. About half the students made it and they were able to continue to work on their cuffs and be ready for yesterday's session which was about finishing their cuffs. 

This last session allowed the students finish the chasing - texturing, planishing and relining of the design and to start cutting off the extra silver to the outside of their cuffs.  The cuff I am making was beyond this point so I could show them how to trim off the metal and then use shears to cut the metal away; use a saw blade to trim close to the frame; use files to get it flush and sanding stick to get it all square.  

I am applying gold to my squash flowers so I came to the workshop ready to show the students how to fuse and burnish the gold.  

I also talked about polishing their cuff - the different compounds, different types of wheels, a polishing station and using mini wheels in a hand piece, and then demonstrated the pre-polish so they can then determine if they can move on or have to go back and do more filing and sanding by looking for scratches and such. 

The 3rd demonstration/discussion was on how to anneal, bend, anneal, bend and form the cuff.  

And the final discussion was on patina - not just LOS but the various other ways to add color and accent to your piece such as solvent and alcohol dyes and pastes. 

No one actually finished their cuffs so we will work together over the next few weeks, on Friday nights, to get everyones done.   

Yes, in the future, this will be a 5 day workshop. 

Here are pictures from the last two days. 
0 Comments
<<Previous

    RSS Feed

    How to Aquire Your Own Shop Elf

    Archives

    October 2020
    August 2020
    March 2020
    December 2019
    November 2019
    October 2019
    September 2019
    August 2019
    July 2019
    June 2019
    May 2019
    March 2019
    February 2019
    January 2019
    December 2018
    November 2018
    October 2018
    September 2018
    August 2018
    July 2018
    May 2018
    April 2018
    February 2018
    January 2018
    November 2017
    October 2017
    September 2017
    July 2017
    June 2017
    May 2017
    April 2017
    March 2017
    February 2017
    January 2017
    December 2016
    November 2016
    October 2016
    September 2016
    August 2016
    July 2016
    June 2016
    May 2016
    April 2016
    March 2016
    February 2016
    January 2016
    December 2015
    November 2015
    October 2015
    September 2015
    August 2015
    July 2015
    June 2015
    May 2015
    April 2015
    March 2015
    February 2015
    January 2015
    December 2014
    November 2014
    October 2014
    September 2014
    August 2014
    July 2014
    June 2014
    May 2014
    April 2014
    March 2014
    February 2014
    January 2014
    December 2013
    November 2013
    October 2013
    September 2013
    August 2013
    July 2013
    June 2013
    May 2013
    April 2013
    March 2013
    February 2013
    January 2013
    December 2012
    November 2012
    October 2012
    September 2012
    August 2012
    July 2012
    June 2012
    May 2012
    April 2012
    March 2012
    February 2012
    January 2012
    November 2011
    August 2011
    July 2011
    June 2011
    May 2011
    April 2011
    March 2011
    February 2011
    January 2011
    December 2010
    November 2010

    Jan - Nov 2010 History
    File Size: 2272 kb
    File Type: pdf
    Download File

    Jan - Dec 2009 History
    File Size: 2332 kb
    File Type: pdf
    Download File

    Categories

    All
    42
    A Year Of Repousse
    Blacksmithing
    Blogoversary
    Box Project
    Business
    Chasing & Repousse
    Commission
    Education
    Embroidery
    Enamel
    Entries
    Entry
    Exhibition
    Facebook
    Filing
    Fold Forming
    Gold
    Holloware
    Hot Forging
    Hydraulic Press
    Jewelry
    Keum-boo
    Learning
    Leather
    Market
    Metal
    Patina
    Photography
    Polishing
    Publications
    Raising
    Sanding
    Santa Fe Symposium
    Shop Elf
    Sinking
    Social Media
    Soldering
    Store
    Studio Visits
    Superbowl Challenge
    Teaching
    Teapot Project
    Technique
    Temari
    Tin
    Tools
    Vessels
    Visiting Workshops
    Weaving
    Website
    Workshop
    Yubinuki

Powered by Create your own unique website with customizable templates.