Follow Me On:
The Adventurous Silversmith
  • Home
  • Blog
  • Portfolio
    • Metal Work >
      • Chasing & Repousse
      • Holloware
      • Jewelry
      • Other Wonderful Items
    • Fiber Arts >
      • Temari
      • Yubinuki
  • Resources
    • Library
    • Tools & Equipment
    • Links
  • About
    • Artist Statement
    • Curriculum Vitae
    • How it is Made
    • Contact

Maru Bishamon

10/27/2013

 
No, that is not english; It is Japanese for 'circular bishamon pattern'.
It is derived from the Buddhist guardian deity  Vaiśravaṇa (Bishamonten in Japanese). He is a depicted as warrior carrying a hōtō (treasure tower). Thus, the pattern is taken from the deity's armor which has scales.

I am familiar with this pattern because it it quite popular in Sashiko  - YES, another new word.  This is decorative stitching from Japan, but it is not really embroidery.  And, yes, in case you were wondering, I occasionally do sashiko another of my many crafts.  This is how I know of the pattern.

Hey, by now, you should know that reading my blog posts means you will learn new things, that is what being adventurous is all about!

Now, that we we have another lesson let me explain why I am writing about this.

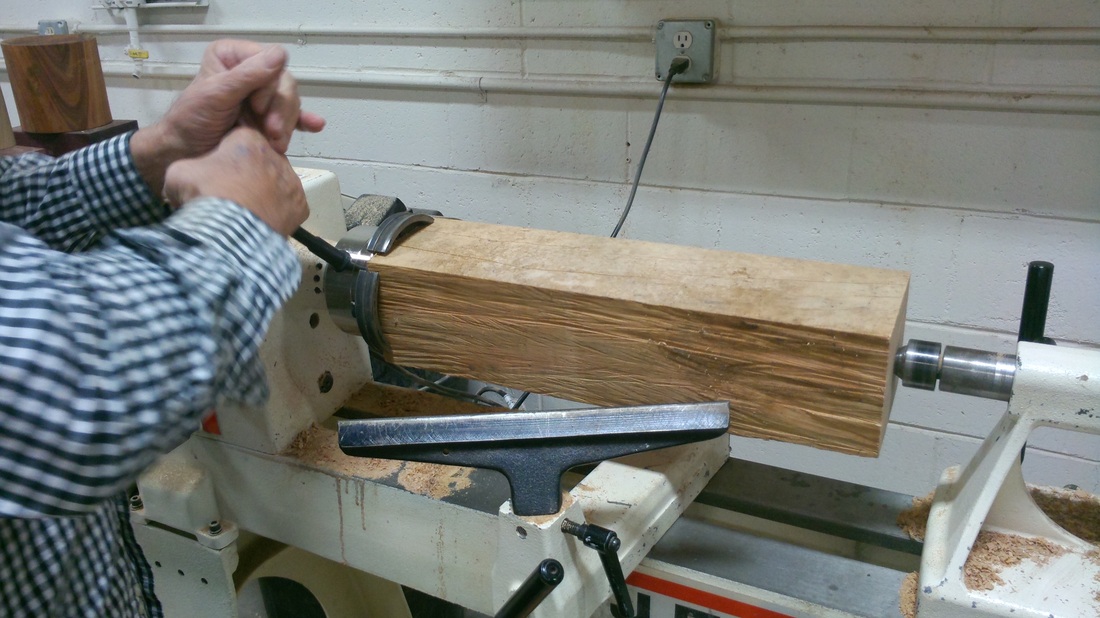
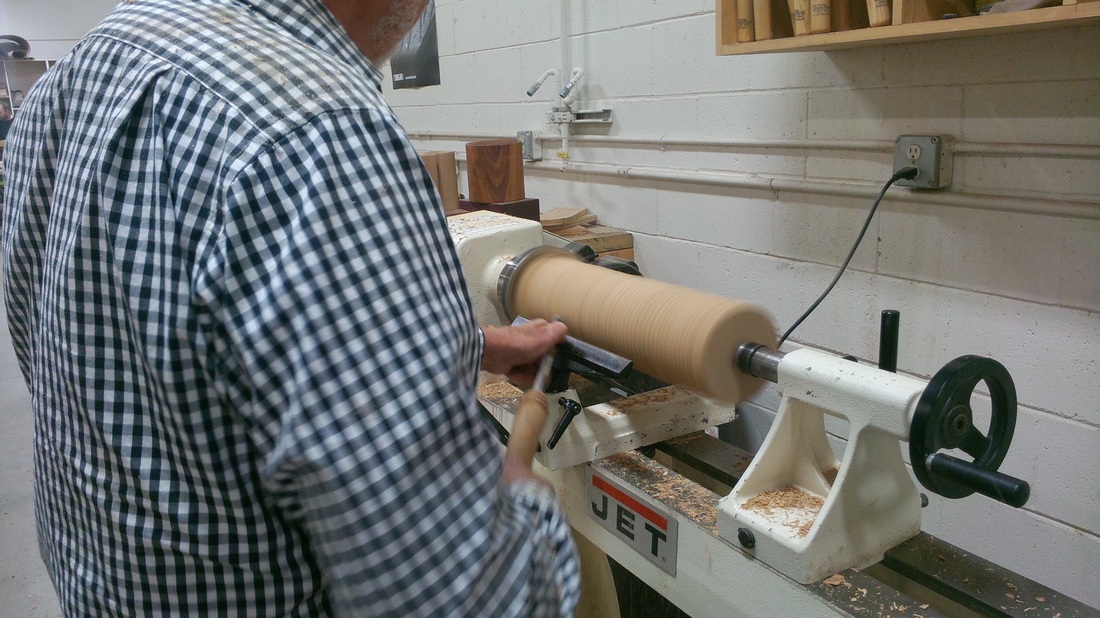
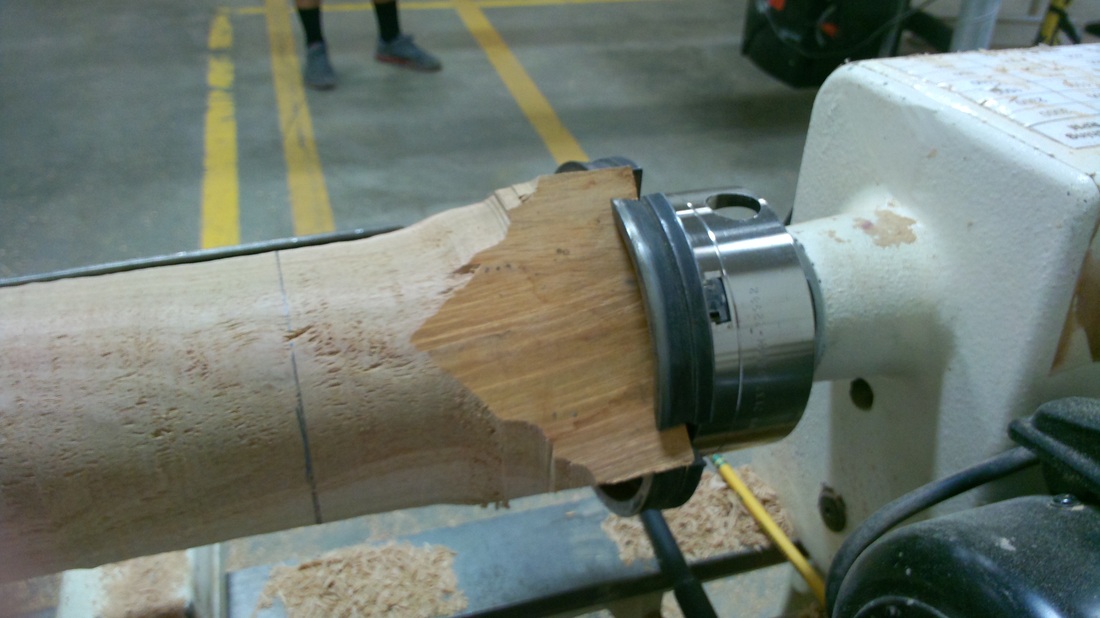
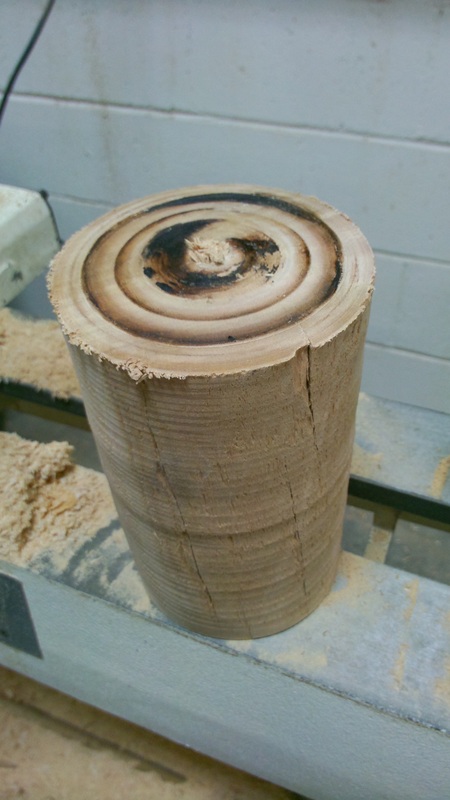
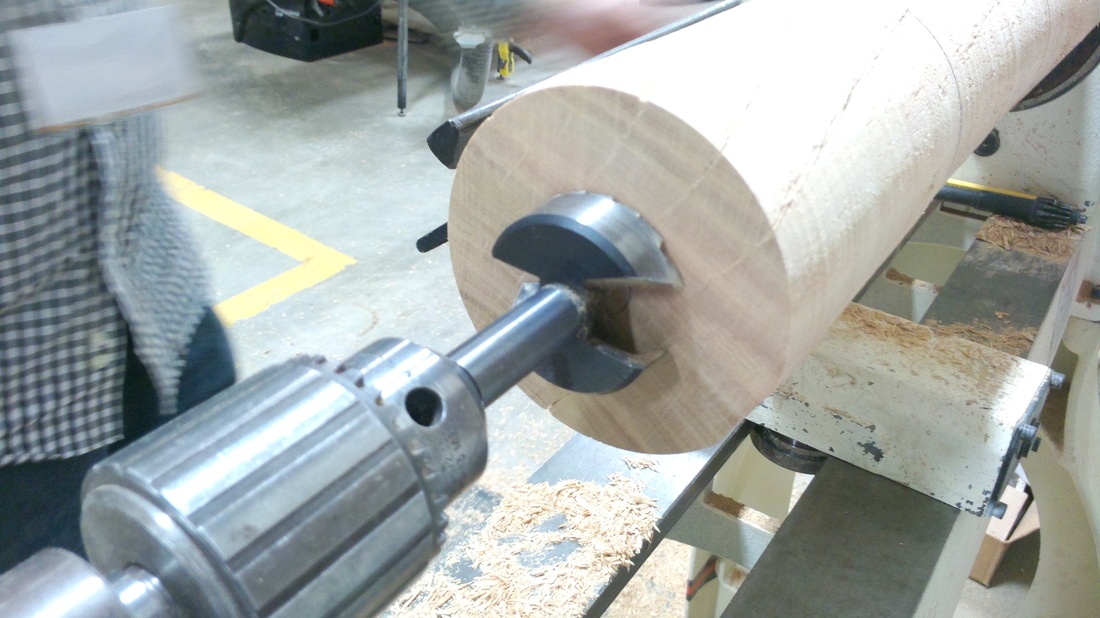
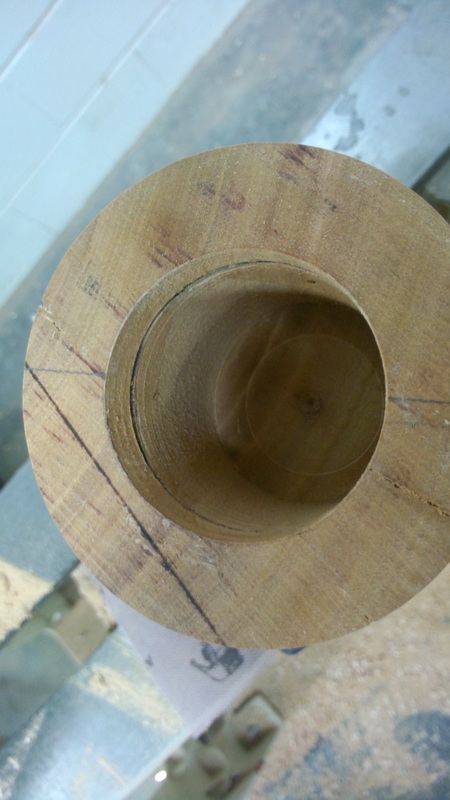
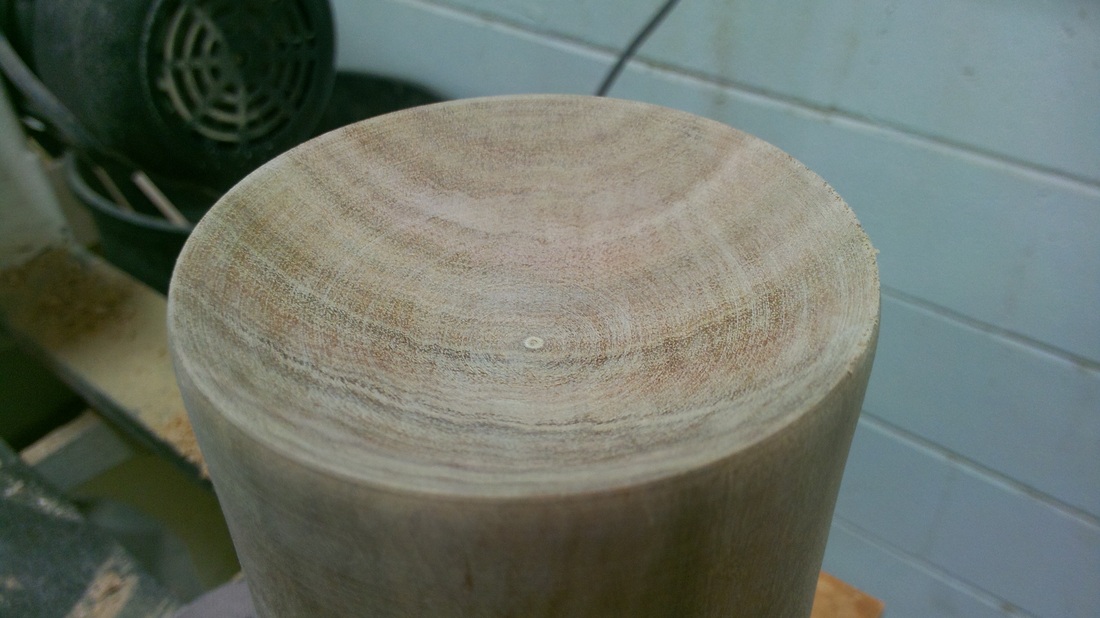
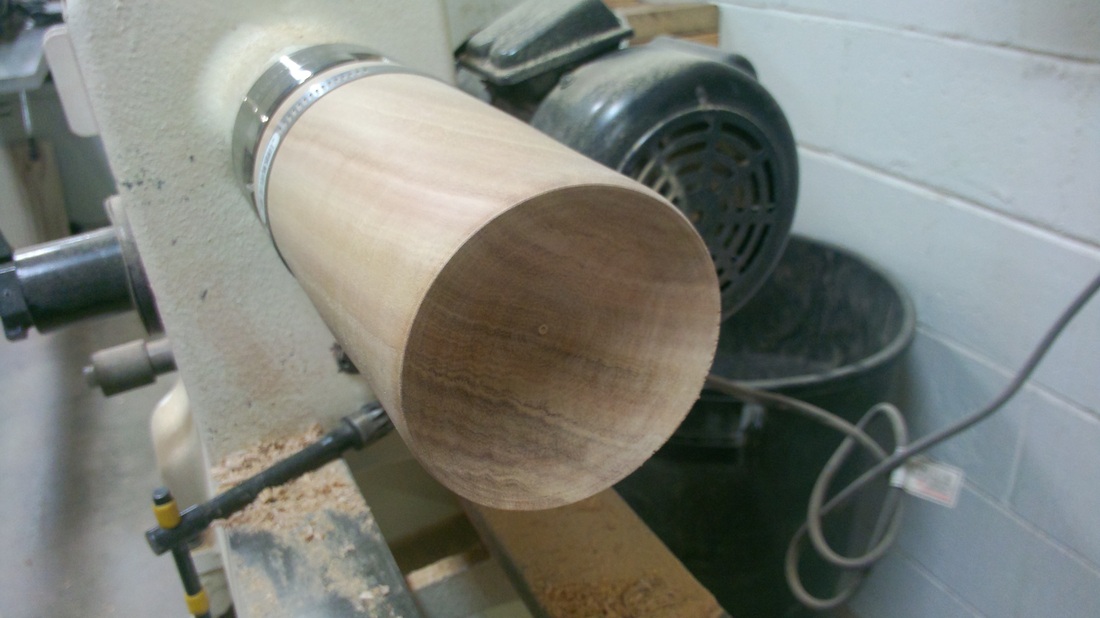
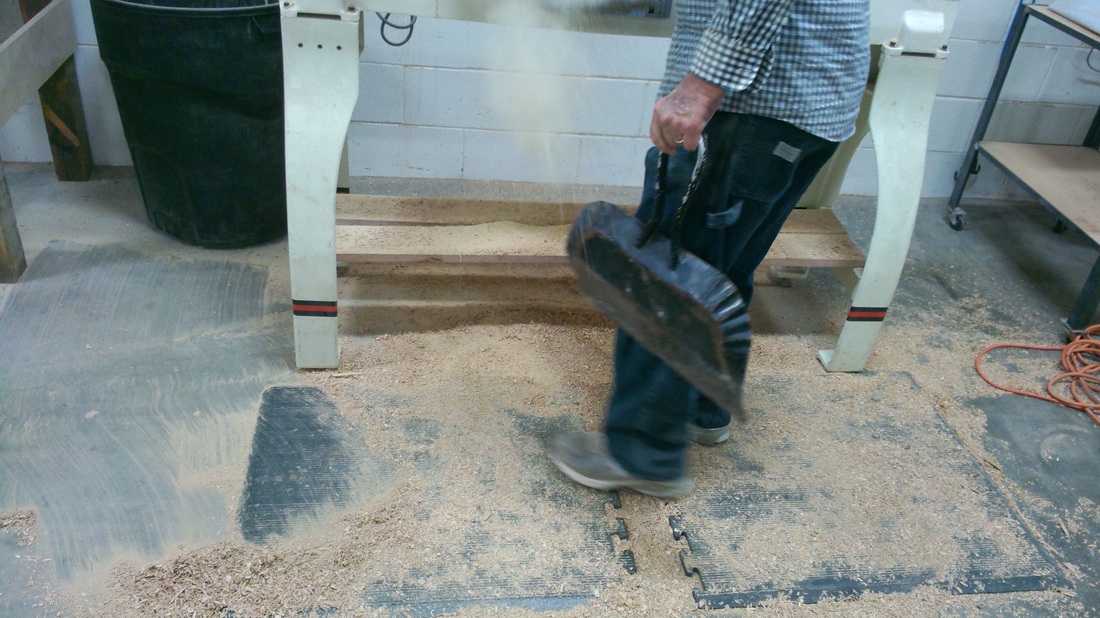
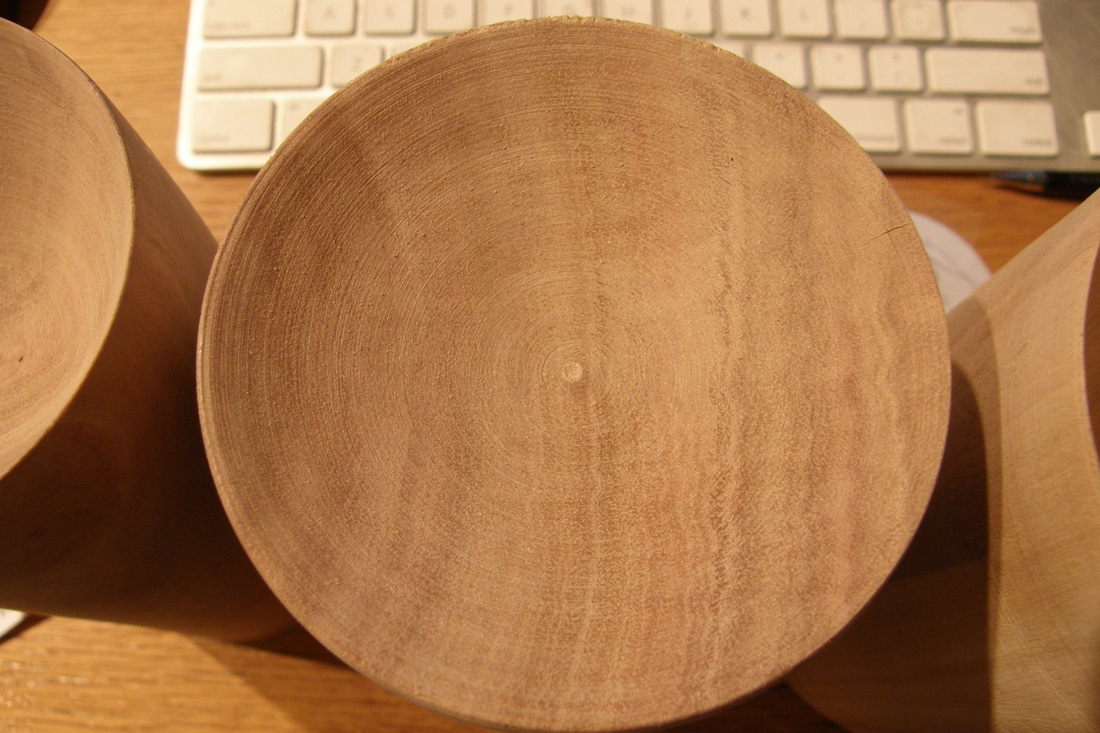
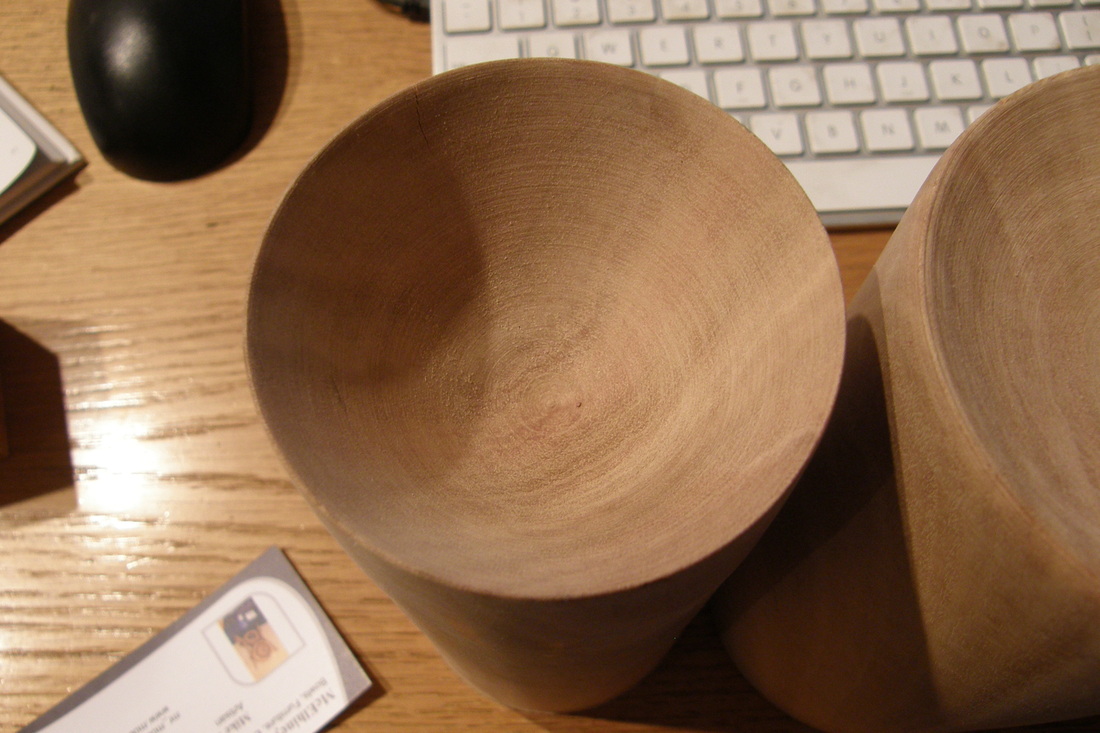
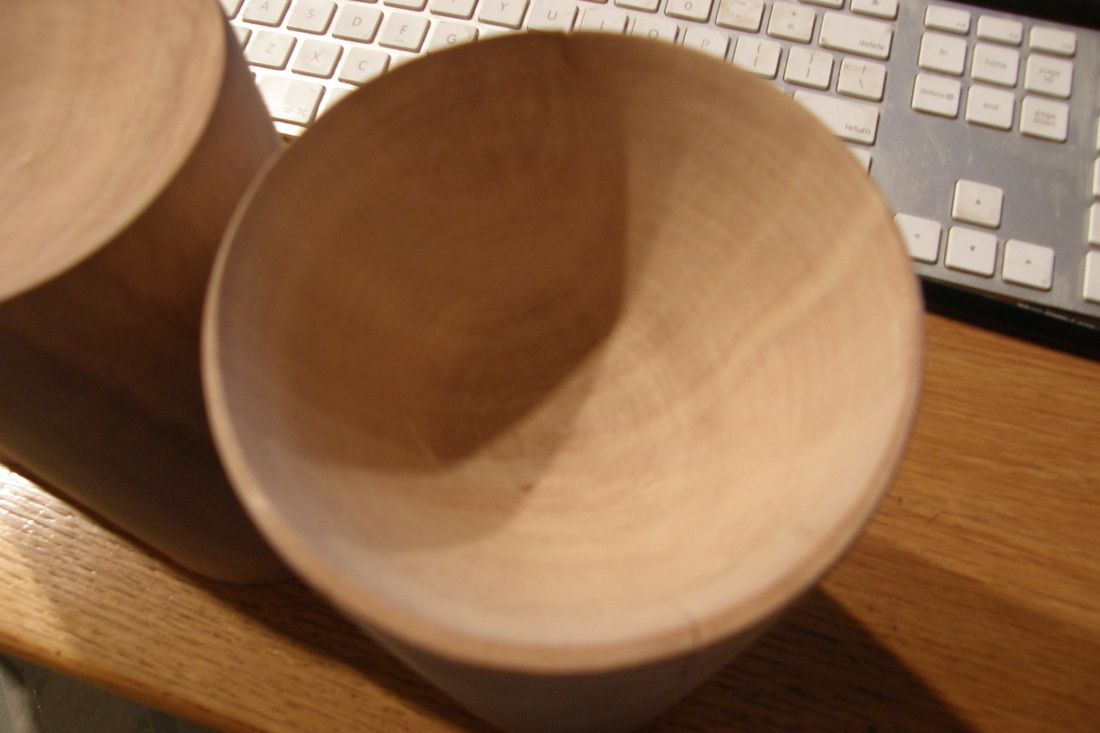
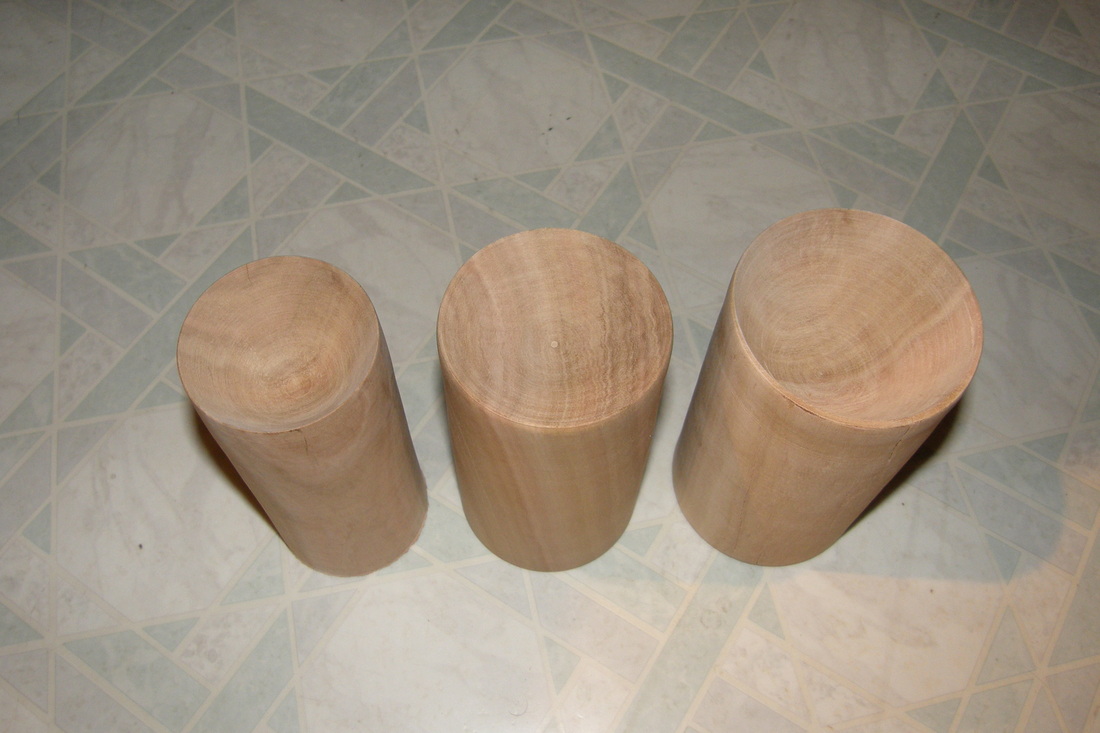
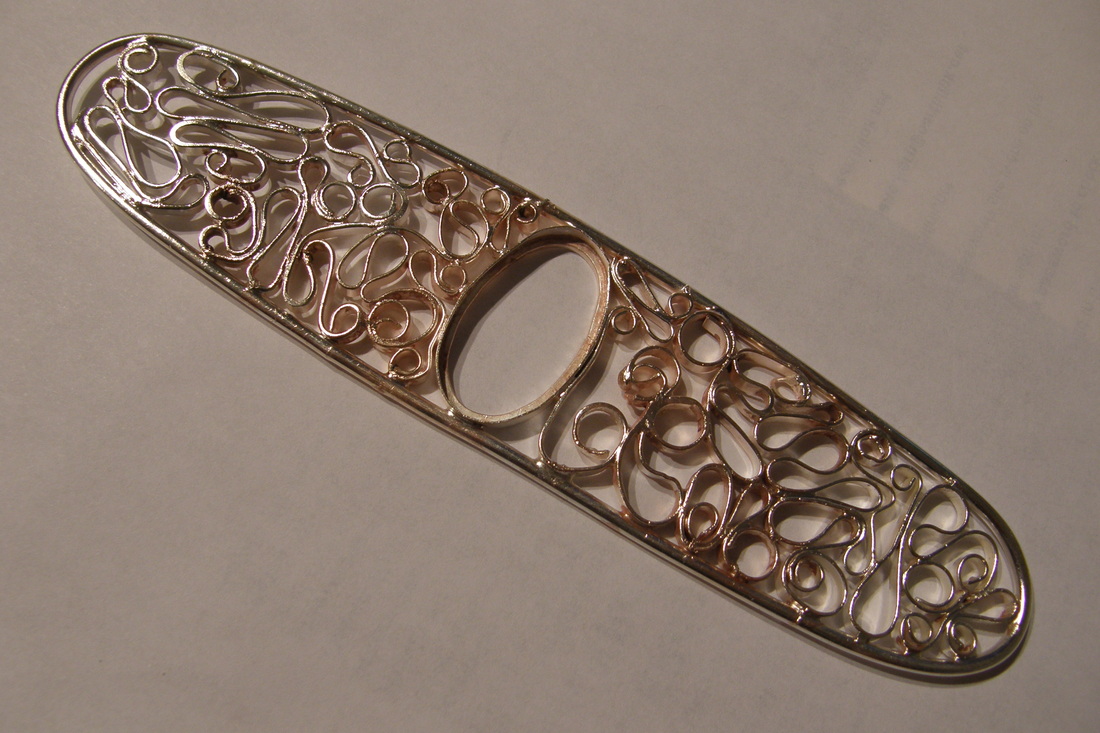
I have chosen this pattern to decorate my small tool canister.  The tool holder (see first image) I made was really a practice piece. 
Picture
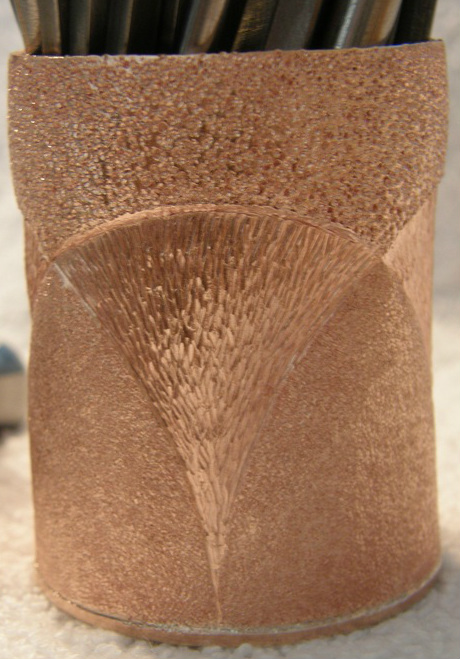
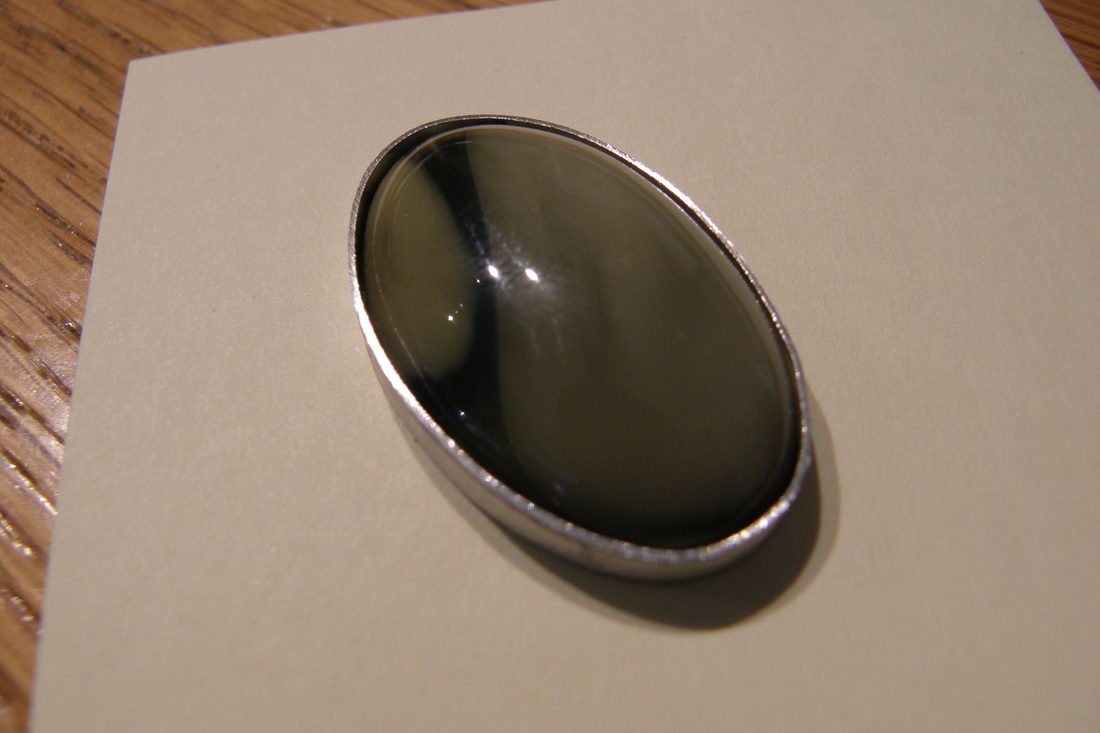
Tool Holder with Chasing
Picture
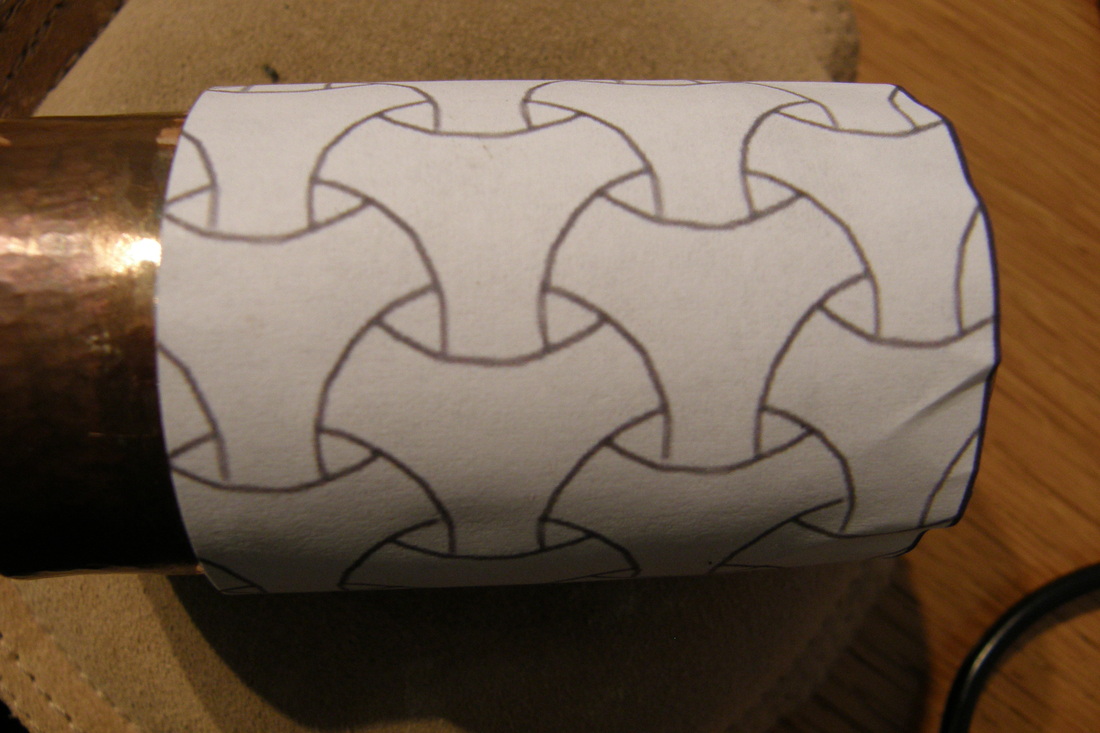
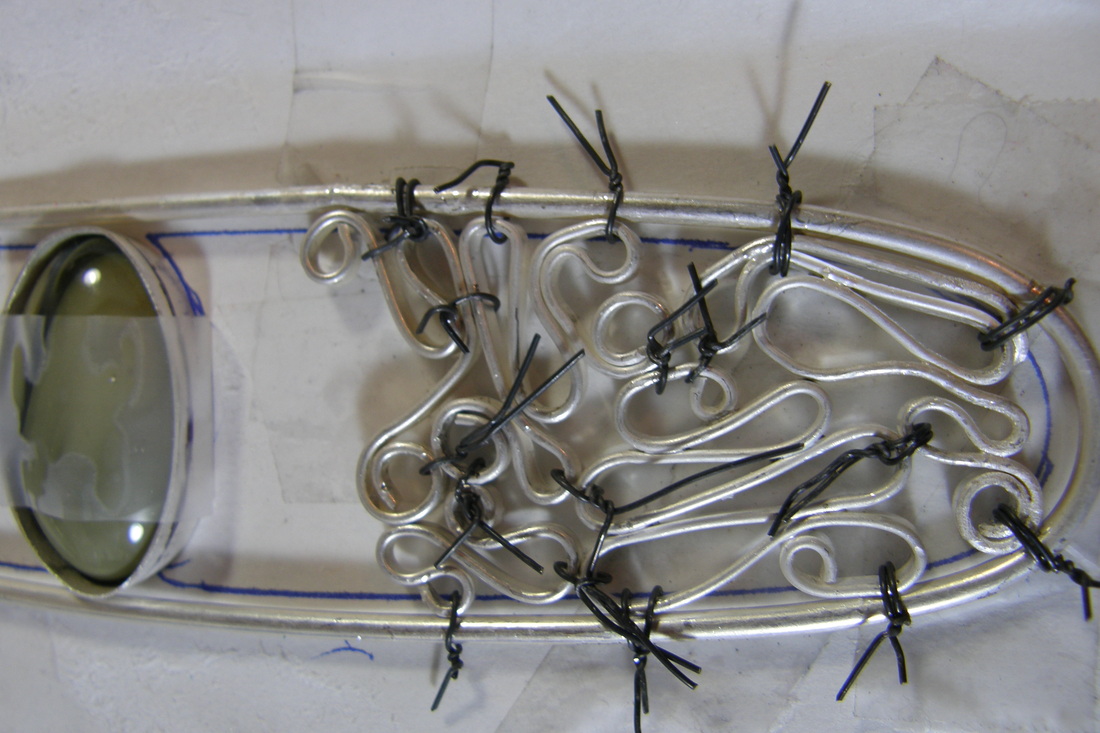
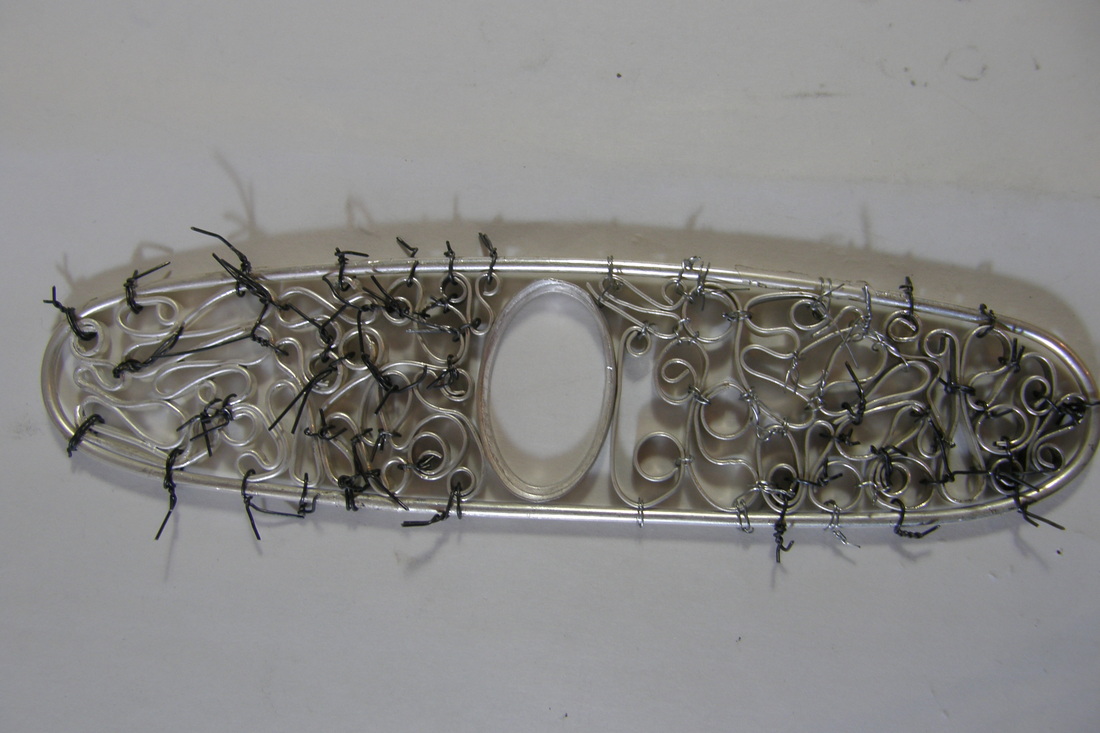
Pattern to be traced
Picture
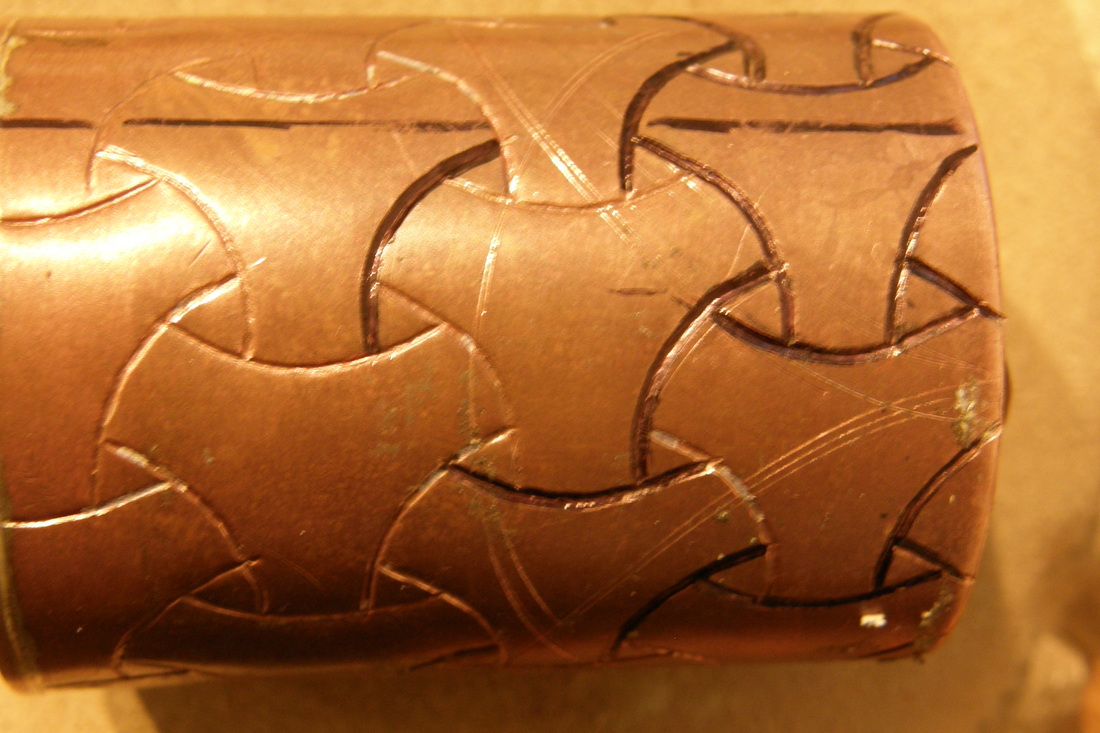
Lining the design. The black marks those lines mark where I have been a second time.

Wood Turning

10/20/2013

 
Two weeks ago, I took a basic wood shop class and made a bird house.  That class was the prelude to what I did today. 

I took a private lesson in WOOD TURNING. 
YES, wood turning.  
Why?
Well, I want some larger wood "dapping" blocks for when I am sinking bowls. 
I have the small wood and steel cube's with the dapping punches but the largest piece of metal they will take is about 1.5" diameter. I have 2 other wood sinking block and they take 3", 3.25", and 4.7" diameter pieces and most of the dishing areas are not even 50% of the diameter deep some are not even 25%.  PLUS I have the Pepe Tools Cupola Punch and Die Sets,

The issue is I need some in between sizes and I want them deep - at least 50% of the diameter if not more so I can get a good wall on the bowl I am sinking 

Thus, learning to "turn" a bowl allows me to make my own in the sizes I need.

At 11:00 am I met with Mike McElhiney a wood turner in San Diego and I had a 2+ hour lesson. Before we started, I showed him a few of my existing dapping blocks and what I can make with them so he could understand what I wanted to do with what we were going to be making.  

Mike had brought the wood and tools and showed me how to set up the lathe, put the wood in the chuck, turn the outside, drill a center bore and then turn the bore into the "dishing" bowl.  

The wood chips and dust were flying everywhere (even down my shirt and into my BRA!)

I (we actually)  made 3 dapping bowls and a 4th blank (outside turned only) for one more.
The end result: 
  • 3.5" outside diameter with a 3.25" inside diameter by .7" deep
  • 3.25" outside diameter with a 3" inside diameter by 1.4" deep
  • 3.75 outside diameter with a 3.5" inside diameter by 2" deep 


I sink some metal in them, in the next few weeks to test them. Then I will get back together with Mike for another lesson and  then make some with specific dimension 

Here are some pictures and at the end a very short video of Mike turning the big block of wood round. 

Massive Filigree

10/20/2013

 
This project has been sitting on my workbench since before the summer. I had made the frame and the bezel setting and there it sat and then got buried under the papers, tools, files and other stuff that piles up as we work on other projects and then never put the stuff away. 

Last Sunday, I did spend the day putting all that stuff away and finally exposed folder with the project. Don't get me wrong, I did not loose it under there; I knew it was there but first it was avoidance and then other projects took priority.

It was time to finish it. 

Forming and fitting the filigree takes time and I was uncertain if I would really FINISH it but my goal was to at least have all the filigree done as I could do the soldering another day if need be. 

I started bending and scrolling and wiring in place around 10:00 am.  I started to solder around 3:30pm; that took several rounds of solder, pickle and cleaning to get all the joints done. I then soldered the bezel in and had the stone set by 6 pm. 

Once again, here are some process pictures. As usual, click an image to see a larger version and read the caption

Yeah, I know

10/15/2013

 
Yes, I know, once again I did not write a Sunday morning blog post.
You feel bad? Imagine how I feel. Let alone someone sent me an email asking me where it was....

So where was I?

I was at the Vista Antique Steam Museum for the 3rd Vista Fiber Arts Fiesta. I was there both Saturday and Sunday from 9 am to 5 pm. 

Why??

Well I have been weaving down there for going on 3 years and I was demonstrating weaving and answering questions about weaving and being a "barn weaver".

Many people who asked me questions were surprised to find out that weaving is my "other" hobby [Silversmithing being the primary] AND that both allow me to relax from my day job.

I had a good time, I hope the visitors did too. 

I was very very very tired by Sunday evening and even though I had yesterday off, it being Columbus Day and thus a Federal Holiday, I had the day off. [Yes, and despite the government shut down which in a way is like a holiday from them but not all the bickering that is going on, but I digress].  I then got some much needed rest and cleaned the studio and found 2 projects that are not done. Well, I do have more than 2 but these were on the bench under the mess.

Next week I hope to have some more goodies for you. See you then.

Gathering & Talking

10/7/2013

 
I know what you are thinking.. "Wait, did I miss something. She normally posts on Sunday and that was yesterday (wasn't it). Well yes it was my friends but I doing another post cause I have an announcement.

THIS THURSDAY - YES, in THREE DAYS (that is October 10, 2013 if you are reading this sometime in future or in the past and you have somehow got the ability to see it) I will be giving a presentation (a.k.a a talk) at the Fallbrook Gem & Mineral Society on Chasing & Repousse.  

The presentation is based upon my award winning educational display that I had at the San Diego County Fair this past Summer. 

So tonight I am gathering up some of my tools, the small pitch pot and many pieces that I had in the display plus the slides I wrote up and they are now in a box waiting for Thursday.  During the talk I shall be passing around many of samples and if there is time, just a quick demo of how I work my craft.

The presentation is open to the public and is FREEEEEEEEEE.  The meeting starts at 7:00 pm and I should be starting my talk about 7:30 pm. 

I hope to see some of you there.

A Little Birdhouse for my Soul

10/6/2013

 
Today I took a basic wood working class.

What, what does this have to do with silversmithing? you might ask - bear with me and all will be revealed.

When raising or sinking a bowl or other hollow form, a "dishing stump" is used to help form the metal. Think of a dishing stump as a larger dapping block.  Where as most dapping blocks (either wood  or metal) are about 2.5" cubes with various diameters, the depressions do vary from very shallow to no more than 1/2 the diameter so you can form a hemisphere.  If you Google around you will see that the largest diameter is 50 mm or just under 2" and this is not included in most the standard sets. There are also larger wood single depression dap blocks that are anywhere from 4" to 6" in diameter but some are only 3/4" deep.   

BUT with a dishing stump you can make the depression deeper resulting in a deeper bowl or dish. The only downside to this is. YOU HAVE A WOOD STUMP IN YOUR STUDIO and the average metal artist does does not mind this as their studios are in an out building or even the garage or some other dedicated space. Unfortunately, my studio is not only in my house, it is on the second floor and getting a good sized stump up there is not an easy task.   When I retire and move to my "other house" where my studio will be free standing building, I will probably gets some good sized stumps and make a few, but for now, I want some stumps that are not stumps and that can be stored away when not in use. 

So what I want to do is make my own MASSIVE dapping blocks of various diameters and of various depths but no bigger than 6" diameter to start and as small as 3" diameter. And how does one do this?? YOU basically are carving a bowl and the best way to do that is use a wood lathe.  And so today, I took a basic wood shop class to get "certified" on wood shop safety. In the next few weeks I will have some private lessons on how to use a wood lathe and then... 
.........and then I can start my 3" diameter 1 1/2"  wood dishing block, and move up from there. 

As for the bird house, I plan on maybe adding some copper to the roof and possibly a weather vane before letting the birds have it. 

And yes, I know the song is "Make a little bird house in your soul"
Picture

    RSS Feed

    How to Aquire Your Own Shop Elf

    Archives

    October 2020
    August 2020
    March 2020
    December 2019
    November 2019
    October 2019
    September 2019
    August 2019
    July 2019
    June 2019
    May 2019
    March 2019
    February 2019
    January 2019
    December 2018
    November 2018
    October 2018
    September 2018
    August 2018
    July 2018
    May 2018
    April 2018
    February 2018
    January 2018
    November 2017
    October 2017
    September 2017
    July 2017
    June 2017
    May 2017
    April 2017
    March 2017
    February 2017
    January 2017
    December 2016
    November 2016
    October 2016
    September 2016
    August 2016
    July 2016
    June 2016
    May 2016
    April 2016
    March 2016
    February 2016
    January 2016
    December 2015
    November 2015
    October 2015
    September 2015
    August 2015
    July 2015
    June 2015
    May 2015
    April 2015
    March 2015
    February 2015
    January 2015
    December 2014
    November 2014
    October 2014
    September 2014
    August 2014
    July 2014
    June 2014
    May 2014
    April 2014
    March 2014
    February 2014
    January 2014
    December 2013
    November 2013
    October 2013
    September 2013
    August 2013
    July 2013
    June 2013
    May 2013
    April 2013
    March 2013
    February 2013
    January 2013
    December 2012
    November 2012
    October 2012
    September 2012
    August 2012
    July 2012
    June 2012
    May 2012
    April 2012
    March 2012
    February 2012
    January 2012
    November 2011
    August 2011
    July 2011
    June 2011
    May 2011
    April 2011
    March 2011
    February 2011
    January 2011
    December 2010
    November 2010

    Jan - Nov 2010 History
    File Size: 2272 kb
    File Type: pdf
    Download File

    Jan - Dec 2009 History
    File Size: 2332 kb
    File Type: pdf
    Download File

    Categories

    All
    42
    A Year Of Repousse
    Blacksmithing
    Blogoversary
    Box Project
    Business
    Chasing & Repousse
    Commission
    Education
    Embroidery
    Enamel
    Entries
    Entry
    Exhibition
    Facebook
    Filing
    Fold Forming
    Gold
    Holloware
    Hot Forging
    Hydraulic Press
    Jewelry
    Keum-boo
    Learning
    Leather
    Market
    Metal
    Patina
    Photography
    Polishing
    Publications
    Raising
    Sanding
    Santa Fe Symposium
    Shop Elf
    Sinking
    Social Media
    Soldering
    Store
    Studio Visits
    Superbowl Challenge
    Teaching
    Teapot Project
    Technique
    Temari
    Tin
    Tools
    Vessels
    Visiting Workshops
    Weaving
    Website
    Workshop
    Yubinuki

Powered by Create your own unique website with customizable templates.