
Aperture is how open or closed your lens is. This affects not only how much light is allowed in but the depth of field of the subject.
Thus if you want all the subject matter you are shooting, to be in focus, you need a large depth of field and as a result you use a large f-stop this means that the opening in the lens is small.
Yes, it is counter intuitive but just go with it or read this article on the Wikipedia which gets into the math of focal length and size of the pupil of the lens - aperture.
NOTE: ISO in the film days of photography, was an indicator of the film's sensitivity to light. Now, ISO, it is used to set the sensitivity of the DSLR sensor.
Today's self-imposed lesson was to leave the subject and camera position alone. The ISO was also fixed, auto-focus was turned on, the white balance was again custom based upon my lights and to then play with the f-stops to see how the depth of field changed. These images were taken with the 60mm f/3.2 macro lens.
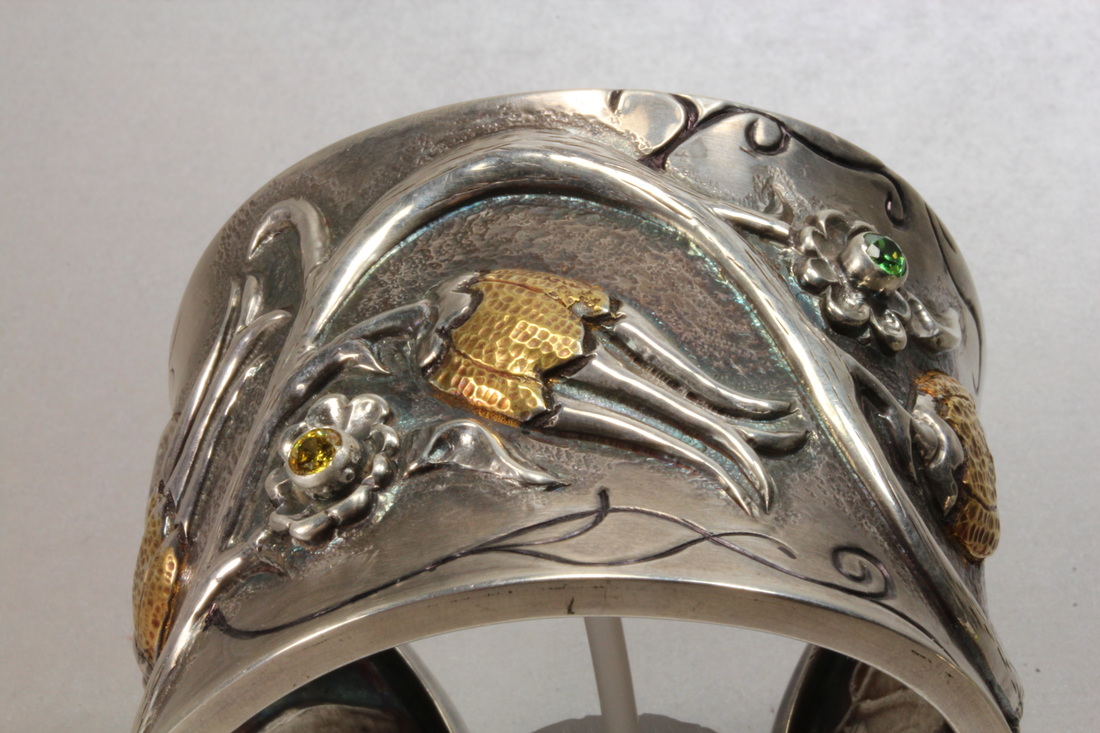
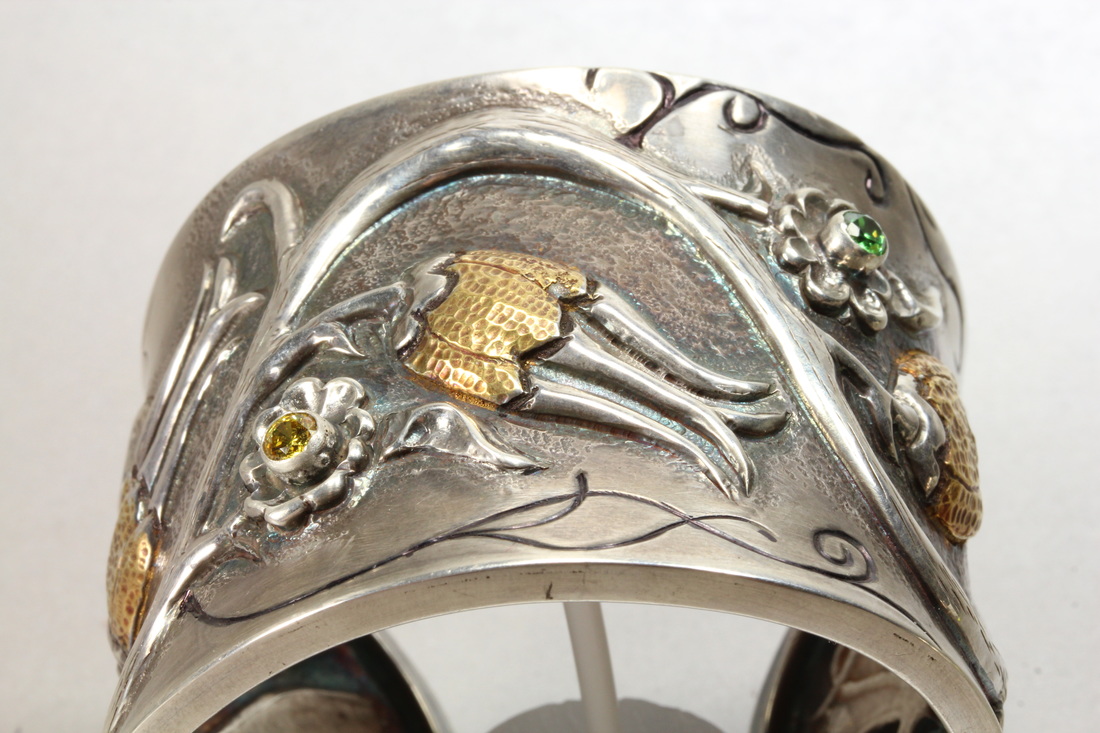
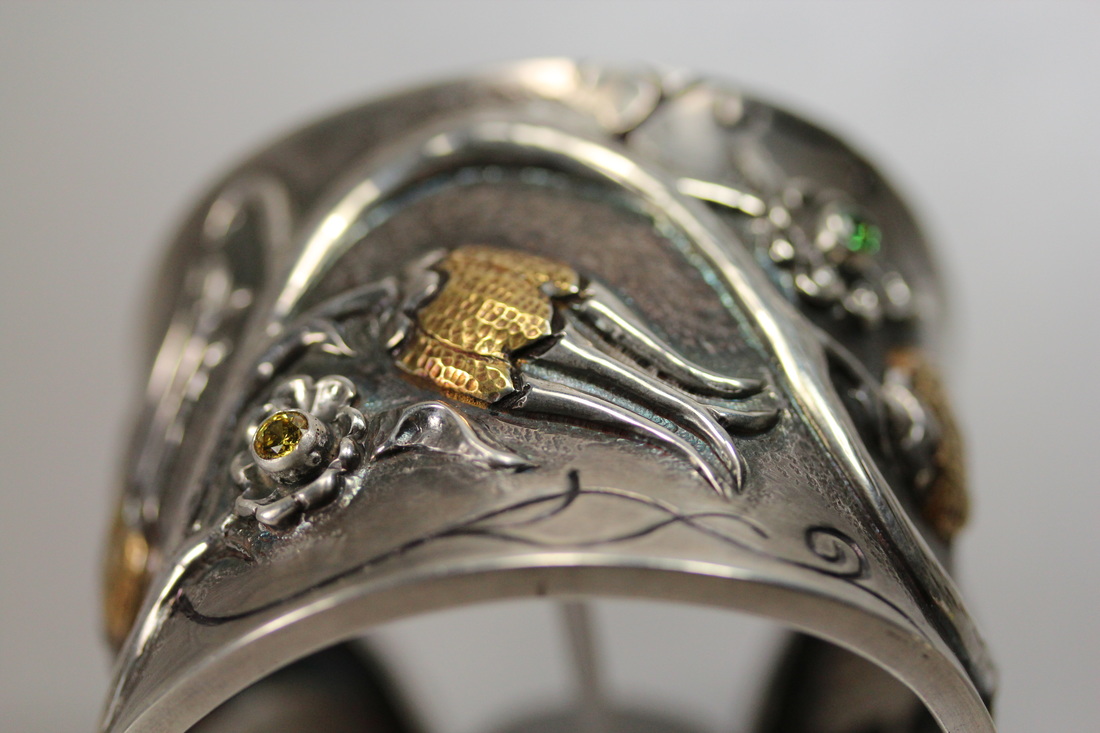
I started again with an auto image. This time I used the setting of A-Dep which sets the camera to get the best depth of field while picking the ISO and the Sutter Speed. The meta data show the following - ISO: 400; Tv: 1/6; Av: 32. As you can see the cuff from the front to to the back are all in focus.
Thus if you want all the subject matter you are shooting, to be in focus, you need a large depth of field and as a result you use a large f-stop this means that the opening in the lens is small.
Yes, it is counter intuitive but just go with it or read this article on the Wikipedia which gets into the math of focal length and size of the pupil of the lens - aperture.
NOTE: ISO in the film days of photography, was an indicator of the film's sensitivity to light. Now, ISO, it is used to set the sensitivity of the DSLR sensor.
Today's self-imposed lesson was to leave the subject and camera position alone. The ISO was also fixed, auto-focus was turned on, the white balance was again custom based upon my lights and to then play with the f-stops to see how the depth of field changed. These images were taken with the 60mm f/3.2 macro lens.
I started again with an auto image. This time I used the setting of A-Dep which sets the camera to get the best depth of field while picking the ISO and the Sutter Speed. The meta data show the following - ISO: 400; Tv: 1/6; Av: 32. As you can see the cuff from the front to to the back are all in focus.
Next I want to achieve the same with the camera on full manual mode and after that, adjust the f-stops to narrow the depth of field while keeping the ISO constant.
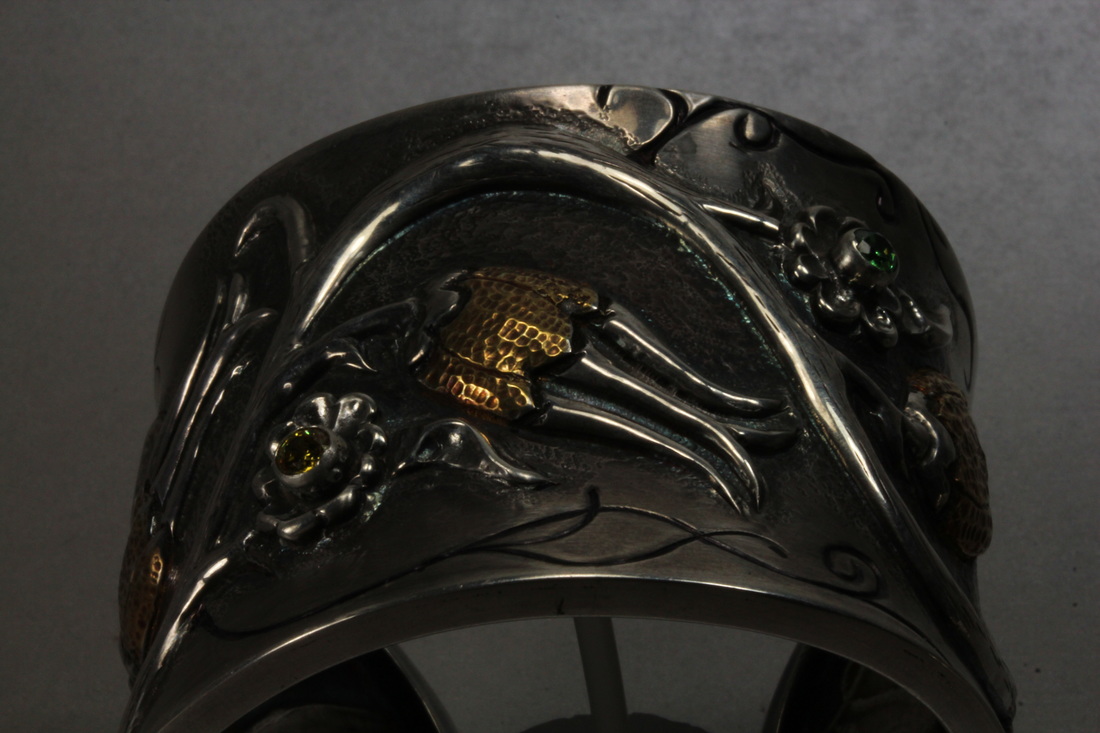
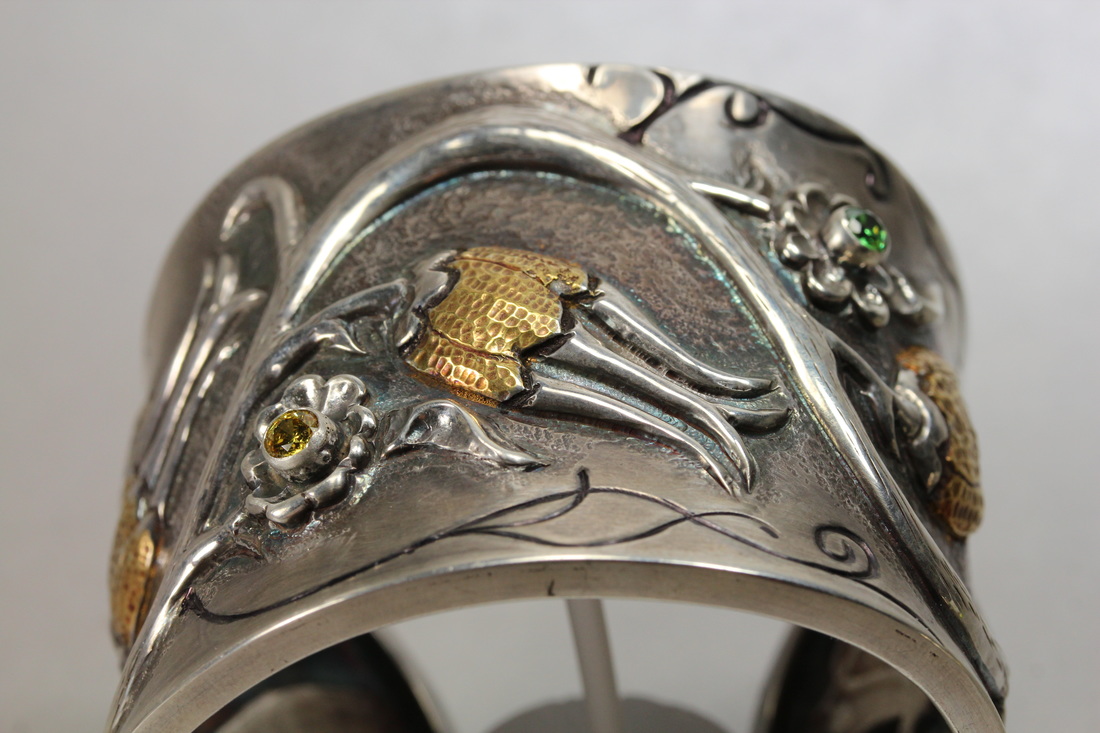
Here is my first attempt - ISO: 400; Tv: 1/30; Av: 32. Which of course because the shutter speed was faster, resulted in a darker image since not enough light was allowed in.
Here is my first attempt - ISO: 400; Tv: 1/30; Av: 32. Which of course because the shutter speed was faster, resulted in a darker image since not enough light was allowed in.
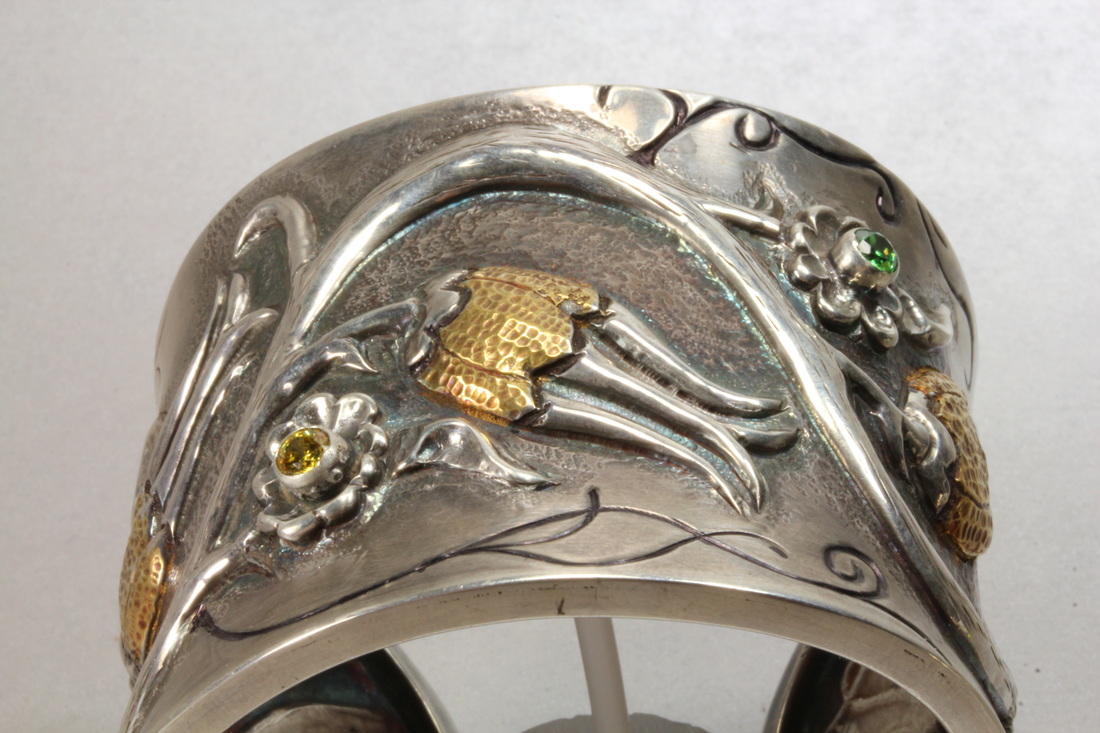
I slowed the shutter speed down to 1/4 and I got a very close match to the A-Dep picture at the top.
In the next series of pictures, I left the ISO at 400, and I halved the f-stop each time (open up the lens) which also means I have to INCREASE the shutter speed, to compensate for the amount of light which would be too much as wash out the image. Note: In the old days with film cameras you would double the shutter speed to compensate for the halving of the aperture but with DSLR's you can actually go in-between to third stops and get better results.
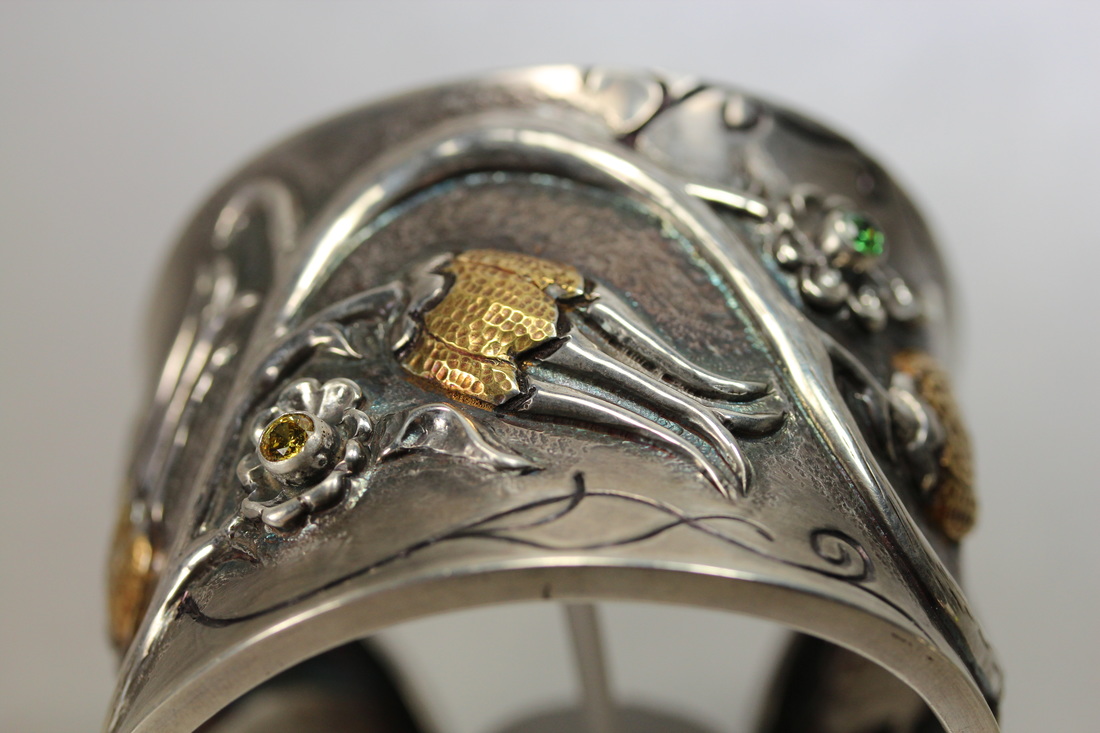
To prove this point, this first picture is ISO: 400; Tv: 1/30; Av: 18 and as you can see it is over exposed.
To prove this point, this first picture is ISO: 400; Tv: 1/30; Av: 18 and as you can see it is over exposed.
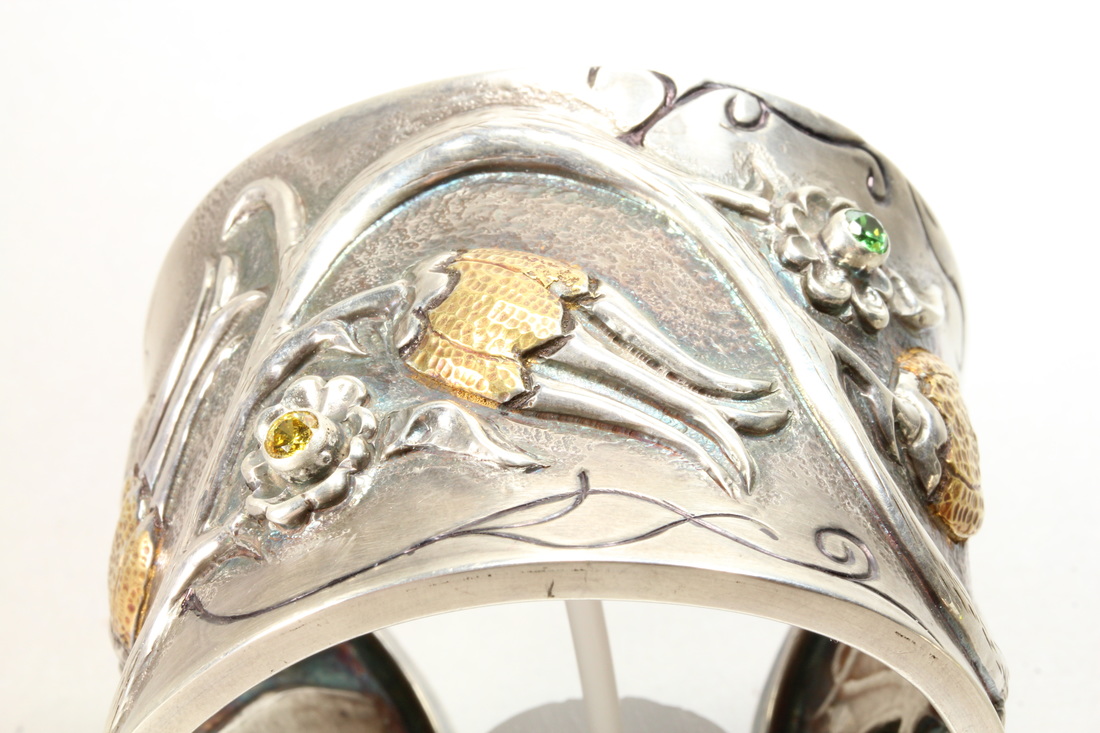
The shutter speed was 1/4 and because halved the f-stop, I should double the shutter speed to 1/8 which I did for this next picture. The image is now, not over exposed but if you look at the back edge of the cuff, you can see that is not quite as in focus which of course is due to the change in depth of field. Also note how the vine just above the blossom is still in focus.
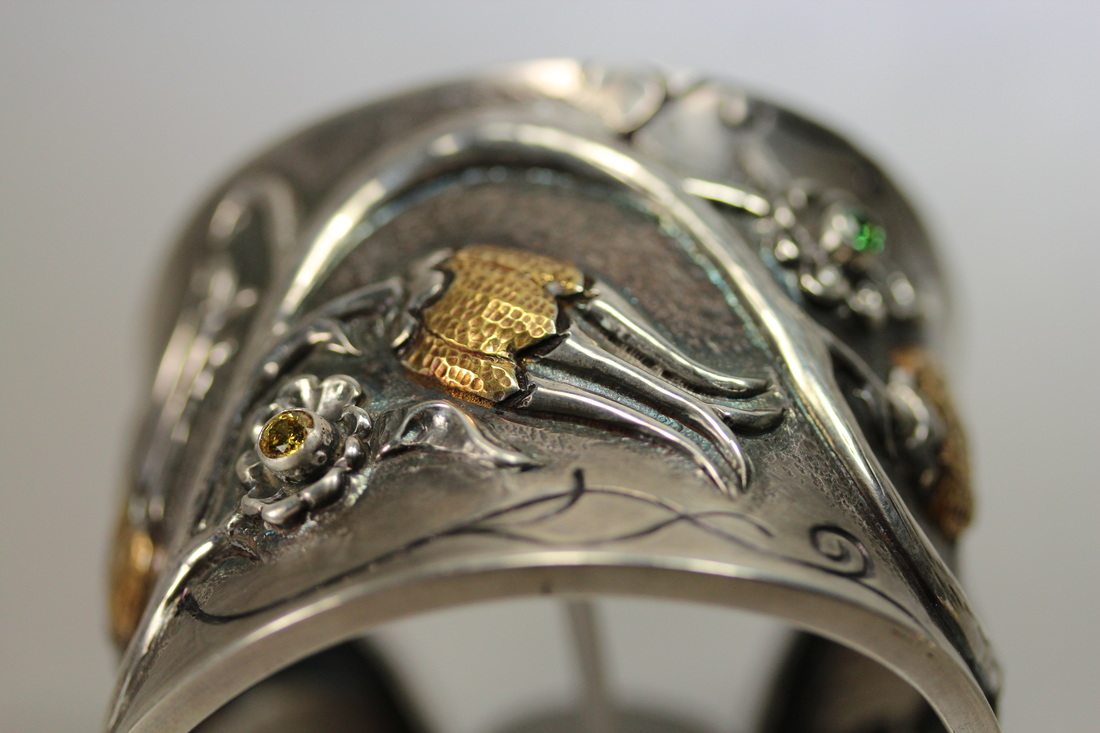
This next image is with the f-stop changed to 9 and the shutter speed at 1/80. The color looks as good as the image just above but this time you can really see that both the front edge and the back of the cuff as well as the sides are not fuzzy and out of focus. YES! the change in the depth of field is very visible and the vine is just out of focus. Again the meta-data is now ISO: 400; Tv: 1/80; Av: 9
Halving the f-stop again, the meta-data is ISO: 400; Tv: 1/320; Av: 4.5. Then change in depth of field is even more pronounced as even the vine is very out of focus and the sides and top and bottom are very fuzzy; all because of depth of field is getting shorter.
This last image is the extreme end - a f-stop of 2.8 - ISO: 400; Tv: 1/800; Av: 2.8. You can see that even the back edge of the blossom is now out of focus.
Lastly, I decided to change the ISO. The larger the ISO, the more sensitive to light your camera is; and this can result in graininess. The theory is that in LOW-light situations you increase the ISO so you don't have to use a flash but to compensate, in good light, you have to increase the shutter speed. That is what I did with this picture and here is the meta-data ISO: 800; Tv: 1/1600; Av: 2.8. If you look closely at this picture below and the one just above it and look at the gold that is textured on the blossom, you should be able to see that the detail, on the lower image, is not as crisp.
Today, as you can also see, I have learned how to adjust the camera settings to achieve good images with the right depth of field which requires setting the white balance, ISO, shutter speed (Tv) and aperture (Av).
 RSS Feed
