
In this tutorial, I will teach you how to sew a yubinuki with a disclaimer which is - it won't be perfect.
Why?
Because the hardest part of sewing a yubinuki is getting your stitches to be evenly spaced, around the ring, such that you have the same number of stitches in each division of the pattern. As you will see, as you learn, when you have finished sewing a division, some will be filled with stitches and others will have gaps. As your designs get more complex and you use finer threads, the number of stitches taken within a division will change which adds to this issue. Again, just keep this in mind and the more yubinuki you make, the better your skill at spacing your stitches will become. The disclaimer is now over!
NOTE: I have done this yubinuki twice, once with the pattern below the padding and once with the pattern on the padding; so some pictures will be of one, or the other or both. AND neither has the herringbone top stitch, which holds them down, so not to confuse you.
To start gather you material, supplies and tools:
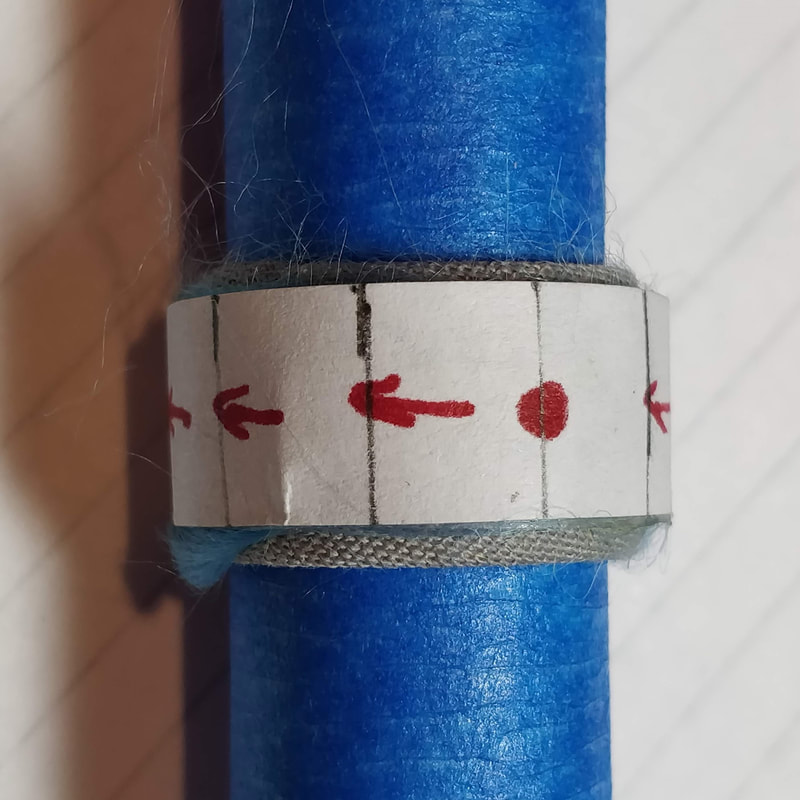
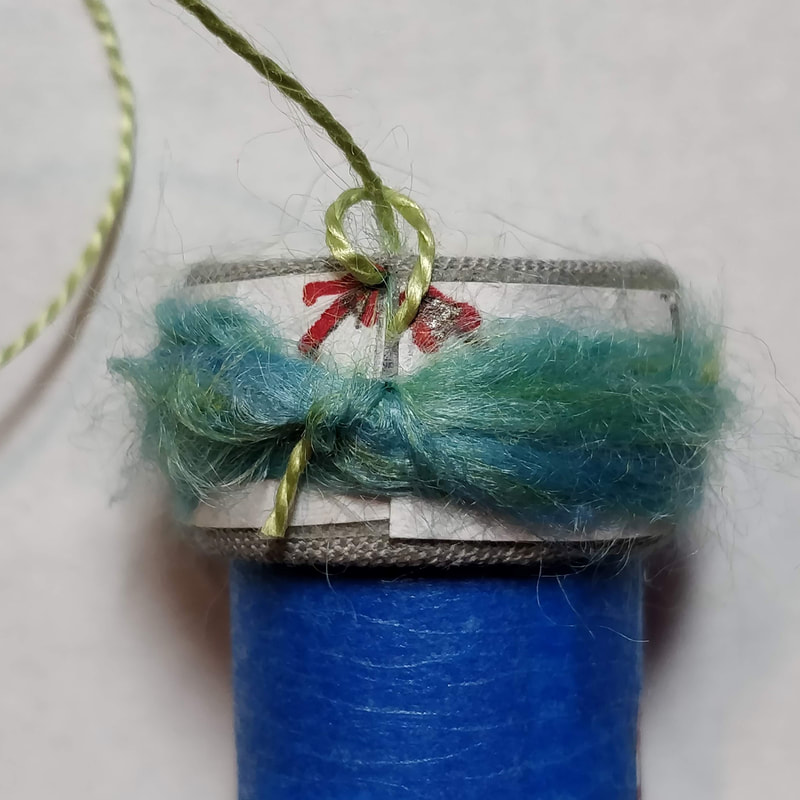
- Core with padding and pattern
- Perle Cotton Size 5 - one color but not a dark color, as this will make seeing the stitches difficult
- Support Mandrel
- Needle with an eye large enough for your thread
- Threader (optional)
- Scissors


Step 1 - Threading the Core
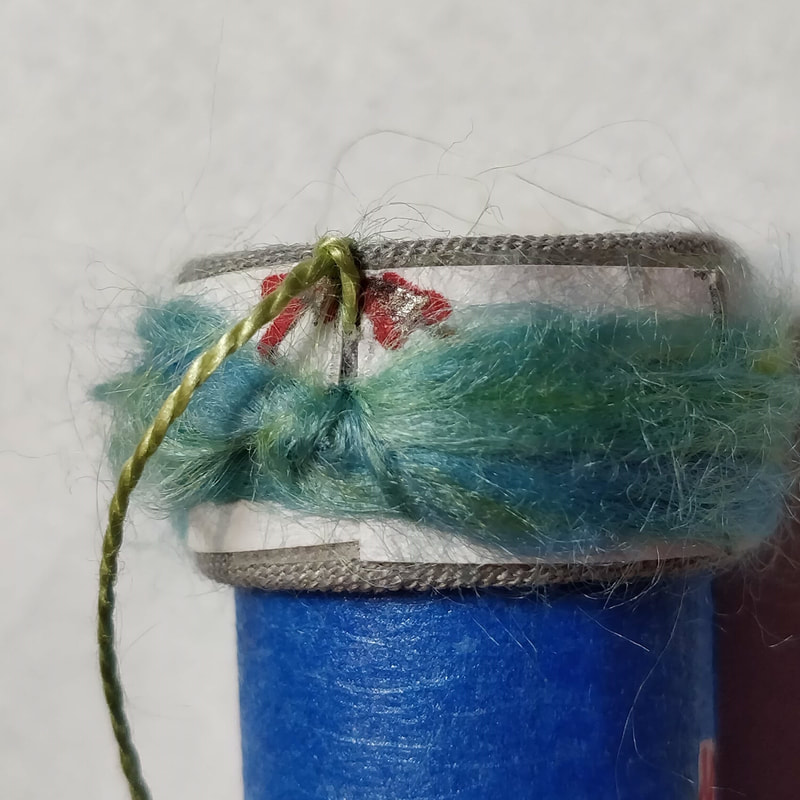
- Measure off a good 2 arms length of perle cotton and thread the needle. DO NOT KNOT either end.
- Put your core on the mandrel and position the core at one end of it with the top edge of the core beyond the edge of the mandrel.
- NOTE: Have your arrows pointing to the right to start. Sewing direction will change as we sew so being left or right handed does not matter. I am left handed and have not issues sewing!
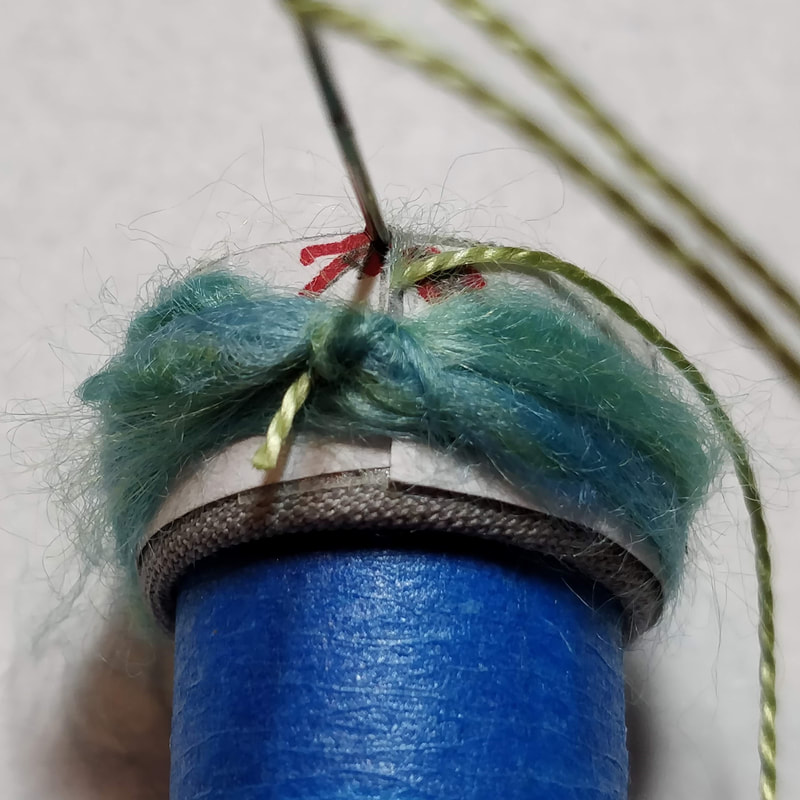
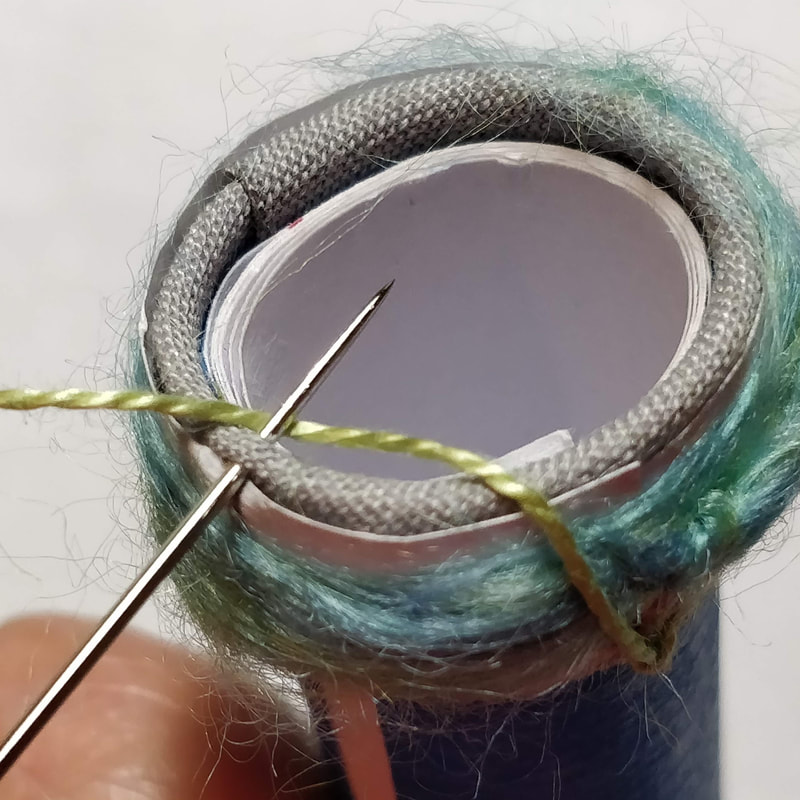
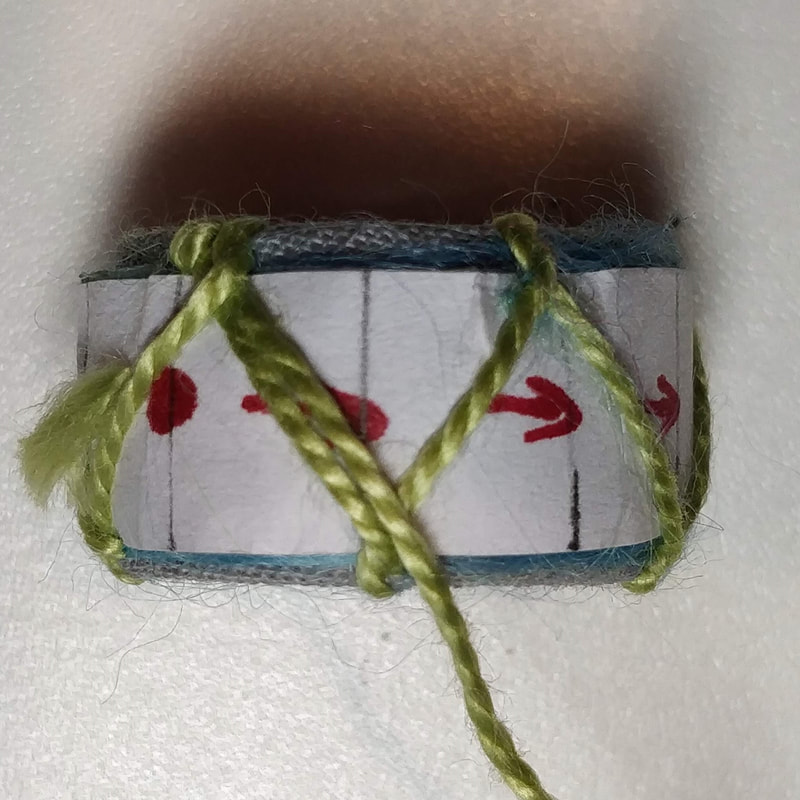
- In between two division marks, the along the center of core, push the needle through the padding and or pattern, leaving a thread tail sticking out. Do this to the left of the red dot or arrows which denote the starting point of your stitching.
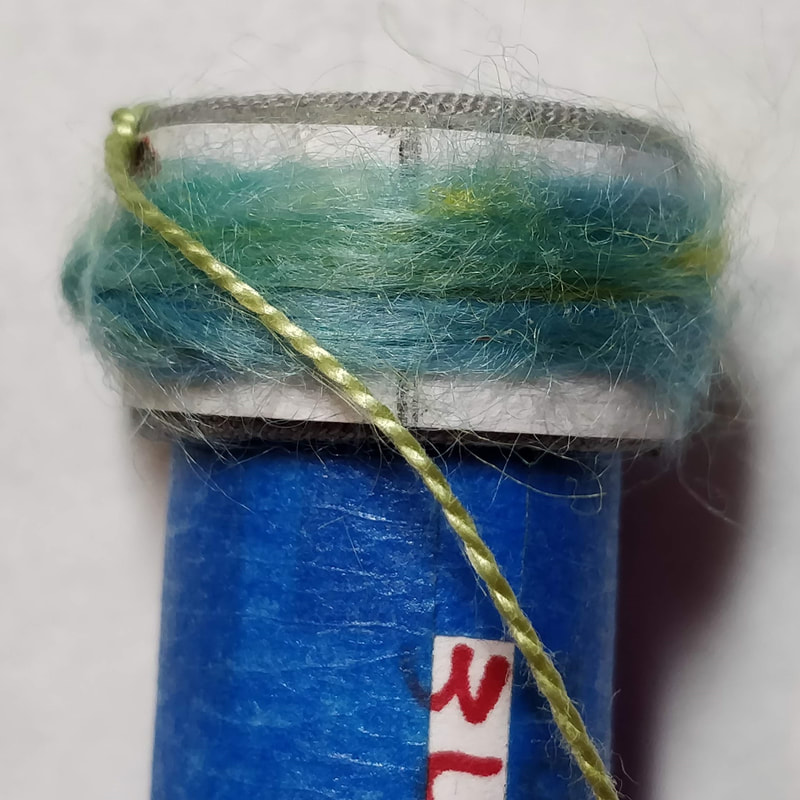
- Next, at a division line at the red dot or your arrow, bring the needle and thread up near the edge of the core, at the "corner", then push the needle through and across the edge. The stitch should be through the lining fabric and above the paper layers.
- Before you pull the needle all the way through, wrap the thread around and under the needle from right to left.
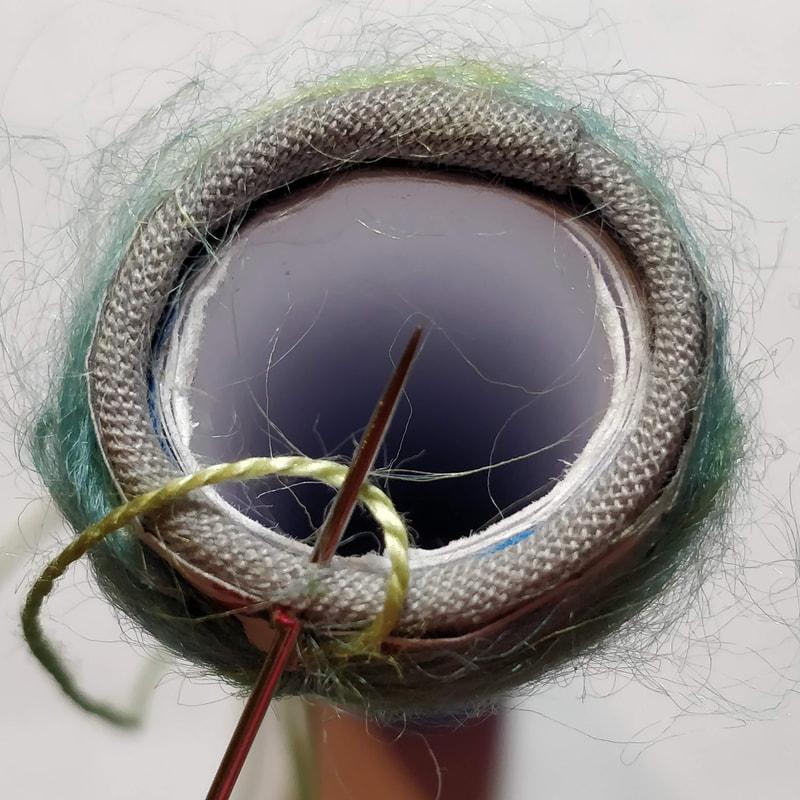
- Now gently pull the needle through and pull it so the thread makes a tight loop (aka knot) at the corner of the core body and core edge. If needed, hold on to the tail so you don't pull that through.
- Pull the thread out from the stitch so get it tight. Pulling the thread down can cause the knot to tighten before the thread through the edge has snugged up.
- You have made your first stitch!


Step 2: Sew the next stitch
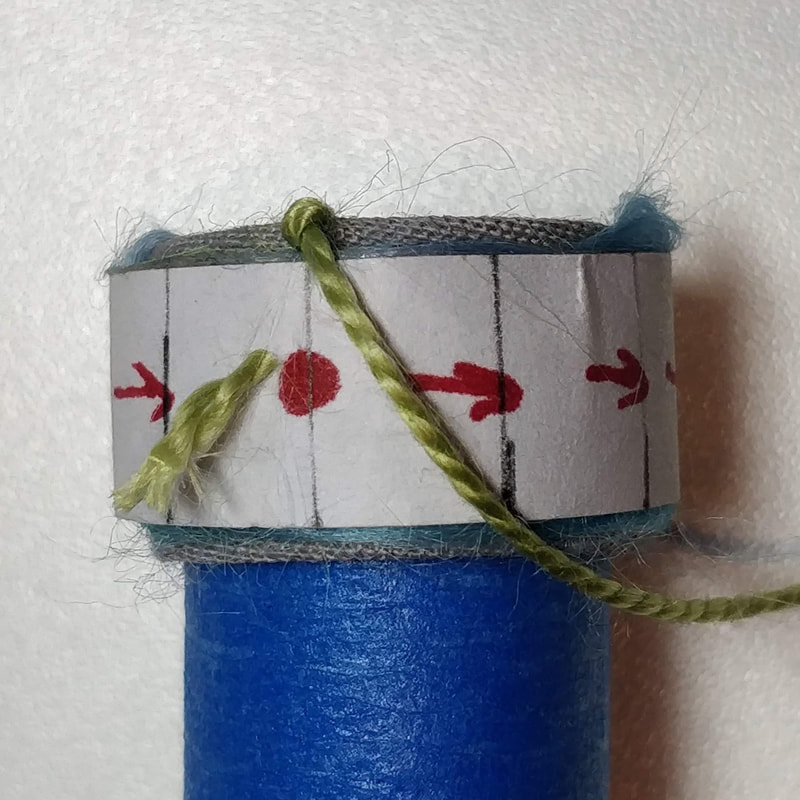
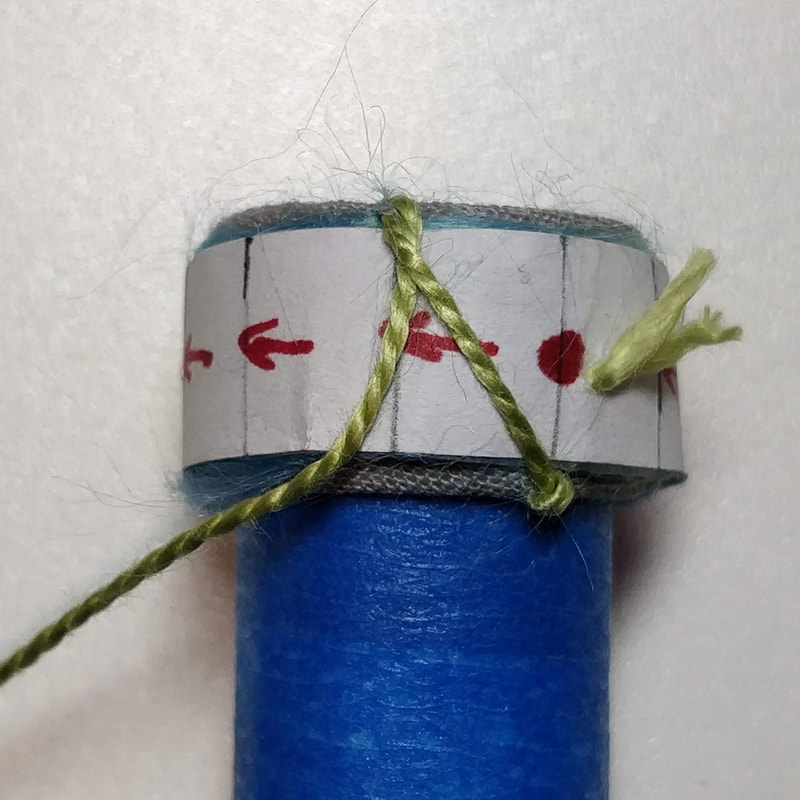
- Since the arrows point to the right, that is where your next division mark will be for the next stitch. BUT sewing along the bottom, is impossible. Turn the mandrel with the core on it, to the left so you can see the next division mark. That is where you will take your next stitch but stitching on the bottom is not easy; time to remedy that problem.
- NOTE: The thread will be positioned diagonally from the first stitch to where the second stitch will happen.
- Take the core off the mandrel and flip it so the bottom is now the top and the arrows are pointing to the left.
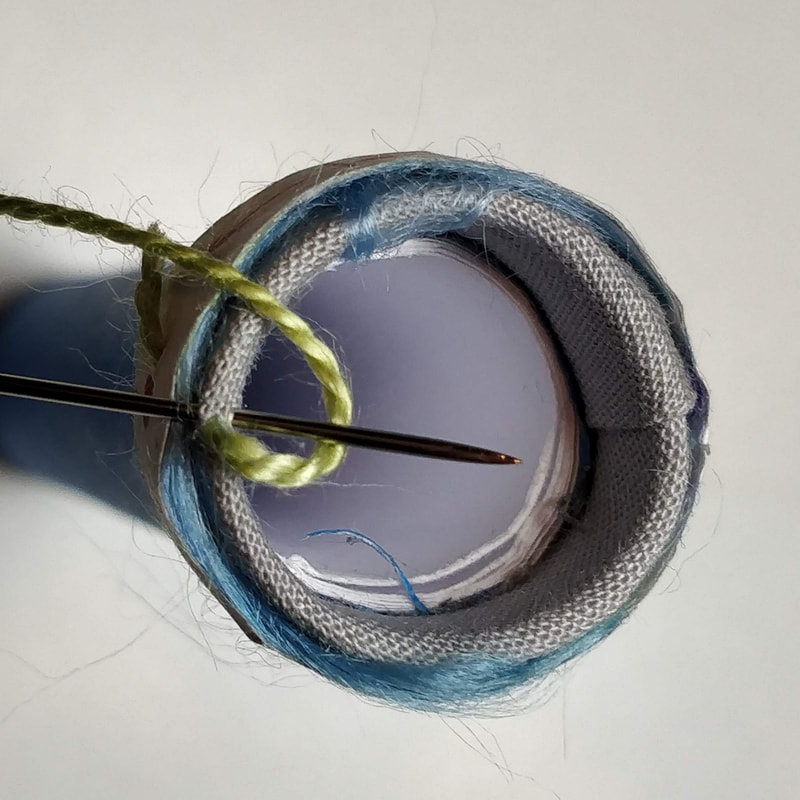
- Once again, push the needle through the edge, from the outside to the inside, at the division line.
- Then loop the thread from right to left, under the needle, and pull the needle and thread through to make a snug stitch and the diagonal thread is snug across the padding an pattern.
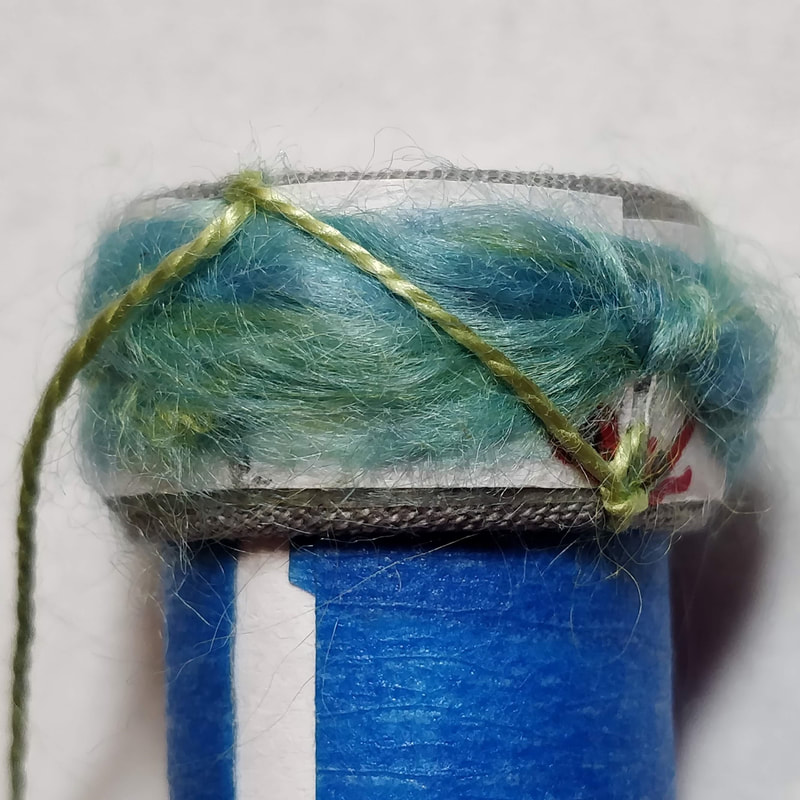
Step 3: Continue Stitching Around.
- After the stitch is snug, once again pull the thread diagonally to the next division mark, which after the second stitch is now to your left, as shown by the arrows. Once again flip the core over, so the 3rd stitch will be to the right and repeat taking a stitch through the edge.
- Note: Odd number stitches will be to the right of where you just stitched; Even numbered stitches will be to the left.
- Keep stitching until you have worked your way around the core and are back to where you started. Since there are 10 divisions, you will do 5 stitches on each edge.
- You have now completed one round.
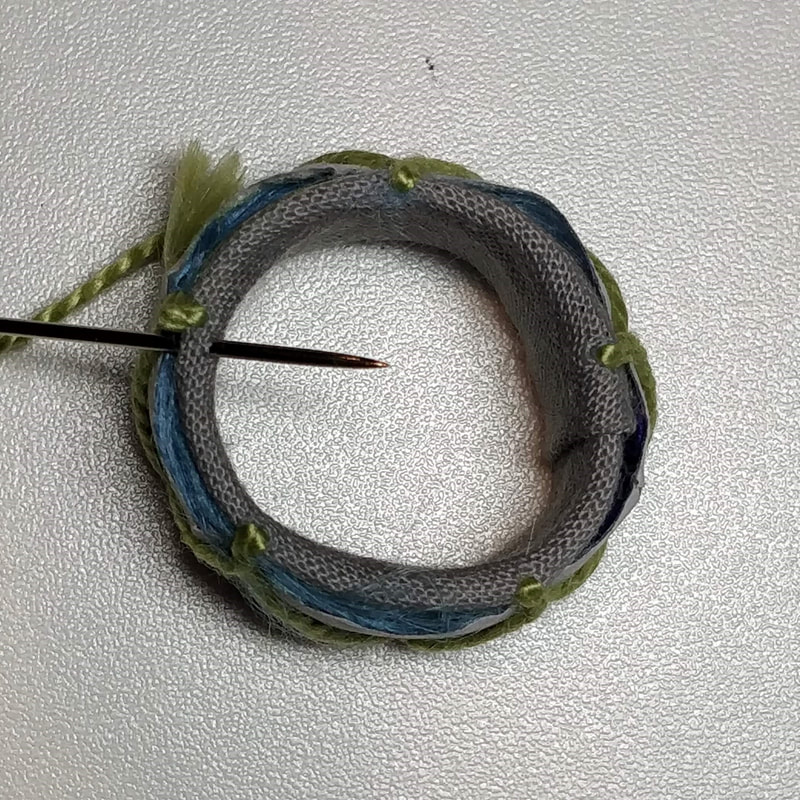
Step 4: Complete the Second Round
- For the second (and subsequent rounds), now that you are back where you started, as denoted by the red dot.
- Flip your core, and if you want don't put it back on the mandrel; after the first round you can; I don't use the mandrel after the first round.
- Take the first stitch (stitch #11) of the second round, move the needle slightly to the right of the very first stitch.
- After the stitch is completed and you lay the thread across the core to take the next (12th) stitch, the diagonal thread will lay to the right of the thread from the previous round.
- CHECK POINT: Continue until your stitches meet up with the next division line along one edge, from the starting point. You are now half way done. Now would be a good time to check your stitch spacing, are all the stitches aligned with the half-way division? Has this last round of stitches gone beyond the halfway point?
1) Count the number of stitches/rounds you have done so far; this is the number of rounds you should do to finish the second half.
2) If some stitches have gone beyond the halfway point as you stitch the remaining rounds, place the stitches a bit closer together.
3) If some of the stitches are not meeting up to the half way division line, then work on spacing your stitches a bit further apart.
4) From the edge, look at your actual stitches, are they all the same size across the edge? If not, work on this too, as you build your skill at stitching, they should all be the same size ( I have not achieved this yet, but I am getting close!). - Now finish the remaining rounds, when you are one or two round from finishing, again stop and check your work to make sure you can end with no gaps between the first and last stitch.


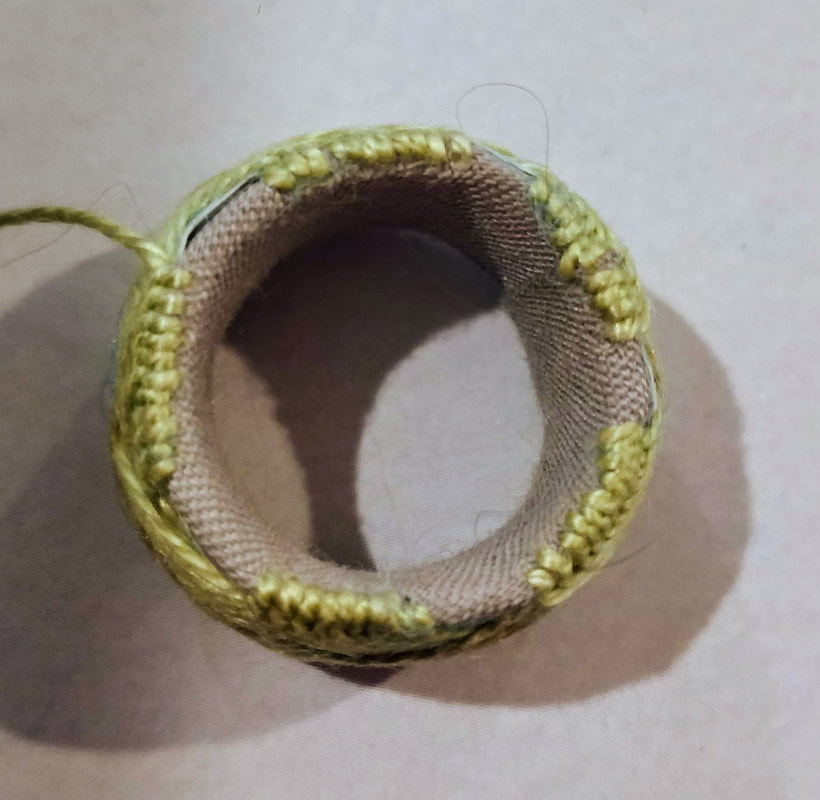
- On the very last round, when you get back to the starting point, take the last stitch and bury the thread in the core, under all your stitches and come up between two of the diagonal threads
- Leaving the thread in the needle, cut the thread so you can bury the thread again, but this time pull the needle such that the thread is under the stitching.
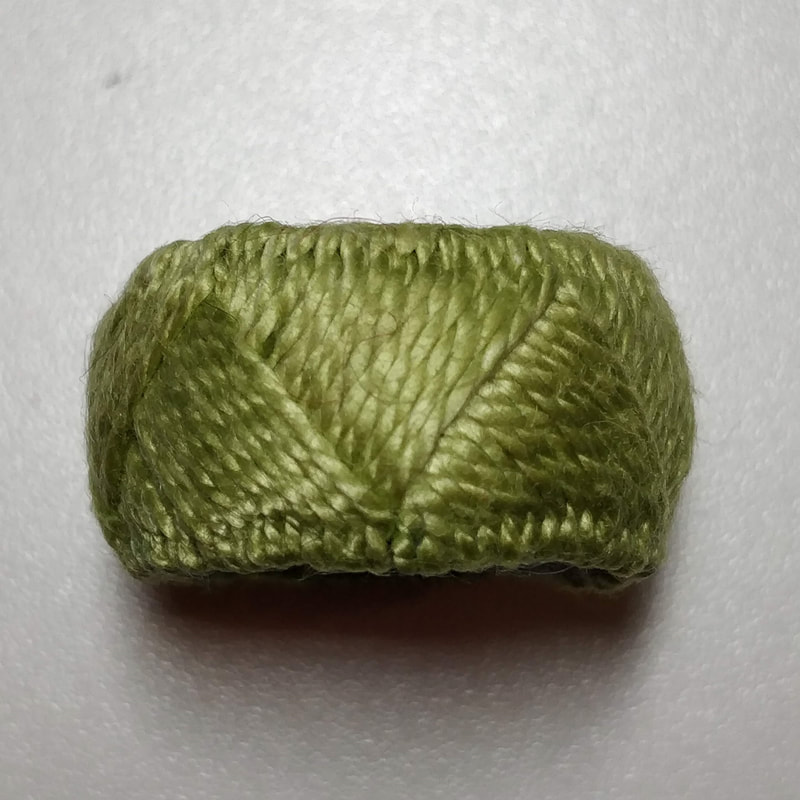
- Congratulations! You have sewn your first yubinuki!!!
- NOTE: I can't tell you how many rounds you will have to do as each of us have different sized fingers and yubinuki. Additionally, different patterns will have different divisions and different sized threads will impact that number too. If you plan on making this simple pattern again, with this size thread, write the number of rounds down so you know what it will take.
 RSS Feed
