The tutorials so far have taught the basics: making a core, a division tool, how to prepare the core for sewing, and then sewing your first yubinuki with a single color, single needle, and a pattern with an even number of divisions.
This second sewing tutorial will be a single color, single needle pattern with an odd number of divisions. This is important because the number of divisions from the previous tutorial was an even number and this results in when taking the first stitch of the second round, the needle was back at the starting point. For this tutorial, the first stitch of the second round will be on same division line as the very first stitch but on the opposite edge of the yubuinuki; this means it will take TWO rounds to return to the starting point. All of this is important because it results in the threads being interlaced.
Let's get started!
Gather you material, supplies and tools:
- Core with padding or not (depending on if you add your pattern on top of or below the padding)
- Perle Cotton Size 5 - one color but not a dark color, as this will make seeing the stitches difficult
- Patter Division Tool
- Support Mandrel
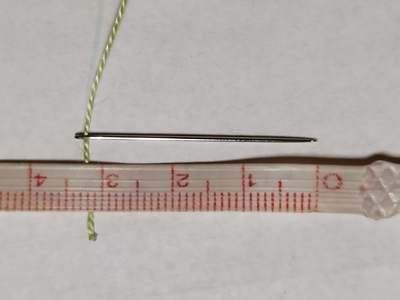
- Needle with an eye large enough for your thread
- Threader (optional)
- Scissors
- Refer to Step 2 in the post Tutorial 3 to determine the length of your pattern paper.
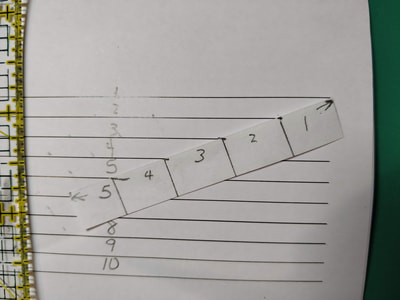
- Lay the pattern paper on the pattern tool and position the points so you have an ODD number of divisions. The picture below show 5, you should aim for 9 or 11.
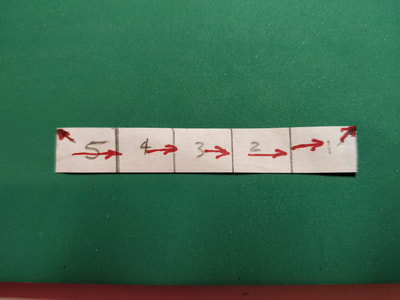
- Mark the divisions on the paper.
- Draw your direction arrows.
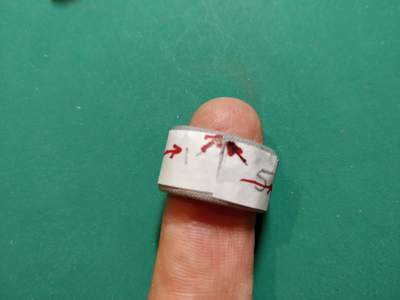
- Apply the pattern to the core.
- If required, add your padding, you may have laid it UNDER the pattern.
- Take the size 5 perle cotton and thread the needle
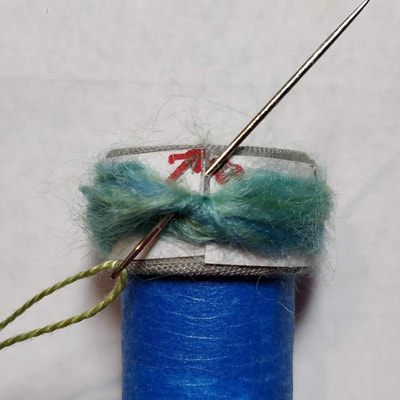
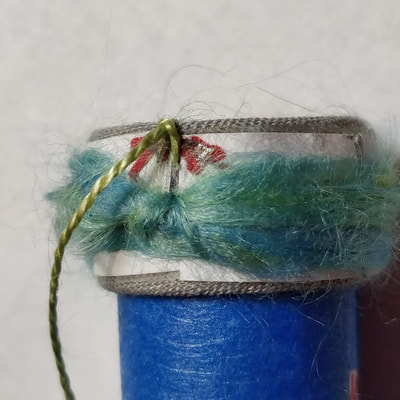
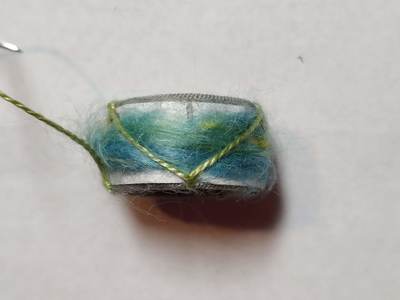
- Insert the needle into the core and make the starting stitch which will anchor the thread.
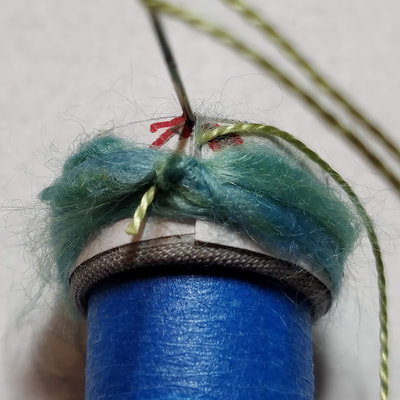
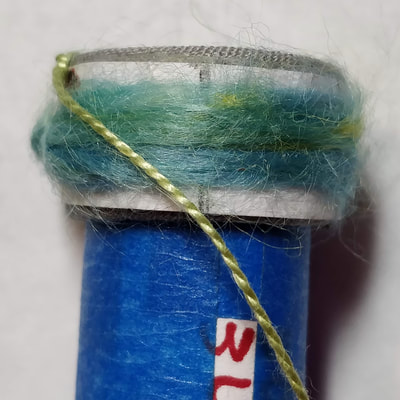
- Lay the thread across the core to the next division, on the bottom edge.
- Rotate the core so the bottom edge is now the top, and make the second stitch.
- Continue stitching around the core until you reach the starting division, but on the bottom edge.
- Again, rotate the core and take the last stitch, on the top edge,
- You have now completed the first half of ONE round in the pattern
- Sew the first stitch, of the second half, at the starting division mark which is now the top edge.
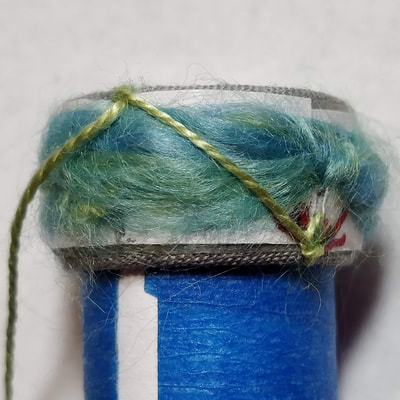
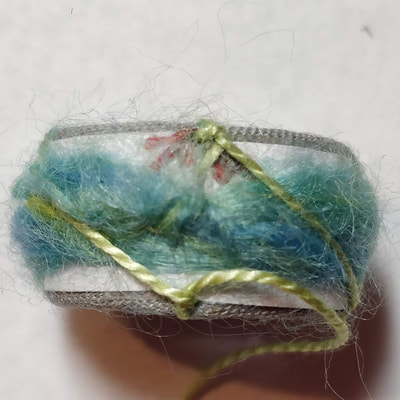
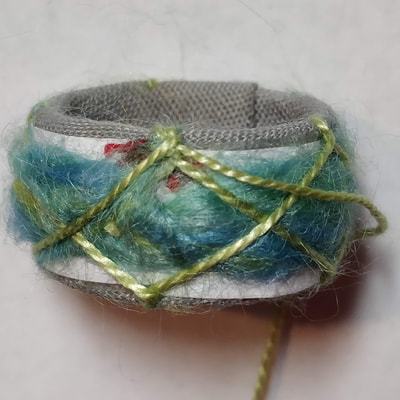
- Lay the thread to the next division on the bottom. Lay the loose thread over the sew thread so they cross in the middle of the core, flip the core and sew the stitch
- Lay the thread across the core to the next division, overlaying the thread on the existing stitch, on the bottom edge.
- Continue stitching around the core until you reach the starting division, but on the bottom edge.
- Again, rotate the core and take the last stitch, on the top edge,
- NOTE: Make sure that the threads keep a consistent cross angle around the core, as you sew
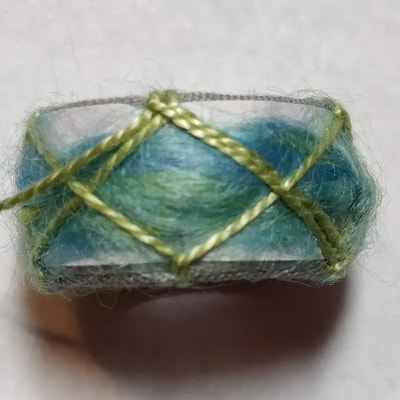
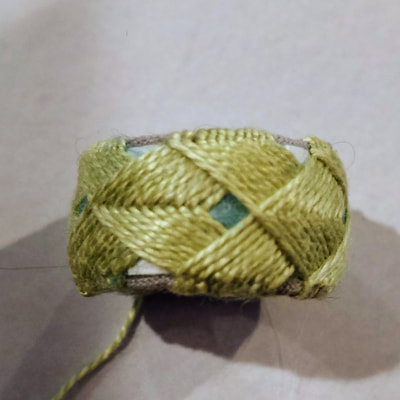
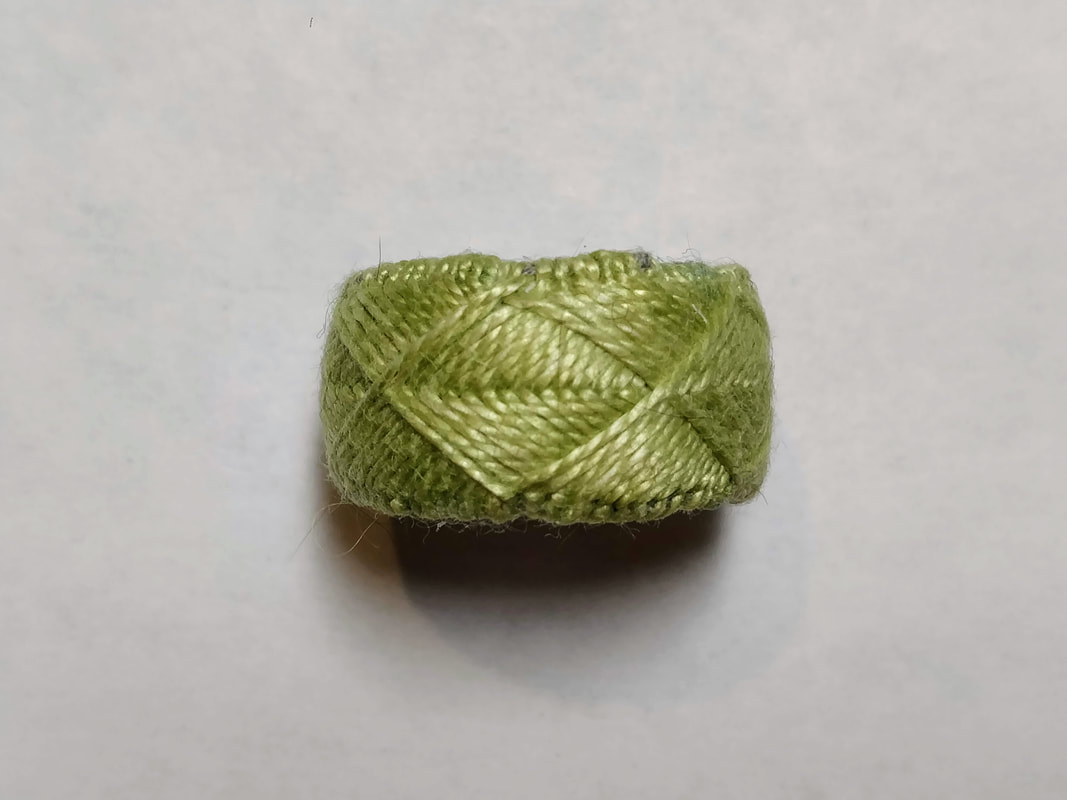
- You have now completed round one of the pattern
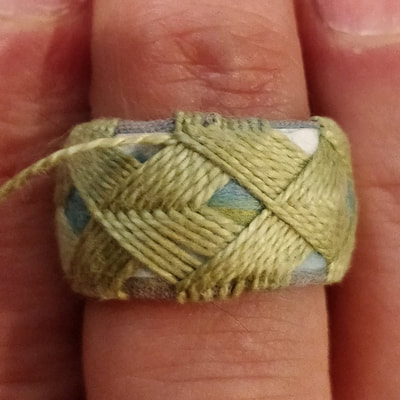
- Sew the remaining rounds.
- Keep checking your stitch spacing so you end up with the same number of stitches per division.
- With every stitch, make sure your interlaced (crosses) are in the center of the core.
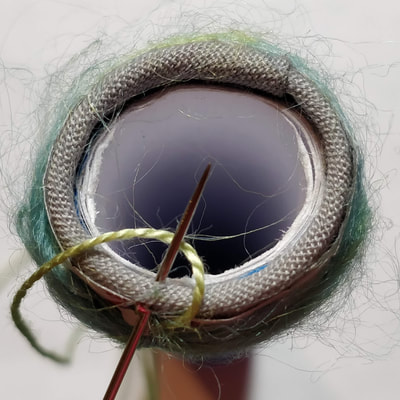
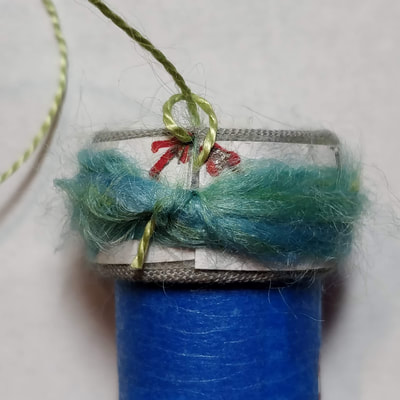
- On your last stitch, bury the thread in the core, under the stitching. Then cut the thread and bury the end.

 RSS Feed
