Monday (Day 3):
As part of learning to make boxes and boxes hinges, one eventually get to the point where you have to put a hinge on a box so obviously you have to make a box first which can be scaring because you want a good box, so will it will be a good one and then once you have made said box, and you put a hinge on it; well will the hinge work and if it does not can it all be saved? This is how I spent Sunday evening while watching the T.V. and while trying to fall asleep.
If you have been reading the other box project posts, you will be aware that I have been adding to the seam count with each subsequent box: #1 a round box with one seam; #2 an almond/eye shaped box with two seams; #3 a triangular box with 3 seams and then for #4 a square box with 4 seams. So what should I do for box #5? Ah, I cheated and decided to make a half circle box that had 2 side seams.
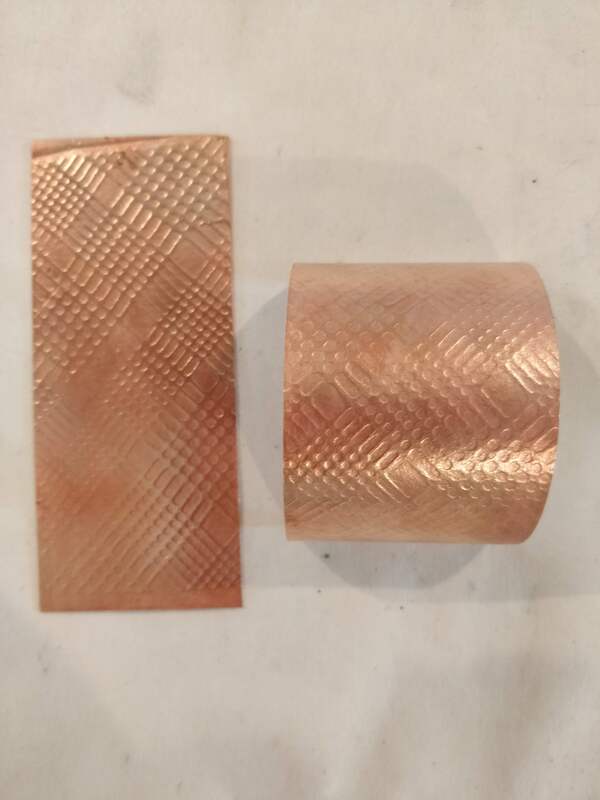
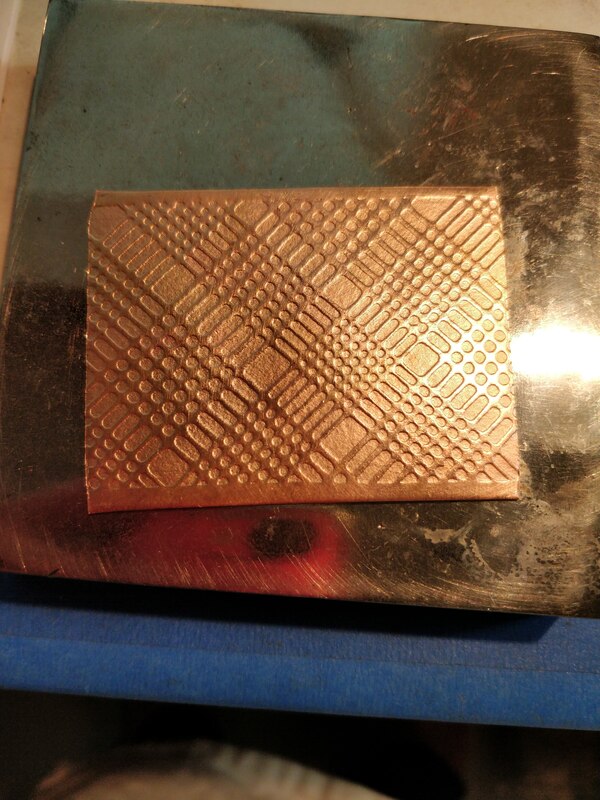
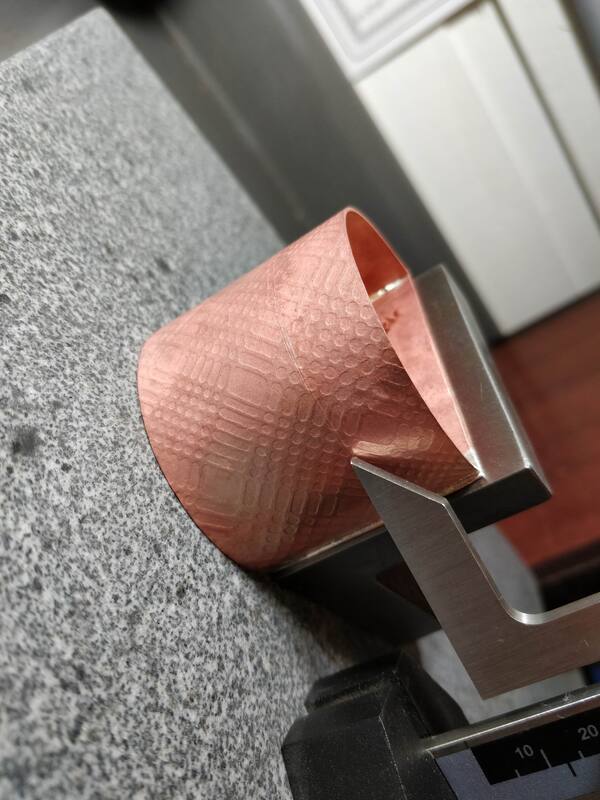
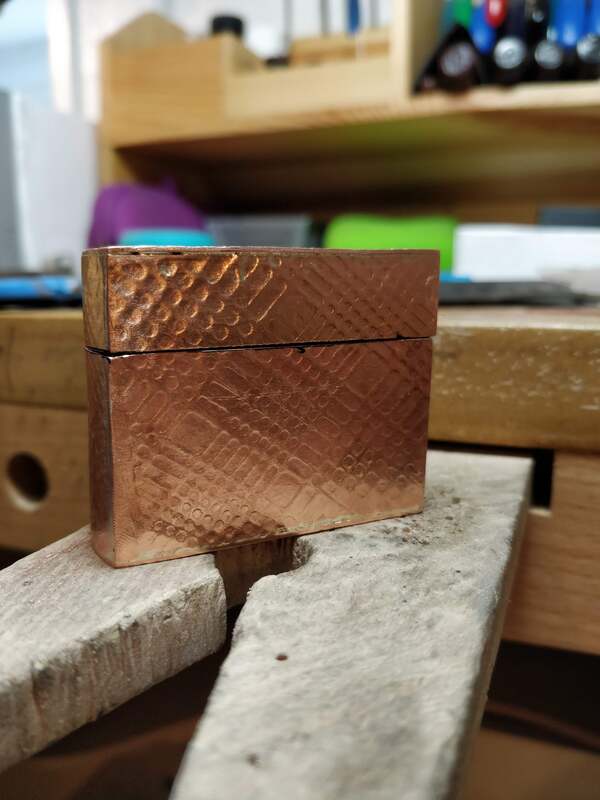
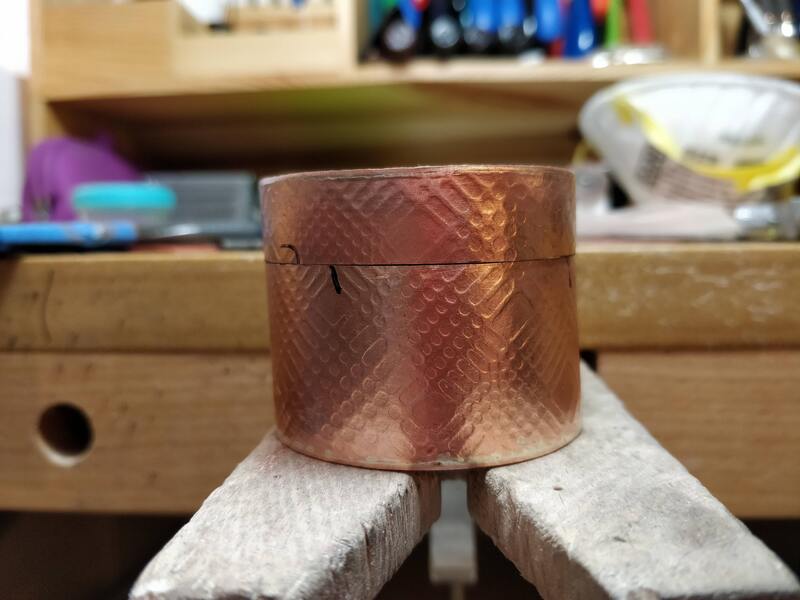
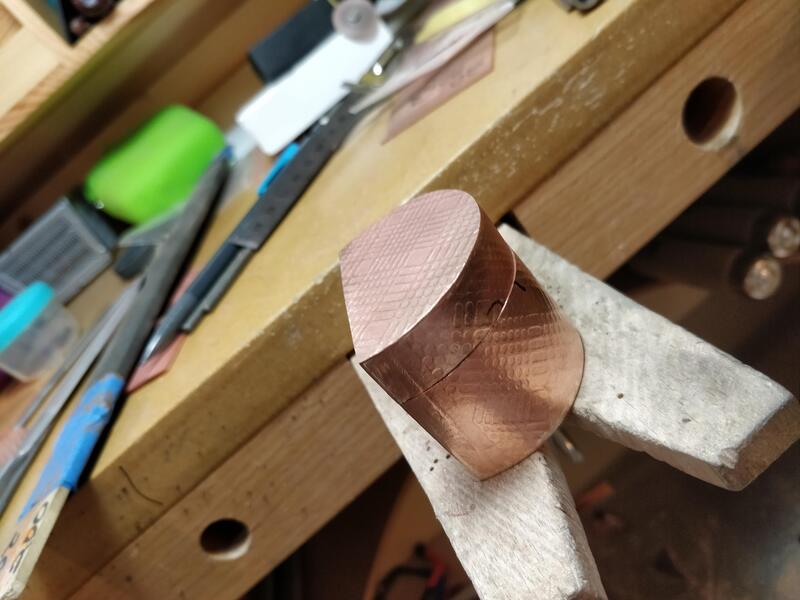
I looked at what 20g copper I had and decided that the box would be about 1" tall and about 2" long on the straight side and the front would be round with a radius of about 1" (if the flat back is 2" wide, that is the diameter). I went through my rolling mill textures and selected one which I would use for the walls and the lid.
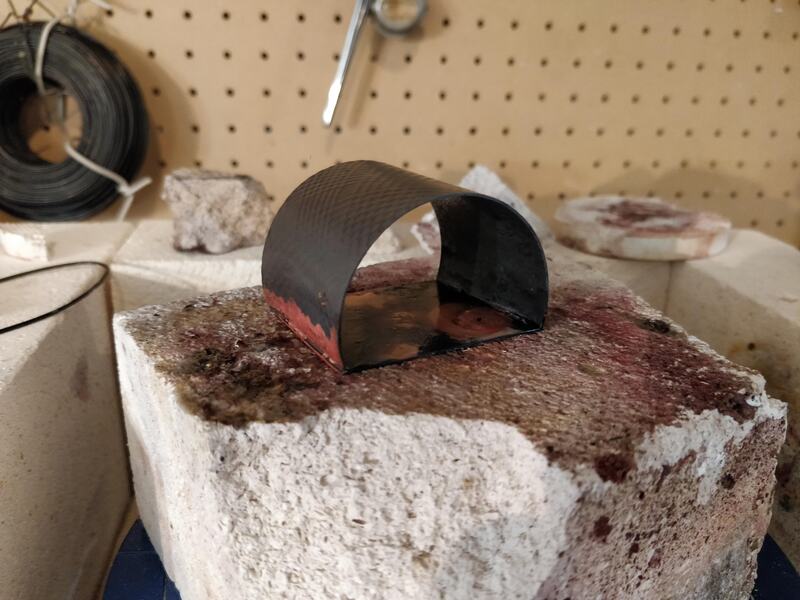
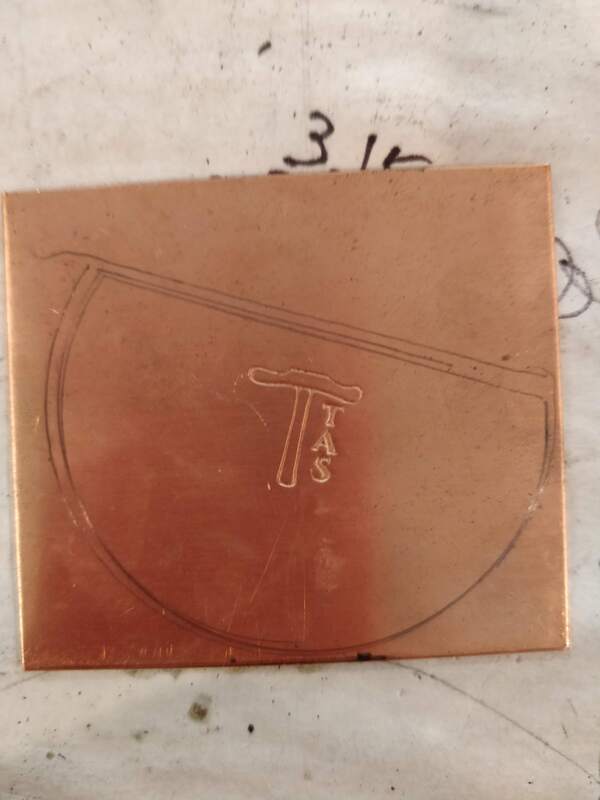
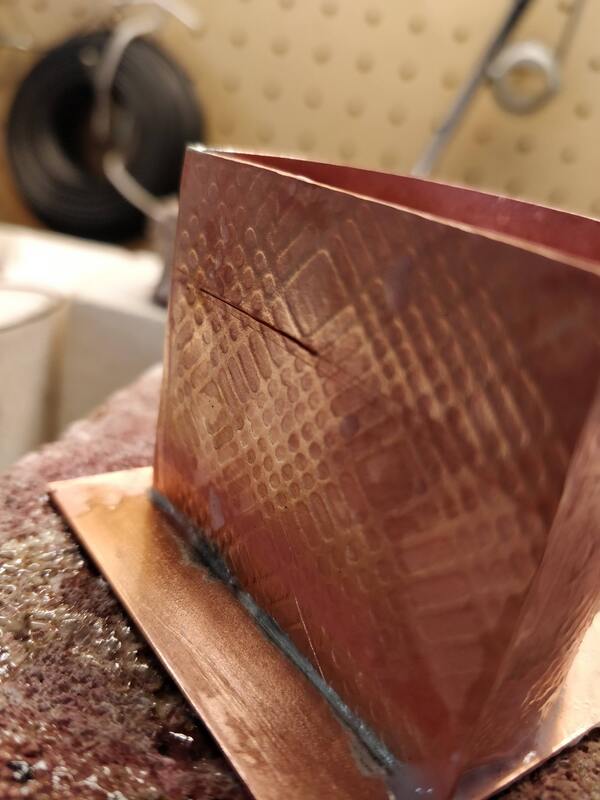
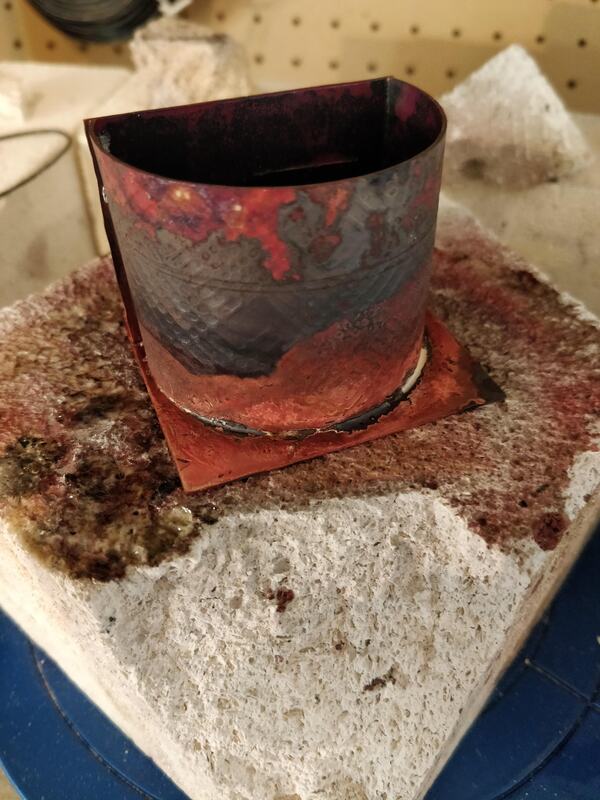
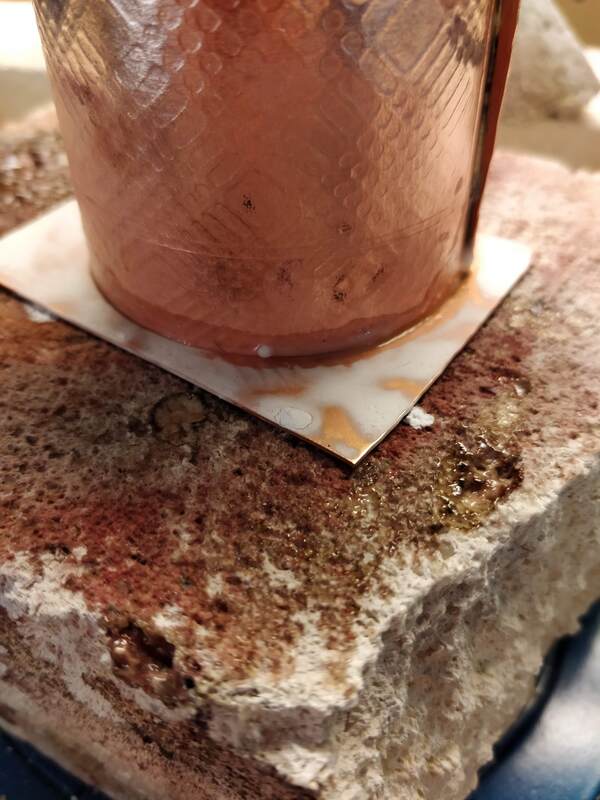
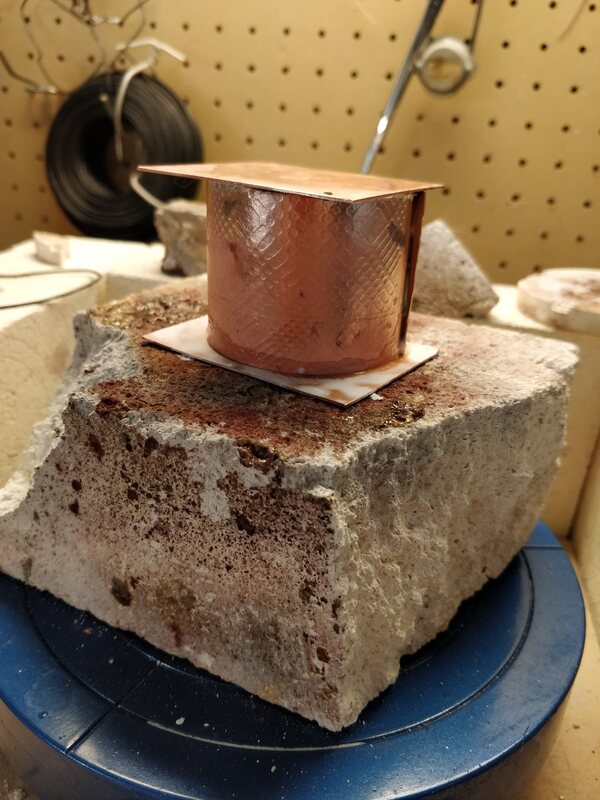
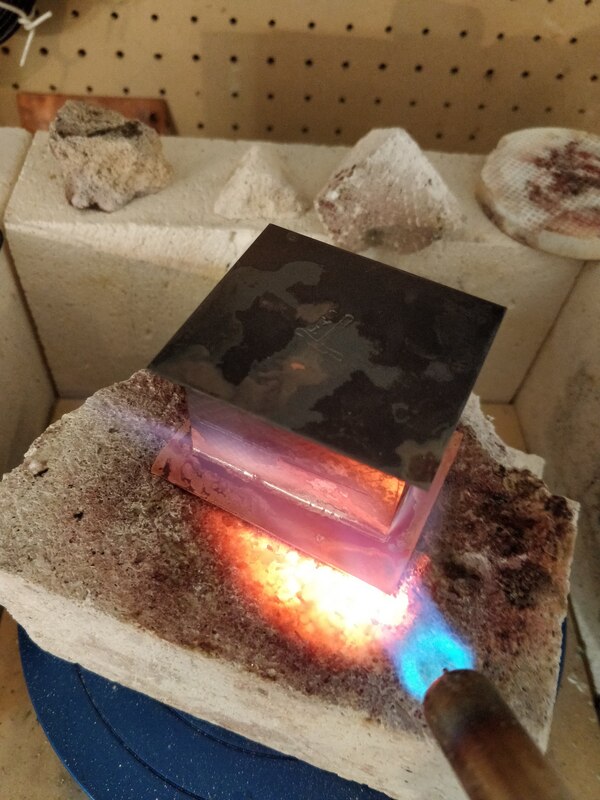
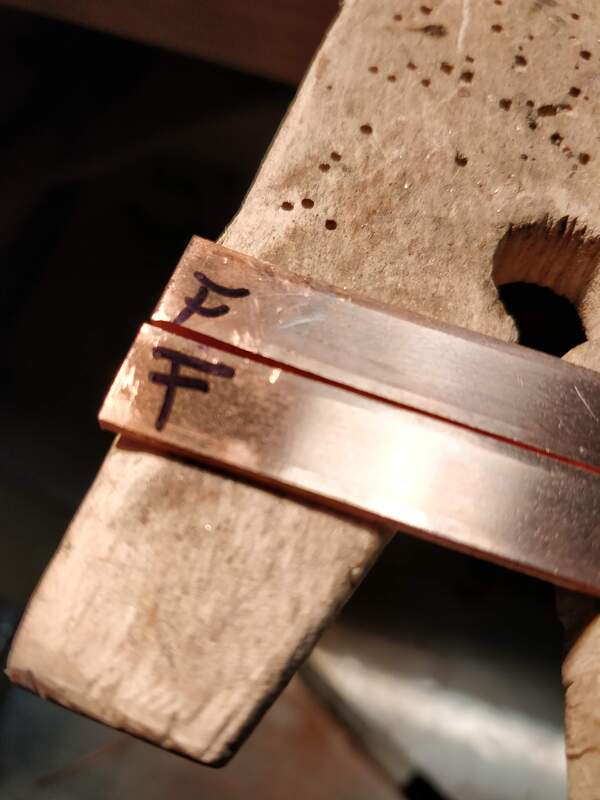
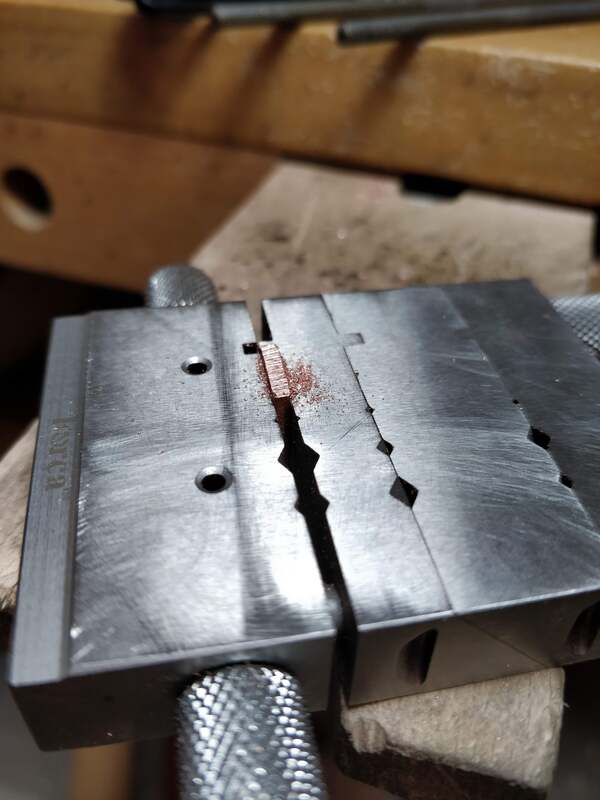
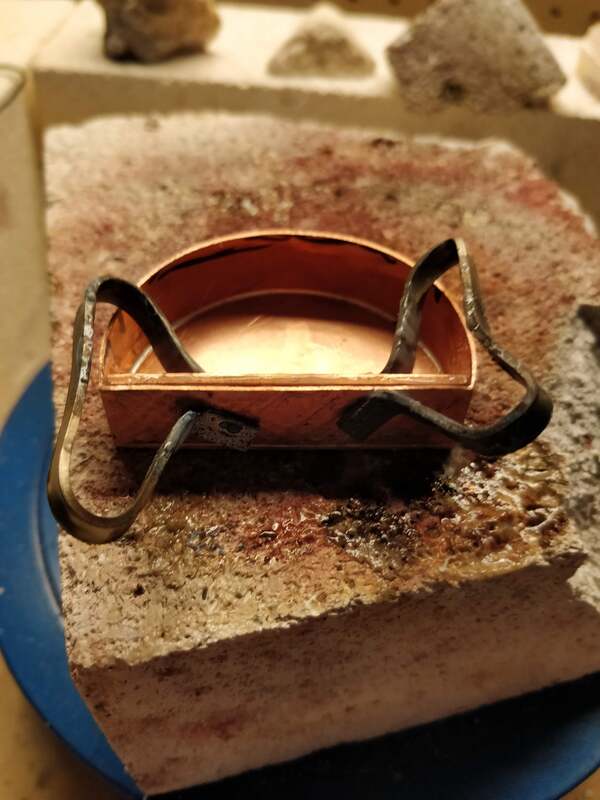
Using my round stepped bracelet mandrel, I formed the half round and then filed the ends flat and using hard solder, attached the front to the back wall. I then stamped my maker's mark on the bottom plate and textured the top plate. I then scribed where I would cut the lid from the bottom and using a separating disk, cut an air slot for when I solder the top and the bottom on. I write inside bottom and inside top on each piece so I don't put them on the wrong end or on "inside out". Everything was fluxed and using medium solder, I attached the top and the bottom.
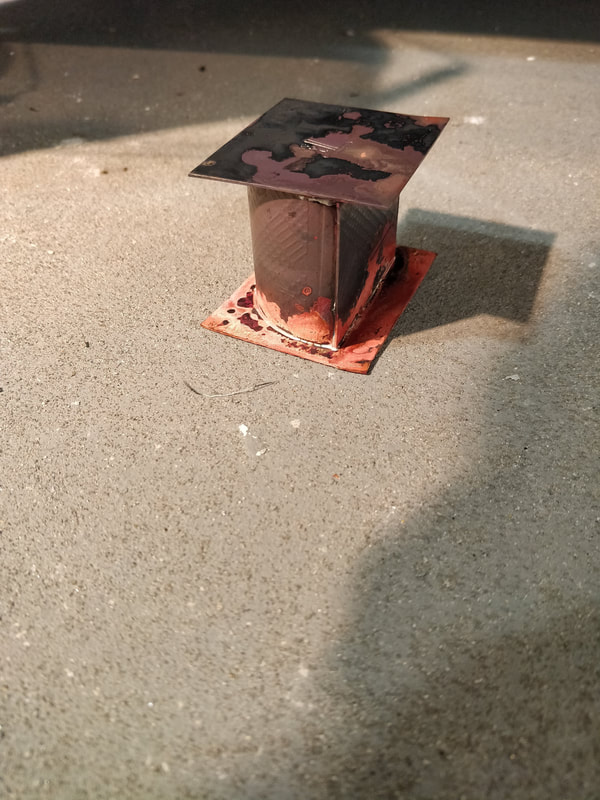
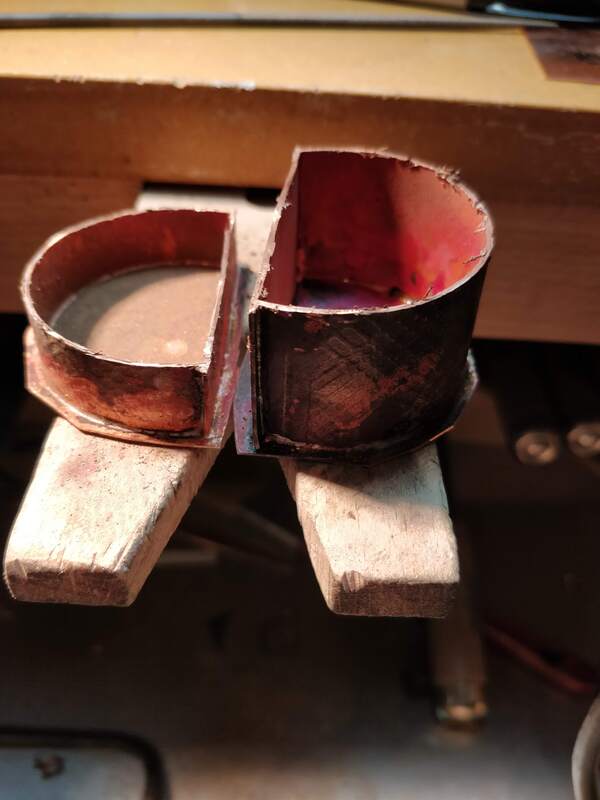
I put the whole assembly on the concrete floor to cool as quenching it can cause it to warp. I also don't put it in the pickle at this point as the that air hole is too small for pickle to get in or out of easily so now is when I cut the box apart and then pickle it.
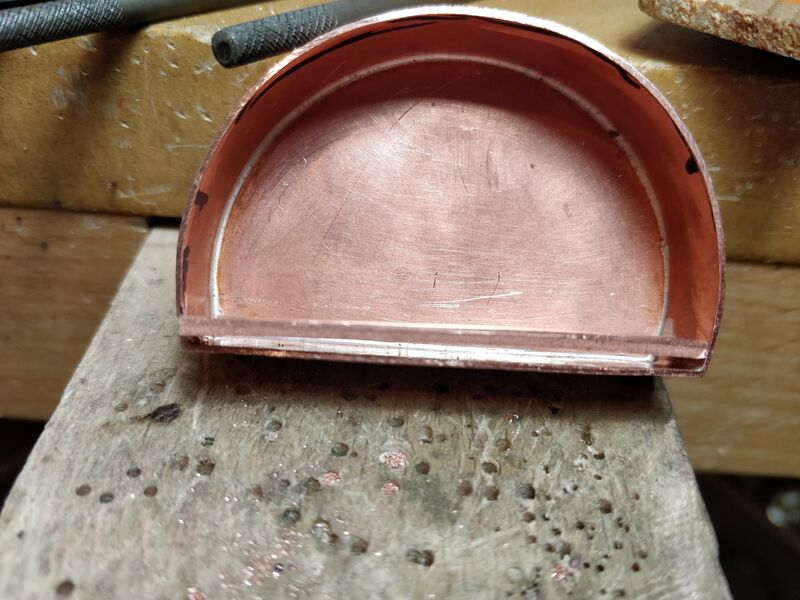
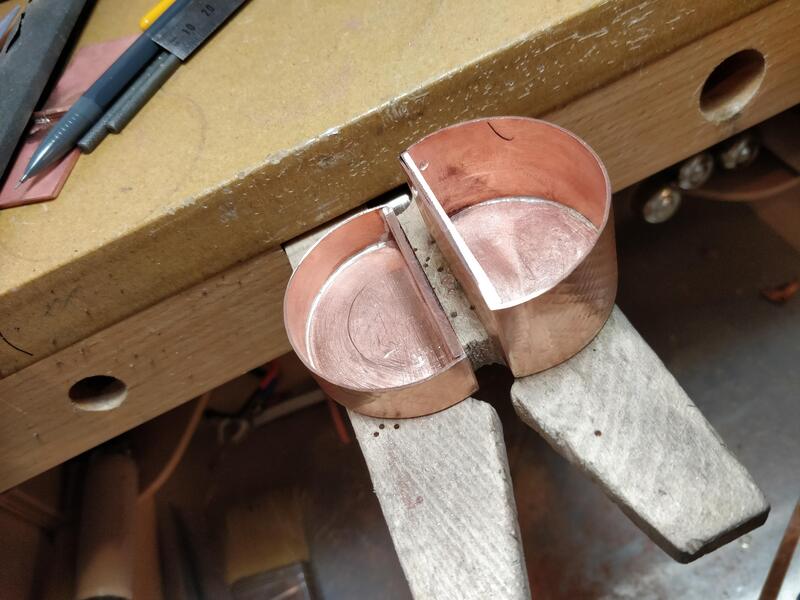
After pickling it is time to trim all the extra copper off the top and bottom and to even up the making surfaces where the lid is cut from the body. This takes time as you want it all even with no gaps. After that I made bearing plates to fit inside the box. The are soldered to the back wall so there is extra material to support the hinge.
The box is done and now comes the scary part of making and soldering on the hinge. That's going to be the next post.

 RSS Feed
