Follow Me On:
The Adventurous Silversmith
  • Home
  • Blog
  • Portfolio
    • Metal Work >
      • Chasing & Repousse
      • Holloware
      • Jewelry
      • Other Wonderful Items
    • Fiber Arts >
      • Temari
      • Yubinuki
  • Resources
    • Library
    • Tools & Equipment
    • Links
  • About
    • Artist Statement
    • Curriculum Vitae
    • How it is Made
    • Contact

Moleskine Cover - Another Try

8/4/2019

0 Comments

 
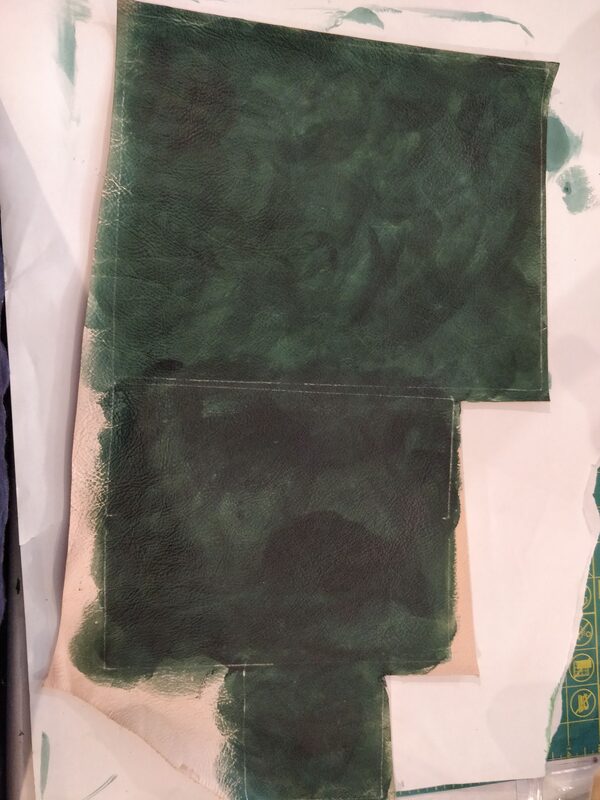
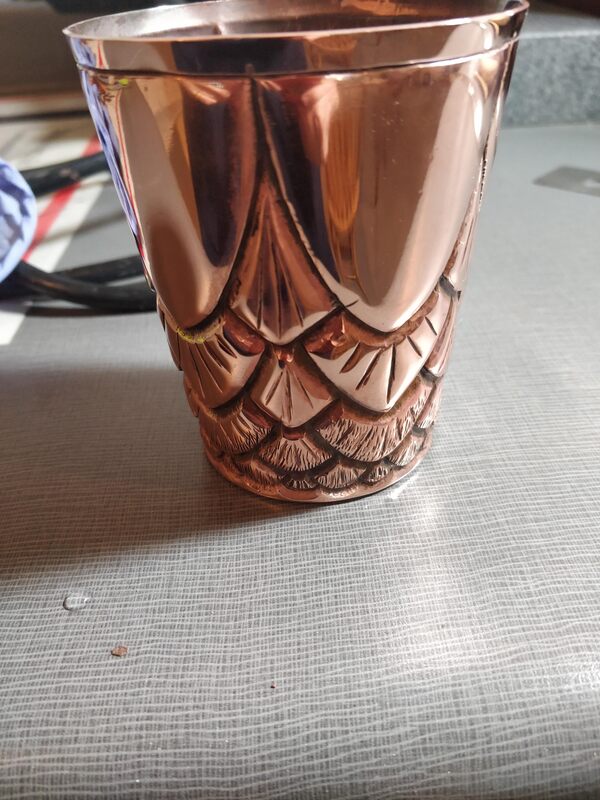
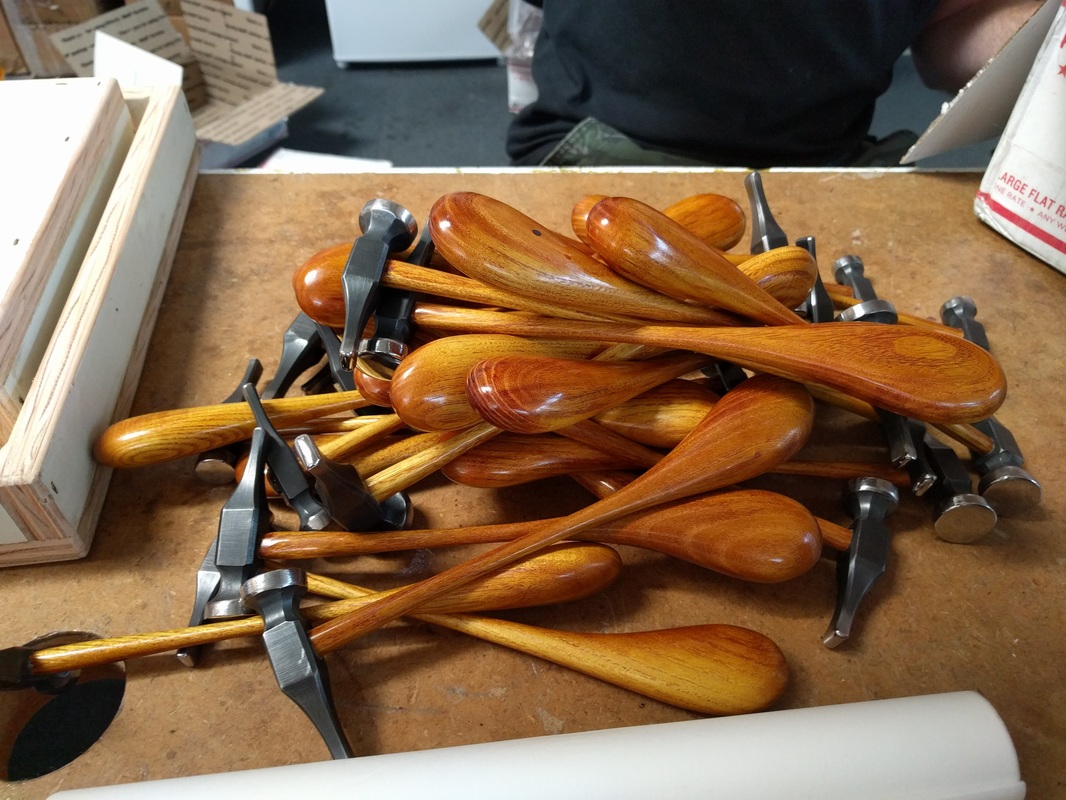
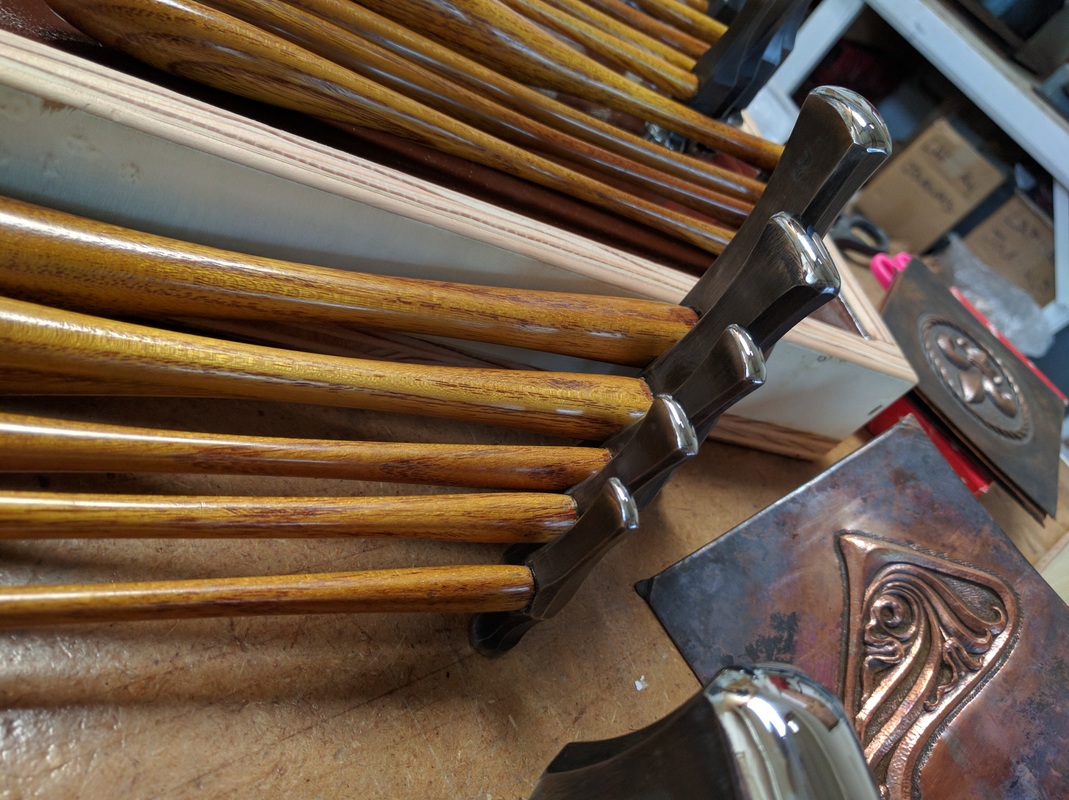
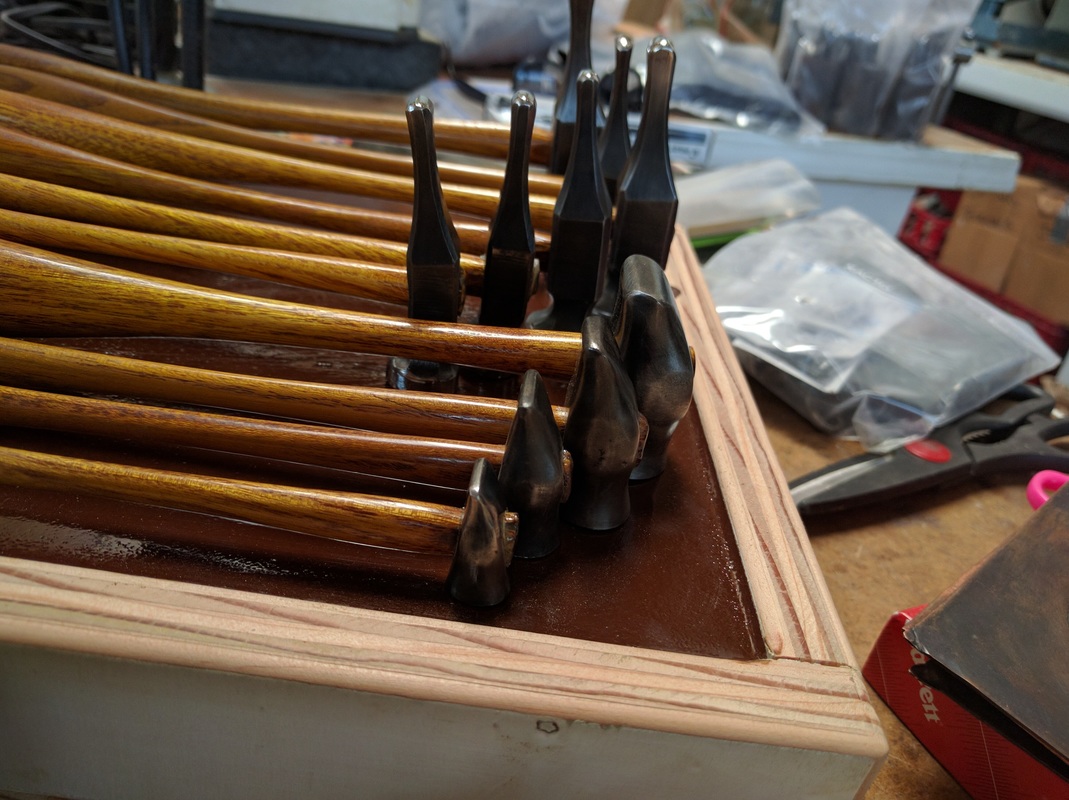
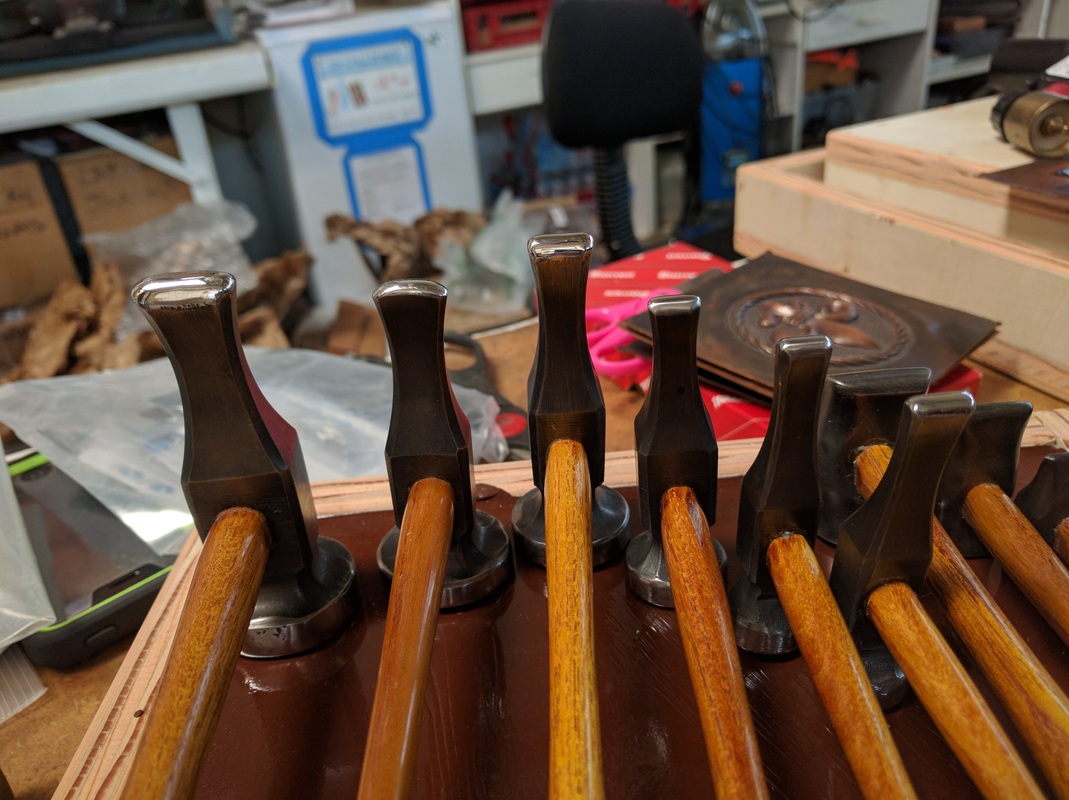
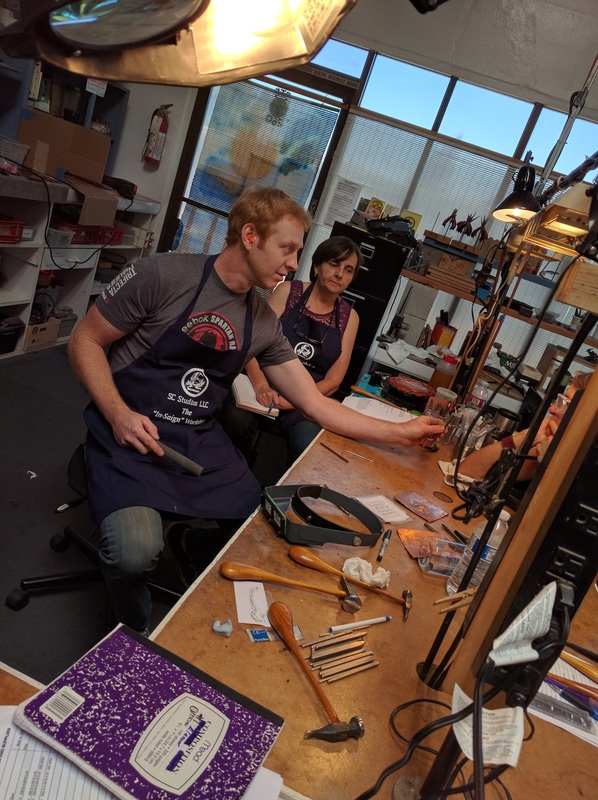
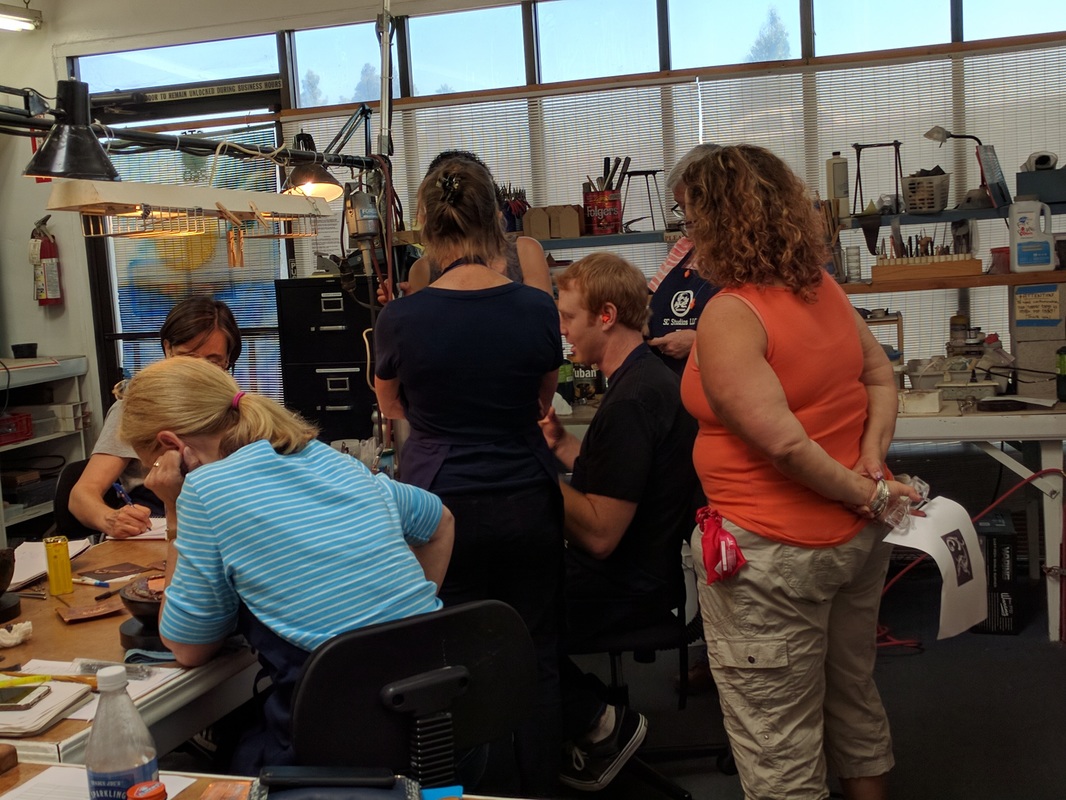
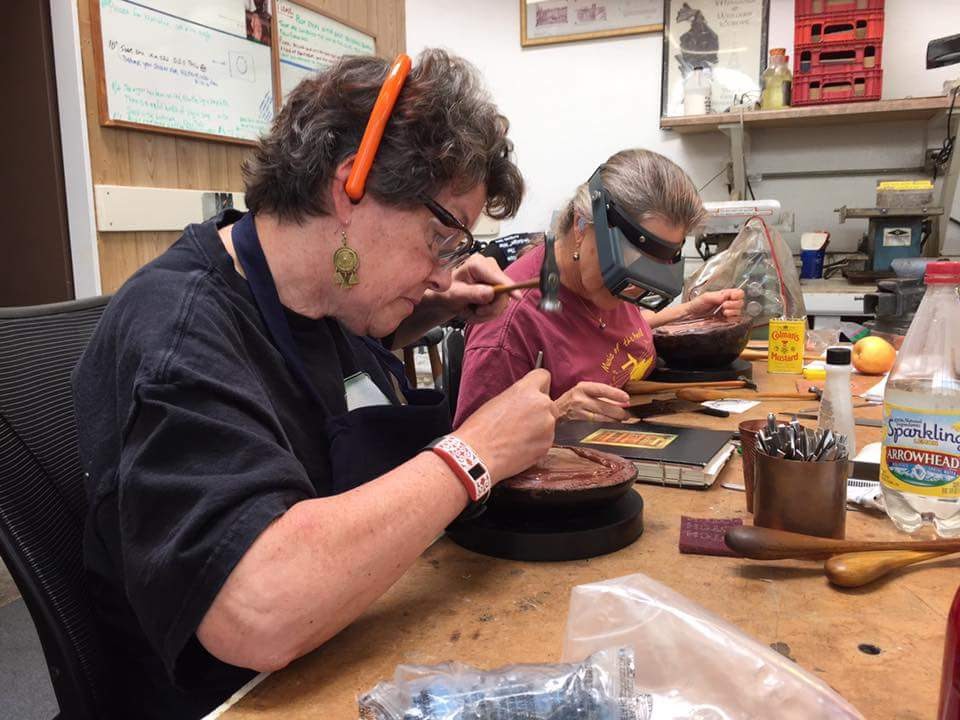
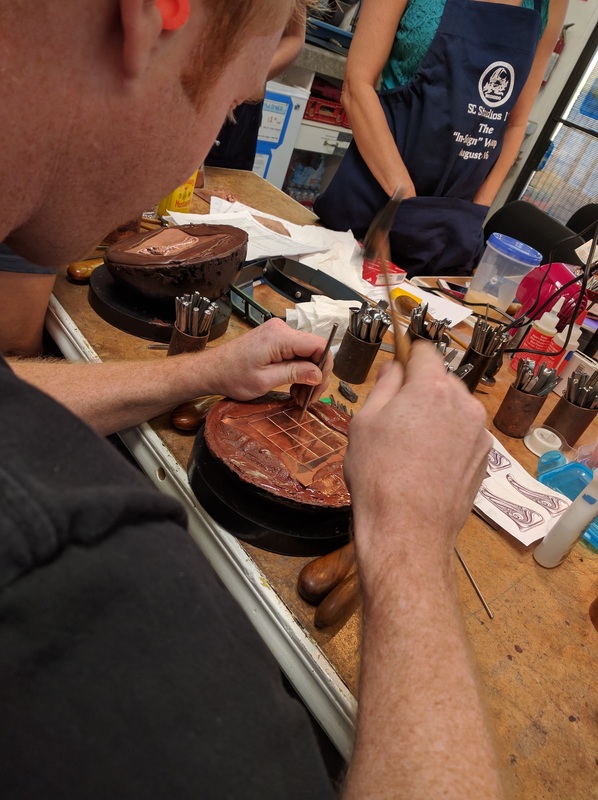
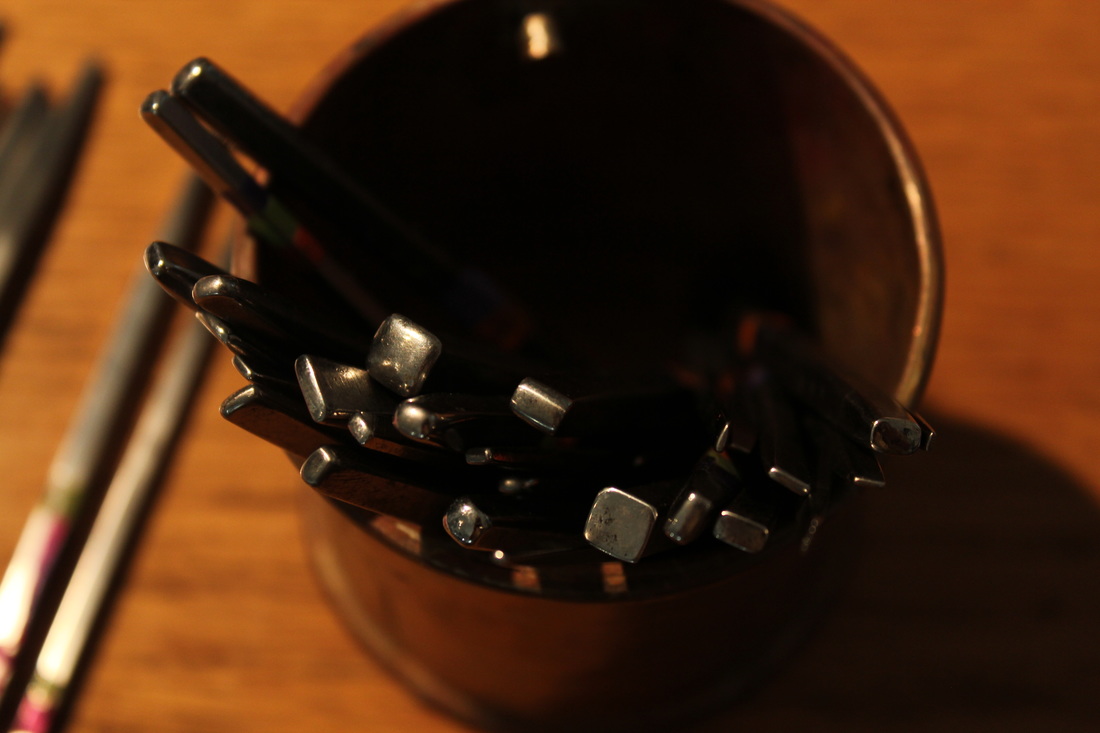
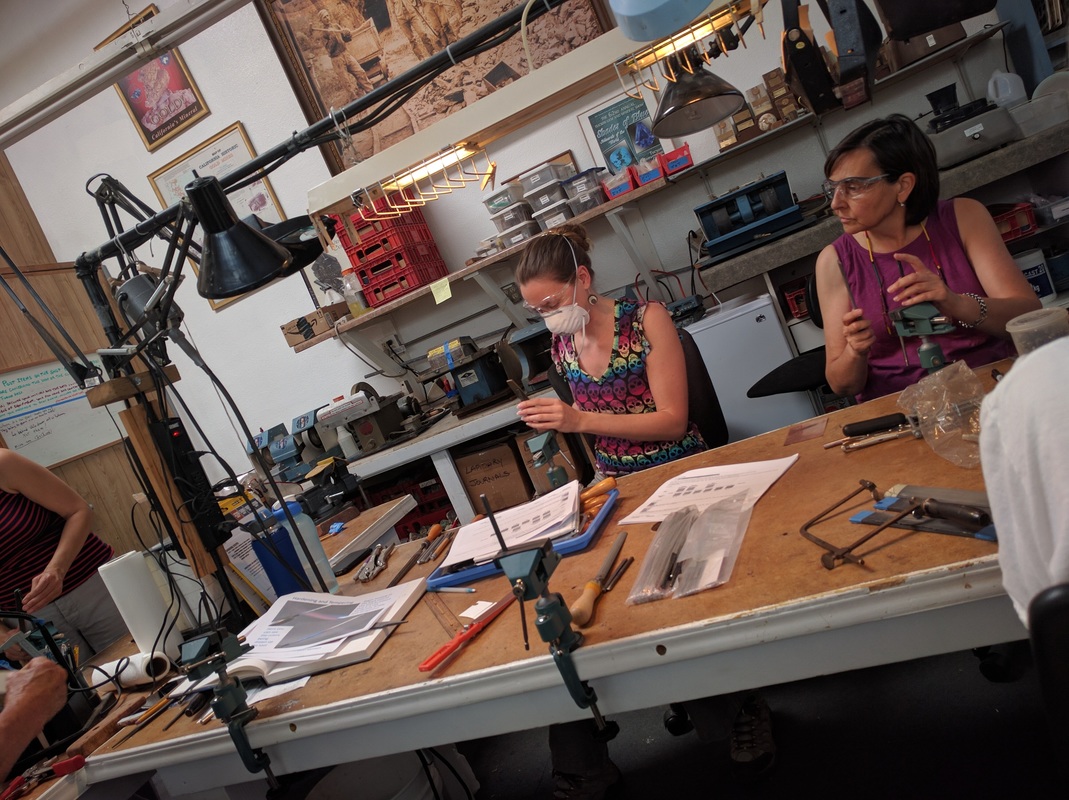
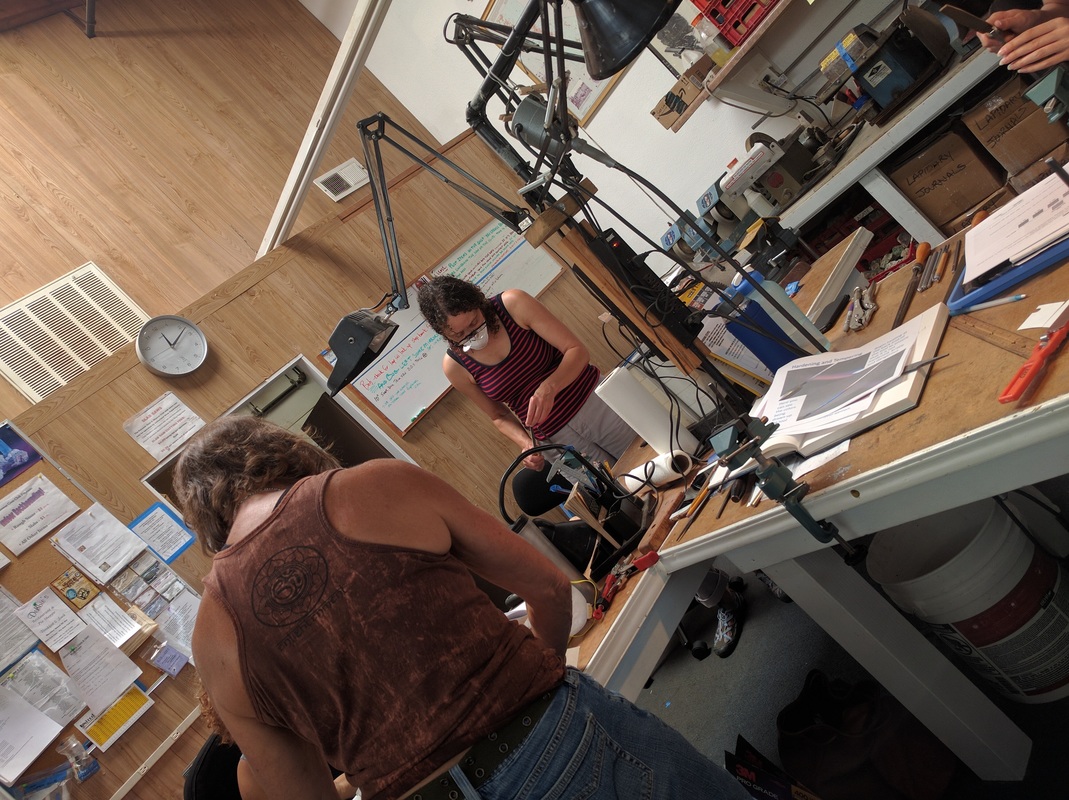
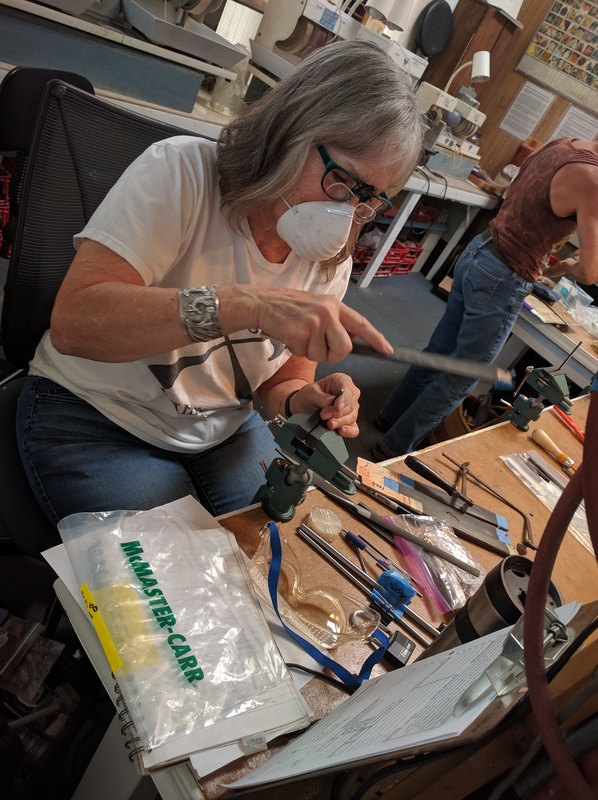
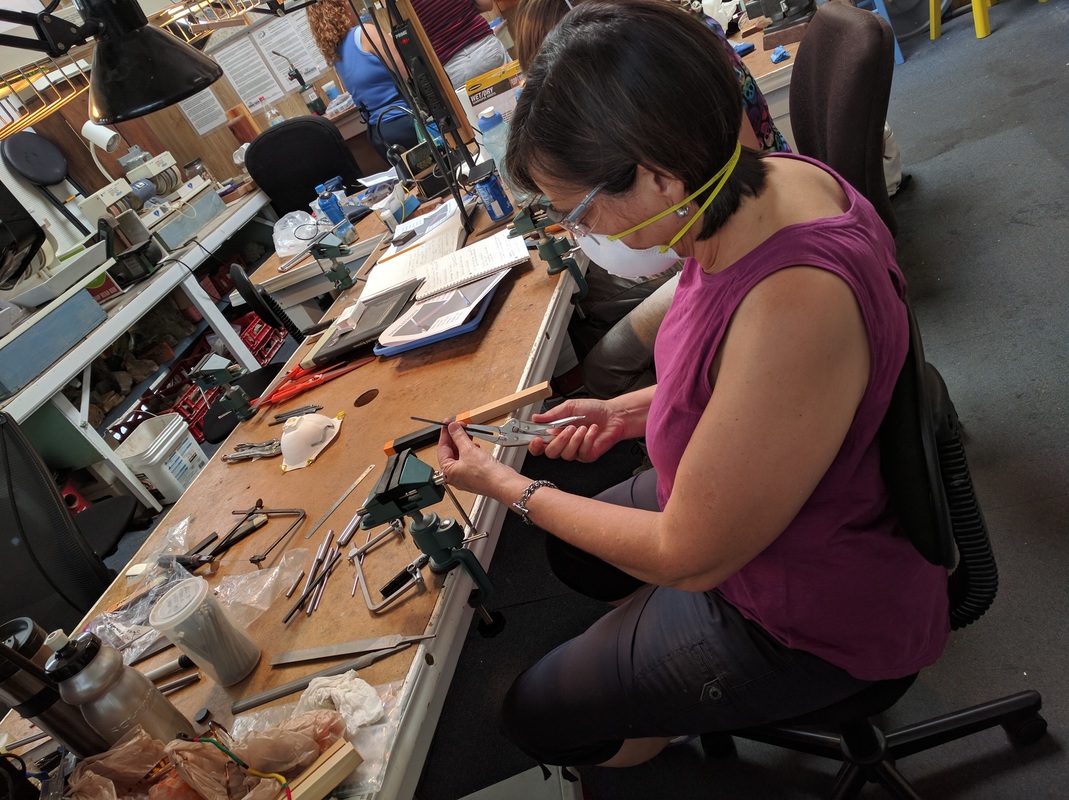
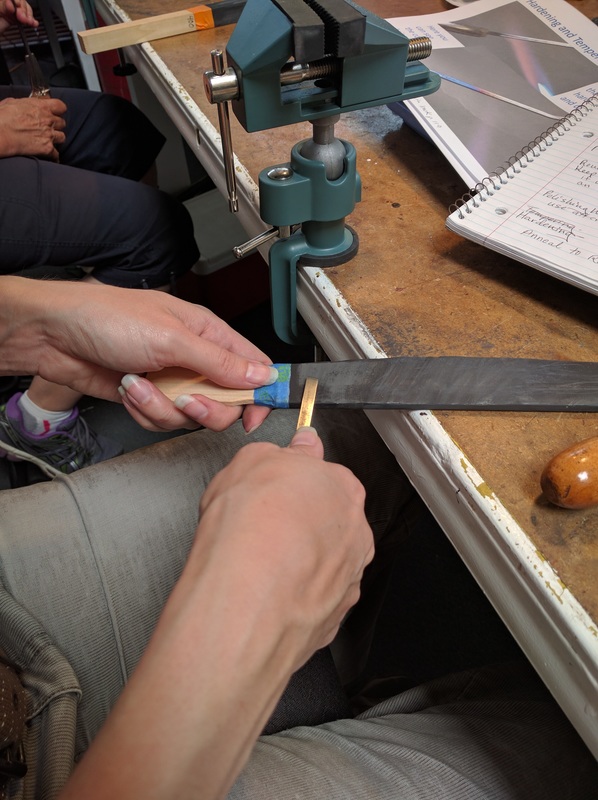
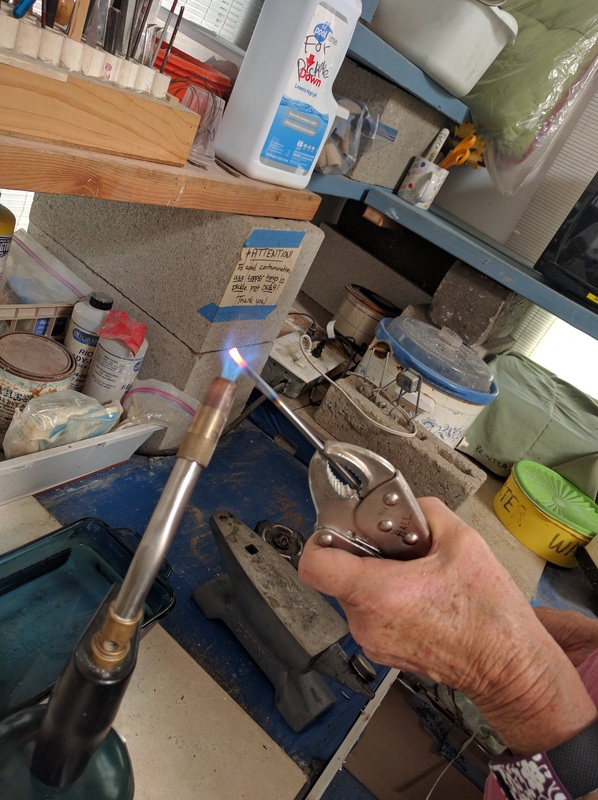
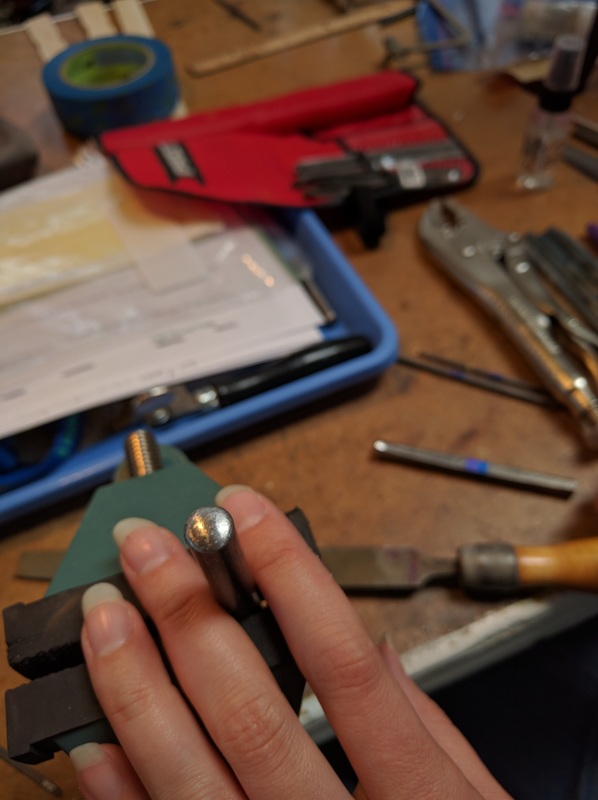
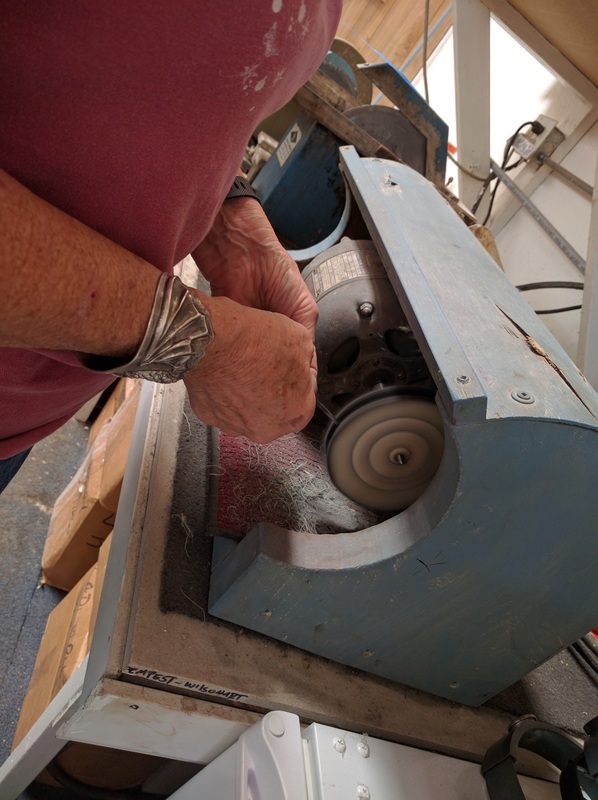
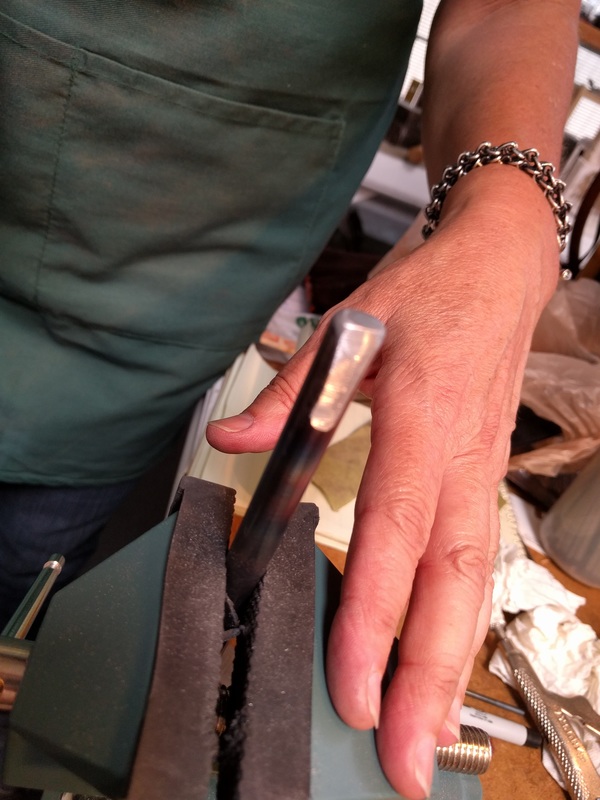
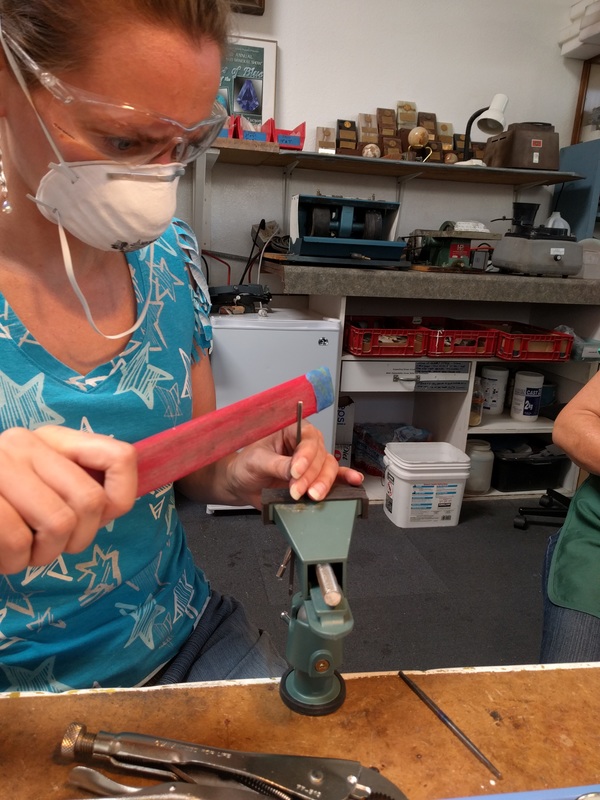
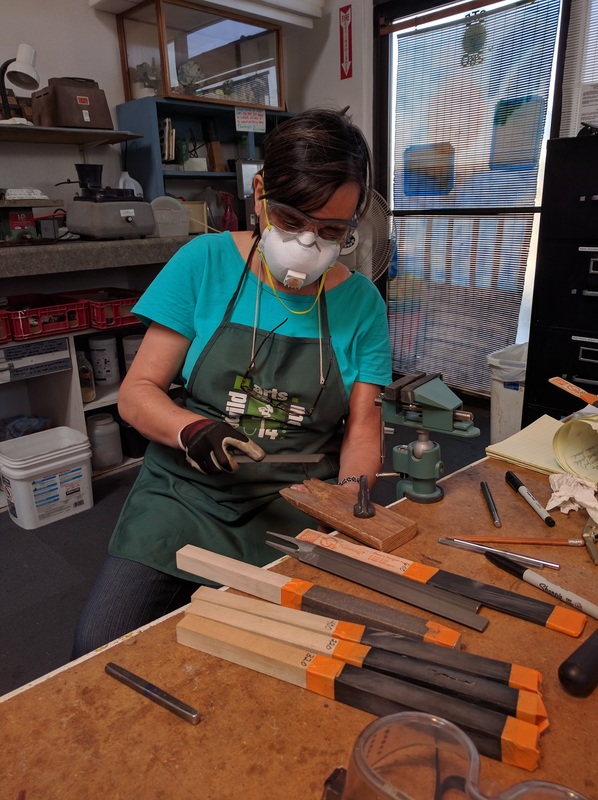
For the past 4 weekends, I have been at the Austin and San Antonio Tandy Leather stores upping my skills in leather working.  I have learned how to use a swivel knife and how to tool; hand stitching, and dying and finishing. 

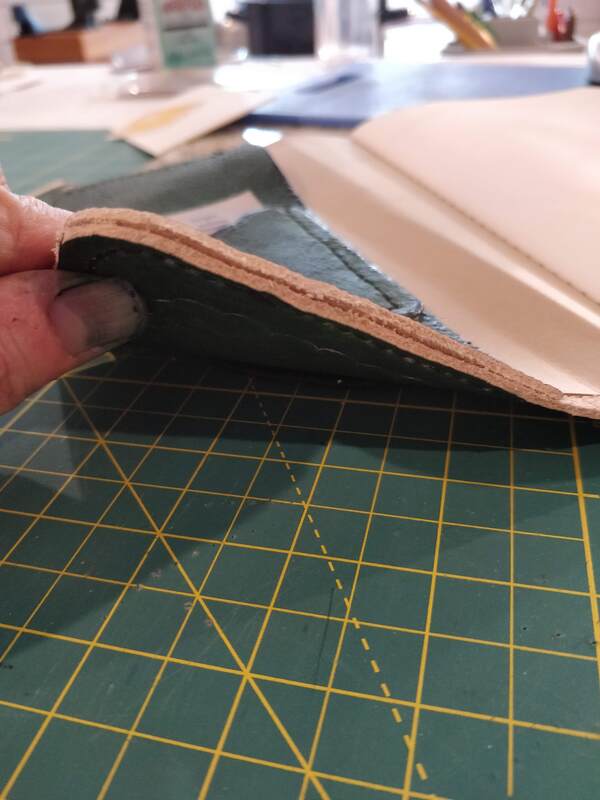
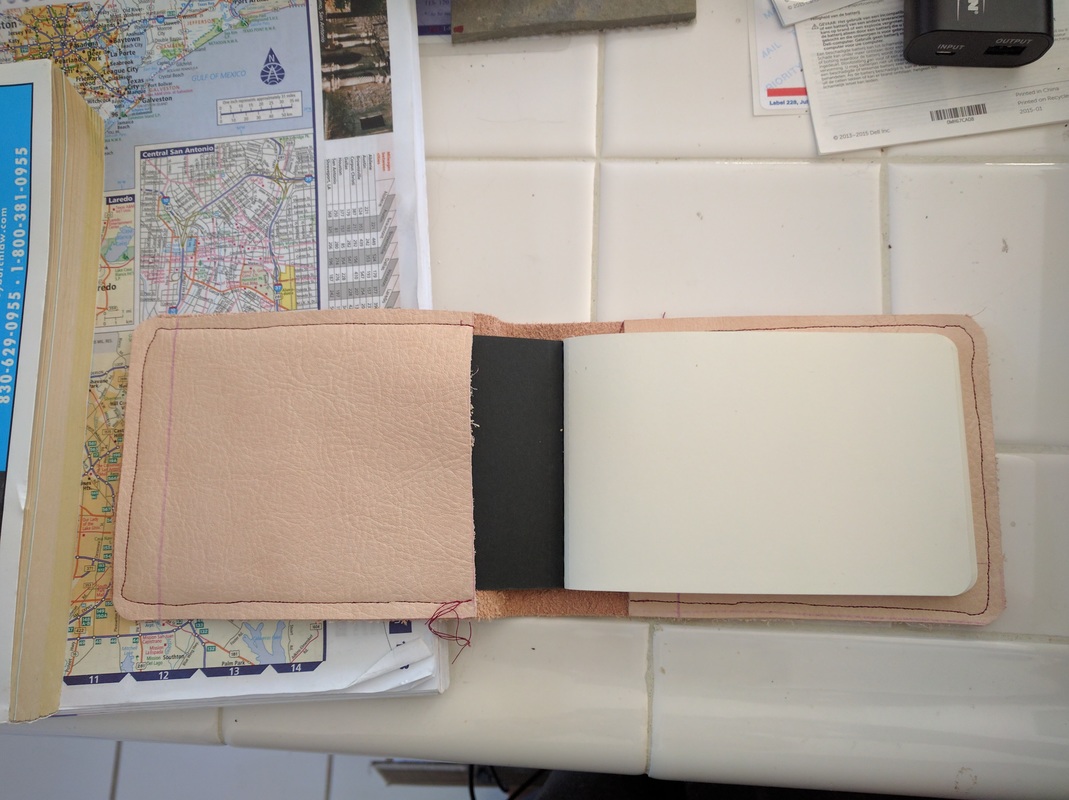
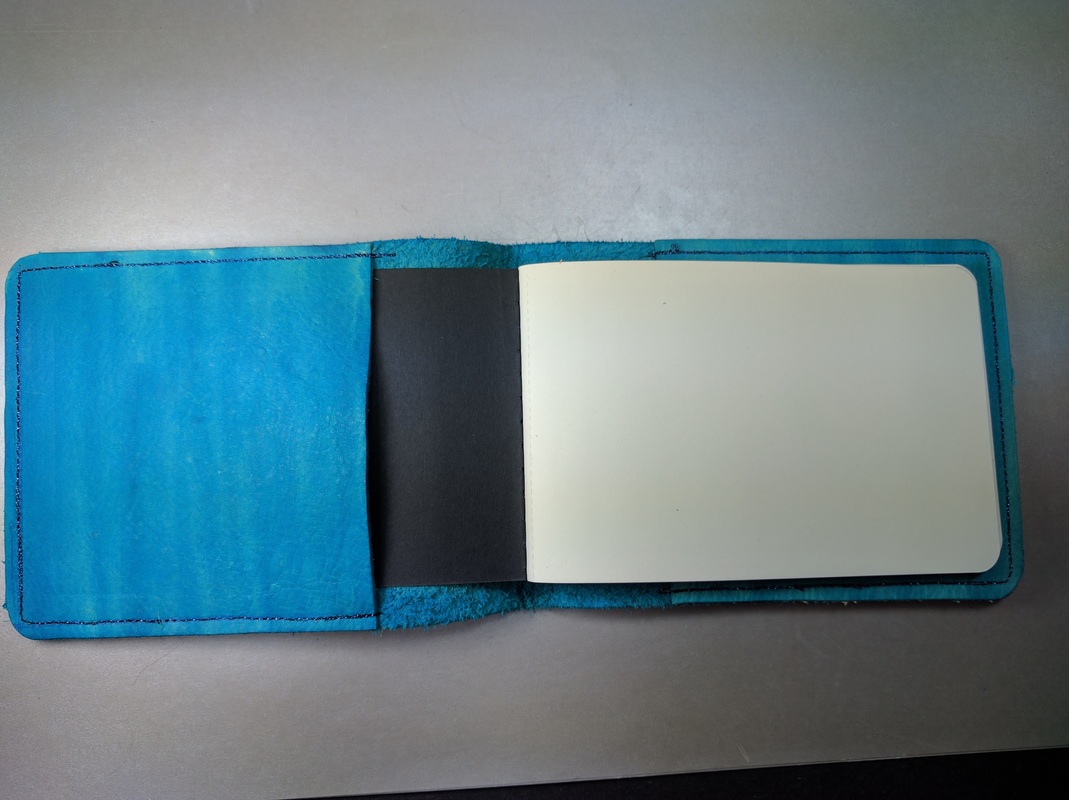
Last weekend, I tried to make another cover, this time for a 8 1/2" by 5" notebook (see here for my small book covers and adventures in leather) and let's just say it was a bit of a failure, so moving on... 

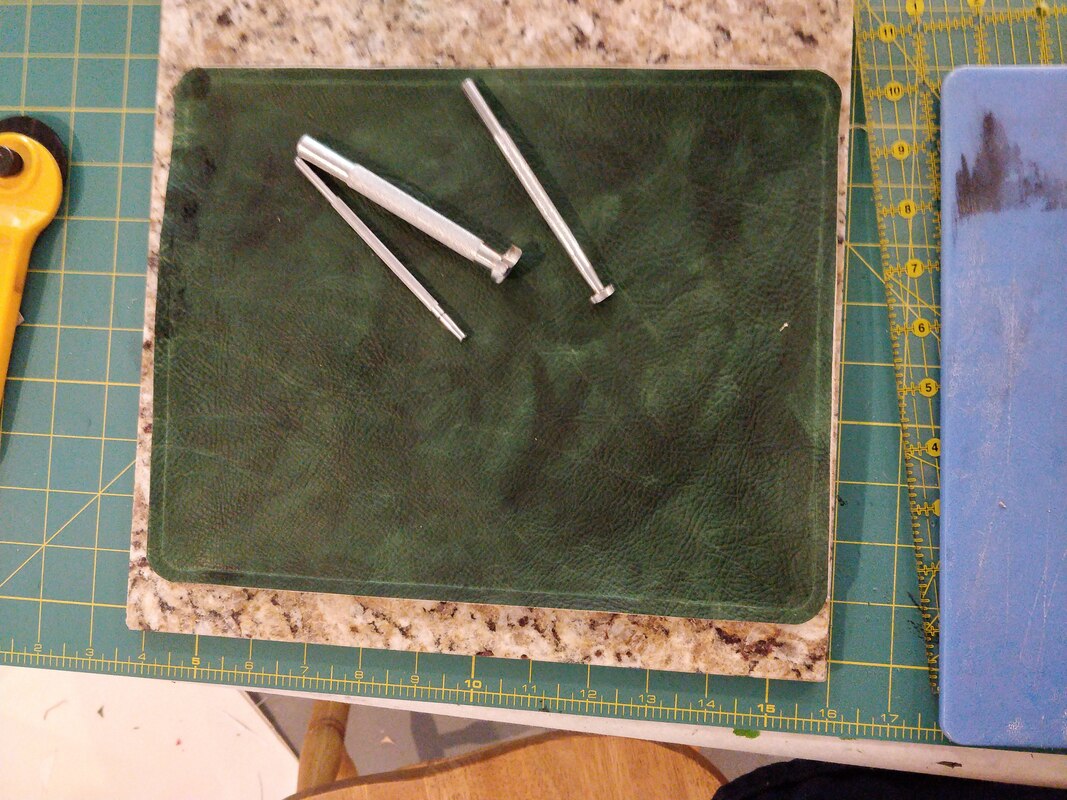
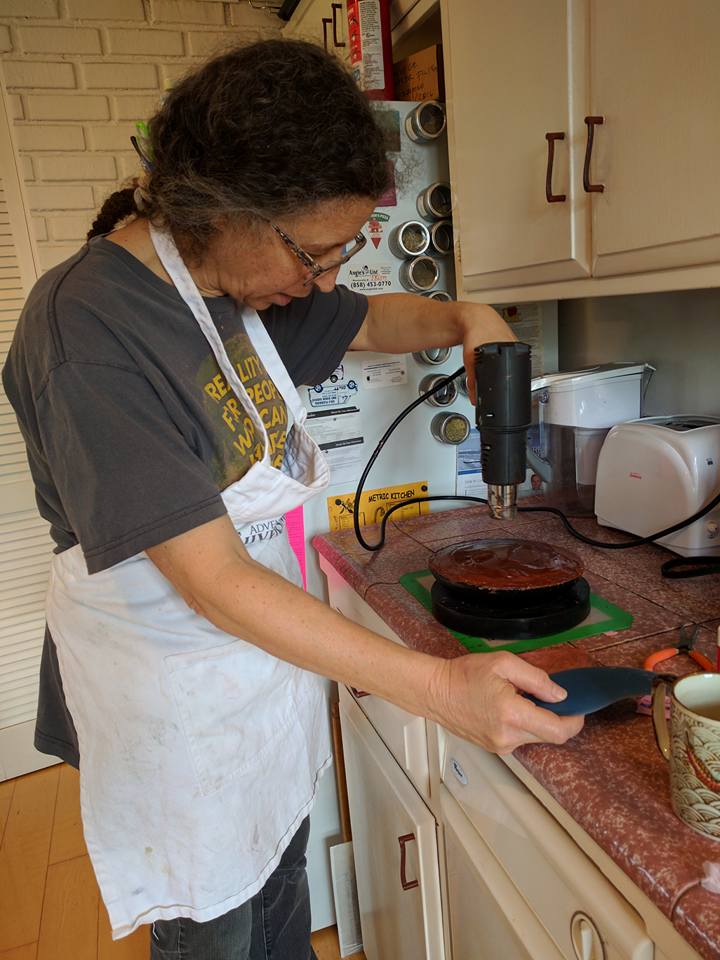
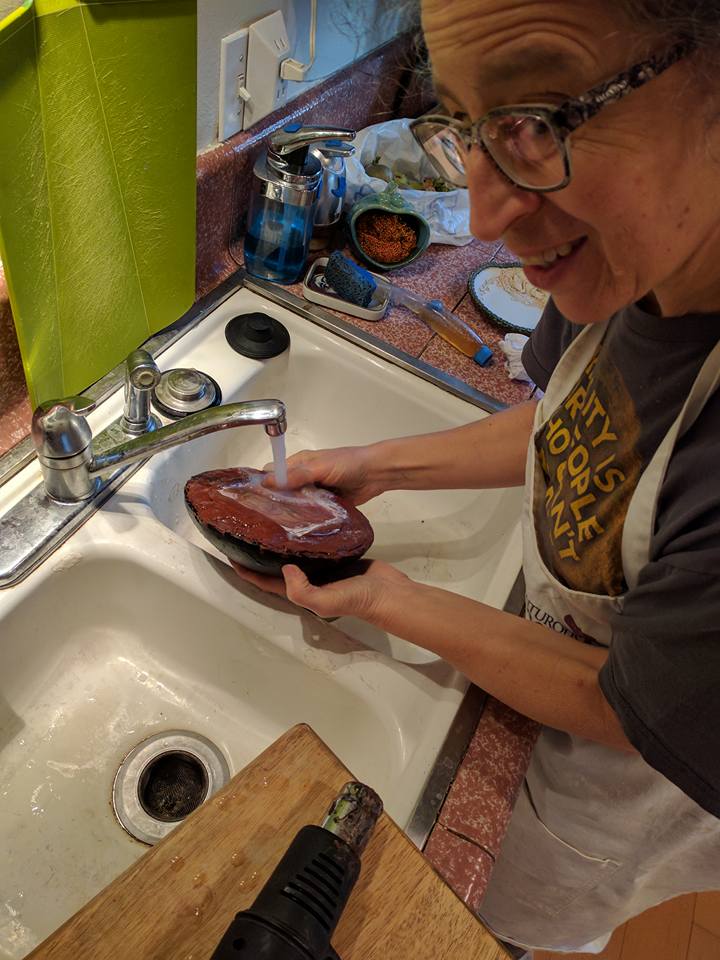
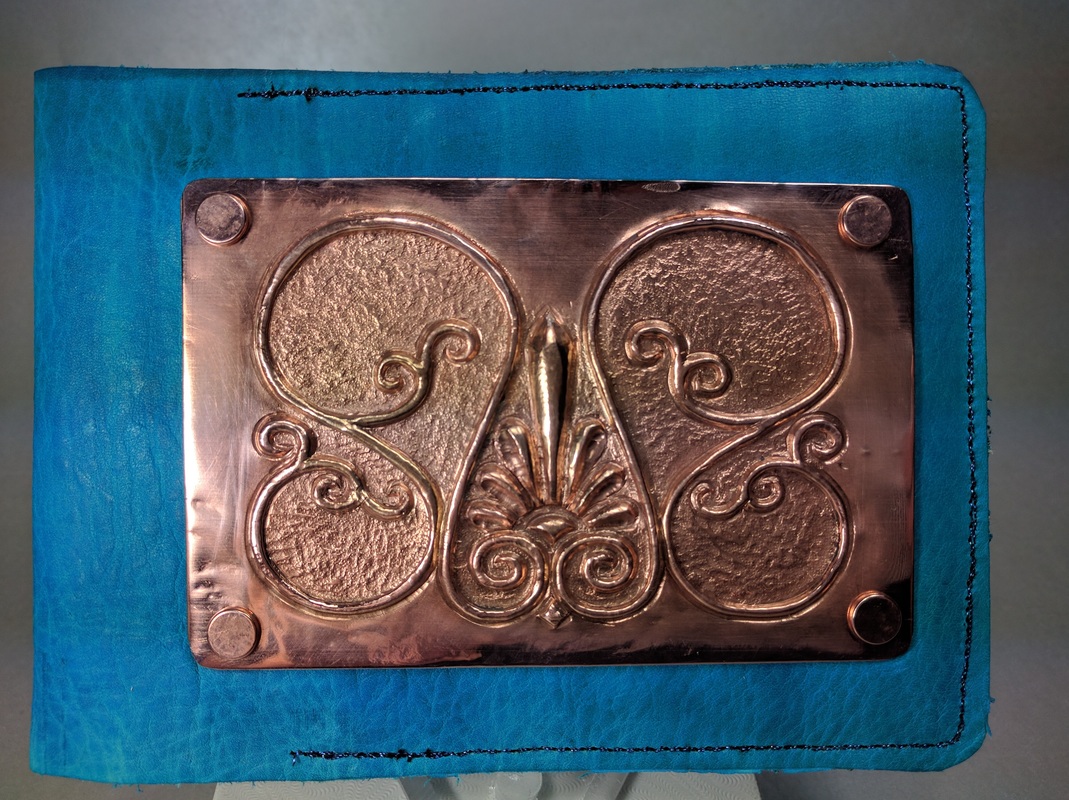
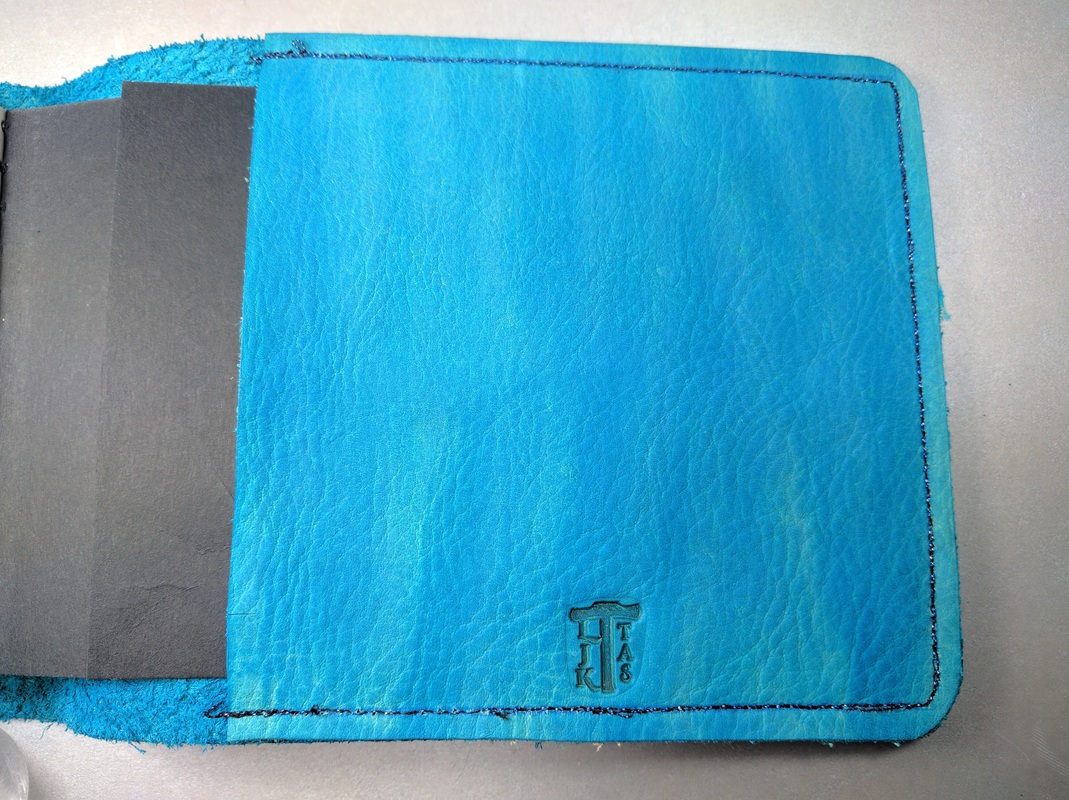
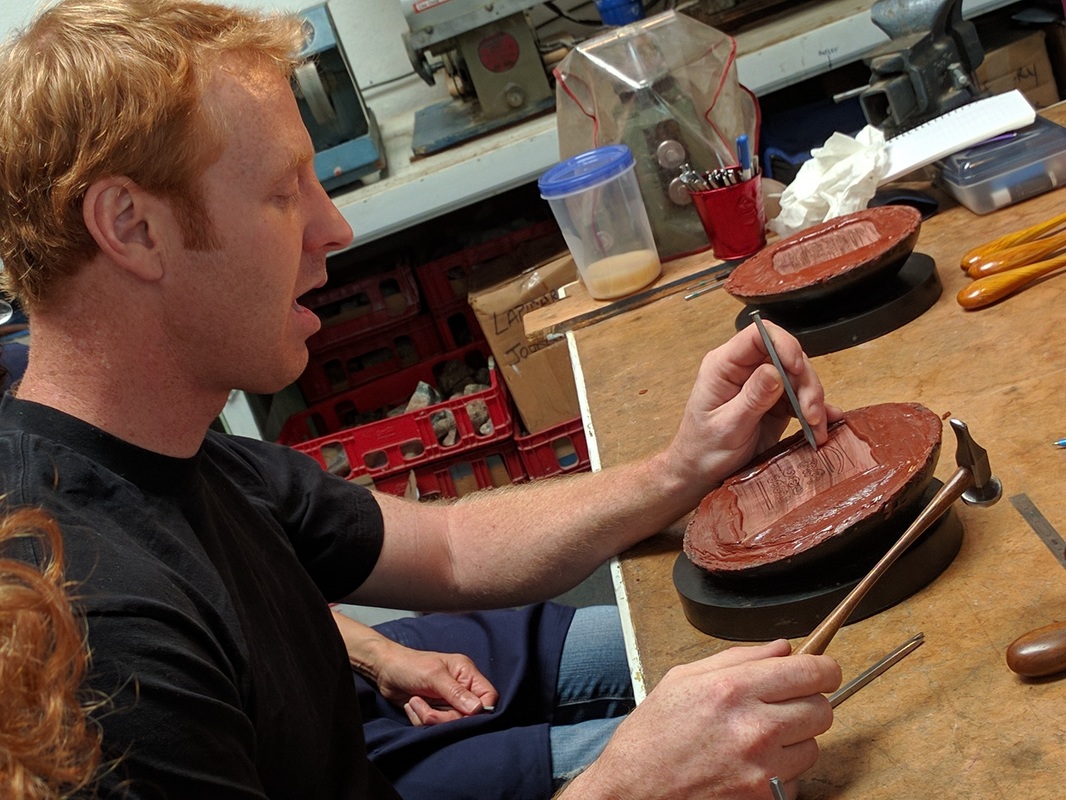
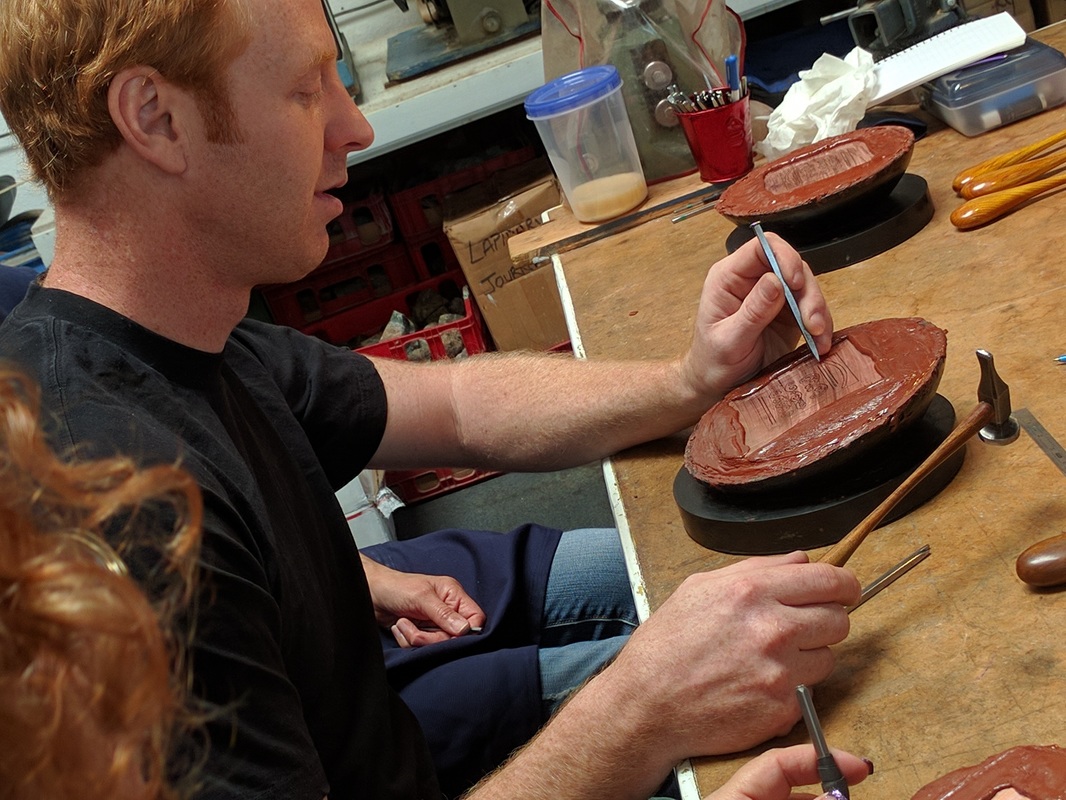
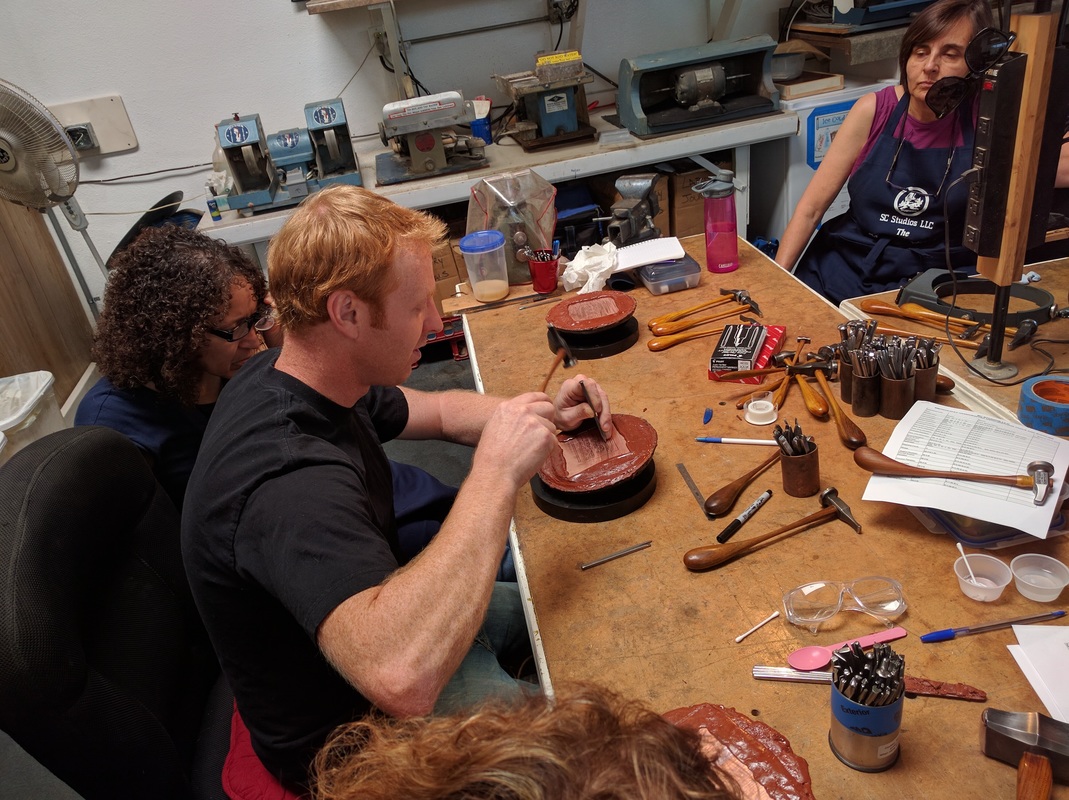
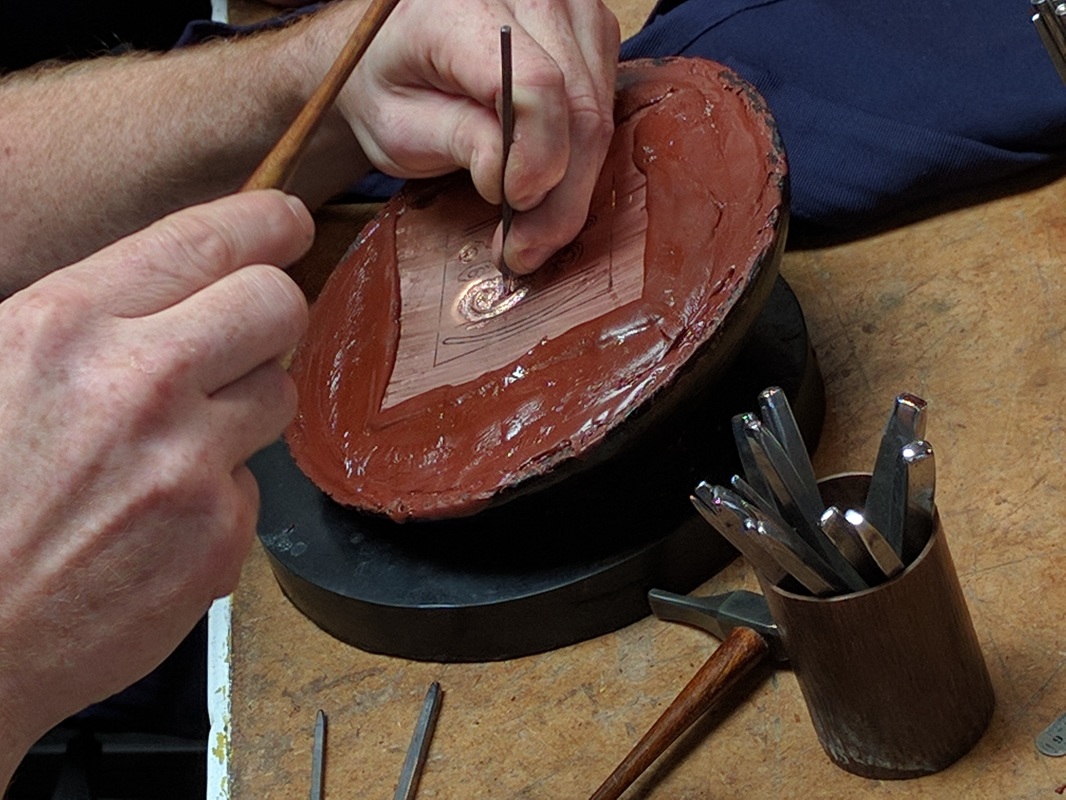
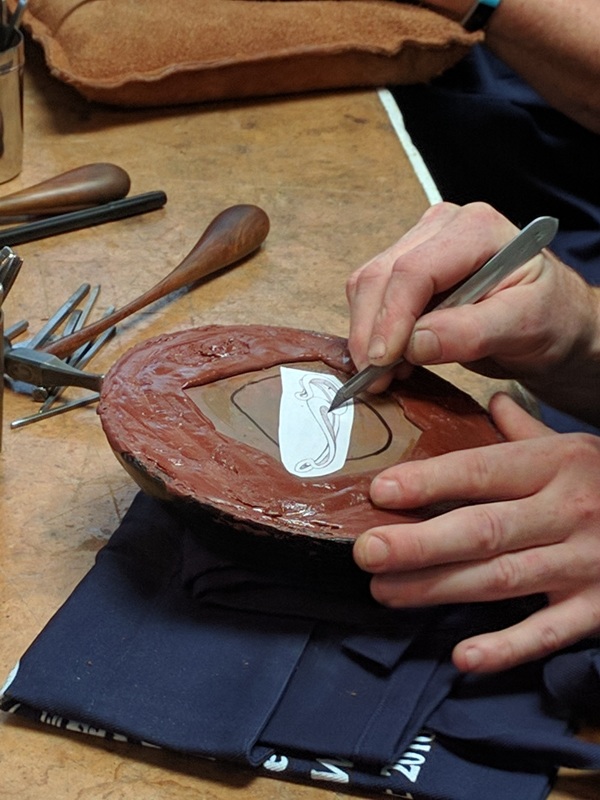
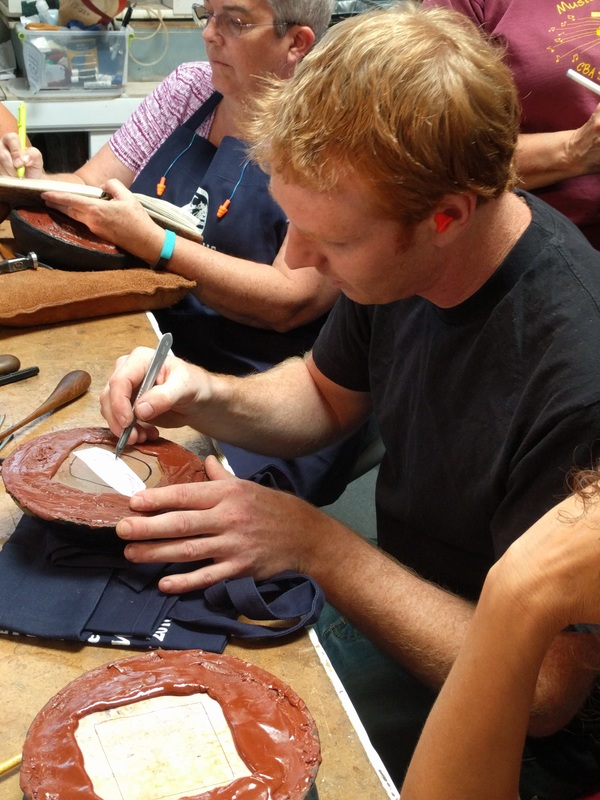
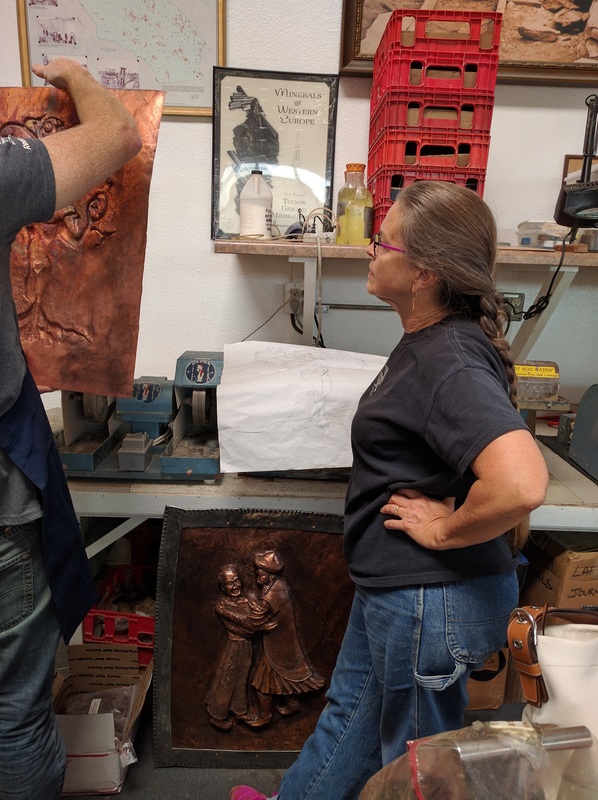
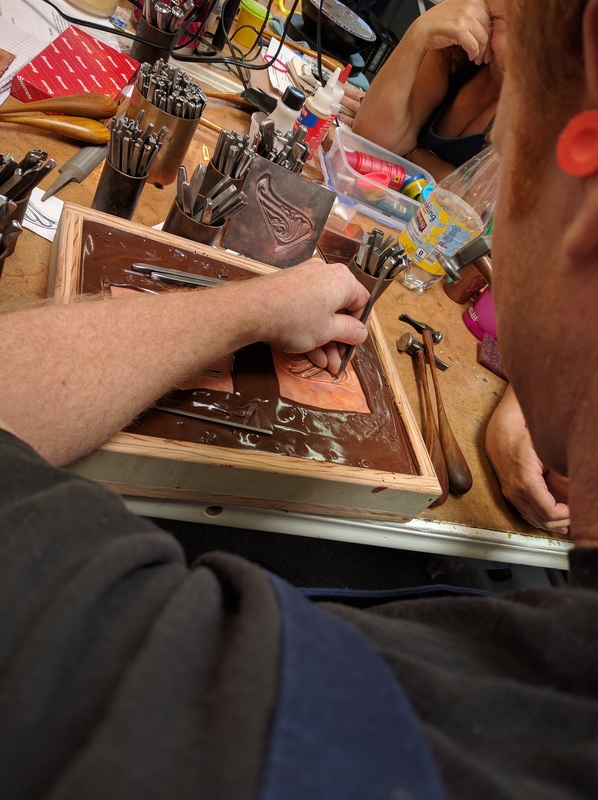
I spent the week watching some more video's and asking question in the leather group I belong to and yesterday I  started another cover which I just finished.   

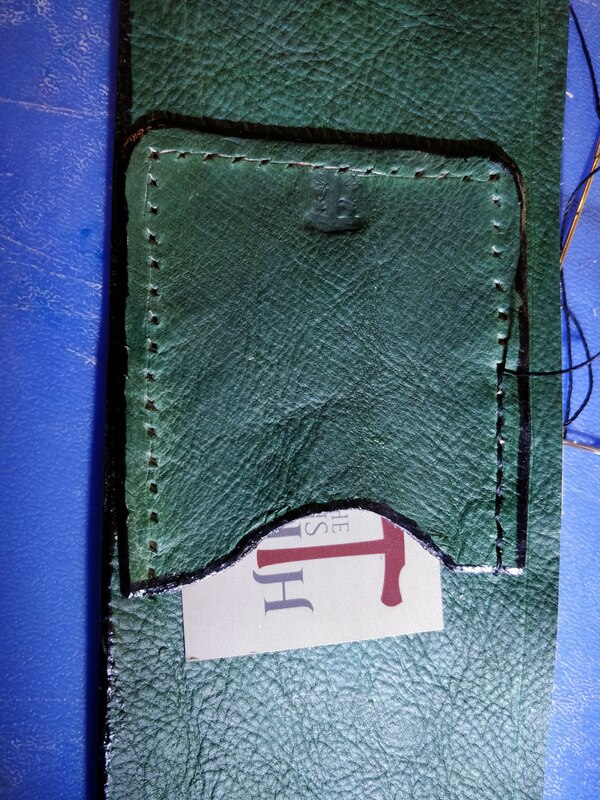
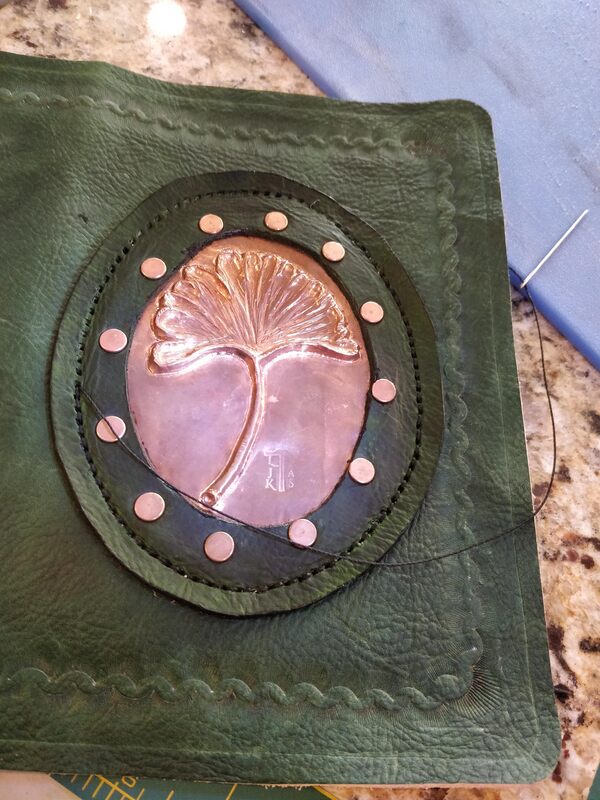
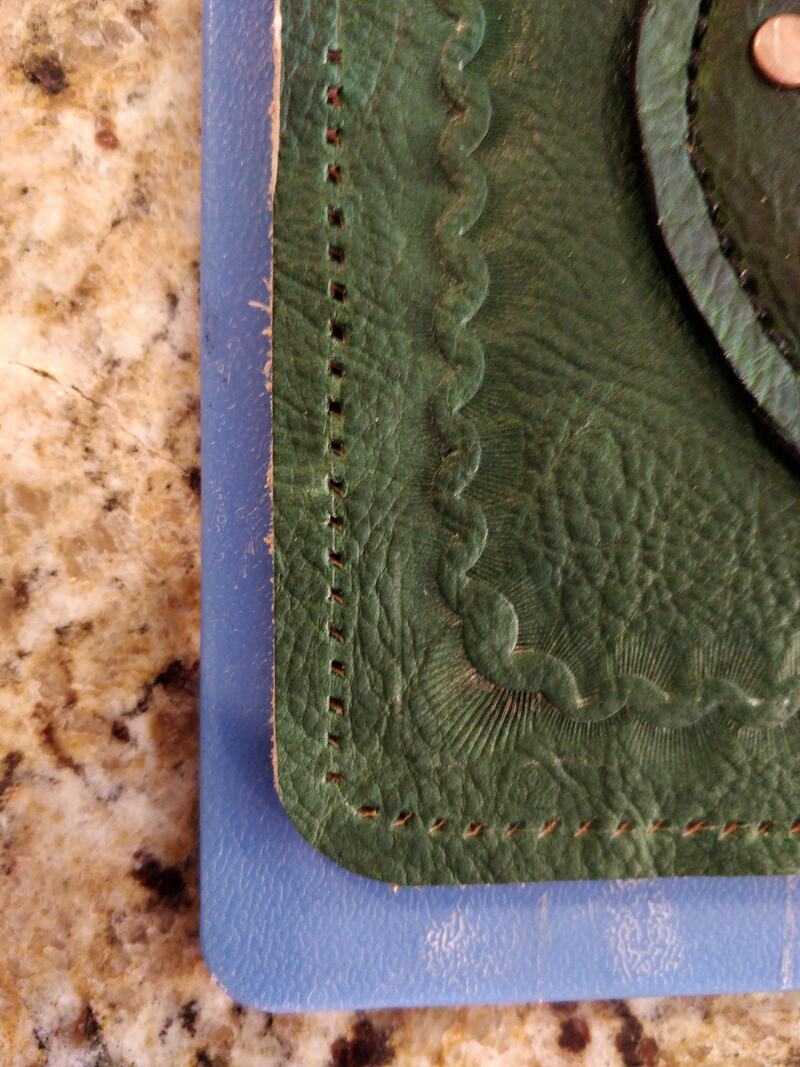
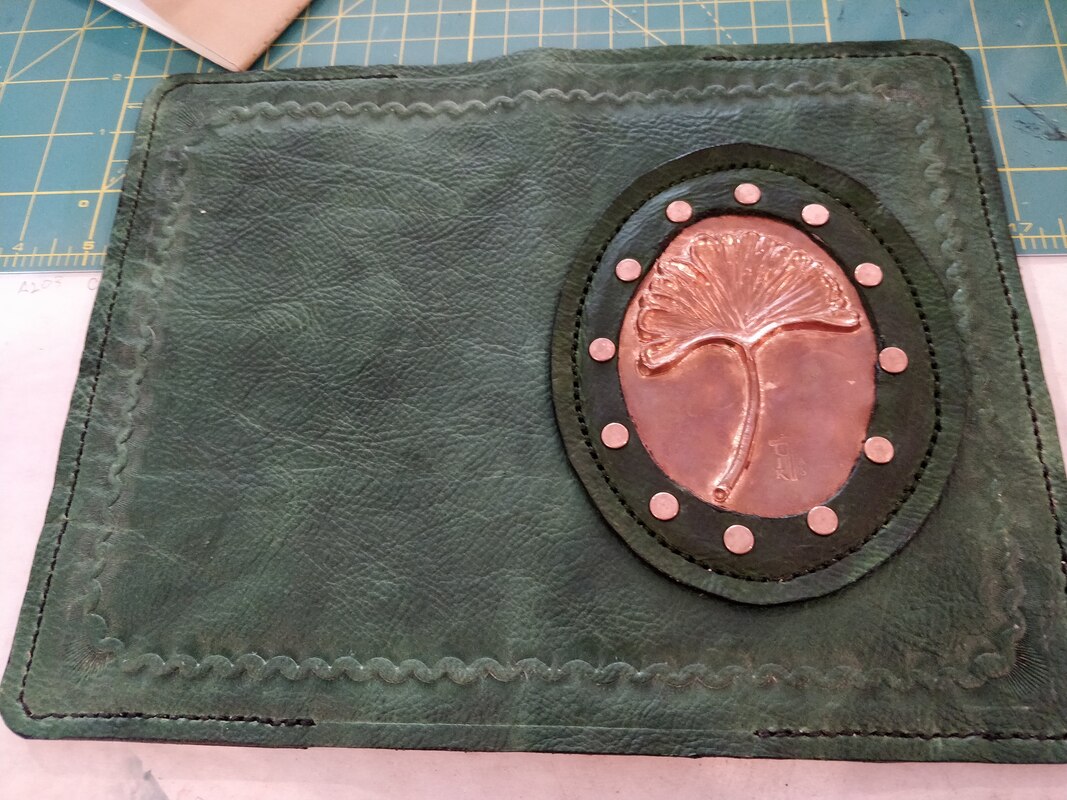
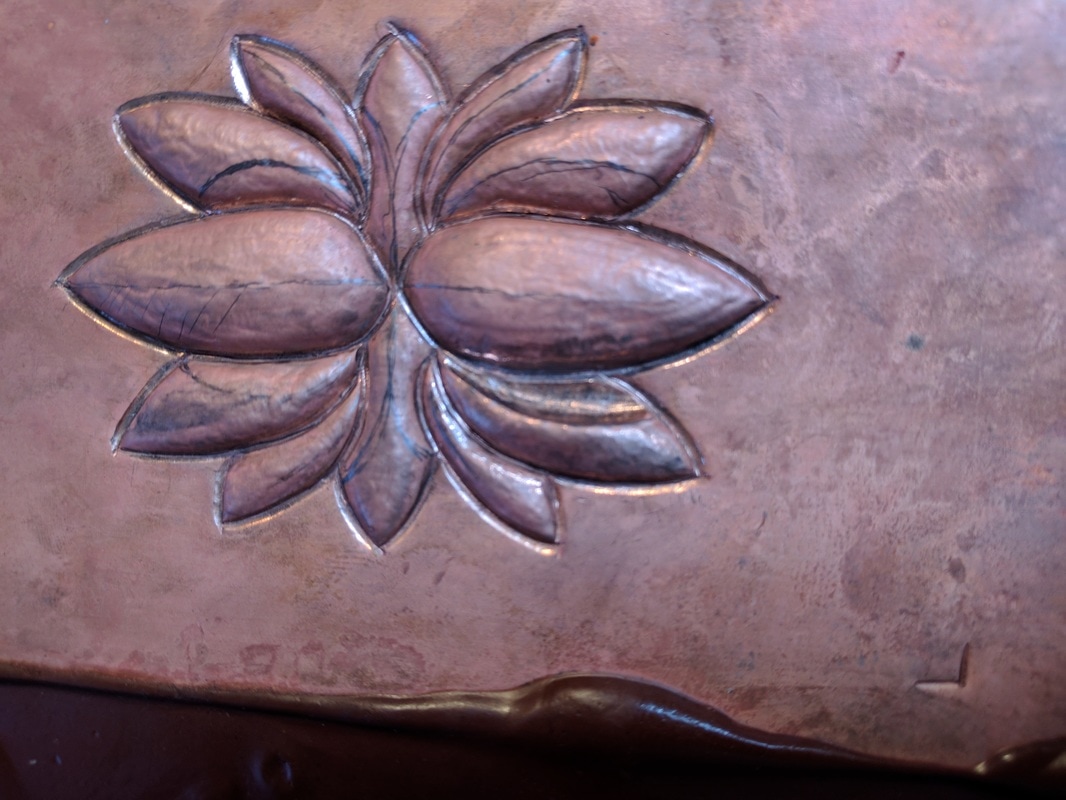
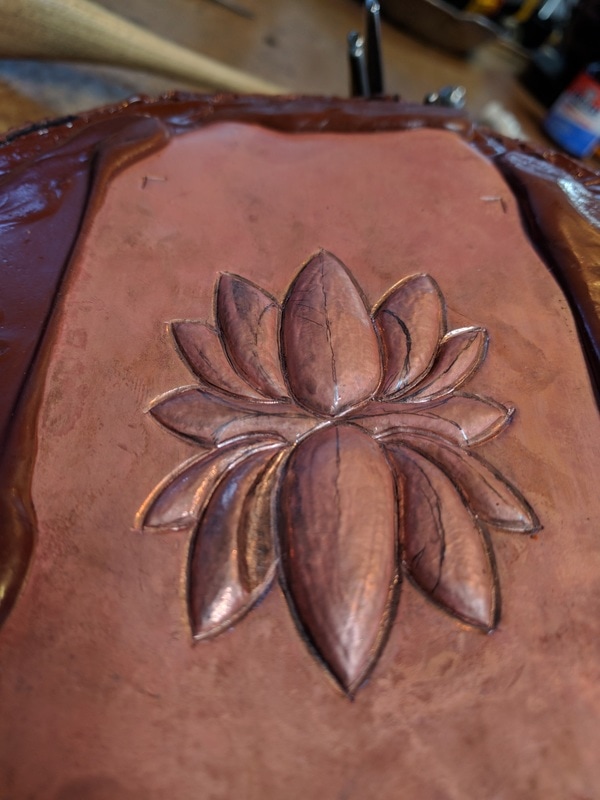
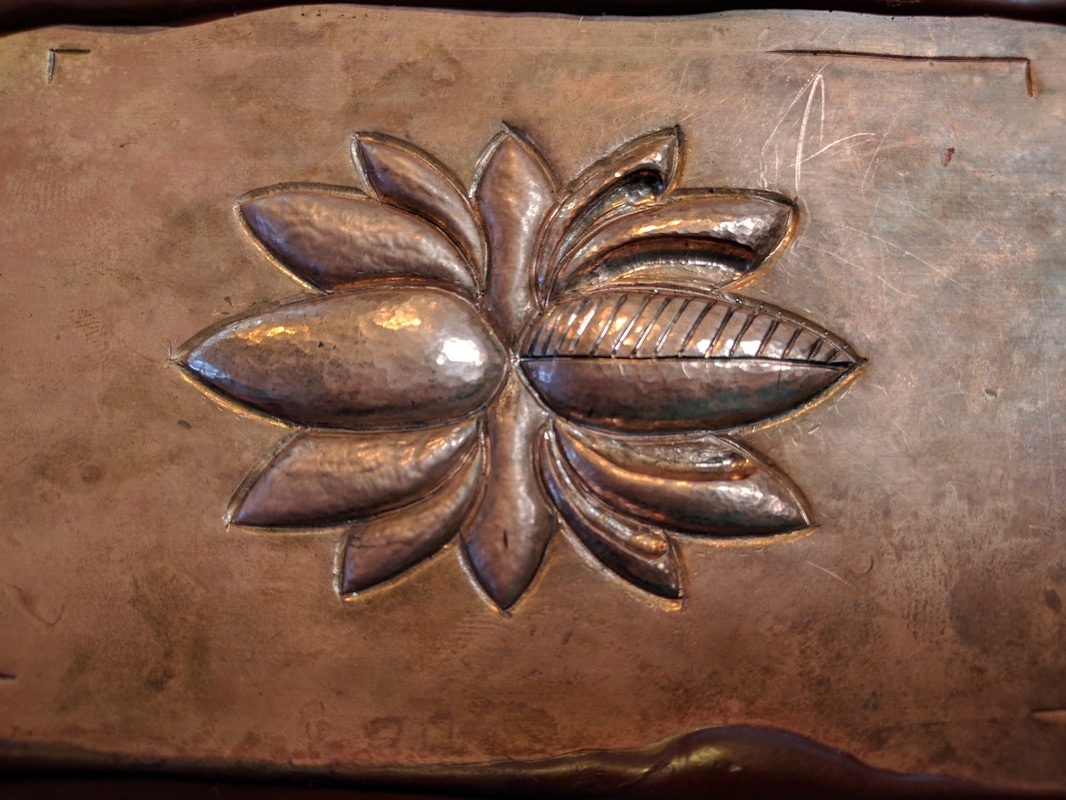
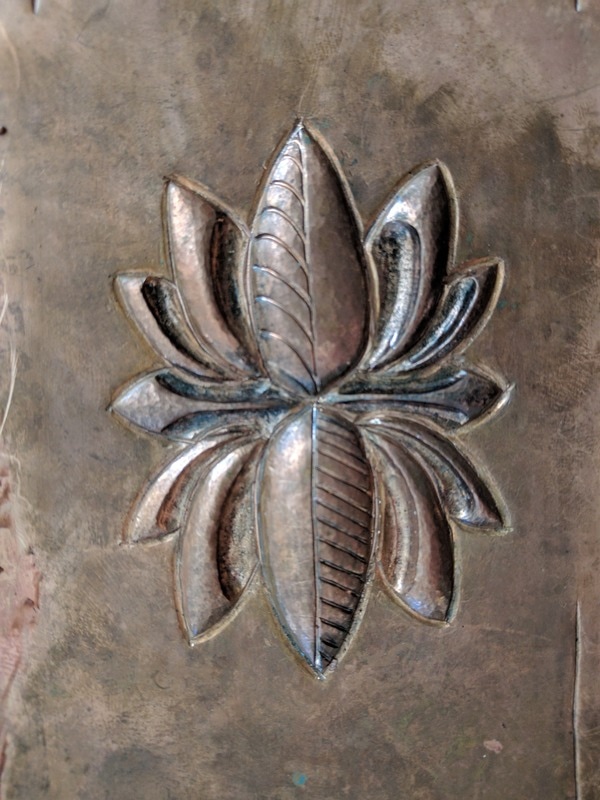
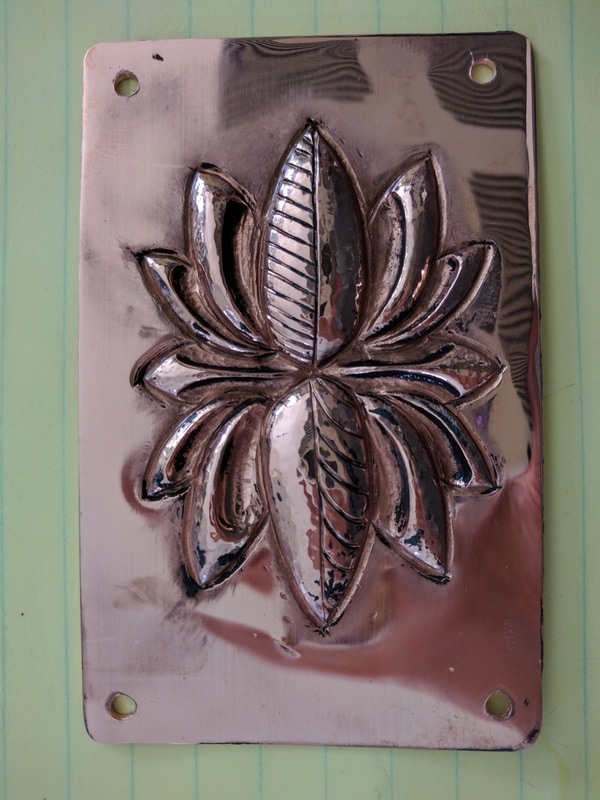
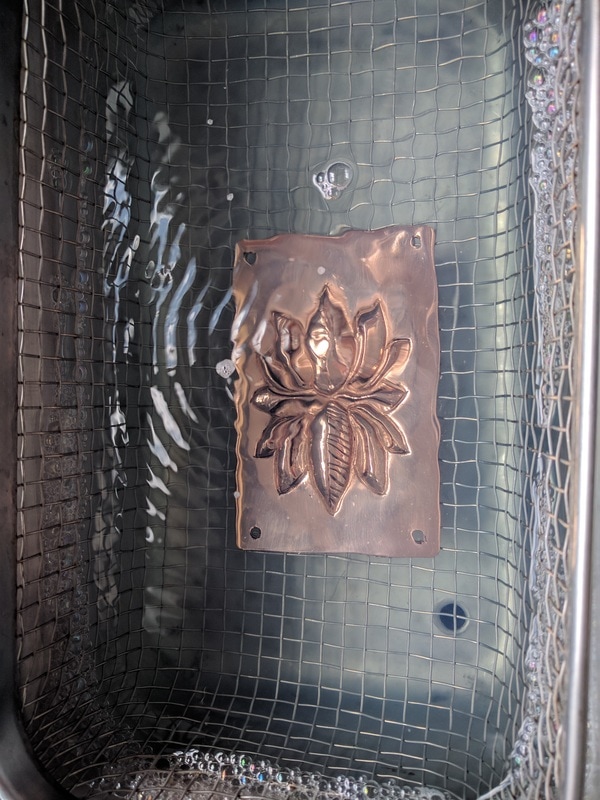
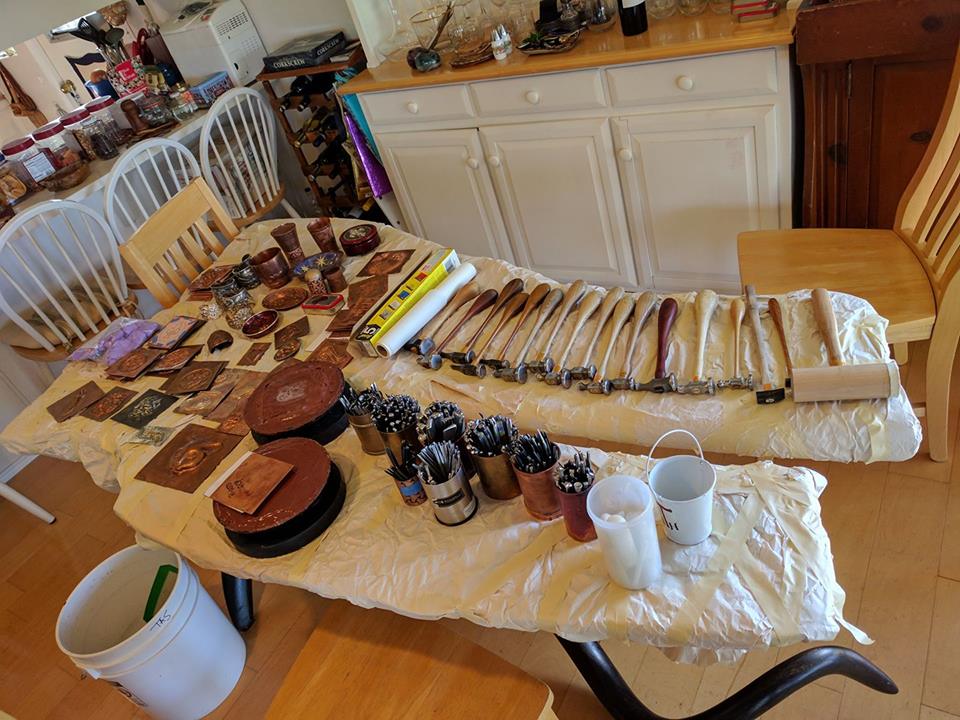
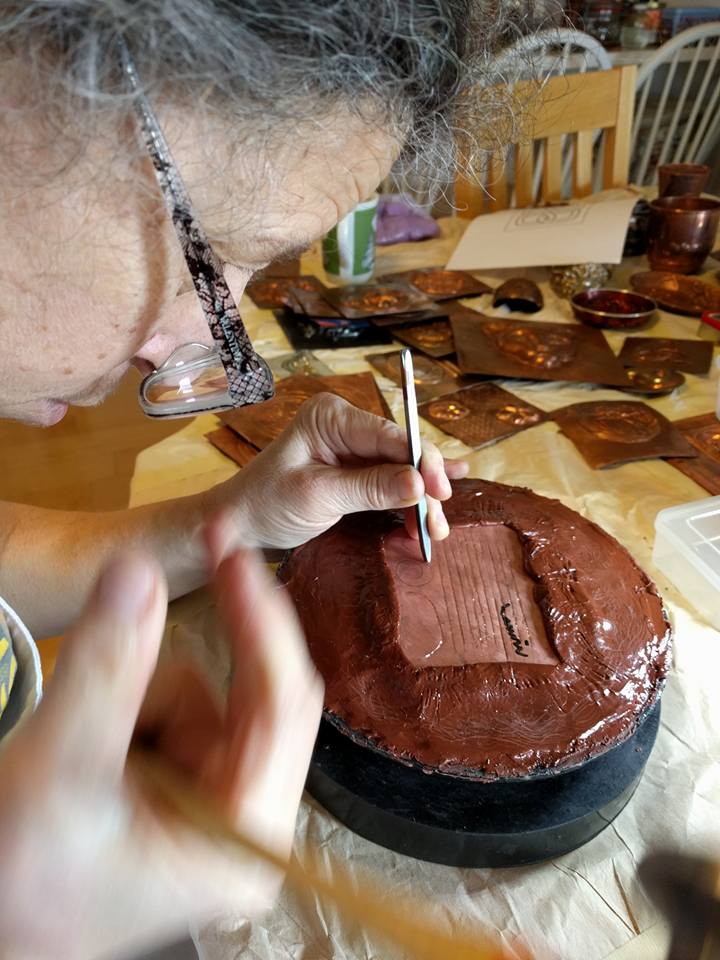
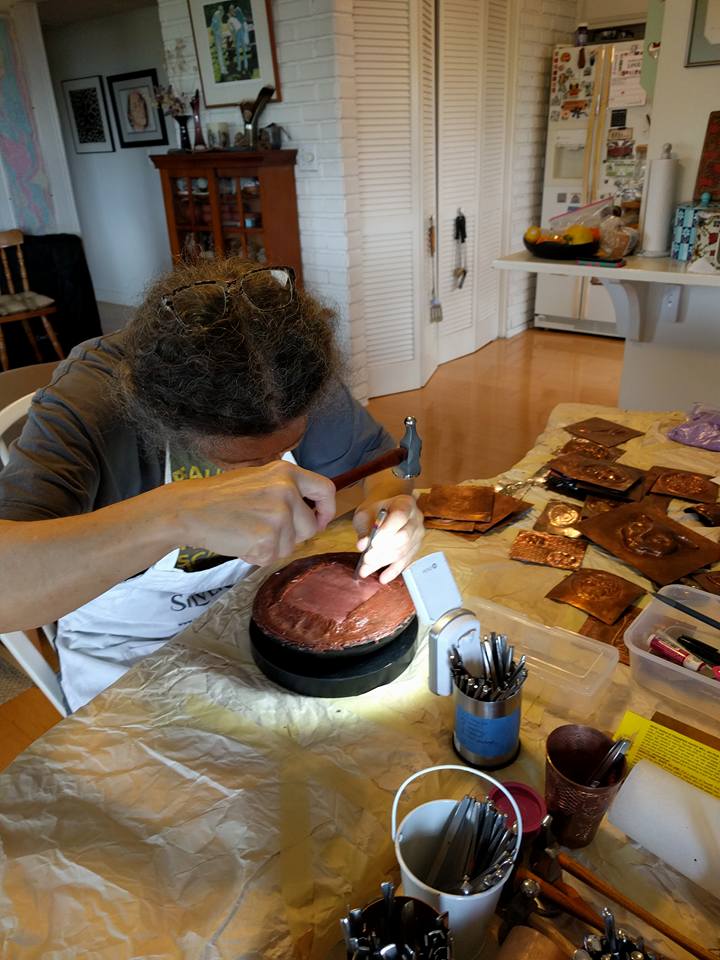
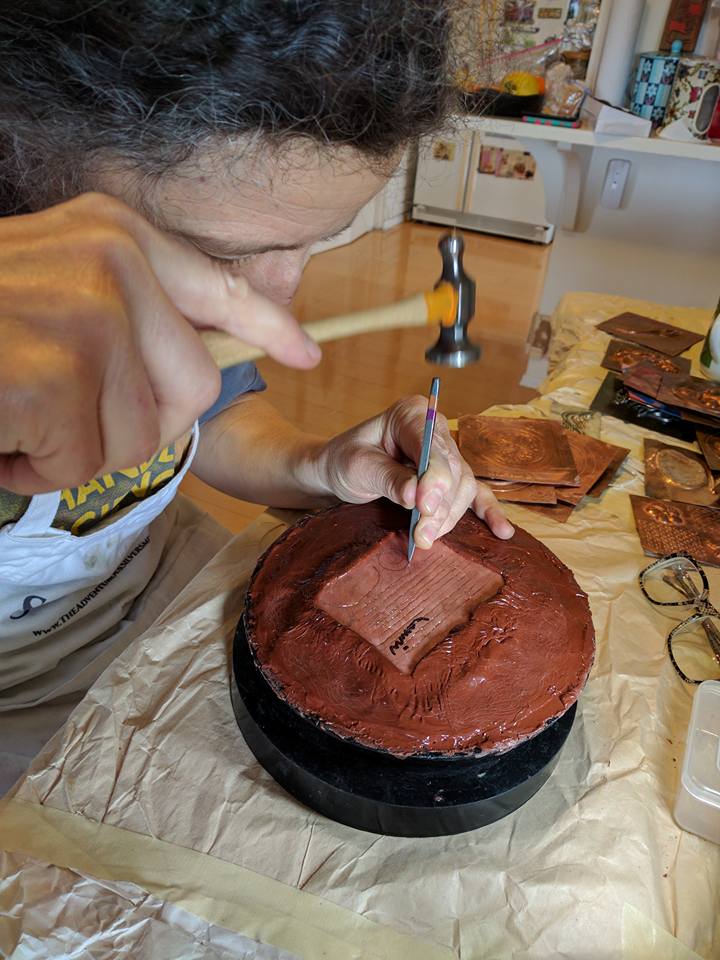
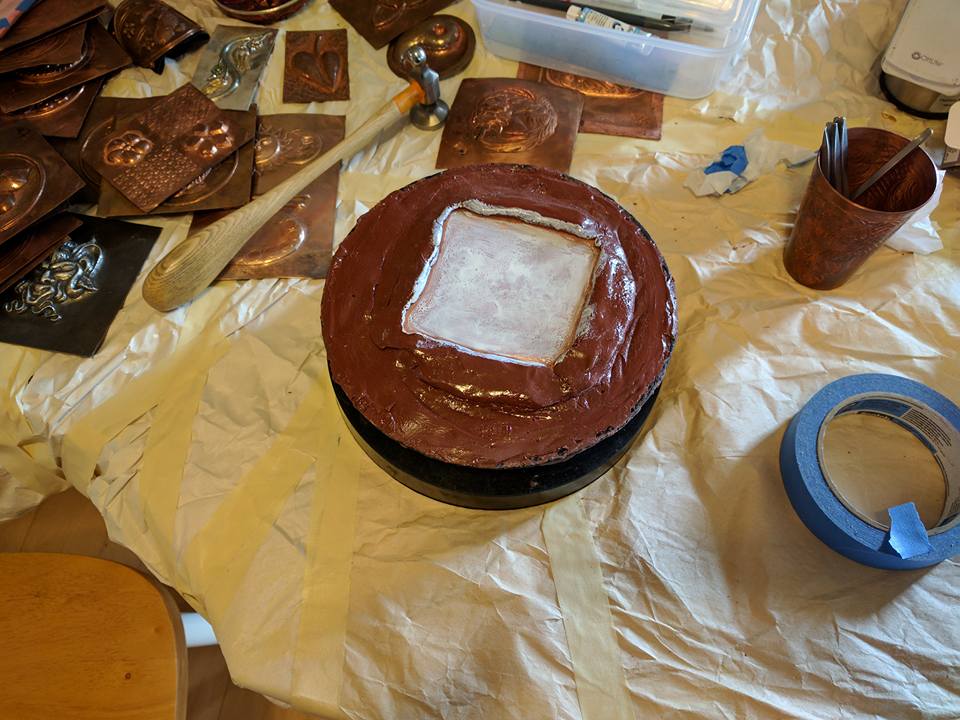
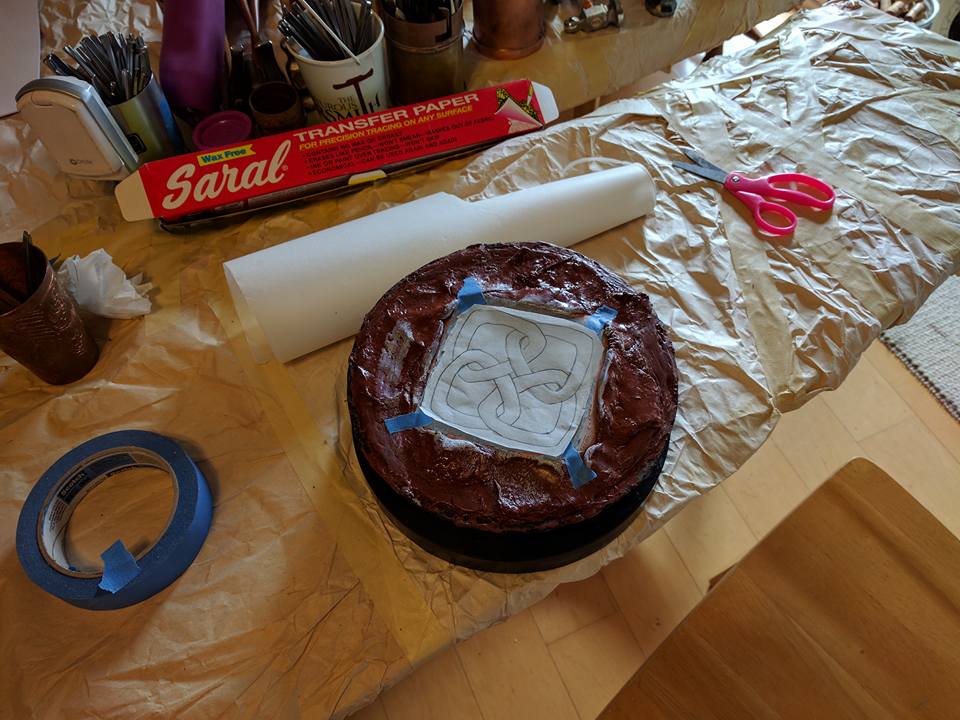
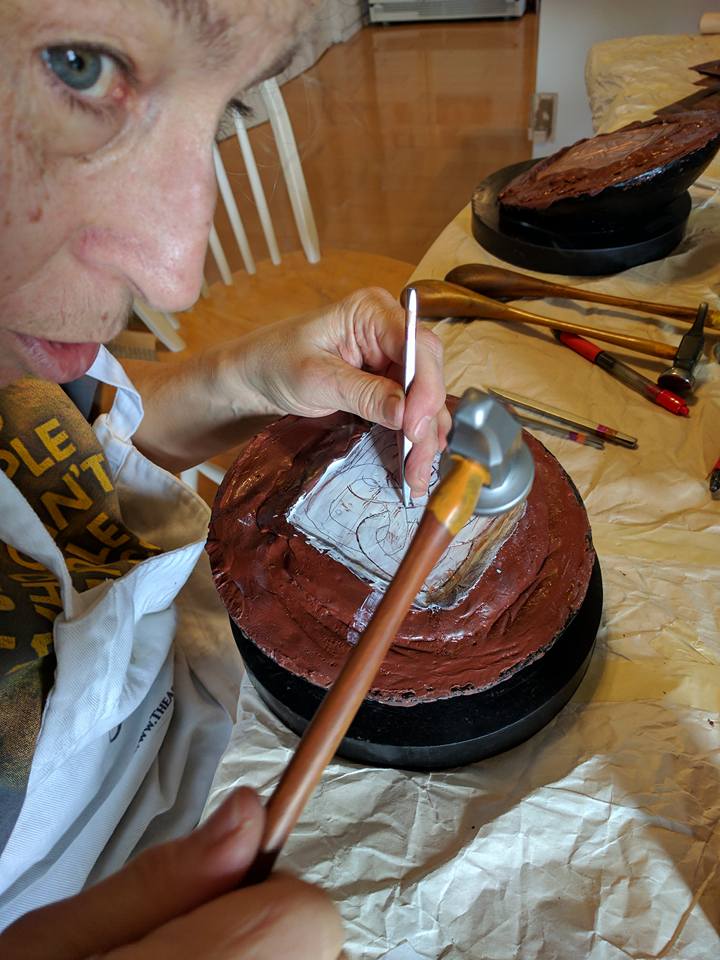
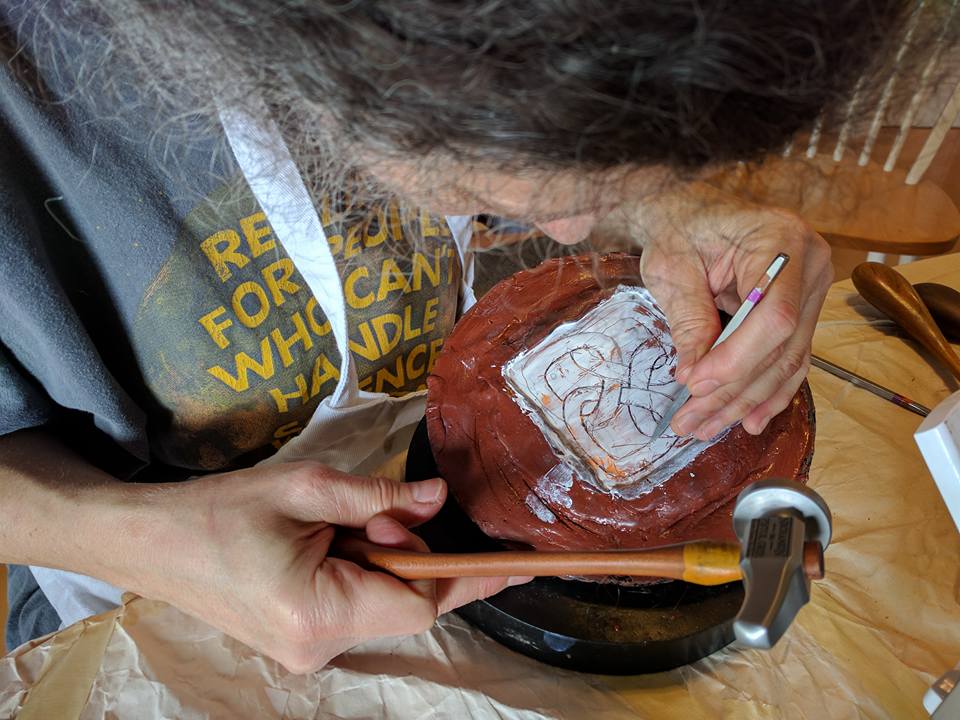
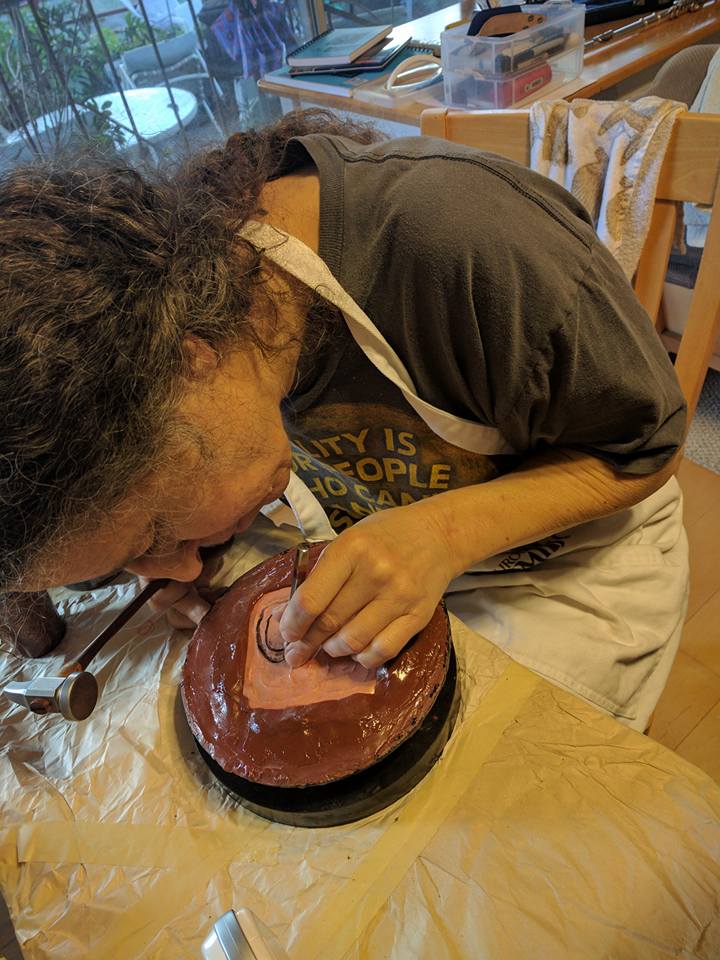
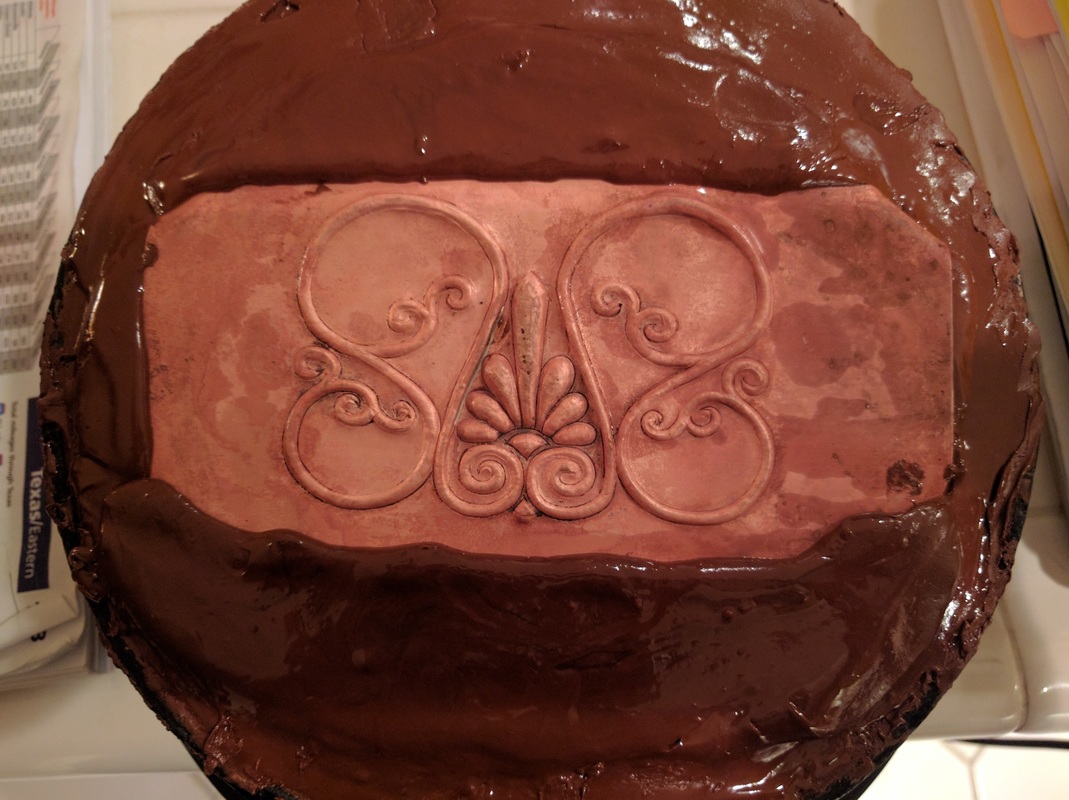
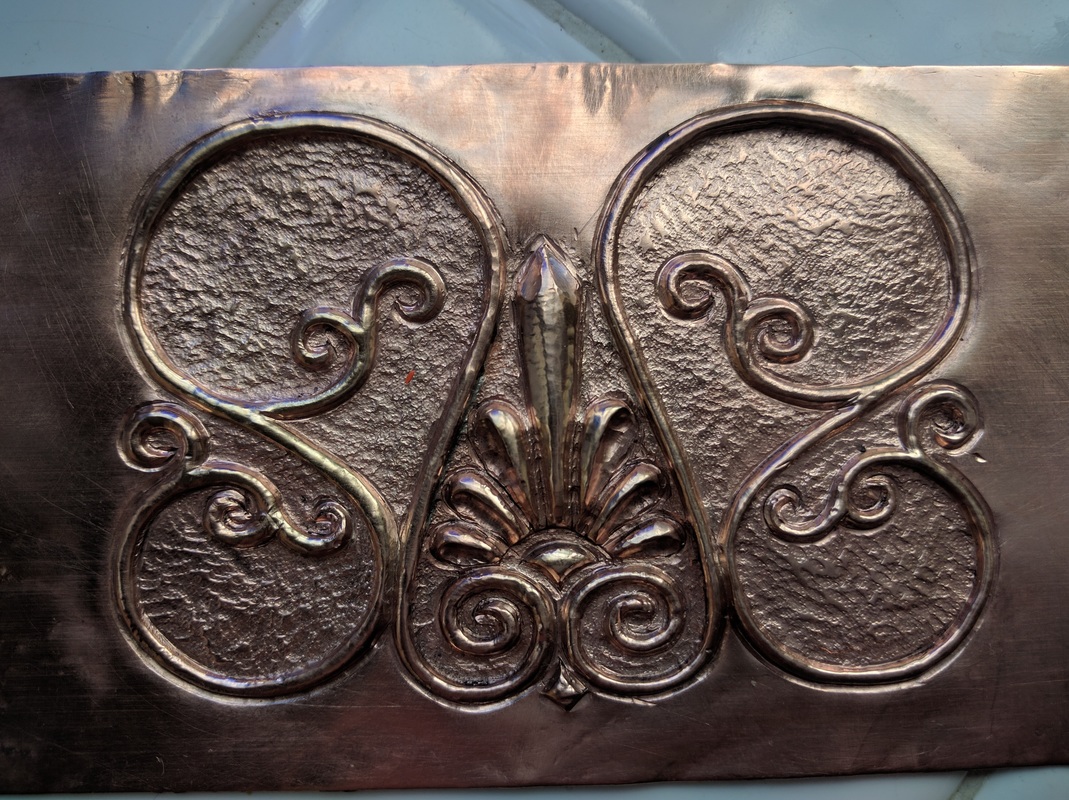
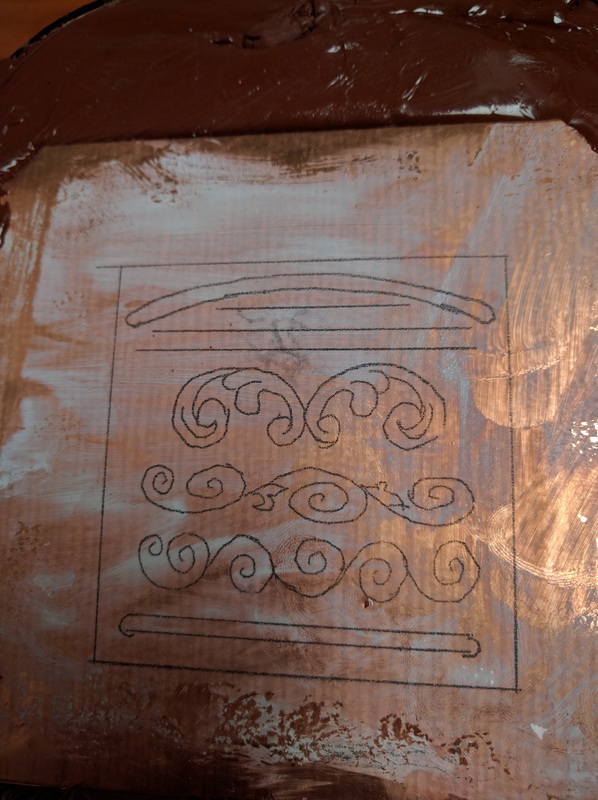
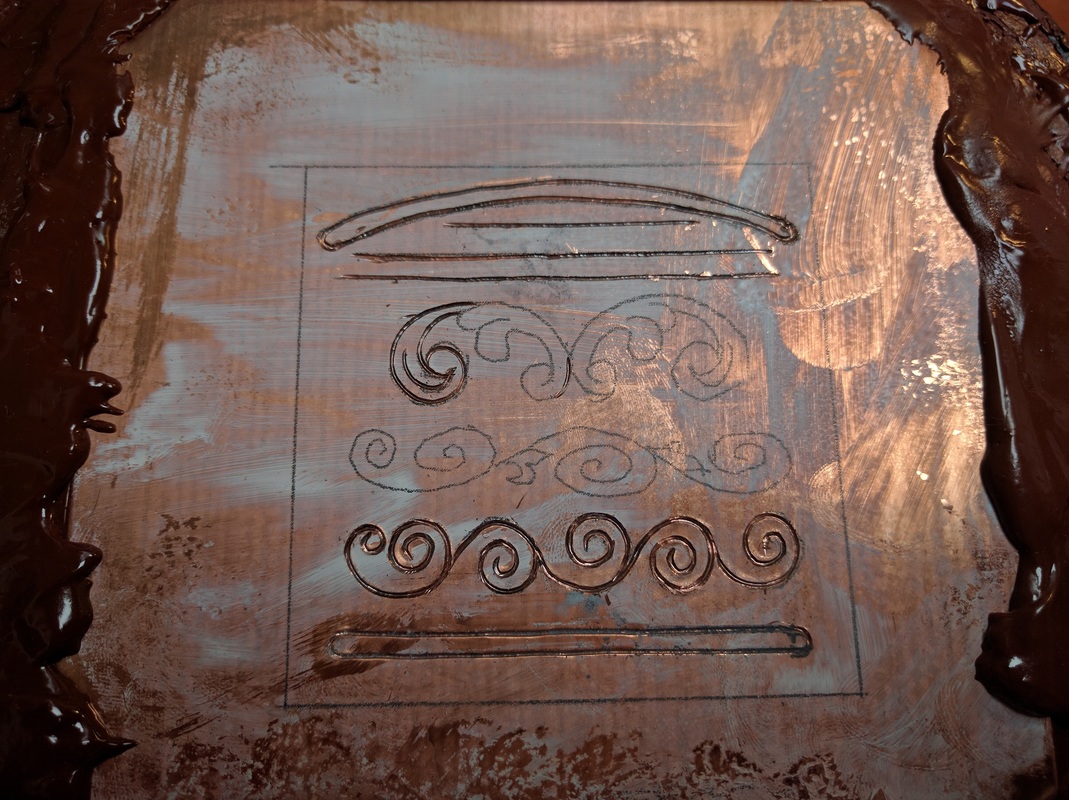
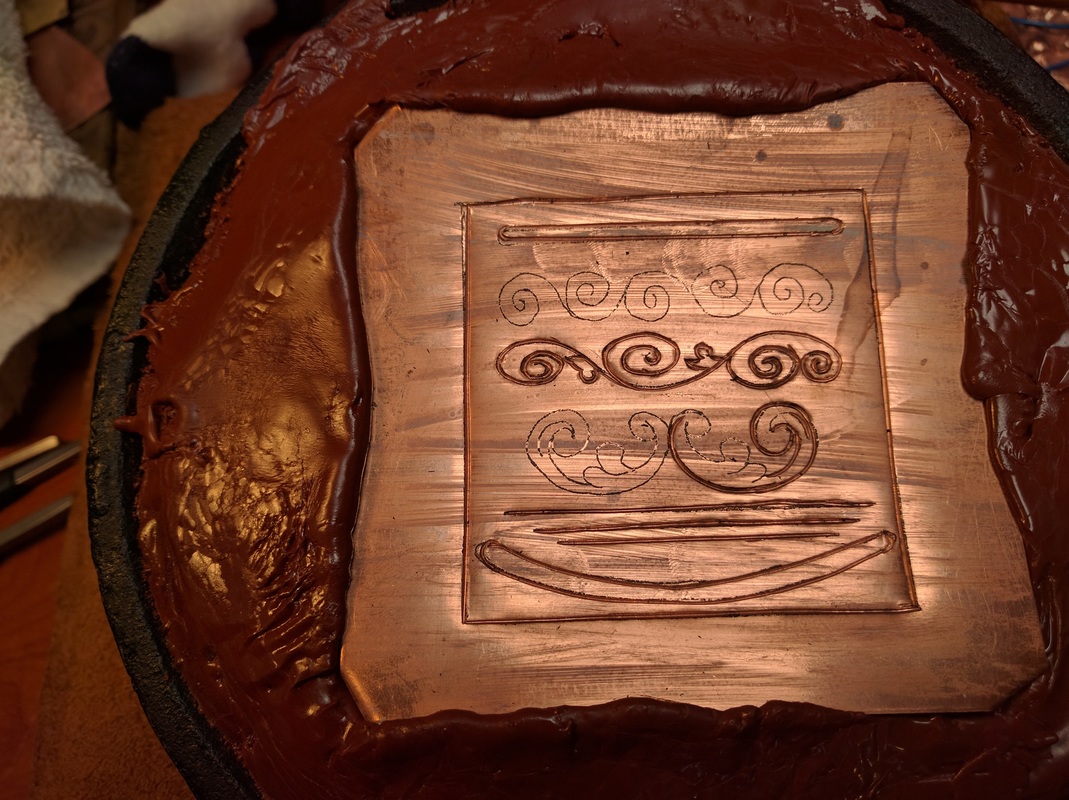
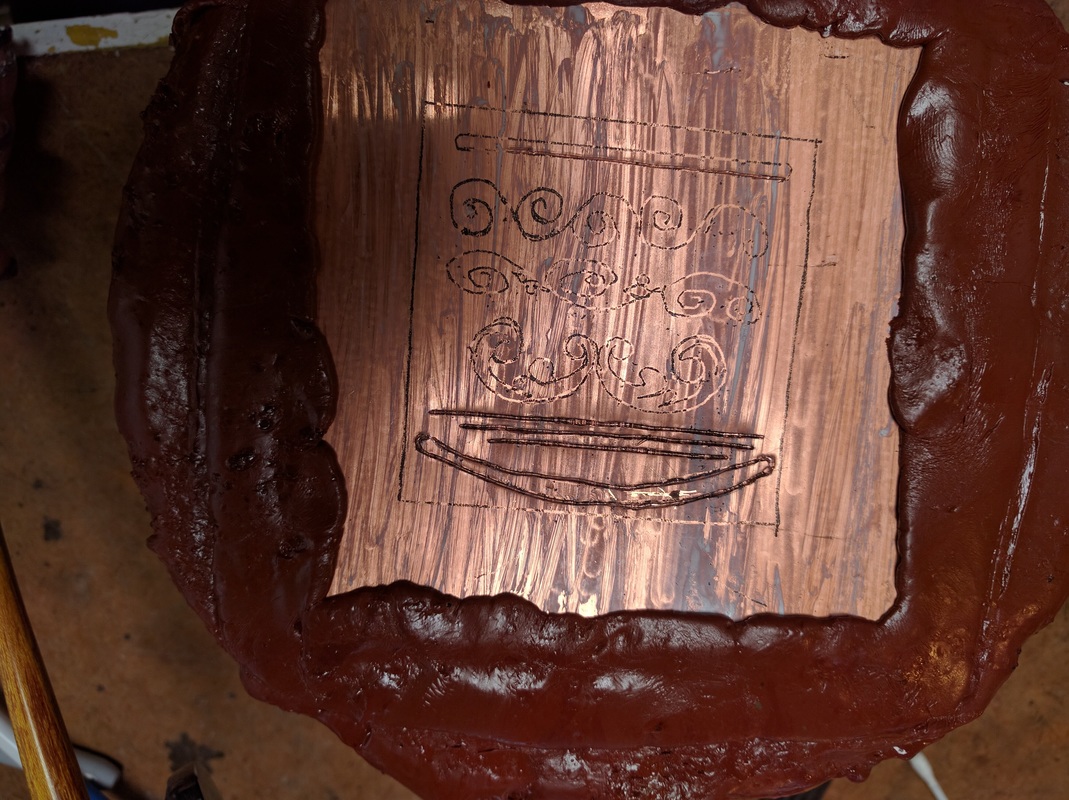
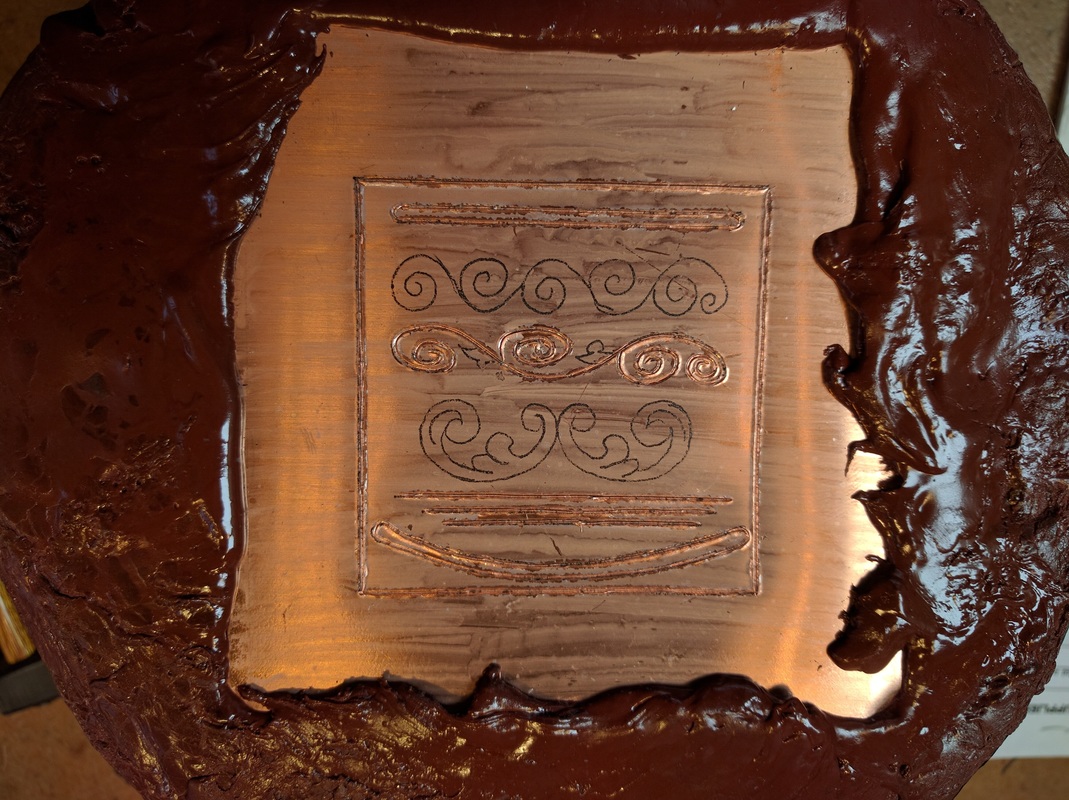
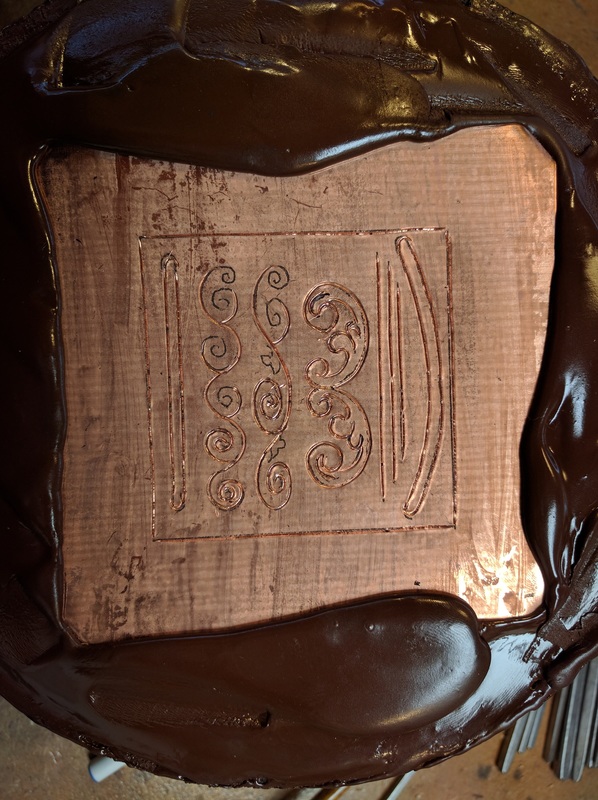
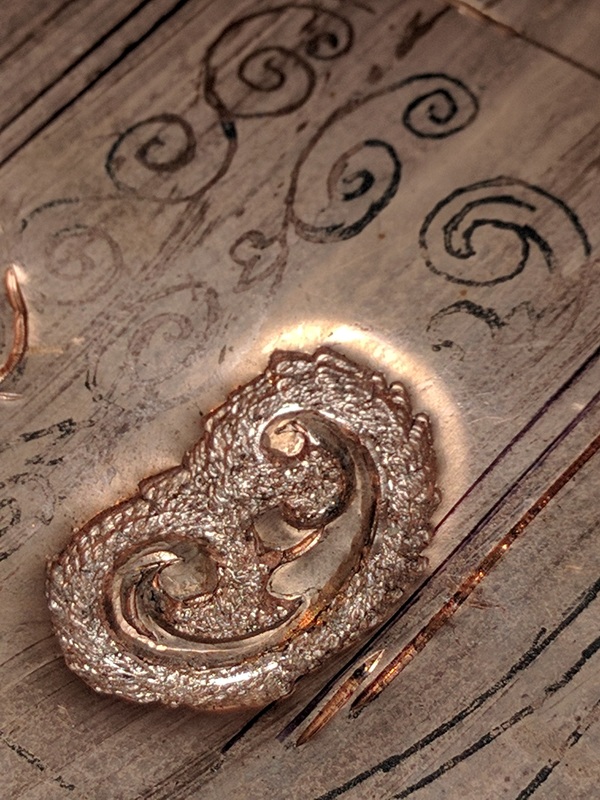
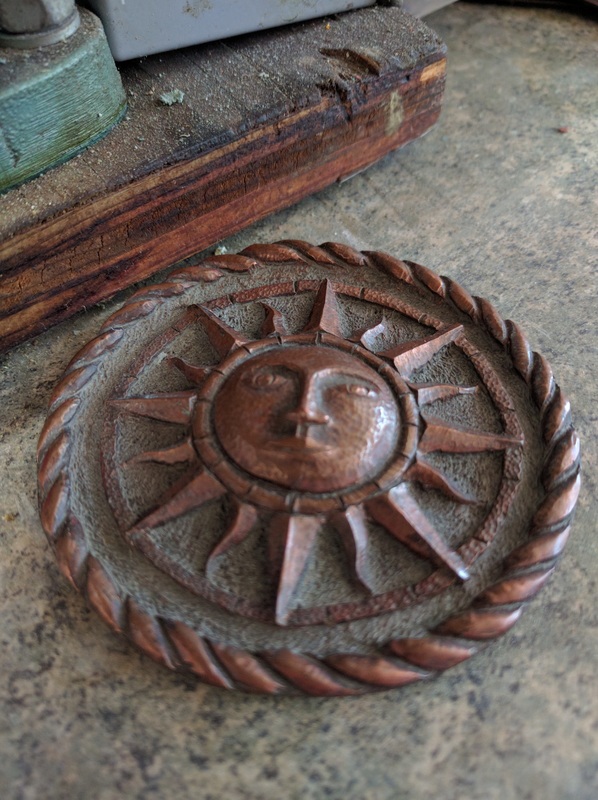
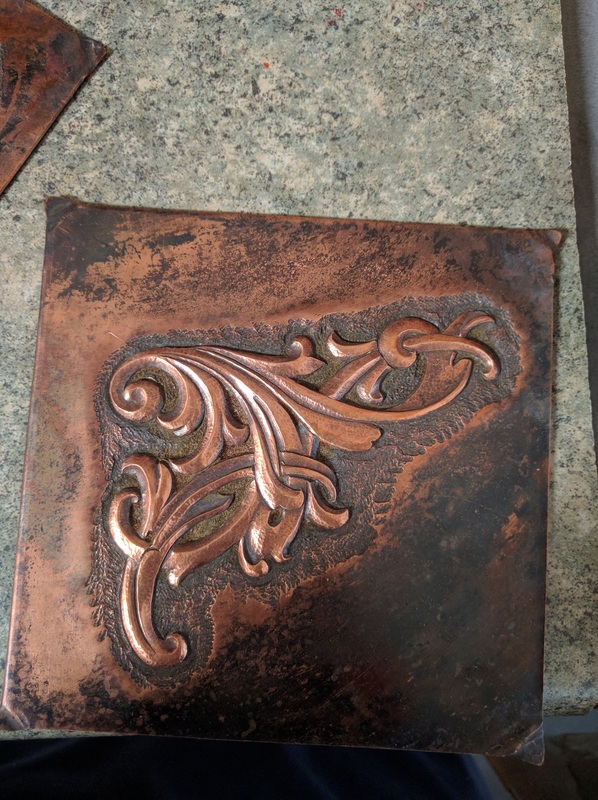
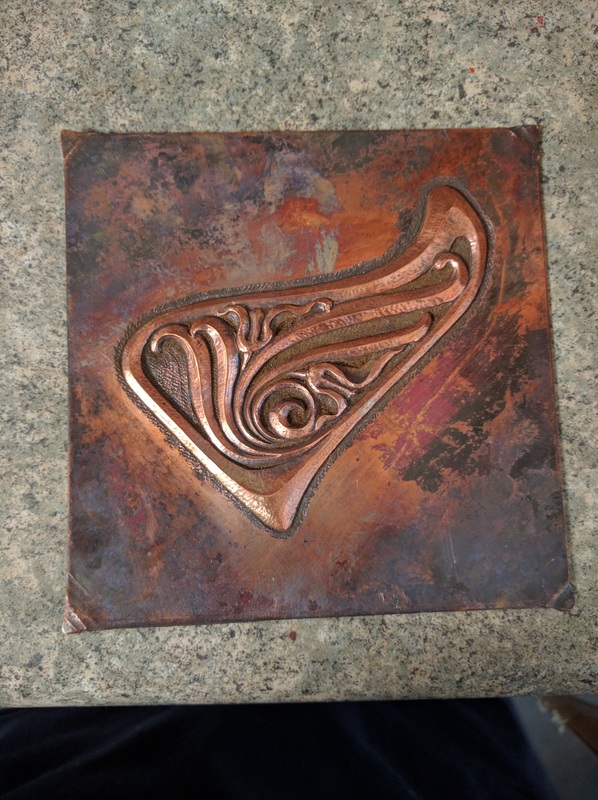
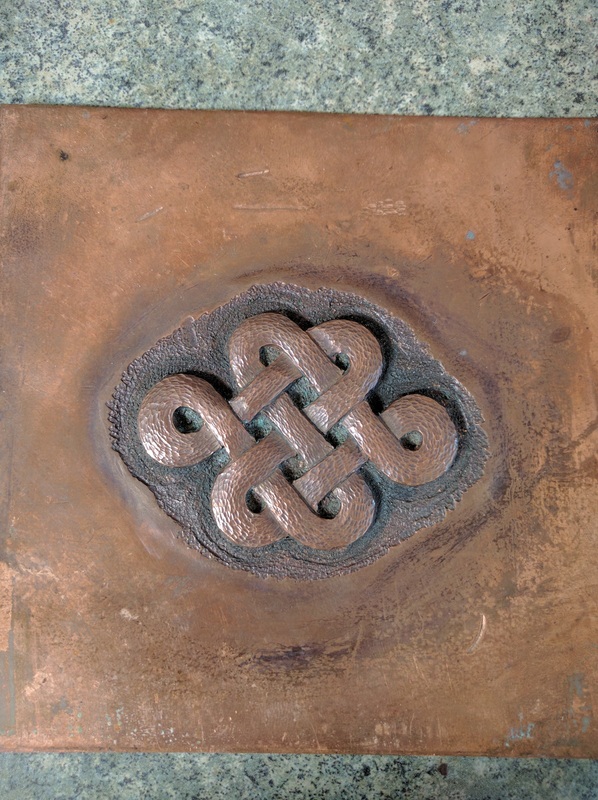
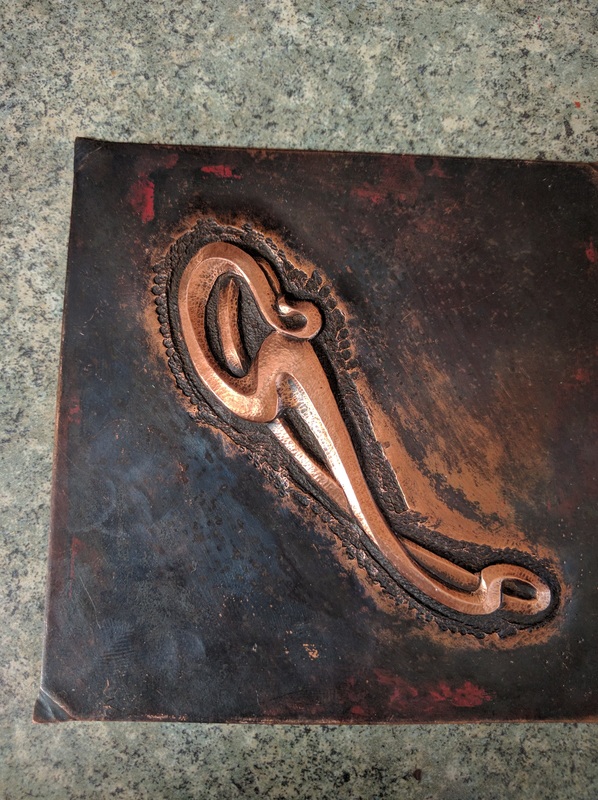
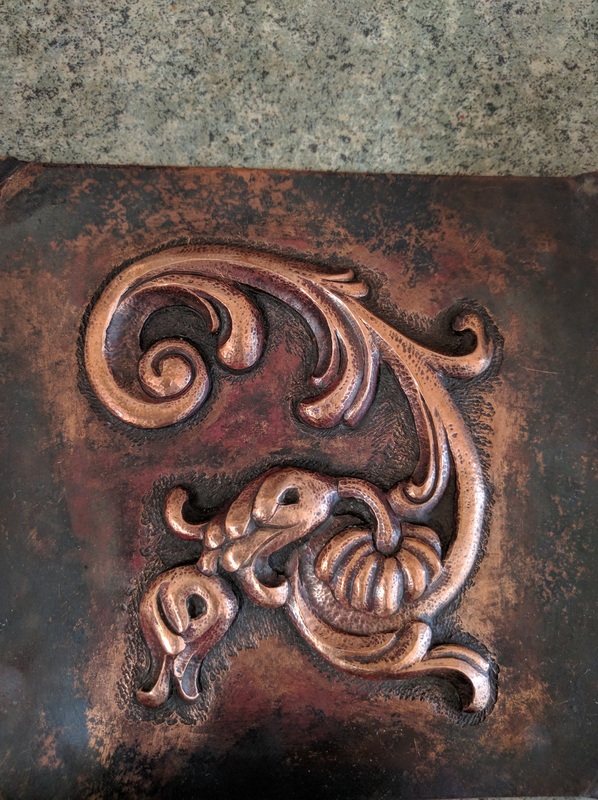
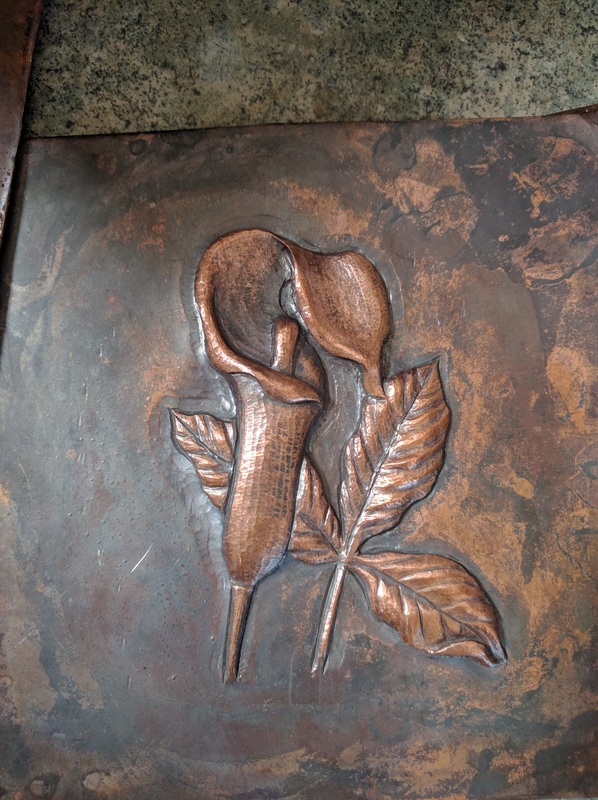
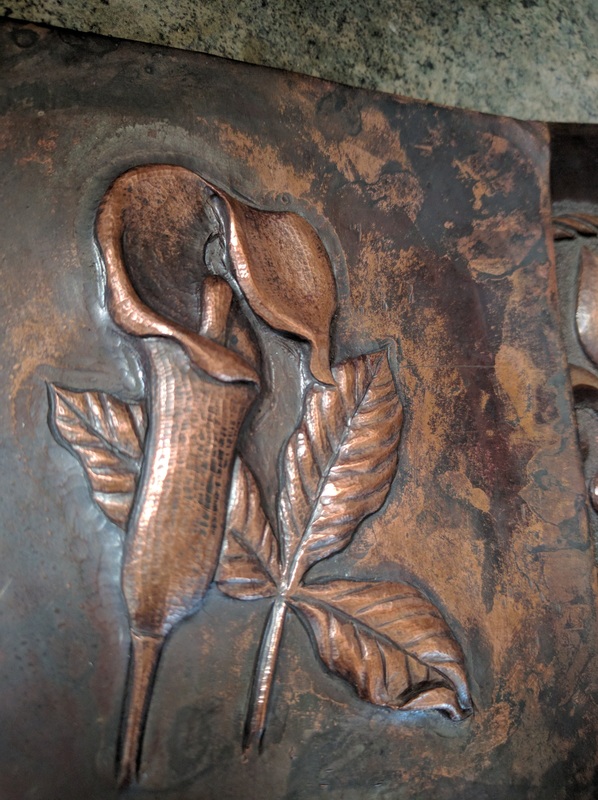
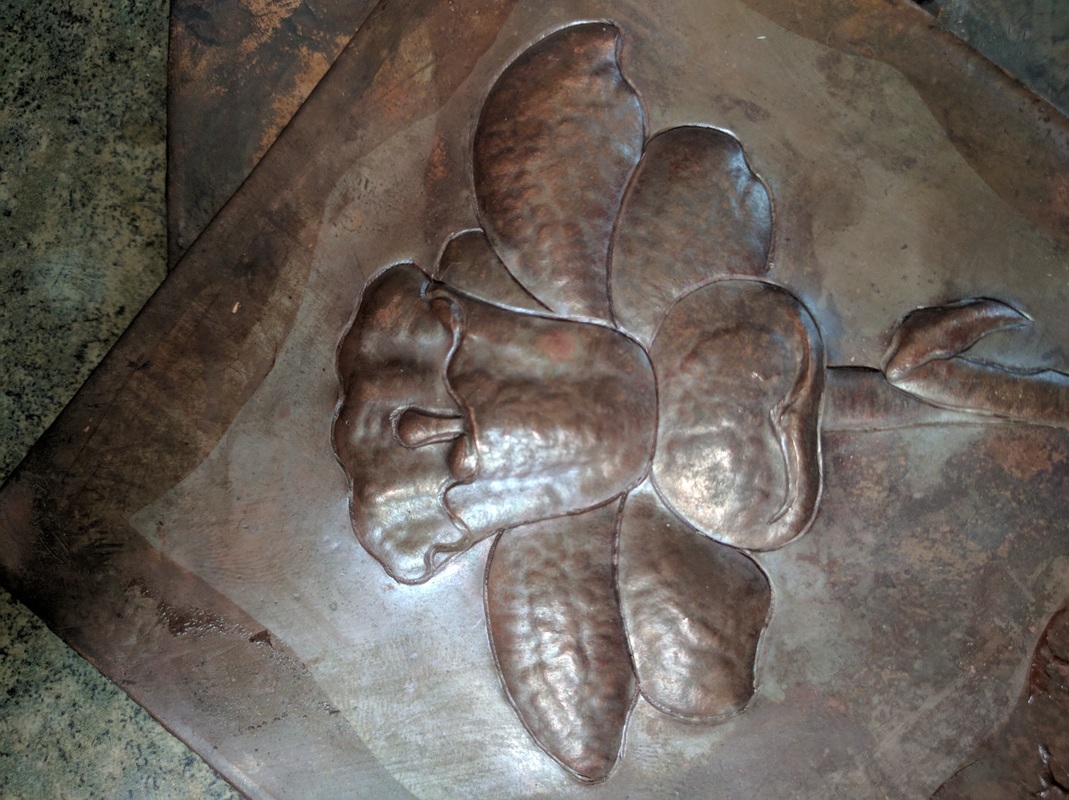
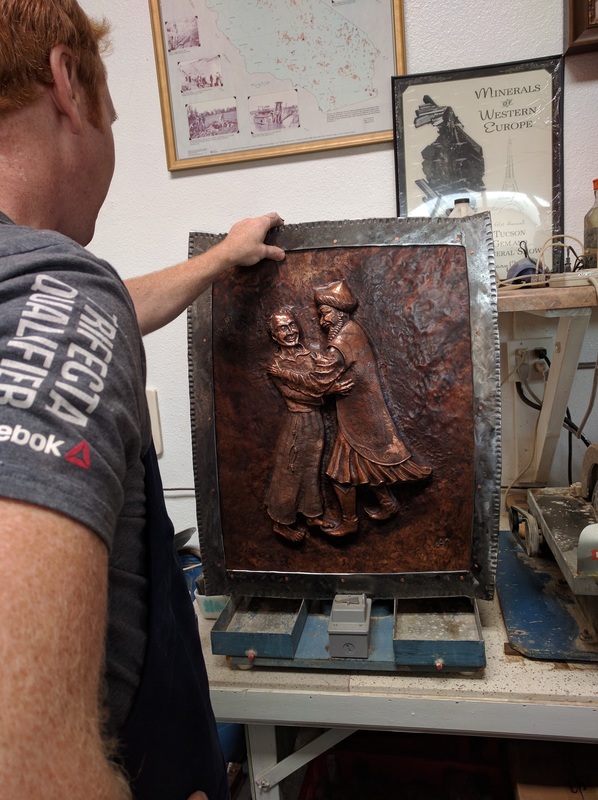
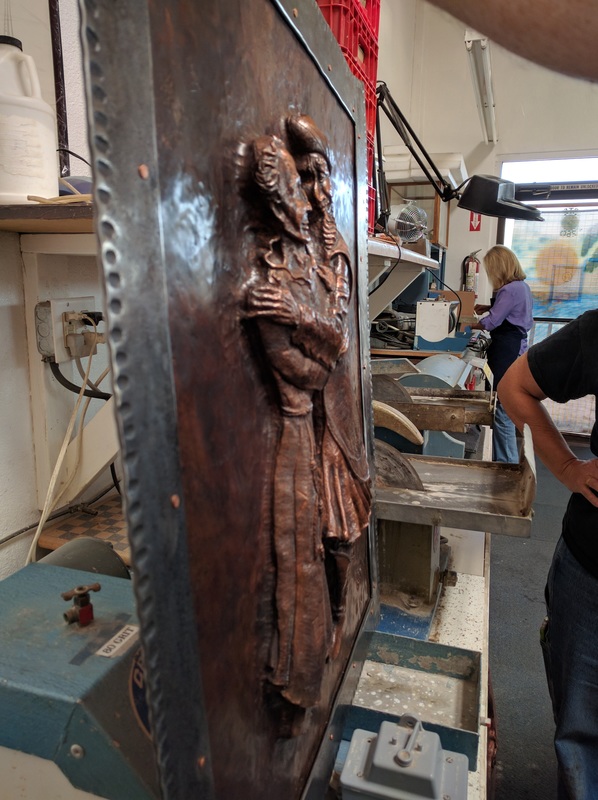
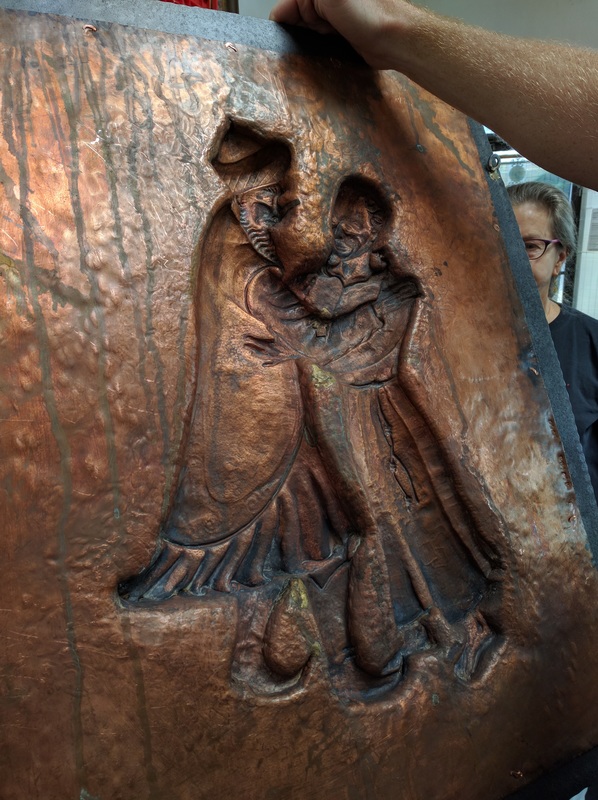
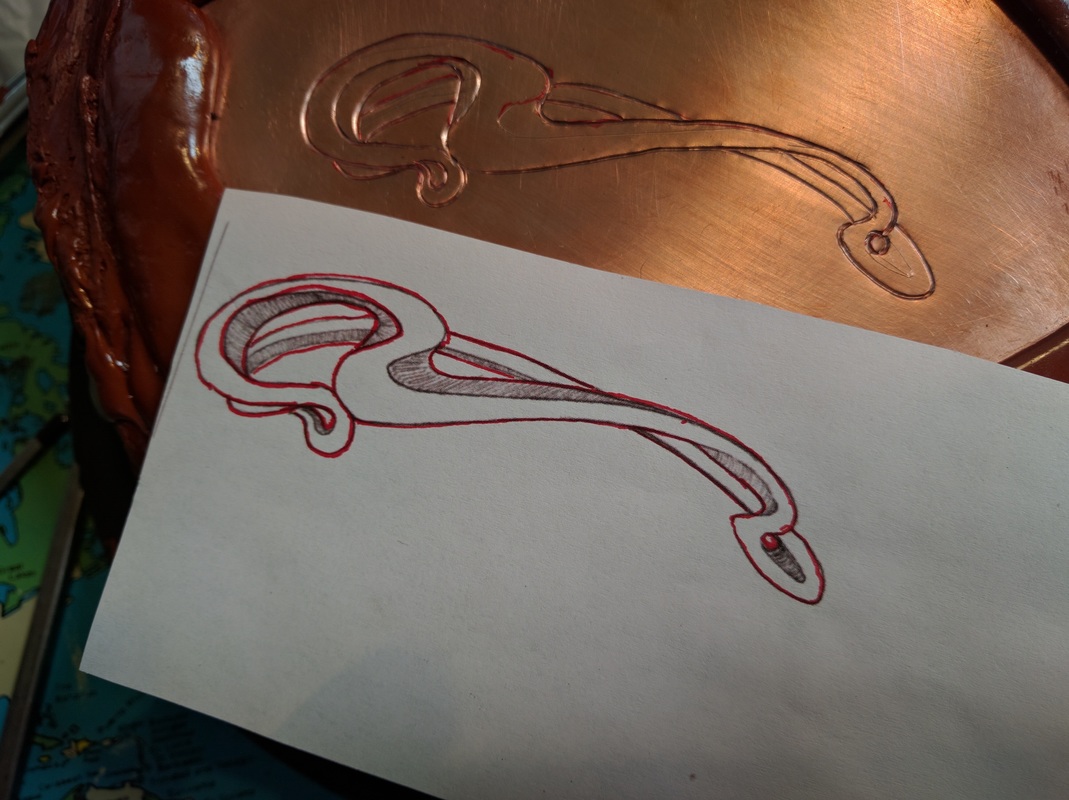
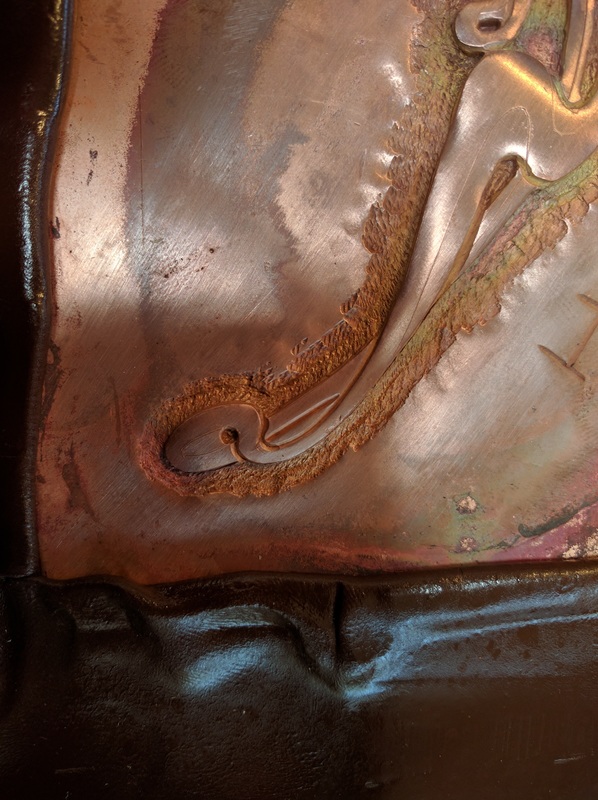
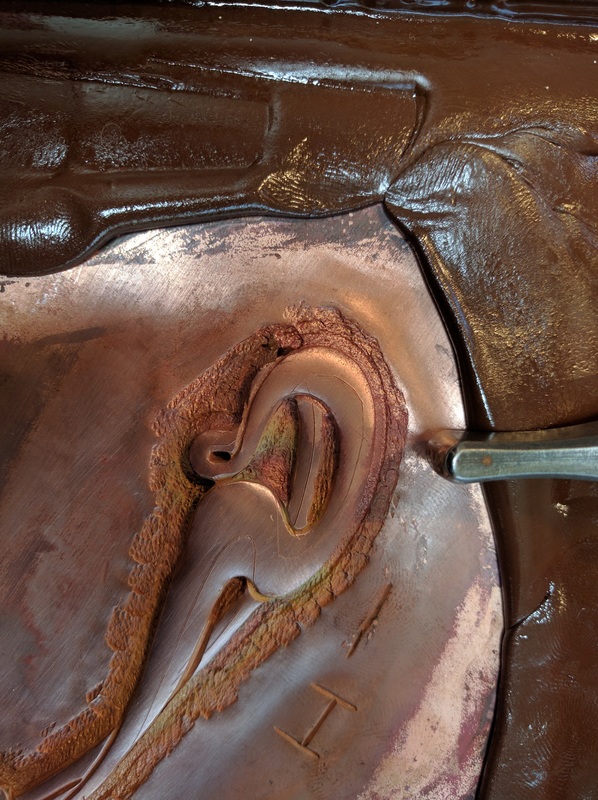
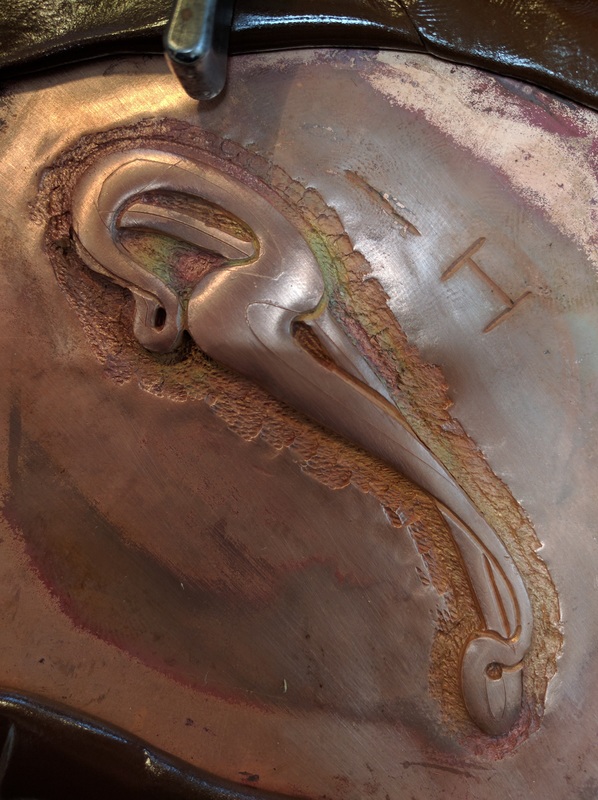
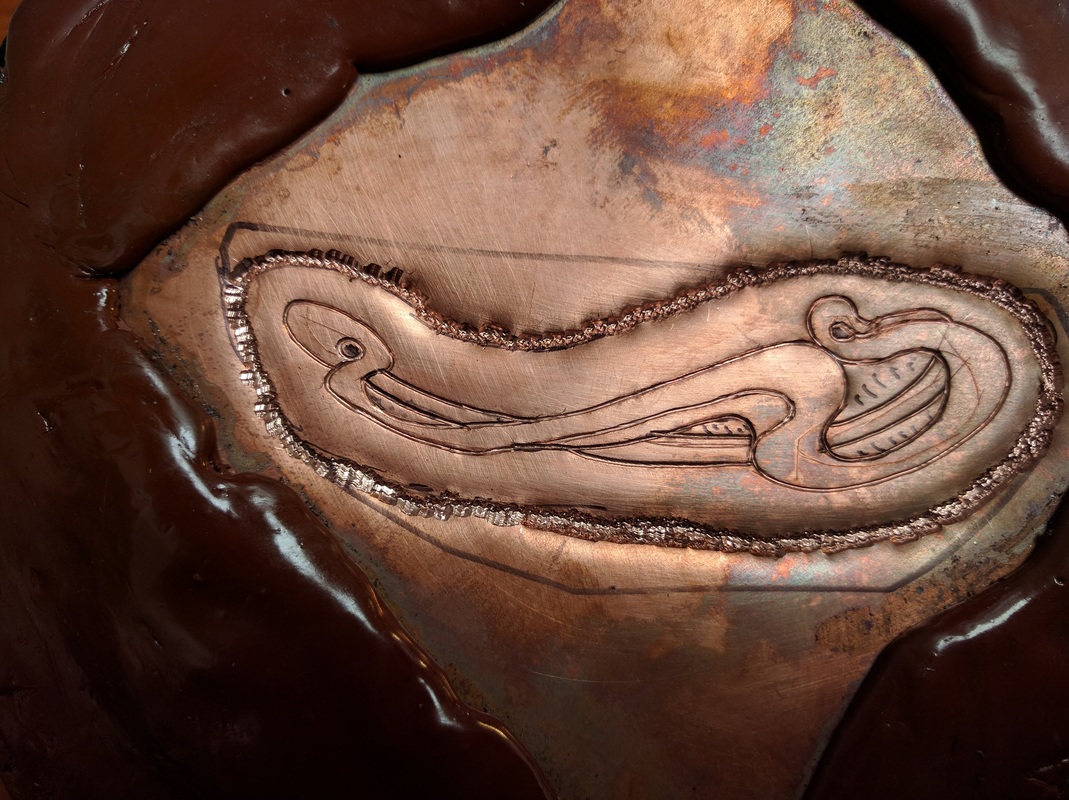
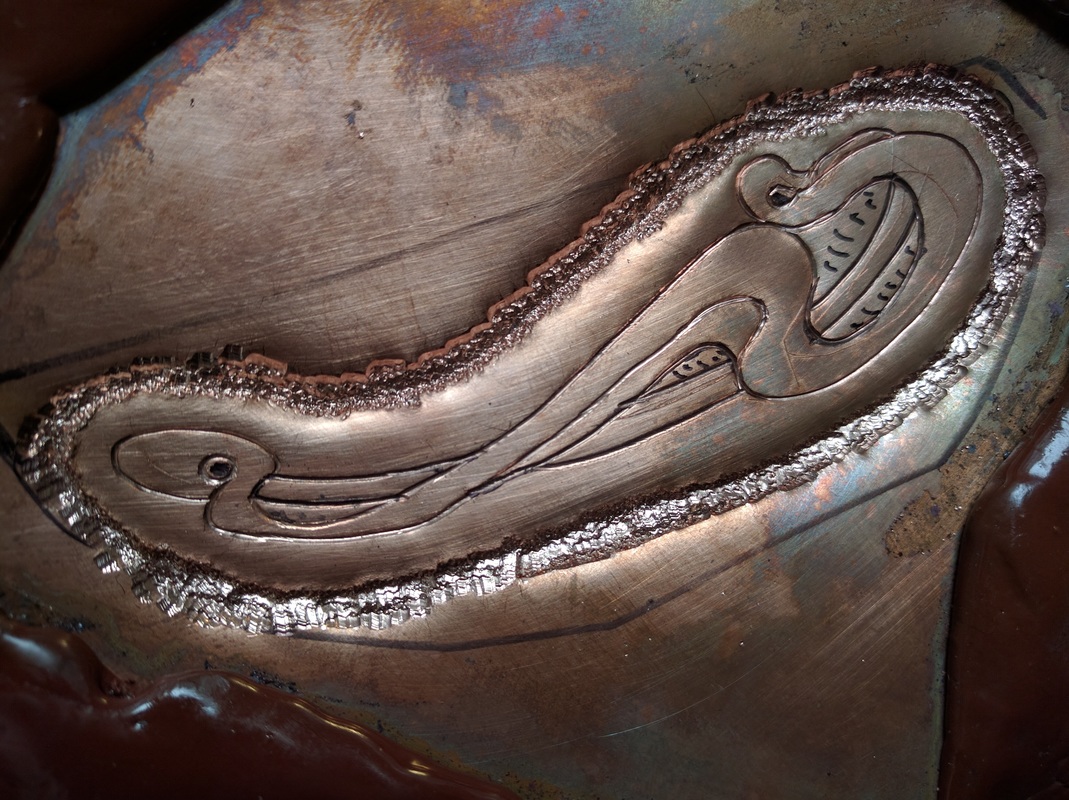
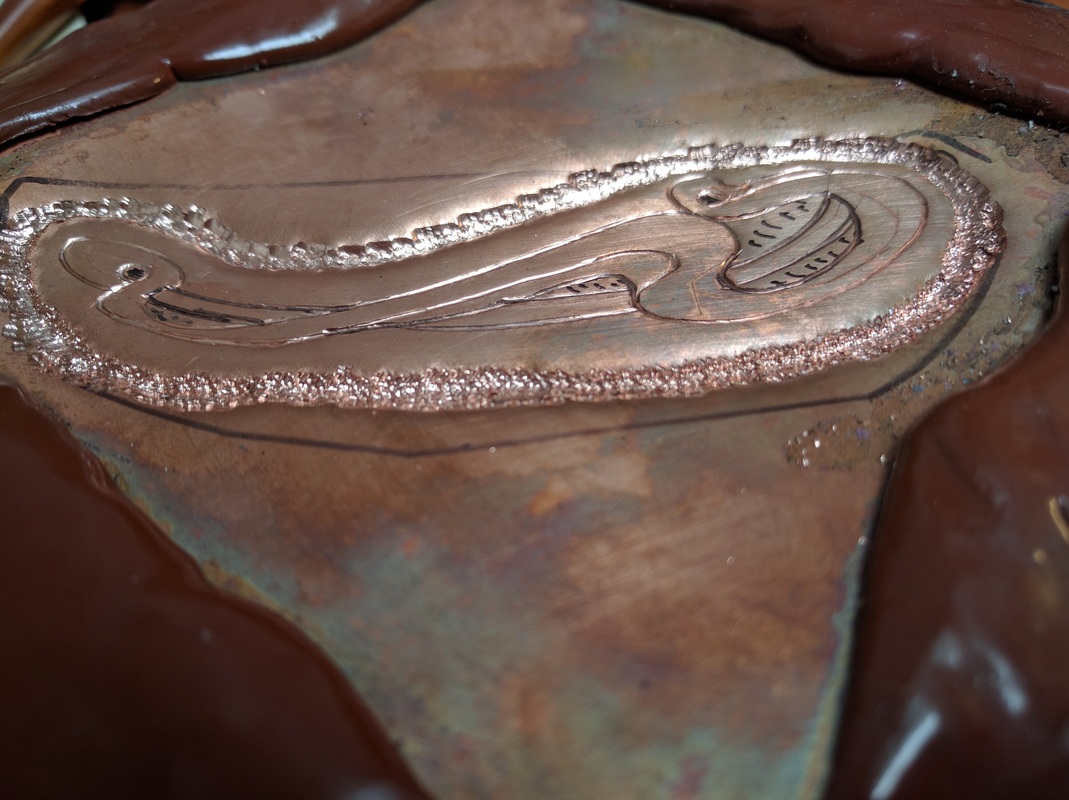
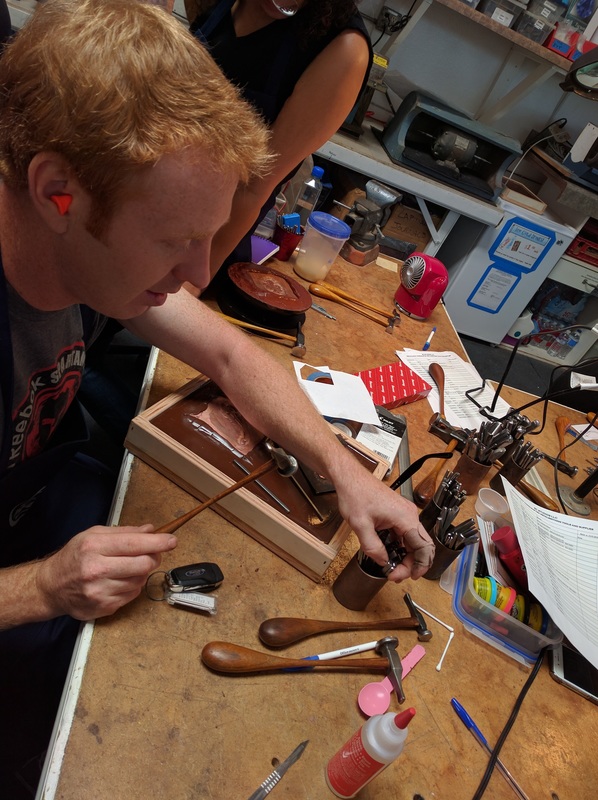
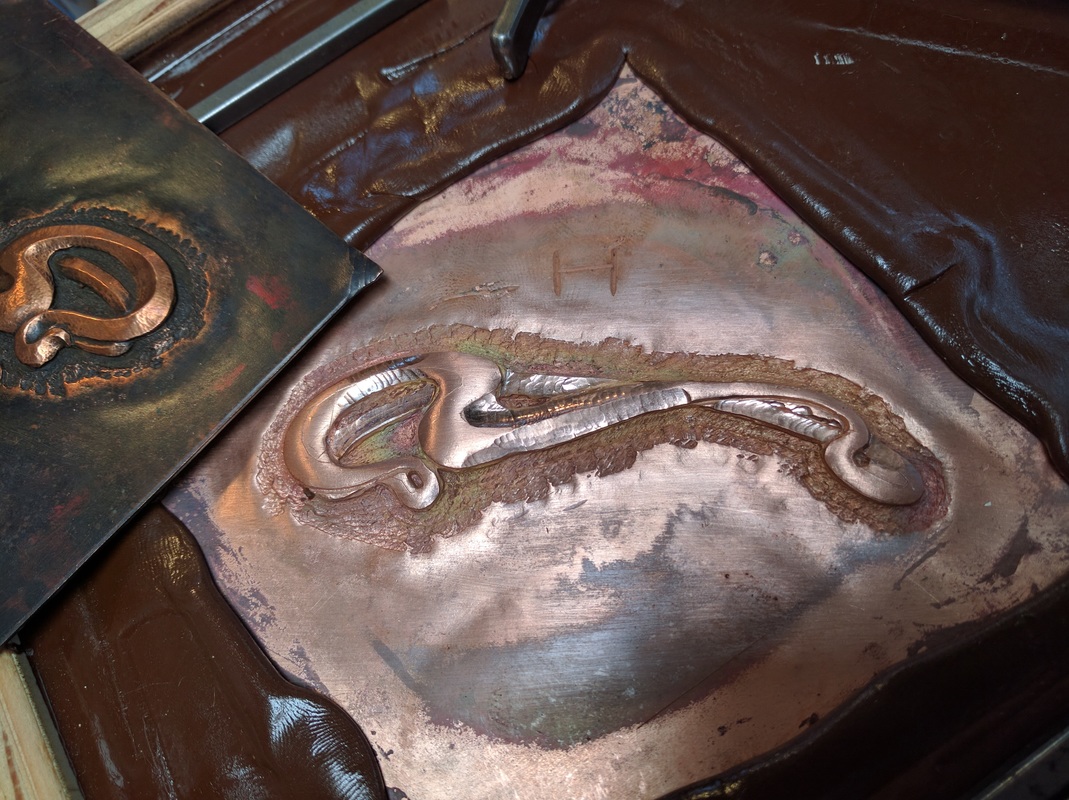
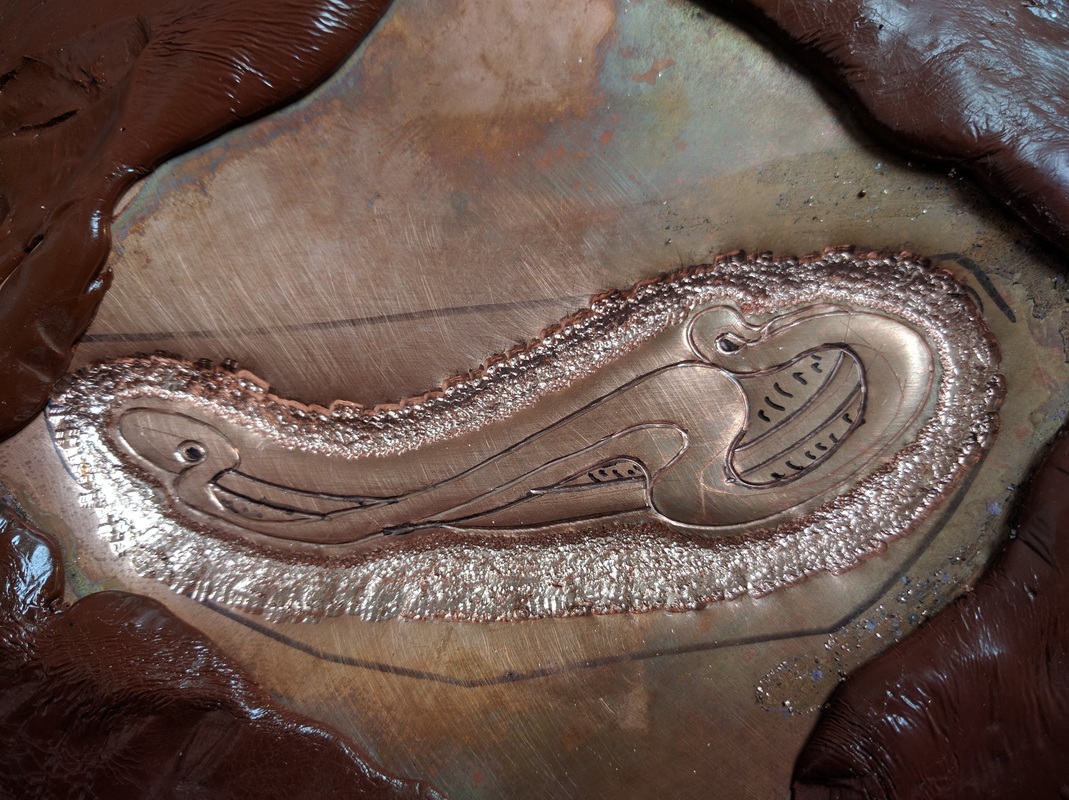
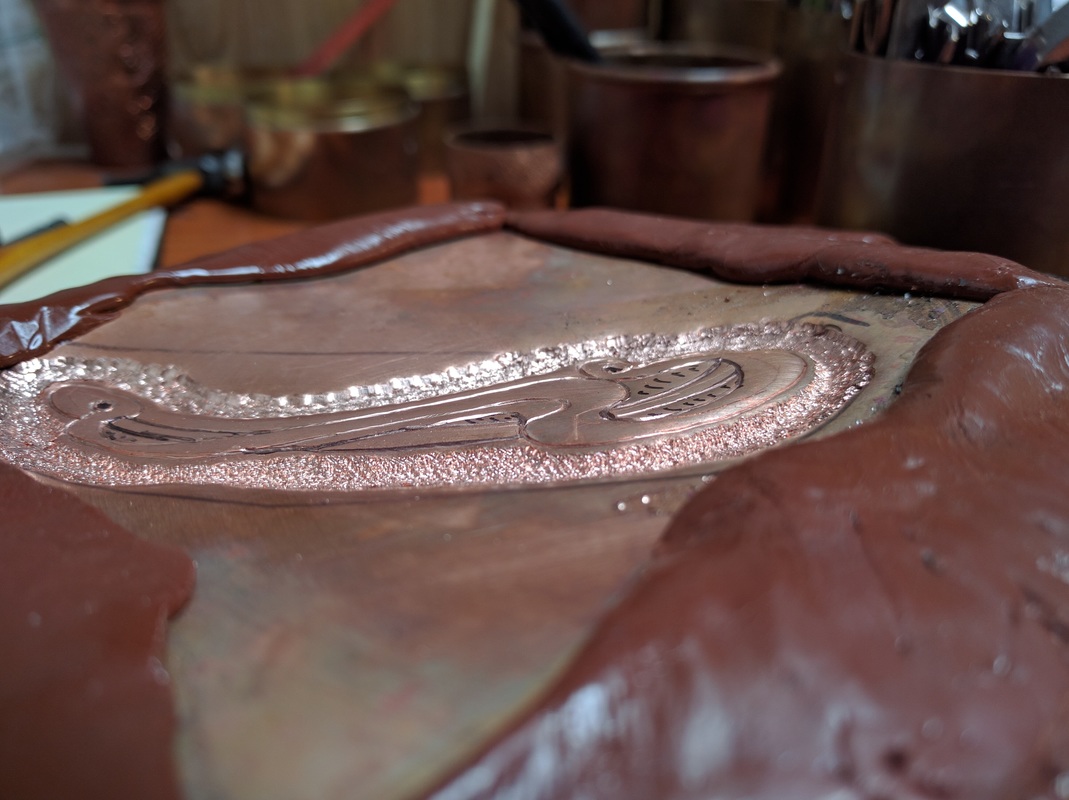
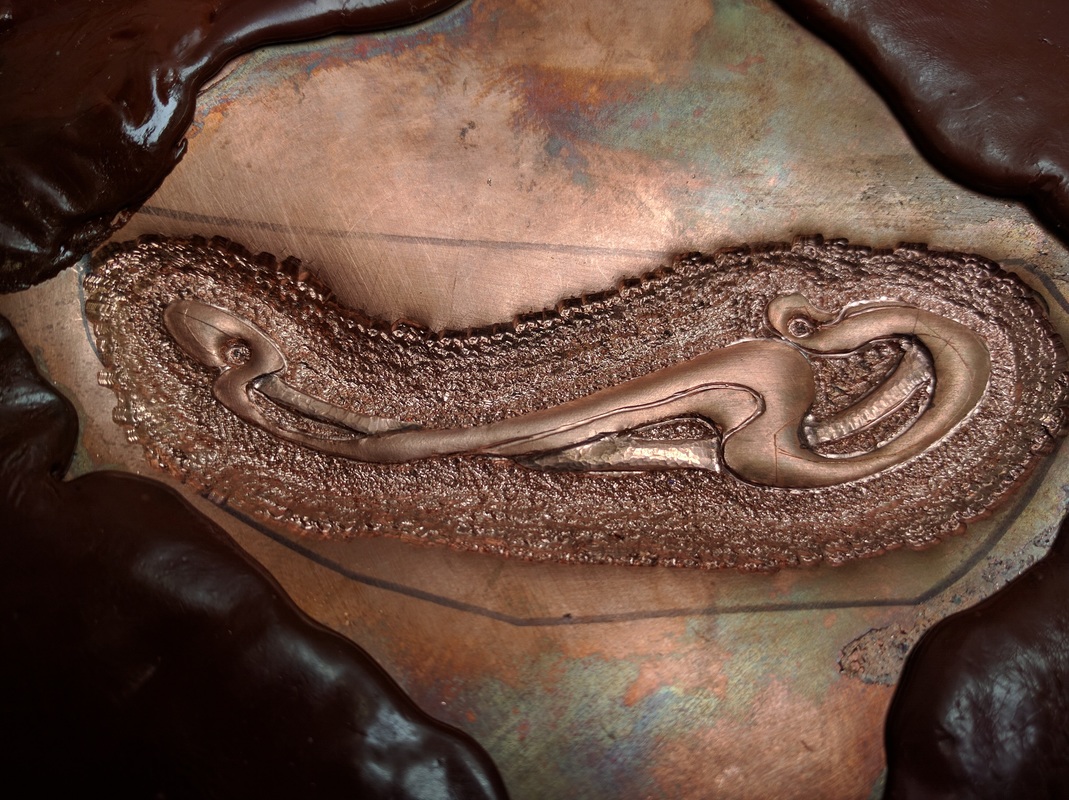
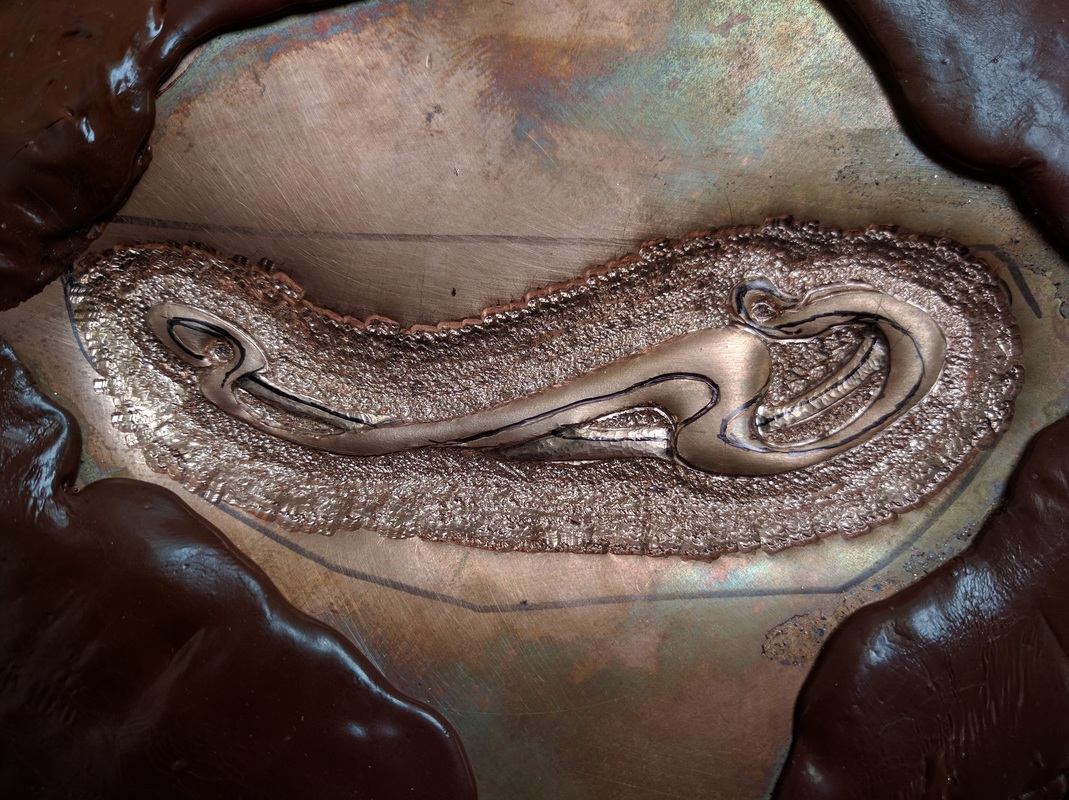
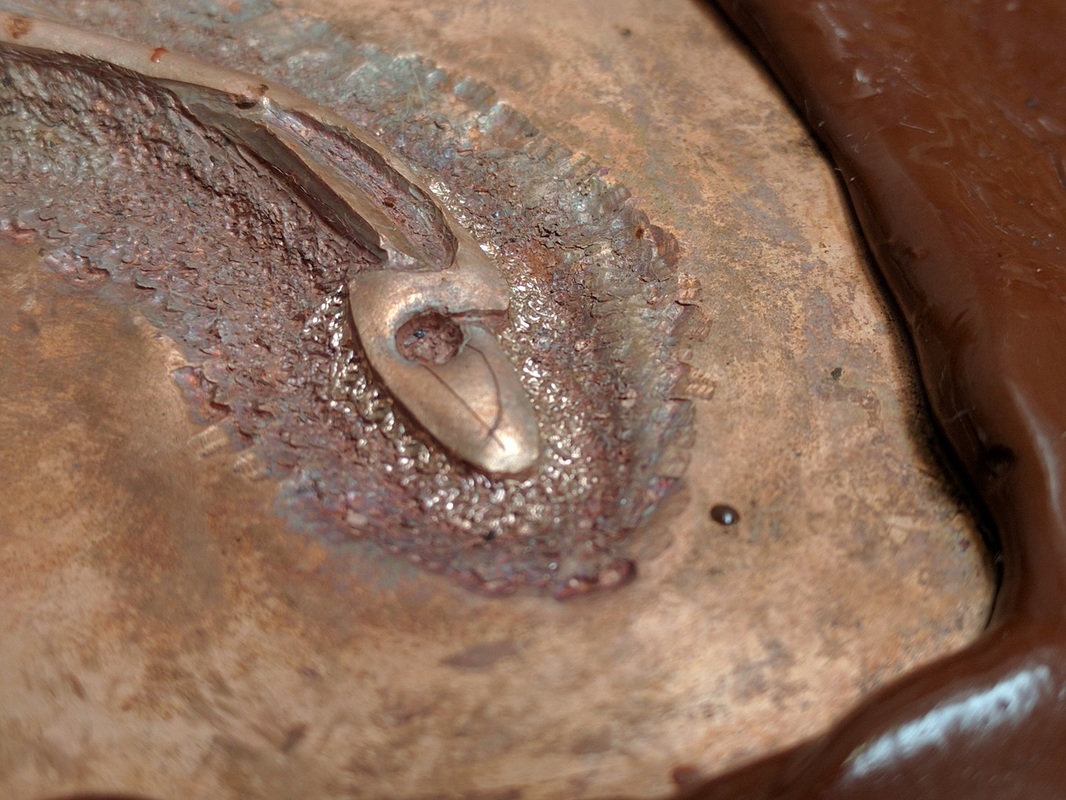
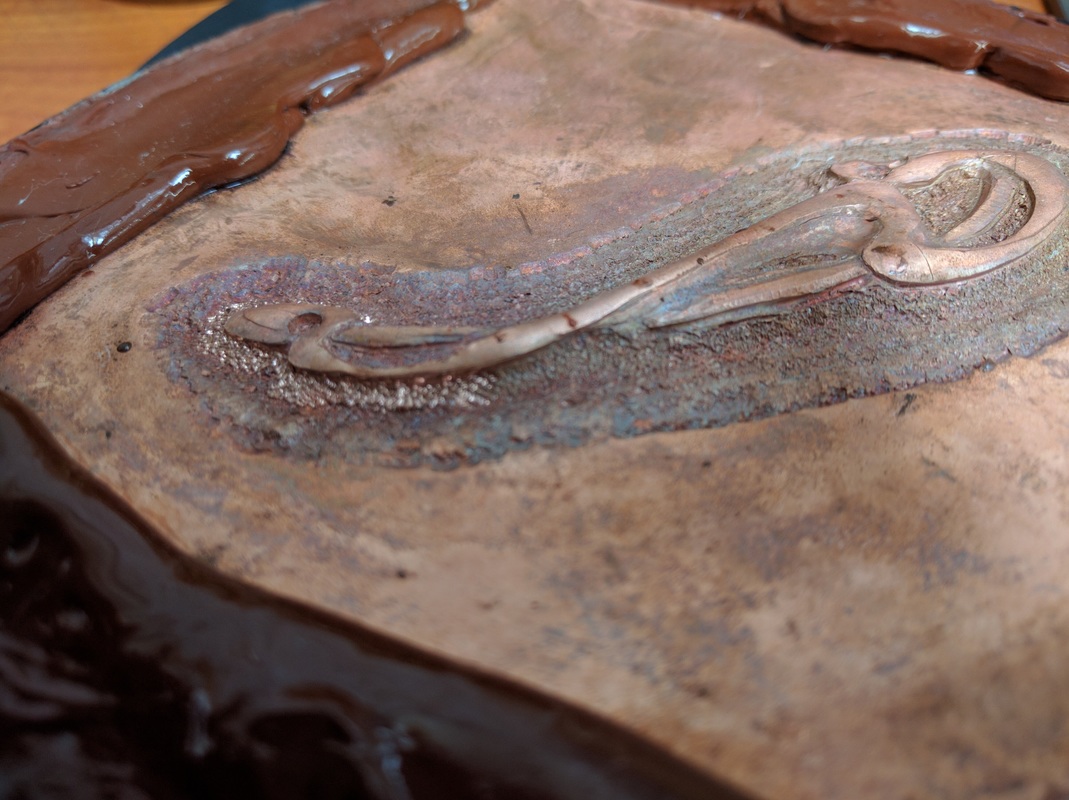
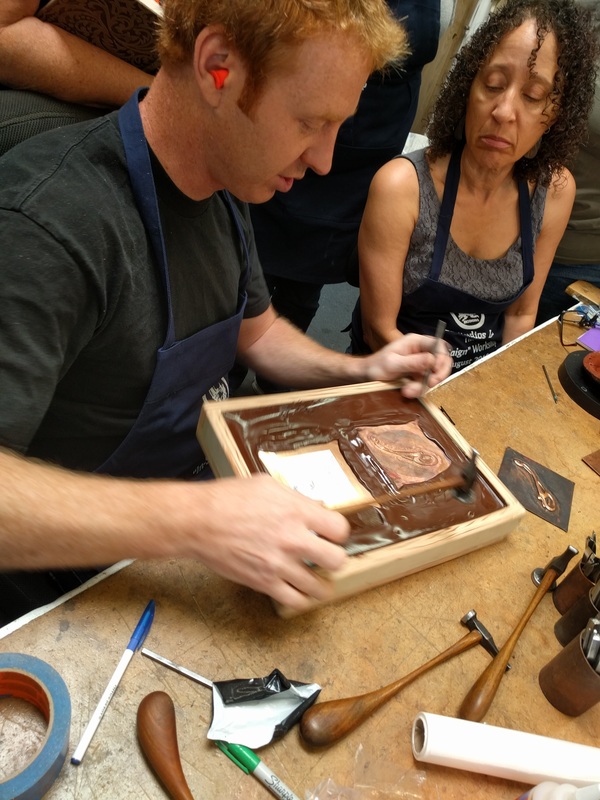
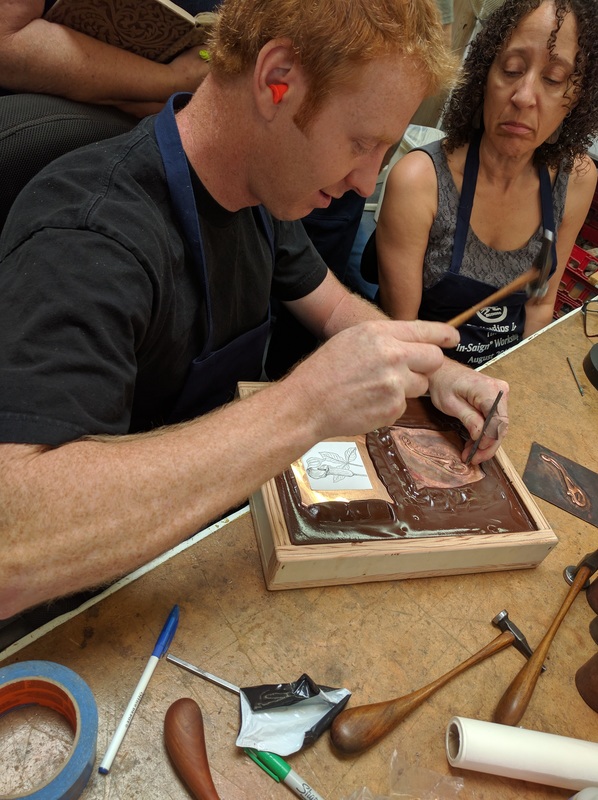
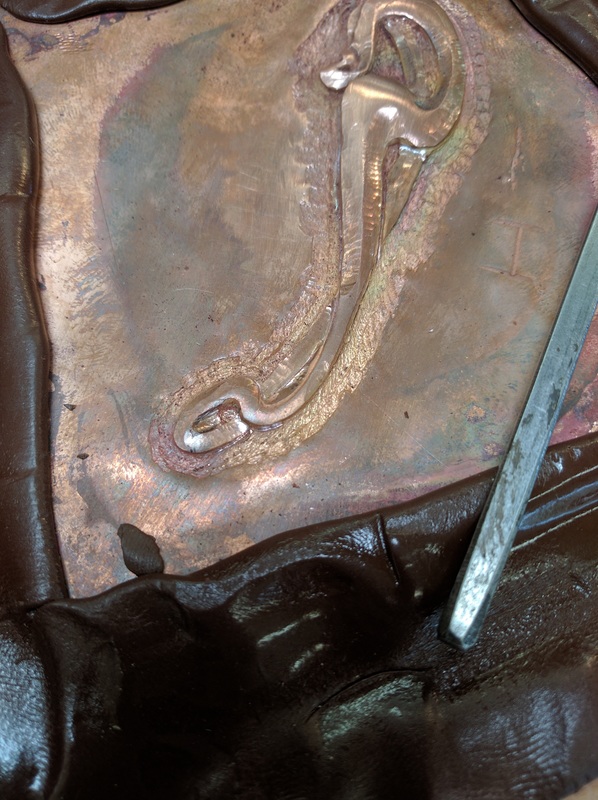
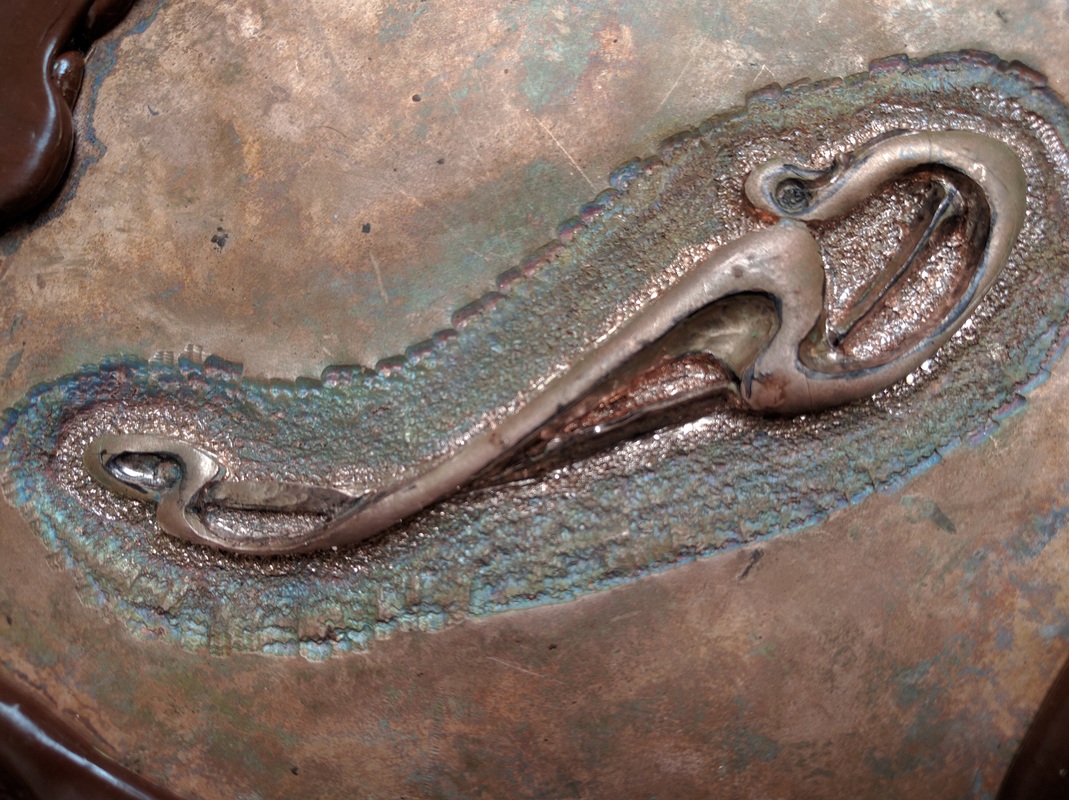
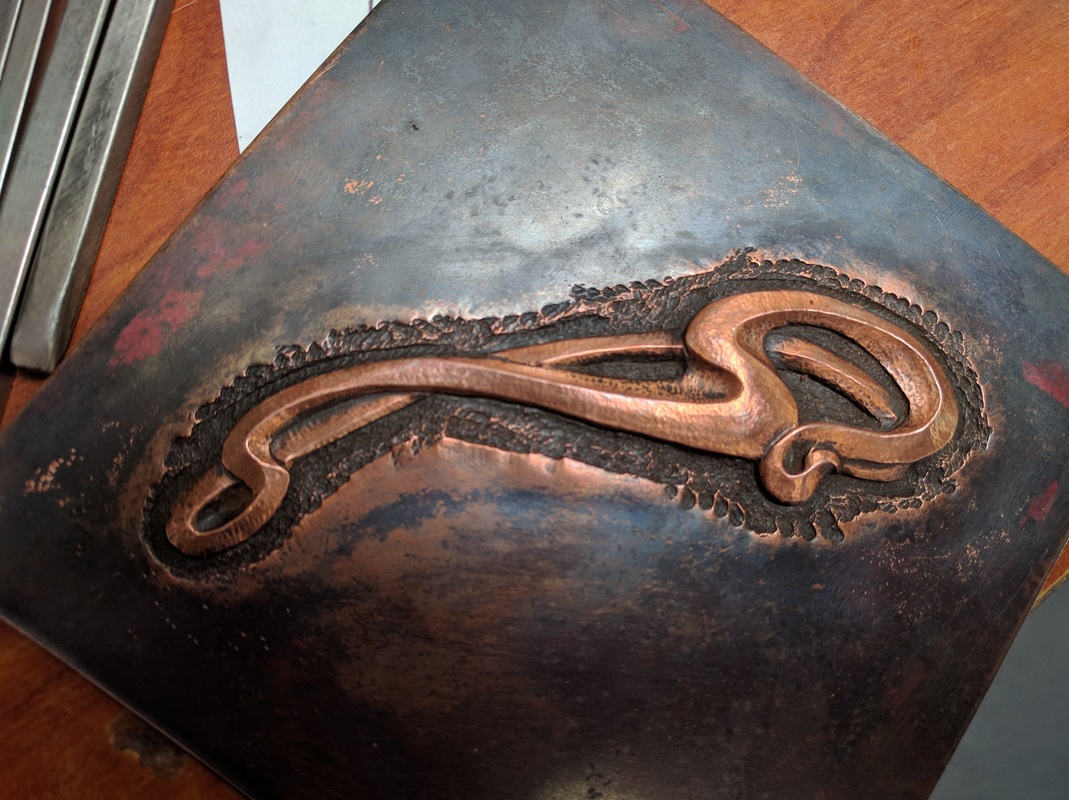
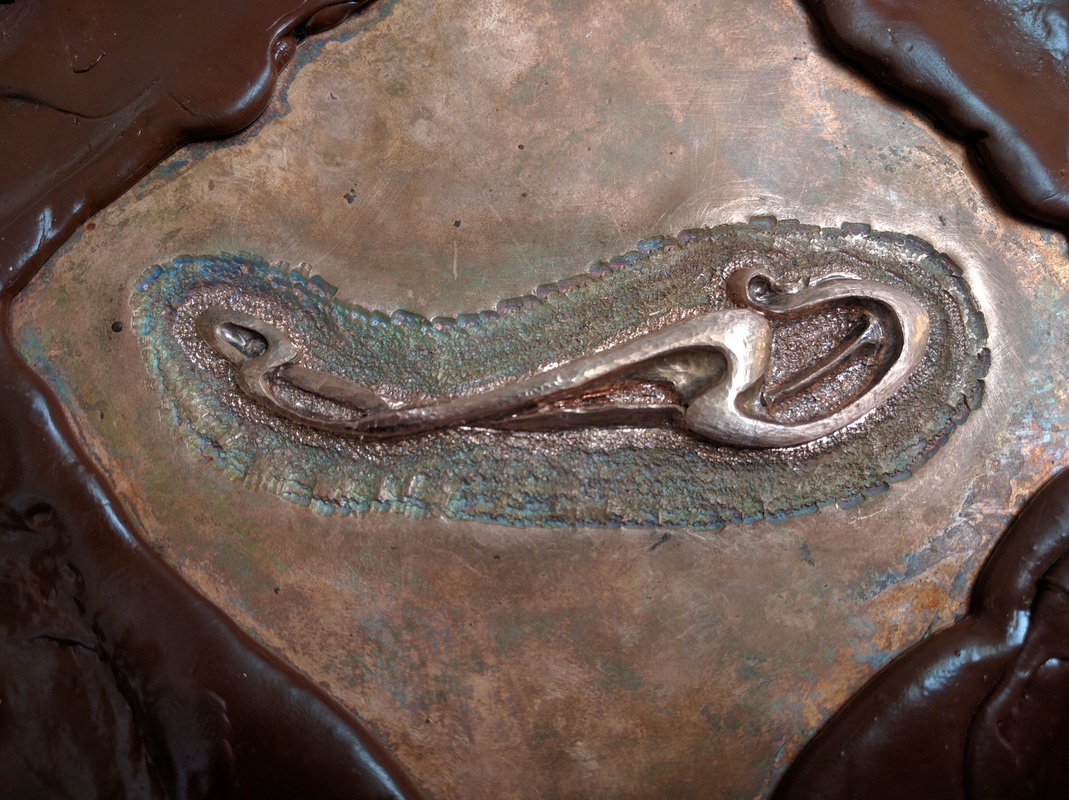
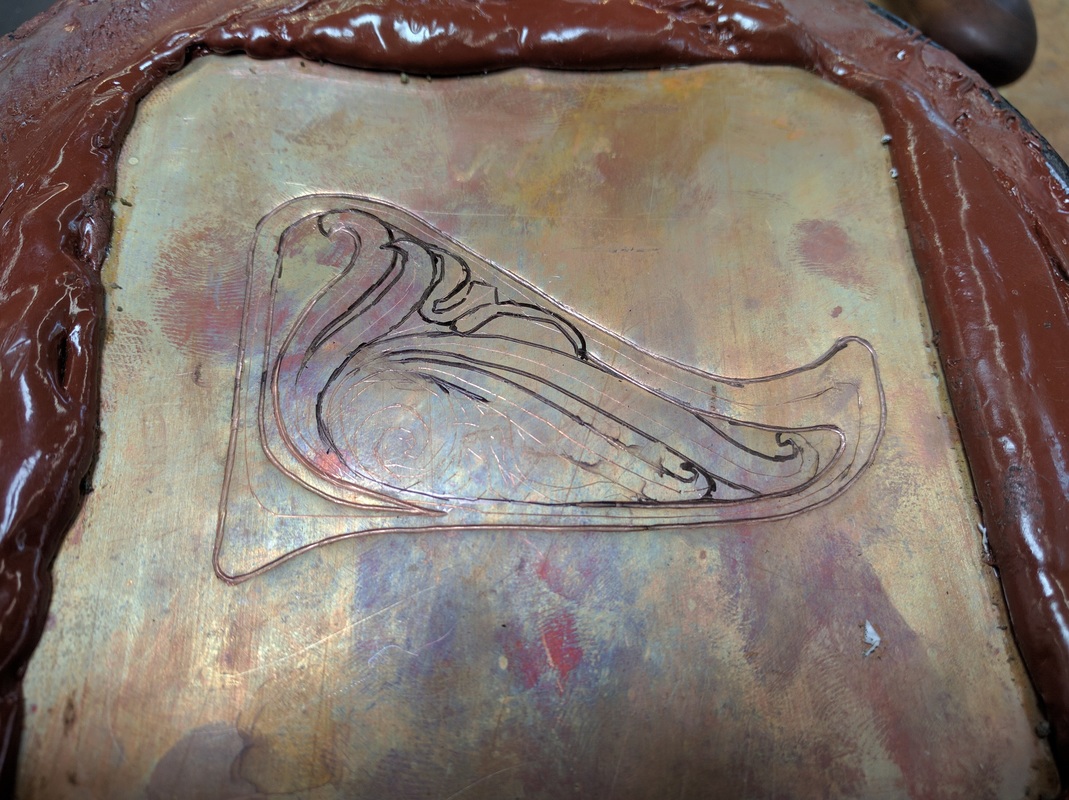
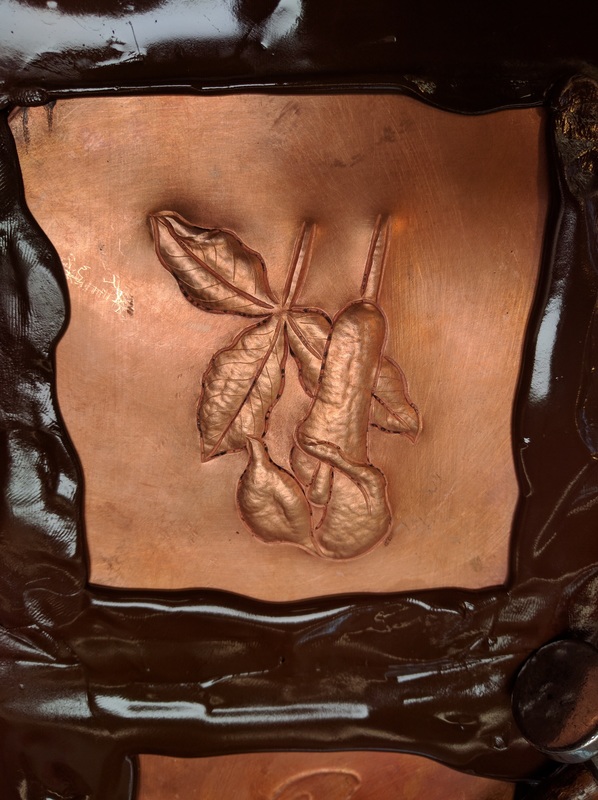
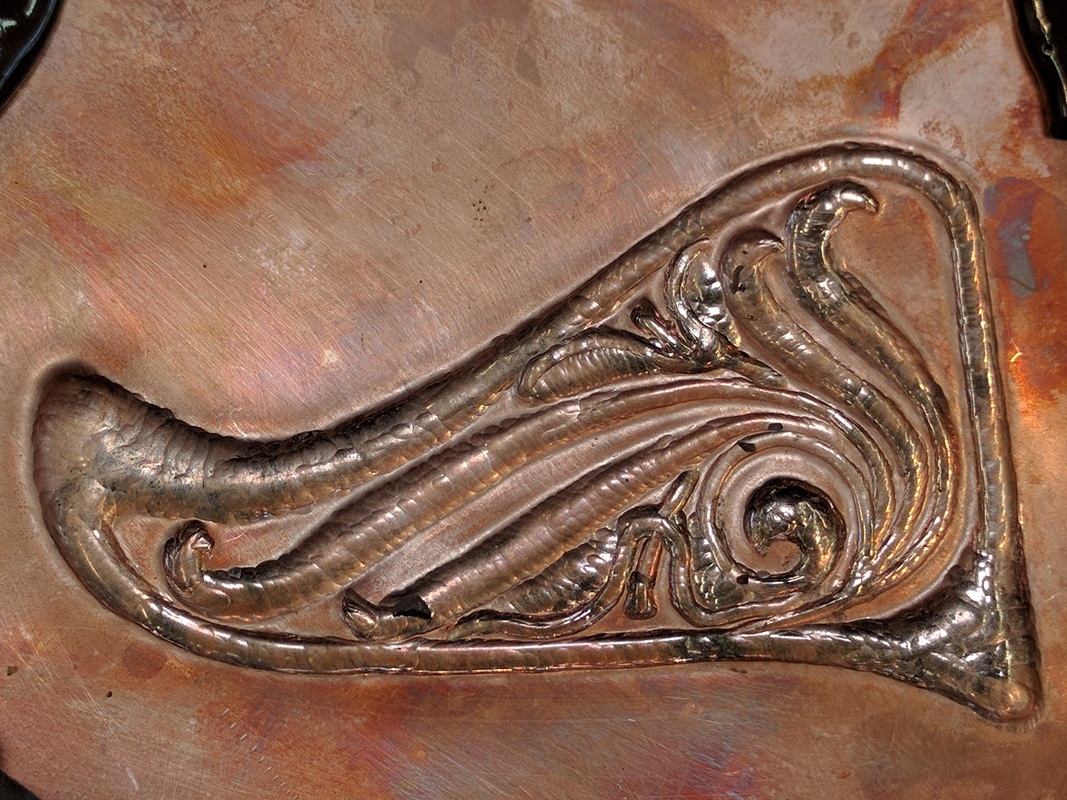
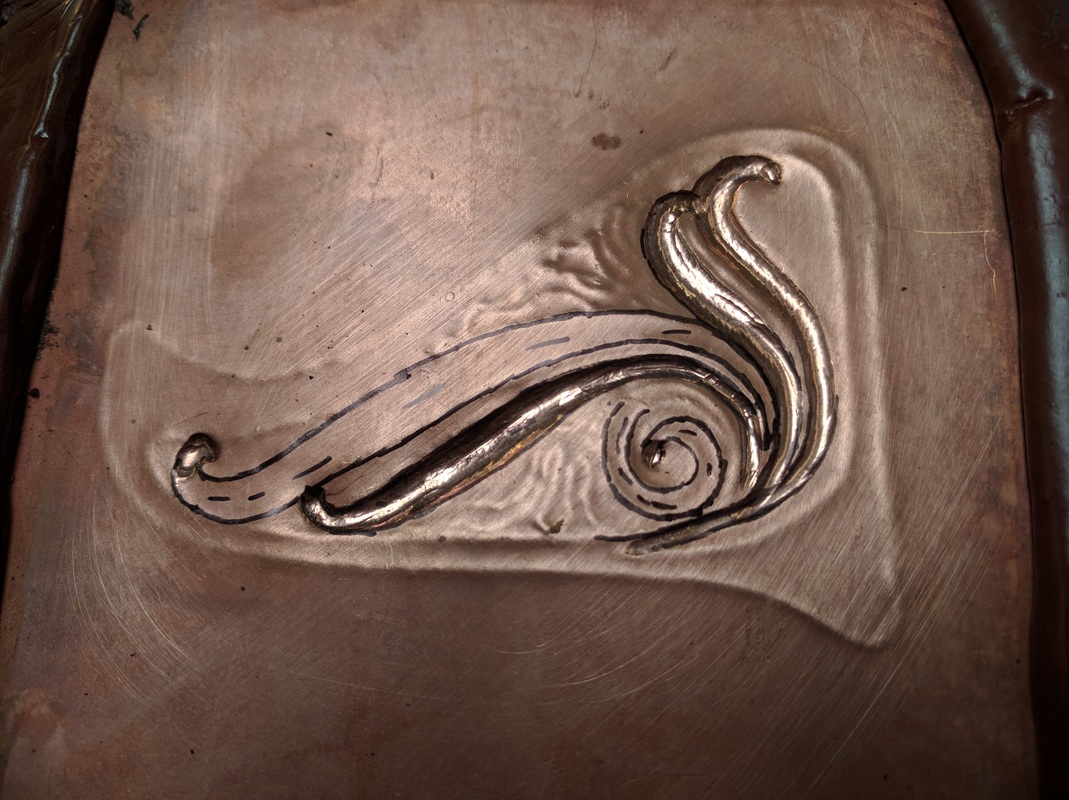
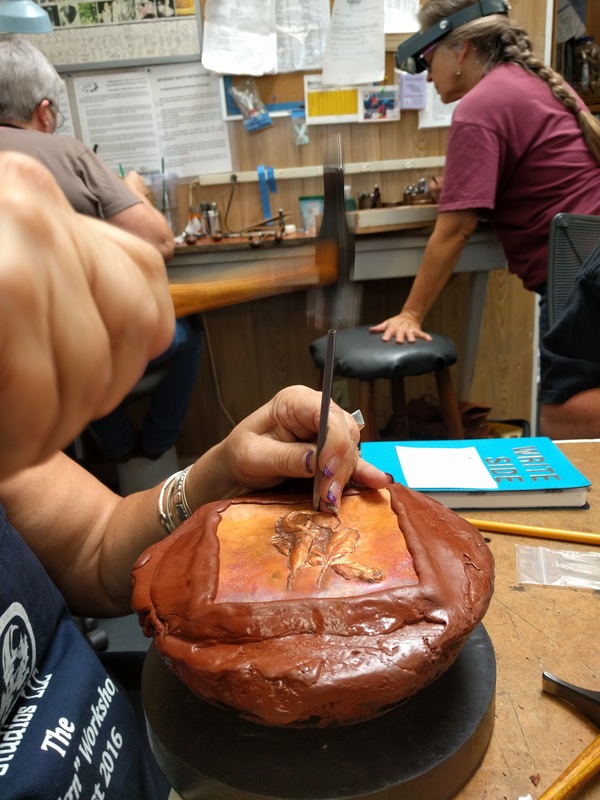
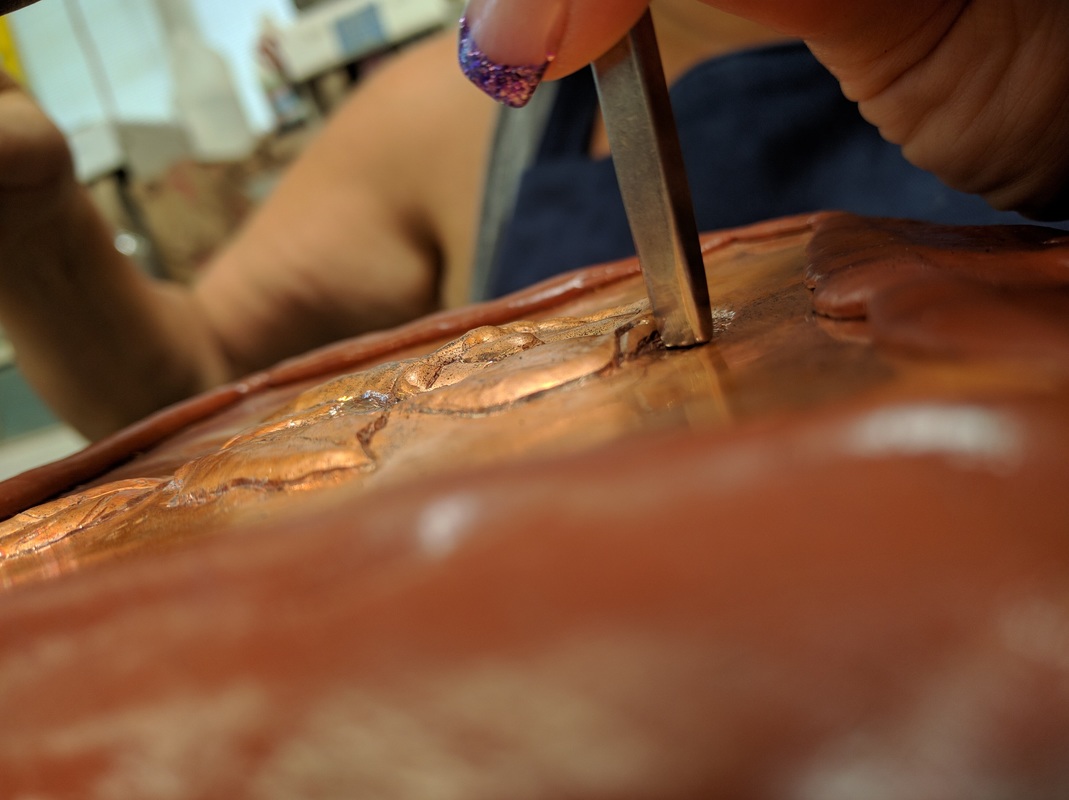
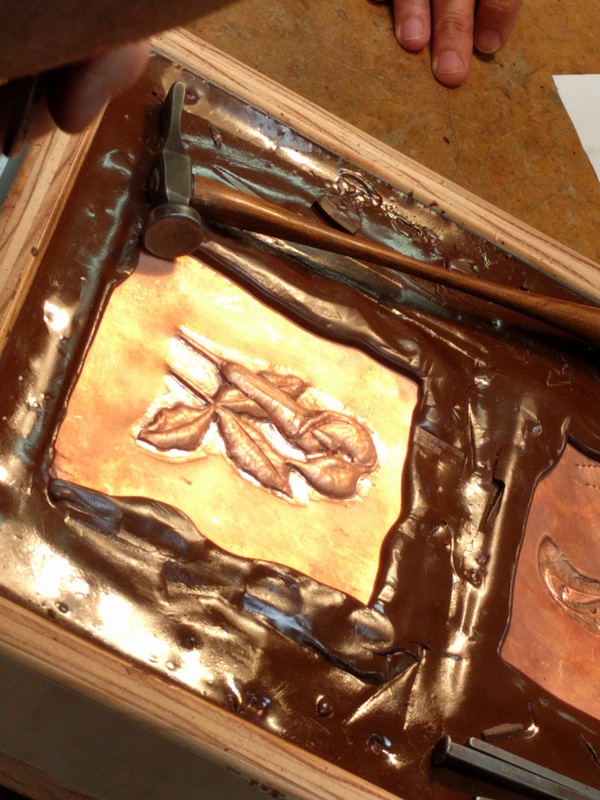
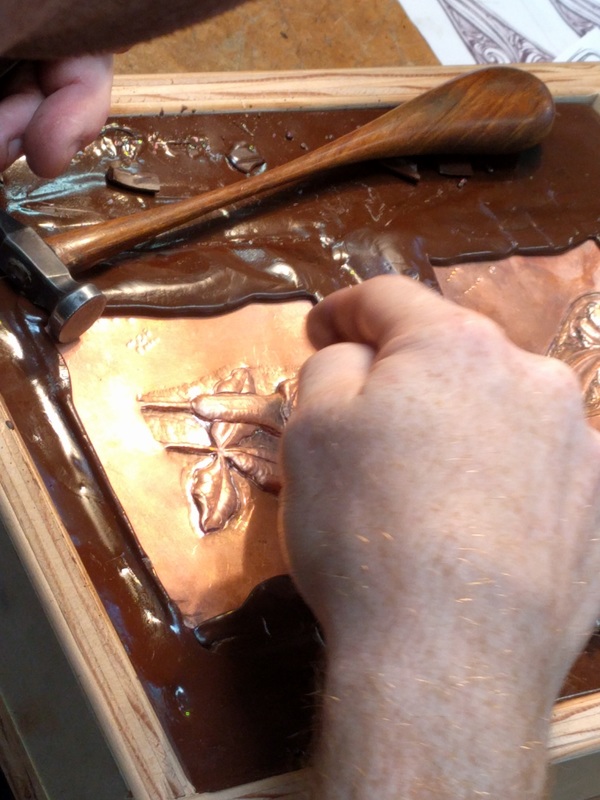
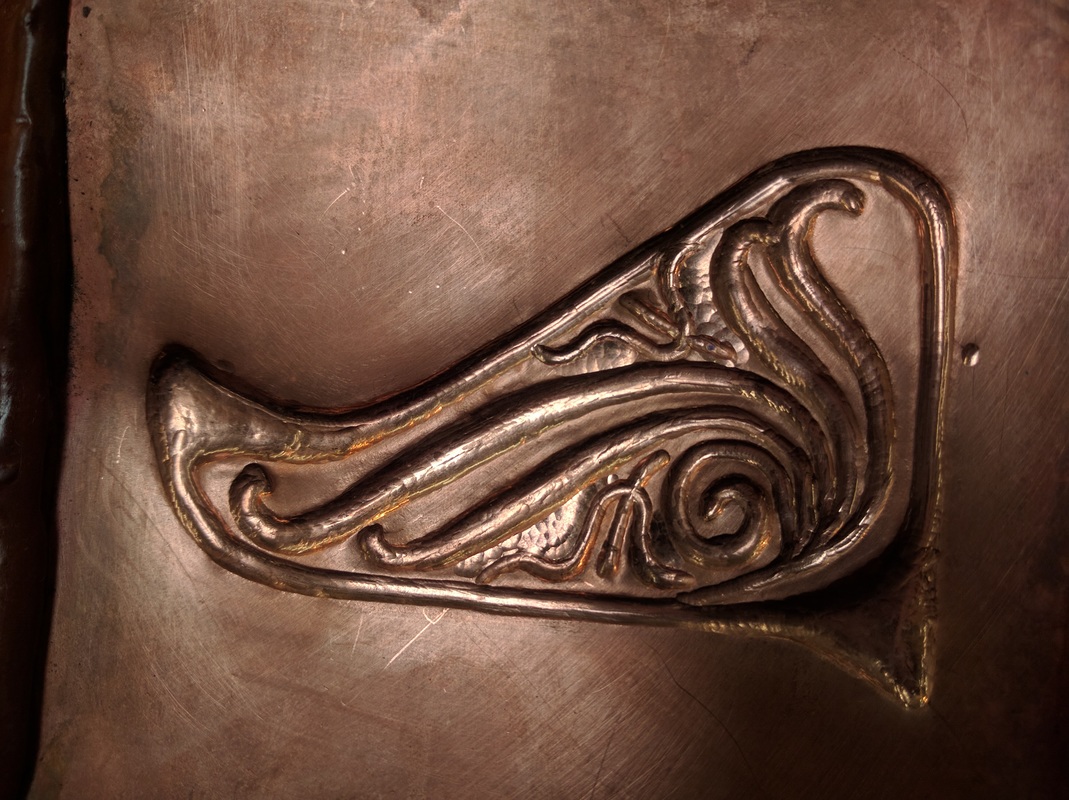
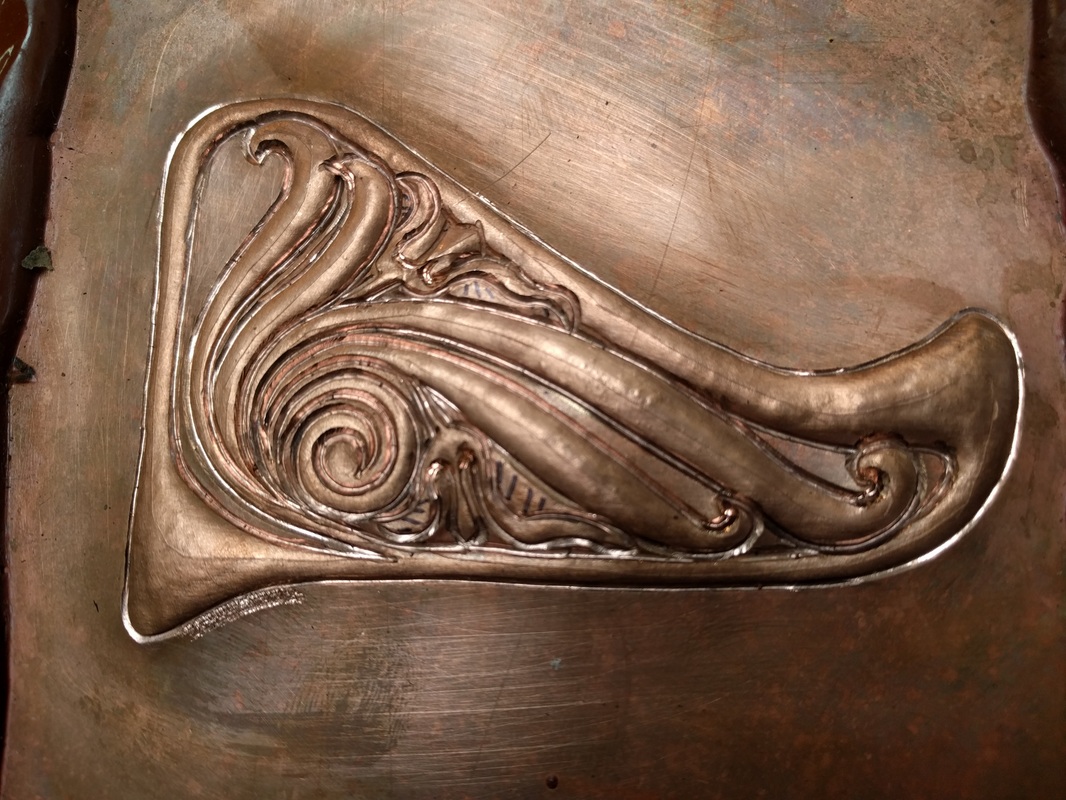
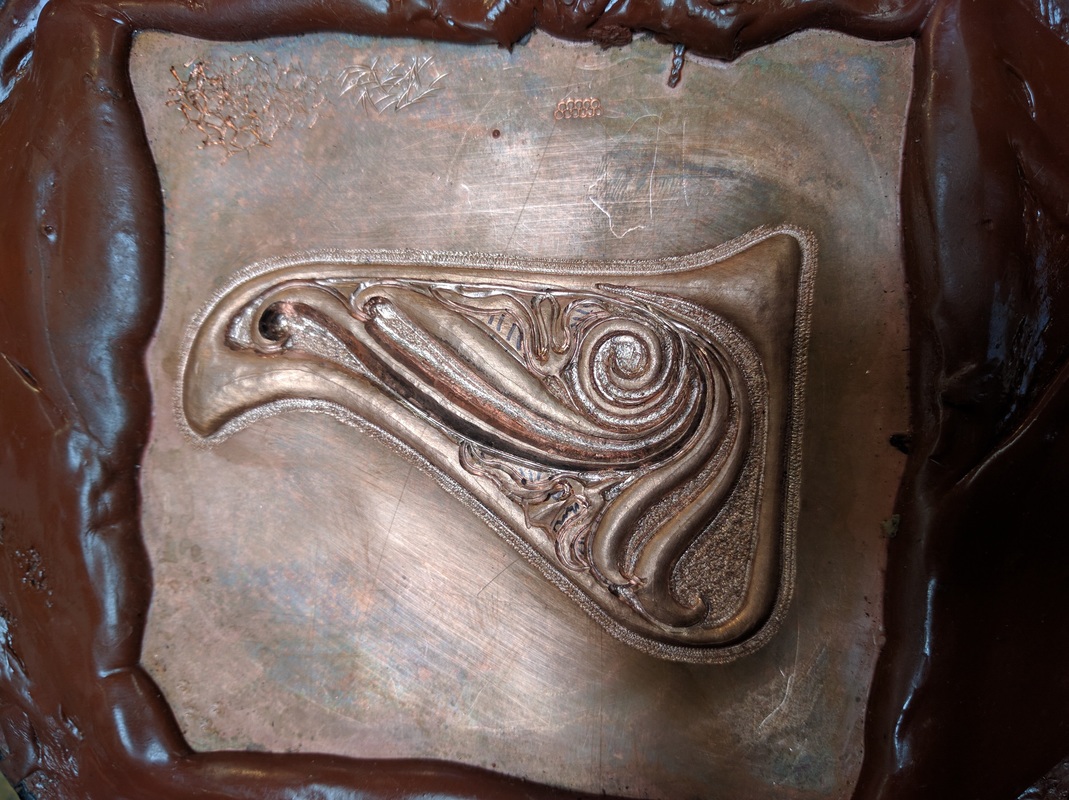
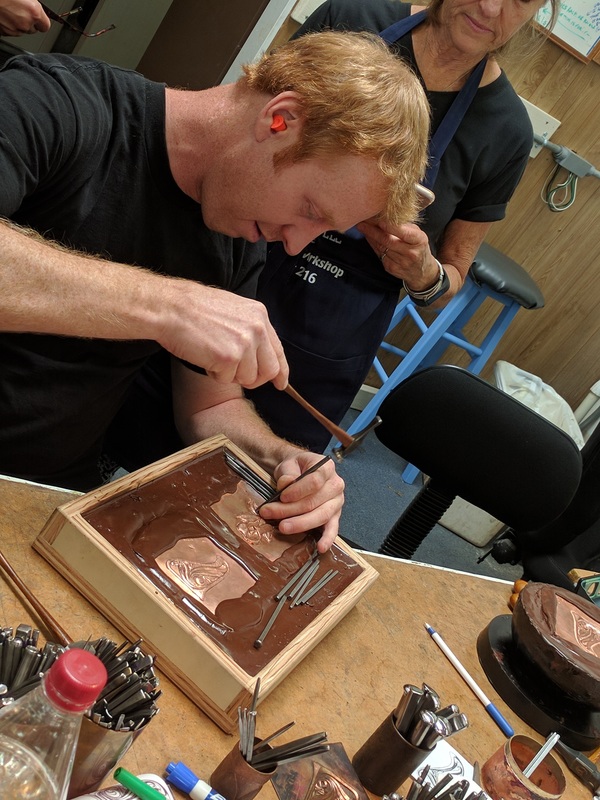
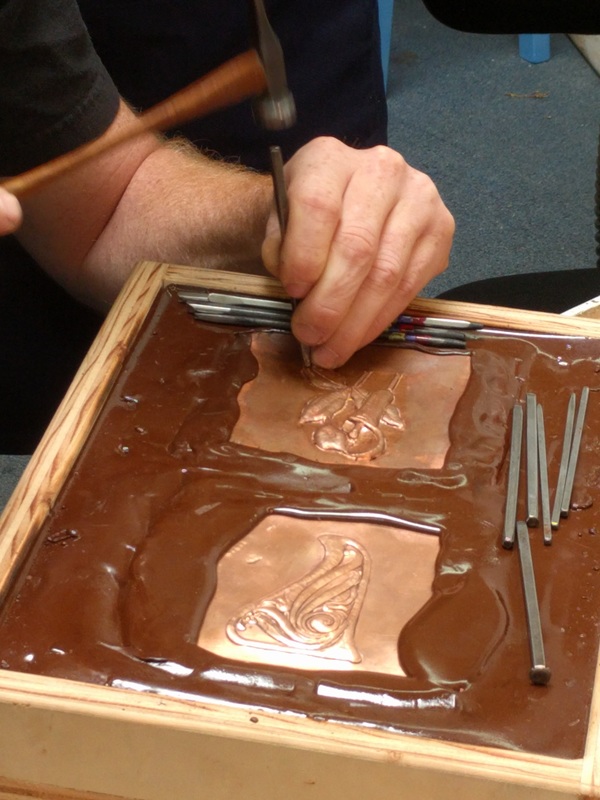
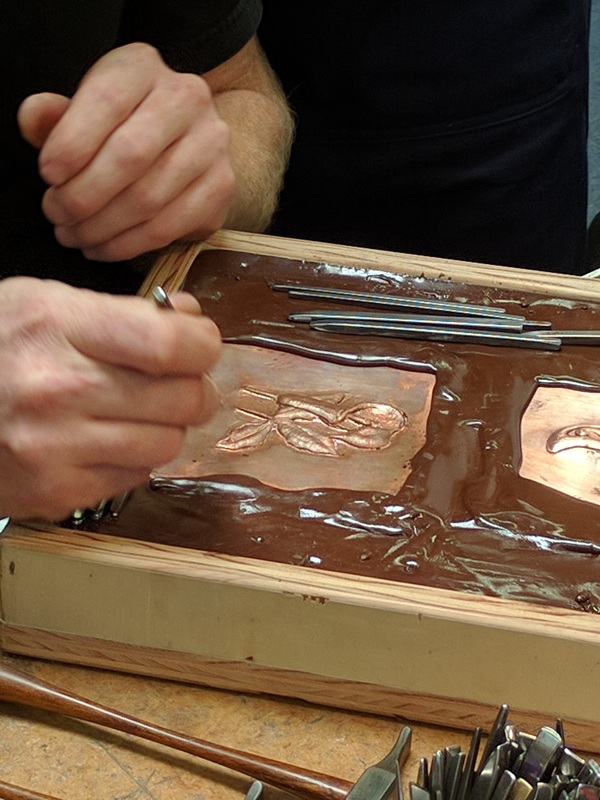
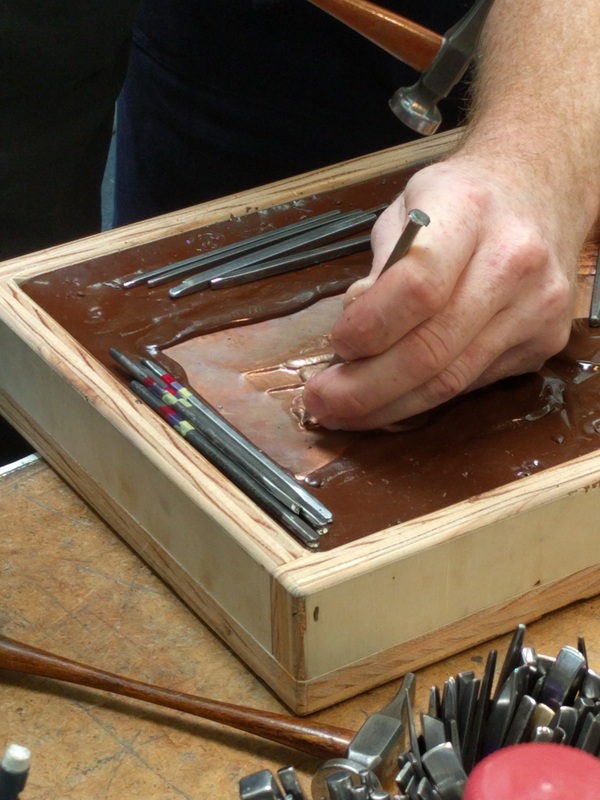
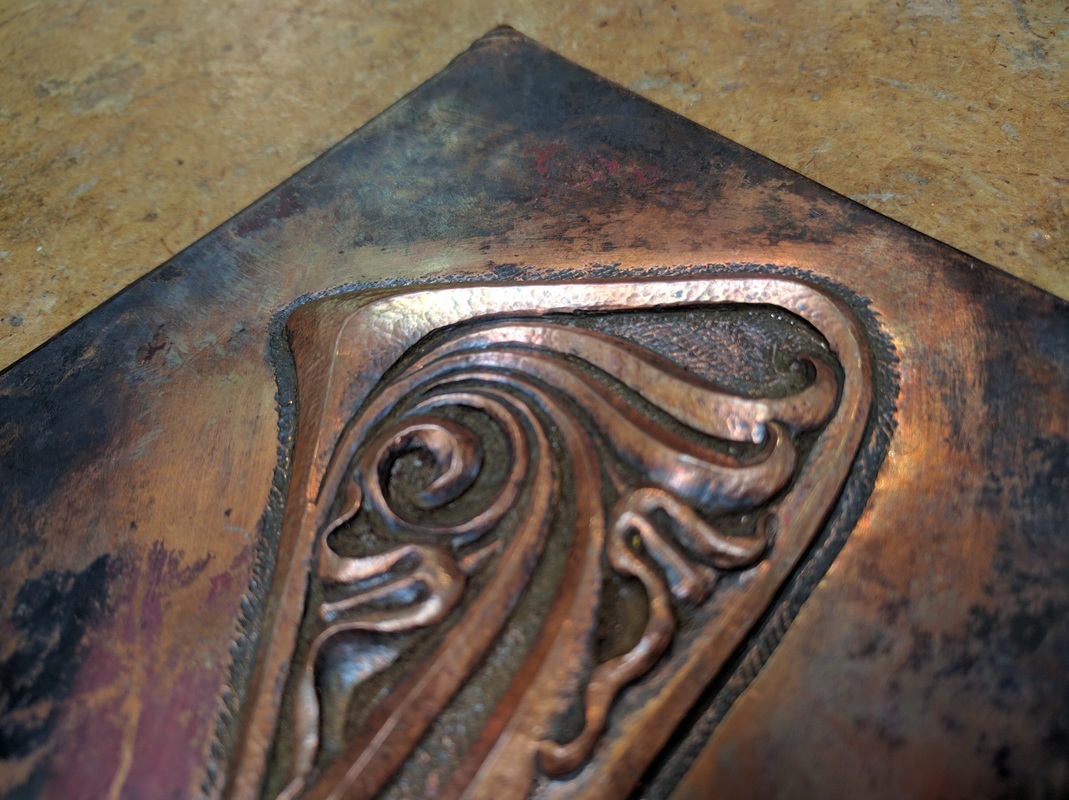
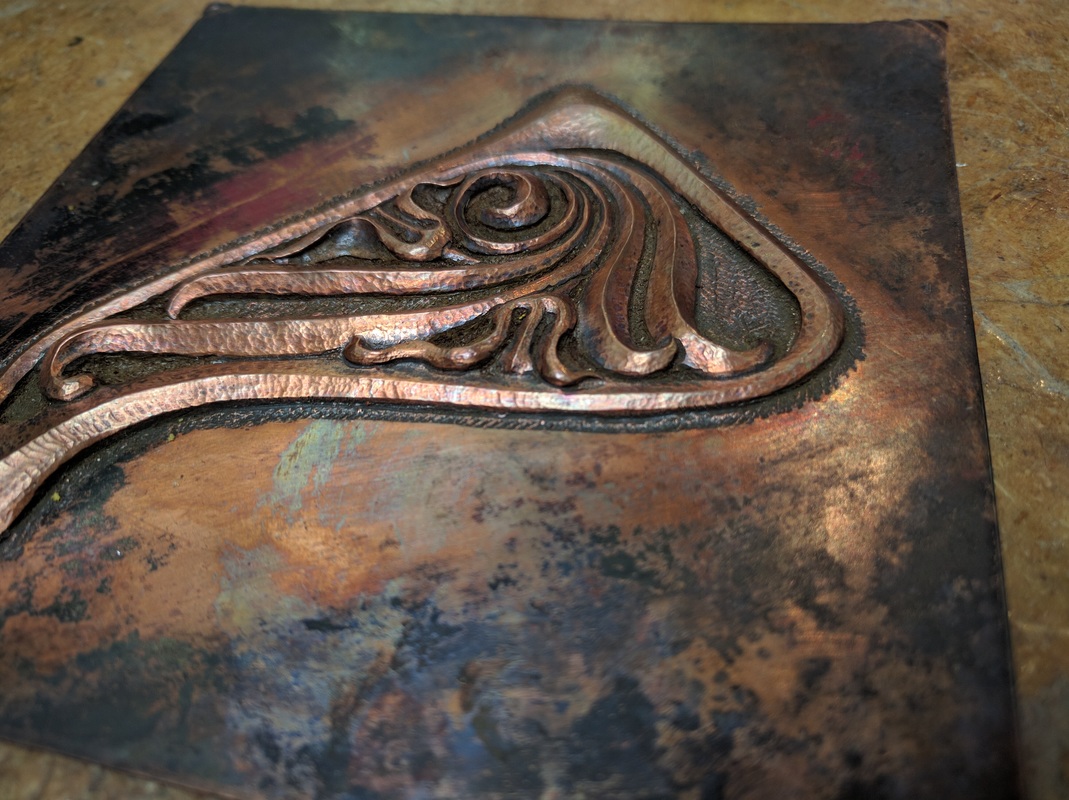
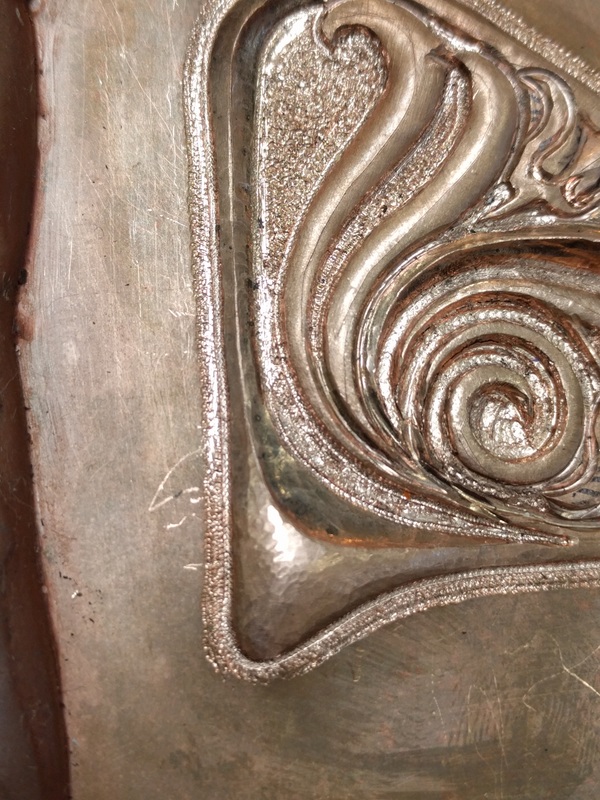
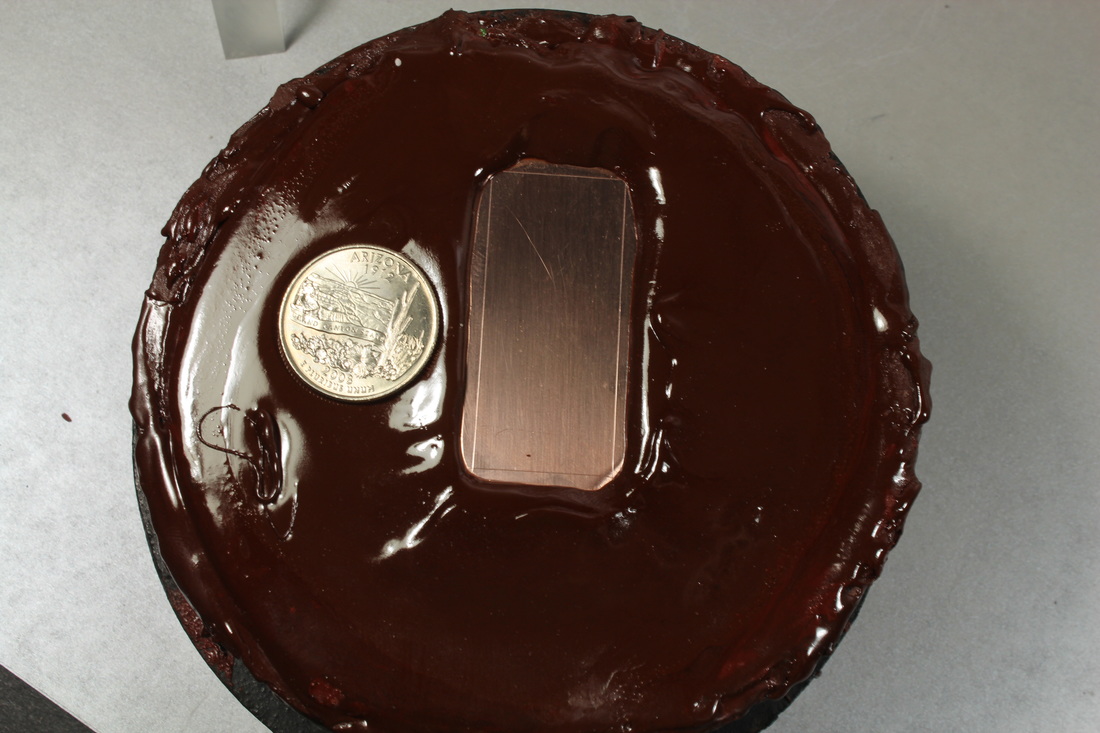
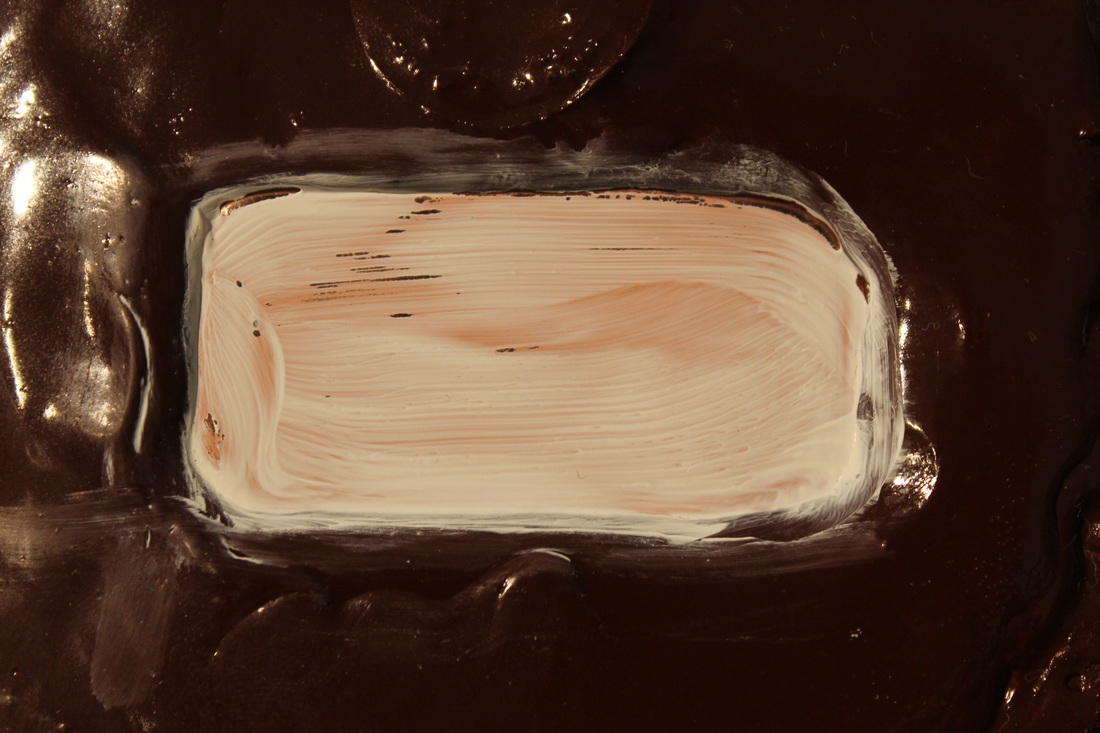
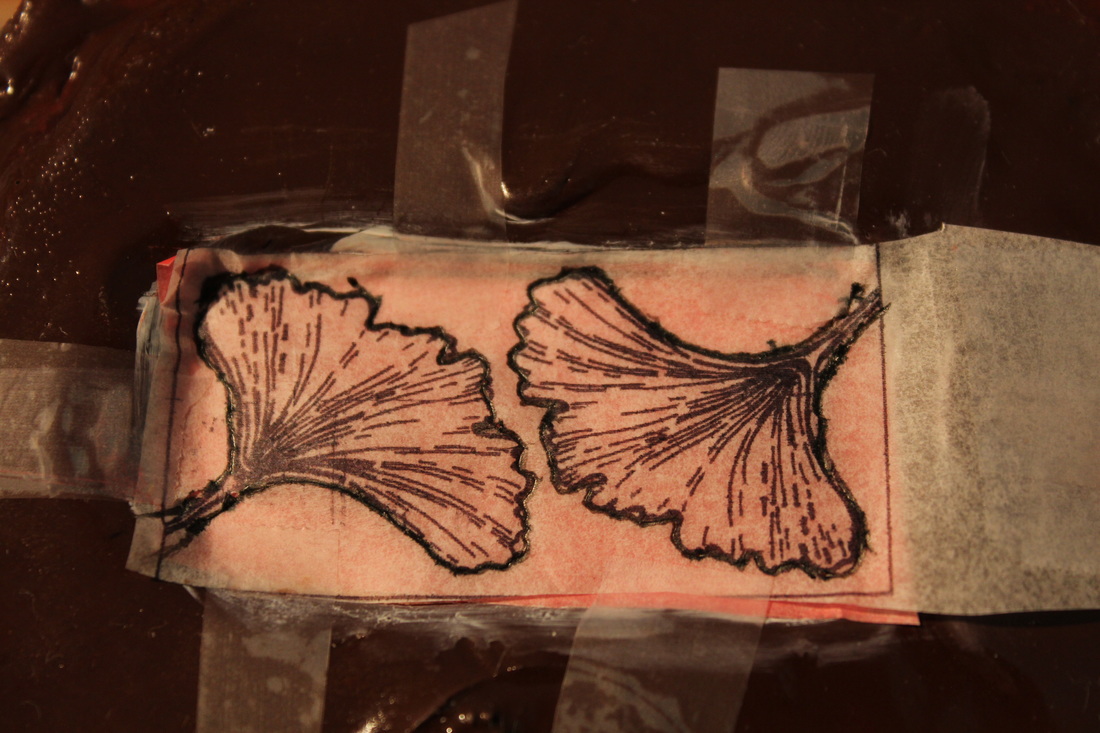
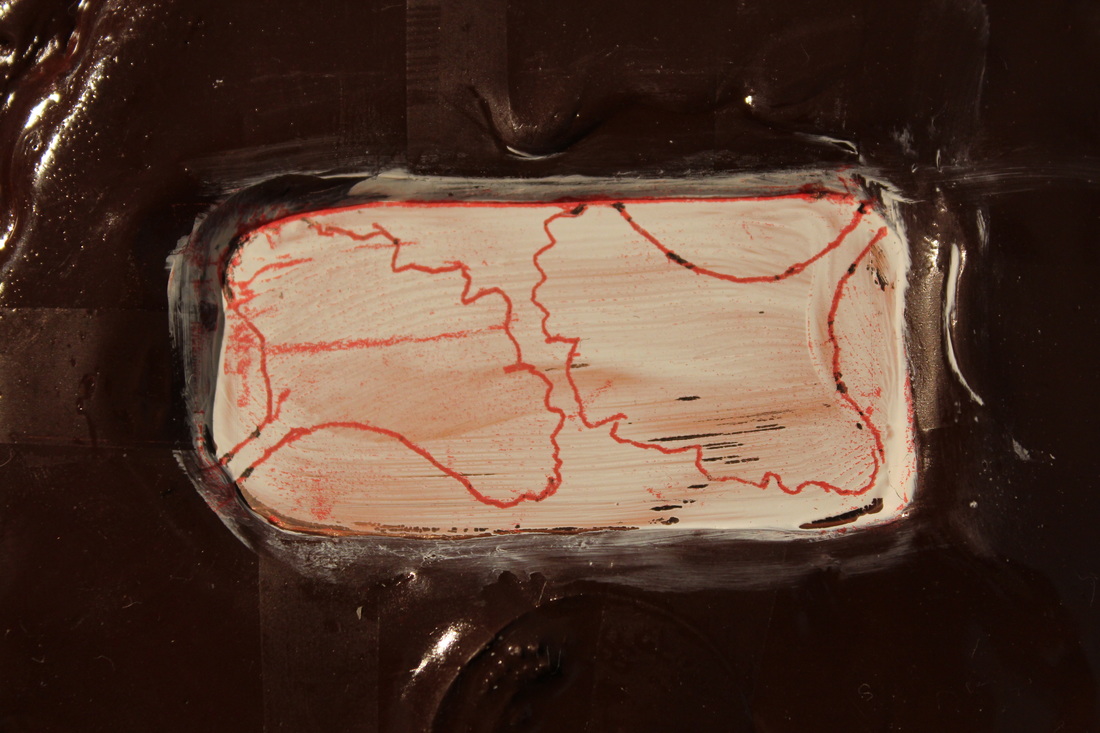
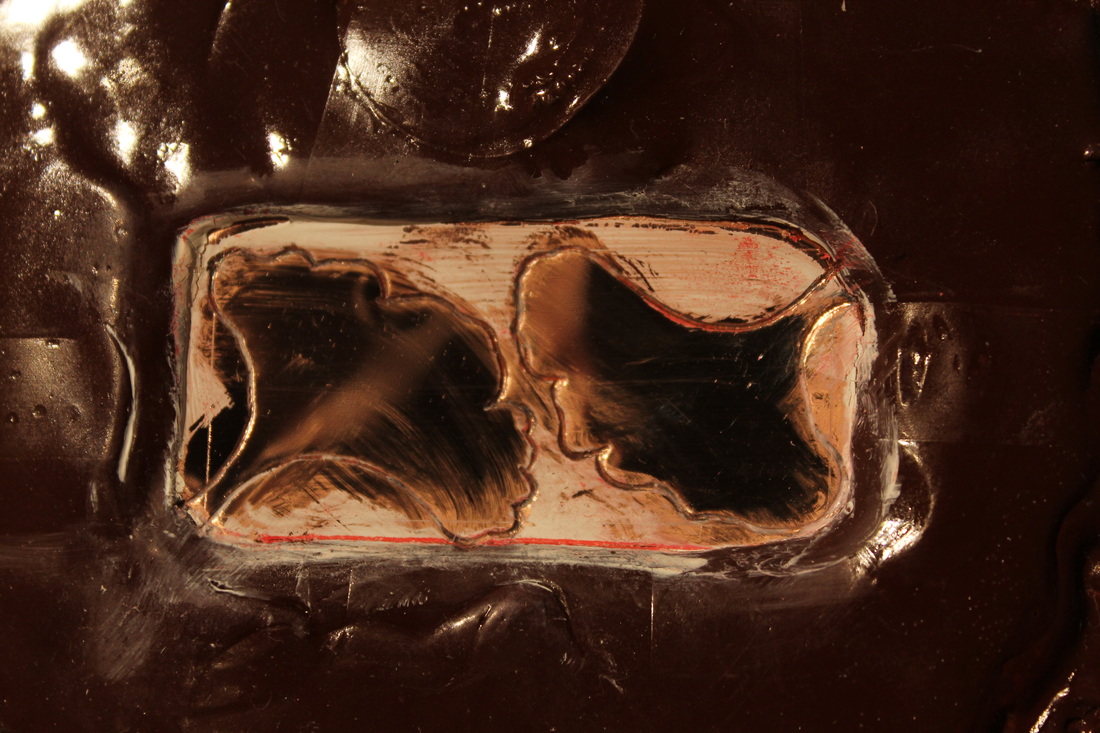
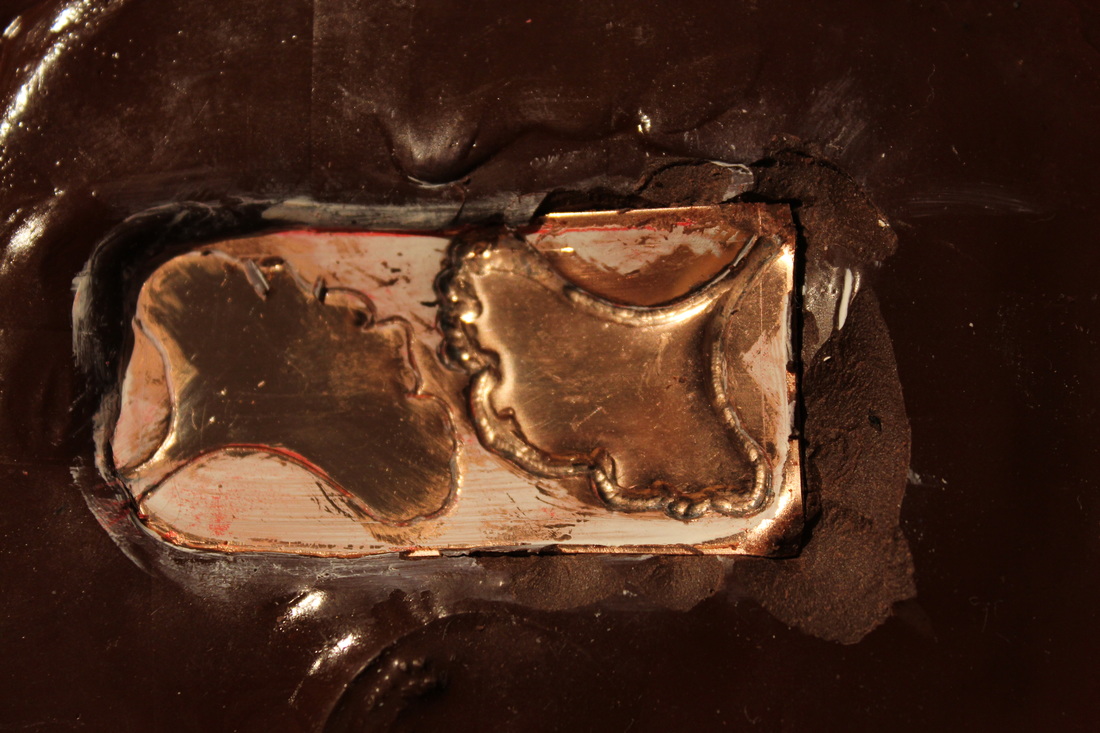
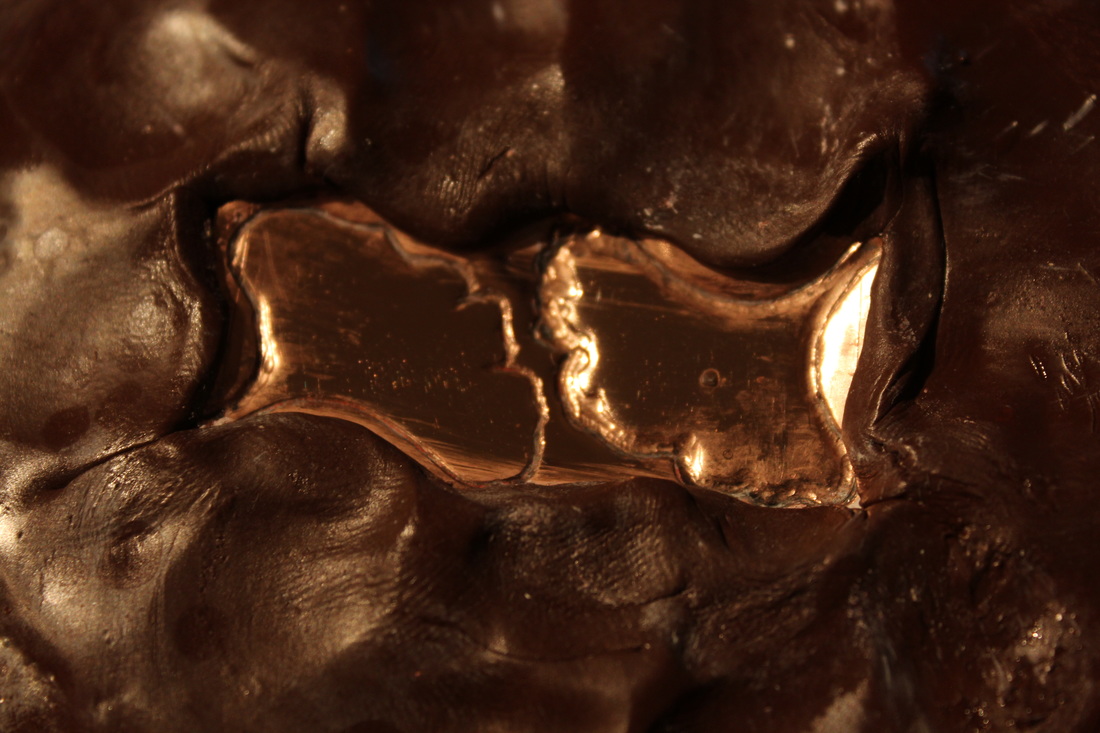
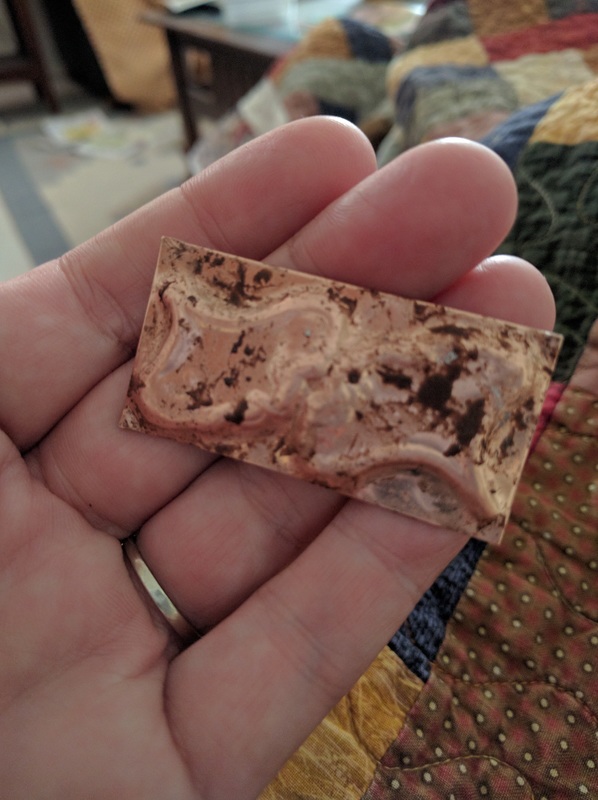
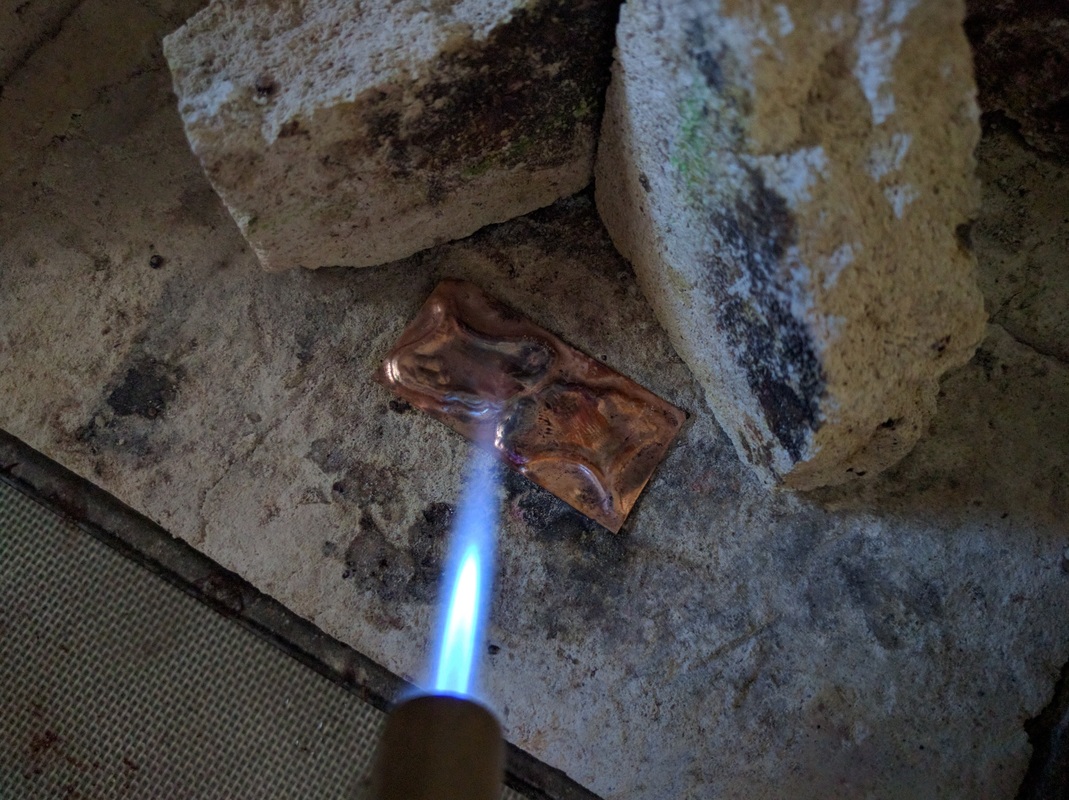
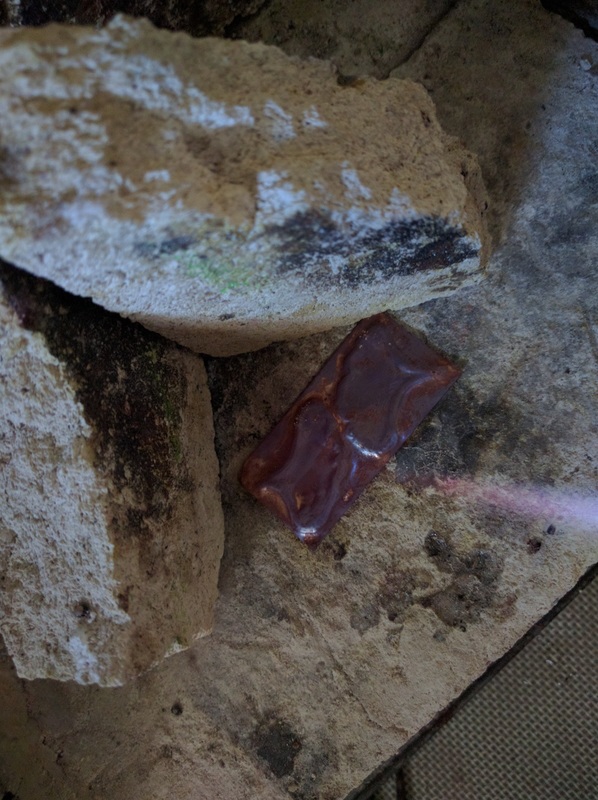
As you can see on this cover, I used a frame to mount a chasing & repousse panel, I did some decorative stamping, hand stitching and an overall dye color.

I did find a few things that I have to change/improve before I start making these and the smaller books, to sell.  I did not add antiquing which would put a dark color in the tools (patina as we could call it for metals)  and as you can see my panel is off center, due to the tooling, and card holder is a bit off kilter - but I learned lots.  ​
​
0 Comments

The Dragon Scale Cup - Finished

7/6/2019

1 Comment

 
Two years and some odd months ago, I started this project - then the move and no studio kept me from finishing it. When I unpacked the studio, and I got around to organizing my chasing & repousse equipment, I found the cup and put it on the counter with the other projects I wanted to get back to.  This weekend was it, having 4 days off.

The dragon scale cup, when I resumed work on Thursday, was filled with pitch and the lining of the of the scales had been completed.  Before I started the deep chasing, I decided to pull the pitch out, re-anneal the cup and then refill the cup and let it cool.

Next up was placing the cup in the pitch bowl such that is was supported but could also be rotated around, so I could work the entire cup.  This was taught to my by Liza Nechamkin of Nechamkin Silver Studios.- again everything had to cool so the pitch would support, not yield, nor crack so the vessel has to be pushed into the pitch bowl almost half way. A plastic bag is used to cover the vessel so the pitch does not stick to it. 

Saturday, I was able to start the deep chasing; to push the areas around the scales inward and keep the scales at their original position around the cup diameter.  Once that was done which took three turns around the cup to get all the scales, I then pondered texturing the scales.   

Are scales like nails on our hands that have ridges; do scales have growth lines that follow the shape of the scale? This was the dilemma I now faced.   I did some Googling and asked in the Chasing & Repousse group for ideas and I came up with an idea for radiating ridge lines.

Today, Saturday, I started to add the lines and the more I did, the more I did not like them so I stopped and left two scales un-done (no lines). Since this is a practice piece, this is what it all about; figuring out what works and does not. 

It was now time to remove the pitch and do a high polish with all three grades of compound, then to patina the copper so the deep area's are dark and a quick polish to re-polish the scales and to remove the patina.  I finished around 6 pm.

​Here are all the pictures from the last 3 days of work, I hope you enjoy them.
1 Comment

New Project - Dragon Scale Cup

4/9/2017

0 Comments

 
Besides finishing the little books the past few weeks,  I have not done any other metal work not even planning the next project. 

That changed late Friday night, while I was trying to fall asleep! I thought I would do another cuff but then I thought, I really should be working on a vessel.  

Why dragon scales? Hey, why not!  It gets me doing chasing on a vessel and even though I will do some "deep" chasing to get the scales to layered; it should not be too difficult.

Saturday morning I set out to make a template for the beakers I had spun (thank you Nechamkin Silver Studio!). I have 4 each of copper, red brass and silver; thus making a template and the time it took, will save me time for the various designs. The beakers are 3.5" tall, 2" diameter at the bottom and 3" diameter at the top.  The template needs to be a truncated cone which is also called a FRUSTRUM.

That is an odd word, which you might think is a portmanteau of FRUSTRATION and Uhhhh.....  
How do I make one?  Google it; there are lots of various calculations but it really is just geometry; there are even online calculators that will it for you.  

For me, I used my CAD program.  This took an hour or so only because I have not used it at least a year. After saving the file, I then imported the saved template layout into Adobe Illustrator. I then drew 4 scales of varying heights and widths which I then cloned for each row.  Remember, the scales on a dragon get smaller the closer you get to its tail!

I have printed the design out and verified that it fits the beaker.  Over the next few weeks I will anneal a copper beaker, fill it with pitch, transfer the design and chase it. 

Enjoy these pictures
Picture
Picture
0 Comments

Another Panel

3/26/2017

 
In between teaching a few private workshop, I have been working on the last panel, for my first set of leather book covers.  The first one, a ginkgo leaf came out well and gave it to a friend who just loved it, how could I not. Then I did the palmette panel followed by another ginko leaf and now I have finished the leaves cover. The design was supposed to be bamboo but it look more like a lotus to me - but what it is, is up to you.

I started this panel about a 3 weeks ago and I just finished it.  Next I have to cut the leather and dye it; rivet the panel to the front and then sew on the end flaps. This I will do next week week.  But until then, here are the process pictures, mostly of the final chasing.​

Teaching Workshop and Other Changes

2/19/2017

1 Comment

 
Yesterday I taught the first day, of four, of a private chasing & repousse workshop, in San Diego. This workshop was the beginning level and when scheduling this workshop, I finally admitted to myself that the large fleur-de-lis, I normally teach may be a bit too much for a beginner class that is ONLY 4 days as most times, the students don't finish it.  As a result, I have changed the design for the beginning workshop and what was the first design will now be the advanced beginner design. I am also going to add projects to the list of classes I teach, so students can follow each level with something that they can make, wear and build upon their skills. This is all detailed on the workshops page. 

As for yesterday, Lisa made great progress. She learned to anneal, put the metal in the bowl, line and we just got to repousse when we stopped. Afterwards we went to dinner, saw a friend and his band play some music and I got to drive home, late but happy as a result of the fun we had. Here, as usual are pictures. 
1 Comment

Palmette Book Cover

11/27/2016

 
Yes, it has been a while since I posted but I have been very busy trying to get back on track with projects and the always messy studio. 

This week and this post is about completing the first of three book cover projects - the covers having a chased and repoussed (sp?) panel.  

​Back in May I made a book cover prototype with a ginkgo leaf on it.  In July, I bought some more "pocket" books and started to work up the templates to cut the leather for 4 different sizes/types. I then cut more leather, sewed them and made sure the books fit in the covers.  Along the way, since then I received a request for 3 covers and I worked up the designs for them but since things got crazy with the day job and then the trip to Nechamkin Silver Studios, a couple of private classes I was asked to give and not a lot of progress was being made on the book covers.

I was able to finish the first panel about 3 weeks ago and so I set aside this weekend (Thanksgiving) to finish the first book.  First I had to trim up the panel and drill the holes for the rivets. I did a bit more polishing to clean up the clean up. Next up was to cut the leather and dye it and let it dry. Yesterday I was able to rivet the panel to the front of the book, stamp my makers mark on the leather, sew the end flaps and fit the book.  1 down, 2 more to go. 

A Private Workshop

9/6/2016

0 Comments

 
Over the 3-day, Labor Day weekend, I was up in Arroyo Grande, California giving a private tool making workshop to Jan who makes metal sculptures and also does chasing & repousse.. Jan, I met via Facebook but we have never actually met until she attended the In-Saign workshop just a few weeks ago. It was during this workshop that Jan and I discussed a chasing & repousse tool making workshop, as she had never made any tools before; she had just seen demonstrations. It was after she went home, that we settled on having the workshop over Labor Day.

I arrived late Friday night so we could start Saturday morning, making tools.  We went over the basics and started her off making a tool and by lunch time Jan's first tool was completed. She was very excited to have accomplished this.  After lunch,  Jan completed a second tool as well. While Jan was working on her tools, I was working on a few for myself, all the while watching and instructing her. 

We finished up the tool making at around 4pm so we went for a walk with Sophie, Jan's dog and afterwards we played with learning how to get a red-oxide patina on copper which had been a topic we had discussed with Saign our awesome teacher, during the In-Saign workshop. 

On Sunday, day 2, Jan made THREE more tools and I made her a bonus tool too. As the day ended we took Sophie for another walk and just enjoyed the weather.

On Monday, day 3 or 2.5, I gave Jan as soldering lesson with the goal that we would make, together, a tool canister. Jan, being a metal artist knows how to braze and weld but not solder - go figure. We cut the canister bodies from pipe, the bases from sheet and then went for it and by lunch the can's were soldered and now she just has to trim the bases and clean them up. 

Here is a little side/movie of the days adventures.
0 Comments

The In-Saign Workshop

8/23/2016

0 Comments

 
Since the start of the year, I have been organizing a workshop with Saign Charlestein, of SC Studio, at the Palomar Gem & Mineral Club. 
It was a long process. First it was just going to be those of use in the club for 5 days. Then there was interest from some of the people down at the San Diego Mineral & Gem Society so it became TWO - 5 day session with 8 people in each and there was still a small waiting list.   All of this required lots of emails between me and Saign and all the students and at the last minute two people cancelled so I had to contact those on the wait list and re-organize who was in each week so we did not end up with any empty spots. It all worked out in the end and finally last week was the first session and the second session is happening now.

Saign on the first day started all of us off with a lining exercise to gauge our skill level. We did not have any newbies in this class but we did have a wide range of skill level. On the second day he gave us a second project based on how we did and we spent two days working on this. On the fourth and fifth days we started a third project, again based upon how we did on the second project.

Here are pictures from the first session. 
0 Comments

(Almost) No Longer a Gold Virgin

8/14/2016

0 Comments

 
When "we" start learning to do chasing & repousse, the first metal we usually work with is copper. It is easy and cheap. Then after much fear, we will usually move on to sterling and fine silver - harder to move than copper and certainly more expensive than copper.  Others move to brass which while cheaper than silver, behaves like sterling silver in the pitch pot.   A lot of people stop here and never move into working with gold, yes GOLD that wonderful metal that is very, Very, VERY expensive these days. Gold is not a metal you start with.

Plus, because of the cost, it is intimidating. There is the "Oh, no! what if I f*uck it up!!" thoughts whilst shaking in your shoes and biting your finger nails. 

Yes, if you start off as a jeweler/goldsmith, you learn to work with gold - annealing, soldering, casting, milling. Yet if you come from the traditional silversmith/hollowware side of things and you don't go to a professional school, the only way to learn to work with gold is to have someone teach you or you go it alone. Which can also add another level of being scared to the process.

After my foray into fusing gold to silver on the Squash Blossom & Vine cuff, I knew it was time to get some gold and do the chasing & repousse dance with it.  I knew from having spoken to a few other C&R artist that they like 22K gold and that it behaved like sterling silver even at a thinner gauge. So I not only bought some 22K at 20g sheet, I bought some 14K rose gold at 22g. I bought some solder and a bit of wire; I was going to make some ginkgo leaf earrings and the wire would allow me to make the ear wires and some jump rings to solder to the leaves and from there, hang off the ear wires.  

I also contaced Metalsmith Deb to get a lesson in working with gold - soldering, annealing, etc... This workshop with a few other gold virgins is NEXT weekend. My rose gold arrived yesterday so I decided to get started on the chasing & repousse, why wait.  I will admit I went cheap, $350, with the rose gold and only ordered a 1"x2" piece which I now realize is just too small to have any edge held by the pitch and I ordered it easy (annealed) hardness and now I know it wasn't.   To cut a long story short, I lined, flipped and started the repousse and that metal just wouldn't move.   I asked some questions in the Metalsmith's Coffeehouse on FB and got some great advice on how to anneal which I did this morning and NOW I am moving metal.  

Many people have a misconception that working in gold is easier than sterling - from a hammering stand point. Trust me, 22g, 14K gold IS HARD and it feels like I am working on 18G hard sterling silver. On the plus side, I am not (as) afraid of working in gold now.  I almost have the repousse on one leaf done and will move on to the second leaf later today or tomorrow night.  With luck I might get the chasing done by next weekend.  

The 22K 20g gold sheet is due to arrive this next week and IF I have to redo the ginkgo leave on that sheet, I will and all of this is chalked up to learning. Enjoy the pictures and more will be posted when I have more to show next week. ​
0 Comments

Tool Making for ​Chasing & Repoussé - A 2 Day Workshop

8/1/2016

0 Comments

 
This past weekend I taught a 2-day workshop on making chasing & repoussé tools at the Palomar Gem & Mineral Club in Escondido, California. Again, Diane was my shop elf and there were 6 students.

On Saturday, day one, I had all the students make the same tool from rectangular stock. The tool has a full half circle profile when viewed from the short sized with vertical sides when viewed along the long side. This was a tool that everyone during the worskhop for the Squash Blossom & Vine Cuff.  The students chose this tool and I knew that they could finish this shape easily on the first day which would then give them the skills to make 1 or more the second day.

We discussed tool steel, files, annealing, hardening, tempering, quenching in oil or water, making templates, sanding, polishing and most importantly SHOP SAFETY.

Almost everyone finished their tool by 3pm on the first day and so we then sat down with my vintage tools and each student chose a tool and had to tell us why they chose it.  I wanted to use this exercise as a way to make them think about WHY and WHEN to make a custom tool vs. a general use tool.   Since we had time, I had them anneal the tool stock they would need for this new tool and thus have it ready at the start of day two.  Several students chose smaller tools and even my custom micro tear drop tool I had made for the Squash Blossom cuff; other chose medium and larger sized pushers (for repousse).

Sunday morning arrived early (930 am) and hot and humid and by lunch time most were well on their way to finishing their second tool.  By late afternoon most of their first tools of the day were done and several had started a second if not third tool.   As 5pm approached, all of us were hot, dirty and tired but the students all had a great sense of  accomplishment and empowerment at their new found skills and completed tool.

As usual, here are lots of pictures of the students and work. 
0 Comments
<<Previous

    RSS Feed

    How to Aquire Your Own Shop Elf

    Archives

    October 2020
    August 2020
    March 2020
    December 2019
    November 2019
    October 2019
    September 2019
    August 2019
    July 2019
    June 2019
    May 2019
    March 2019
    February 2019
    January 2019
    December 2018
    November 2018
    October 2018
    September 2018
    August 2018
    July 2018
    May 2018
    April 2018
    February 2018
    January 2018
    November 2017
    October 2017
    September 2017
    July 2017
    June 2017
    May 2017
    April 2017
    March 2017
    February 2017
    January 2017
    December 2016
    November 2016
    October 2016
    September 2016
    August 2016
    July 2016
    June 2016
    May 2016
    April 2016
    March 2016
    February 2016
    January 2016
    December 2015
    November 2015
    October 2015
    September 2015
    August 2015
    July 2015
    June 2015
    May 2015
    April 2015
    March 2015
    February 2015
    January 2015
    December 2014
    November 2014
    October 2014
    September 2014
    August 2014
    July 2014
    June 2014
    May 2014
    April 2014
    March 2014
    February 2014
    January 2014
    December 2013
    November 2013
    October 2013
    September 2013
    August 2013
    July 2013
    June 2013
    May 2013
    April 2013
    March 2013
    February 2013
    January 2013
    December 2012
    November 2012
    October 2012
    September 2012
    August 2012
    July 2012
    June 2012
    May 2012
    April 2012
    March 2012
    February 2012
    January 2012
    November 2011
    August 2011
    July 2011
    June 2011
    May 2011
    April 2011
    March 2011
    February 2011
    January 2011
    December 2010
    November 2010

    Jan - Nov 2010 History
    File Size: 2272 kb
    File Type: pdf
    Download File

    Jan - Dec 2009 History
    File Size: 2332 kb
    File Type: pdf
    Download File

    Categories

    All
    42
    A Year Of Repousse
    Blacksmithing
    Blogoversary
    Box Project
    Business
    Chasing & Repousse
    Commission
    Education
    Embroidery
    Enamel
    Entries
    Entry
    Exhibition
    Facebook
    Filing
    Fold Forming
    Gold
    Holloware
    Hot Forging
    Hydraulic Press
    Jewelry
    Keum-boo
    Learning
    Leather
    Market
    Metal
    Patina
    Photography
    Polishing
    Publications
    Raising
    Sanding
    Santa Fe Symposium
    Shop Elf
    Sinking
    Social Media
    Soldering
    Store
    Studio Visits
    Superbowl Challenge
    Teaching
    Teapot Project
    Technique
    Temari
    Tin
    Tools
    Vessels
    Visiting Workshops
    Weaving
    Website
    Workshop
    Yubinuki

Powered by Create your own unique website with customizable templates.