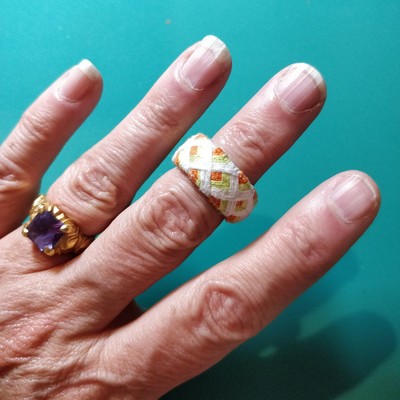
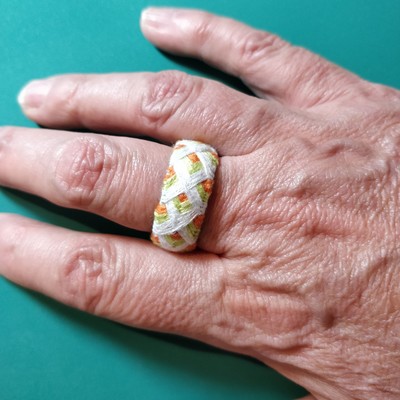
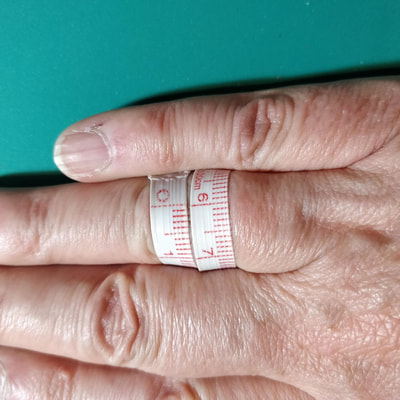
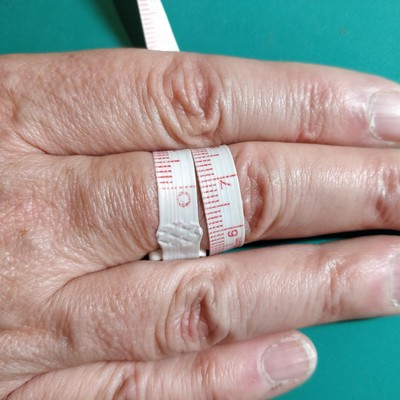
Making a core or base takes several steps, but before we do that a decision must be made as to what finger the yubinuki will be worn on and where on the finger it will be worn. Traditionally a Yubinuki was worn on the middle finger between the first and second joint as shown in the picture on left. The other place the yubinuki can be worn is where the finger meets the hand, for example on the middle finger (right picture) and it can still be used as a thimble but it can also be worn as a ring even on what we call the ring finger.
NOTE: all images can be opened, to be larger, by clicking on the image and from there you can scroll backwards and forwards, in the series.
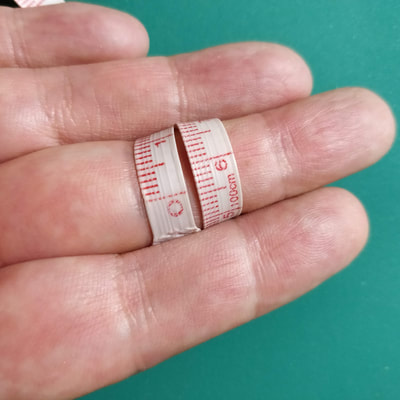
To measure for the size of the core, wrap a tape measure around the finger depending on where it is to be worn. We are actually measuring the circumference which is the length of the "circle" .
- If worn as a ring: Measure the finger joint that the Yubinuki must pass over
- If worn as a thimble: Measure the finger just in front of the finger joint, if on the middle finger or ring finger, measure at the joint it must pass over.
Write YOUR measurement DOWN! For this tutorial, I will be using the measurement from the first location, on the middle finger, before the joint. MY measurement is 56 mm but to ensure the Yubinuki does not move too much I am going with 55 mm.
Take a piece of regular paper and cut the paper in half so it is half the width but still full length.
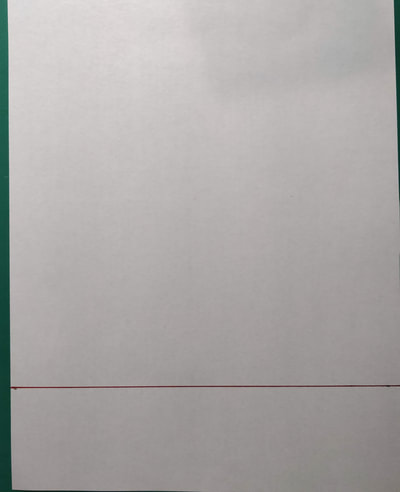
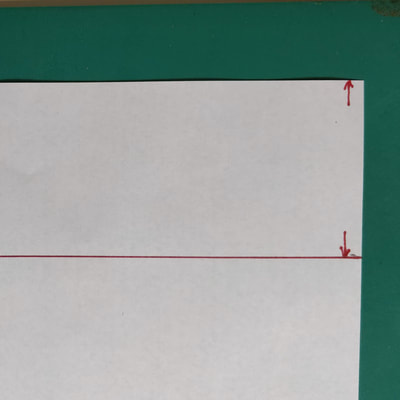
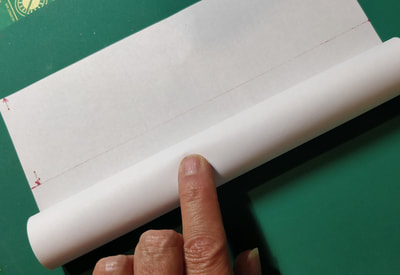
Measure and draw a line horizontally, from the bottom edge of the paper, the number of millimeters that were measured with the tape measure. Make an arrow at the bottom edge and at the line.
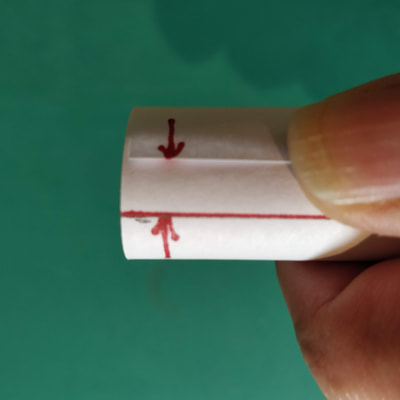
Now from the top roll a tube (the extra thickness of the paper rolled inside will support the tube and the core as it is being made). Adjust the tube making it tighter or looser, so the bottom edge and arrow meets the drawn line and the arrows meet.
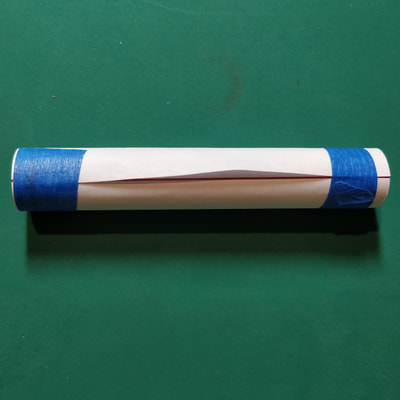
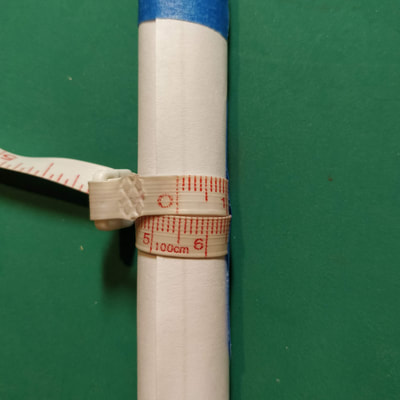
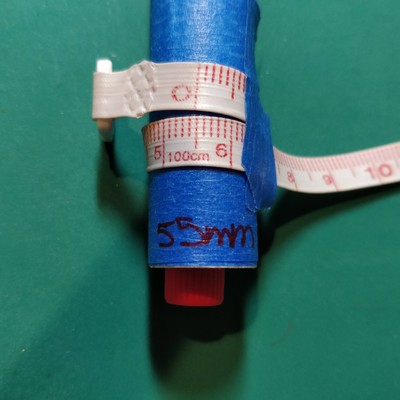
Tape the tube closed at the top and bottom. Measure the circumference of the tube and adjust to make it the measurement that is required. I rolled mine to 54 mm so when I add a layer of painters tape, it results in a measurement of 55 mm. Then write the size of the tube on one end so I can reuse the tube later and know what the measurement is.
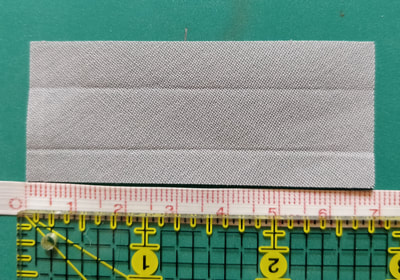
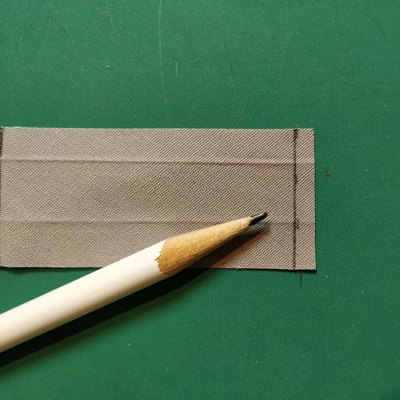
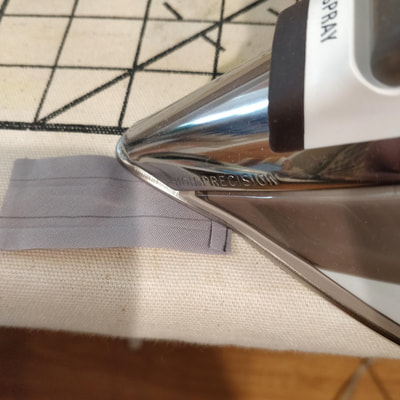
Take your lining material (see other post for what to use) and cut it to length. Cut the material so it is 30 to 35 mm wide by xx mm's in length. What length is xx you ask? That length is found by adding the finger measurement taken earlier + 15 mm's (or more), to overlap so there isn't a raw edge on the inside surface of the yubinuki, this will become very apparent in the final assembly. That is the length you need. The length I cut to was 66 mm (55 mm + 3 mm + 12 mm). Once it is cut to length, mark a 3 mm line from one end, then fold it at that line and either press it or finger press it and get a good firm crease. Set this aside for the assembly which is coming up.
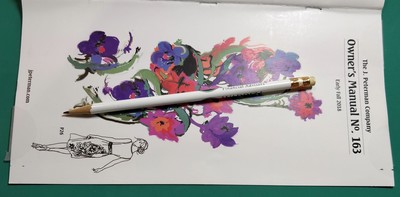
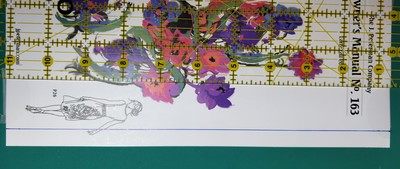
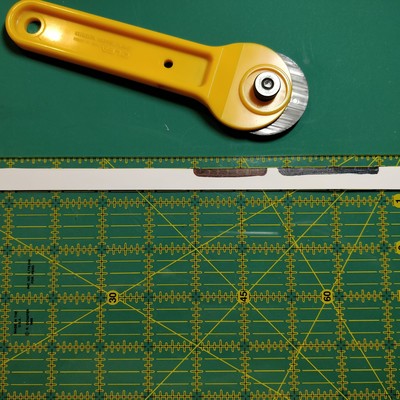
Take your card stock (paper) and cut it 11 mm wide and at least twice if not 4+ times the length of the finger measurement. The longer the strip means there will be more wraps thus making a thicker core, this thickness is to the outside of your finger because the support mandrel (tube) keeps the inside measurement from changing. Since I am using a J. Peterman Co. catalog for this tutorial, the length of the strip is 260 mm which is more than 4 times my finger measurement. Remember that as the card stock is wrapped, it will add thickness which is why the overall length must be MORE than just one length of the measurement. Yes, I use a rotary cutter, mat and ruler to cut my card stock.
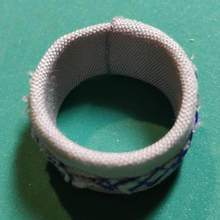
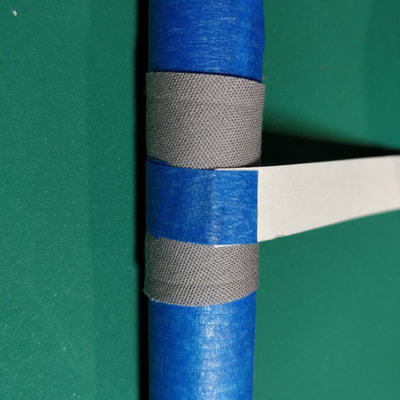
Take the support mandrel and put the fabric on the mandrel so the "inside" of the fabric (the fold is visible on this side) is towards you and the outside is against the mandrel - the outside surface is what will be against the finger. Put down the folded end first and then wrap the extra around so the extra length, overlaps the folded edge. The fabric should be snug but not too tight. Using small pieces of tape, tape the fabric edge down to the fabric beneath it; only tape the center between the top and bottom edges.
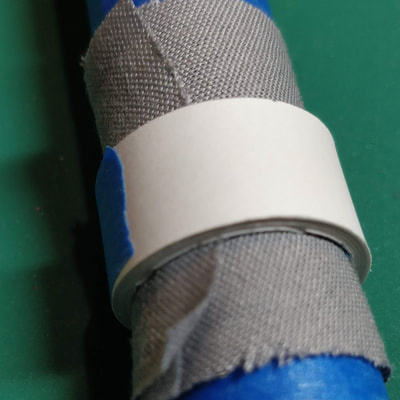
Lay the card stock on the fabric, on the mandrel. Position the paper so it is centered vertically between the top and bottom edges of the fabric and place the edge of the paper on the side opposite the folded and taped fabric ends. Take a small piece of tape and tape the the end to the fabric to hold it in place and again, do not place it on the fold, do it on the opposite side as this will help keep the thickness even. Now wrap the paper around, at least 2 or more times. Once again take a small piece of tape and tape the end down so it can't un-roll. Adjust the edges of the card stock so they are all even to create a nice clean edge along the top and bottom. I use painters tape so I can easily re position it if I need to make adjustments
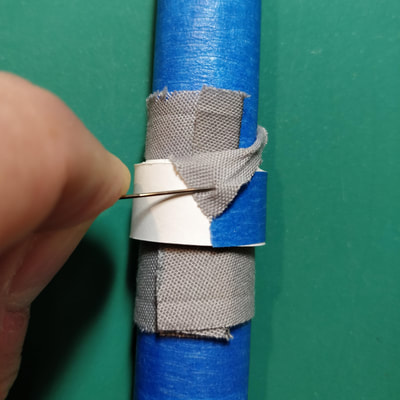
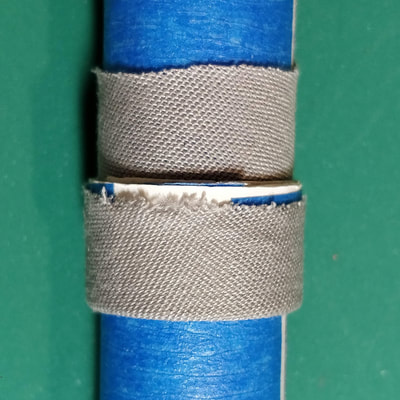
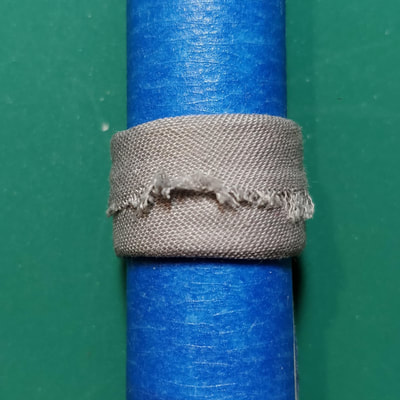
Next the extra fabric at the top or the bottom of the card stock roll and fold/pull it over to cover the card stock. Do this with your fingers or a needle. Next take the extra fabric at the other edge and fold it over the paper such that the fabric at the not only cover the paper but overlaps the other edge of the lining fabric
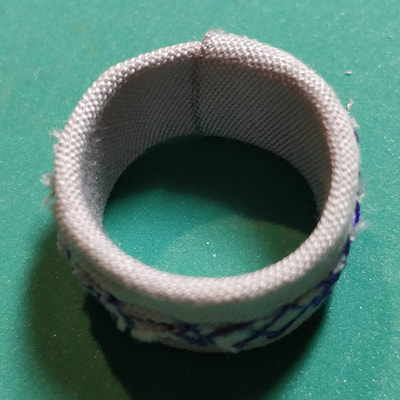
This is where that extra length of your lining comes in. IF your fabric is not long enough, the overlap will spread and separate revealing a raw edge on the inside; this is why it is important to add that extra. And since the roll of card stock is thick, having the fabric cut on the bias allows the fabric to stretch during the process of folding the fabric over.
As needed use a needle to pull the fabric towards the center so the fabric meets the edges of the card stock core.
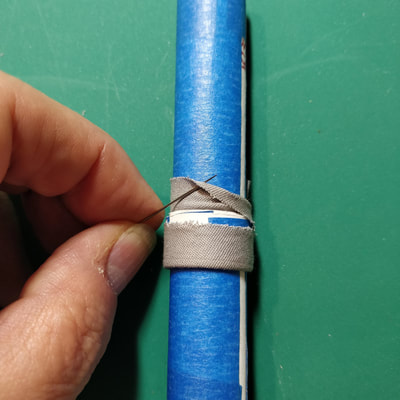
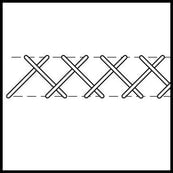
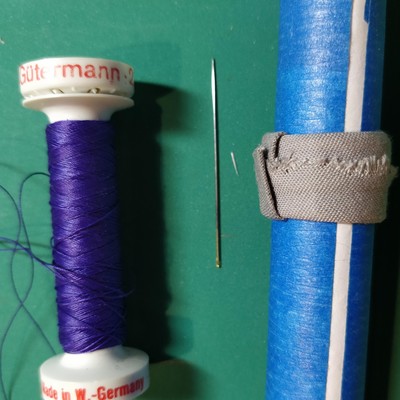
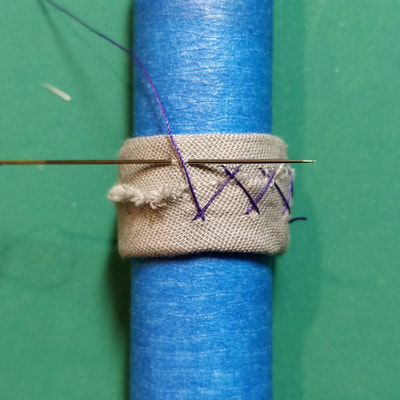
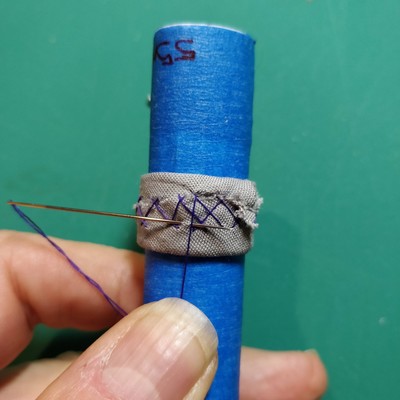
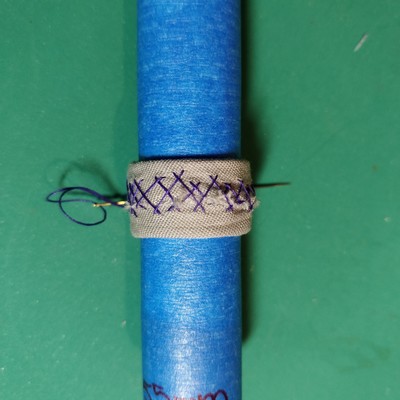
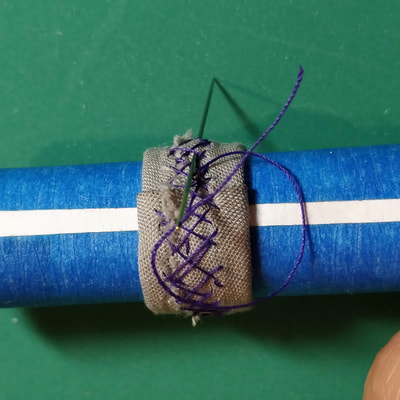
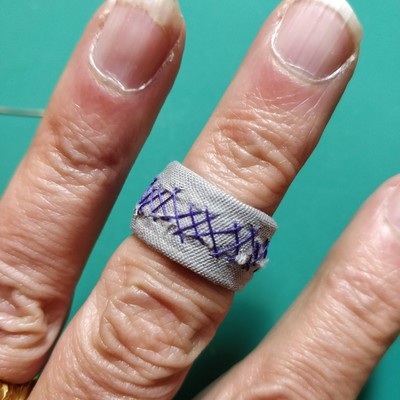
Take the sewing needle and cotton thread and thread the needle with an arms length of thread and have the thread so it is 1/3 and 2/3 through the eye of the needle. Knot only ONE end of the thread as the sewing will be done with a single thread. Now use a herring bone stitch to sew the material overlap together (see first picture below)
This is a video that shows how to stitch the herring bone stitch... https://www.youtube.com/watch?v=OHkB_iadptA
When stitching, you need to make sure you catch the overlapped edges under the stitching. When sewing the herringbone stitch, especially on the folder edge, make sure to go down to the card stock; at the fold you will be going through 3 layers. Do two rounds of herringbone stitch, the first close to the overlap the second round, further out; making sure to also pull the thread to get the fabric tighter and thus smoother on the inside surface, that will be against the finger.
In the next tutorial we will make a tools that will allow us to divide our pattern evenly without doing MATH.


 RSS Feed
