
... and reflections.
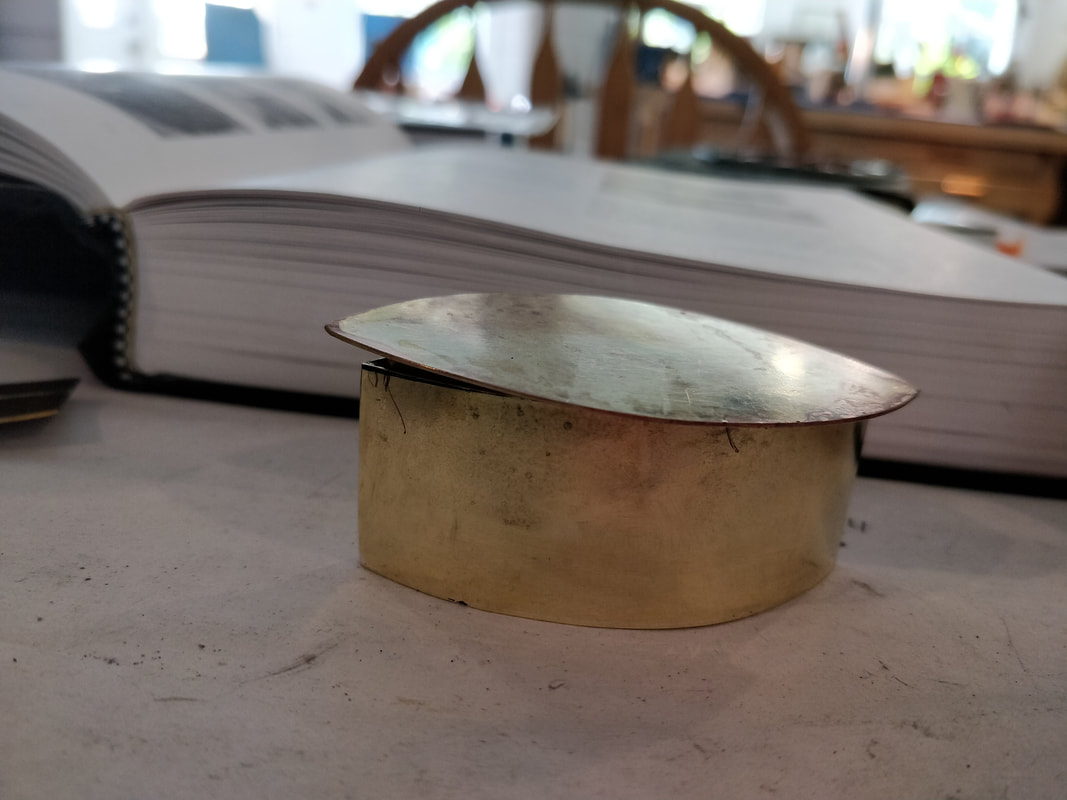
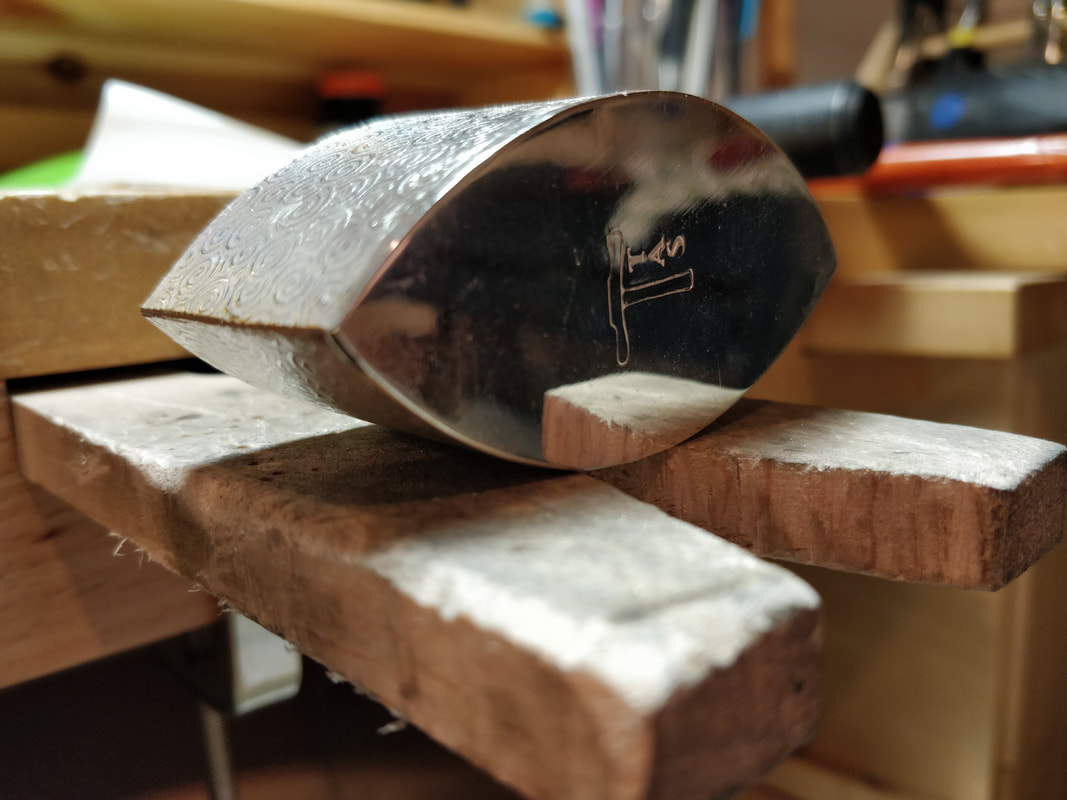
This weekend I tackled another box shape - a leaf which has 2 seams. As with last week’s boxes, I first made one in brass, on Saturday, and then I made one in silver on Sunday.
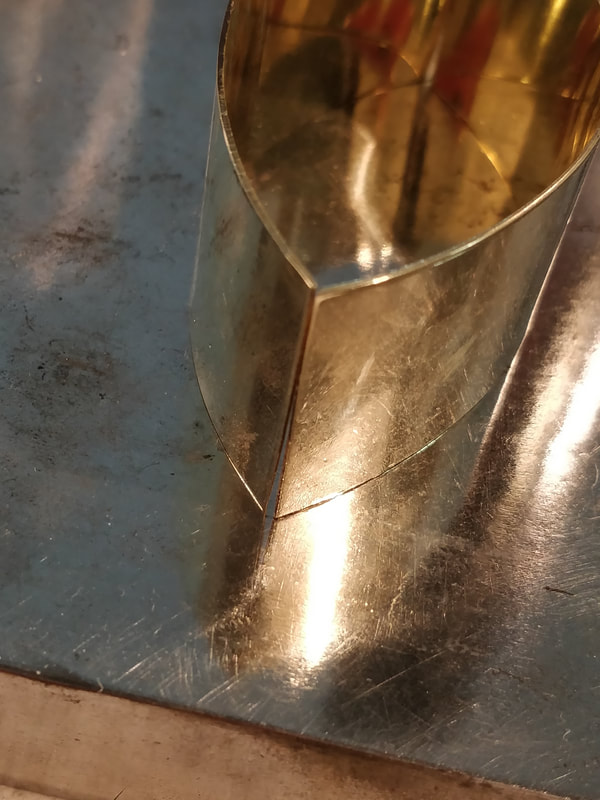
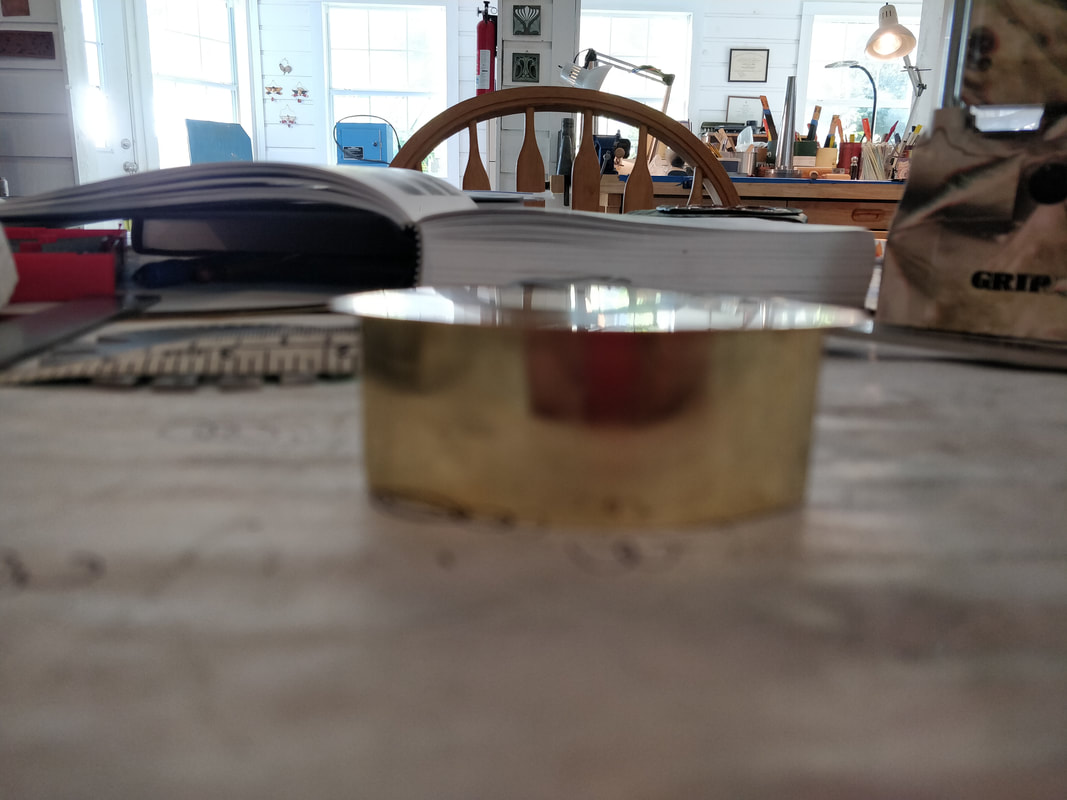
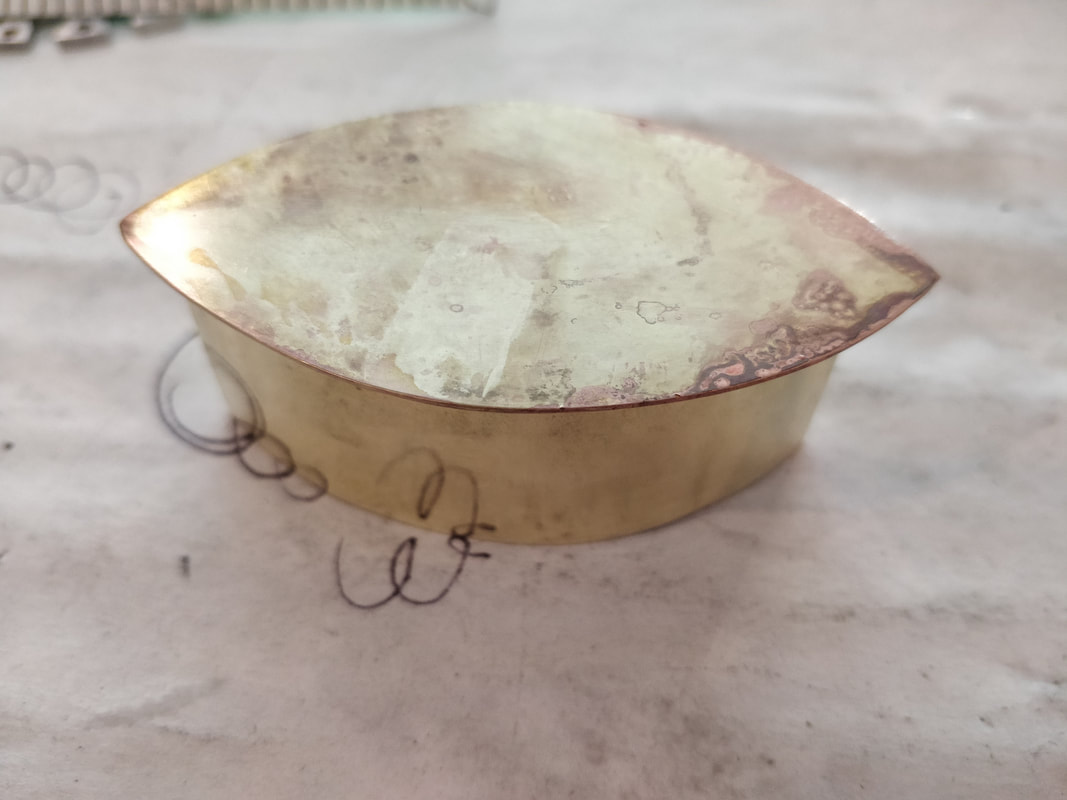
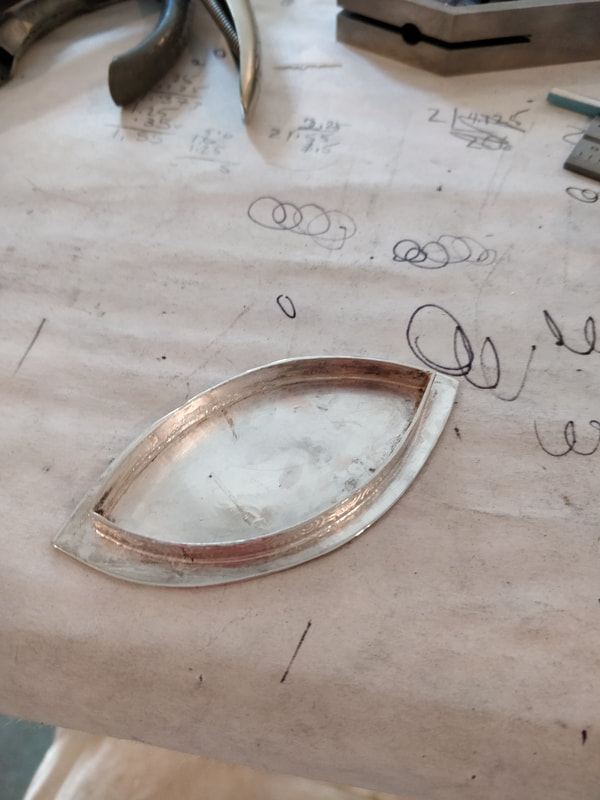
The brass box, with its two end seams requires beveling so the edges line up properly. The beveling is done using sand paper after the wall curve is formed. I used a large tapered mandrel that is oval in shape to form the sheet and then gently held on to the pieces and used 220 sand paper to create the bevels, checking every few minutes to see how the edges match up. Once that was done, I used a small amount of binding wire to keep everything together, which I then fluxed and soldered. After I pickled the brass, I then placed it in super pickle to remove the copper layer; I mixed up a small plastic tub of the super pickle, to just cover the brass.
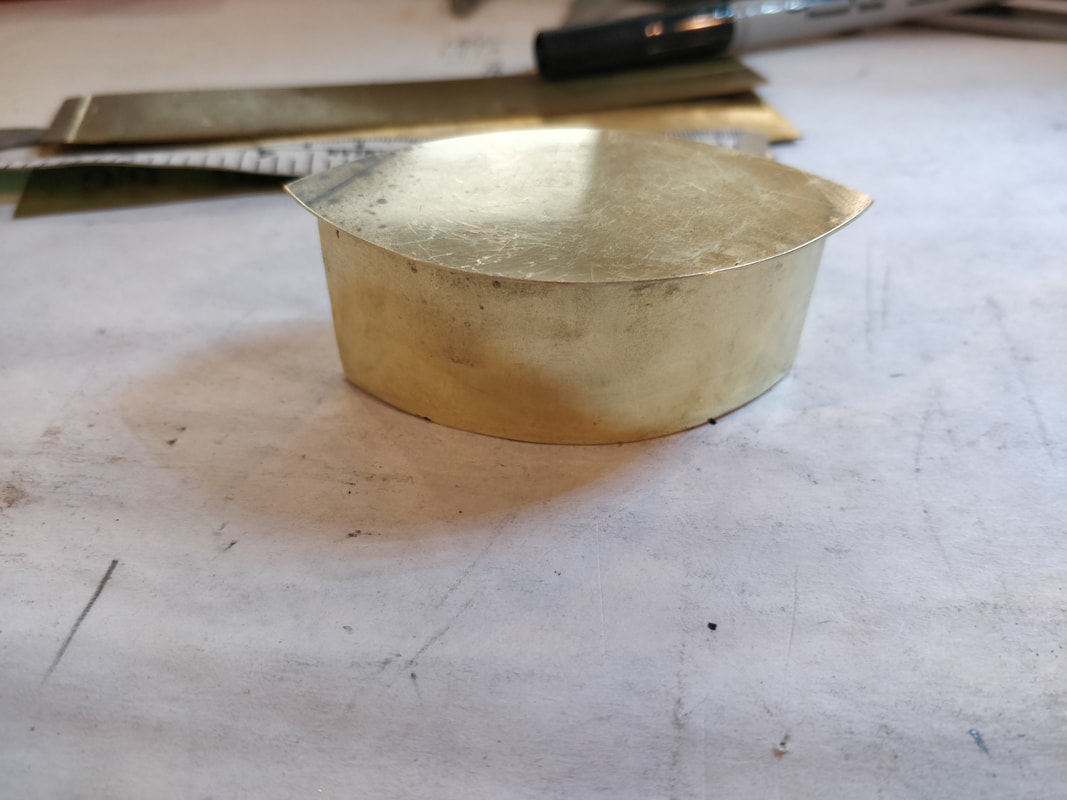
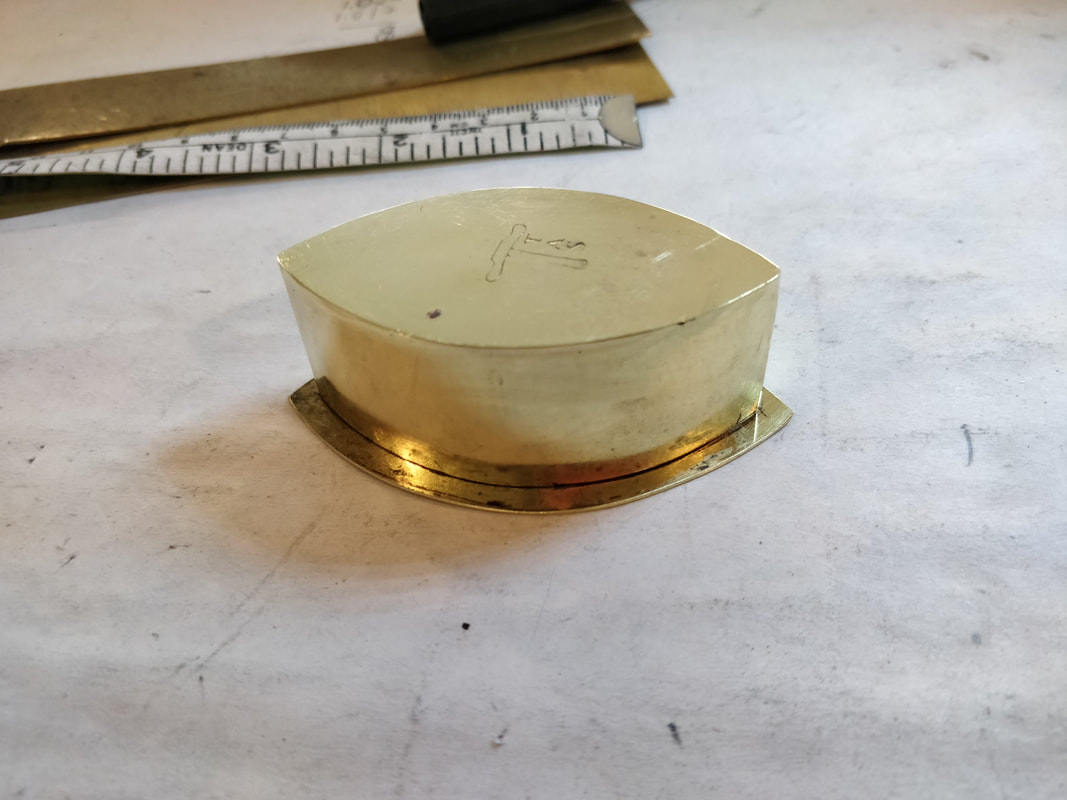
Time to measure the base, stamp my makers mark, solder it to the walls and file/sand all the edges flush.
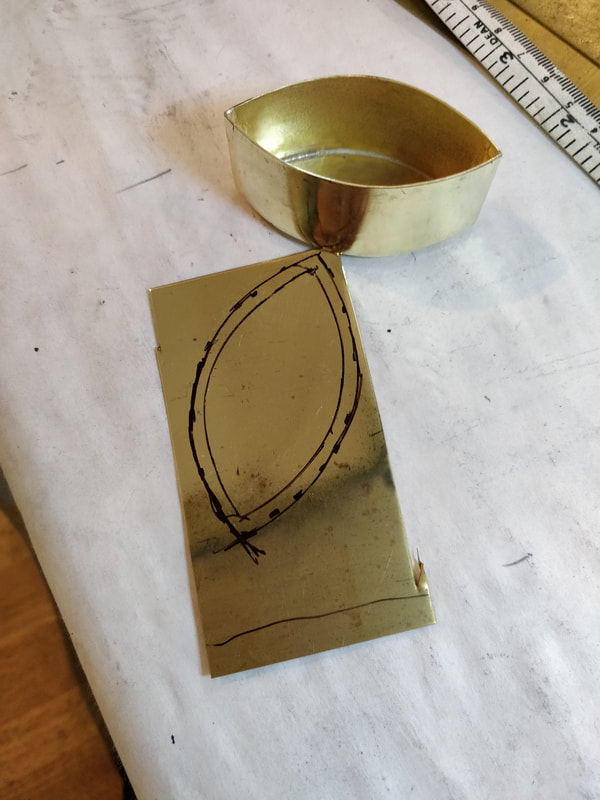
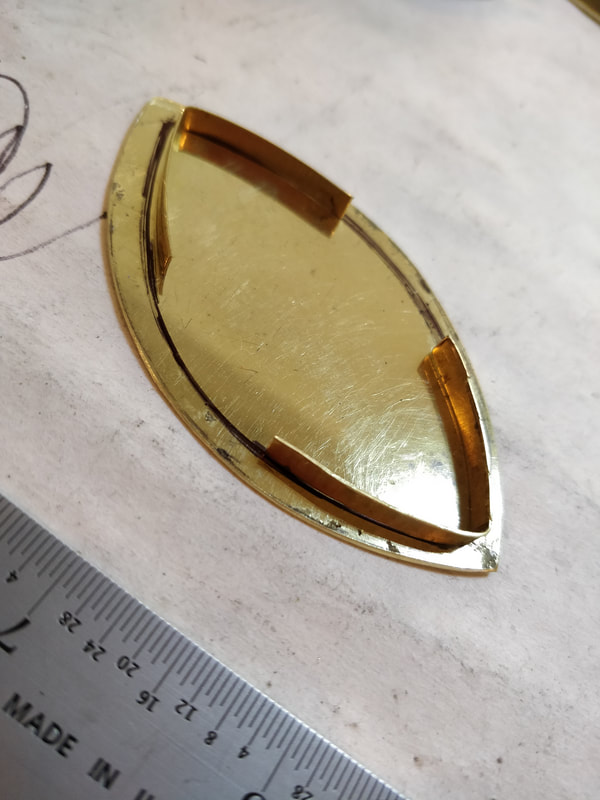
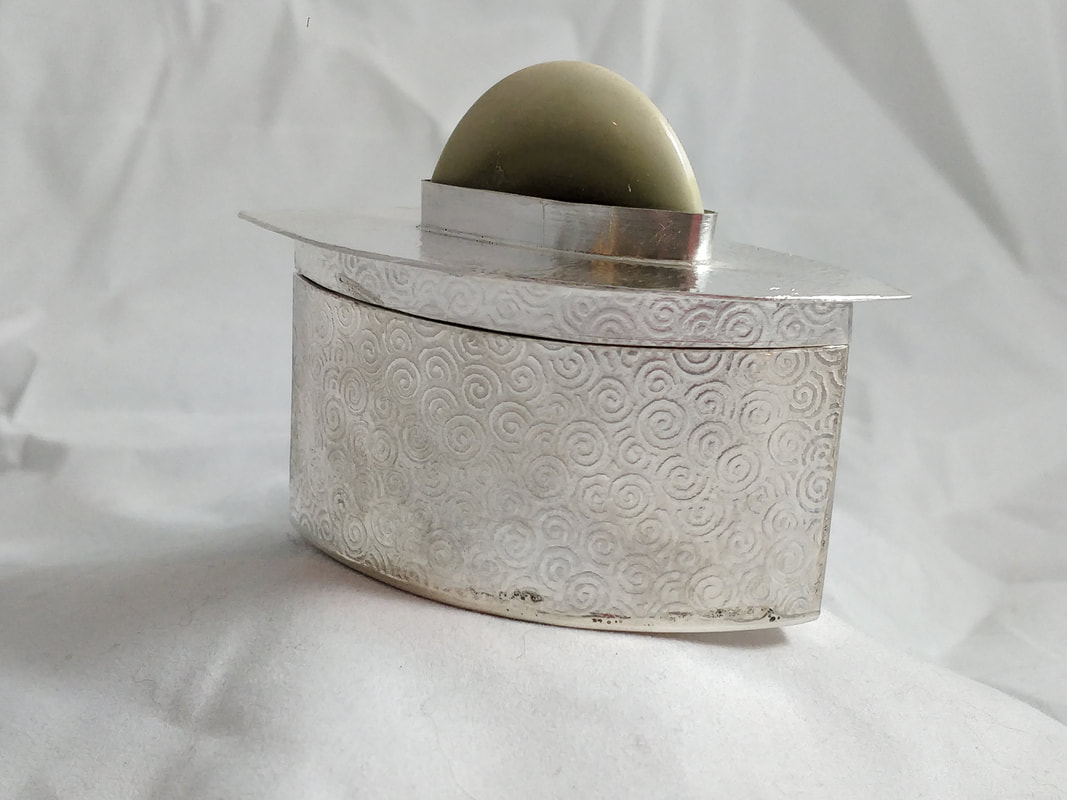
The design of the box, which was based upon an article I have from long, long ago, has the lid sitting on top of the base walls, with the bezels for the slip fit, soldered directly to the top plate which also over hangs the box by a scant 1/8”. It was now time for me to make the lid of the box. I traced the box outline on some more brass, then marked 1/8” outside of the lid outline to mark the edge of the lid. From there I cut the lid out and did a pre-polish on it. Then I had to mark where the bezels would be soldered – 1/8” (0.125”) in from the outside edge of the lid PLUS the thickness of the wall which was 20g (0.032’ ) totaling 0.157”. I then used extra brass rolled to 22g to form the bezels, which were fluxed and soldered to the lid. After cleaning it up, I then tested fitting to lid to the box base – at that was a problem, the bezels must have shifted on the lid or my math was off because it would not seat. This was solved by a little bit of sanding on the bezel and the inside of the wall in the box base but eventually I did get them to fit AND because the box is not perfectly symmetrical, the lid only fits on in one orientation.
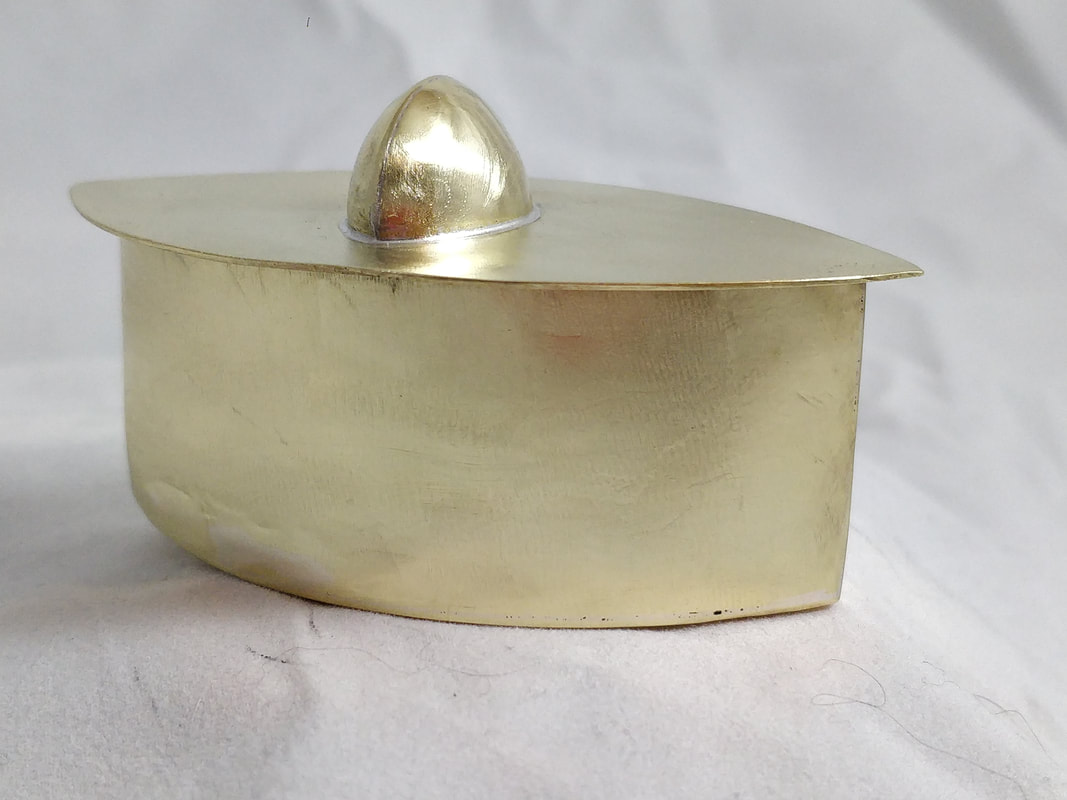
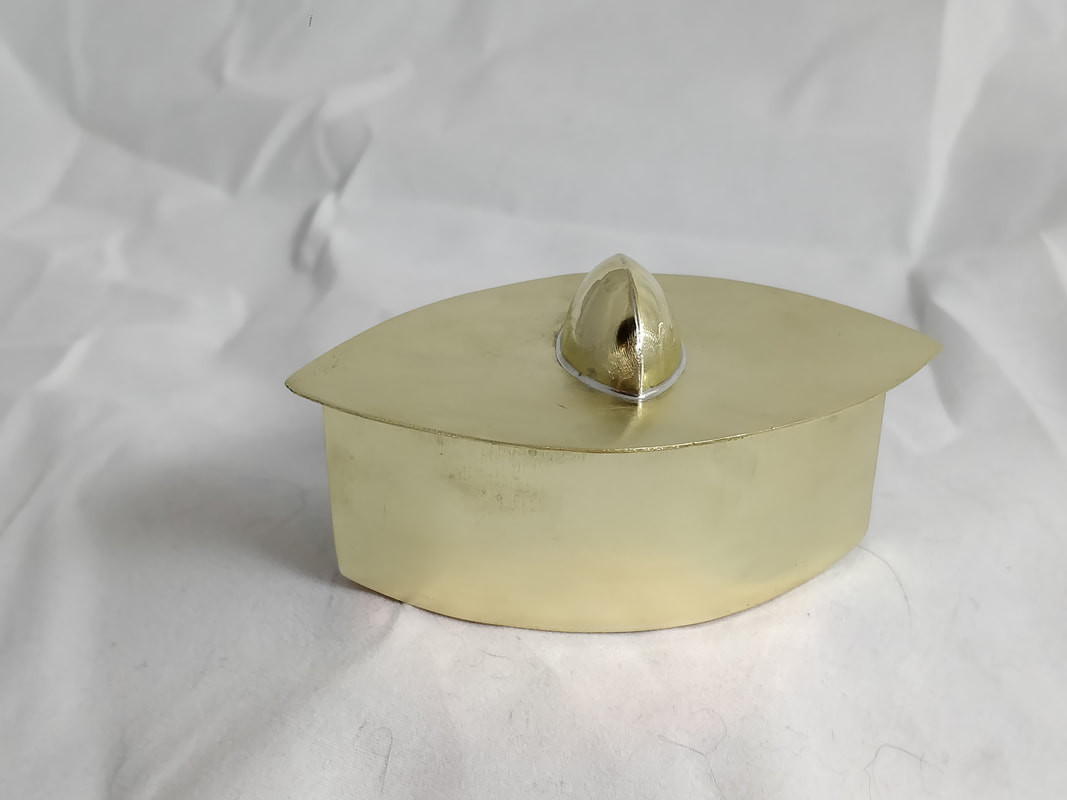
Next up was the little “handle” which is on top of the lid. I used a 1” disk which, because it is polished to a high shine, can’t be gripped such that you can pull the lid off the box.
But the brass box was done and for Sunday it was time for a silver version.
On Sunday morning, I started the silver box with a few executive changes:
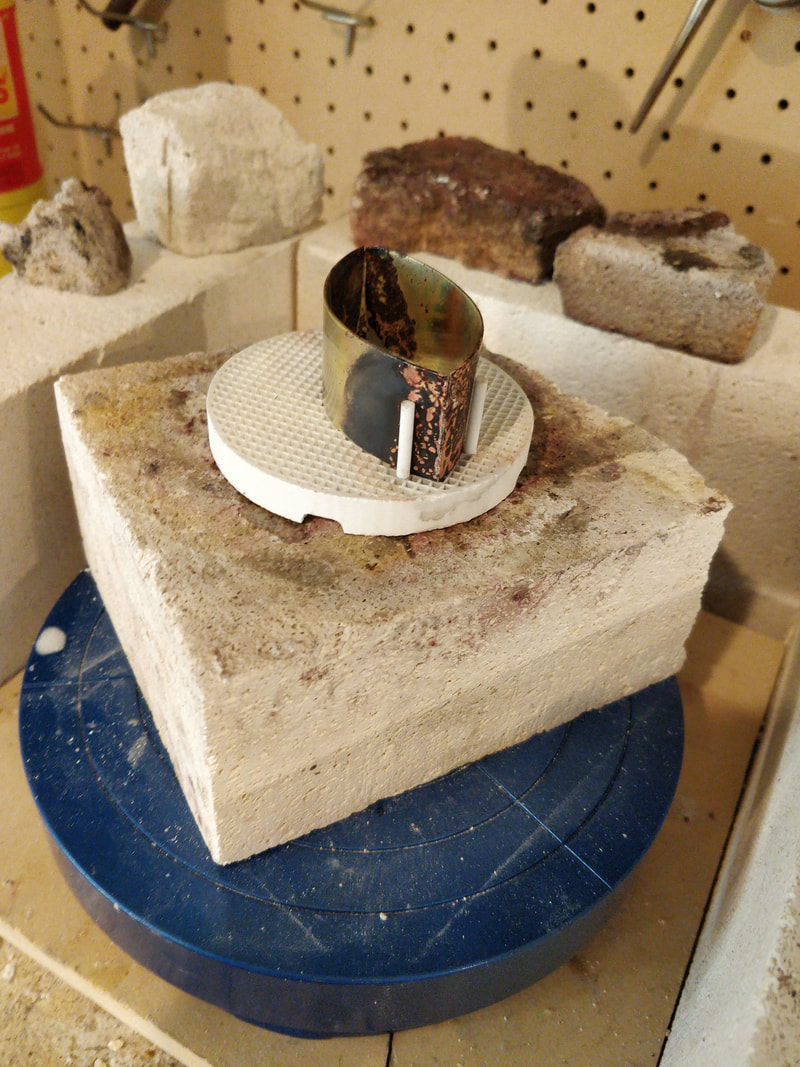
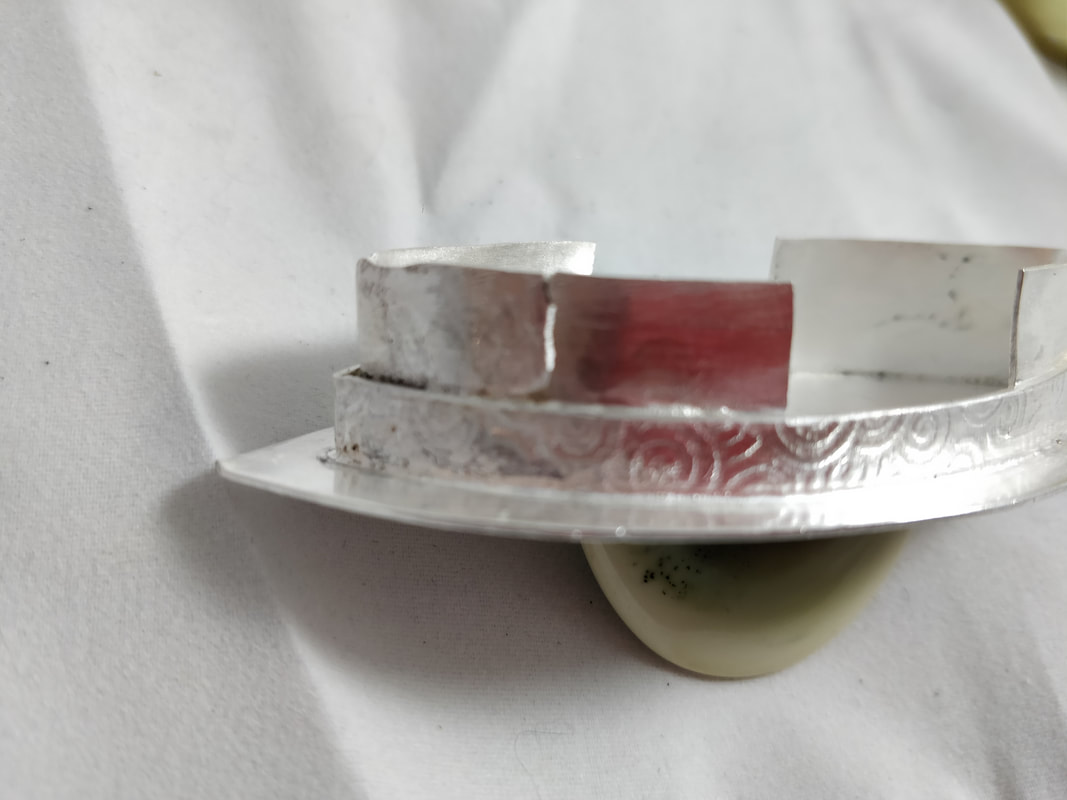
It was all going very well – walls soldered, base soldered, lid wall cut off, lid and lid wall soldered and then I fit the bezels into the wall that was attached to the lid and I went to solder them in – and this is where it went horribly wrong.
One of the bezels split; it must not have been fitted properly and when I applied heat, it gave way.
Then one of my solder clips got soldered to the wall which I was able to eventually remove but it left a solder blob on the texture.
While waiting for the various pieces to get clean in the pickle, I made a bezel to set the agate in the lid. Despite the problems that occurred with the bezel for the slip fit, I was still going to mount the stone to finish the project. This bezel soldered on perfectly and that is when I realized the bezel was a little too big (another learning experience!) , I mixed some epoxy to help set the stone and then pushed in the bezel to complete the box.
Yes, there are pictures of these issues, below. I am more mad at myself than embarrassed; remember making these boxes is for learning and I certainly am.
Observations and What’s next:
I will not use the tapered mandrel to form the walls, the taper makes the top opening slightly smaller than the bottom. I have stepped mandrels that I will use for the next one and I am also hoping that this makes the box more symmetrical and the lid can be put on easier.
I did not like the lid just sitting on top of the base, so I added a small amount of wall, to the lid which just looks a bit better as I did on the silver box.
The accent on the lid will no longer be a “handle” but just a decorative stone or maybe enameled dome. If I do make a handle, it has to be bigger and have some texture so your fingers don’t slip off while trying to grip. Also make a bezel and check it again and again, even again just before soldering so you know it is not too big or too small
I am still struggling with the bezel added to the inside of the wall for the slip fit, as evidenced by the mess I made in the silver box lid plus last week I did struggle a bit with the bezels on the oval/round boxes. I need more practice with technique/skill so this coming weekend, I will a few lids, only, and practice cutting, fitting and soldering bezels.
This weekend I tackled another box shape - a leaf which has 2 seams. As with last week’s boxes, I first made one in brass, on Saturday, and then I made one in silver on Sunday.
The brass box, with its two end seams requires beveling so the edges line up properly. The beveling is done using sand paper after the wall curve is formed. I used a large tapered mandrel that is oval in shape to form the sheet and then gently held on to the pieces and used 220 sand paper to create the bevels, checking every few minutes to see how the edges match up. Once that was done, I used a small amount of binding wire to keep everything together, which I then fluxed and soldered. After I pickled the brass, I then placed it in super pickle to remove the copper layer; I mixed up a small plastic tub of the super pickle, to just cover the brass.
Time to measure the base, stamp my makers mark, solder it to the walls and file/sand all the edges flush.
The design of the box, which was based upon an article I have from long, long ago, has the lid sitting on top of the base walls, with the bezels for the slip fit, soldered directly to the top plate which also over hangs the box by a scant 1/8”. It was now time for me to make the lid of the box. I traced the box outline on some more brass, then marked 1/8” outside of the lid outline to mark the edge of the lid. From there I cut the lid out and did a pre-polish on it. Then I had to mark where the bezels would be soldered – 1/8” (0.125”) in from the outside edge of the lid PLUS the thickness of the wall which was 20g (0.032’ ) totaling 0.157”. I then used extra brass rolled to 22g to form the bezels, which were fluxed and soldered to the lid. After cleaning it up, I then tested fitting to lid to the box base – at that was a problem, the bezels must have shifted on the lid or my math was off because it would not seat. This was solved by a little bit of sanding on the bezel and the inside of the wall in the box base but eventually I did get them to fit AND because the box is not perfectly symmetrical, the lid only fits on in one orientation.
Next up was the little “handle” which is on top of the lid. I used a 1” disk which, because it is polished to a high shine, can’t be gripped such that you can pull the lid off the box.
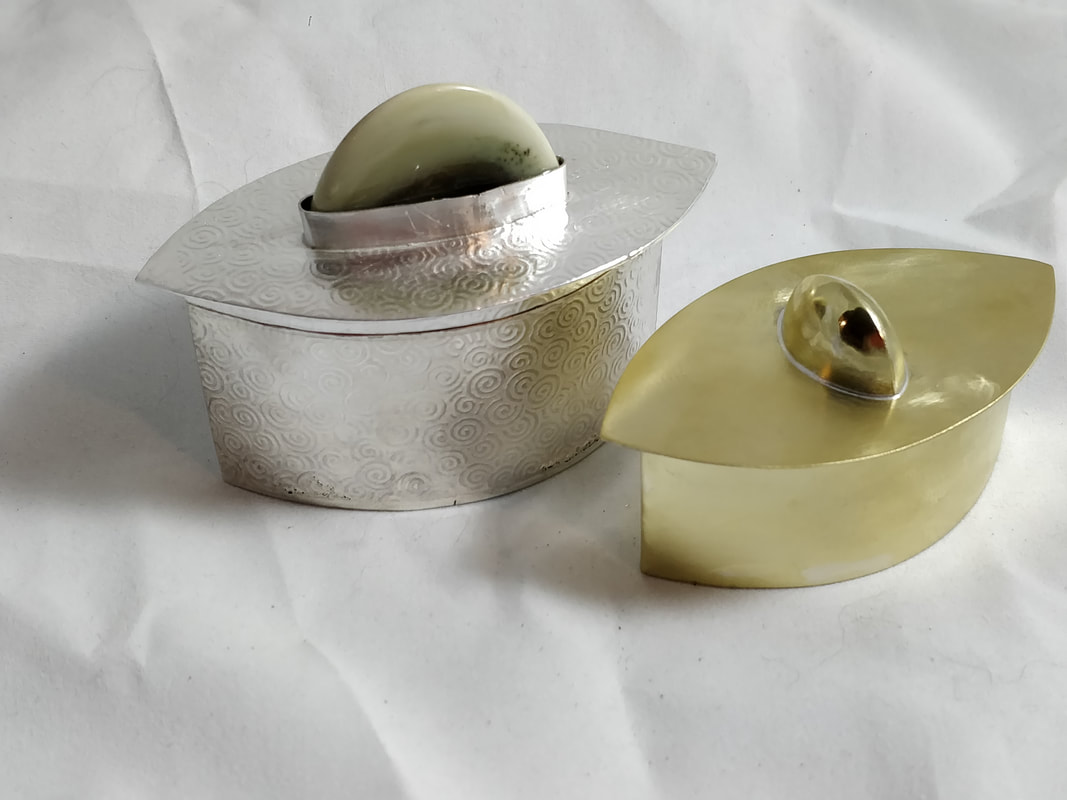
But the brass box was done and for Sunday it was time for a silver version.
On Sunday morning, I started the silver box with a few executive changes:
- I decided to take a small amount of the bottom wall and add it to the lid;
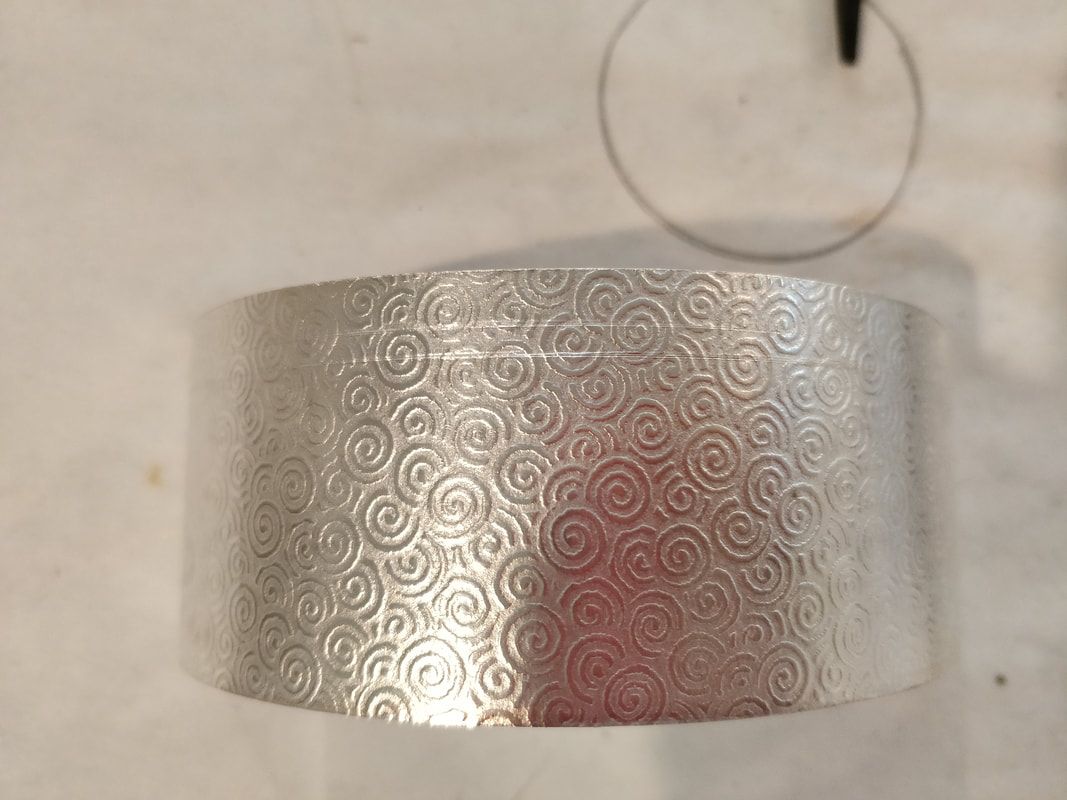
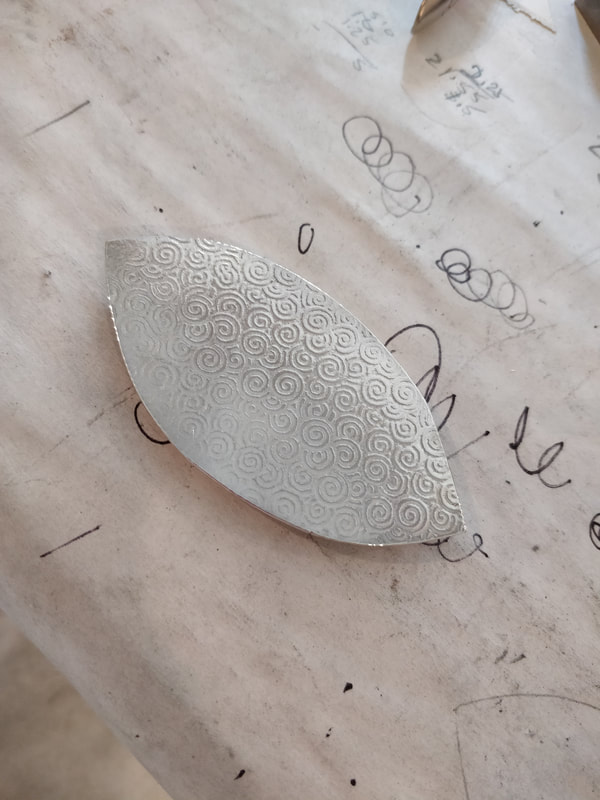
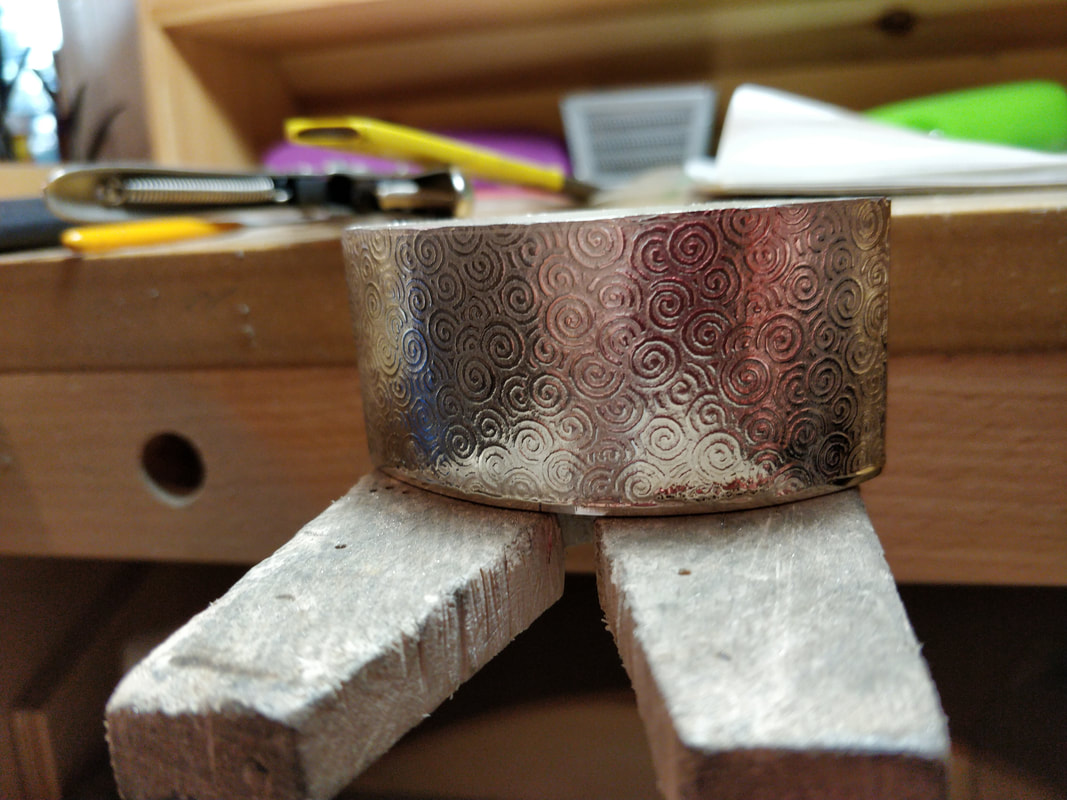
- I would to use my rolling mill to add a texture to the walls and the lid;
- A tongue shaped agate cabochon would be used for the lid accent/handle.
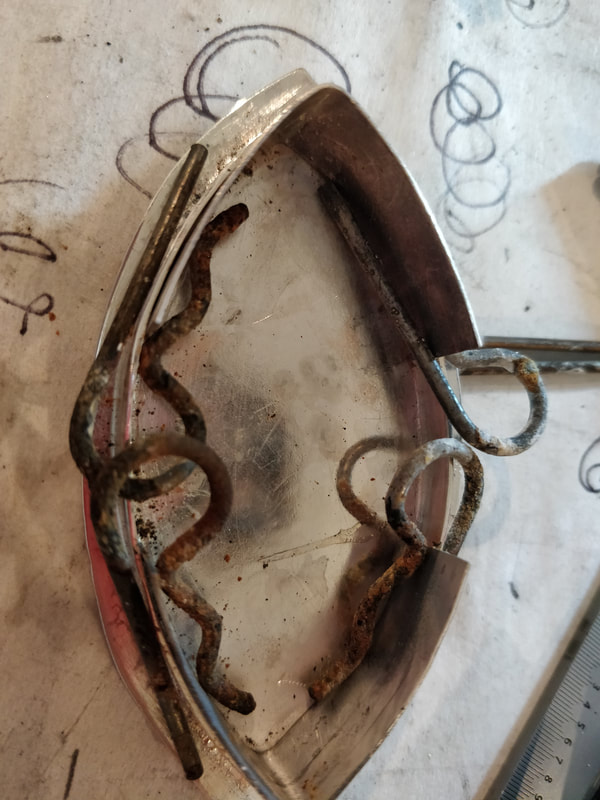
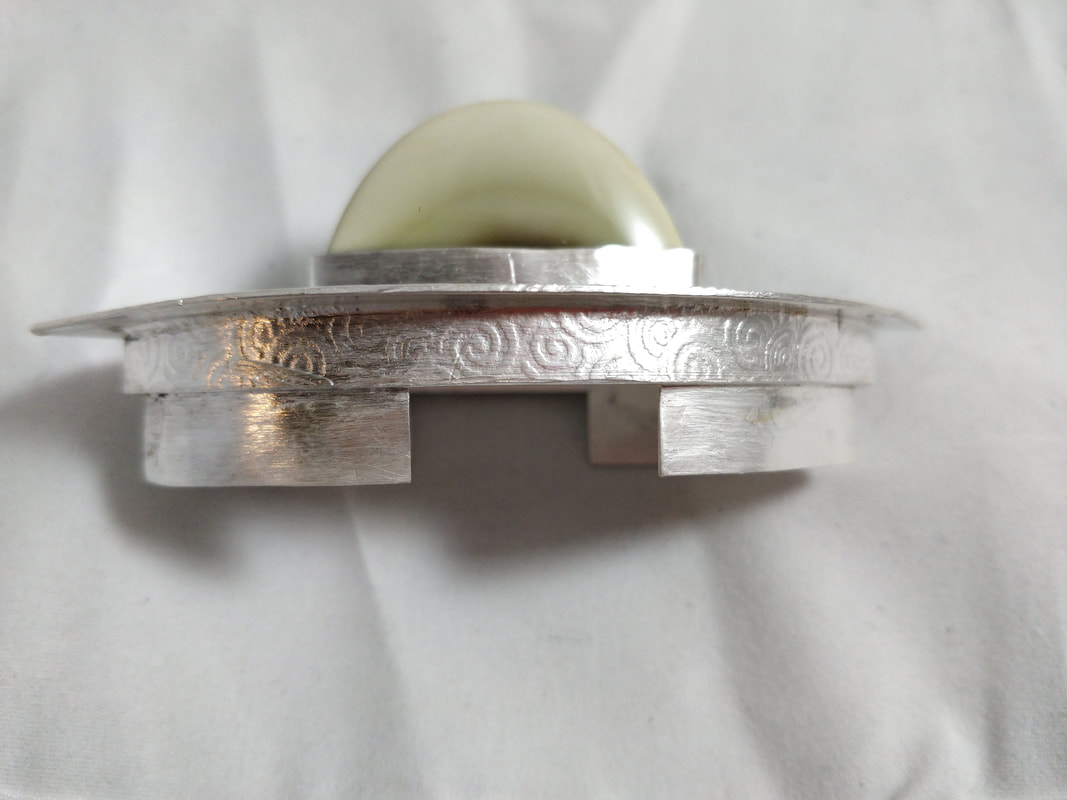
It was all going very well – walls soldered, base soldered, lid wall cut off, lid and lid wall soldered and then I fit the bezels into the wall that was attached to the lid and I went to solder them in – and this is where it went horribly wrong.
One of the bezels split; it must not have been fitted properly and when I applied heat, it gave way.
Then one of my solder clips got soldered to the wall which I was able to eventually remove but it left a solder blob on the texture.
While waiting for the various pieces to get clean in the pickle, I made a bezel to set the agate in the lid. Despite the problems that occurred with the bezel for the slip fit, I was still going to mount the stone to finish the project. This bezel soldered on perfectly and that is when I realized the bezel was a little too big (another learning experience!) , I mixed some epoxy to help set the stone and then pushed in the bezel to complete the box.
Yes, there are pictures of these issues, below. I am more mad at myself than embarrassed; remember making these boxes is for learning and I certainly am.
Observations and What’s next:
I will not use the tapered mandrel to form the walls, the taper makes the top opening slightly smaller than the bottom. I have stepped mandrels that I will use for the next one and I am also hoping that this makes the box more symmetrical and the lid can be put on easier.
I did not like the lid just sitting on top of the base, so I added a small amount of wall, to the lid which just looks a bit better as I did on the silver box.
The accent on the lid will no longer be a “handle” but just a decorative stone or maybe enameled dome. If I do make a handle, it has to be bigger and have some texture so your fingers don’t slip off while trying to grip. Also make a bezel and check it again and again, even again just before soldering so you know it is not too big or too small
I am still struggling with the bezel added to the inside of the wall for the slip fit, as evidenced by the mess I made in the silver box lid plus last week I did struggle a bit with the bezels on the oval/round boxes. I need more practice with technique/skill so this coming weekend, I will a few lids, only, and practice cutting, fitting and soldering bezels.

 RSS Feed
