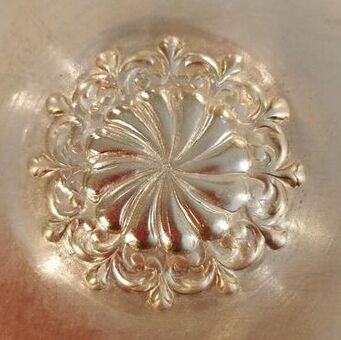
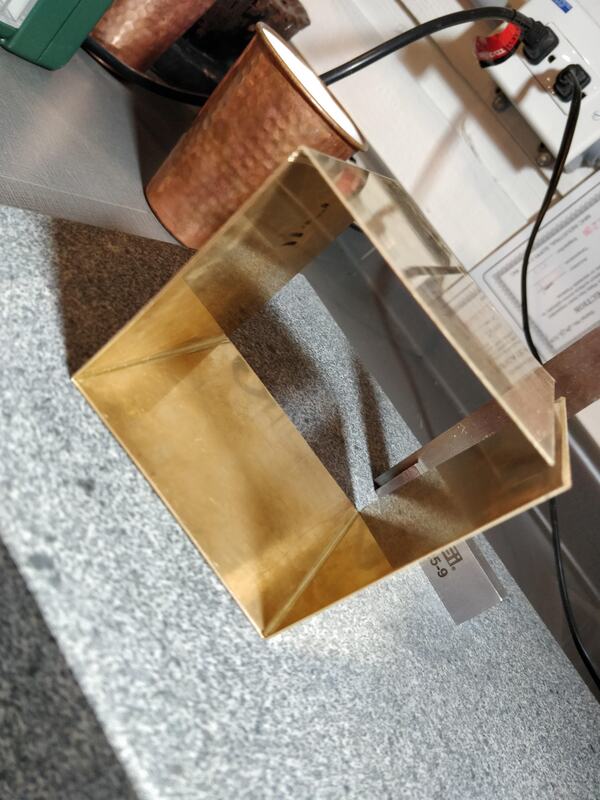
The box would be 3" wide by 3" long by about 3" tall.
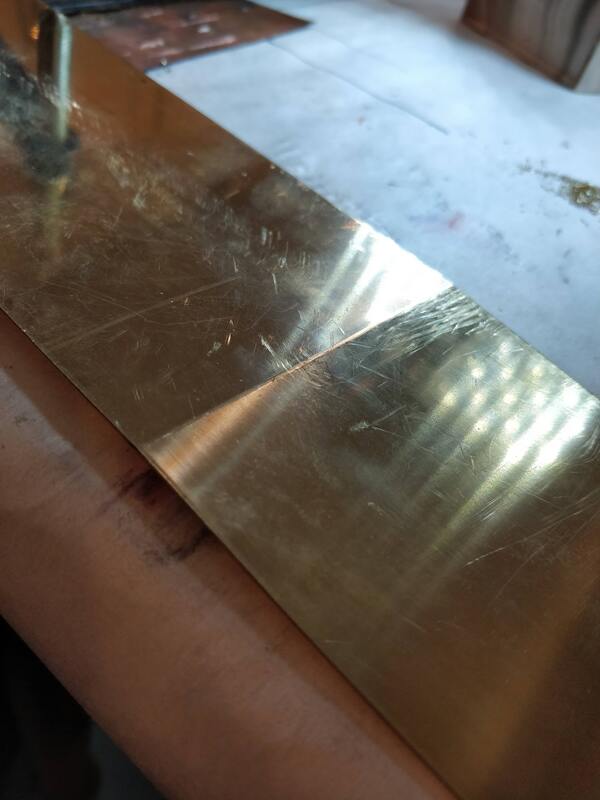
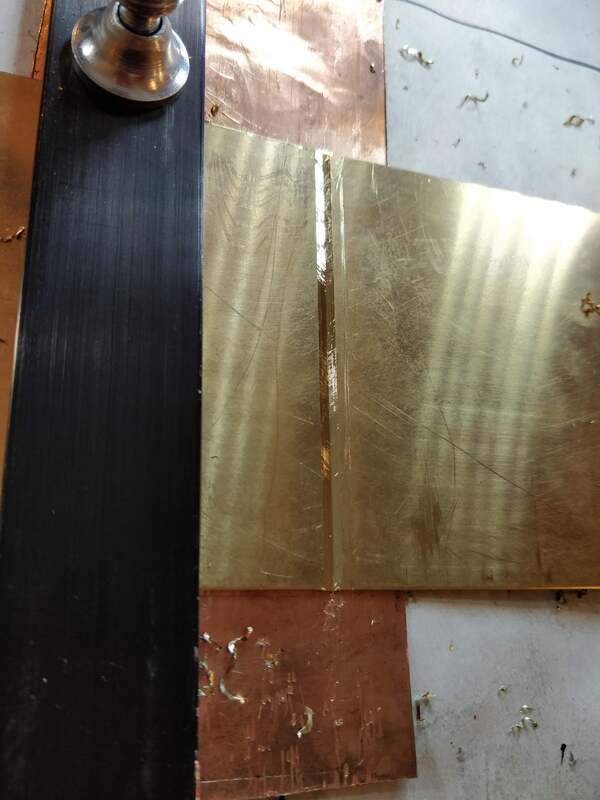
I set up my metal last weekend, a 12" by 6" of 20 gauge brass by drawing the scoring lines and clamping it to the table with my guide. And then I went to the day job for three days....
Thursday, I woke up at 6:00 am with the shop cat (Boots) announcing her presence at the bedroom door (the shop elf was fast asleep) so I got up and went to have my cuppa coffee. I went in to the studio and turned on the lights and the heater as it was about 65 and a wee bit nippy. Then it was to the kitchen to brew my cuppa and feet the cat. While having my cuppa, I read a sci-fi book I started on Monday was getting rather disappointed with how the author was ending it. By now it was 9:00 am and it was time to go to the studio which was a comfortable temp.
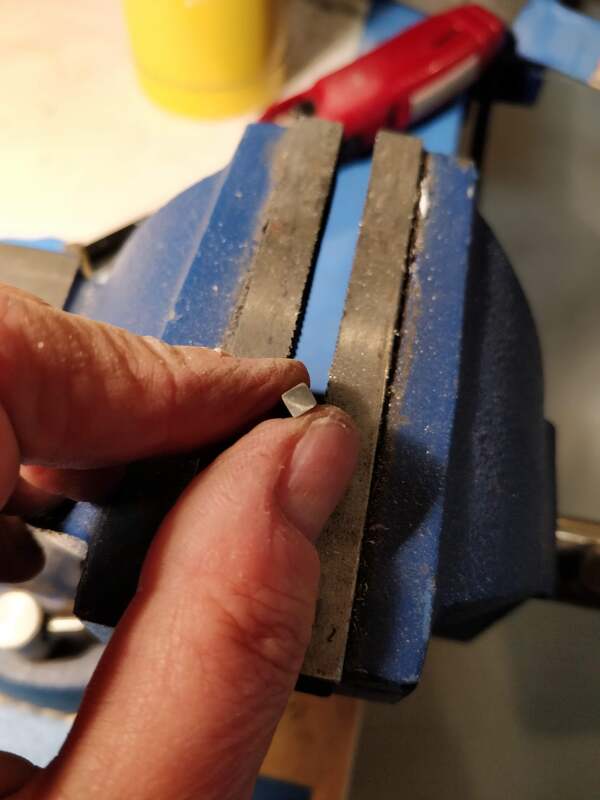
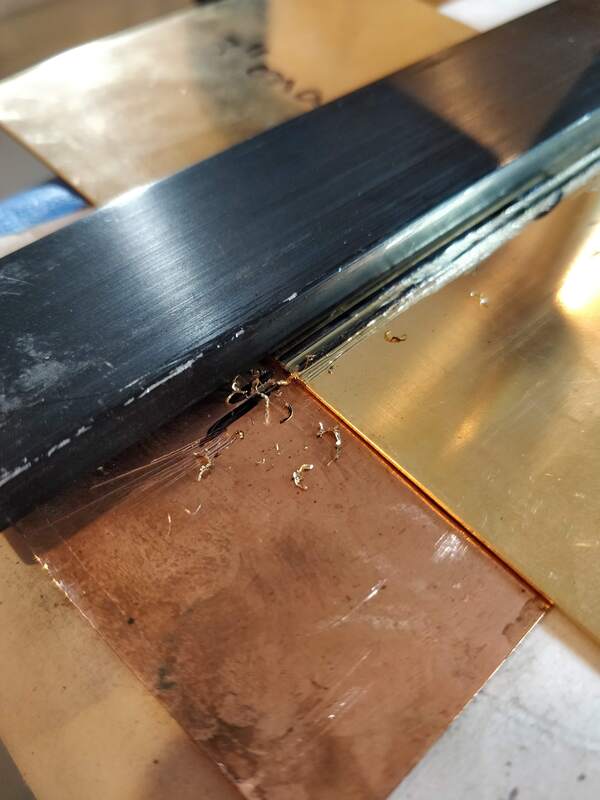
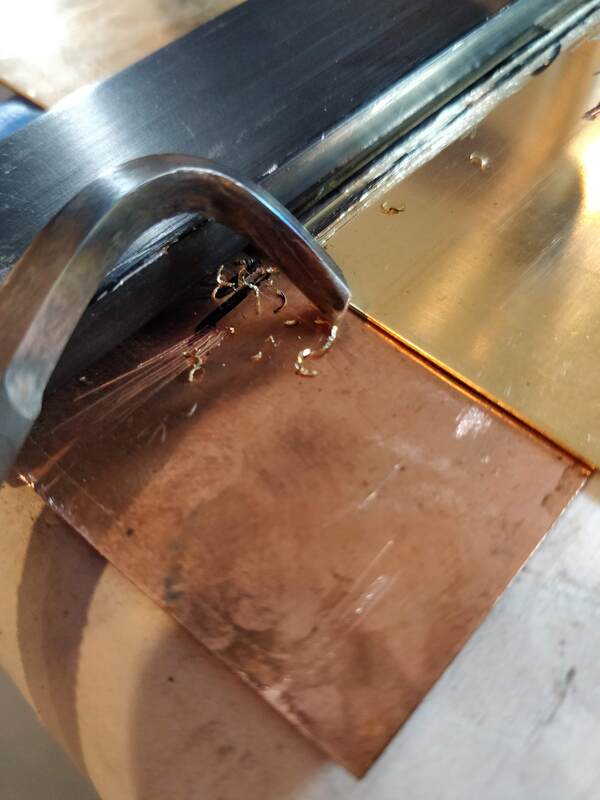
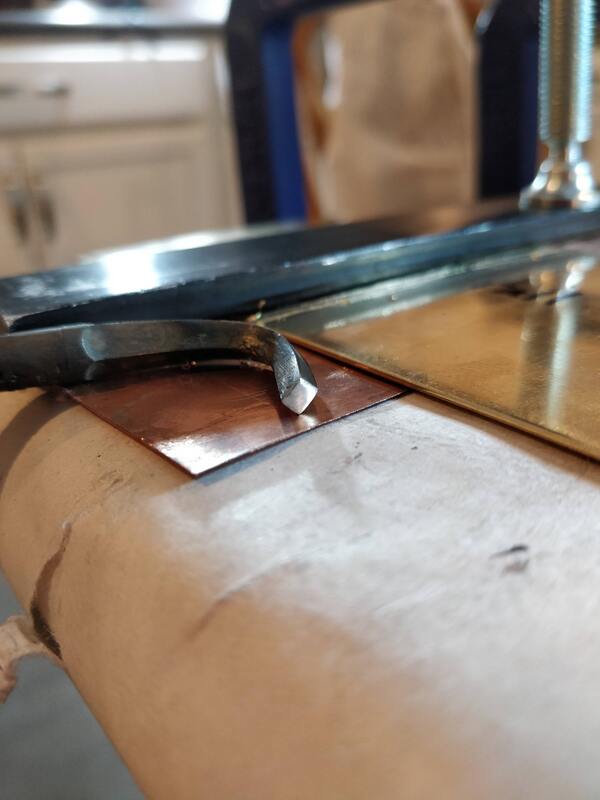
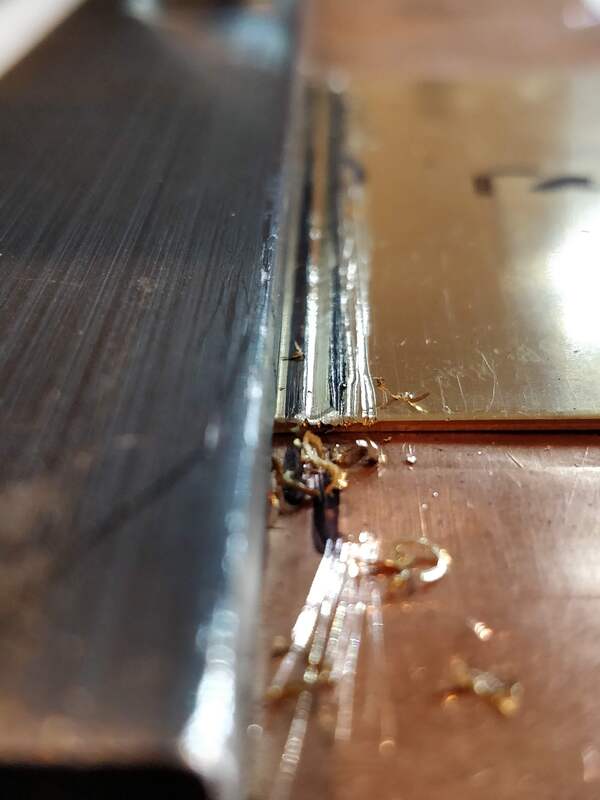
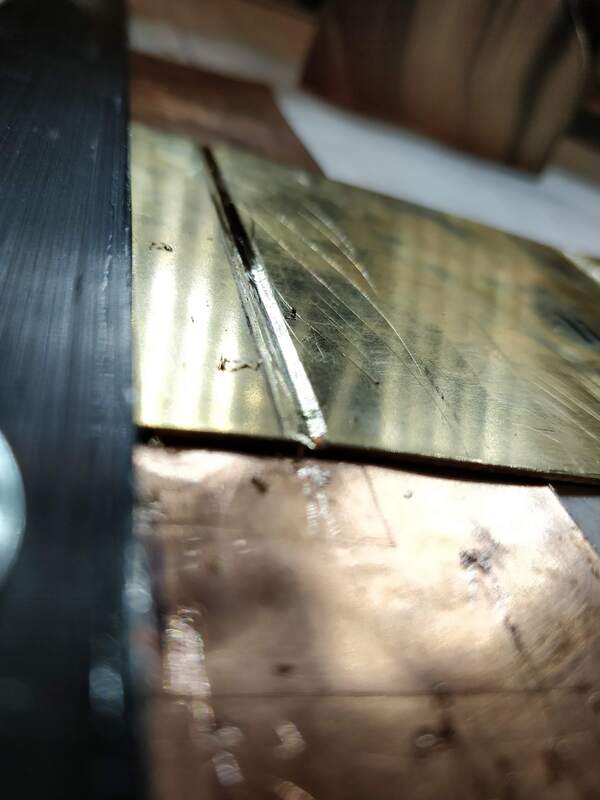
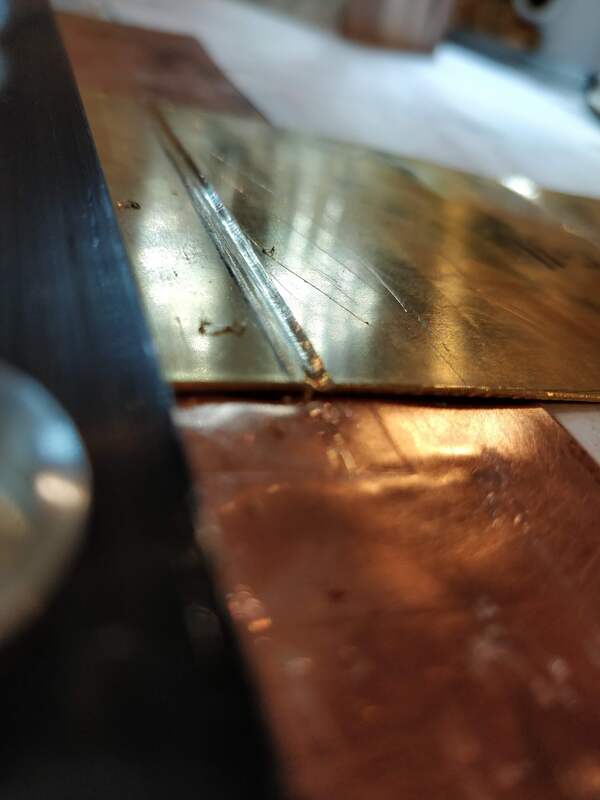
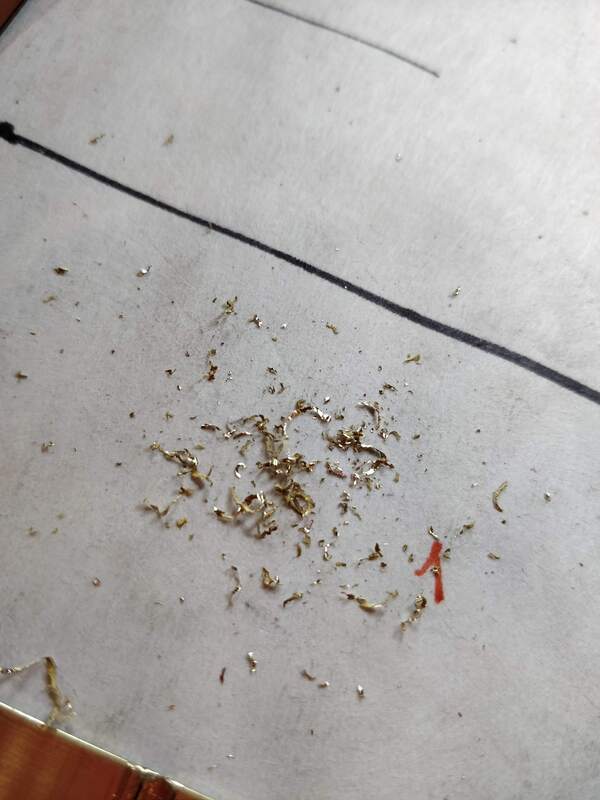
I took off my wedding ring and my good glasses and put on my safety glasses; sat down at the work table and started to work on the first of three scored joints. After a few minutes I realized I was not staying on the line and was making a real mess of it as the scoring tool for 90 degree had a very shot arm and my cutting point really wasn't 90 degrees. I tried to fix it and decided it was just easier to make a new one from another old rat tail file I had. That took over an hour and finally I was away and scoring and creating lots of nice brass curls. I did a check of my cutting and found I was a hair under 2" from the end so all my other scores would have to be moved to the left and a sliver of brass cut off one end. I stopped scoring at 5pm, as I knew I would not get the third one done and I was very tired. It was time to make dinner and relax for the evening.
Friday morning, a certain cat announced her presence not only at 7am but at 2 am. I was able to roll over and go back to sleep for a bit but when a cat walks on you and purrs in your ear it it rather impossible to go back to sleep. Once again I went downstairs, fed the cat and coffee-d myself. I headed into the studio around 9 am and sat down to finish the scoring and beveling of the outer ends.
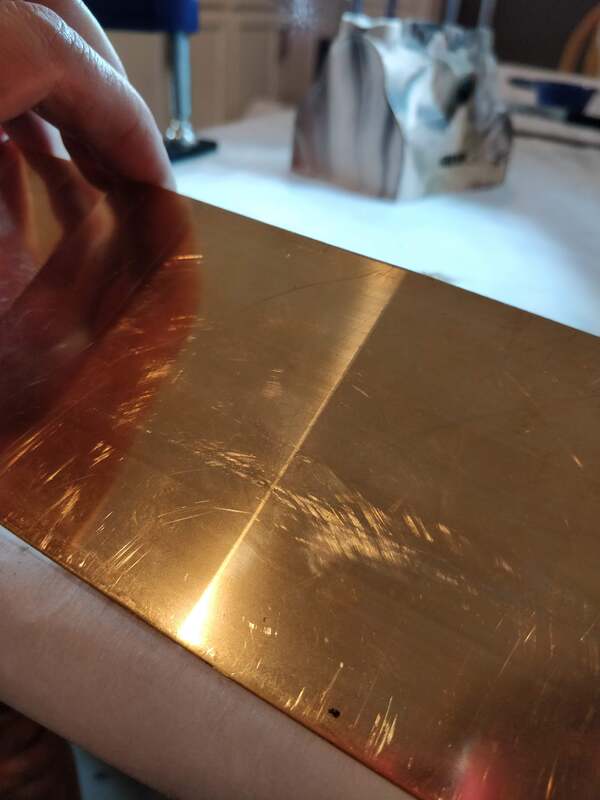
I will mention that when scoring, which is done on the inside, you watch the outside for a line to appear. This is from the pressure the tool puts on the metal because it is so much thinner having been scored. When you see this line you go very slow as removing too much will result in the joint giving out resulting in one part separating from the rest. The scoring continues until you can just begin to bend it by hand.
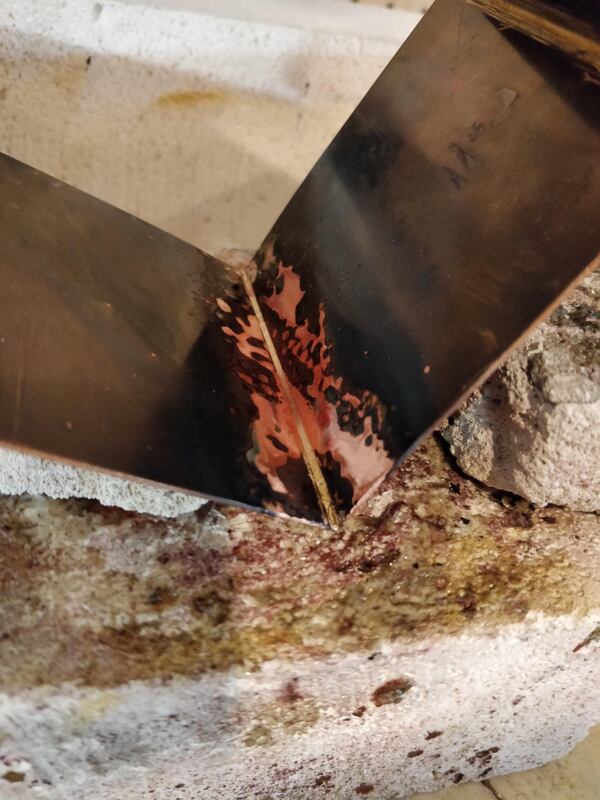
Finally it was time to solder. I started with the center joint, then doing each of the other two. I then cleaned it and then using binding wire, closed up that last corner nice and tight.
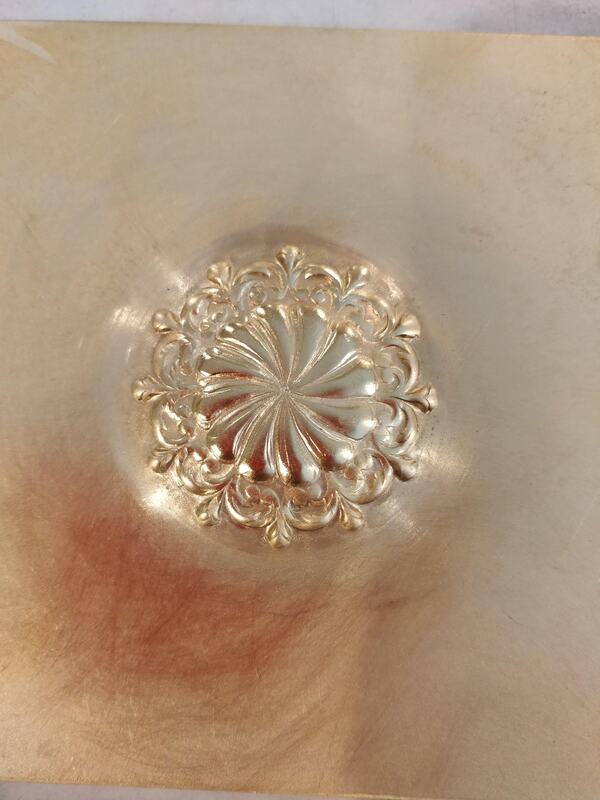
After soldering and cleaning it, I drew a line at the top as to where I would cut the lid from the bottom body. I also cut the top and bottom plates. After I soldered the bottom plate and the bottom was in the pickle, I took the top piece; annealed it and used the hydraulic press to form a design. The design, having lots of little details required me to anneal the brass three times and to use lots of little pressure pieces to push it all out.
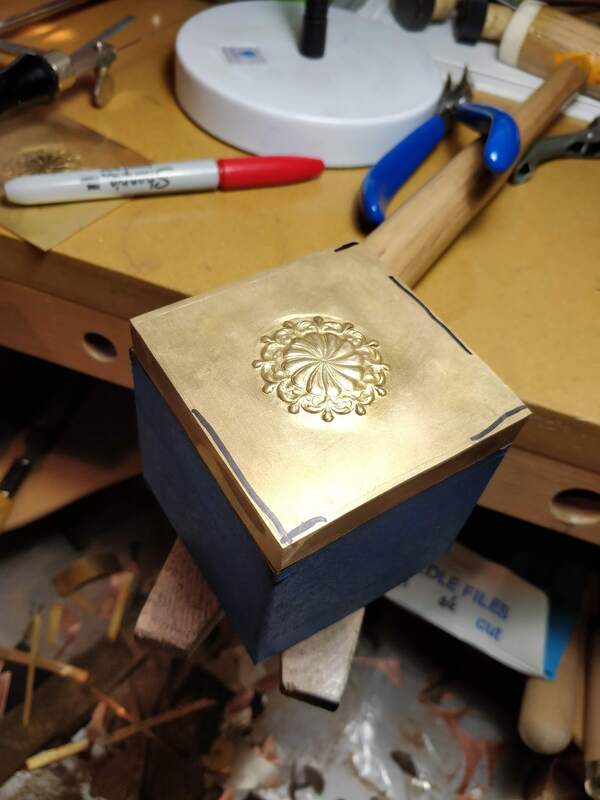
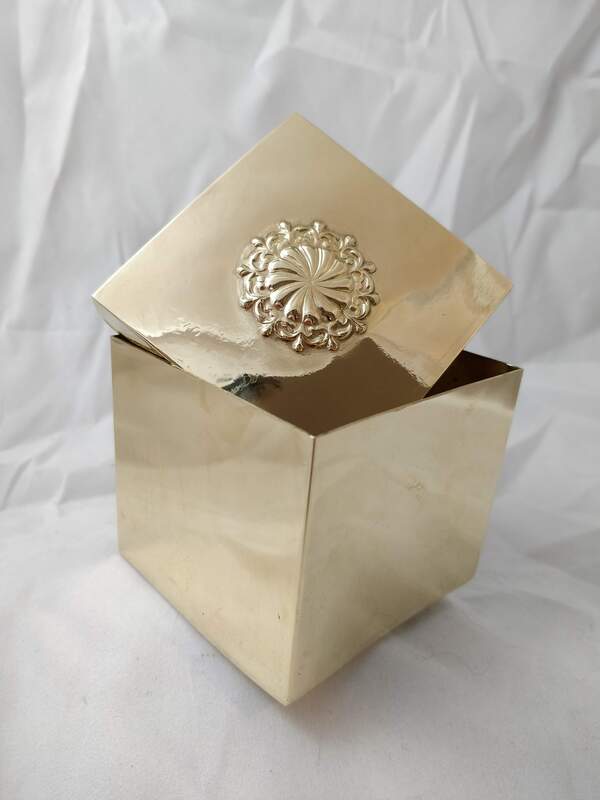
Using a cut off wheel I cut the lid from the bottom and soldered the top, with the design, on. It was now time to file and mate the two parts; fit the bezel and polish it.
Of course, along the way I had a few unintentional learning experiences (documented below) which I am a bit disappointed with but now I can see that doing something this big is not easy... It may not be perfect but I did make a box with FOUR corners and lots of soldering, filing, sanding, measuring. The next one will be sooo much better.
For the next part of the box project, I will continue to make a box but this one will have a hinge which will require me to make many samples of hinges before I add one to a box. That starts next weekend!!
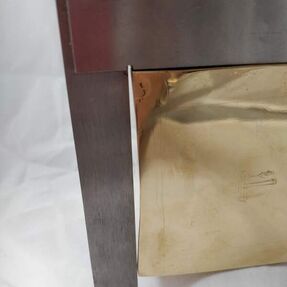
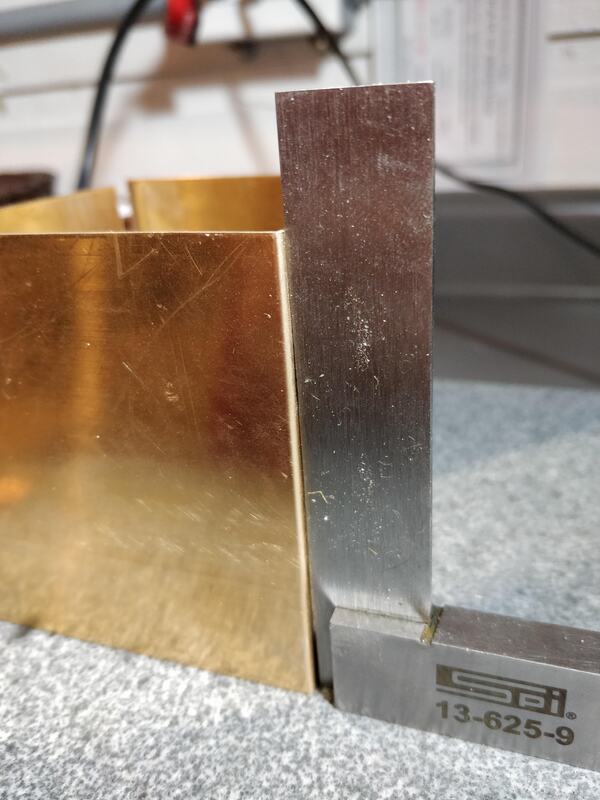
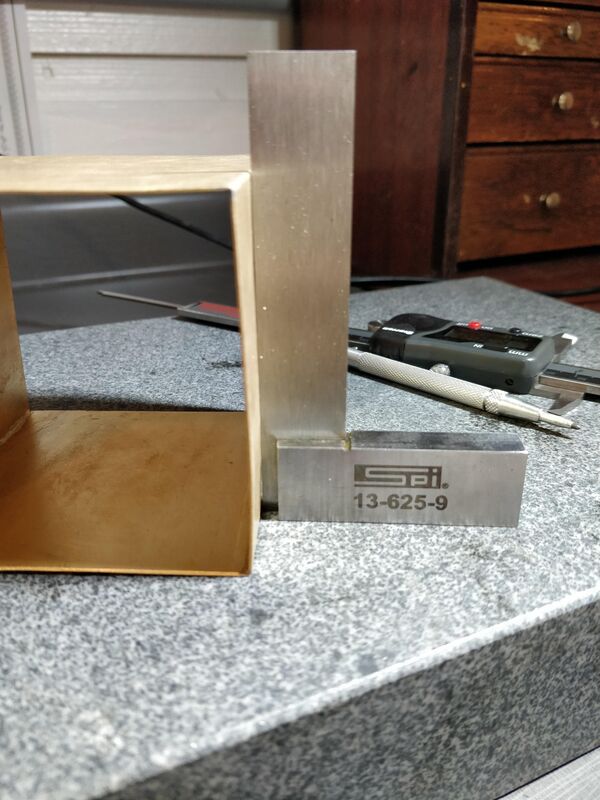
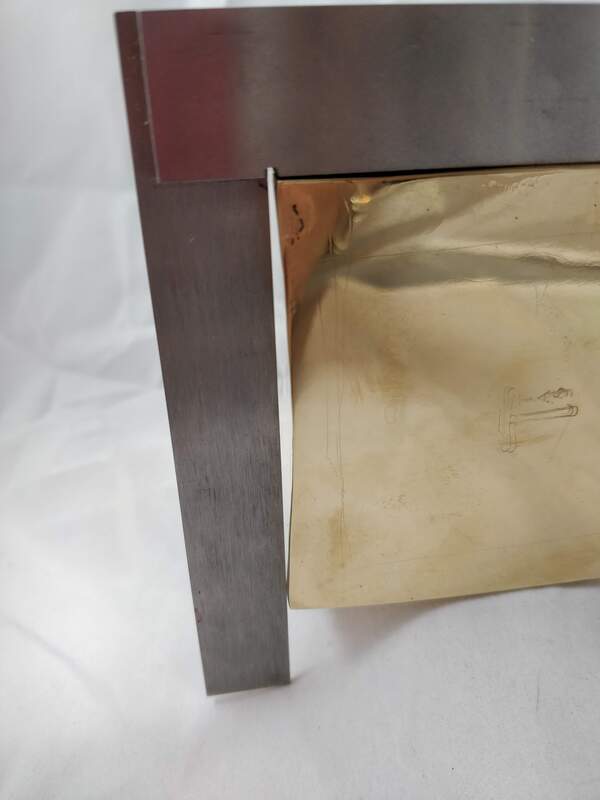
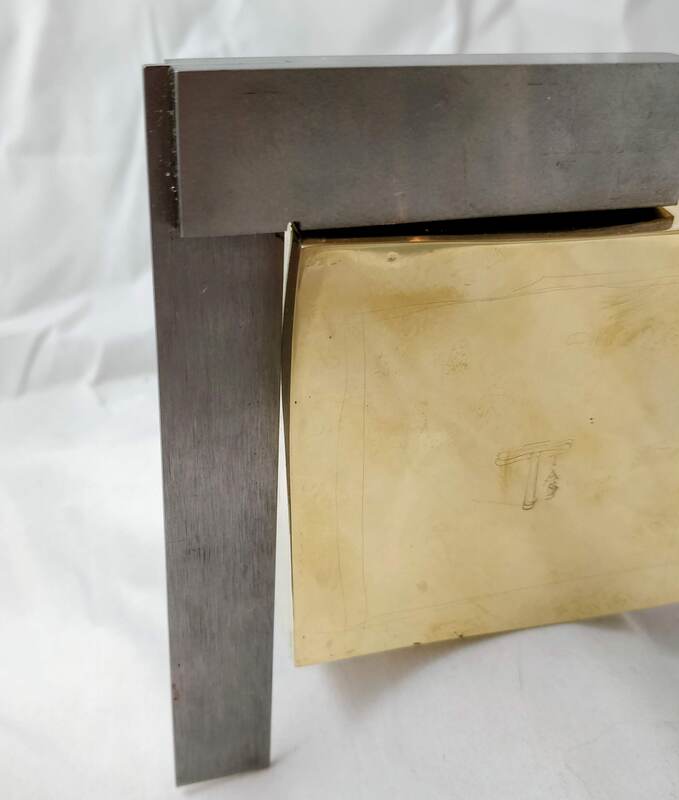
That is a machinist square so that is a true 90 degrees.
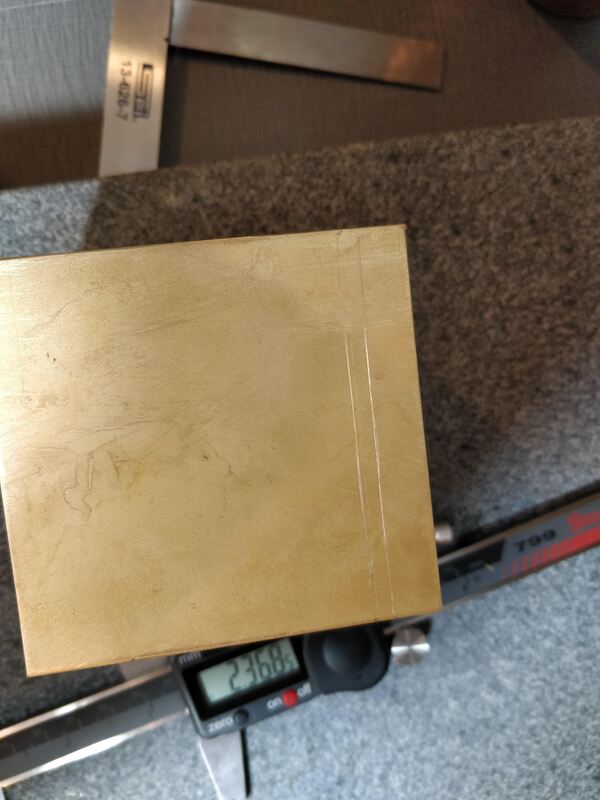
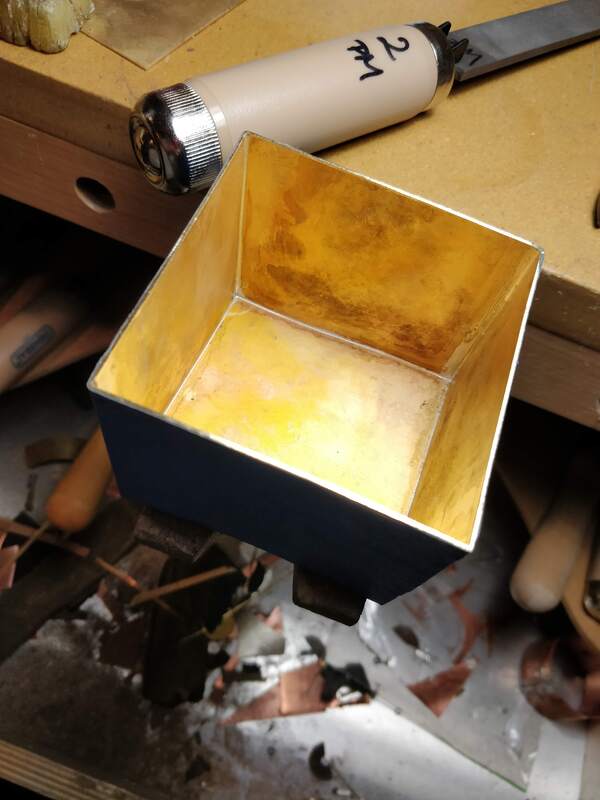
I have a side wall that is bowed inwards, this happened while soldering the base on and I didn't see it until I cut the lid off! And my walls were square when I was done soldering the joints because I did this with the square, hanging off the side to check.
The silversmithing books warn of walls warping either when quenching or while soldering. The book makes mention of getting it up to temperature and clamping it and letting it air cool but since it was soldered I don't know what could have been done except to start over.
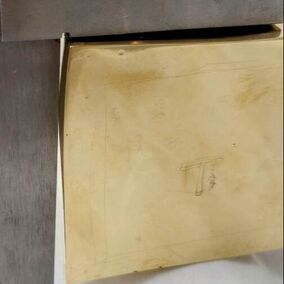
There is another warp along one of the other sides but it one bows outward.
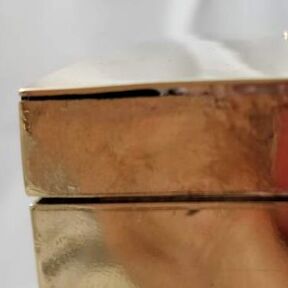
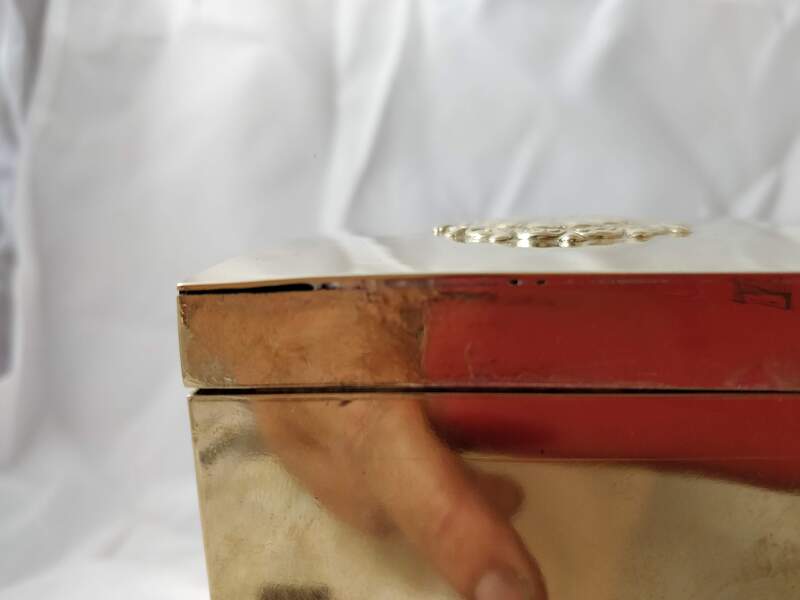
Yes, the top seperated from the wall; this happened while soldering in the bezel. Originally, it was just at the corner and as I tried to fix it but it opened more which is what you see here. I stopped while I was a head.

 RSS Feed
