
I was taught to polish my work in a few random classes I took over the years but I have never really taken a class on POLISHING. In my private raising class with Nechamkin Silver Studios, Liza walked me through a 3 step polishing process when I finished the tumbler.
I thought, up until then that I was "polishing" - oh, was I wrong.
It was after that workshop that I bought an assortment of the Rio Grande polishing compounds, for silver a bunch buffs and taught myself how to polish. I then added a few courser compounds for tools (brown, yellow and white). I keep all the buffs and compounds marked and separated in plastic bags since you don't want tool steel bits to get into copper, silver OR gold! I also clean my piece after each compound so they don't transfer to the next buff!
To clean the Rio Sunsheen compounds I found the Formula 409 cuts the grease and I then use a soft toothbrush to scrub it, then I put it in warm soapy water in an ultrasonic cleaner for at least 15 minutes. Of course has to be changed after each stage of polishing too. Yes, this takes a lot of time and is a PITA (pain in the a**)
A few weeks ago, on Rio, I stumbled up a video about some compounds made by Luxi - these use a vegetable fat vs. a grease making it easier to clean. I bought the assortment, which has all the compounds in mini-bars along with some new buffs and started to try them.
Let's just say I will be switching - The polishing seems to go faster and the clean up is so easy.
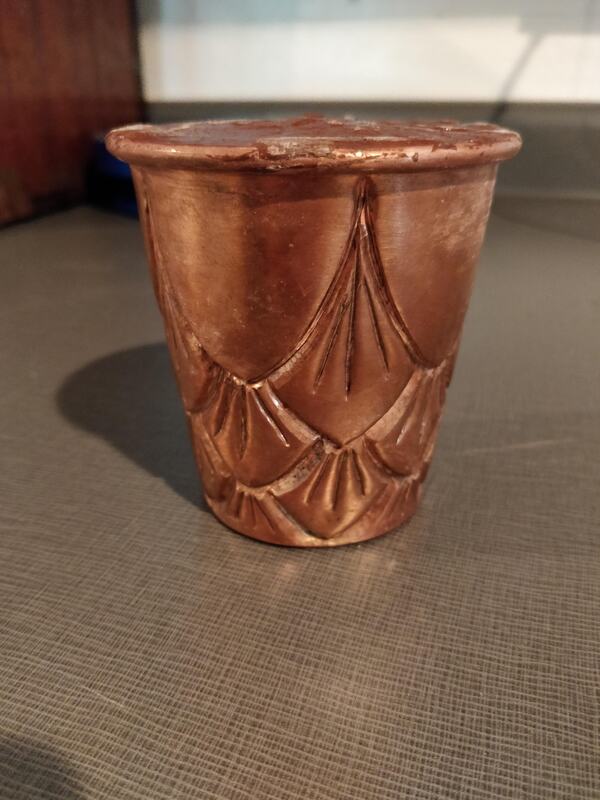
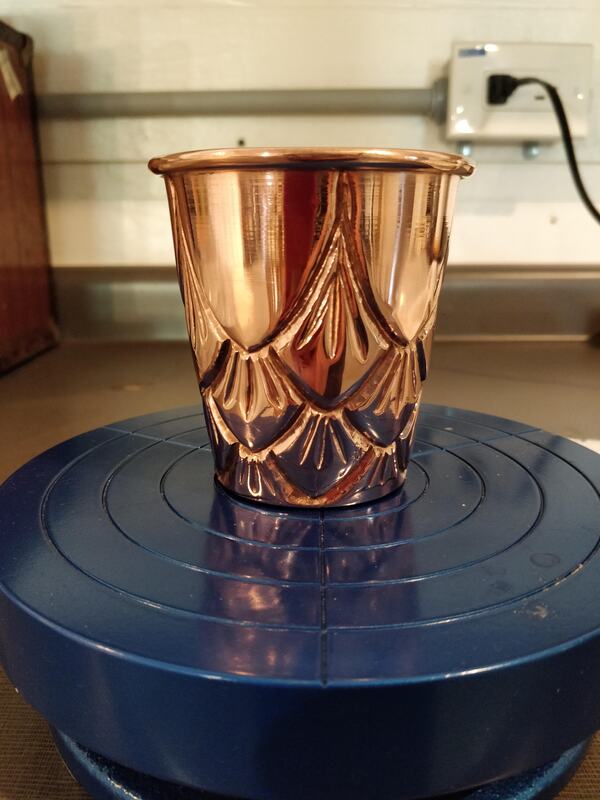
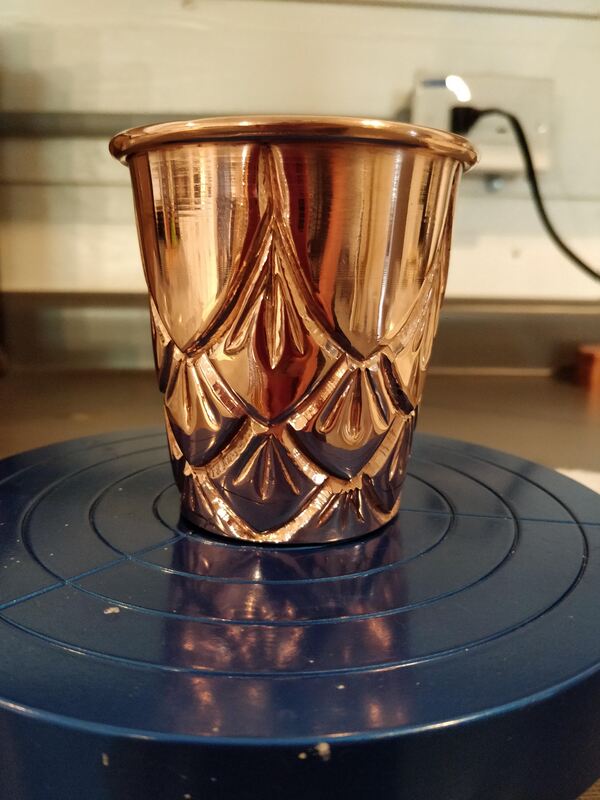
Today I finished my 2nd dragon scale cup and here are 4 pictures - no polish to final polish. I used the green, purple/pink, and red compounds and gets brighter and more reflective in each step.
So how can you learn to polish get 3 or 5 compounds. I can't give you colors because that varies by manufacturer but with 3 compounds it should be a bobbing, medium, and final grade. With 5 you want course for scratch removal, bobbing, pre-polish, polish and final.
Then I suggest taking a large piece of copper and scratch is with 220 grit sand paper. Then cut it in to even squares; 4 for a 3 phase polish or 6 for a 5 phase polish. Set one square aside as this will be saved for your starting sample. Then take your first polish and polish all the pieces and clean and dry your metal and set one aside. Repeat with all of the compounds your bought - polish all the remains samples, clean, and set one aside; repeat. When you are done you will have a set of samples worked with each compound and through all the phases.
And to help you get started, this is the book I recently found that I added to my library: Polishing and Finishing for Jewellers and Silversmiths
I thought, up until then that I was "polishing" - oh, was I wrong.
It was after that workshop that I bought an assortment of the Rio Grande polishing compounds, for silver a bunch buffs and taught myself how to polish. I then added a few courser compounds for tools (brown, yellow and white). I keep all the buffs and compounds marked and separated in plastic bags since you don't want tool steel bits to get into copper, silver OR gold! I also clean my piece after each compound so they don't transfer to the next buff!
To clean the Rio Sunsheen compounds I found the Formula 409 cuts the grease and I then use a soft toothbrush to scrub it, then I put it in warm soapy water in an ultrasonic cleaner for at least 15 minutes. Of course has to be changed after each stage of polishing too. Yes, this takes a lot of time and is a PITA (pain in the a**)
A few weeks ago, on Rio, I stumbled up a video about some compounds made by Luxi - these use a vegetable fat vs. a grease making it easier to clean. I bought the assortment, which has all the compounds in mini-bars along with some new buffs and started to try them.
Let's just say I will be switching - The polishing seems to go faster and the clean up is so easy.
Today I finished my 2nd dragon scale cup and here are 4 pictures - no polish to final polish. I used the green, purple/pink, and red compounds and gets brighter and more reflective in each step.
So how can you learn to polish get 3 or 5 compounds. I can't give you colors because that varies by manufacturer but with 3 compounds it should be a bobbing, medium, and final grade. With 5 you want course for scratch removal, bobbing, pre-polish, polish and final.
Then I suggest taking a large piece of copper and scratch is with 220 grit sand paper. Then cut it in to even squares; 4 for a 3 phase polish or 6 for a 5 phase polish. Set one square aside as this will be saved for your starting sample. Then take your first polish and polish all the pieces and clean and dry your metal and set one aside. Repeat with all of the compounds your bought - polish all the remains samples, clean, and set one aside; repeat. When you are done you will have a set of samples worked with each compound and through all the phases.
And to help you get started, this is the book I recently found that I added to my library: Polishing and Finishing for Jewellers and Silversmiths

 RSS Feed
