
My last blog post was about the small commission I received. I posted many pictures about the process but the one thing I did not do was show the polishing process. Well, luckily for me my client was so happy with the bowl, I was asked to do a second one which I started last week and this weekend I am doing the "rough" polish, attaching the stand and then the final polish.
In the past, I did not care so much about polishing as many of my pieces were finished with a hammered texture similar to an "Arts & Crafts" look so the polish was, in my opinion, not needed.
For these bowls it was. I wanted them to be brilliant.
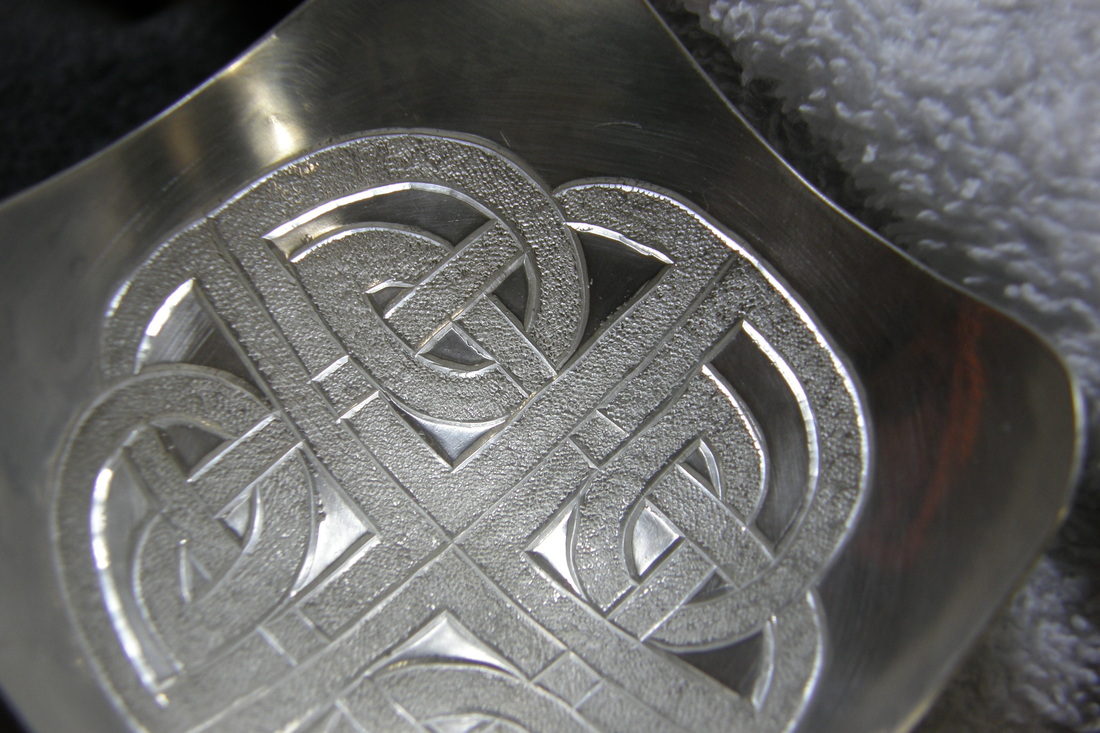
And because of the size of these bowls, 3" square when flat, getting inside pushed me to hand polish BY HAND, not with a flex shaft. I decided to use the first and now the second bowl as a learning experience to see how each progressively finer grit worked the silver and made it more reflective (read that as polished).
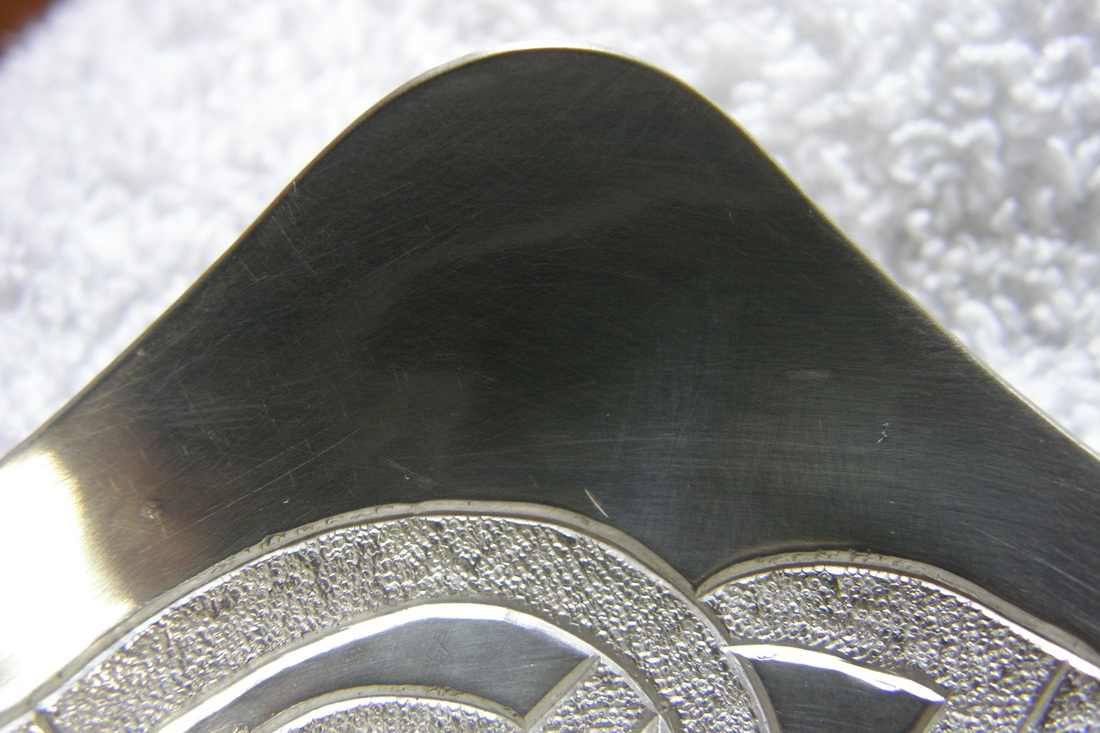
Remember by working from a rough grit to a fine grit you are literally scraping or grinding the scratches out. The more and deeper the scratches the less the light is reflected evenly and thus appears less bright and shiny. A very fine grit let's say 8,000 or more is still scratching the surface but they are so teeny-tiny and closer together the light comes back at you and thus you see a reflection. The technical lesson is now over.
How do I do it??
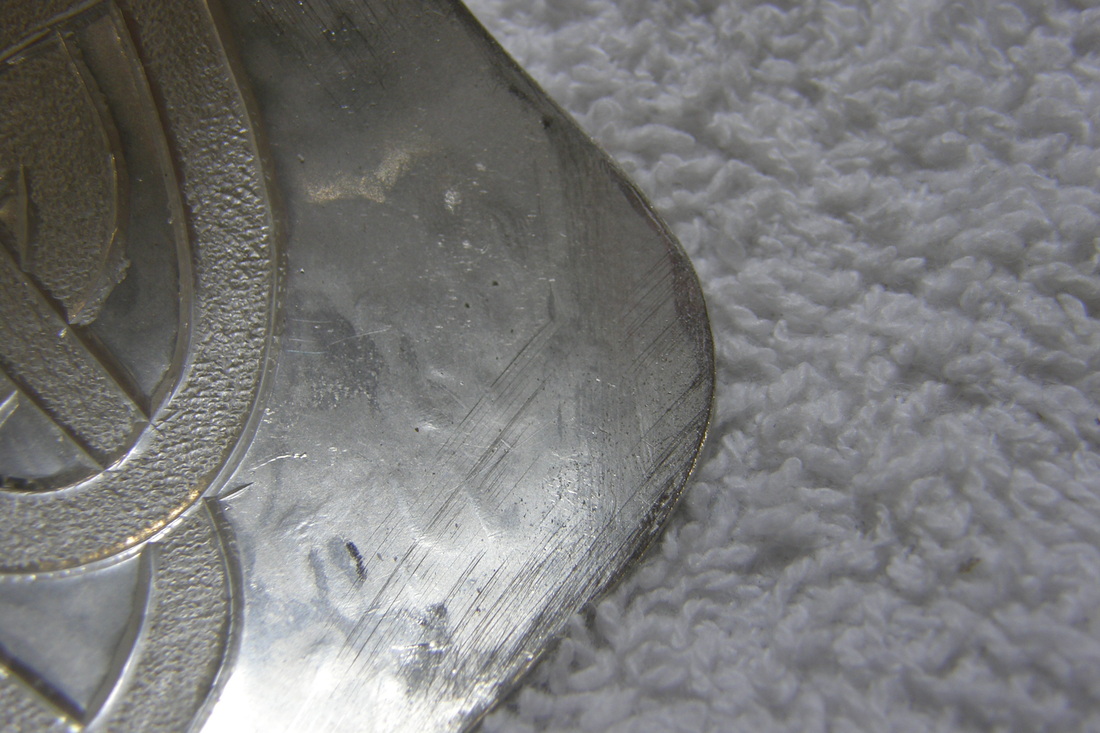
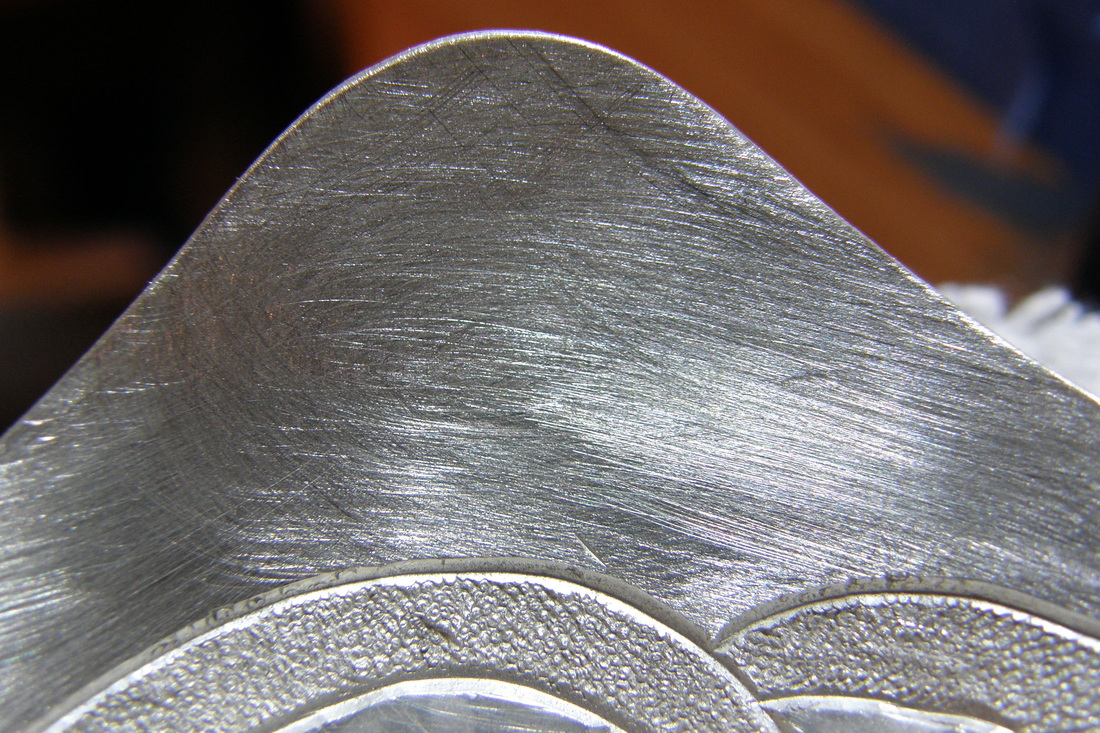
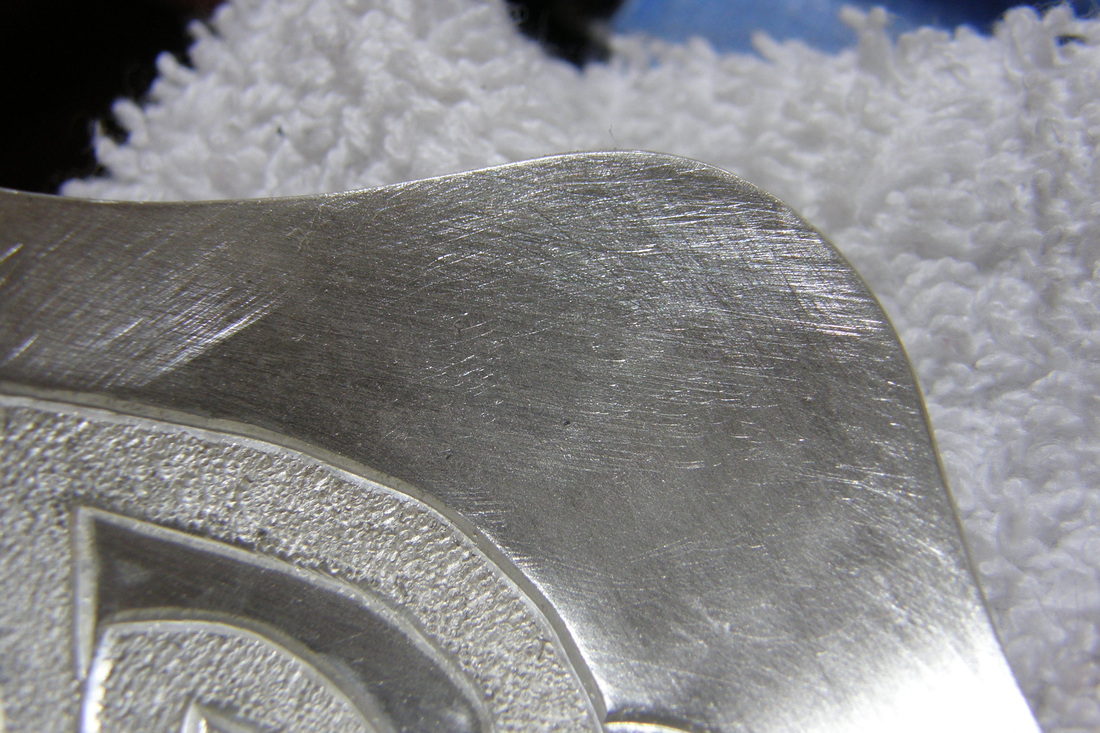
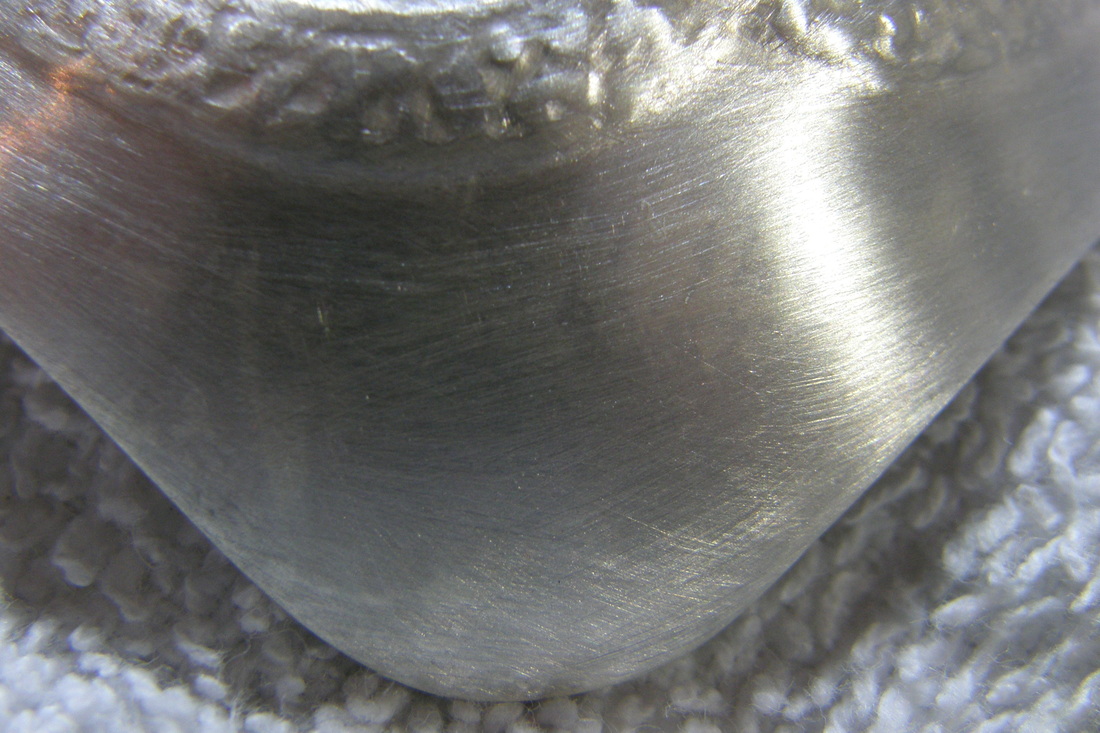
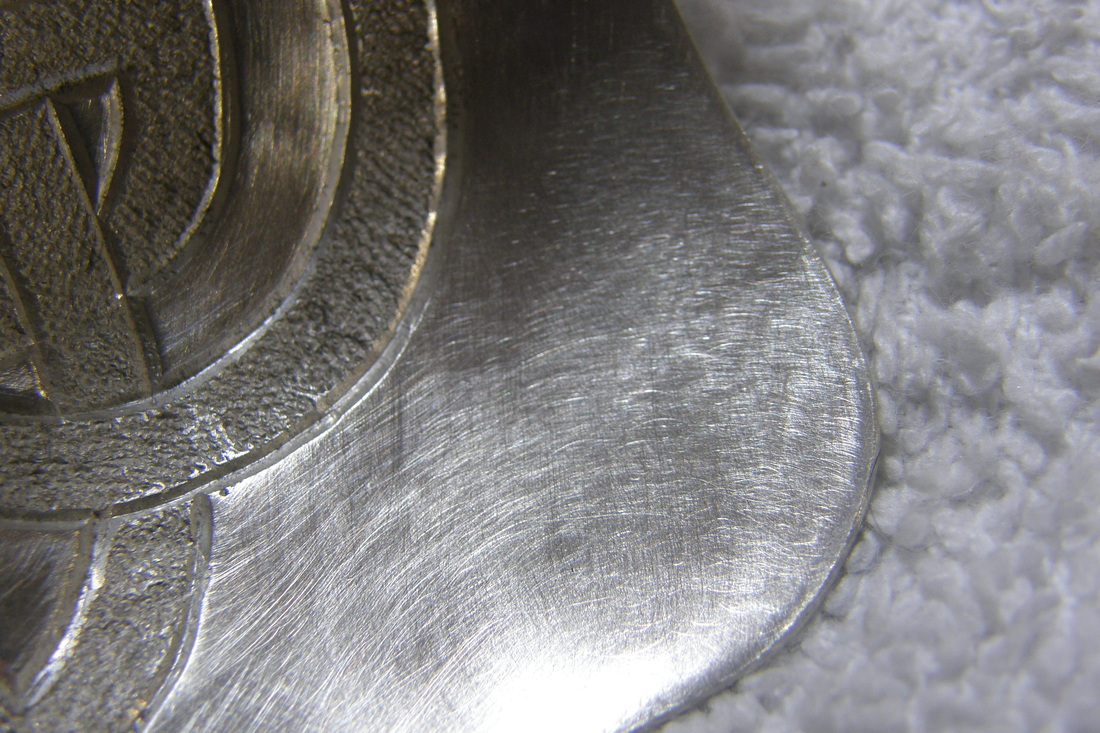
I first start with standard wet/dry "sand" paper from the big box store. I start with either 120 or 220 grit and I cut a small piece that I can easily hold in my fingers. I then start rubbing, first on the outside in circular motions paying attention to the existing scratches and working my way around the outside; again and again until the surface has a consistent finish for that grit. I work on a clean shop towel to support the piece. I then take a fresh piece and do it again, in the opposite direction. Then I do the same process to the inside. THEN I go wash the bowl and get a new shop towel, and the next grit working my way from 120, 220, 320, 400 to 600. There are times that I will go back a grit if a scratch that I thought was gone, really is not. You should also do each round in a different direction to the last so it you go left to right with the first round of polishing, make your had movements go up and down, ACROSS, the prior polishing direction.
Once I am done with the commercial 600, I then move to 3M-Tri-M-Ite Imperial Polishing Papers that I bought an assortment of. The range of this assortment is 400, 600, 1200, 4000, 6000, and 8000. Yes, I start with this 400 because I find that it actually gives a finer polish than the commercial 600. Again, I follow the same process up to the 4000 grit.
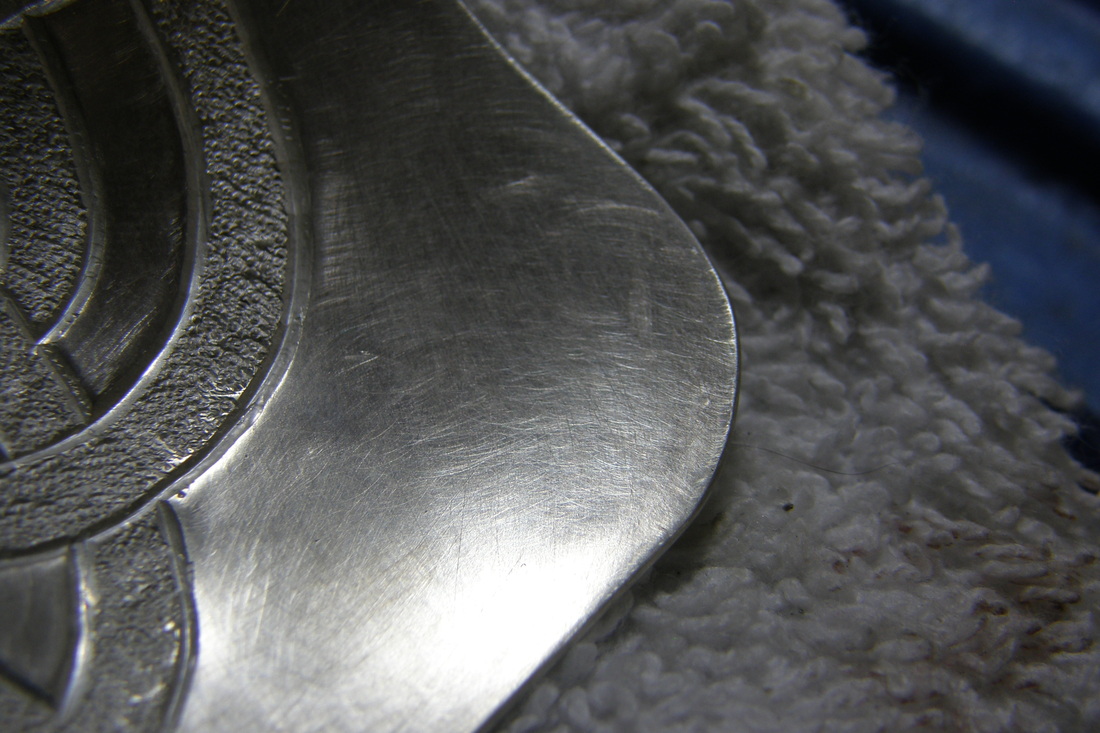
When I finished this rough polish, I then went off and attached the base to the bowl and THEN I finished the polishing first with the 6000, 8000 and finally on a buffing wheel with RED rouge (btw, rouge is French for RED) and then finish with green 'rouge' compound. Then into an ultrasonic cleaner for a final wash and removal of any buffing compound.
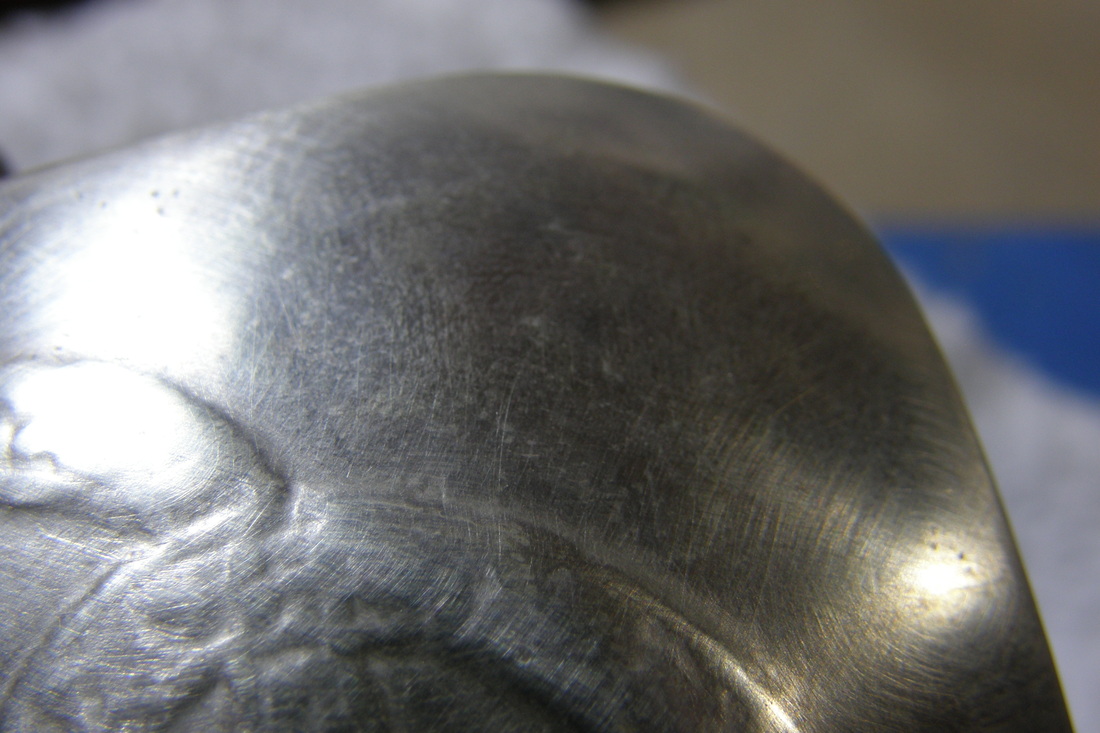
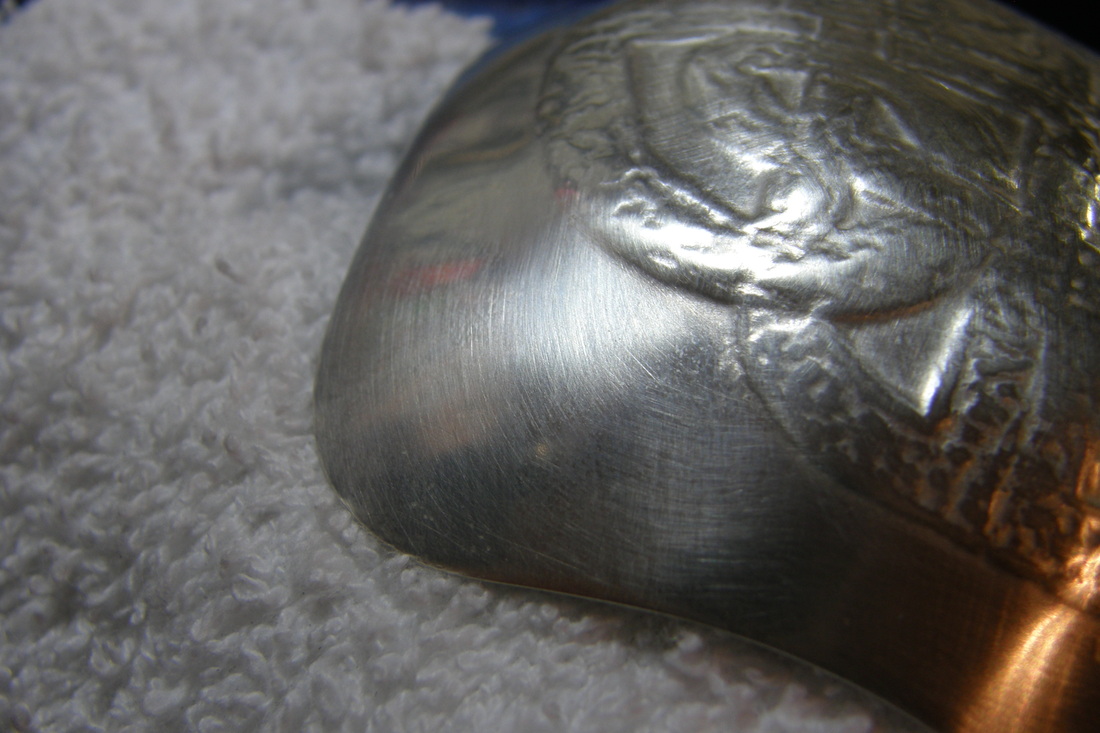
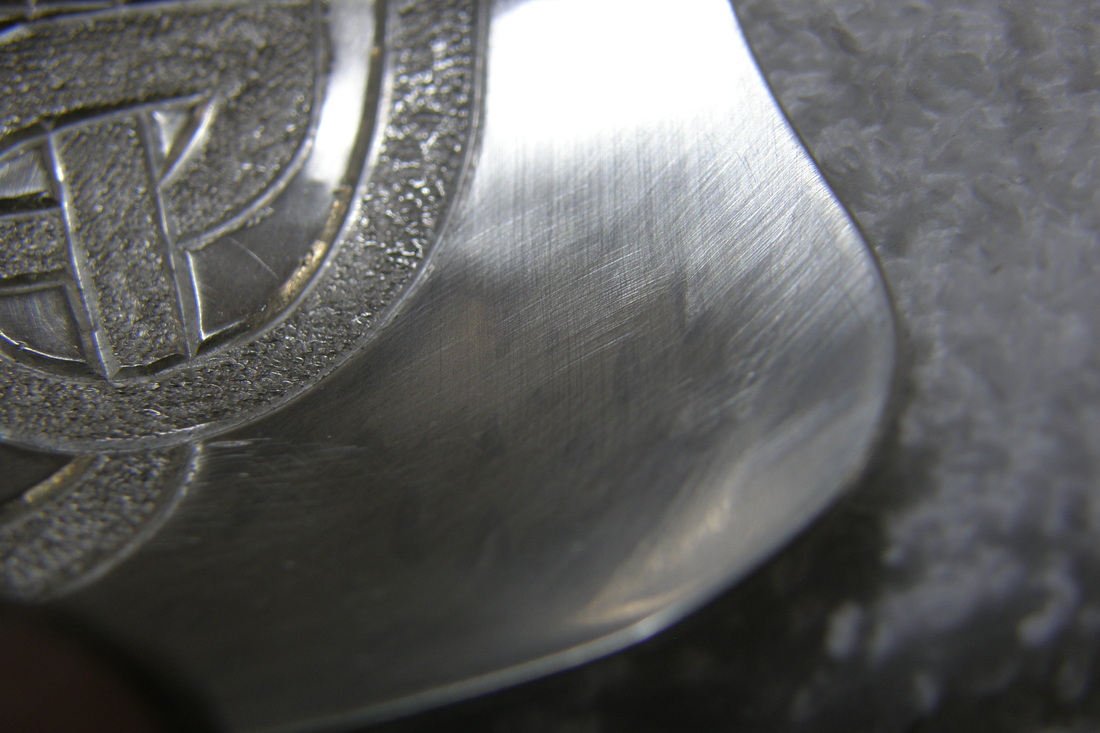
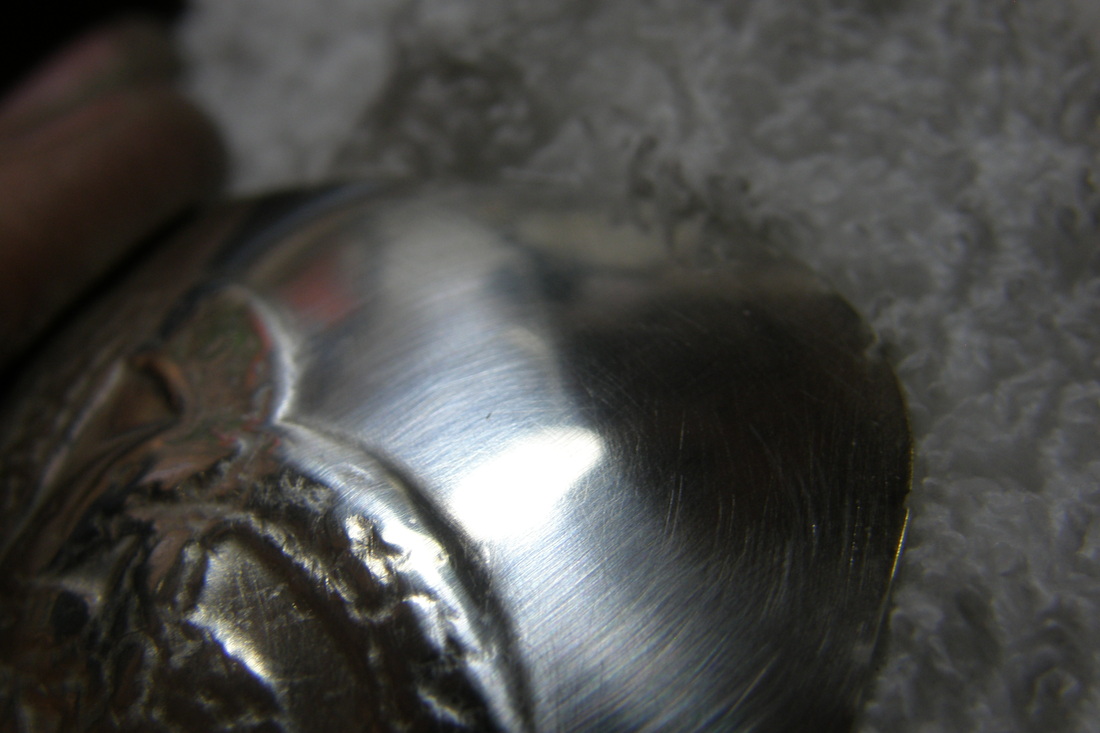
Here are my process pictures, if you click on a picture and open the slide show you will also see the captions of the various stages.
On Tuesday, this one is going off to Texas.
In the past, I did not care so much about polishing as many of my pieces were finished with a hammered texture similar to an "Arts & Crafts" look so the polish was, in my opinion, not needed.
For these bowls it was. I wanted them to be brilliant.
And because of the size of these bowls, 3" square when flat, getting inside pushed me to hand polish BY HAND, not with a flex shaft. I decided to use the first and now the second bowl as a learning experience to see how each progressively finer grit worked the silver and made it more reflective (read that as polished).
Remember by working from a rough grit to a fine grit you are literally scraping or grinding the scratches out. The more and deeper the scratches the less the light is reflected evenly and thus appears less bright and shiny. A very fine grit let's say 8,000 or more is still scratching the surface but they are so teeny-tiny and closer together the light comes back at you and thus you see a reflection. The technical lesson is now over.
How do I do it??
I first start with standard wet/dry "sand" paper from the big box store. I start with either 120 or 220 grit and I cut a small piece that I can easily hold in my fingers. I then start rubbing, first on the outside in circular motions paying attention to the existing scratches and working my way around the outside; again and again until the surface has a consistent finish for that grit. I work on a clean shop towel to support the piece. I then take a fresh piece and do it again, in the opposite direction. Then I do the same process to the inside. THEN I go wash the bowl and get a new shop towel, and the next grit working my way from 120, 220, 320, 400 to 600. There are times that I will go back a grit if a scratch that I thought was gone, really is not. You should also do each round in a different direction to the last so it you go left to right with the first round of polishing, make your had movements go up and down, ACROSS, the prior polishing direction.
Once I am done with the commercial 600, I then move to 3M-Tri-M-Ite Imperial Polishing Papers that I bought an assortment of. The range of this assortment is 400, 600, 1200, 4000, 6000, and 8000. Yes, I start with this 400 because I find that it actually gives a finer polish than the commercial 600. Again, I follow the same process up to the 4000 grit.
When I finished this rough polish, I then went off and attached the base to the bowl and THEN I finished the polishing first with the 6000, 8000 and finally on a buffing wheel with RED rouge (btw, rouge is French for RED) and then finish with green 'rouge' compound. Then into an ultrasonic cleaner for a final wash and removal of any buffing compound.
Here are my process pictures, if you click on a picture and open the slide show you will also see the captions of the various stages.
On Tuesday, this one is going off to Texas.

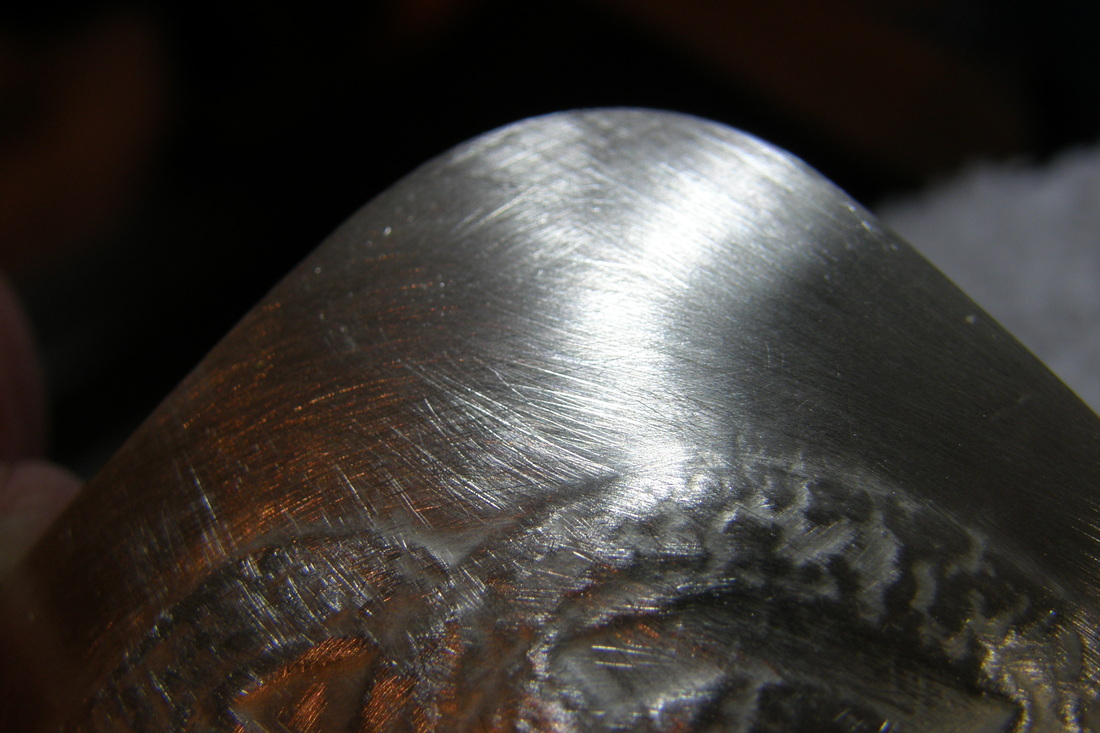

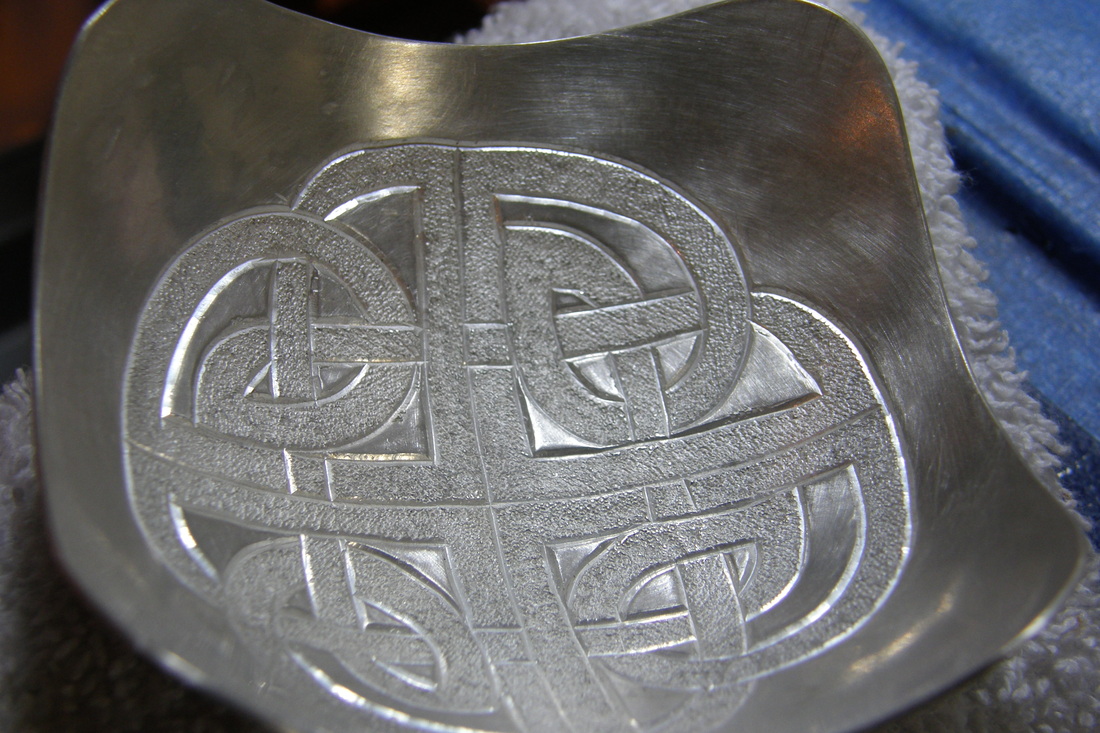


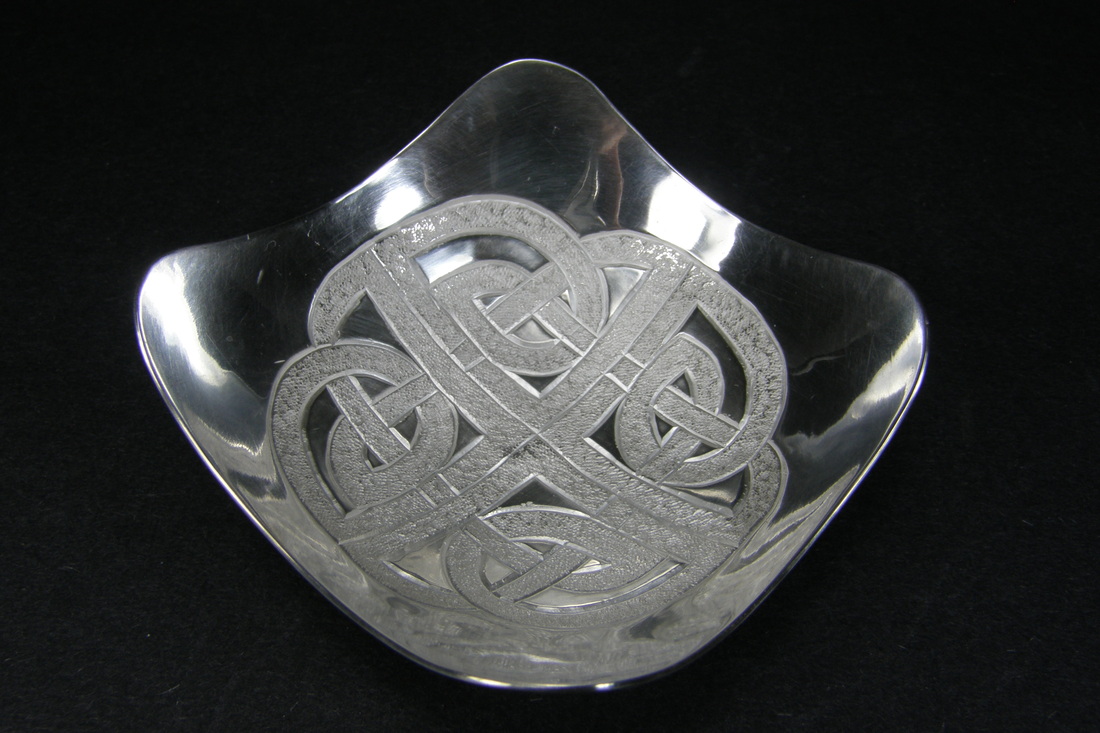
After the final buff and cleaning
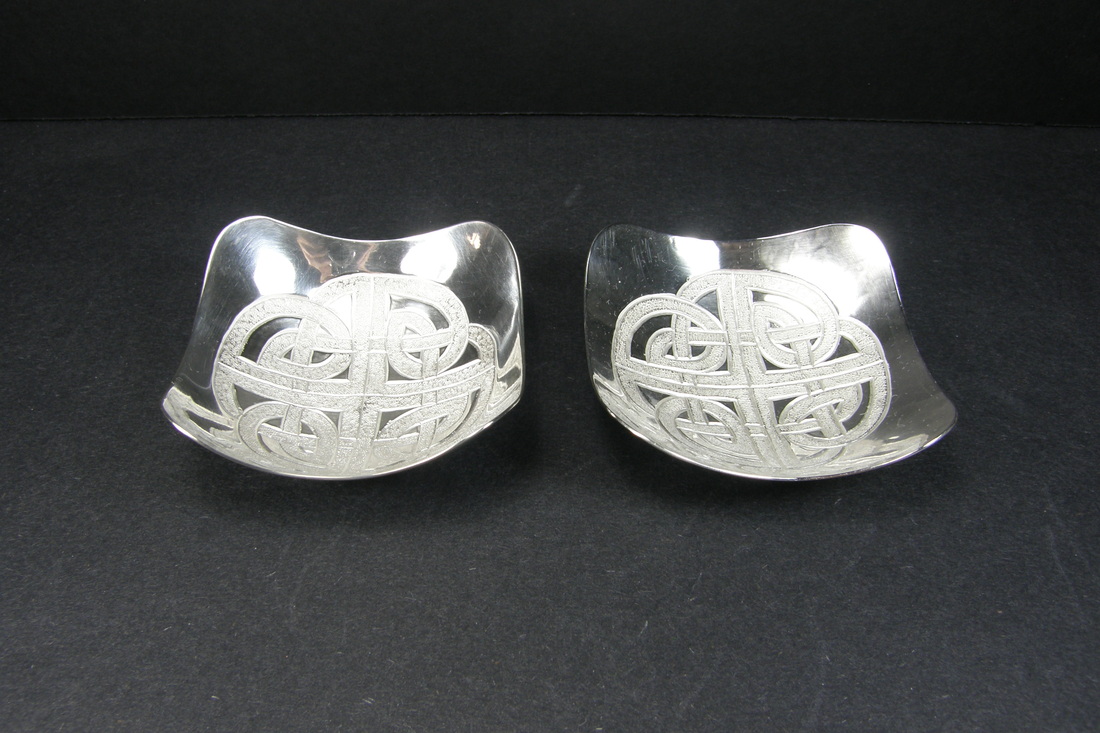
Not So Four Corners Dish Two (left) and One (right). Yes, number two is deeper than number one
 RSS Feed
