If the time and patience is taken, a very shiny and smooth surface can be obtained even before proceeding to polishing.
I already have a few planishing hammers but during my workshop at Nechamkin Silver Studios, I was shown a light weight hammer and told how to make one. If you watch the little movie I made you can see it briefly.
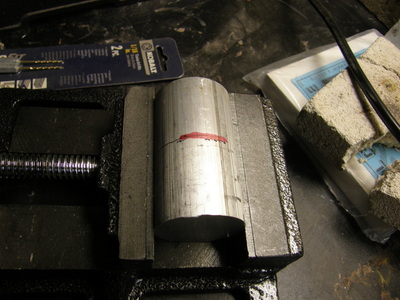
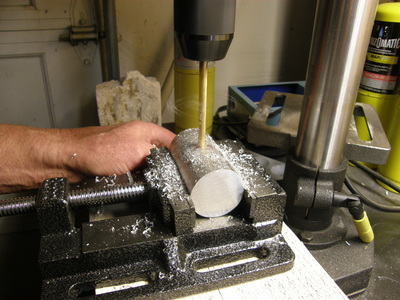
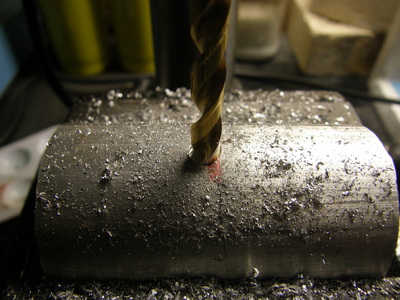
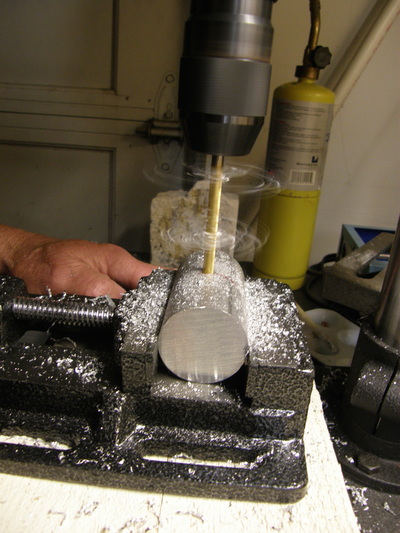
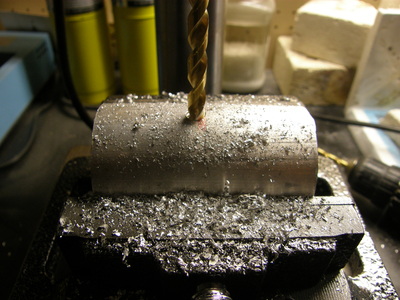
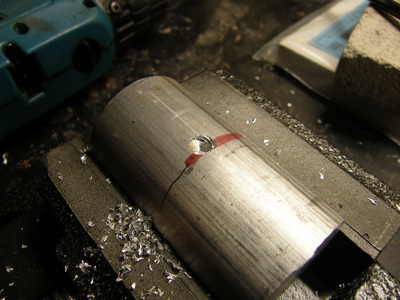
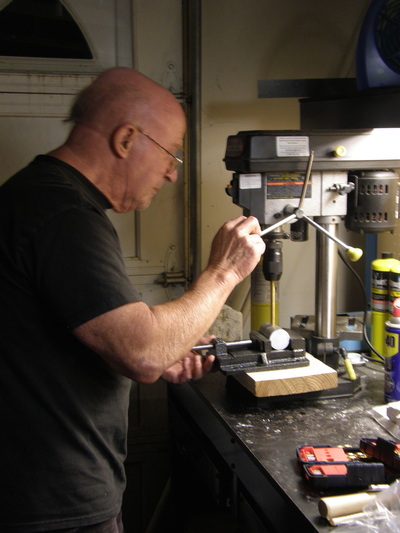
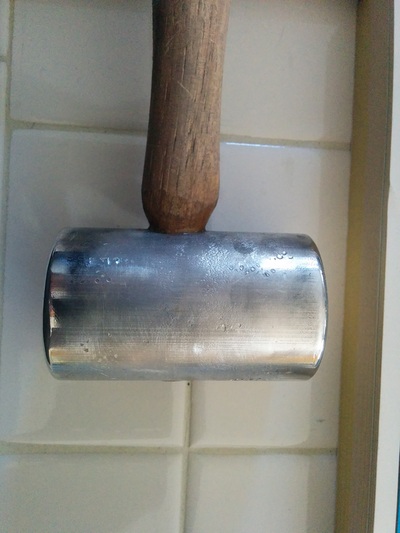
As with all the other tasks I came home with, making one was on the list. I bought the metal and a week ago I spent time in the garage with the shop elf drilling a center hole for the handle mounting. The next day, while I was at work, the shop elf was very excited and decided to mount the handle - BEFORE I had finished the faces. Yes, I know I could have knocked out the wedge and removed the handle except for the fact that the shop elf, in his eagerness also epoxied the handle in. Oh well.
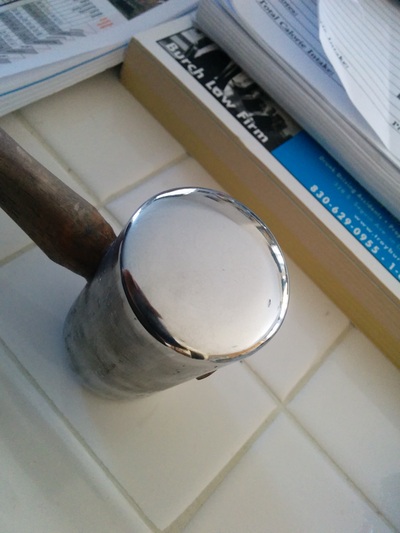
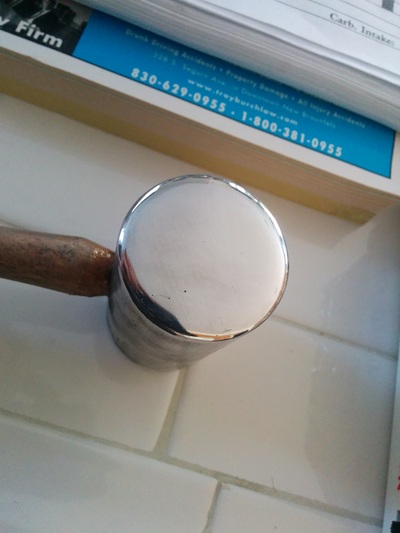
Today I went into the garage and with hand files, sanding belts, several grades of sand paper and finally the polishing wheels I shaped the faces. One face is flat with rounded edges and the other face is ever so slightly rounded.
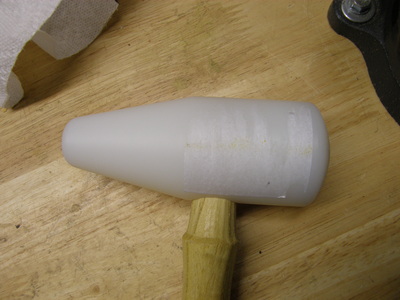
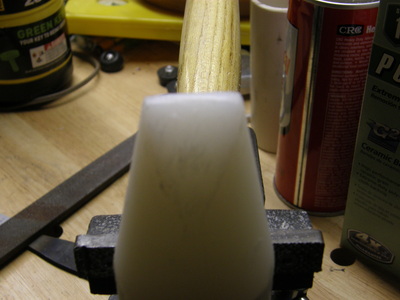
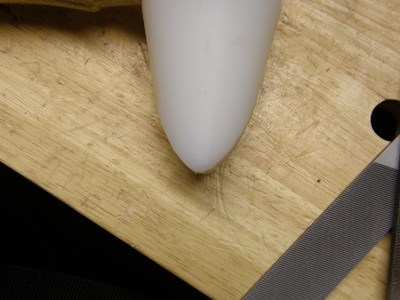
And while the shop elf was drilling I was shaping a cheapie nylon hammer from Harbor Freight so it could be a small raising hammer. Hey, for 12 bucks, why not??!!!
So here are the process. Remember, you can click any image to open a larger version and then use the arrows to move to the next.


 RSS Feed
