
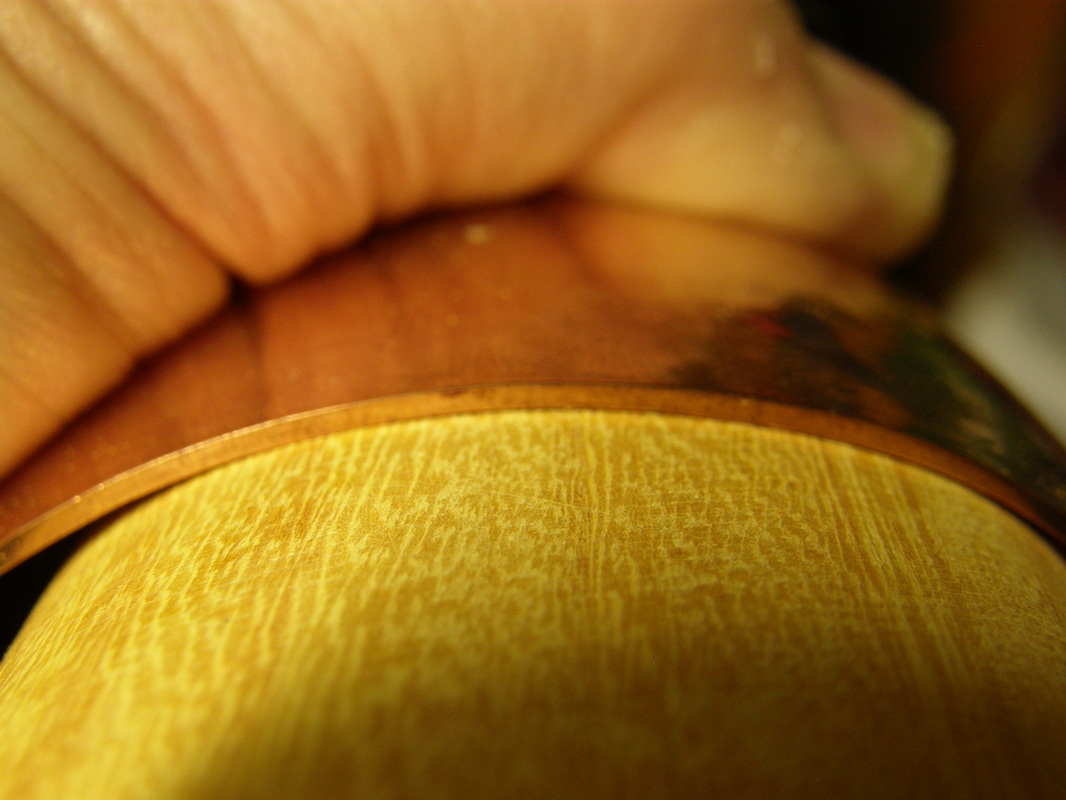
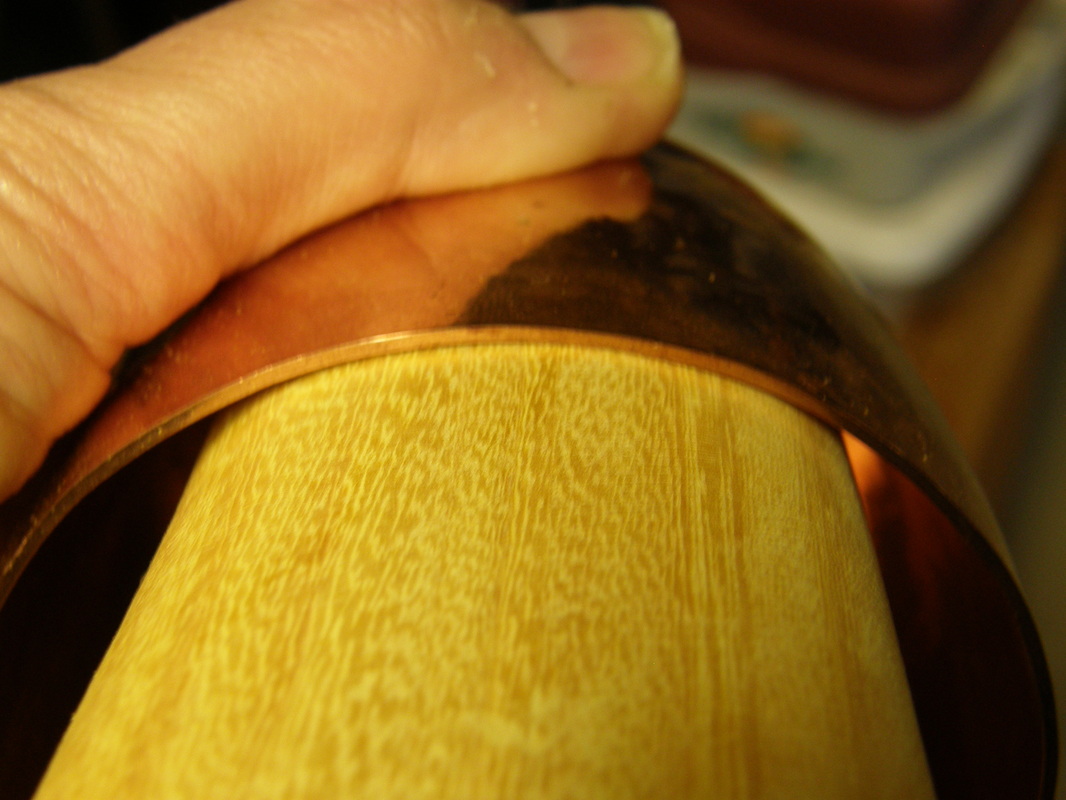
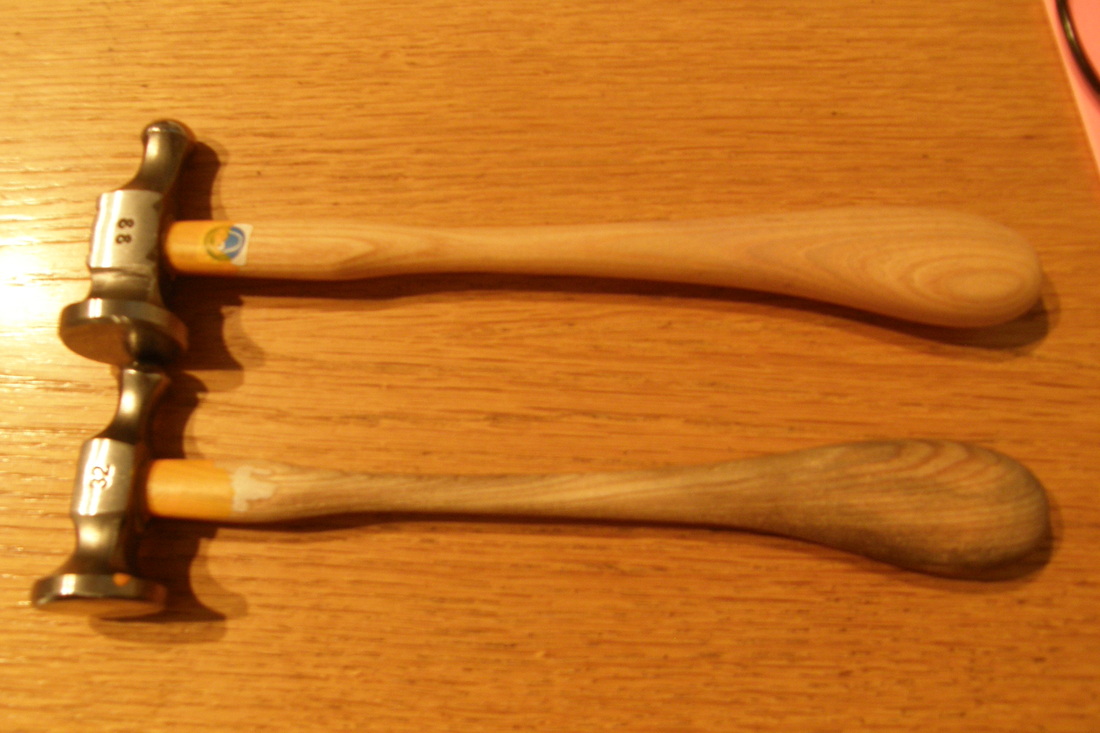
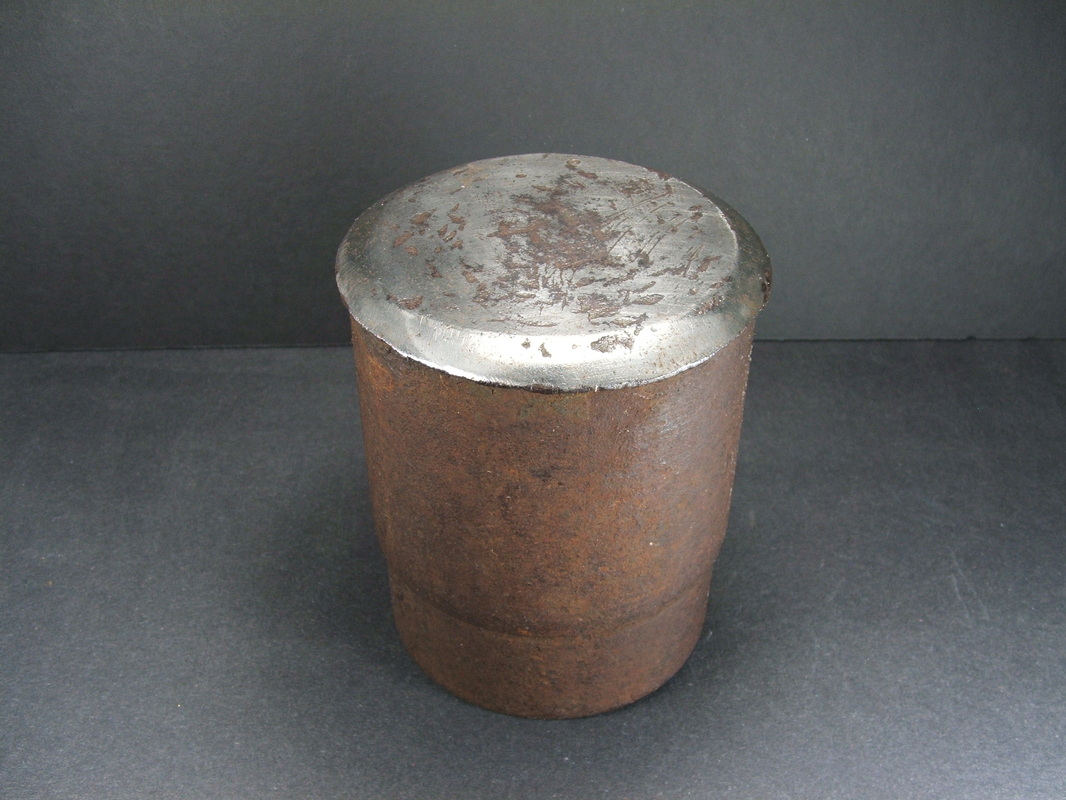
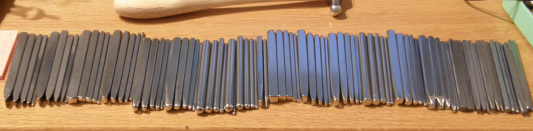
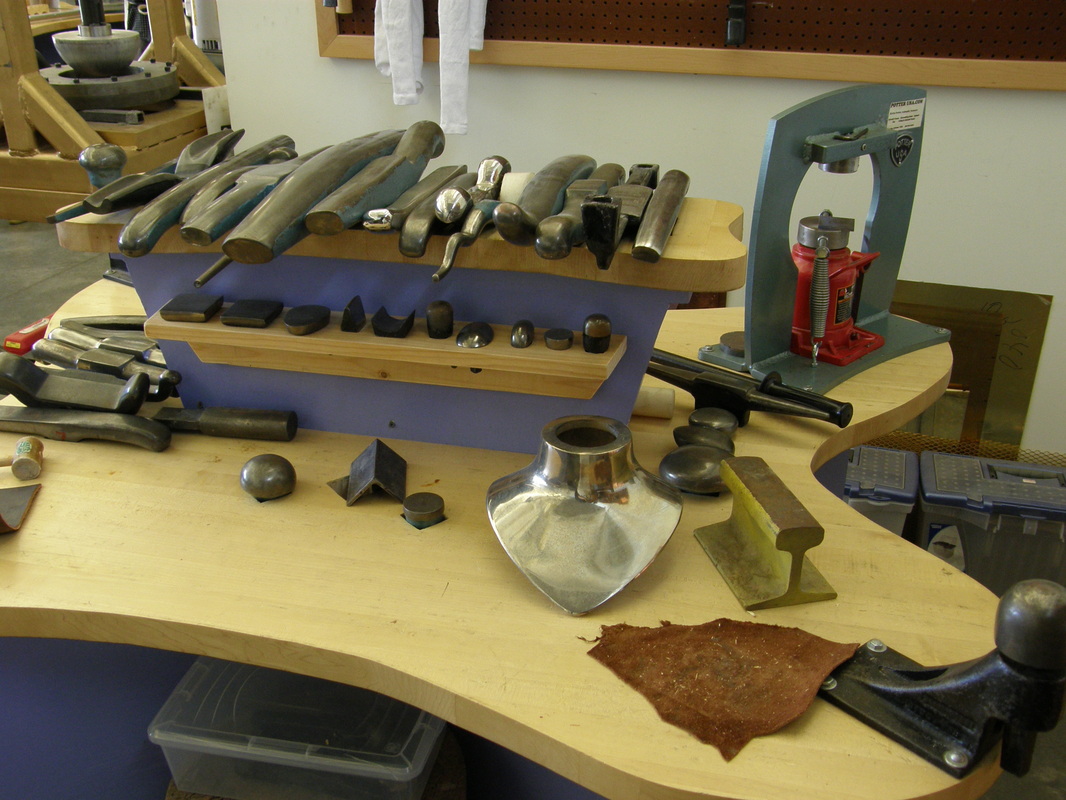
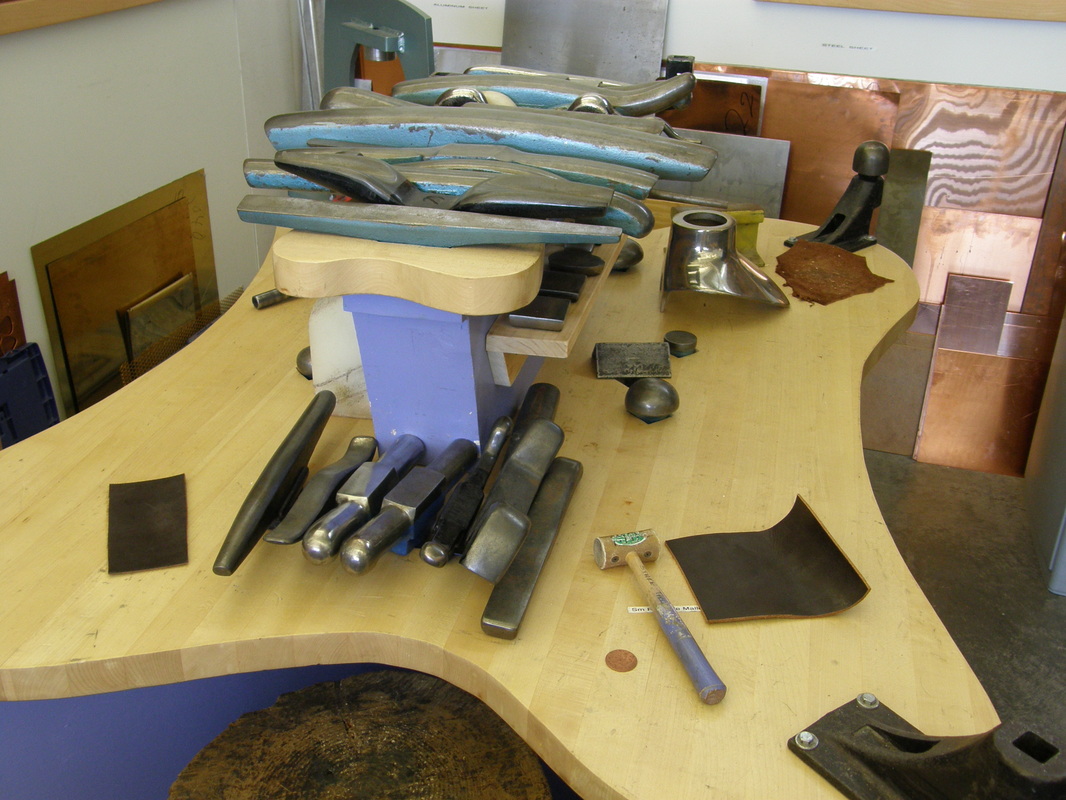
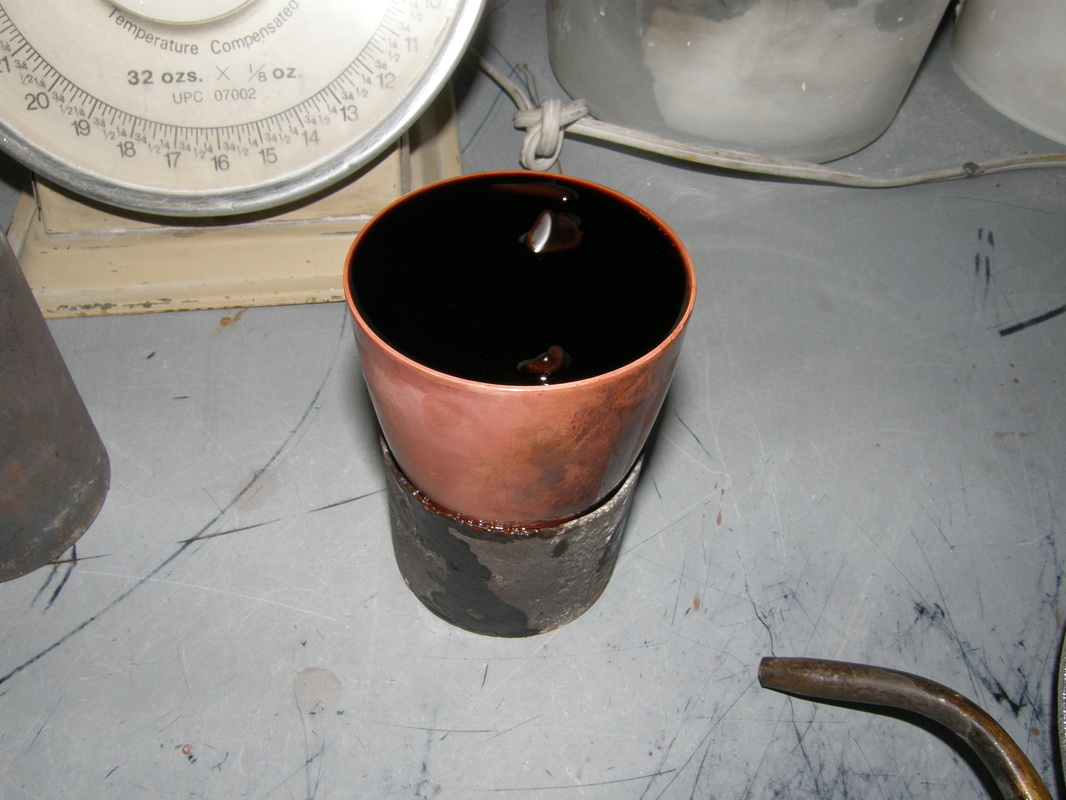
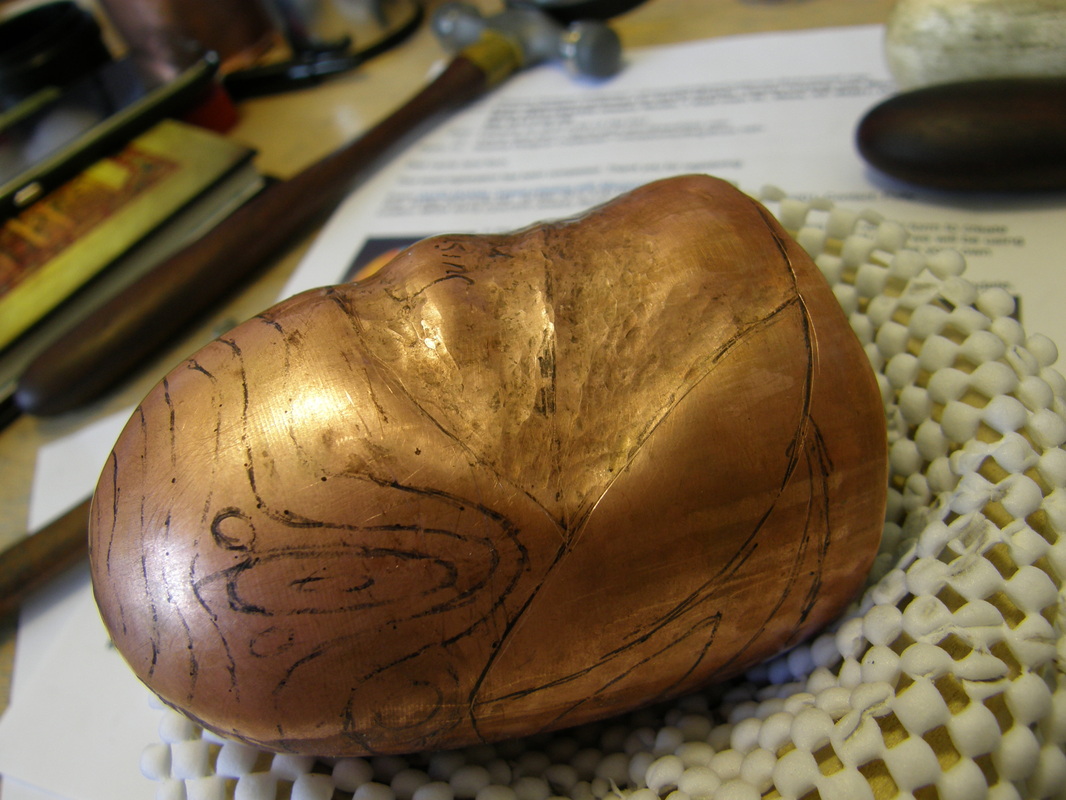
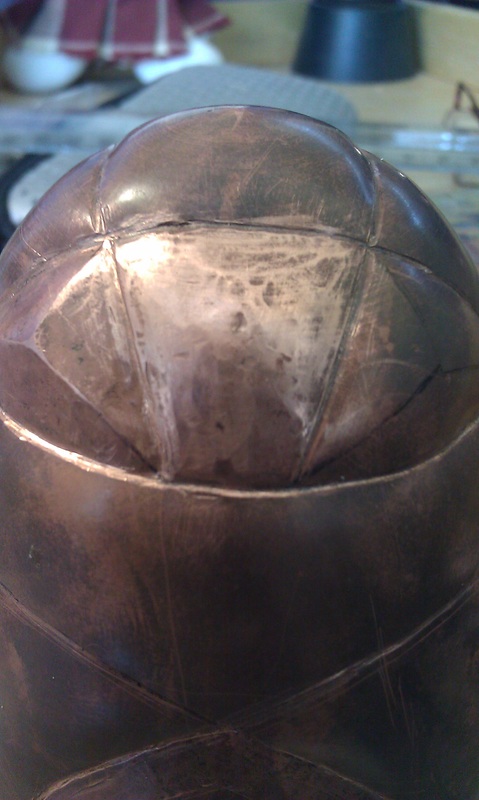
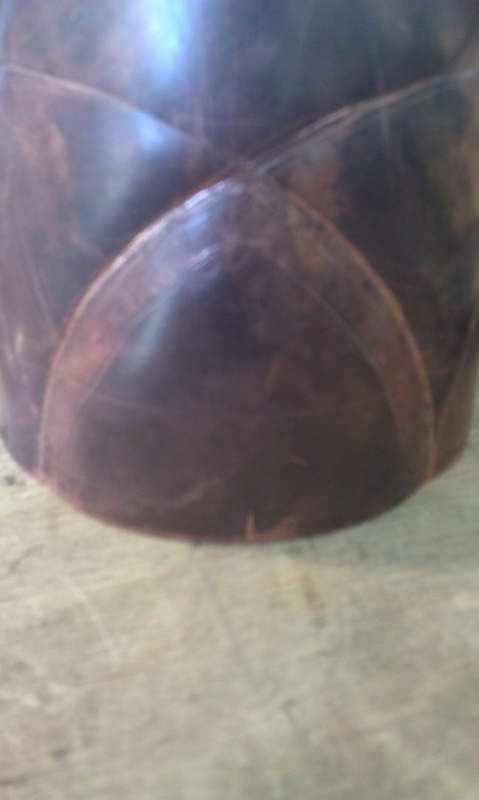
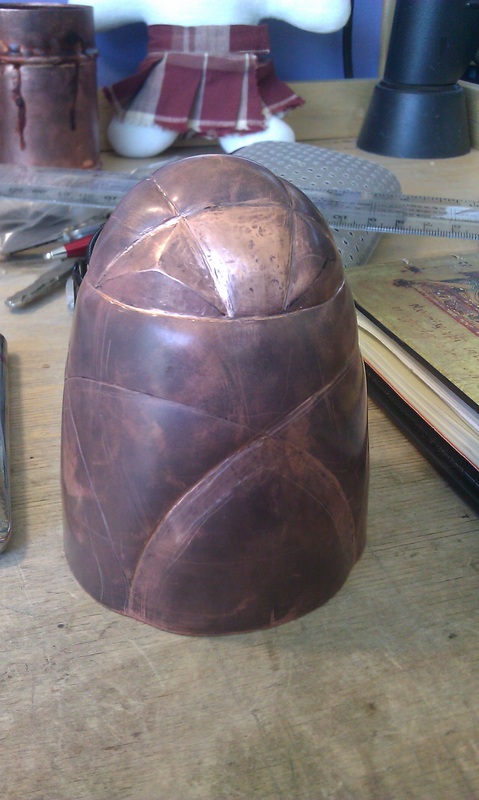
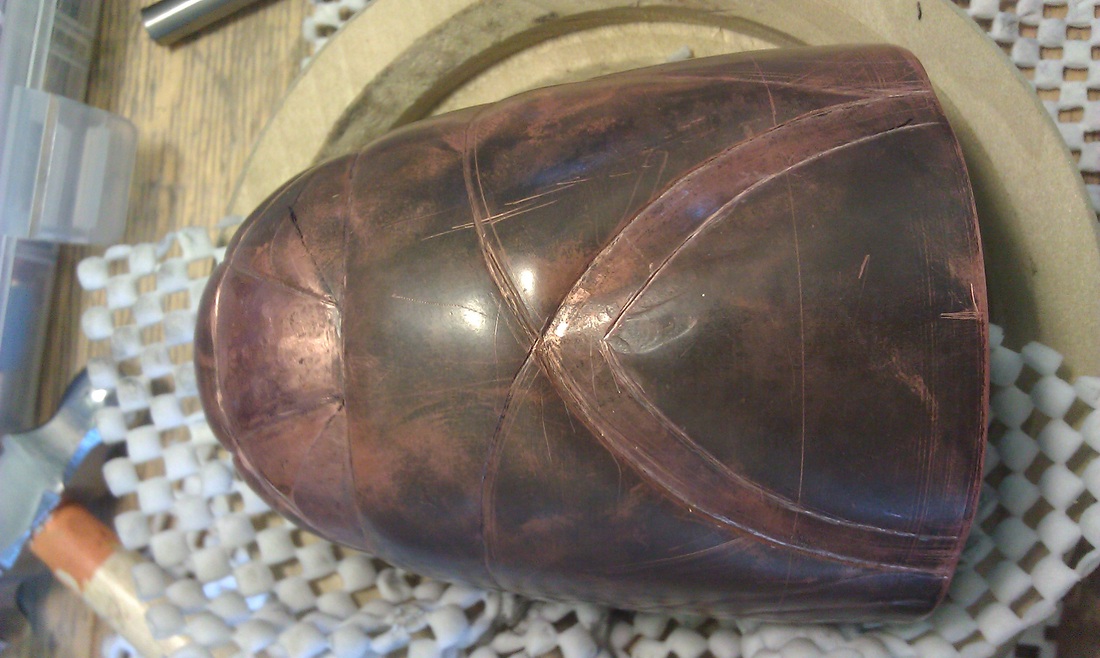
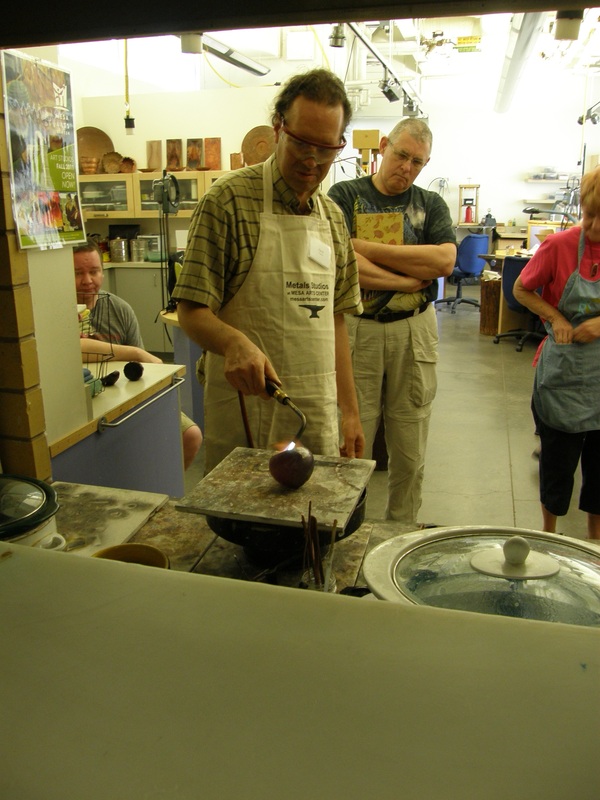
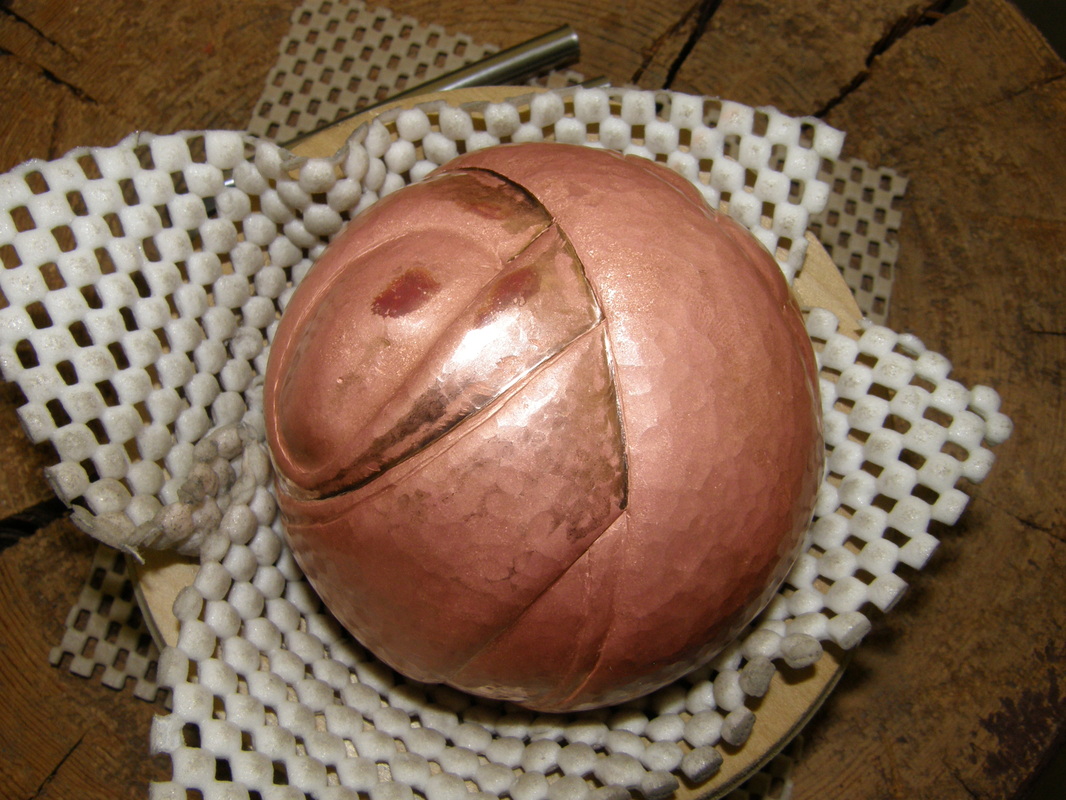
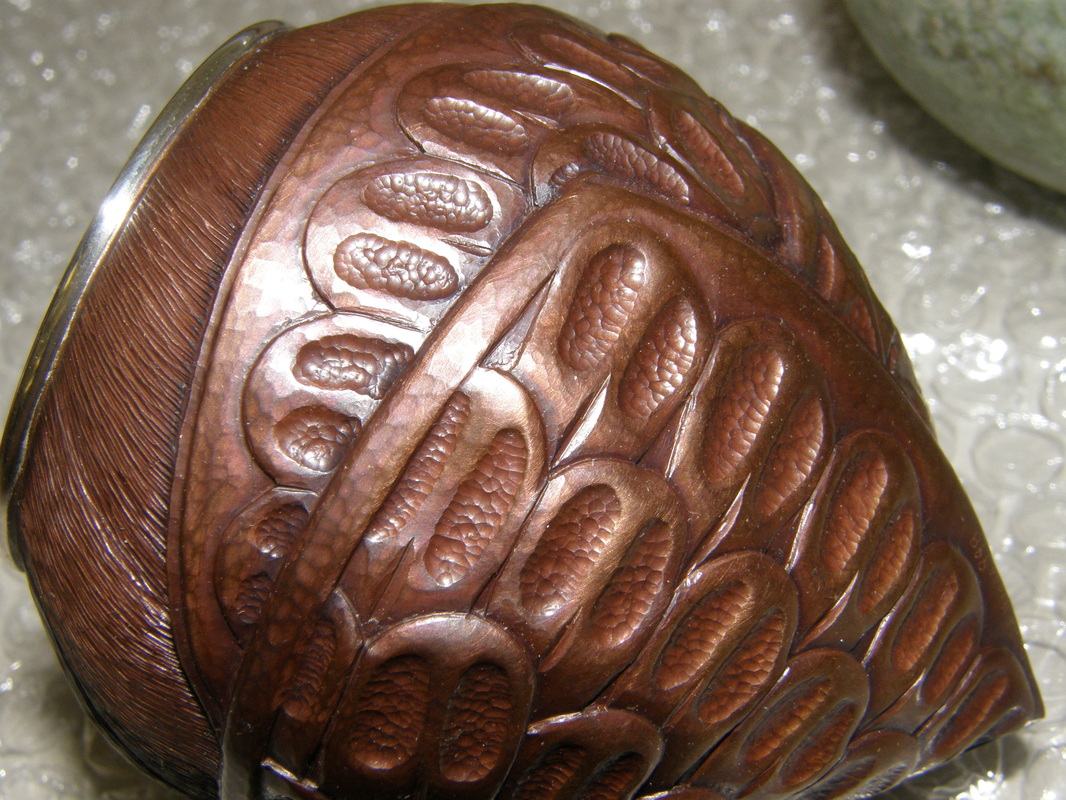
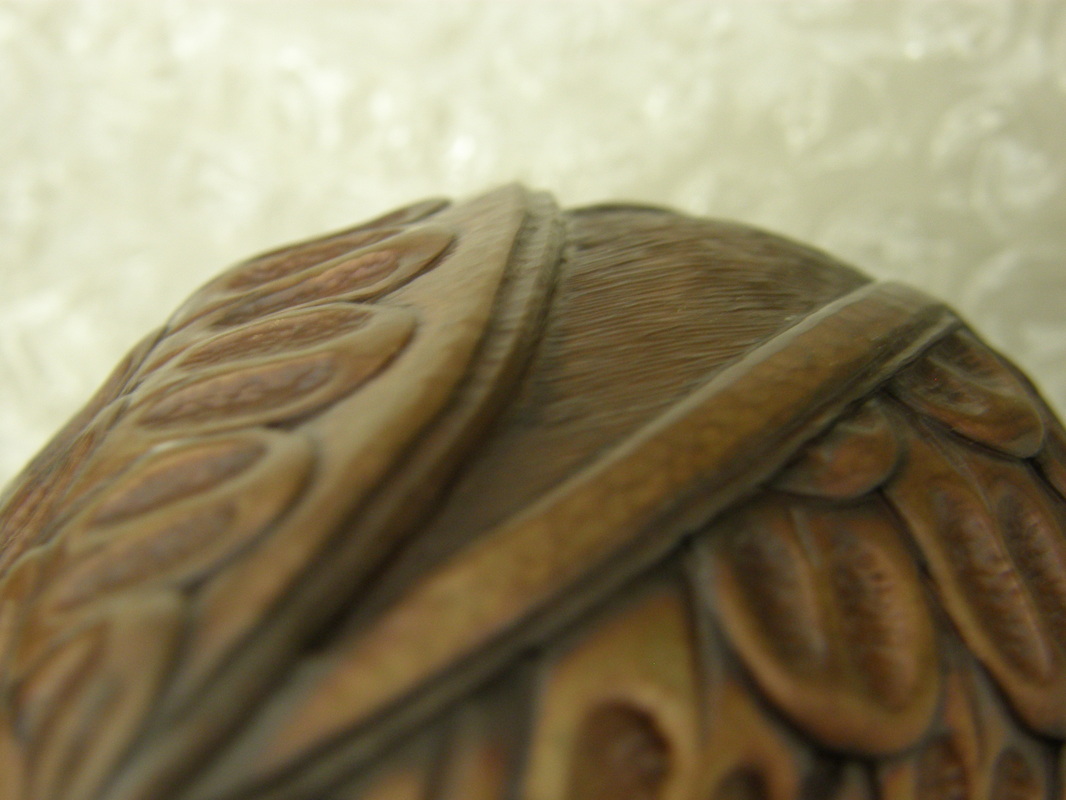
When I went to Nechamkin Silver Studio's back in September and learned to raise a tumbler, I started the raising on a wood stake and then changed over to a steel stake. Since then I have gathering my tools and equipment and making a technical drawing so I could make a wood stake such that I could raise another tumbler in my studio.
Today I started that project.
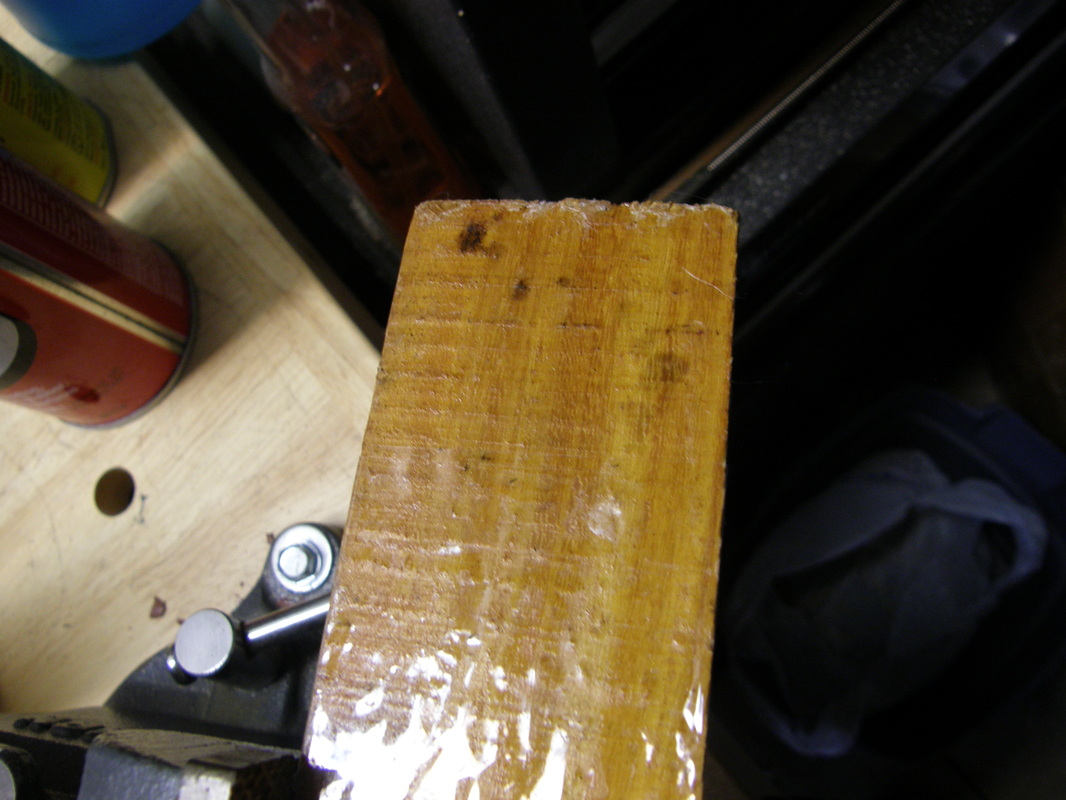
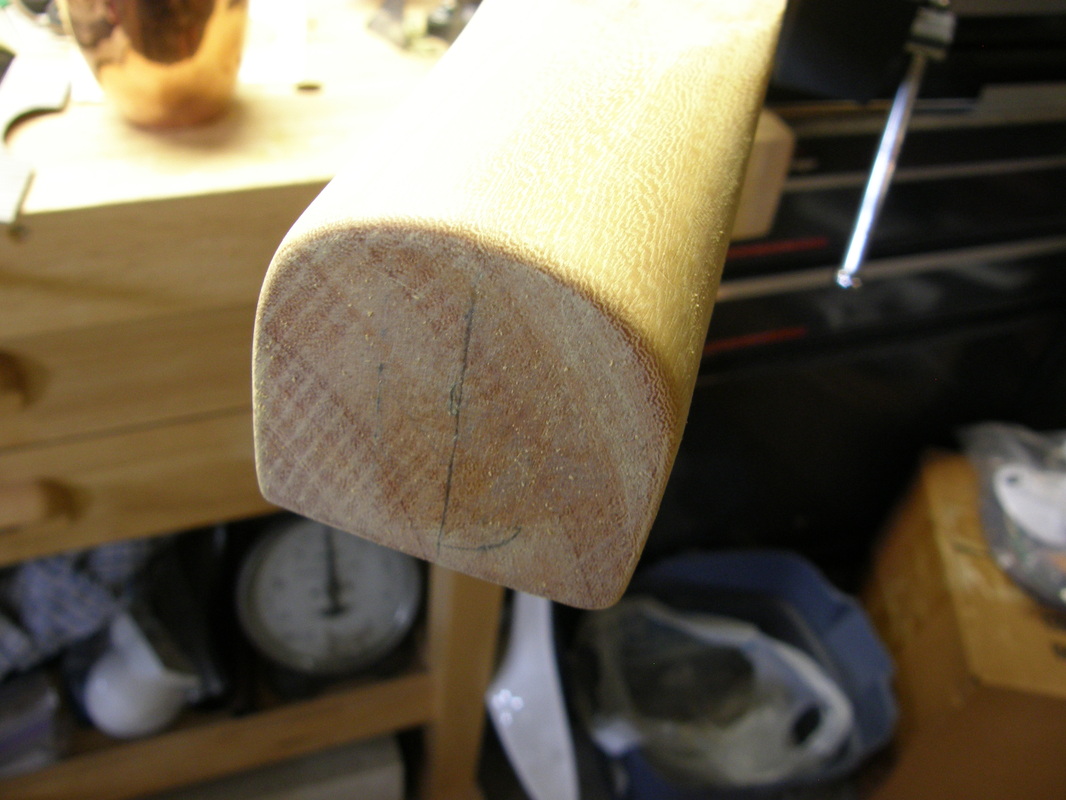
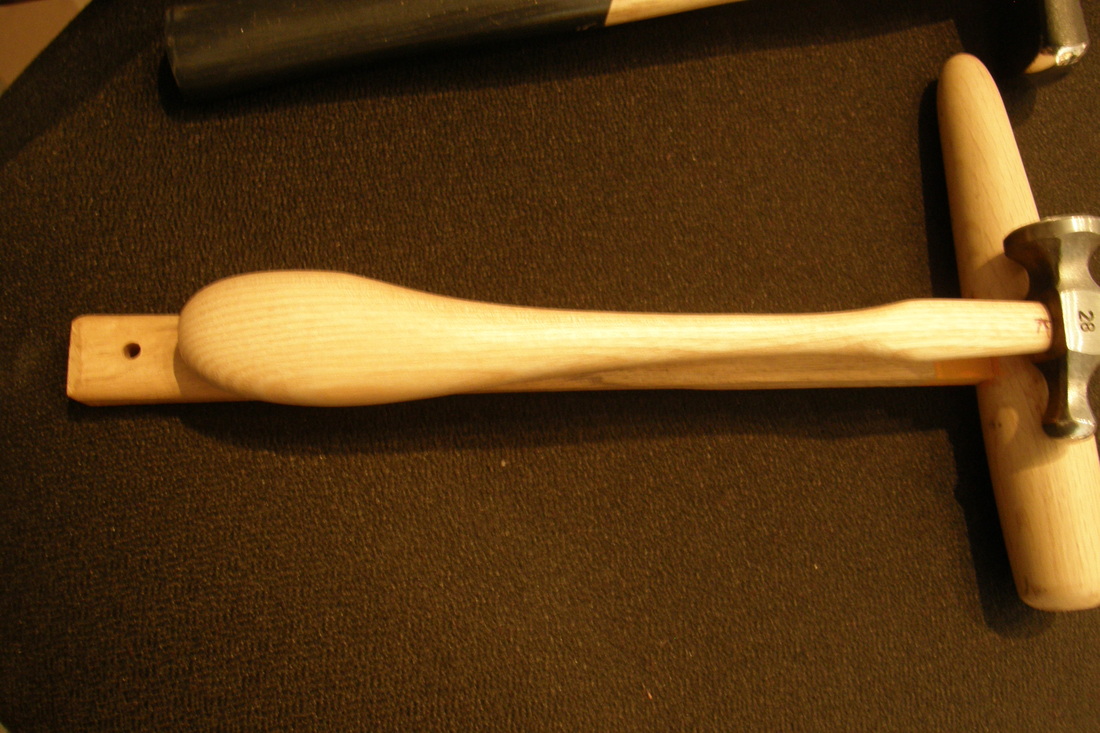
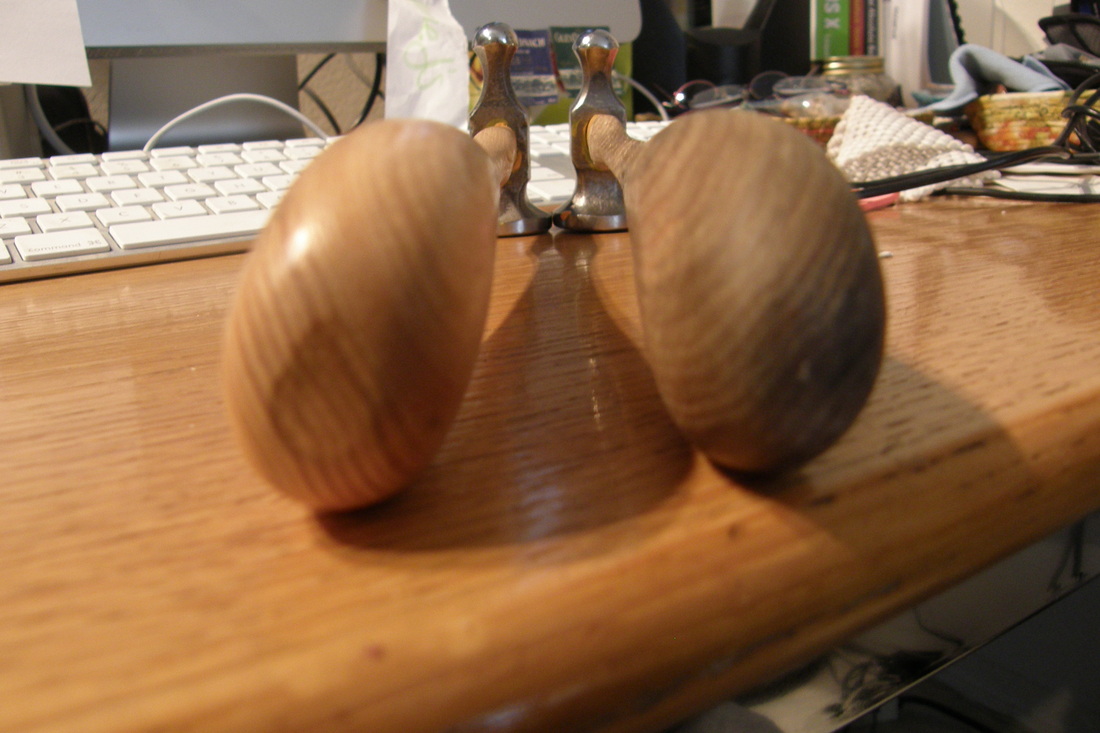
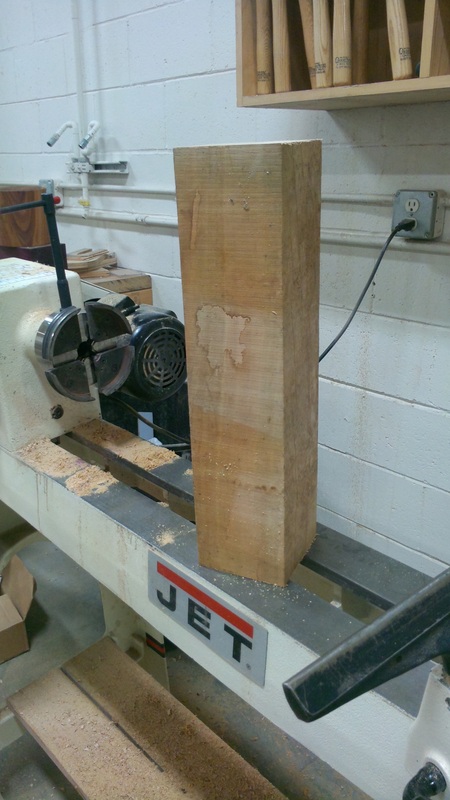
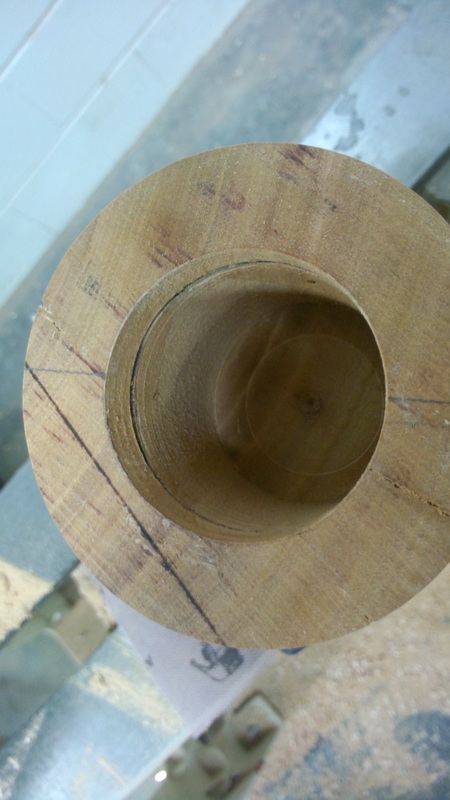
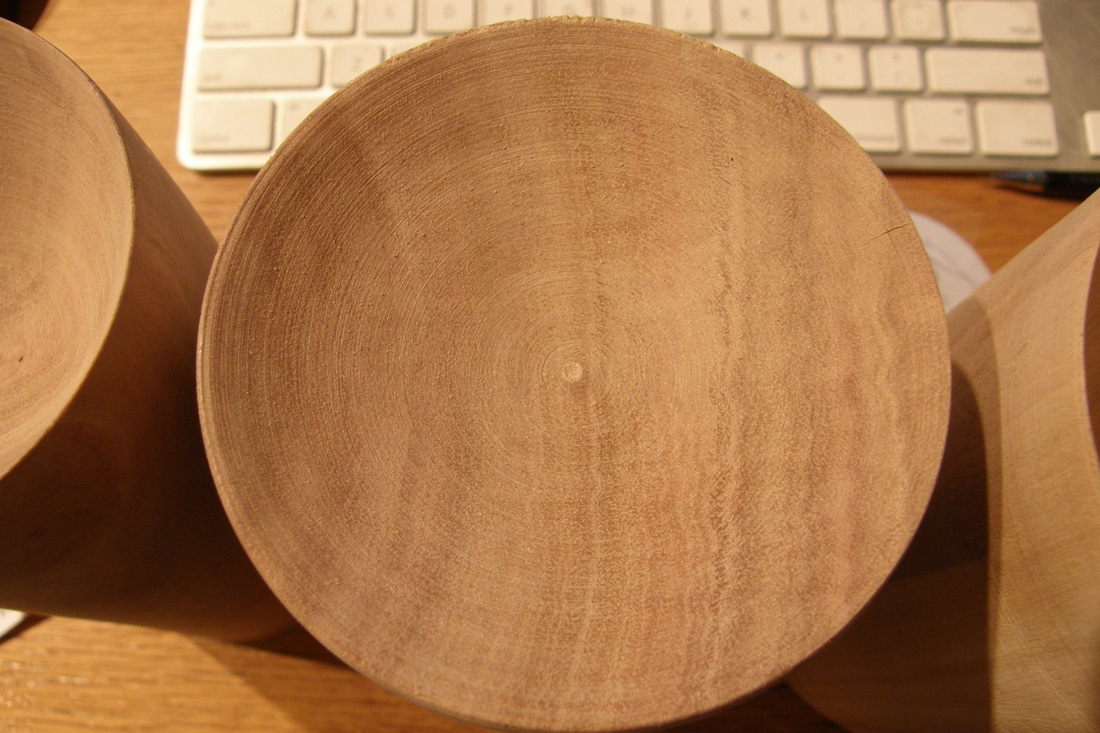
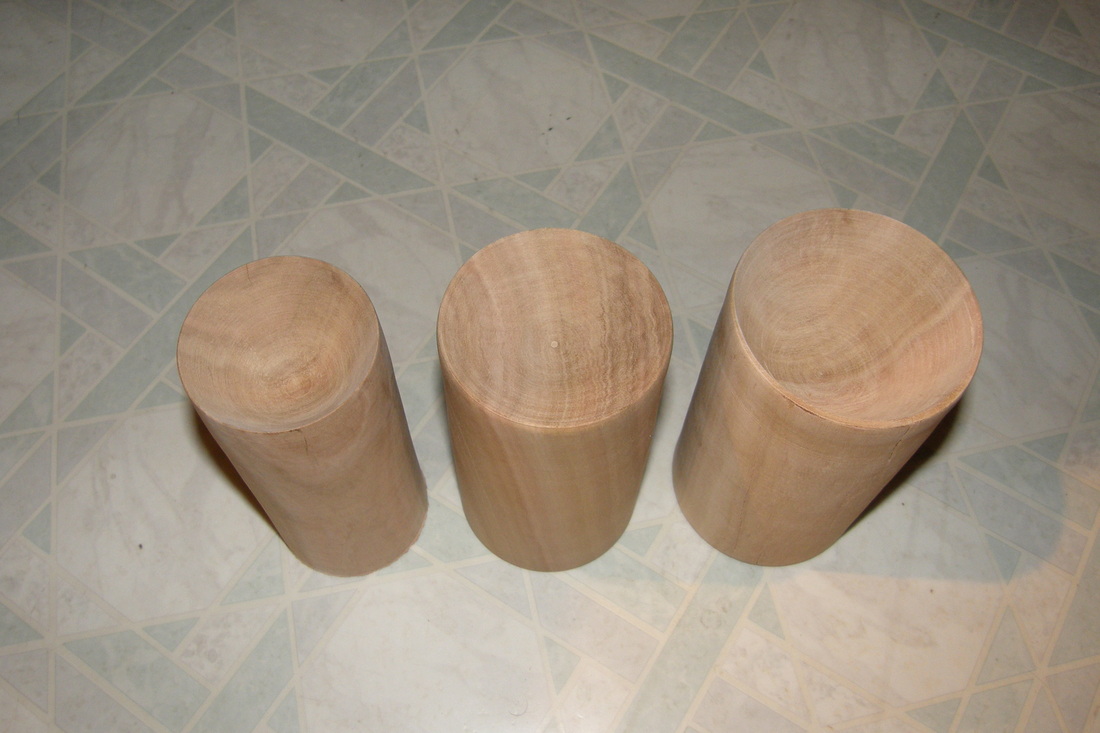
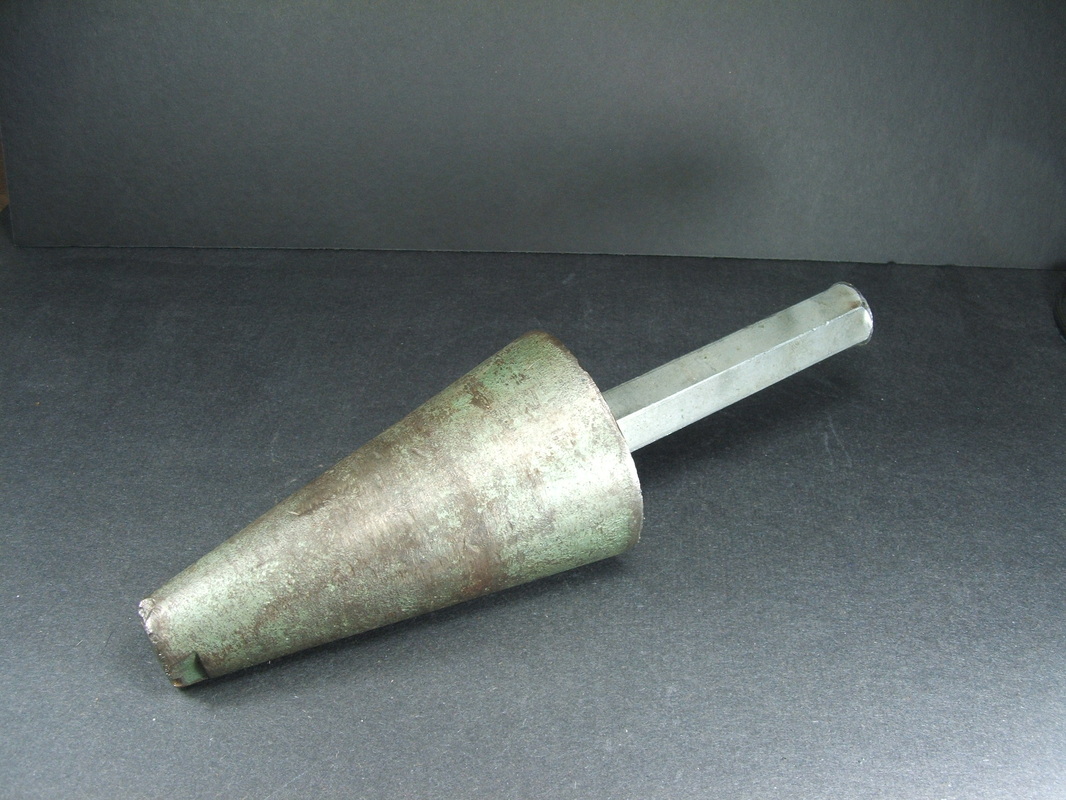
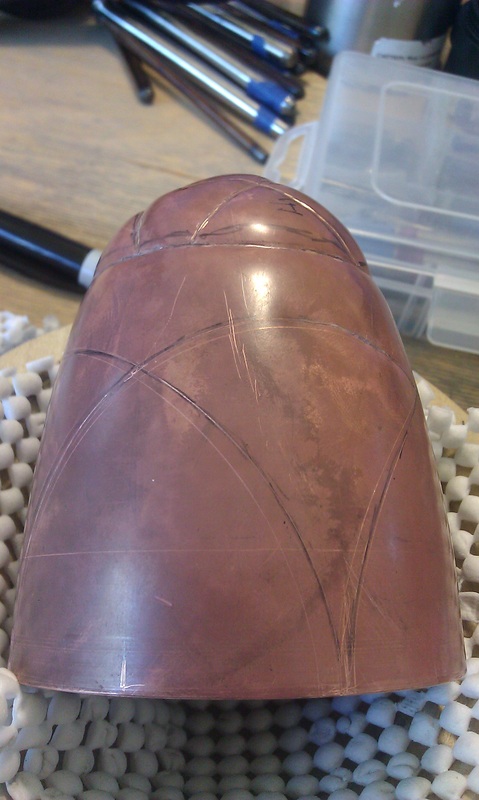
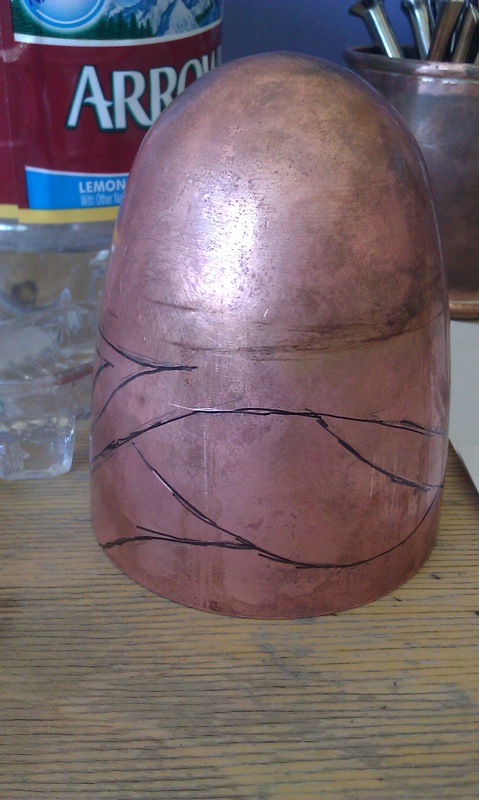
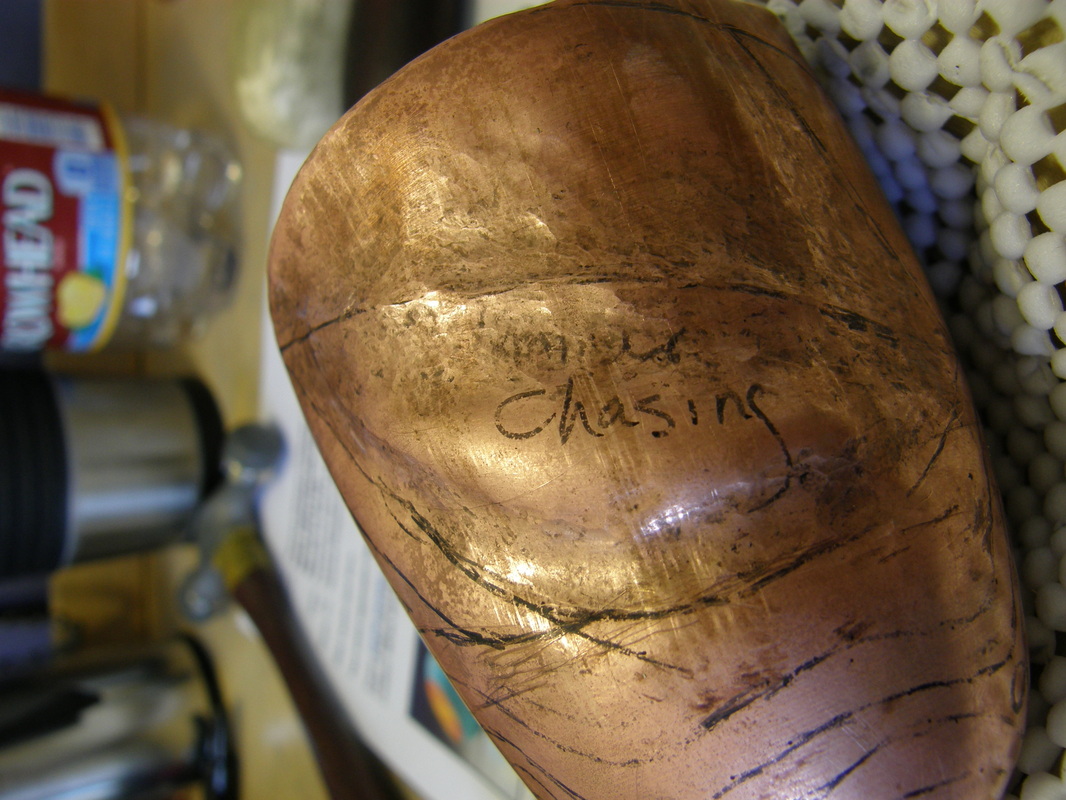
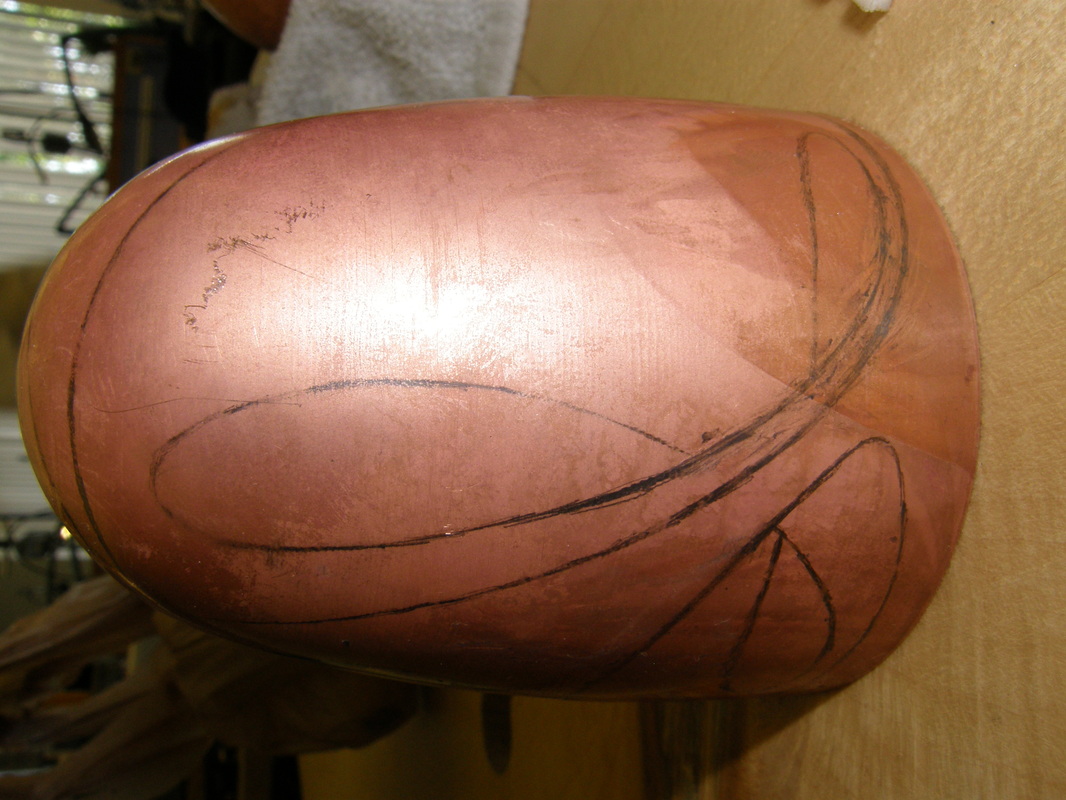
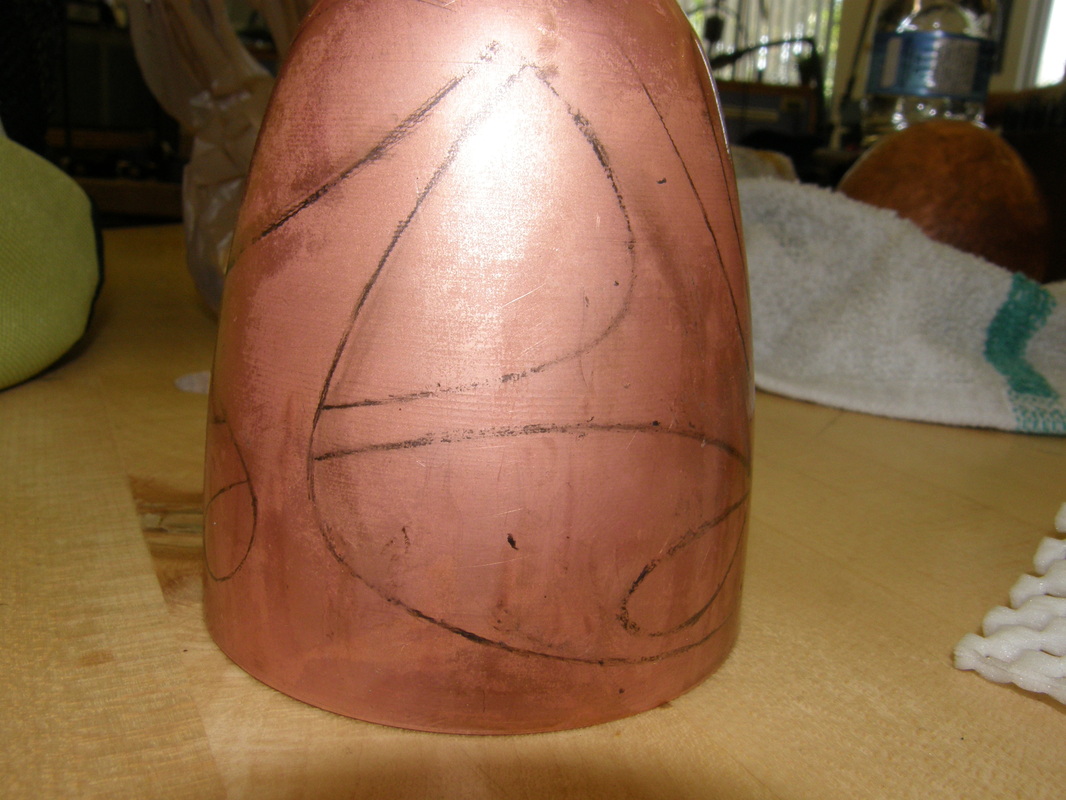
I went to the wood working store in San Diego and bought a 2" x 2" x 12" spindle blank (Osage Orange wood, as they did not have maple) that would allow me to cut a stake at each end. One end would be for the lower half of the tumbler and have a compound (synclastic) curve since the diameter of tumbler increases with distance from the base. The second stake would be for the upper half of the tumbler and would be a constant diameter.
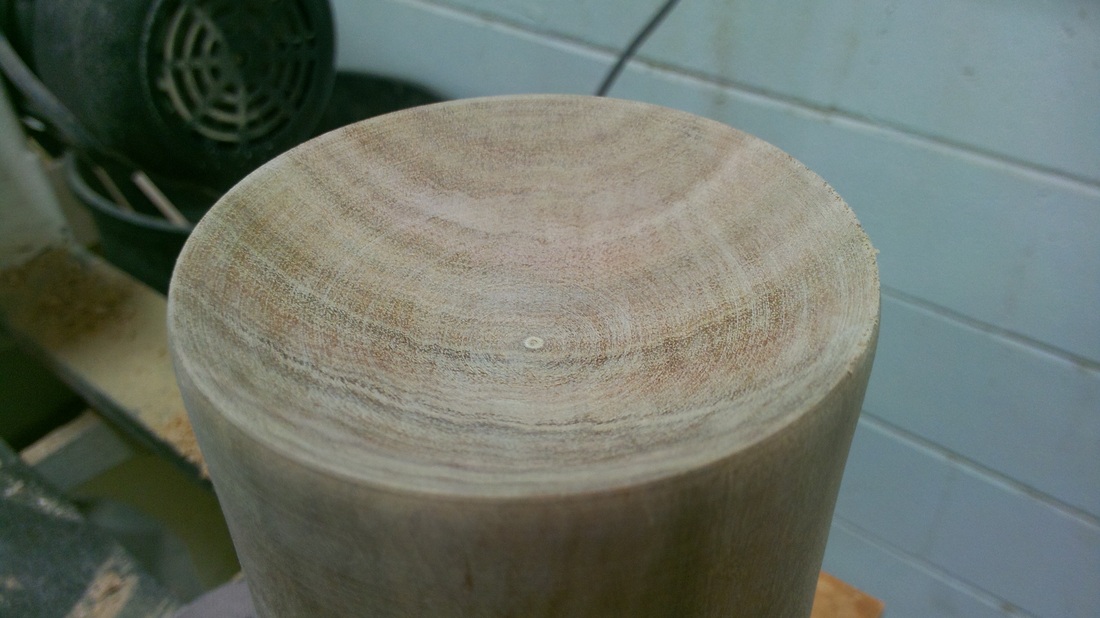
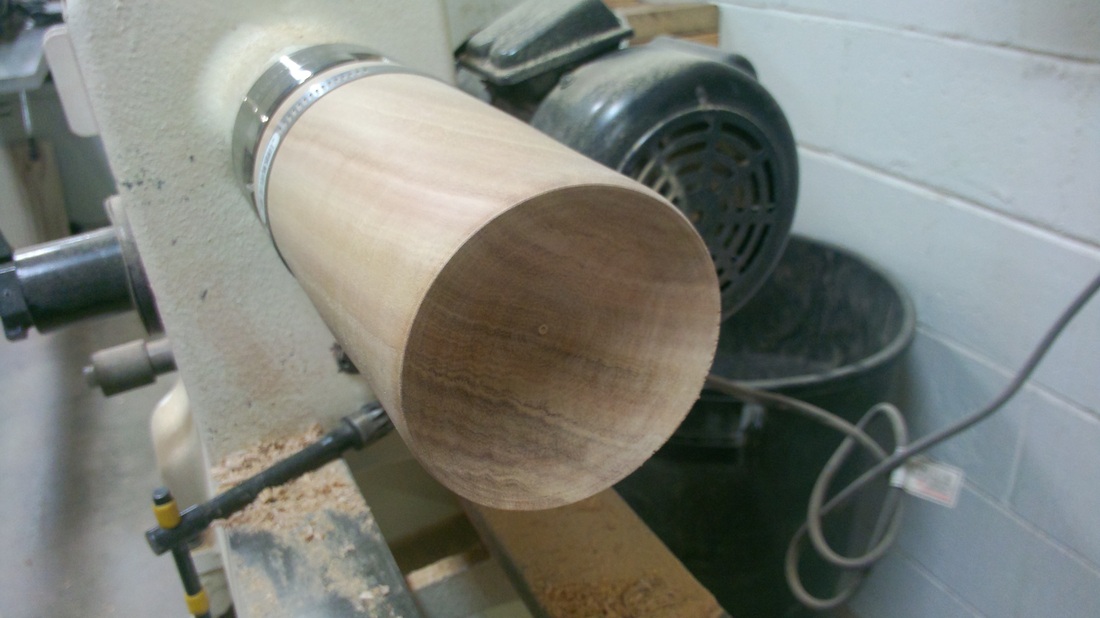
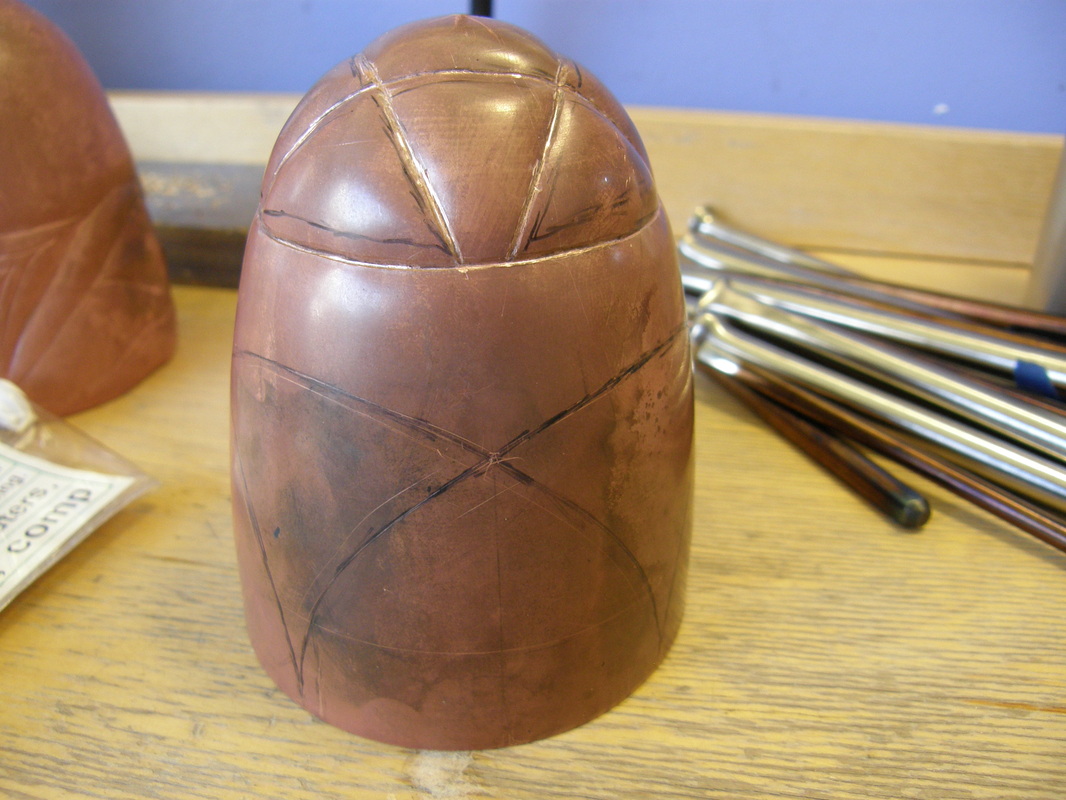
I started with the second stake since it would be easier to make.
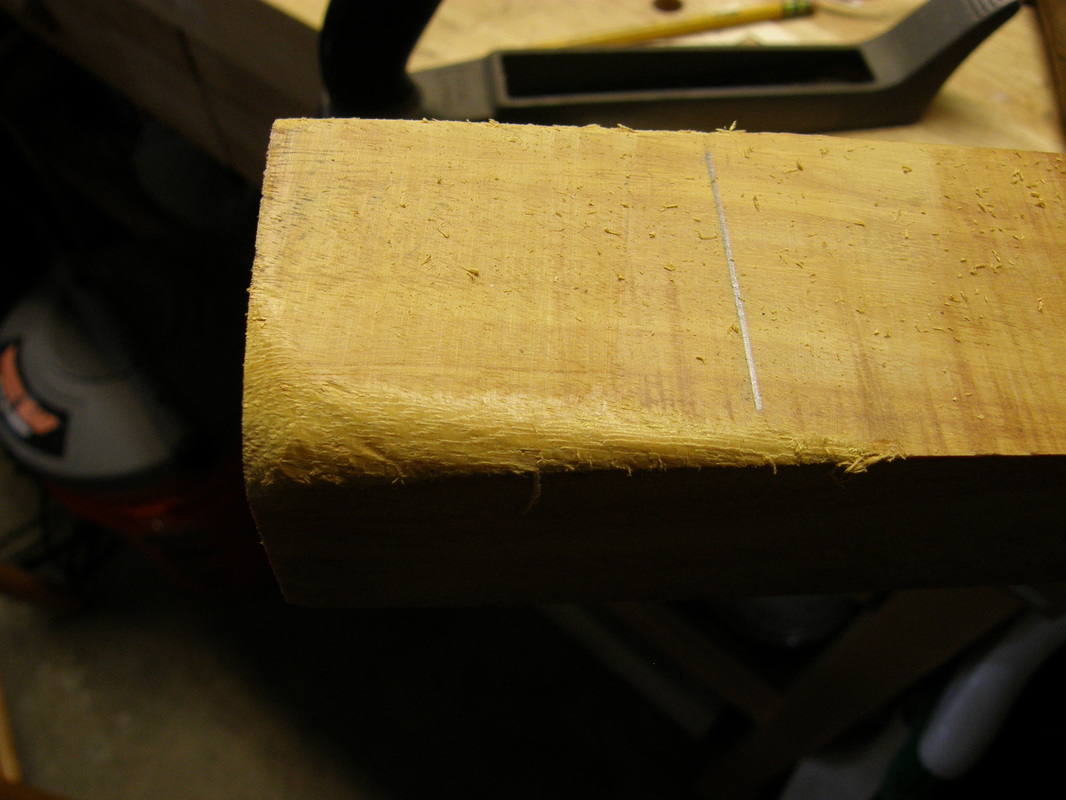
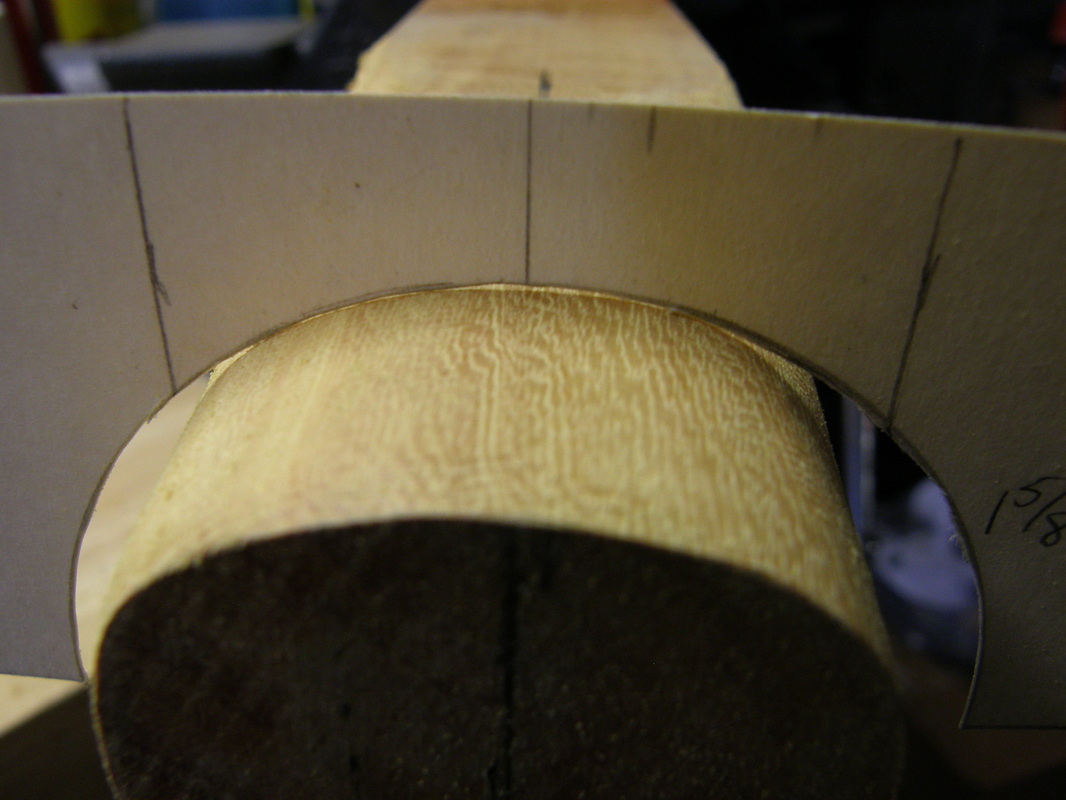
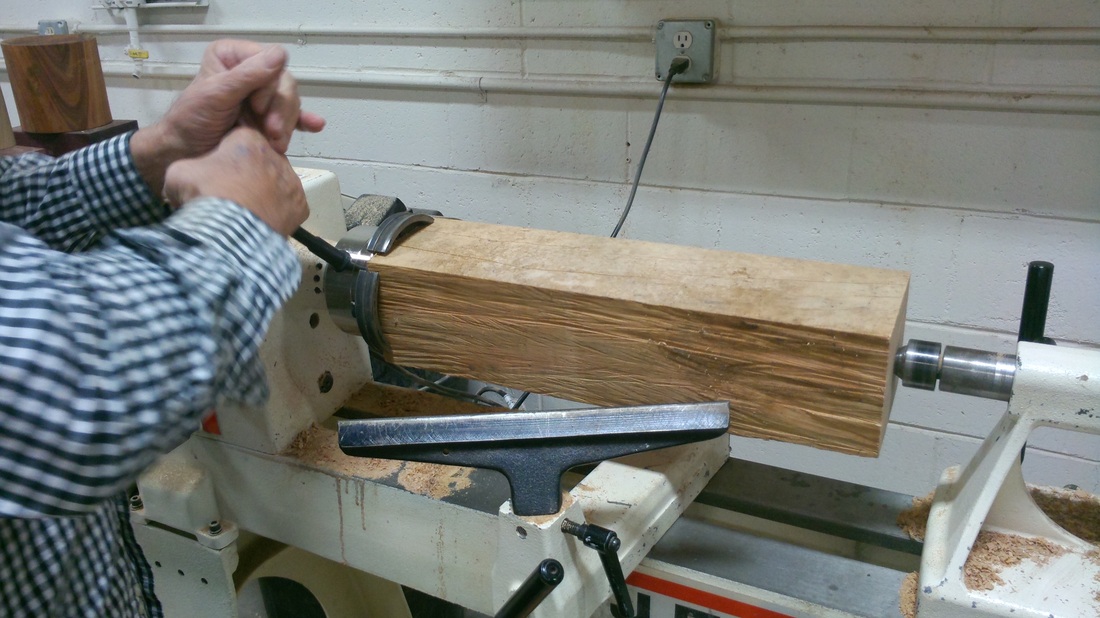
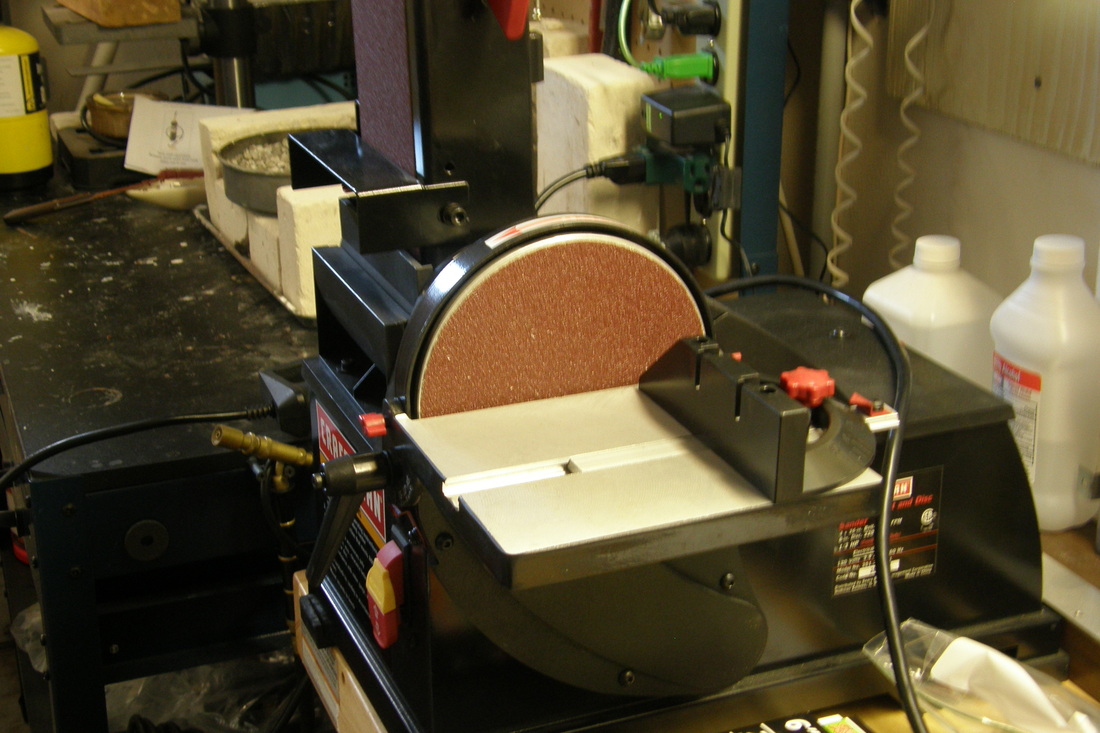
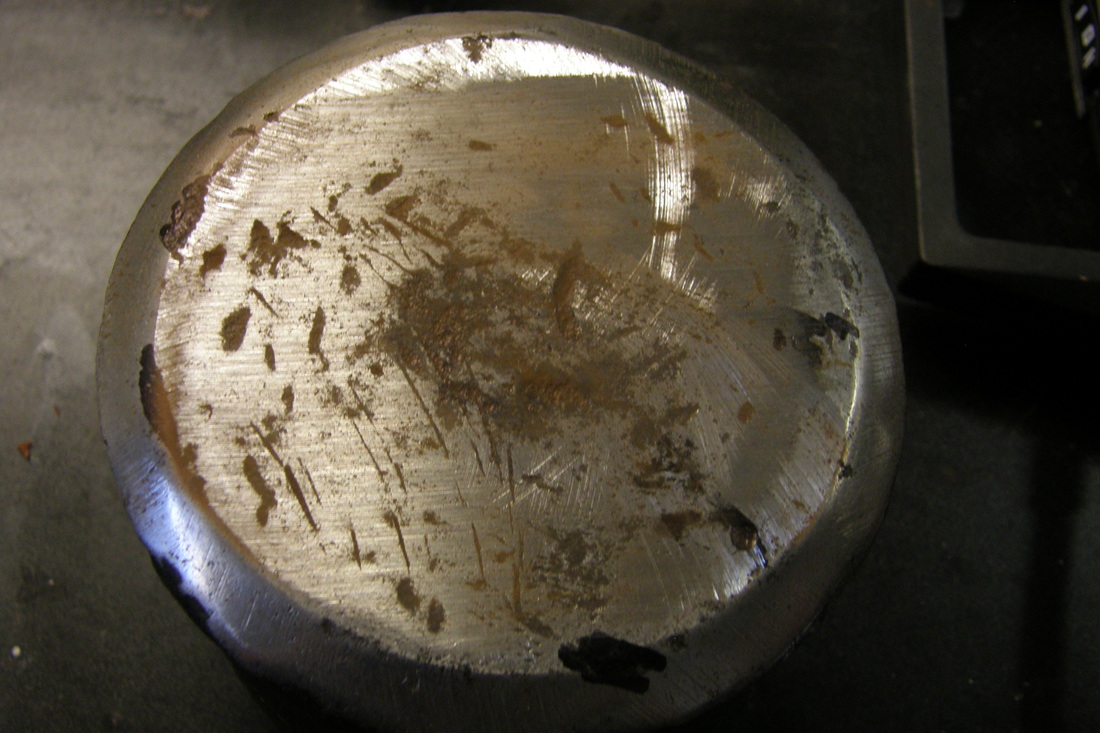
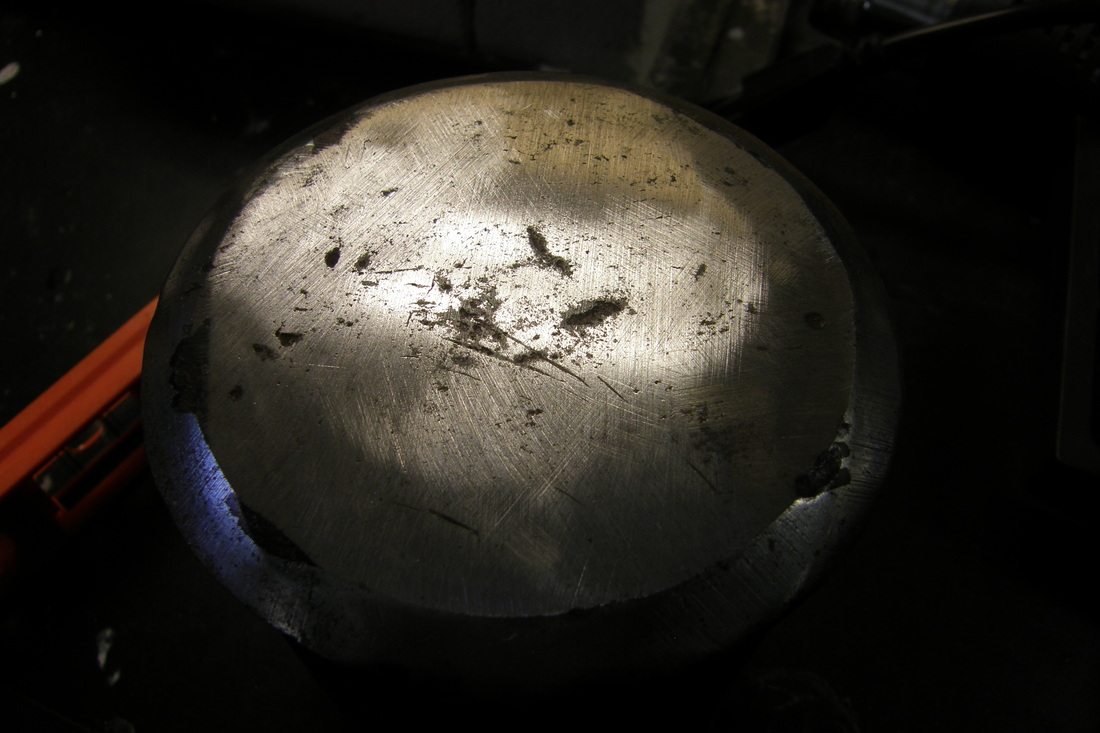
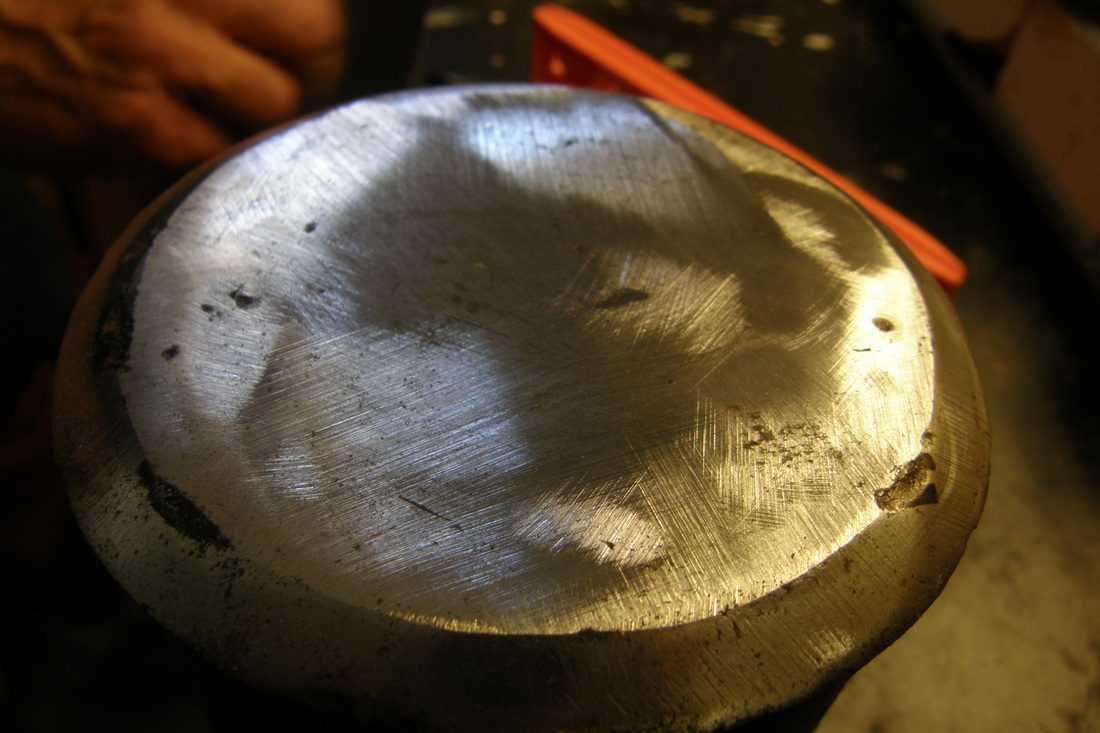
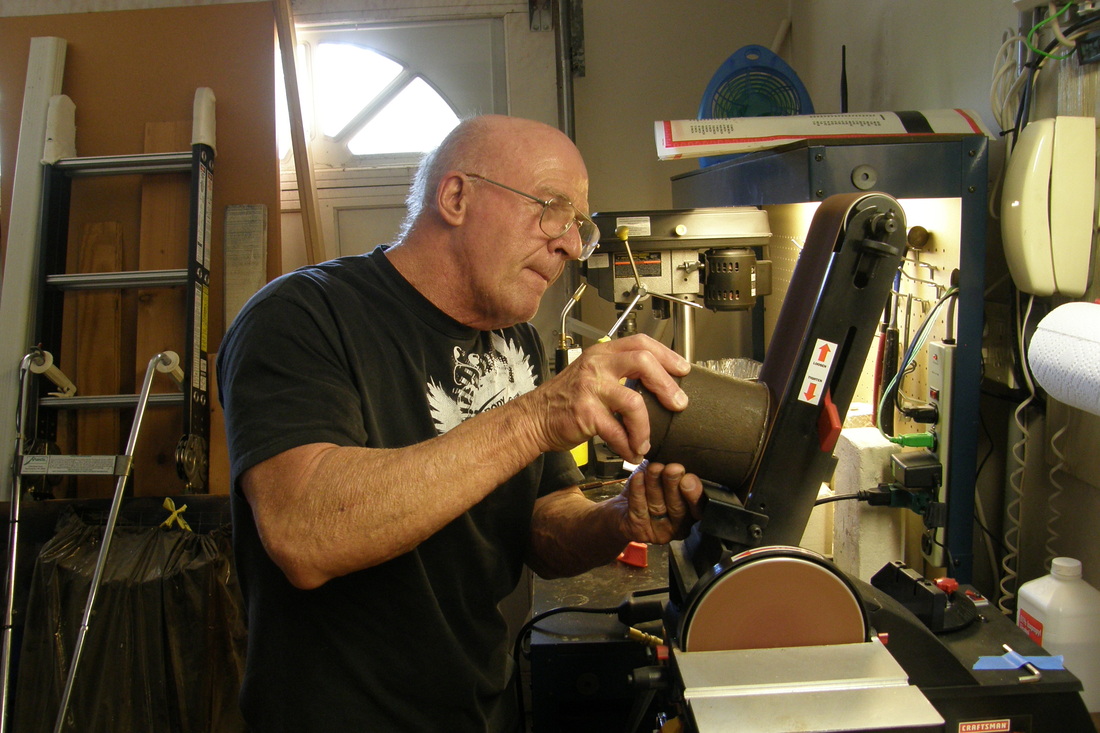
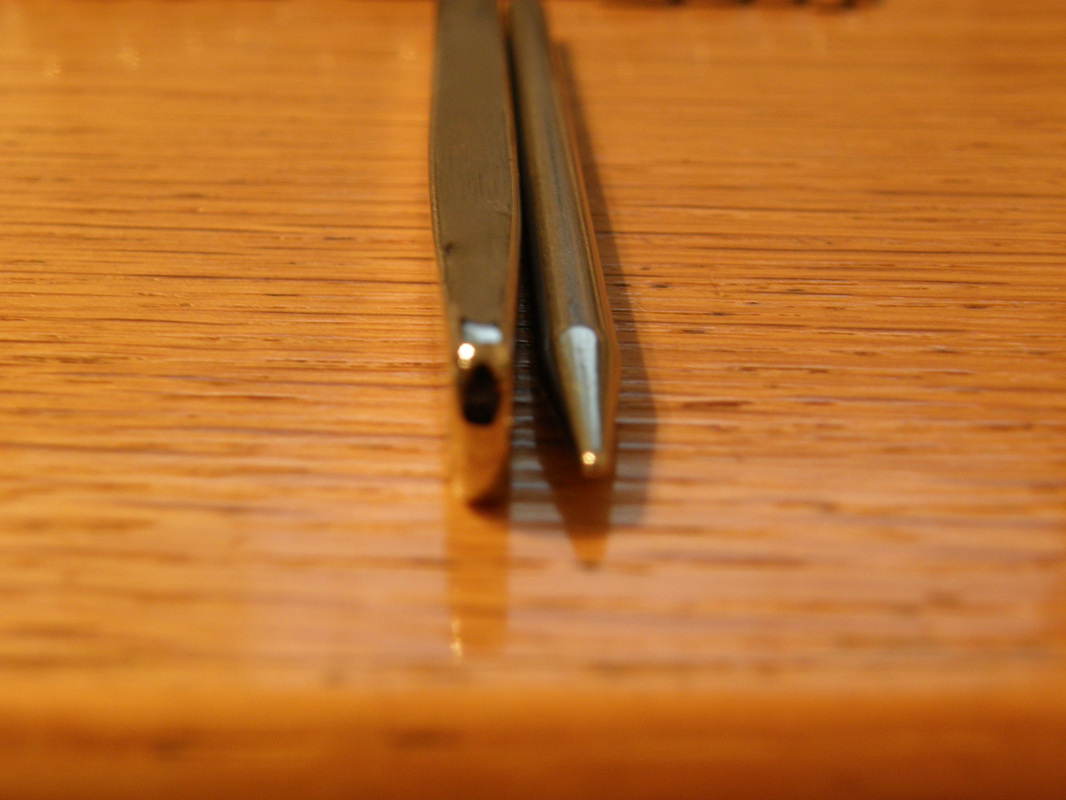
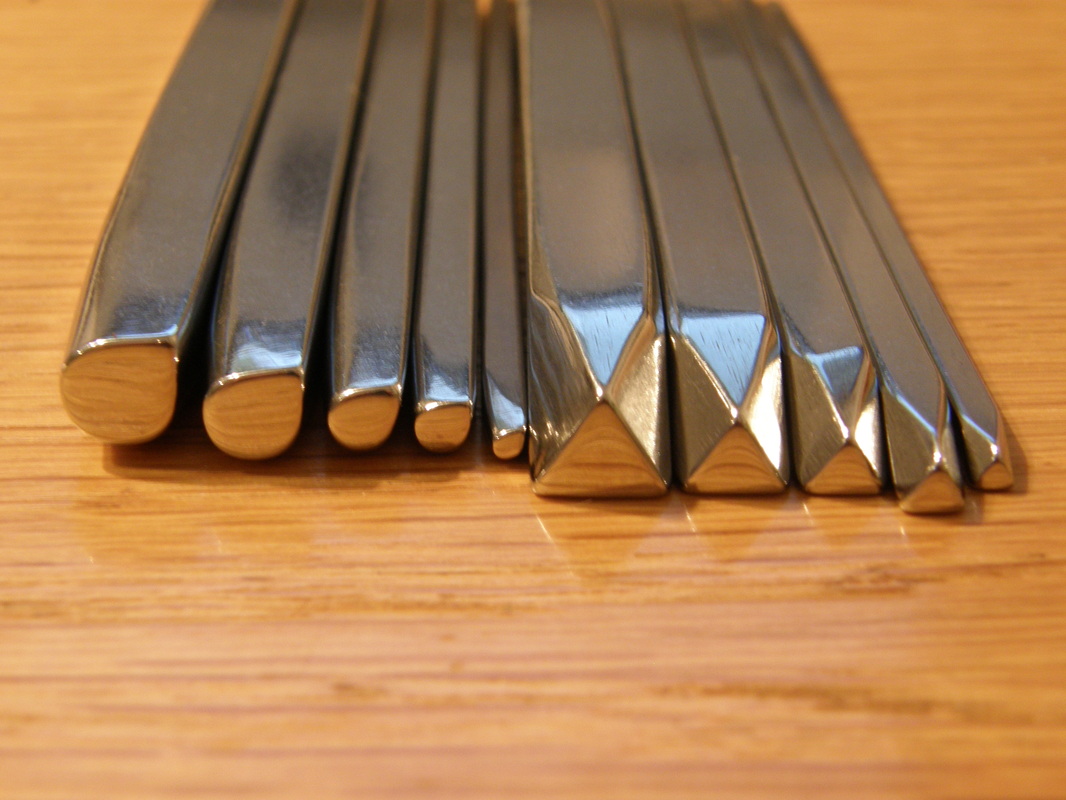
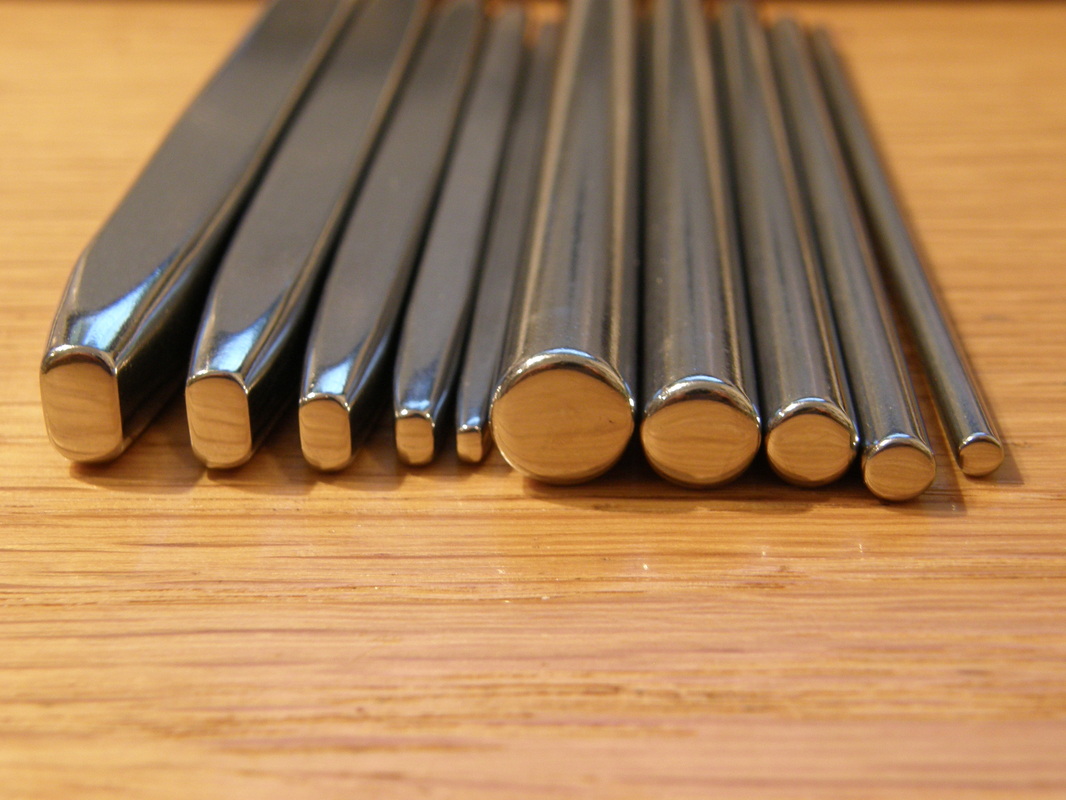
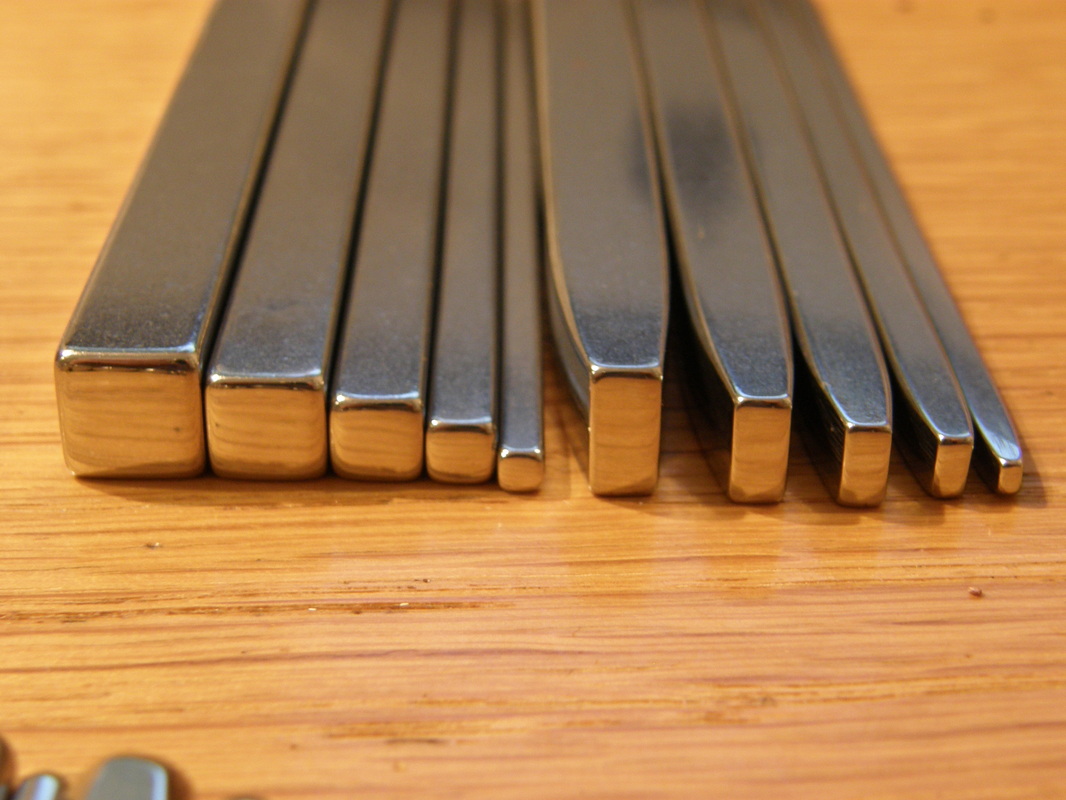
Into the garage I went with my drawing, templates for the various diameters and my block of wood. Out came the files. Into the vice went to the block of wood and using my templates, I drew marks on the wood for the radius and the distance from the end to indicated where to stop filing. So the project began.
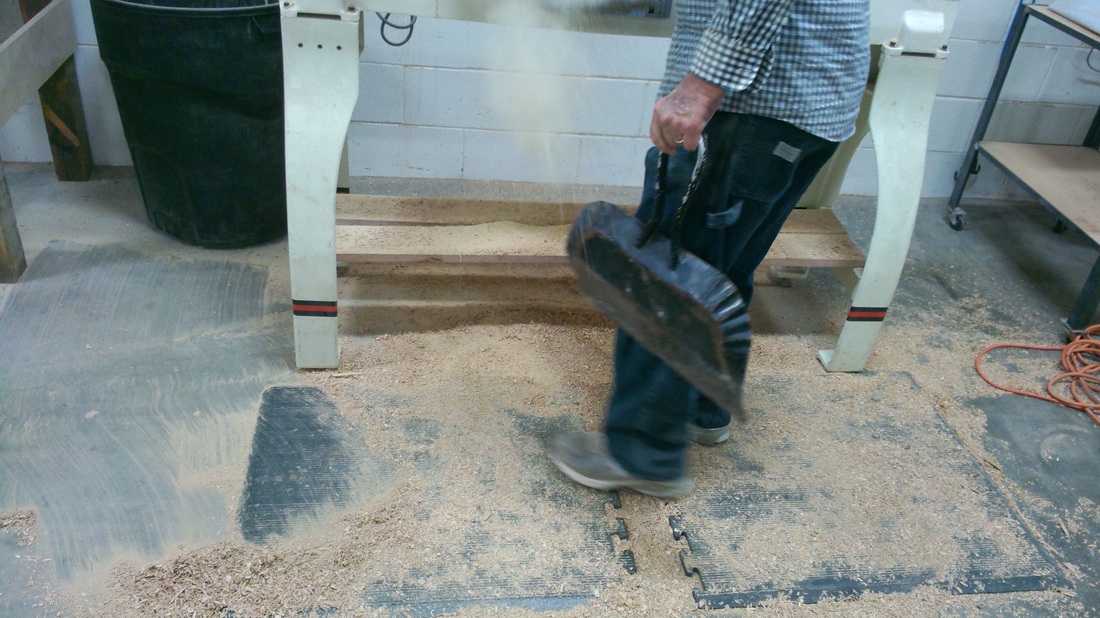
Much sawdust was created.
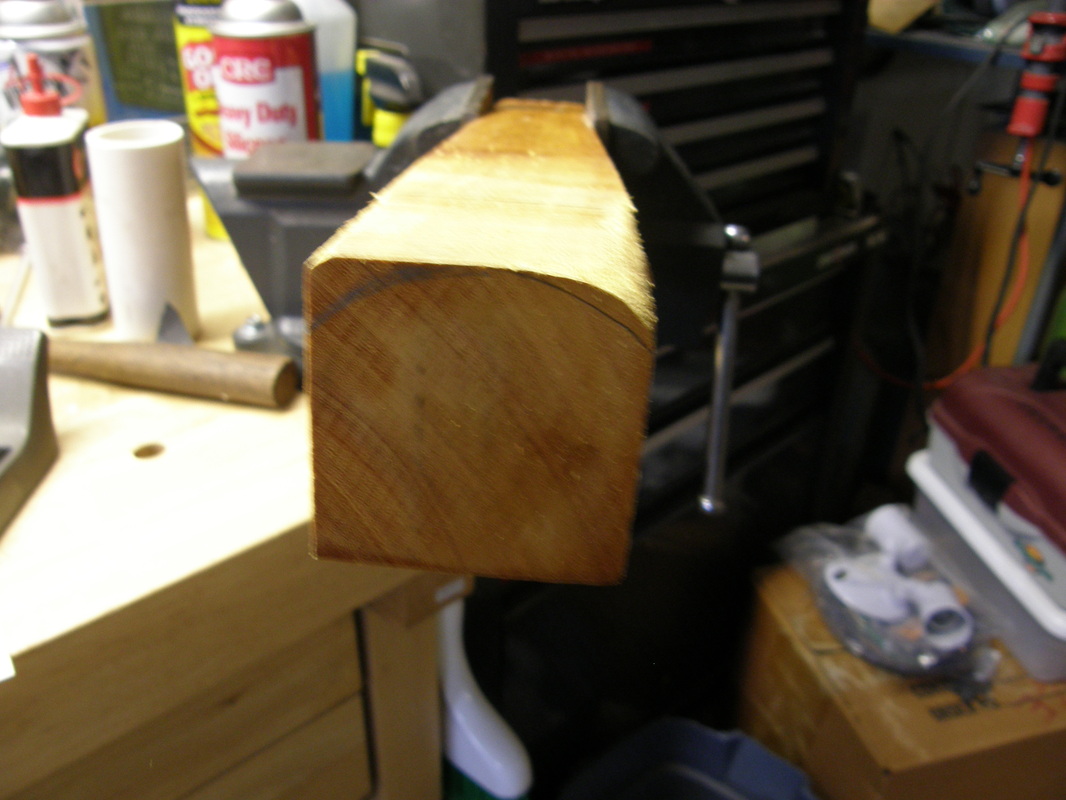
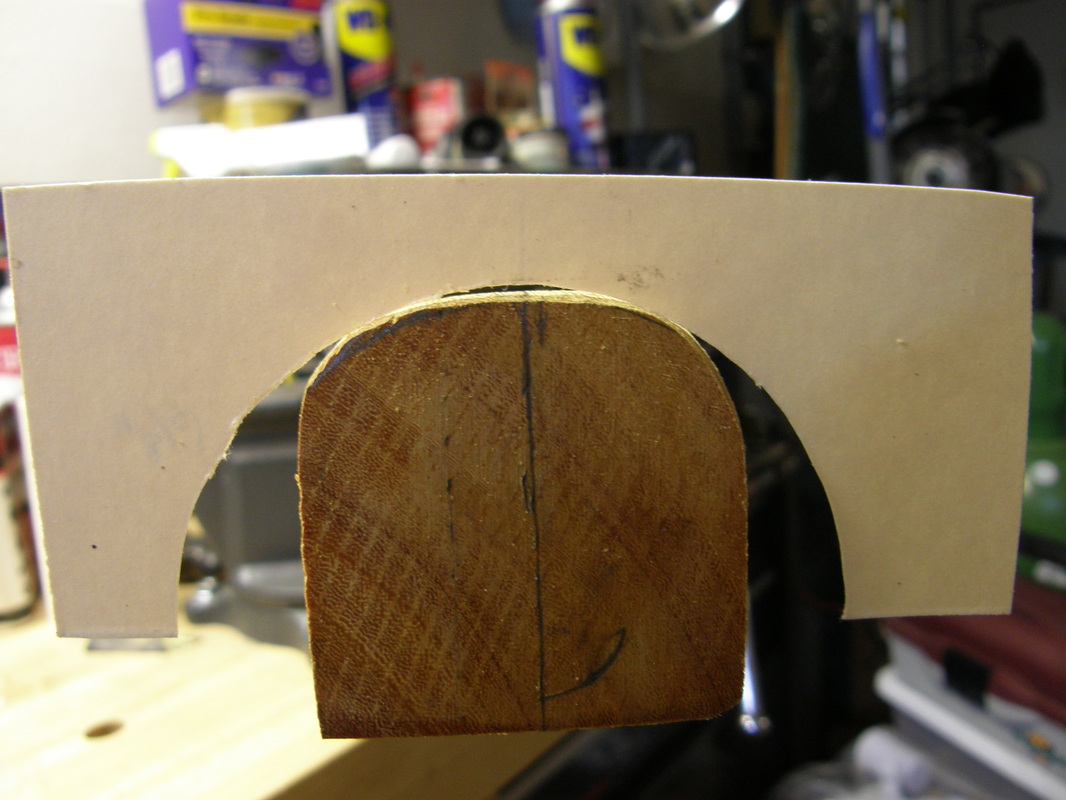
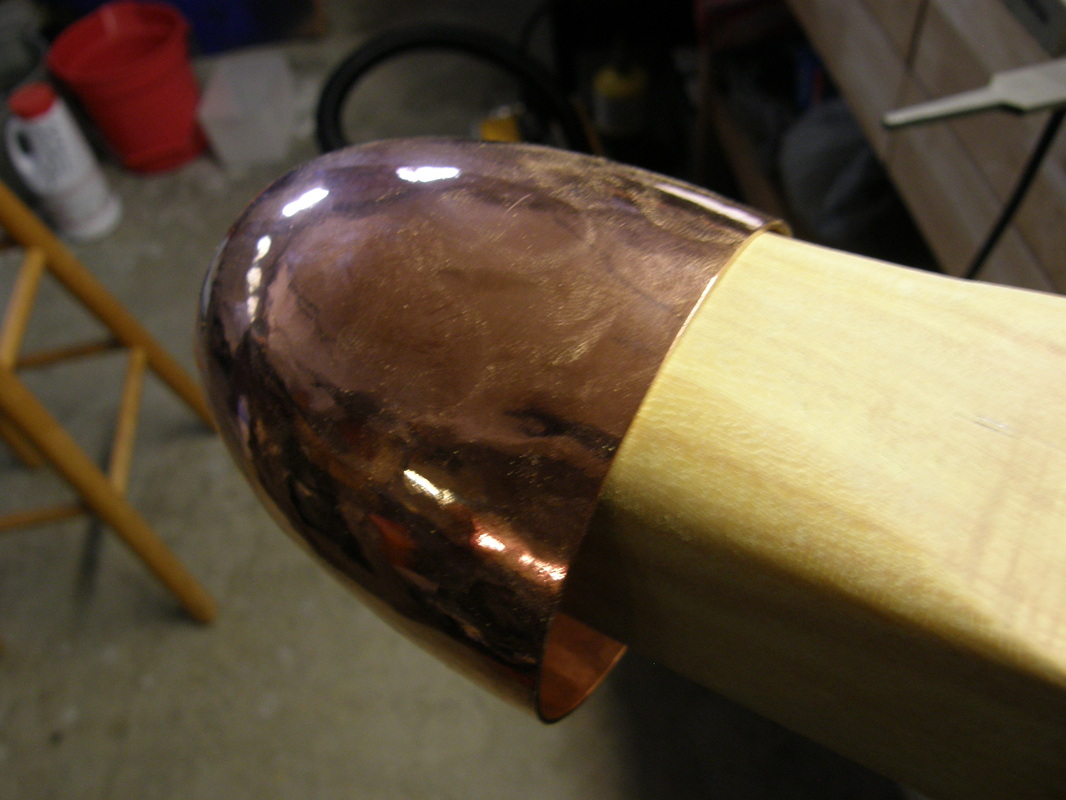
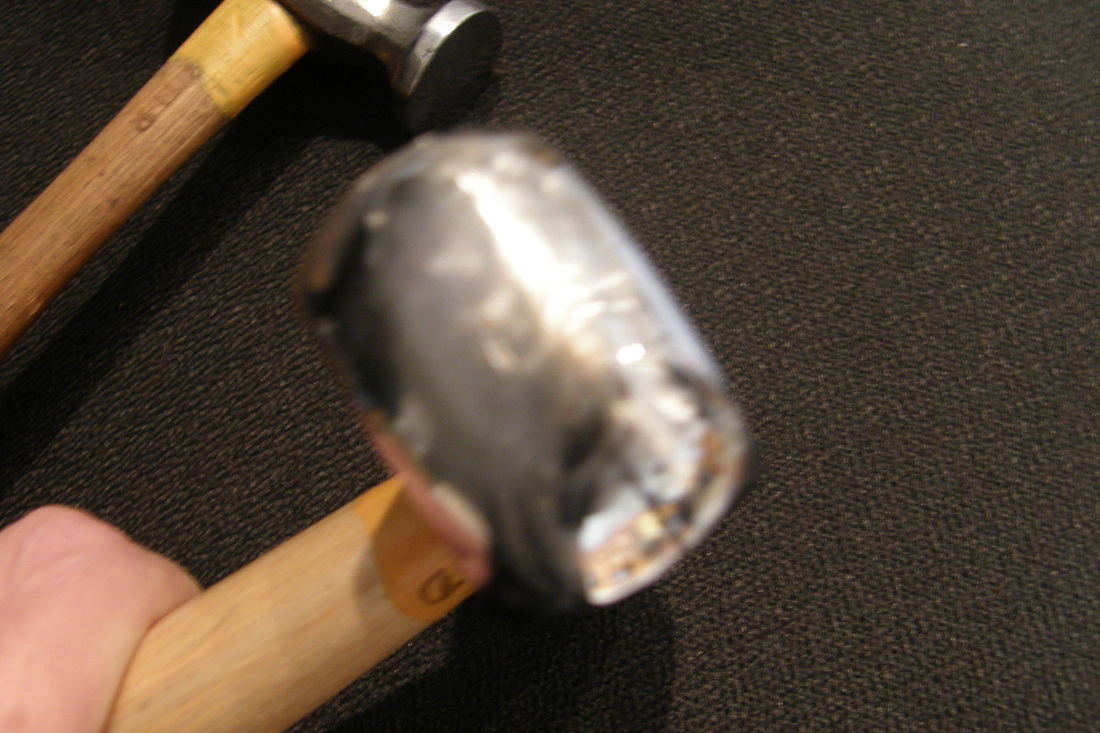
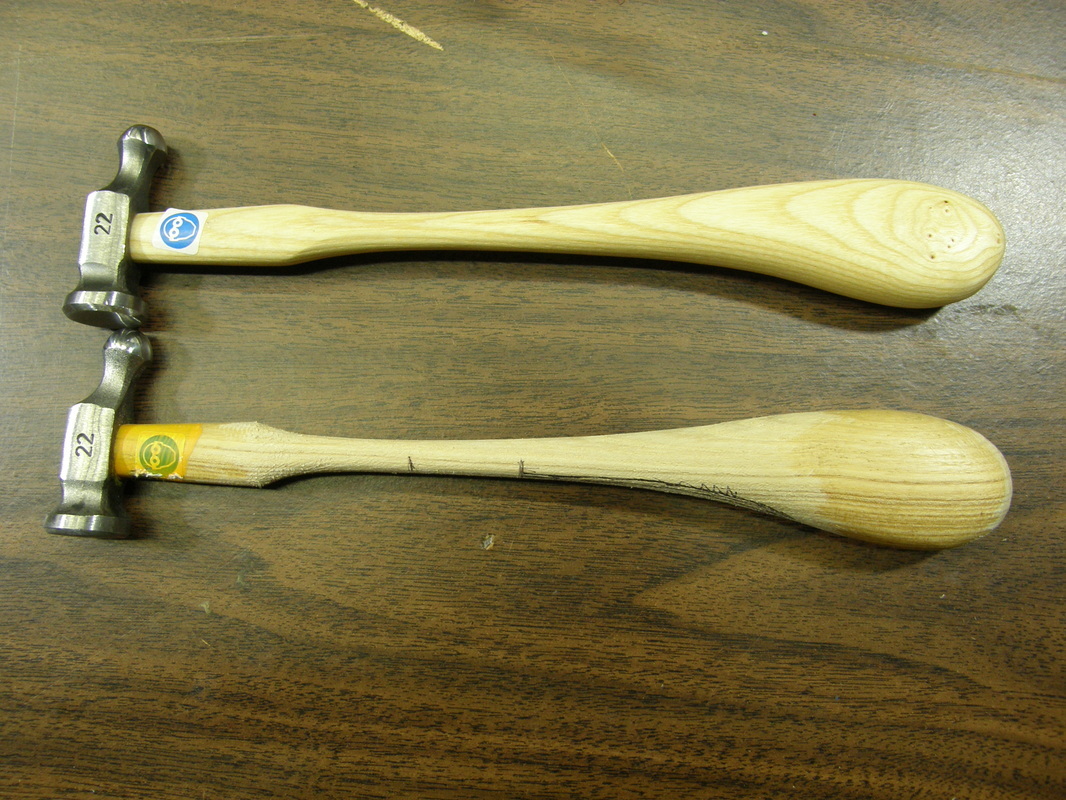
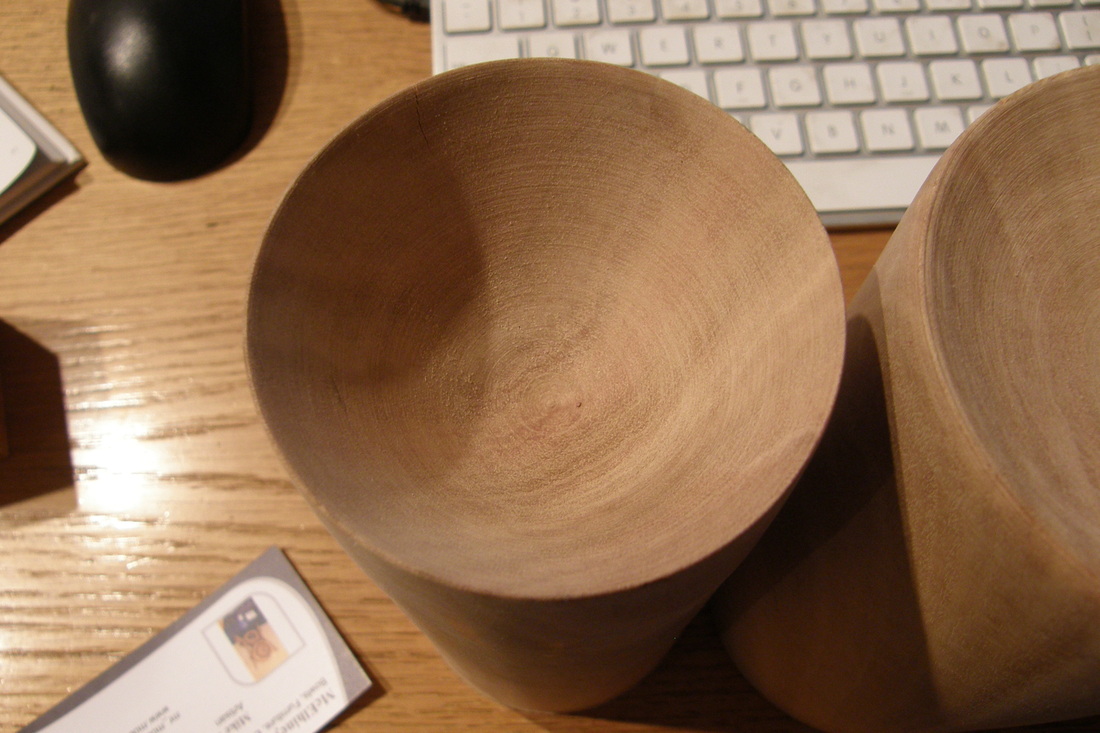
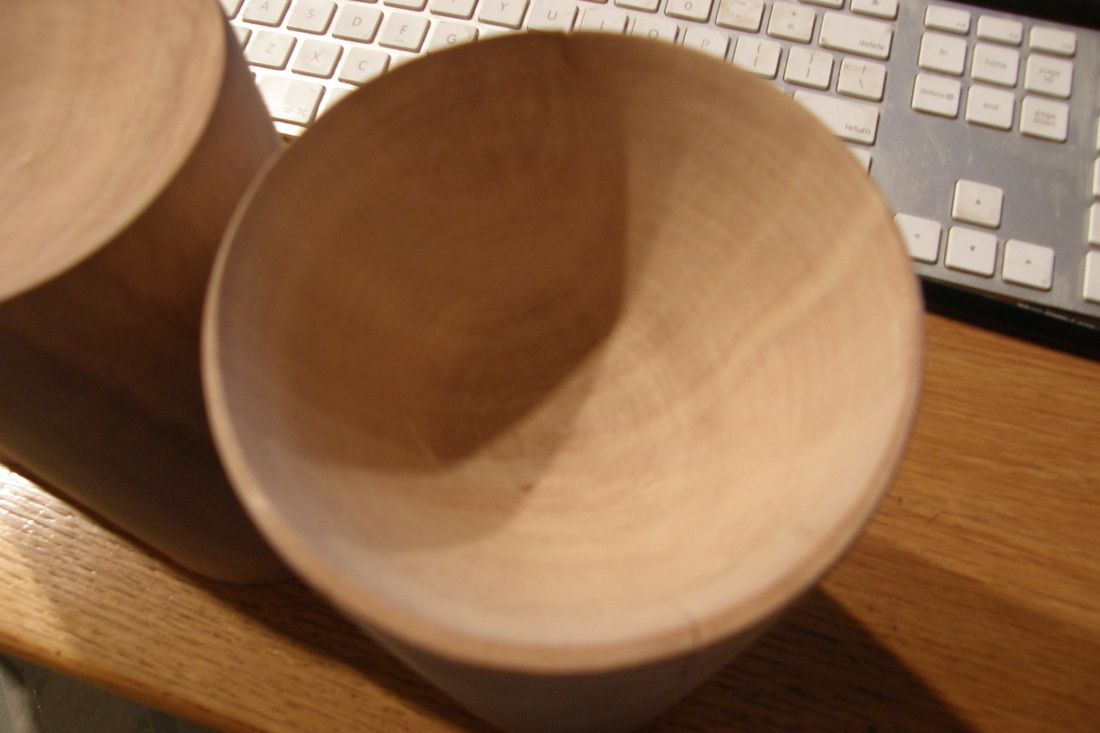
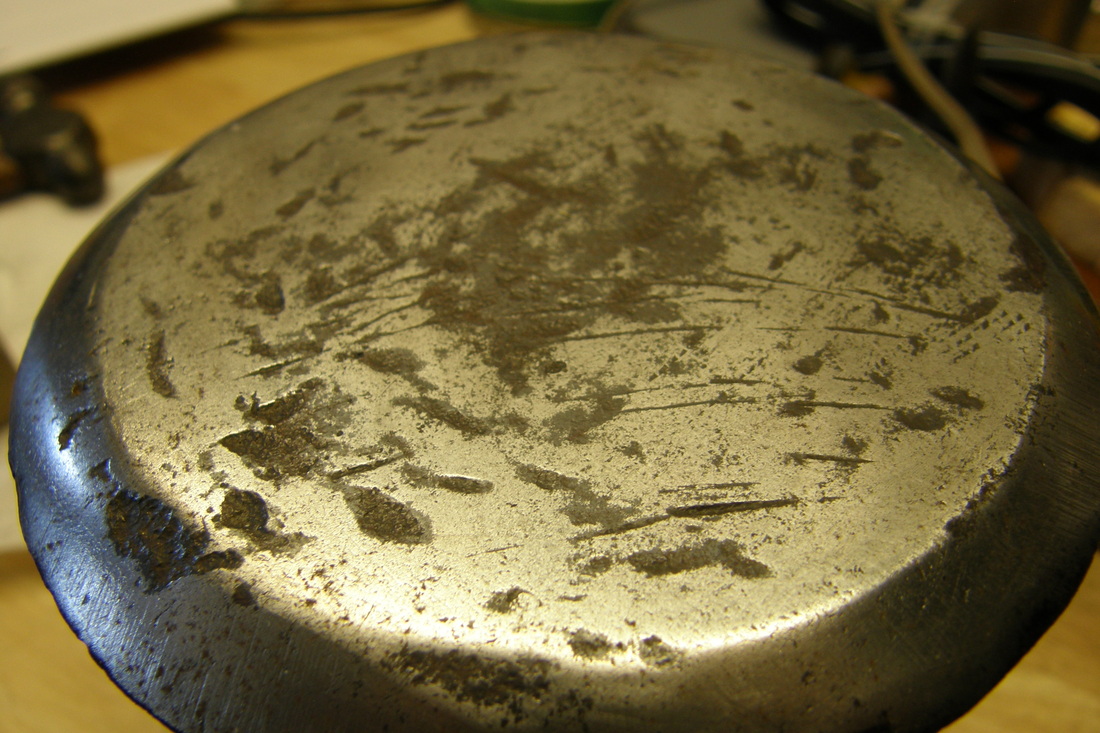
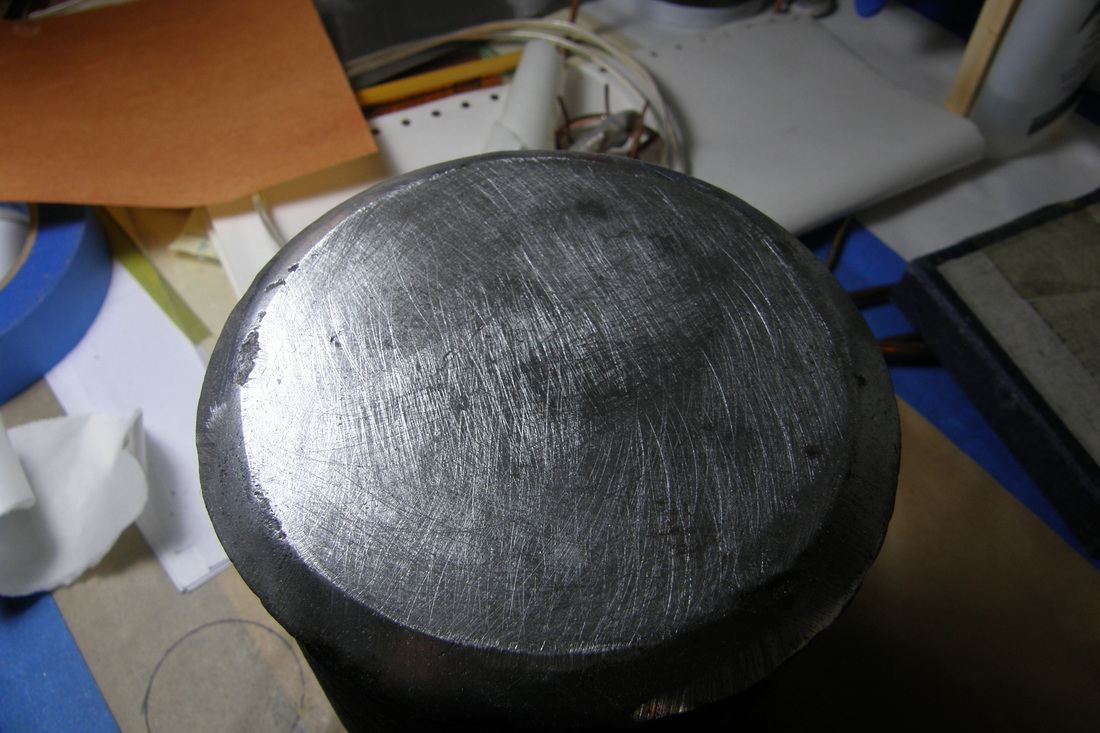
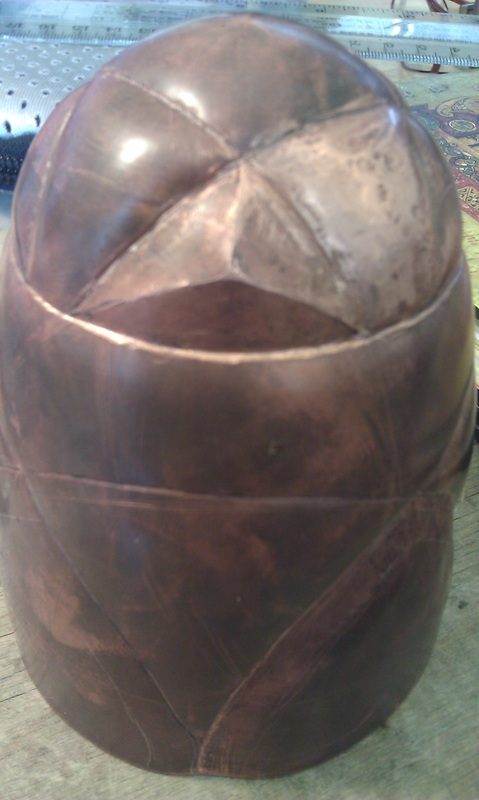
Then about 2 hours later after checking with the templates and the actual tumbler and switching from rasps to coarse files to fine files and fine sand paper. The first wood stake I have ever made was done.
Once I raise a tumbler on this, I will then get steel stakes made.
Today I started that project.
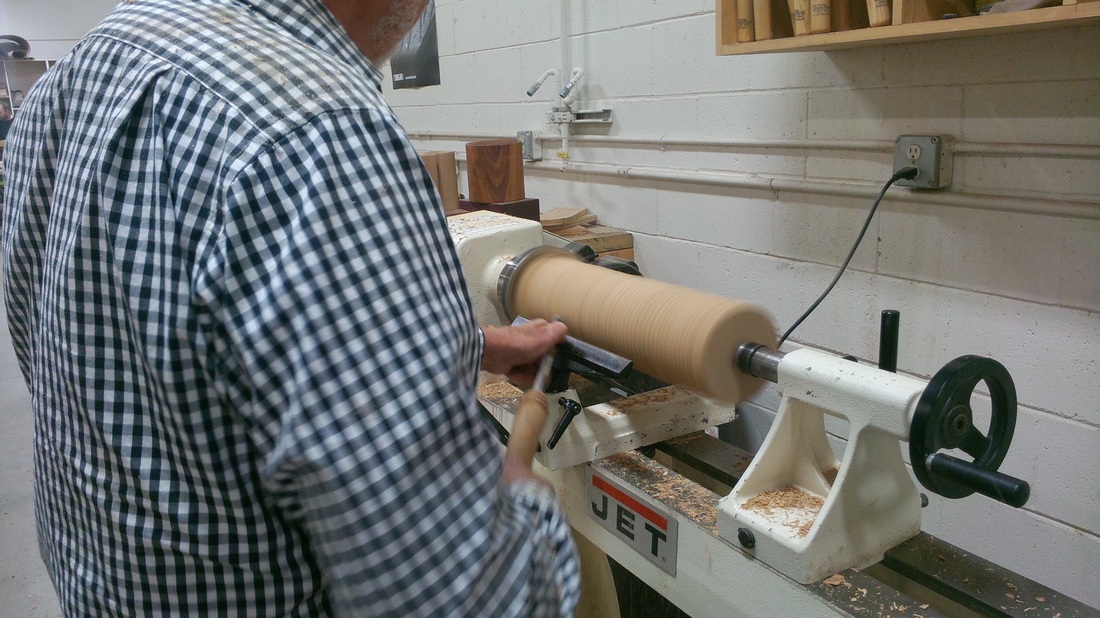
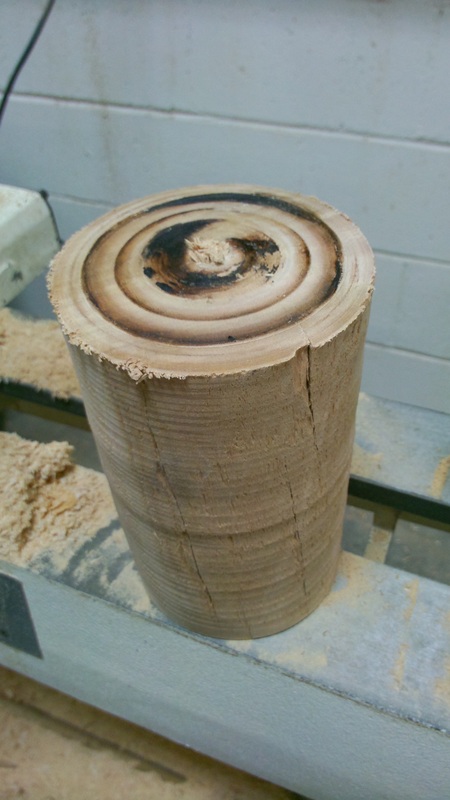
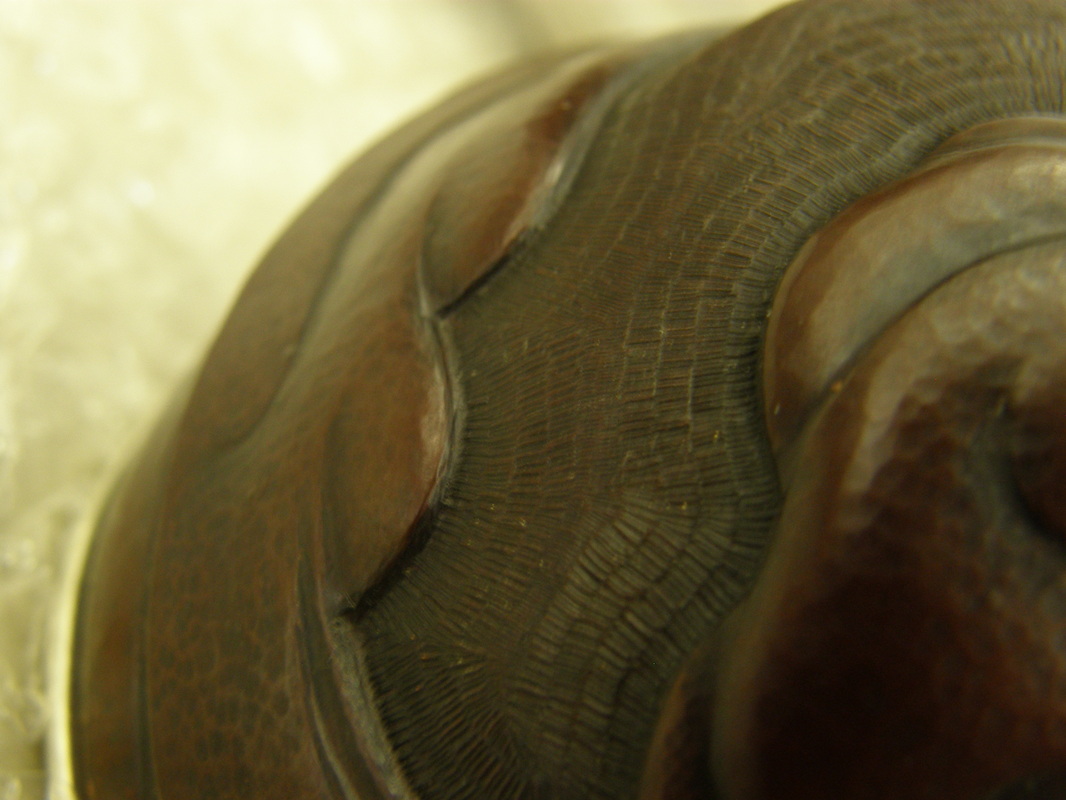
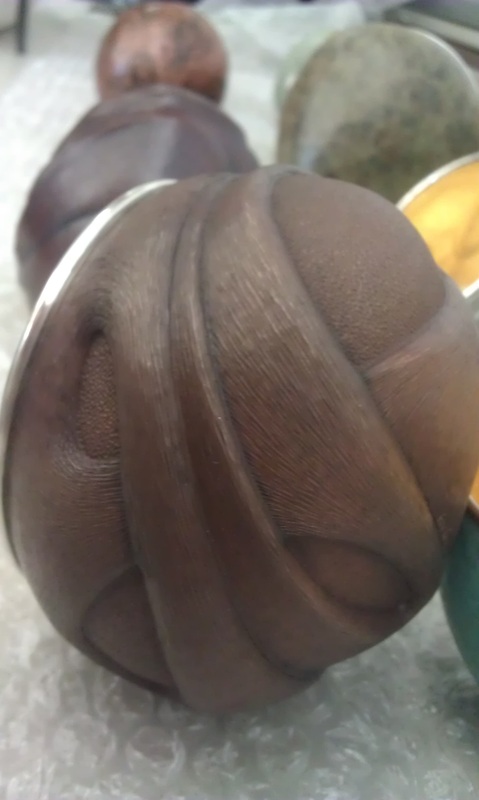
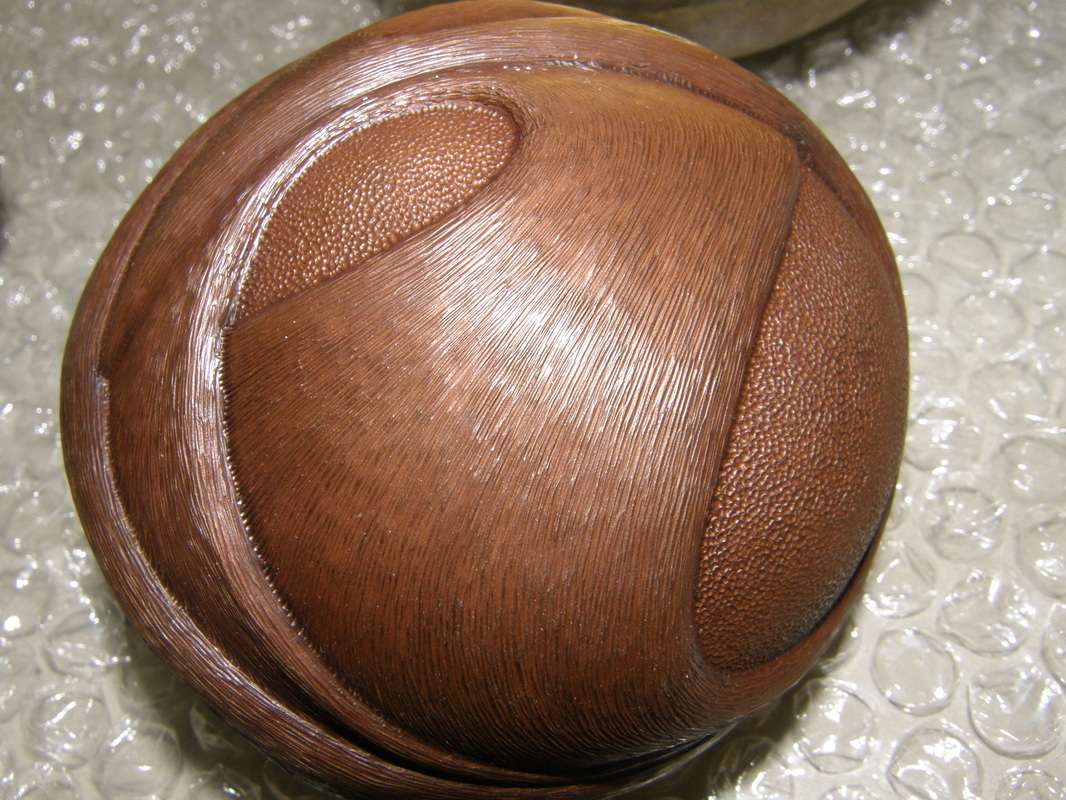
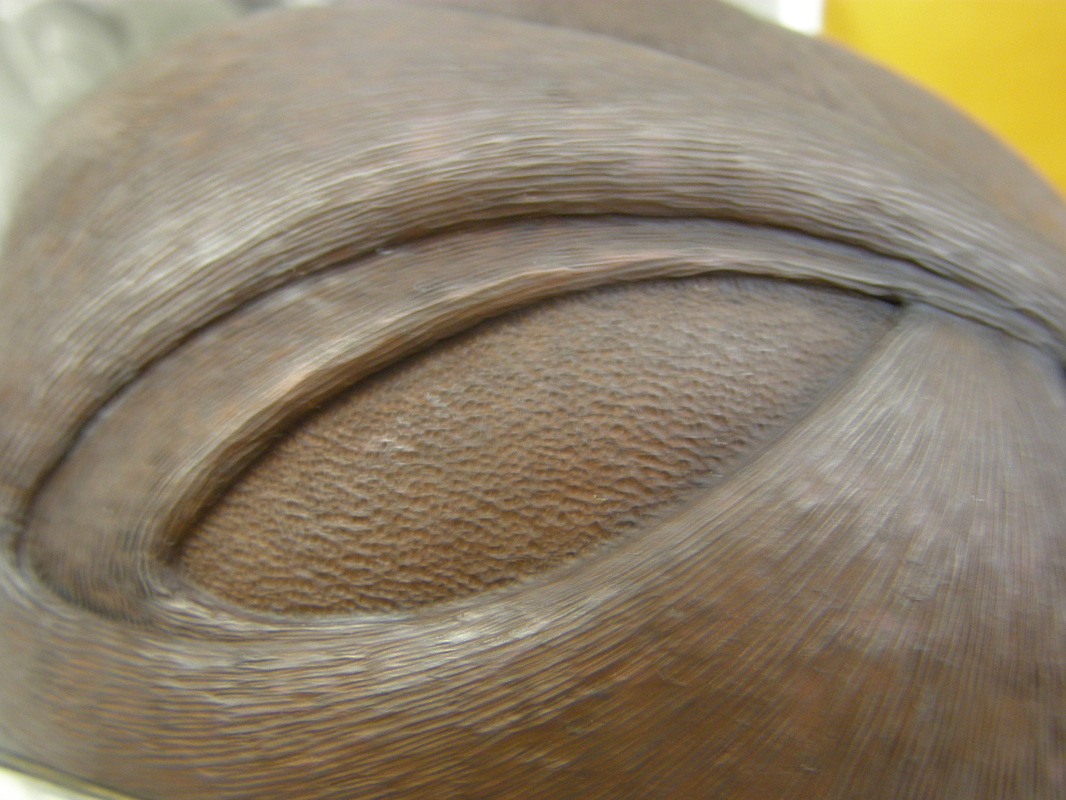
I went to the wood working store in San Diego and bought a 2" x 2" x 12" spindle blank (Osage Orange wood, as they did not have maple) that would allow me to cut a stake at each end. One end would be for the lower half of the tumbler and have a compound (synclastic) curve since the diameter of tumbler increases with distance from the base. The second stake would be for the upper half of the tumbler and would be a constant diameter.
I started with the second stake since it would be easier to make.
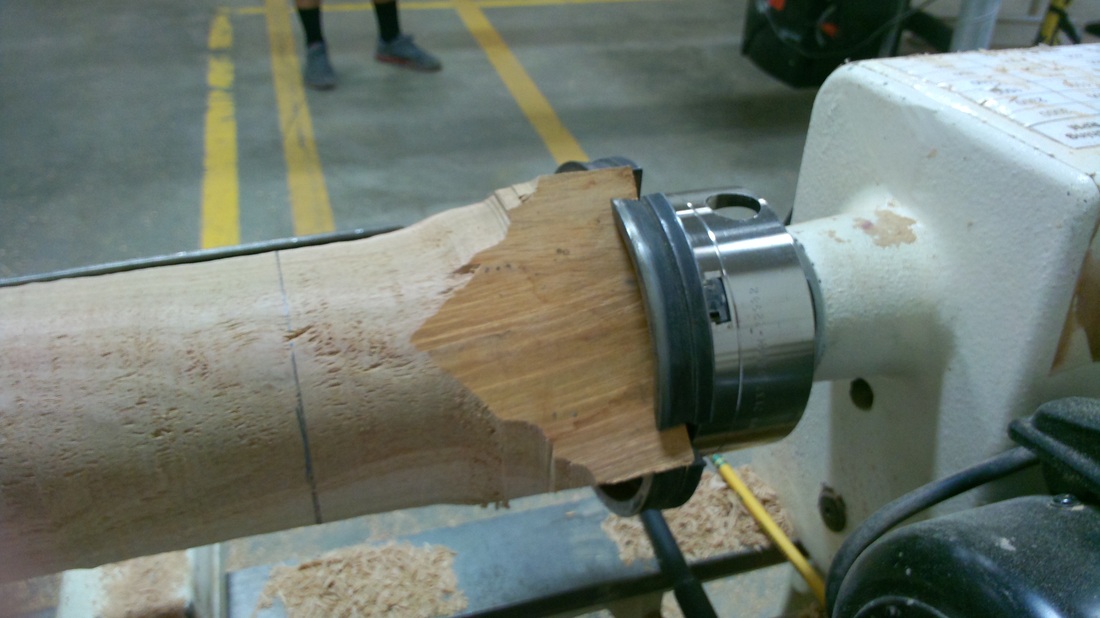
Into the garage I went with my drawing, templates for the various diameters and my block of wood. Out came the files. Into the vice went to the block of wood and using my templates, I drew marks on the wood for the radius and the distance from the end to indicated where to stop filing. So the project began.
Much sawdust was created.
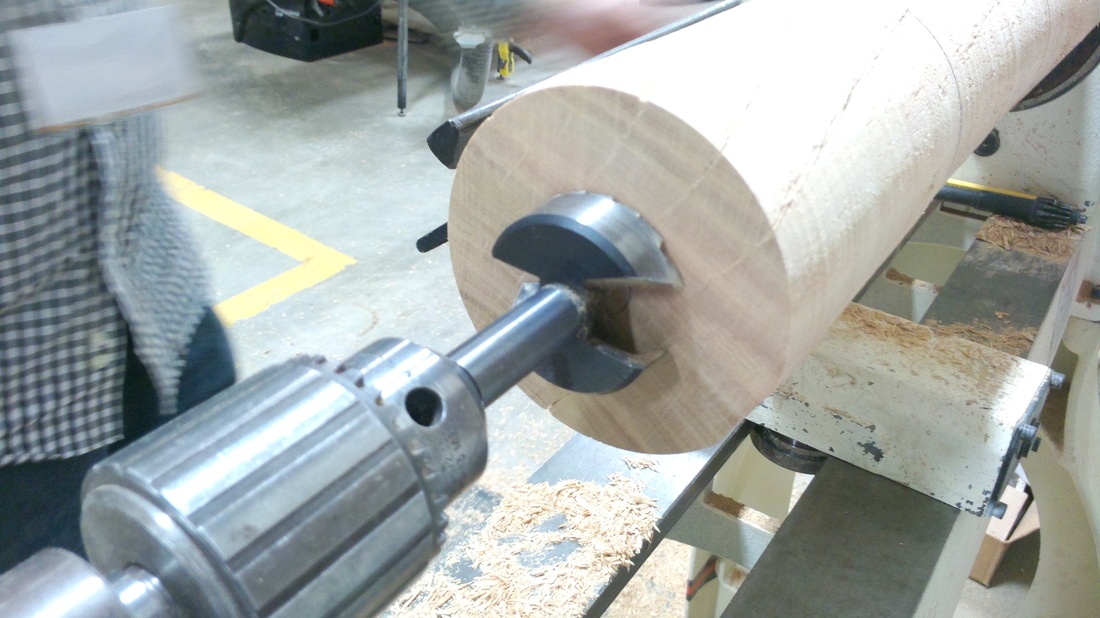
Then about 2 hours later after checking with the templates and the actual tumbler and switching from rasps to coarse files to fine files and fine sand paper. The first wood stake I have ever made was done.
Once I raise a tumbler on this, I will then get steel stakes made.


 RSS Feed
