
This is the last project for my Year of Repousse personal challenge. I knew that attempting 12 projects would not be possible and my goal was to complete 6 and with this final piece, I have completed eight.
This was started as part of the FB group (Chasing & Repousse) Challenge #1 - Octopus.
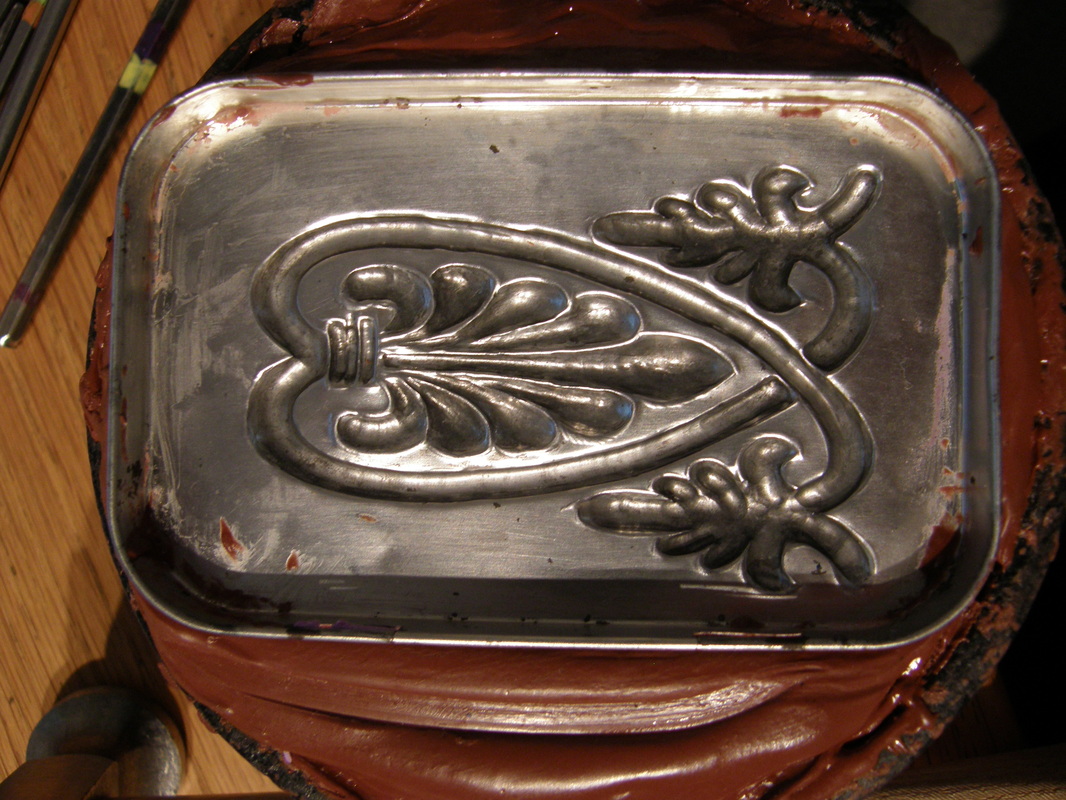
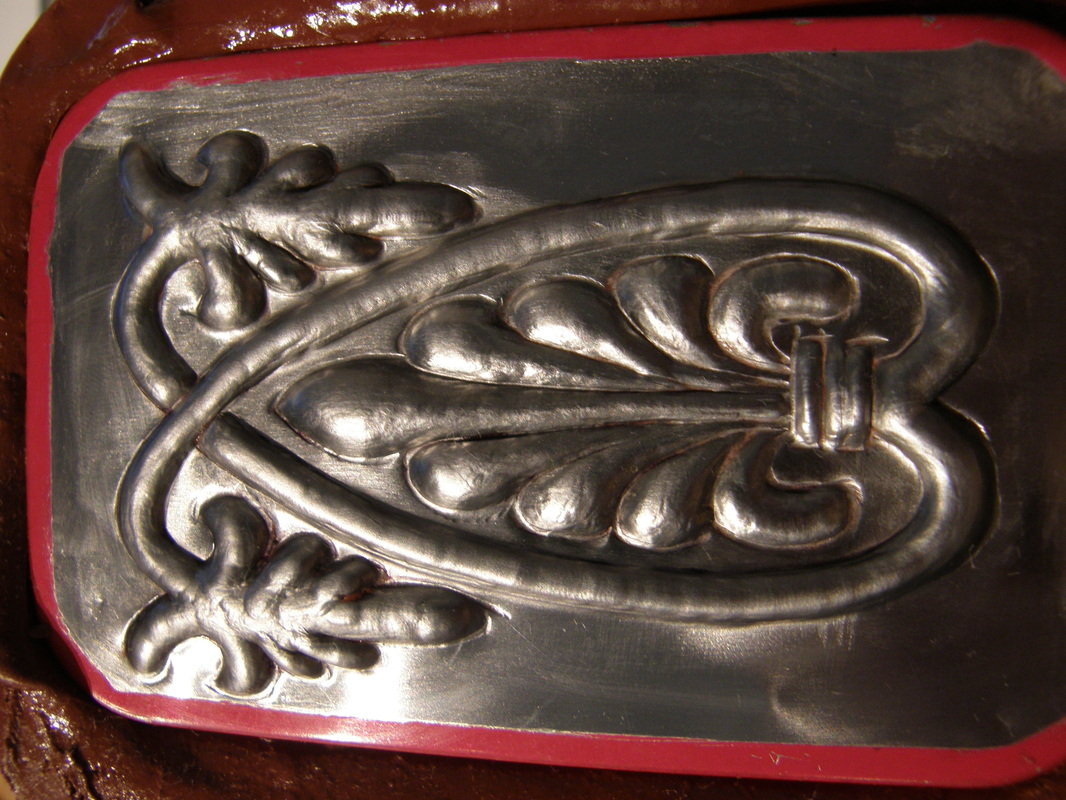
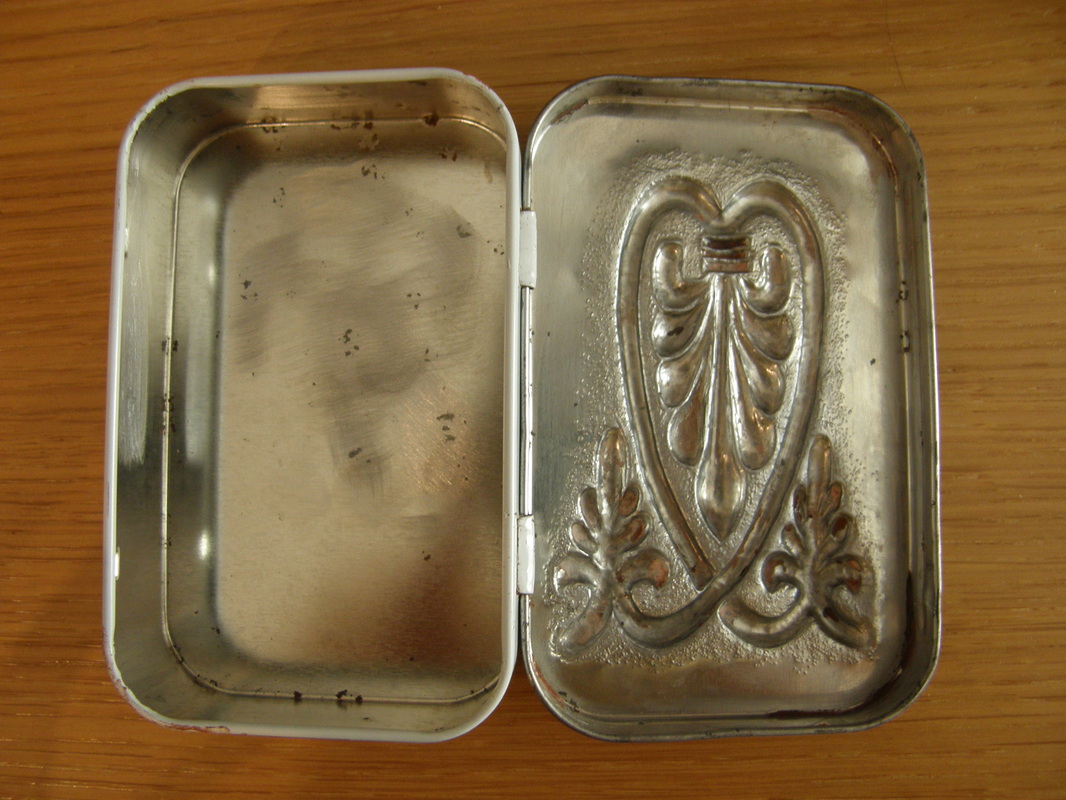
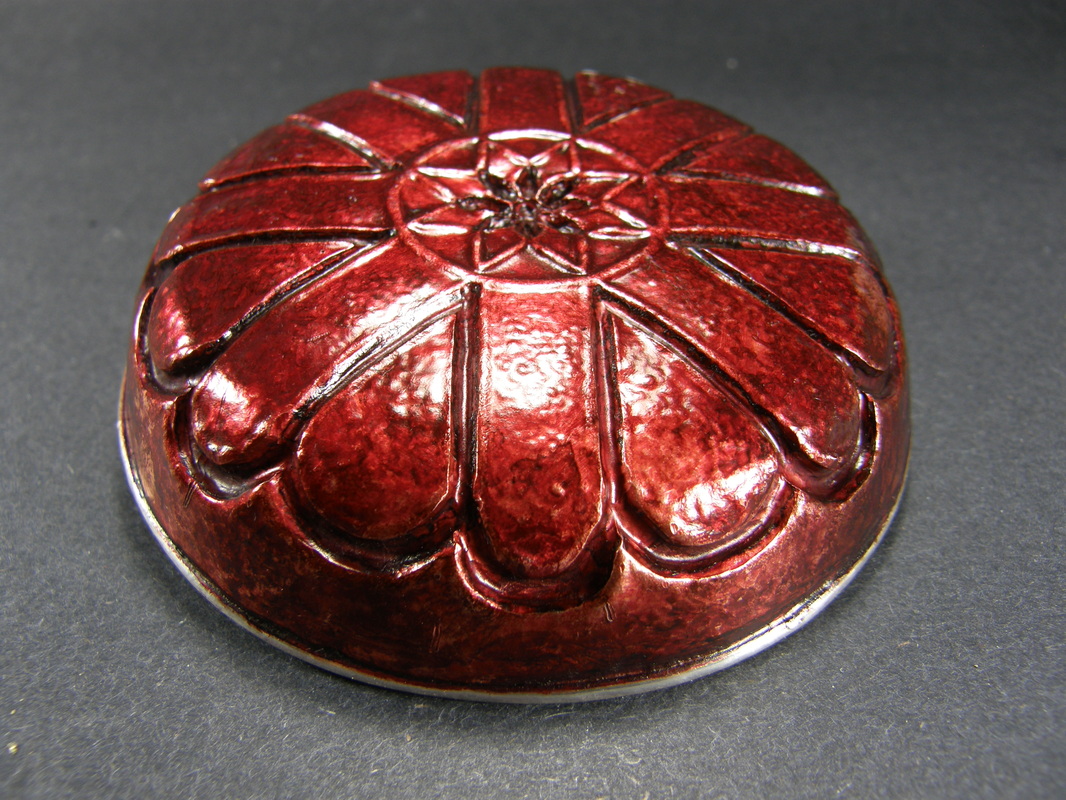
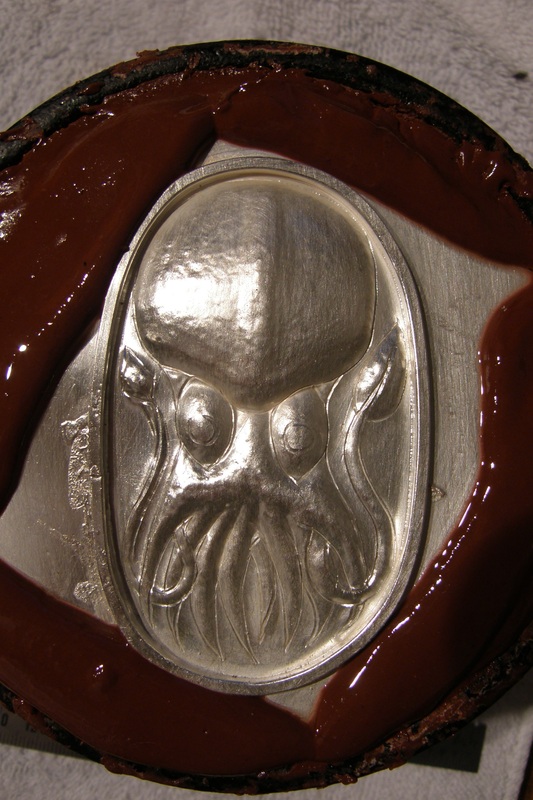
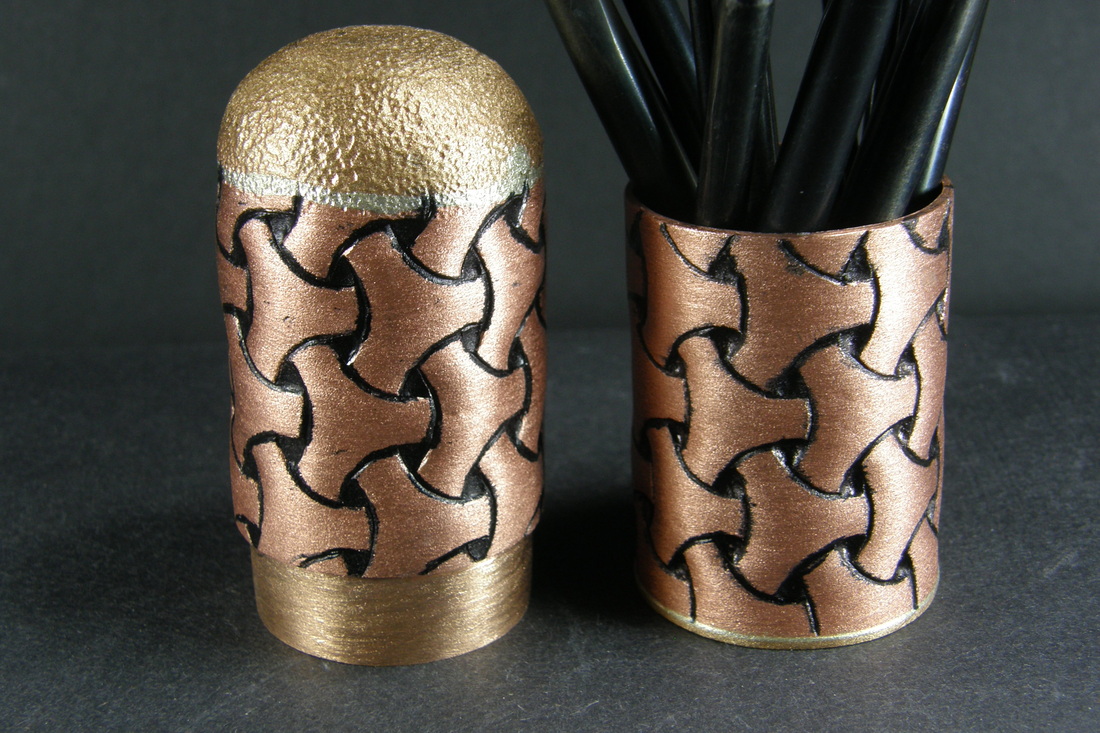
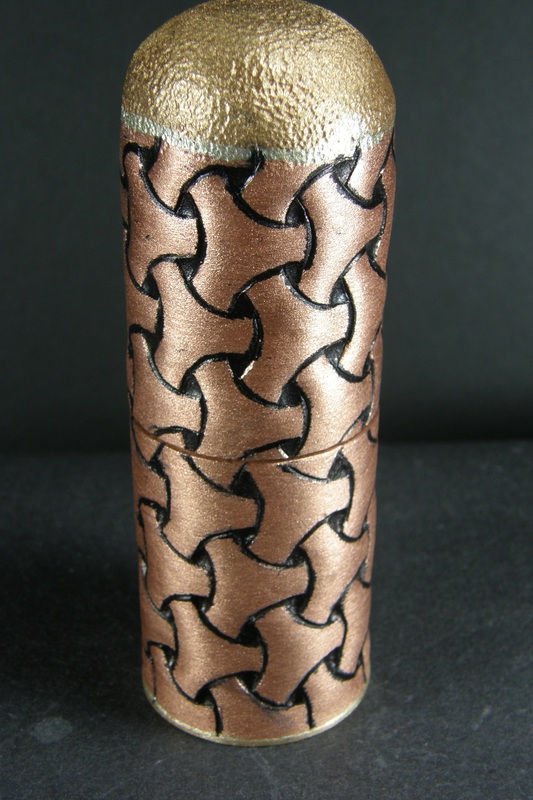
For this months project, I decided to do an altoid tin as a present for a friend. I used a palmette which is a palm leaf design that go back to the early Greek and Egyptian civilizations.
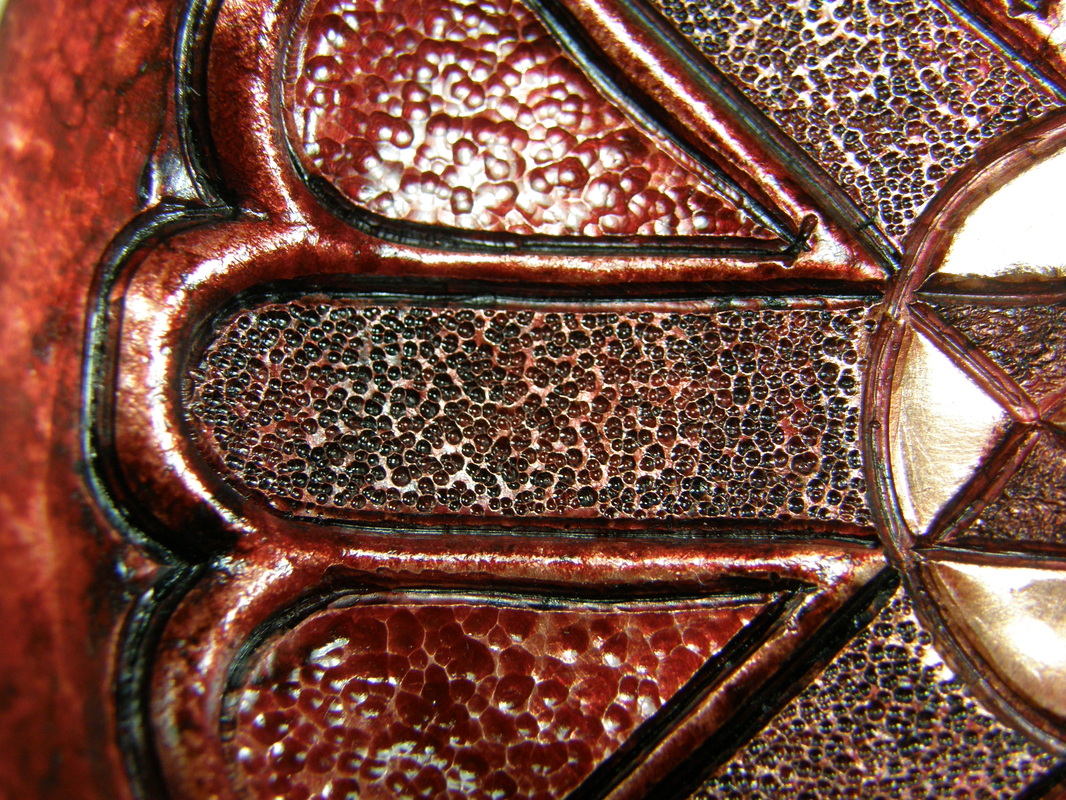
This project was completed over the course of 2.5 days. The lining was done Thursday night, Saturday I started the repousse. Today I finished the repousse, a bit of re-lining and the texturing around the design.
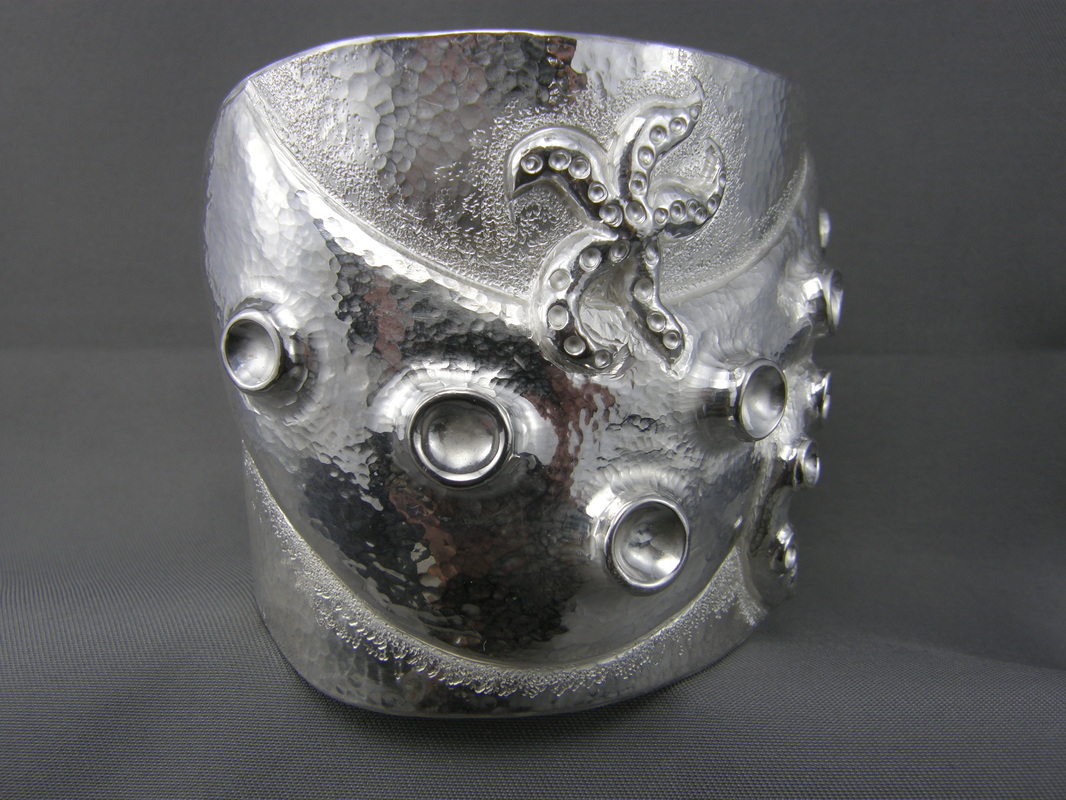
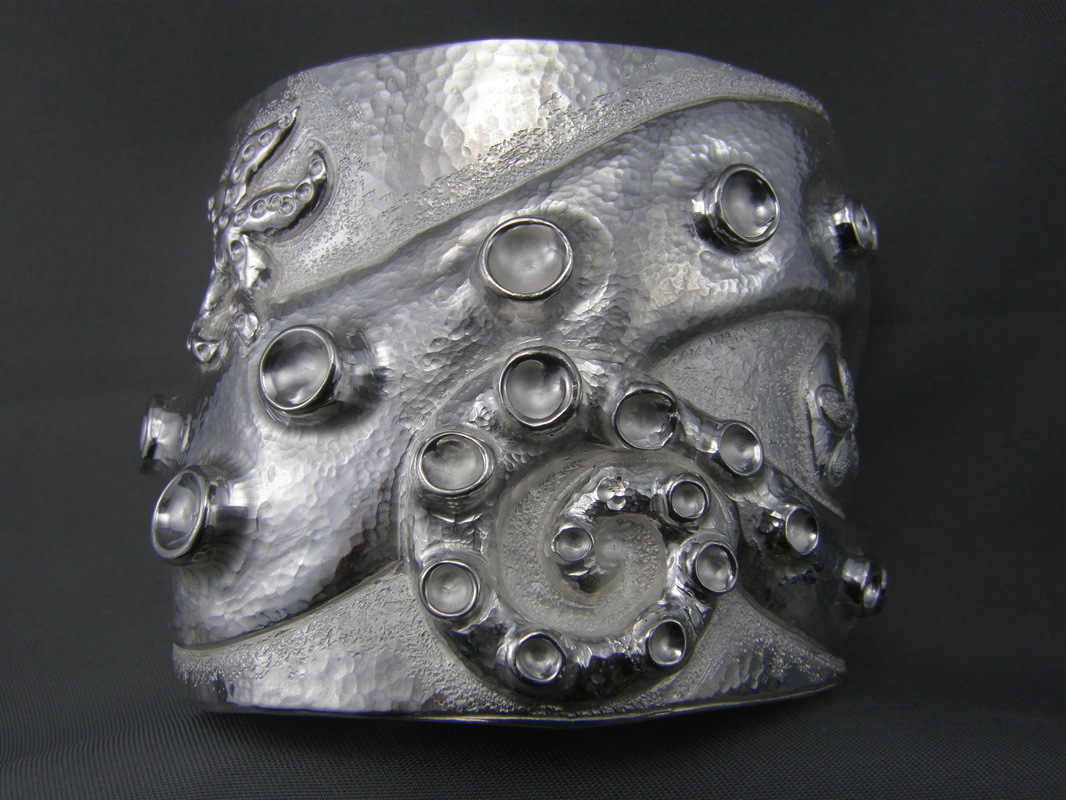
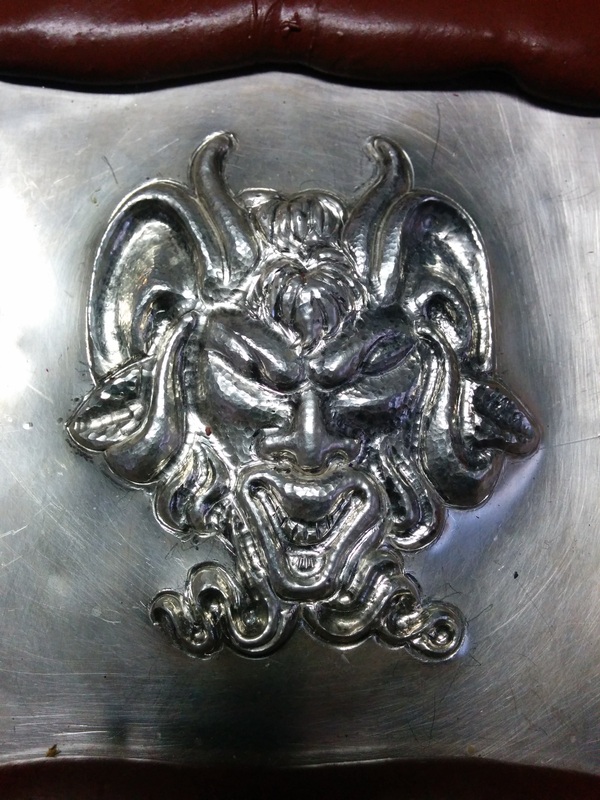
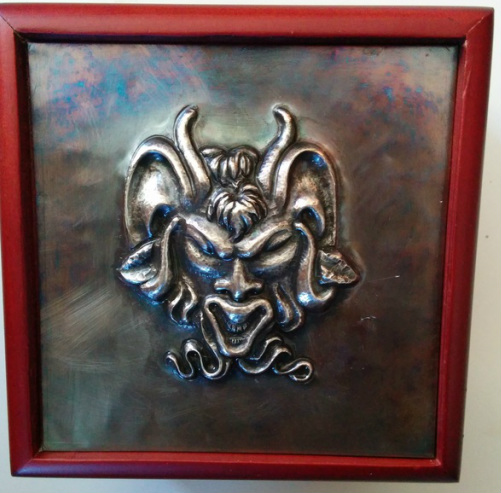
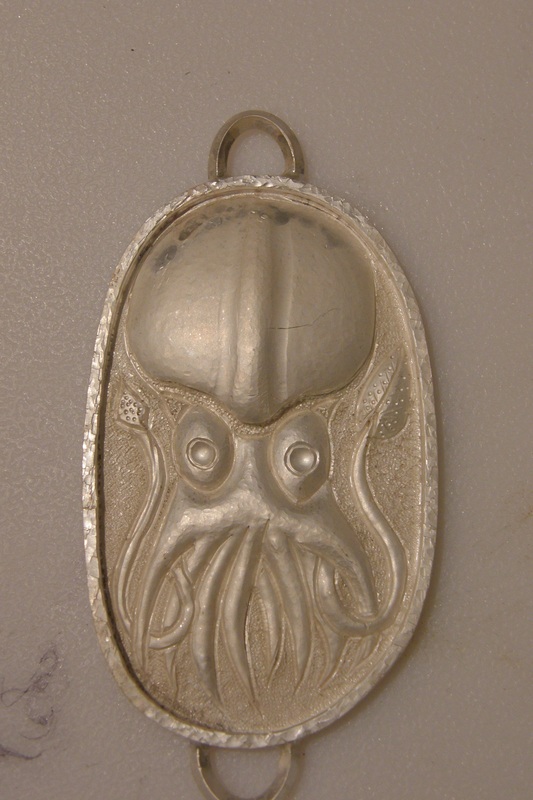
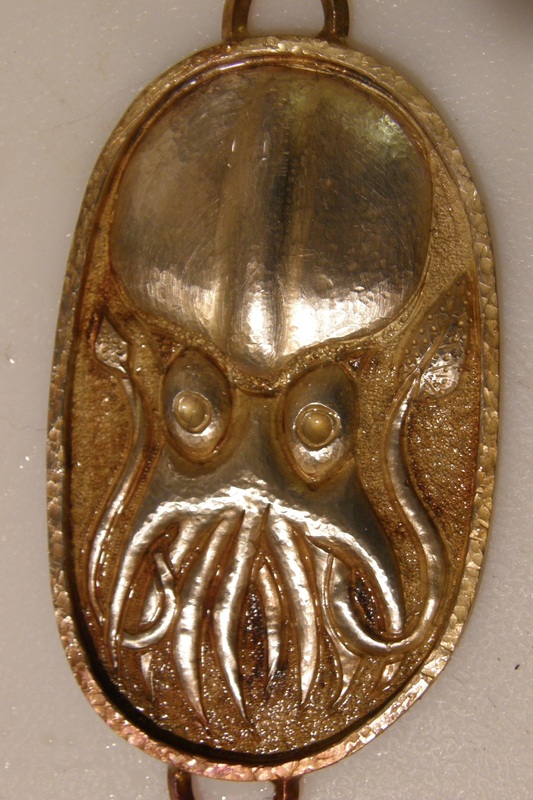
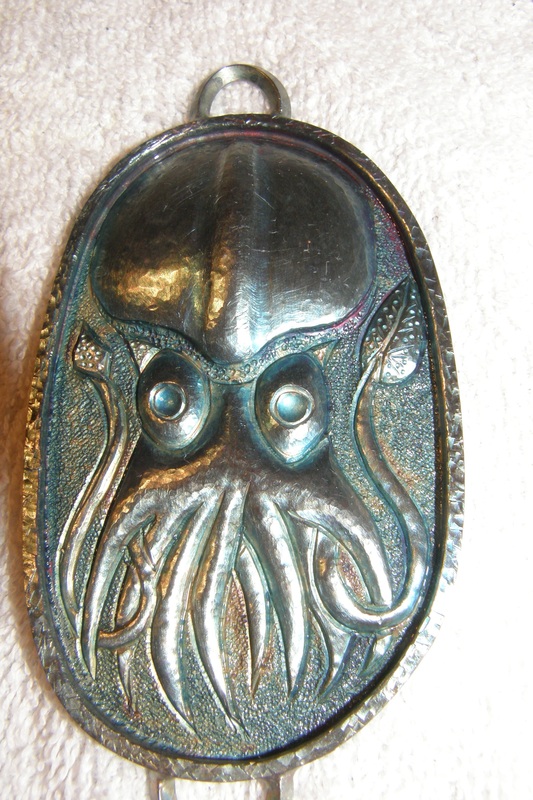
Project Name: Tenacious Tentacle
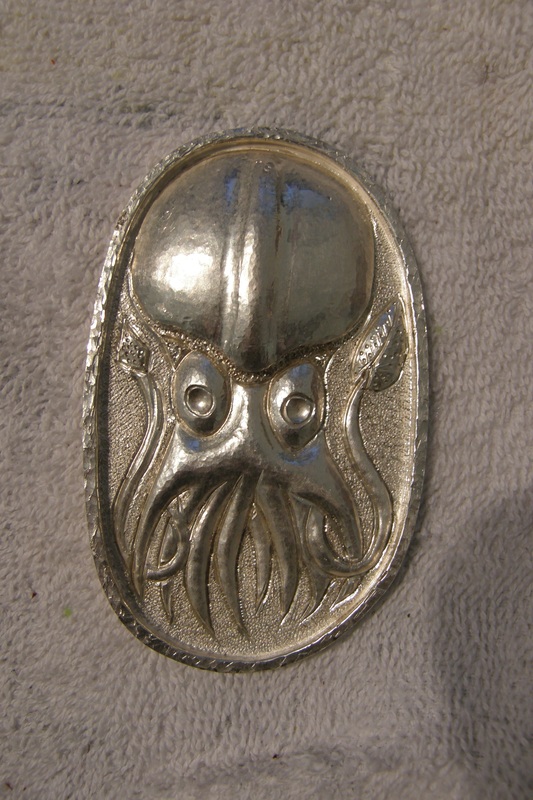
Material: 18 g (0.40") Sterling Silver
Related Posts: Take that Sucker!, Disaster, Panic, Call 4 Help, Plan of Action and 2 Diversions, How to Transplant an Octopus Sucker,
Back to the Octopus, Finishing the Octopus Tentacle
Major Points:
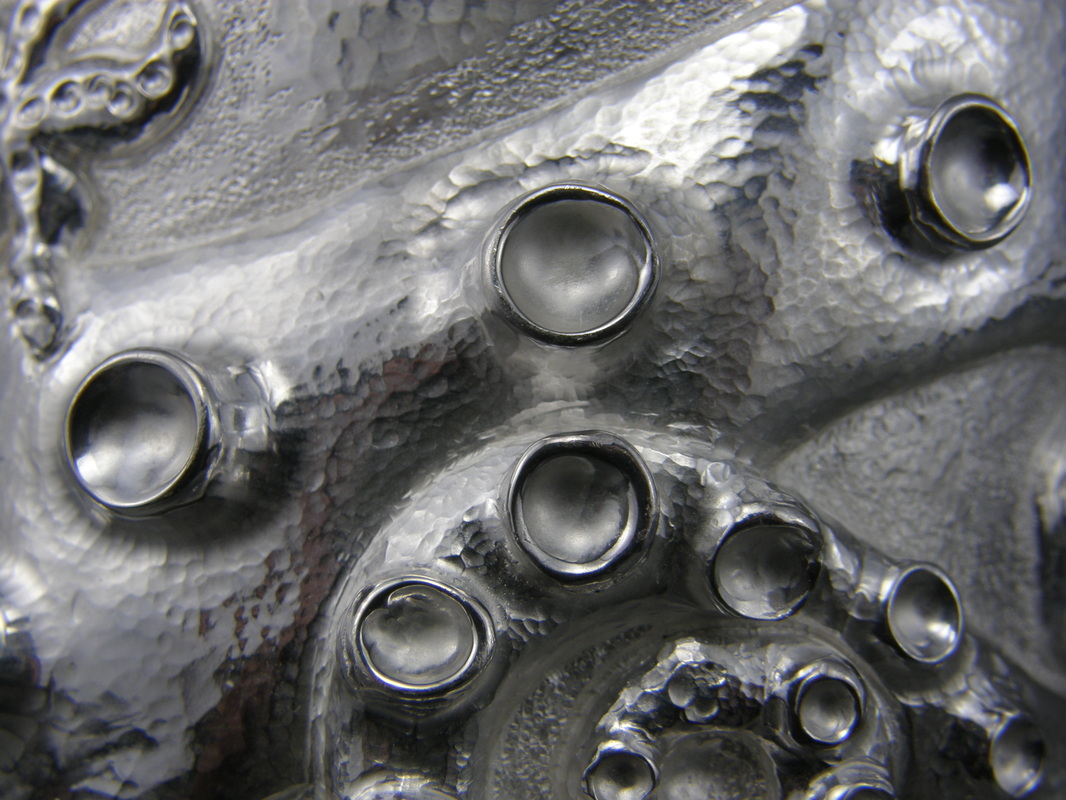
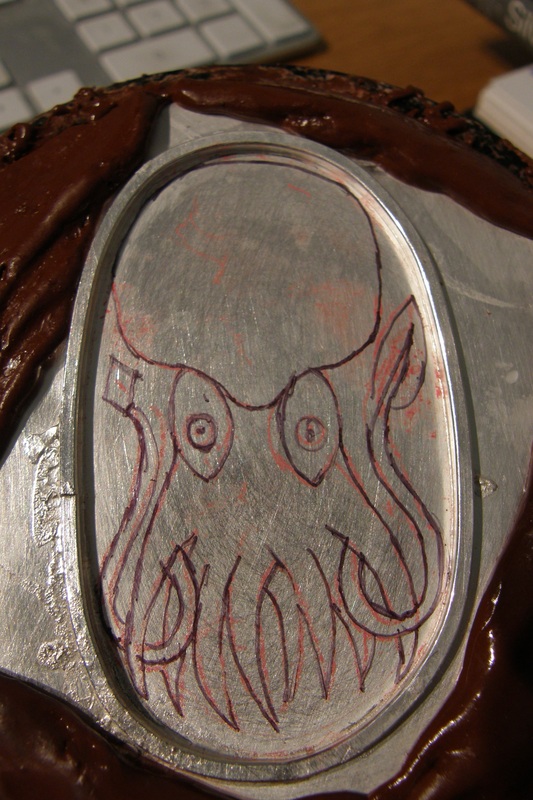
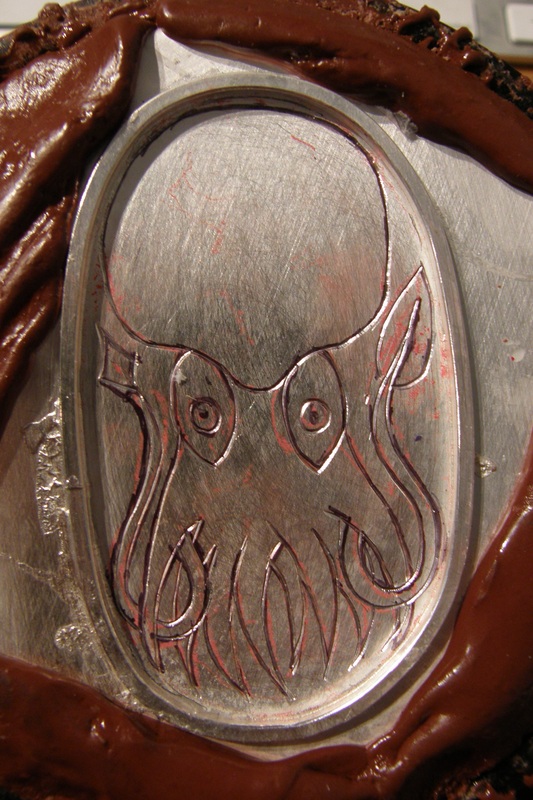
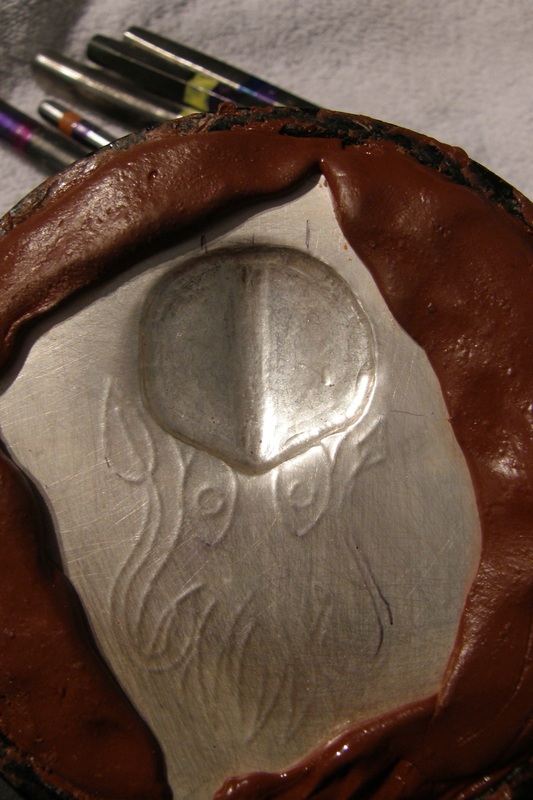
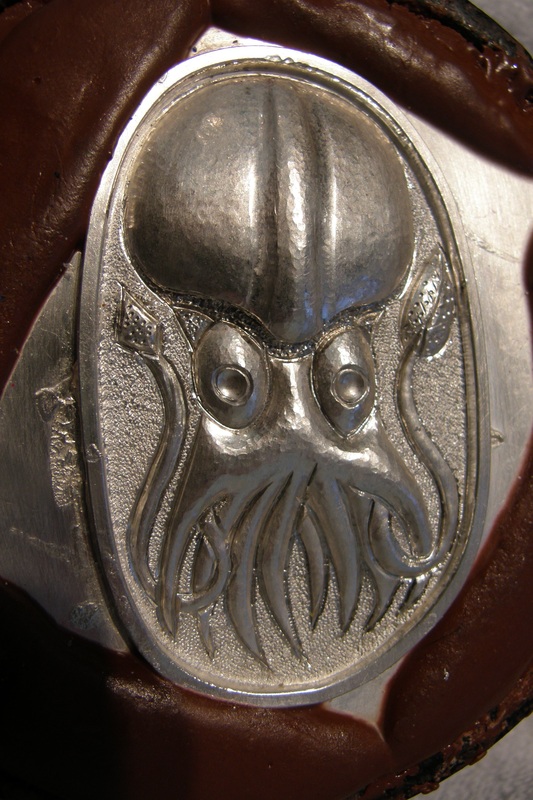
The design was hand drawn and figuring out how to form the suckers was a good practice point. The members of the Facebook group were wonderful in providing ideas, suggestions and support during the set backs and moving forward. This project was completed over the course of 7 months - it sat for almost 3 months due to other priorities, but I never gave up. I knew I would finish it and holiday weekends are just the time to regain focus.
Lessons Learned:
This was started as part of the FB group (Chasing & Repousse) Challenge #1 - Octopus.
For this months project, I decided to do an altoid tin as a present for a friend. I used a palmette which is a palm leaf design that go back to the early Greek and Egyptian civilizations.
This project was completed over the course of 2.5 days. The lining was done Thursday night, Saturday I started the repousse. Today I finished the repousse, a bit of re-lining and the texturing around the design.
Project Name: Tenacious Tentacle
Material: 18 g (0.40") Sterling Silver
Related Posts: Take that Sucker!, Disaster, Panic, Call 4 Help, Plan of Action and 2 Diversions, How to Transplant an Octopus Sucker,
Back to the Octopus, Finishing the Octopus Tentacle
Major Points:
The design was hand drawn and figuring out how to form the suckers was a good practice point. The members of the Facebook group were wonderful in providing ideas, suggestions and support during the set backs and moving forward. This project was completed over the course of 7 months - it sat for almost 3 months due to other priorities, but I never gave up. I knew I would finish it and holiday weekends are just the time to regain focus.
Lessons Learned:
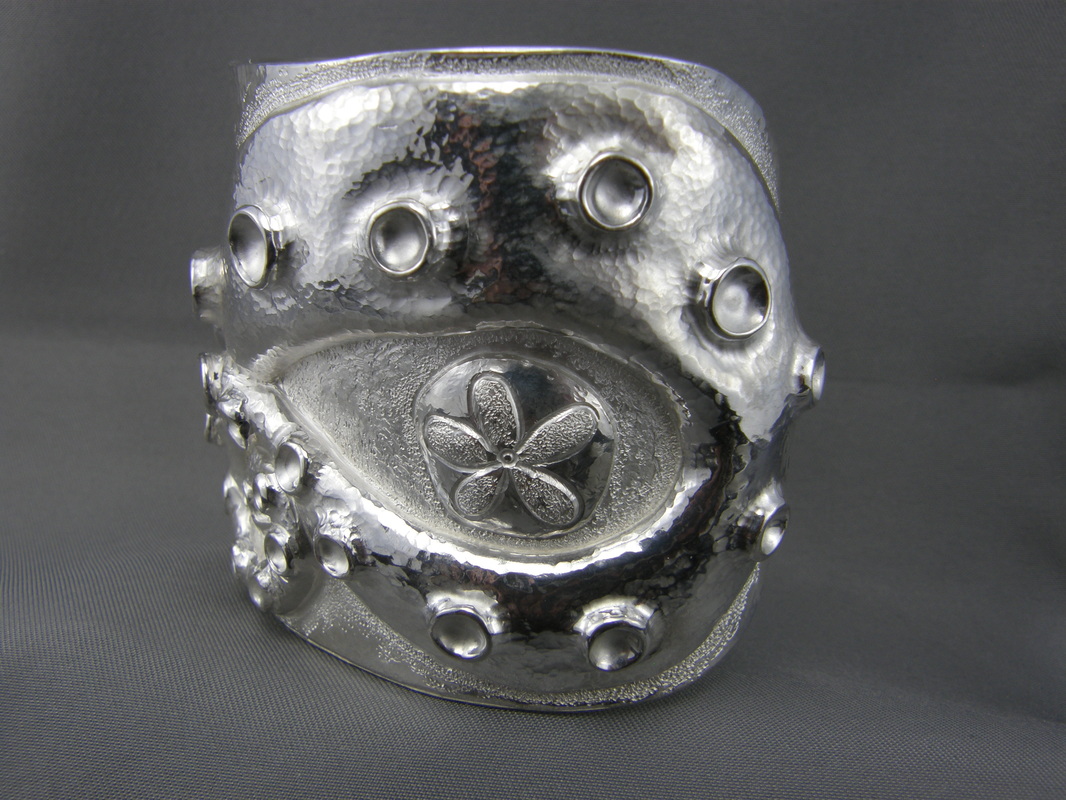
- High relief cuffs are hard to bend and form!
- How to solder to repair.
- 18 gauge cuffs are hard to form, anneal as needed.
- If a challenge presents itself, it is ok to step away and to let the project sit for a while until you are ready to finish it.


 RSS Feed
