
The last thing to do, as part of getting the studio in order was to organize all my hydraulic press tooling and make sure was all documented in the Tool(ing) Tracker Web Application that I wrote and put out there two years ago.
My plan was to put it in the rolling toolbox I inherited from the Shop Elf but first I had to clean it. It was empty it; vacuum out the dust and other schmutz; then start the tooling inventory.
IT TOOK THREE DAYS.
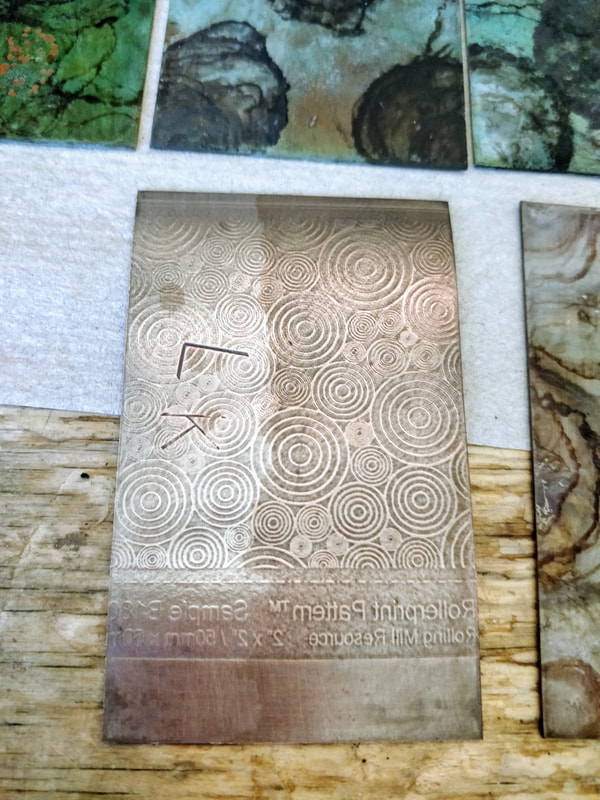
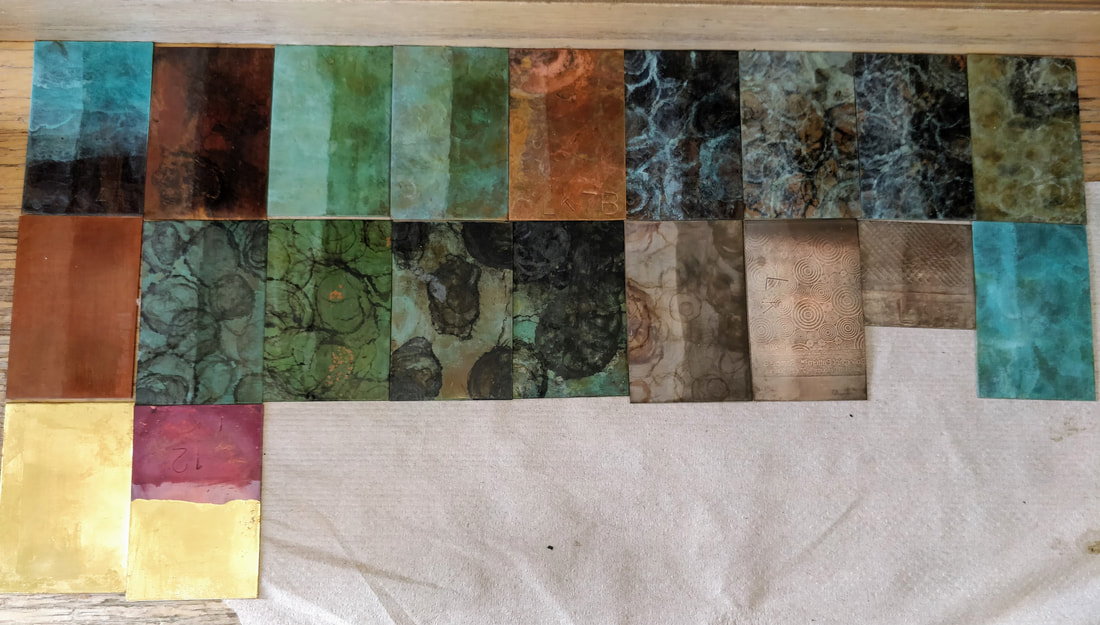
I organized the tooling by type on the counter and would carry a few items to my desk where I could verify it's existance in the Tracker. Next was to use a vibrating engraving pen and mark it. I then put it in a drawer which was labeled with the tooling type.
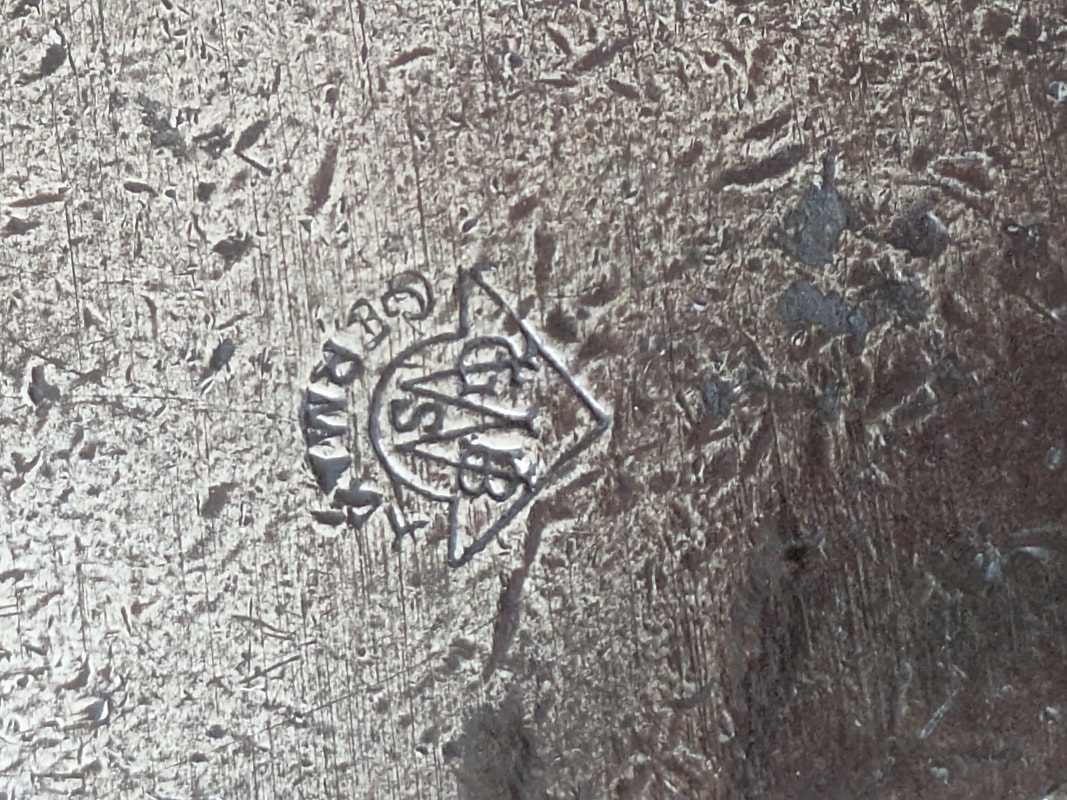
I had some tooling that I had no sku number for nor were they marked so I went to the hive mind in the PotterUSA Facebook group for assistance and they came through.
Everything is now in the toolbox and I just have a few things to put away today and I AM DONE with this task and organizing the studio; I CAN NOW PLAY IN HERE
My plan was to put it in the rolling toolbox I inherited from the Shop Elf but first I had to clean it. It was empty it; vacuum out the dust and other schmutz; then start the tooling inventory.
IT TOOK THREE DAYS.
I organized the tooling by type on the counter and would carry a few items to my desk where I could verify it's existance in the Tracker. Next was to use a vibrating engraving pen and mark it. I then put it in a drawer which was labeled with the tooling type.
I had some tooling that I had no sku number for nor were they marked so I went to the hive mind in the PotterUSA Facebook group for assistance and they came through.
Everything is now in the toolbox and I just have a few things to put away today and I AM DONE with this task and organizing the studio; I CAN NOW PLAY IN HERE


 RSS Feed
